Making furniture with your own hands is not only a great way to save your family budget. Using various parts and improvised tools, anyone can make various designs of wooden chairs. Even novice craftsmen and those who have never considered themselves craftsmen can do this kind of work. The main thing is to be patient and gain endurance. Designing does not tolerate fuss and frivolous attitude.
Content
- How to make a wooden chair with your own hands
- The Benefits of Making Your Own Chairs
- Choosing a chair model
- Where to start for a beginner
- Wooden chair by professional hands
- Decorating the finished product
- VIDEO: How to Make a Wooden Chair. DIY Furniture #2
- 50 photo ideas on how to make a wooden chair with your own hands
How to make a wooden chair with your own hands
To make chairs of various designs, you need to have one main element - desire. The other factors come as an appendix.
Before starting work, you need to answer the following questions.
- Skill level. This is the most important point, it is what determines which model of chair to choose. If a person has never made furniture with his own hands before, then he should start with the simplest elements and designs.
- What materials will the chair be made of?
- Model of the structure.
- Number of chairs.
- Necessary tools for manufacturing.
Before cutting out the first part, you should evaluate whether all materials and tools are available.
The Benefits of Making Your Own Chairs
Critical minds will ask – is it worth taking on at all? Maybe it’s better to buy a model you like and not complicate your life? Let’s look at the pros and cons of this work.
Making a chair with your own hands allows you to:
- make a model using exclusive drawings;
- save money;
- achieve the required strength and durability;
- expand the number of your skills and abilities;
- bring individuality to your interior.
The only significant disadvantage of making chairs is the need for free time to go shopping for materials and assemble the structures.
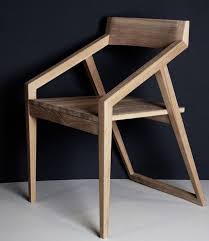
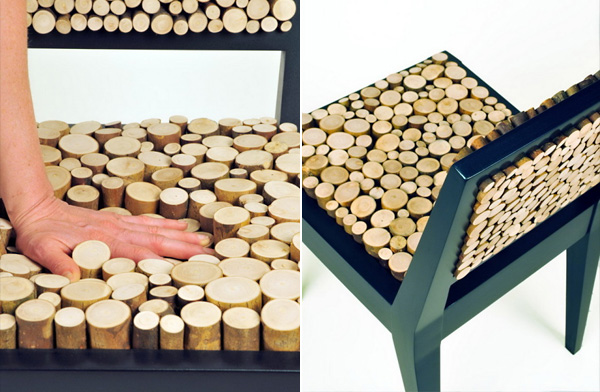
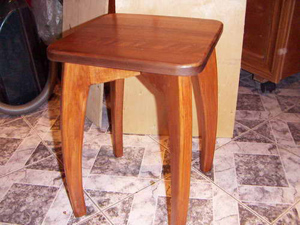
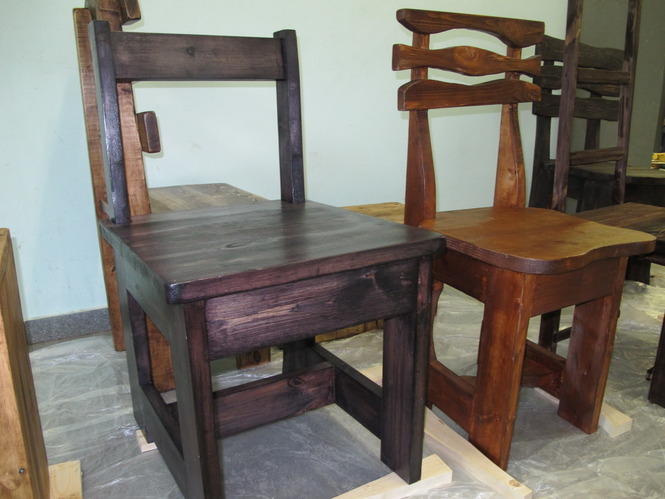
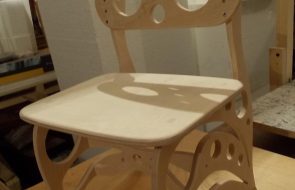
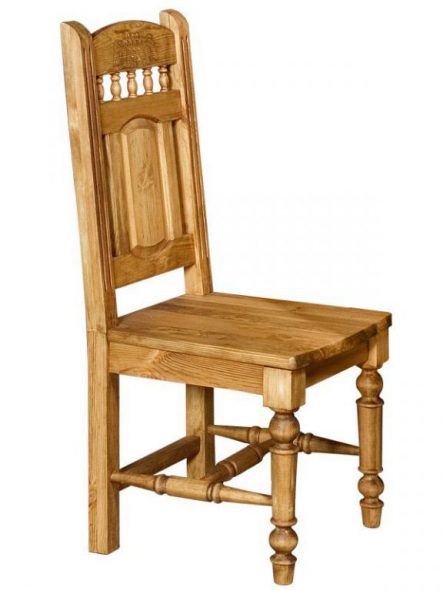
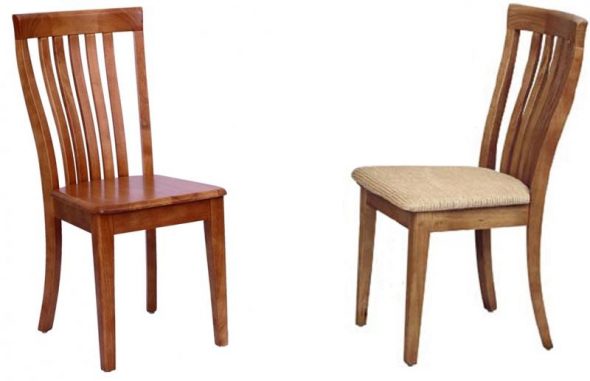
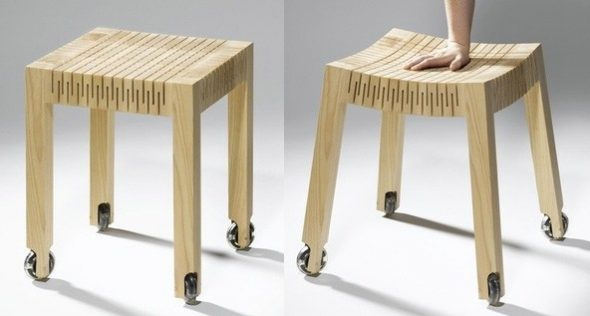
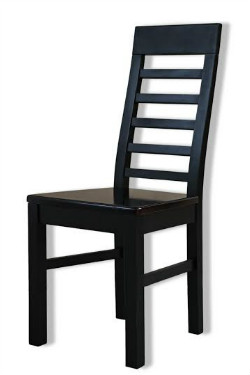
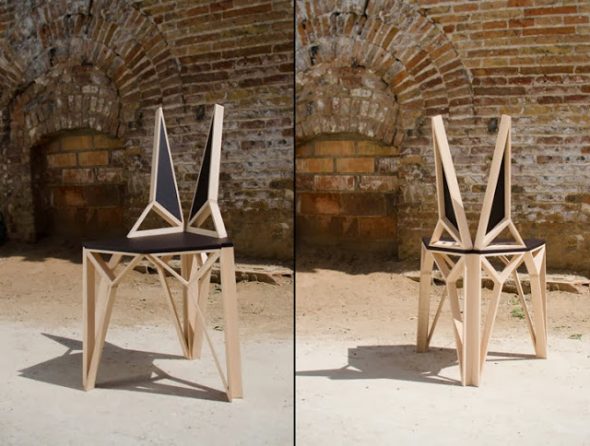
Choosing a chair model
The most important aspect in making chairs is their model. It is the model of the chair that dictates the necessary materials for cutting out the seats, backs, side rails, legs and crossbars. The model also determines what tools the craftsman will need for the work. How much time will it take to make and what will be the final purpose of the manufactured piece of furniture.
Furniture items for seating can be of the following types.
- Folding or regular.
- Transform into other objects.
- Have two or more legs.
- Made from bars, boards or sheets.
- Have backrests and side armrests.
- Intended for one or more people at a time.
The further work of the master depends on each individual point, and especially on their totality.

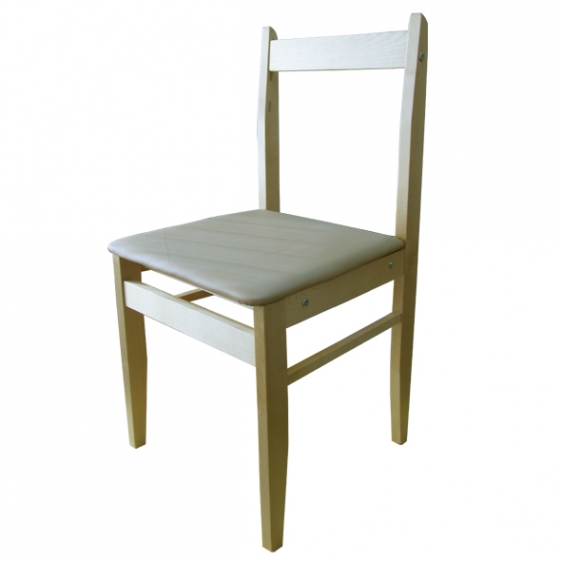
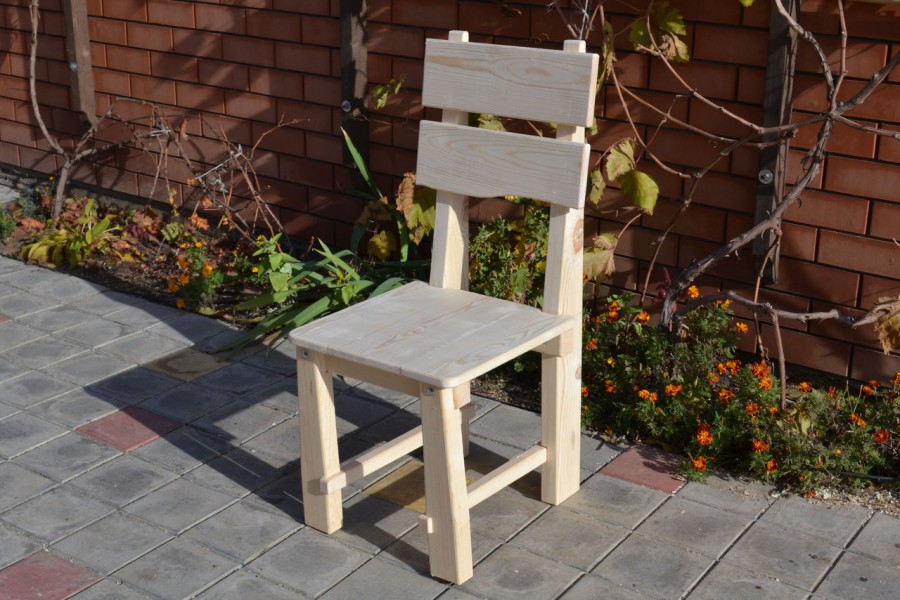
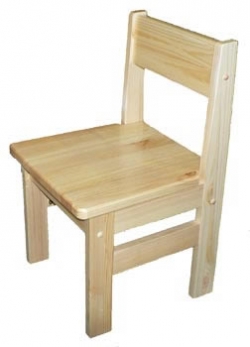
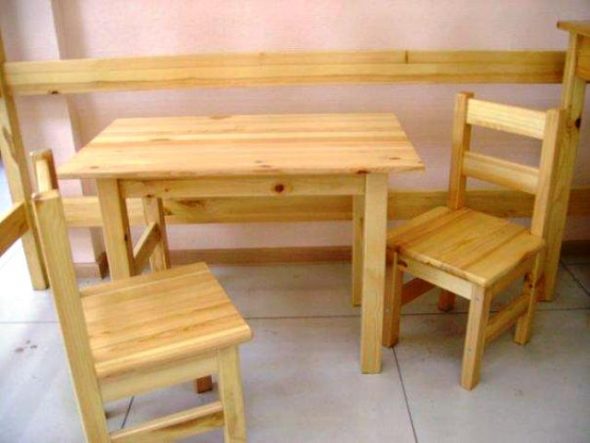
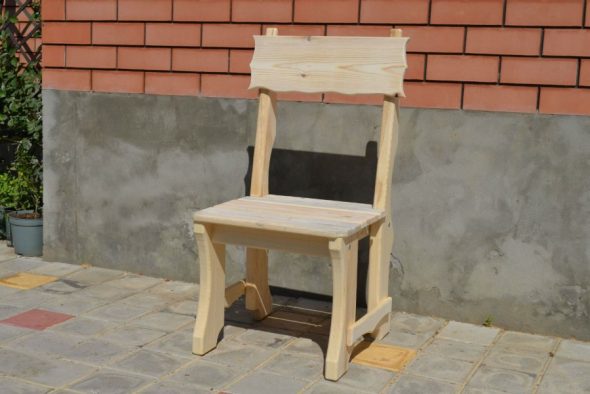
Where to start for a beginner
A beginner immediately asks the question - how to make a chair with your own hands and where to start? We offer step-by-step instructions for making the simplest models for sitting - a chair without a back in the classic version.
To make a chair you will need to do the following.
- Prepare the necessary materials. For the seat, a piece of plywood or chipboard measuring 30x30. The seat can also be made by gluing the boards and giving them the necessary configuration. The leg parts can be classic - from four bars of the same size and 40 cm high, or two sheets of plywood or chipboard measuring 30x40 cm. The crossbars that fix the legs can be made of bars, boards or plywood scraps.
- Don't forget about other details - screws, corners, tape for edge processing.
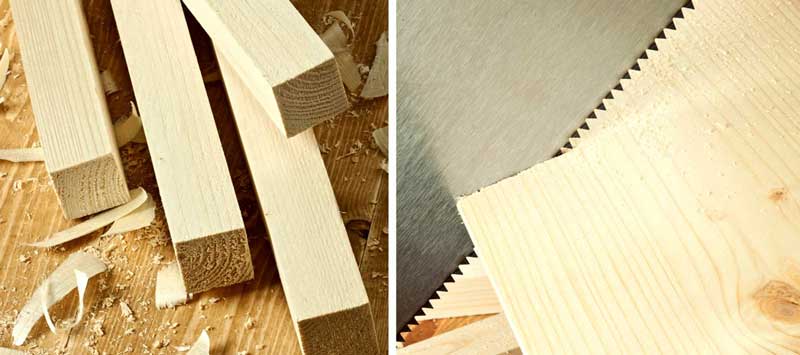
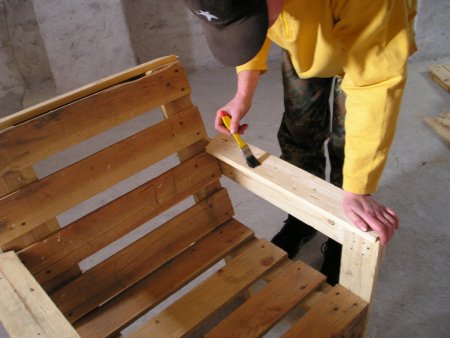
- To make such a chair, you will need only a jigsaw and sandpaper. Having a screwdriver will make the task easier, but its absence still allows you to assemble the chair with a primitive screwdriver.
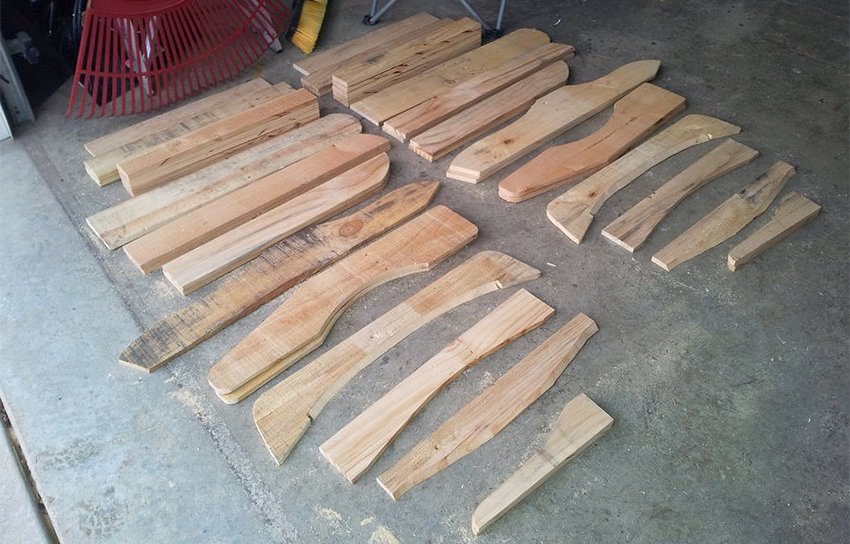
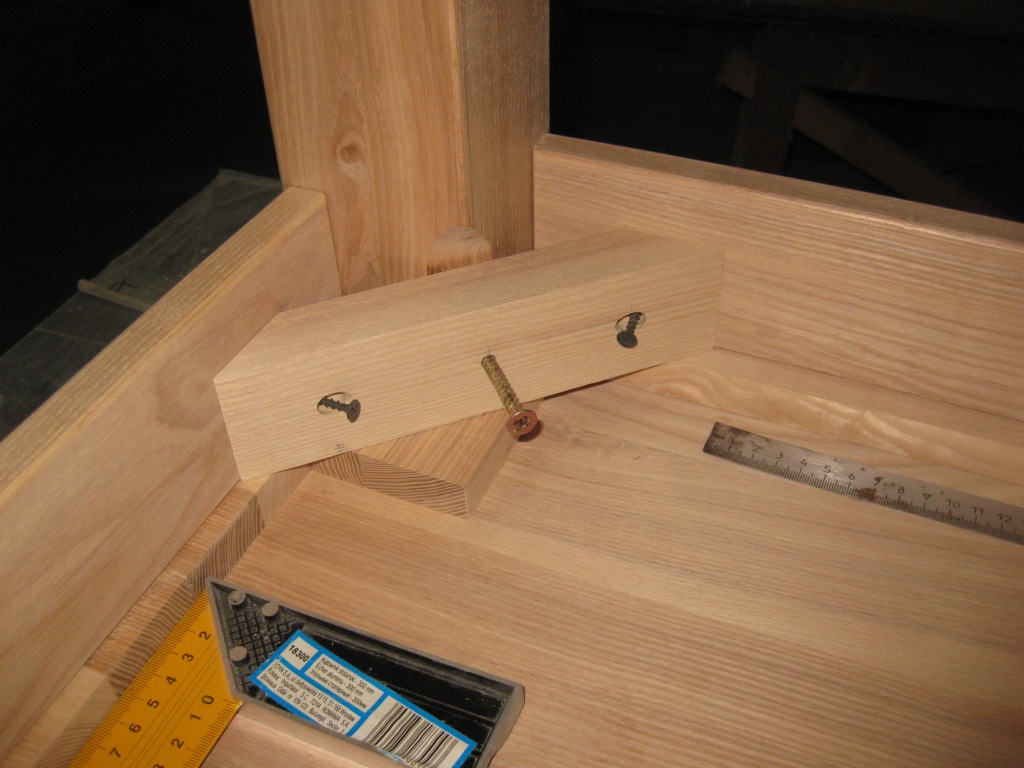
- We make a template of the parts first on cardboard, and then on wood. We cut out the seat, legs, side crossbars according to the specified dimensions, the required length.
- We connect the legs together using the front and side crossbars.
- The final touch is to secure the seat.
For further functionality, we process all surfaces and edges with sandpaper. The wood should be treated with stain and varnish or coated with paint. Here's how to make a wooden chair with your own hands for a beginner.
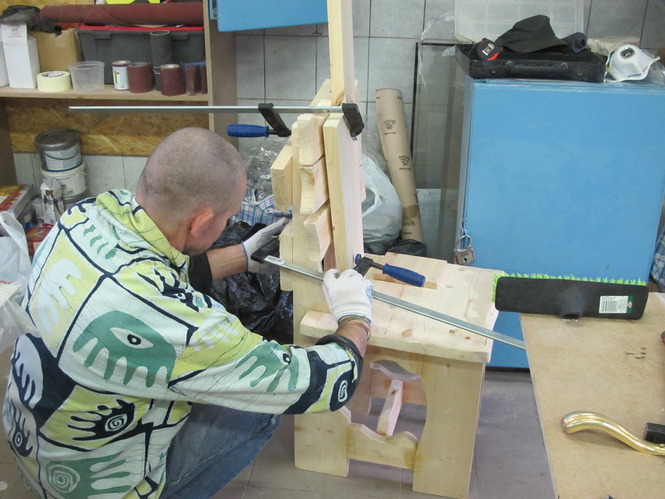
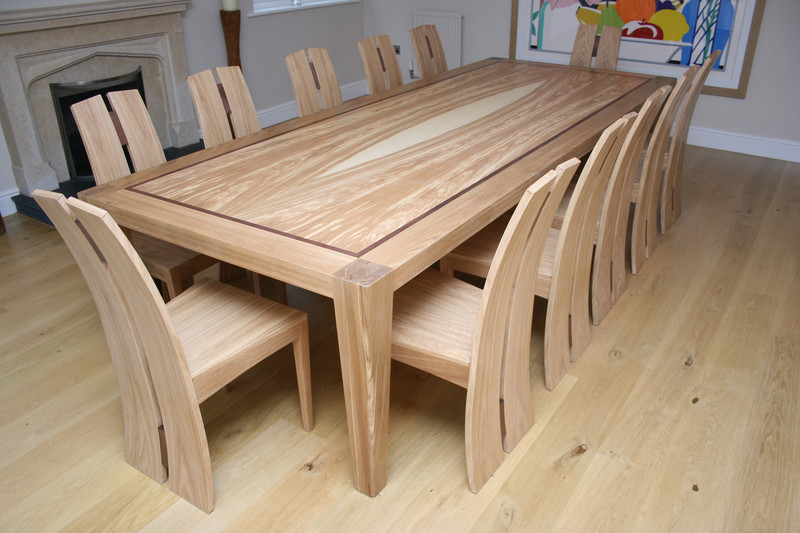
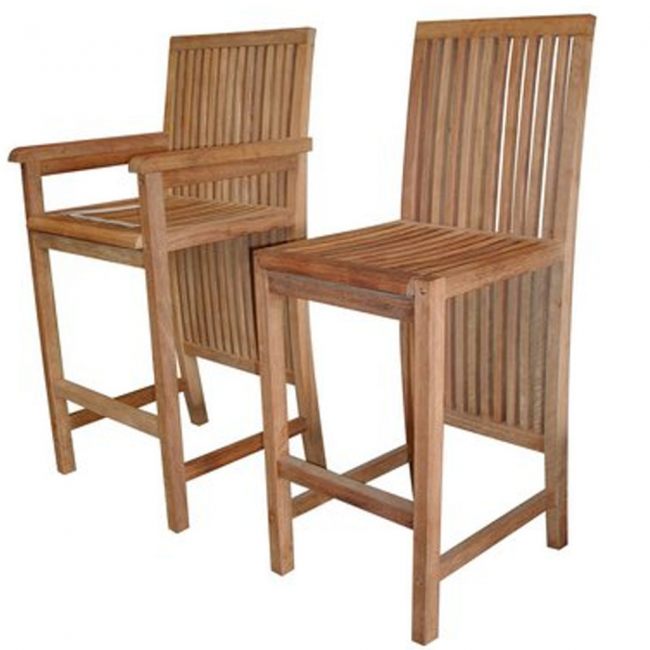
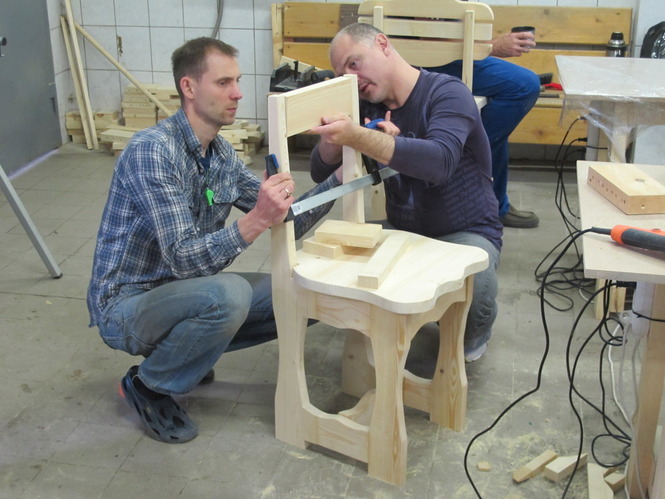
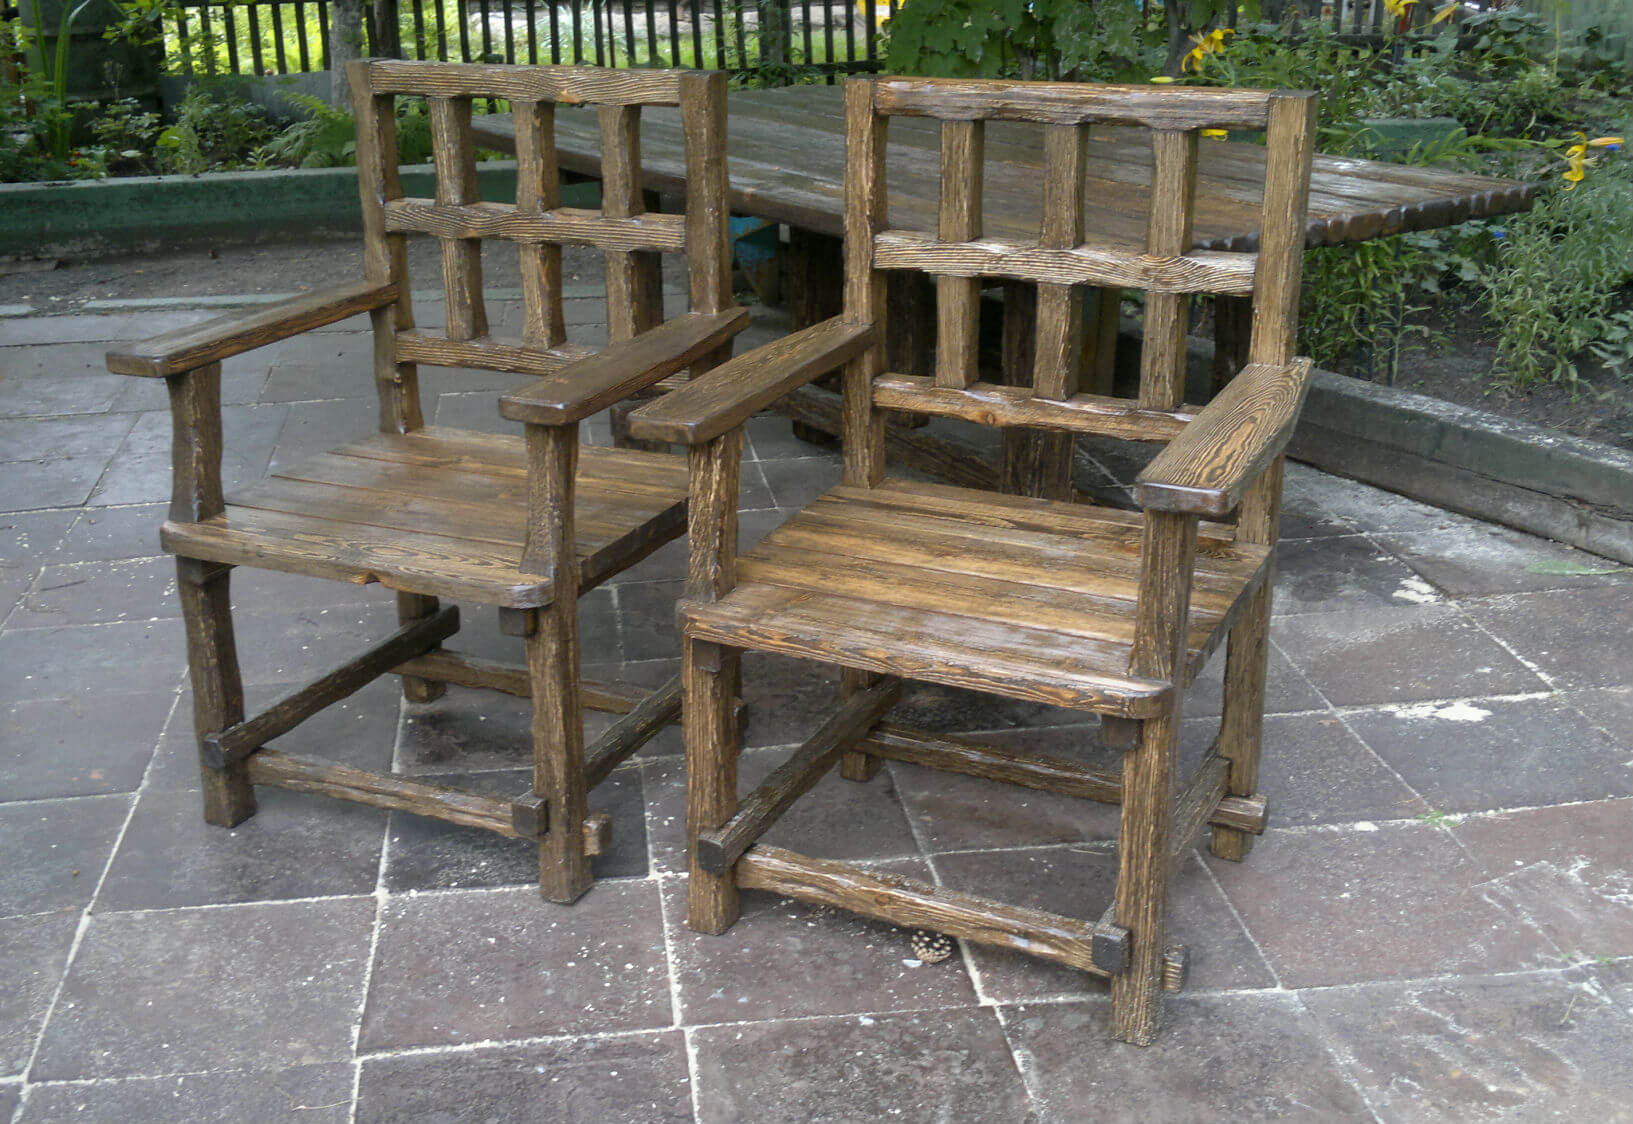
Wooden chair by professional hands
A professional craftsman does not ask himself how to make a chair with his own hands. He is much more interested in making an unusual design that combines several complex elements.

A professional's arsenal must include both simple devices and professional tools.
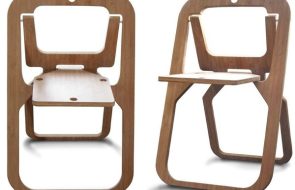
To make a folding chair or chairs with backs and armrests you will need:
- pencil;
- roulette;
- glue;
- beam for the tsarga;
- boards for making seats, backrests and rear and side crossbars;
- self-tapping screws;
- metal corners;
- jigsaw;
- hole drill;
- grinding machine;
- hand router for cutting grooves and tenons;
- screwdriver;
- clamp.
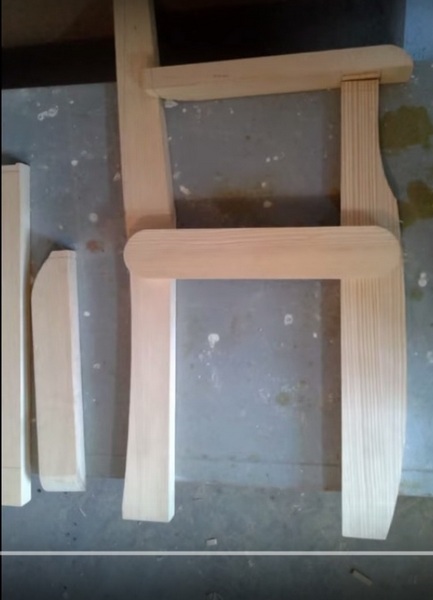
Let's look at step-by-step instructions on how to make a folding chair so that it can be easily transported and used in any conditions.
- We take 4 legs, 40x25x500 mm in size. We fasten them in pairs crosswise. The fasteners are fixed with six-millimeter bolts.
- The crossbars are bolted to the upper parts of the resulting x-shaped structures. The size of the side crossbars is 40x25x350 mm.
- Each half of the chair is secured with a crossbar. The crossbar itself should have a tenon, and the leg should have a groove. The fastening is done with glue.
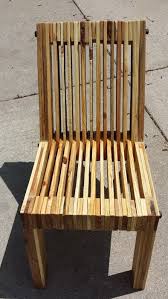
- Next, we fill the space between the back and seat bars with narrow bars in a checkerboard pattern so that when folded, they do not overlap each other.
- Depending on the selected width of the beam for the seat and back, their number and the distance between them are calculated.
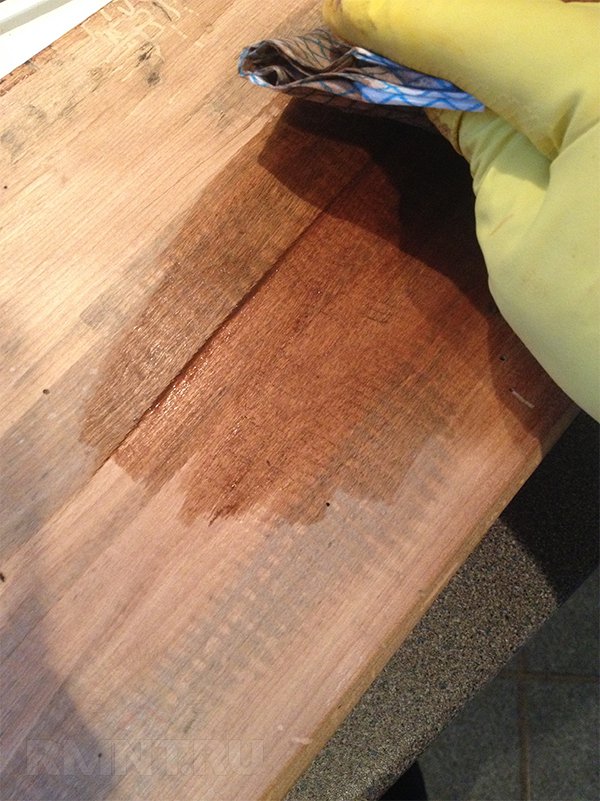
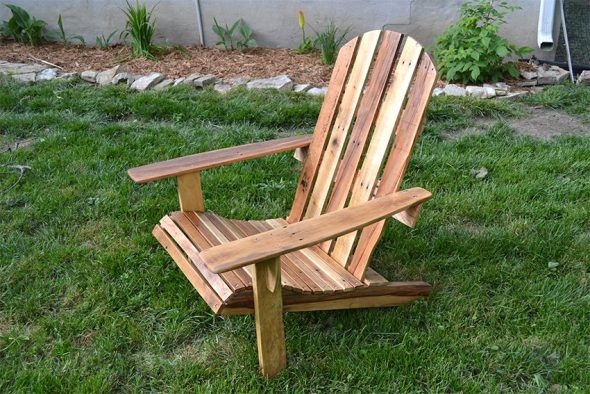
The work is completed by covering the product with stain, varnish or paint. Perfectly polished elements will allow you to pay a minimum of attention to the decorative finishing of the chair and will allow you to leave it in its original beauty.
For the aesthetic completeness of the chair, its pleasant appearance, and also for the convenience of its use, it is recommended to round off all the bars. This will allow it to be conveniently used even without decorative finishing.
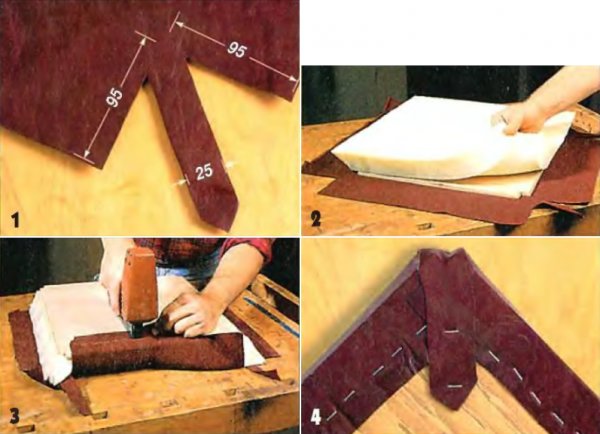
Decorating the finished product
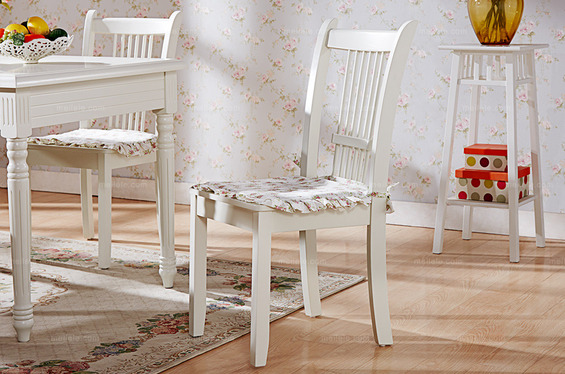
The best decor is an emphasized natural pattern of wood from which the chair is made. But the seat of the furniture can be decorated with soft materials that can be removable or fixed directly to it.

Foam rubber and various fabrics or leatherette are usually used to decorate the backs and seats. Eco-leather or even oilcloth can also be used.
It is recommended to equip home chairs with furniture heels, which will protect the surface of the floor covering. The choice of heels is determined by the design of the chair and its weight.
VIDEO:How to Make a Wooden Chair. DIY Furniture #2
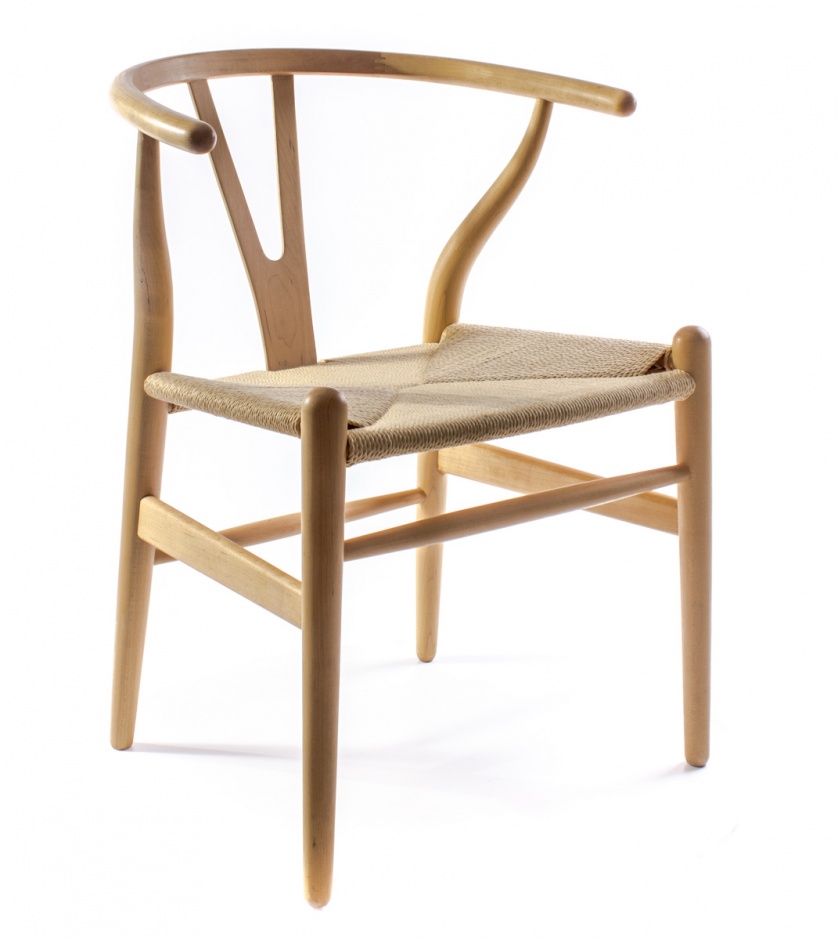
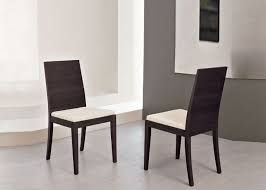
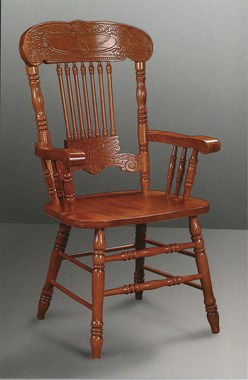
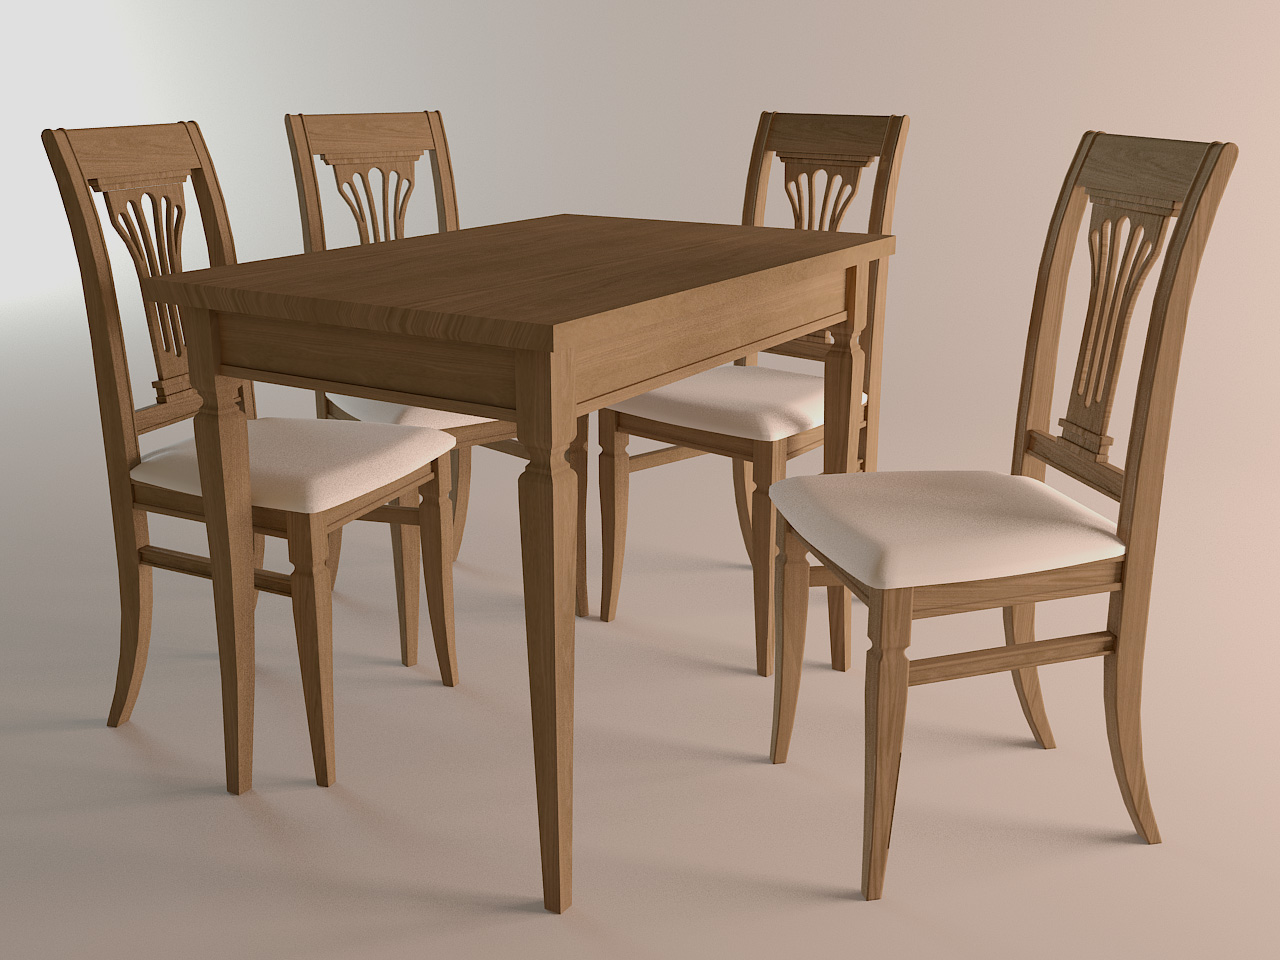
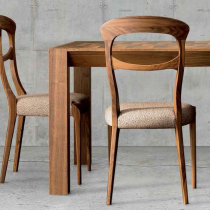
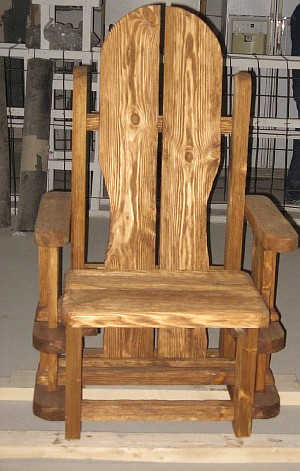
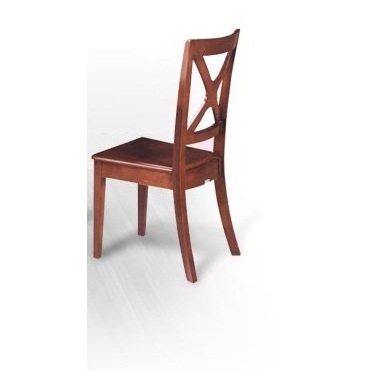
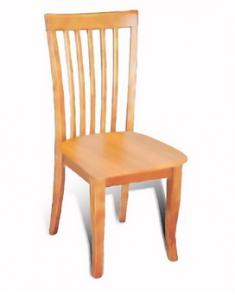
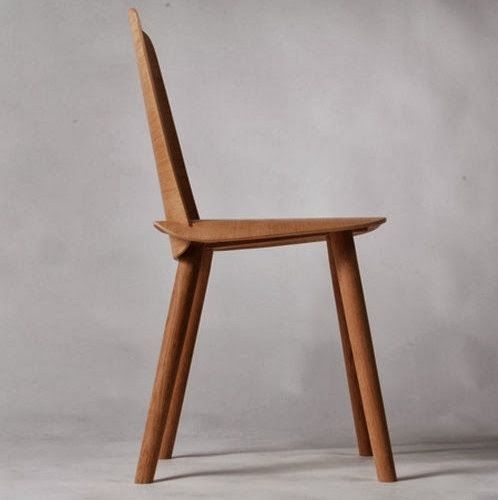
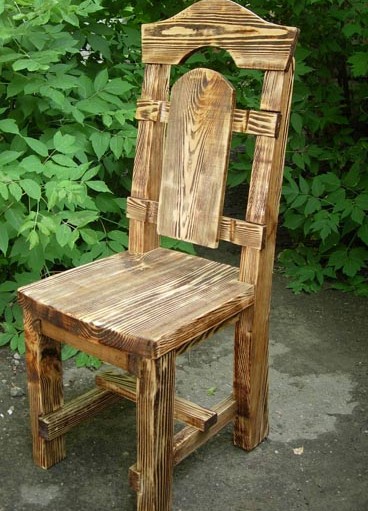
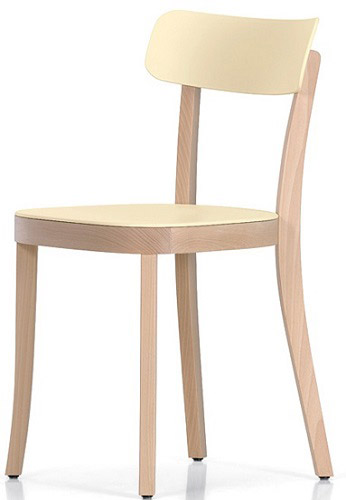
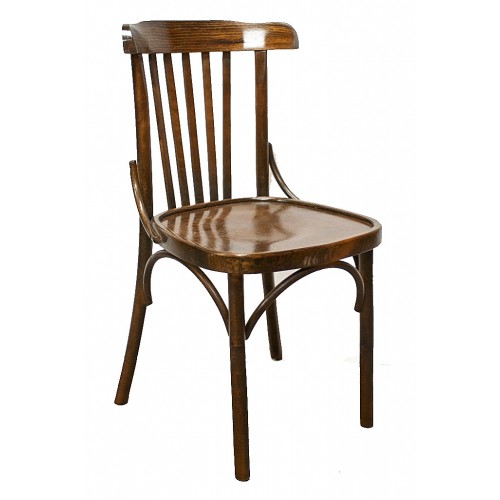
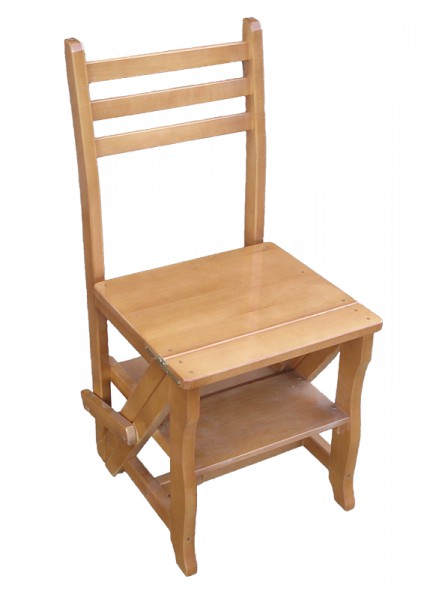
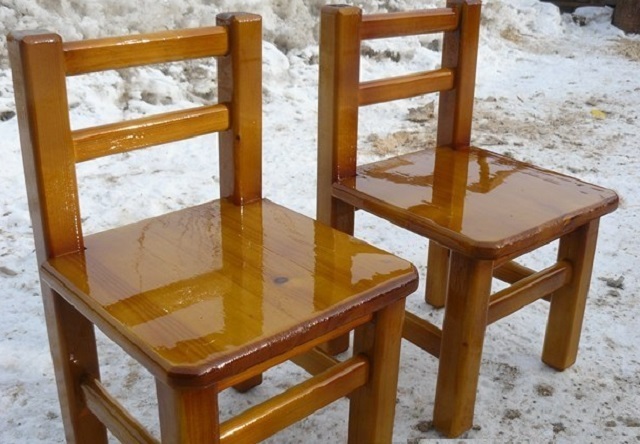
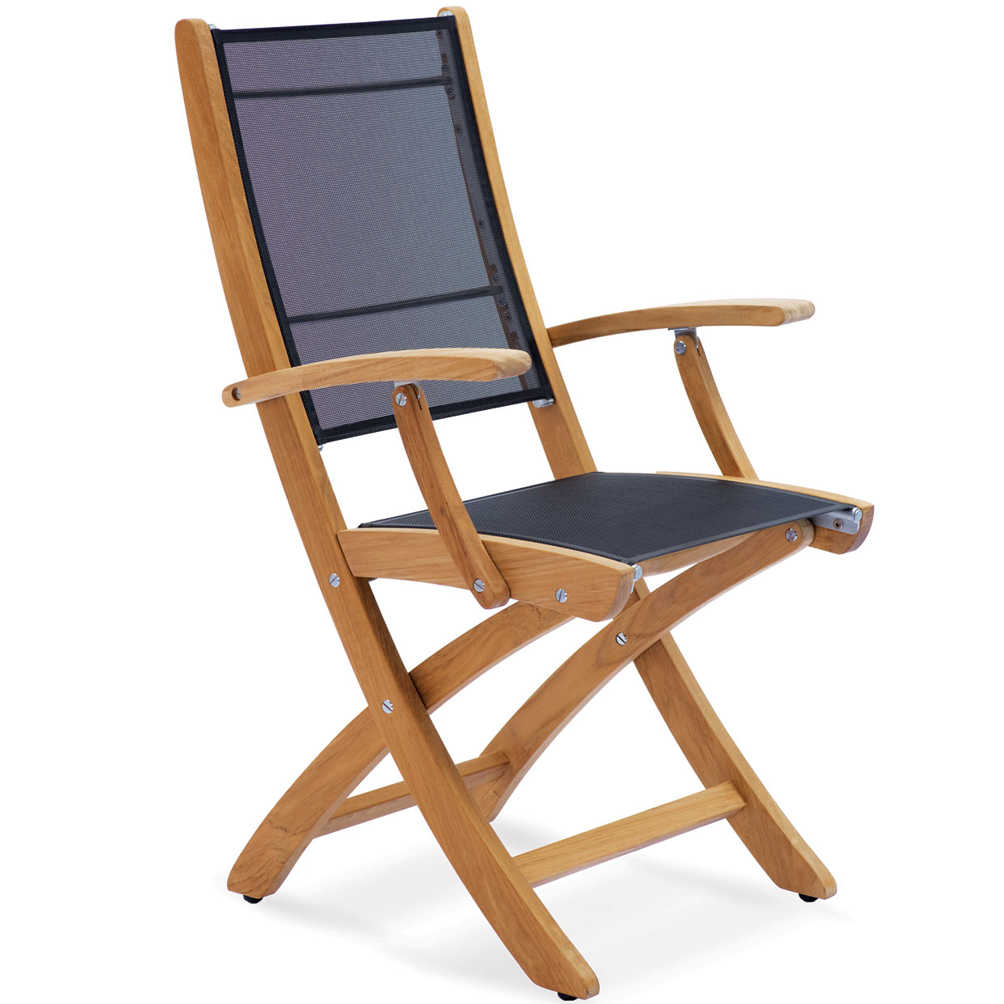
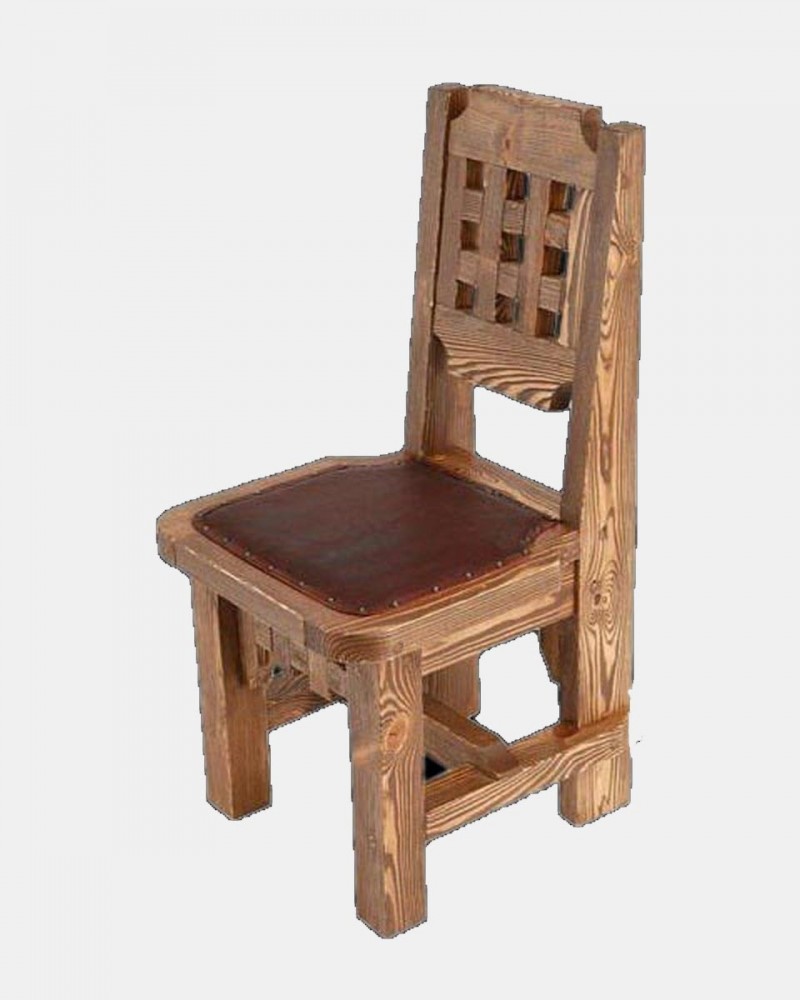
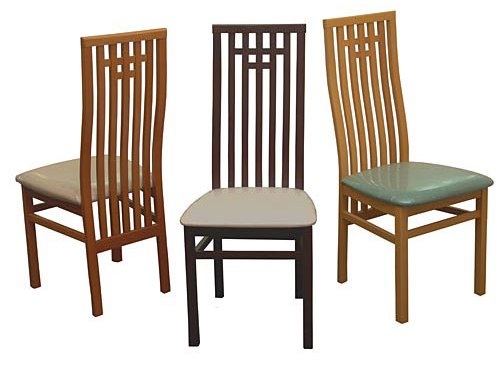
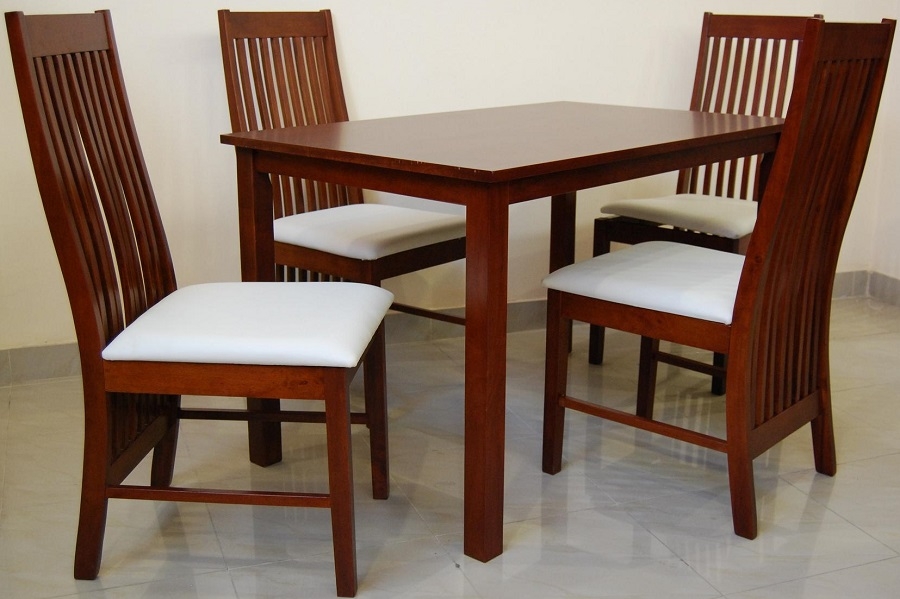
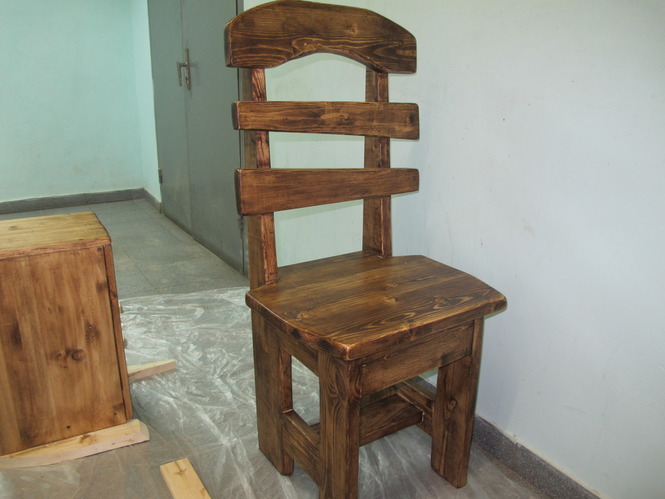
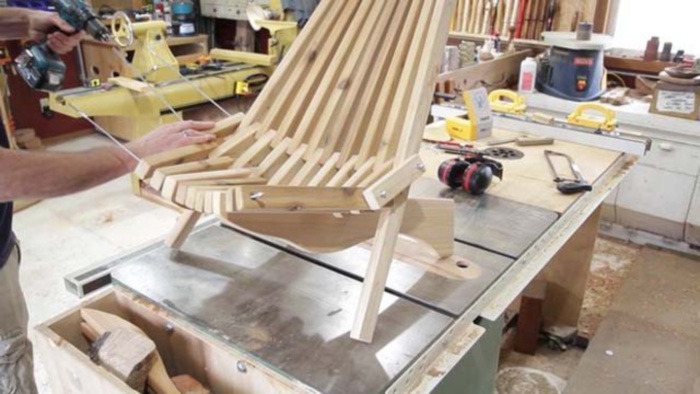
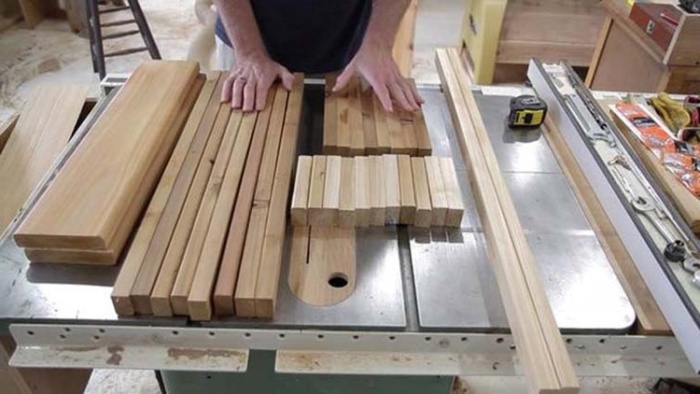
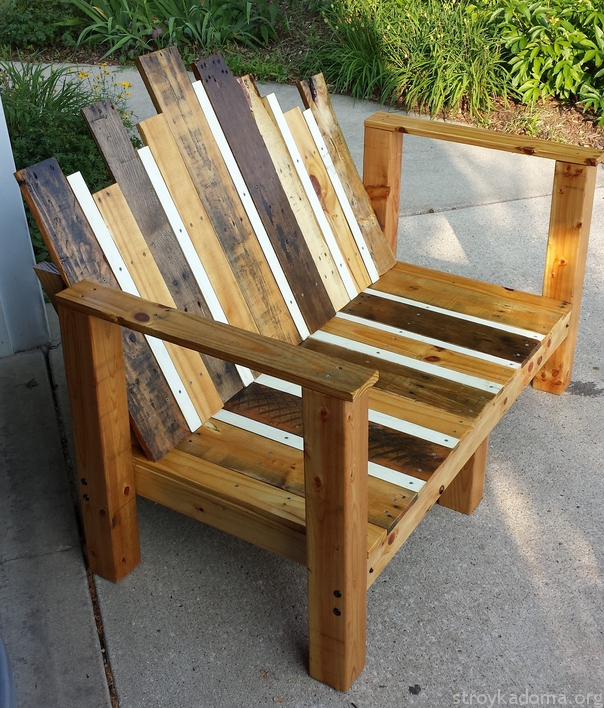
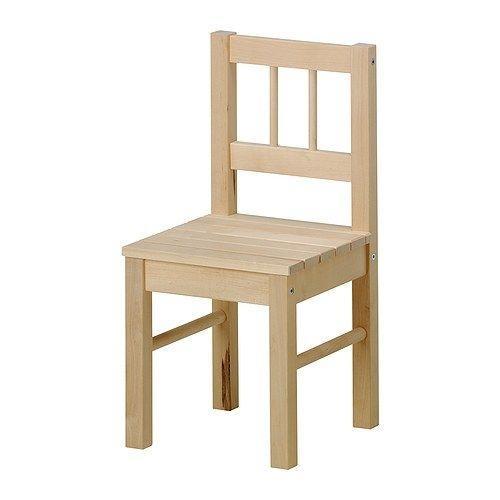
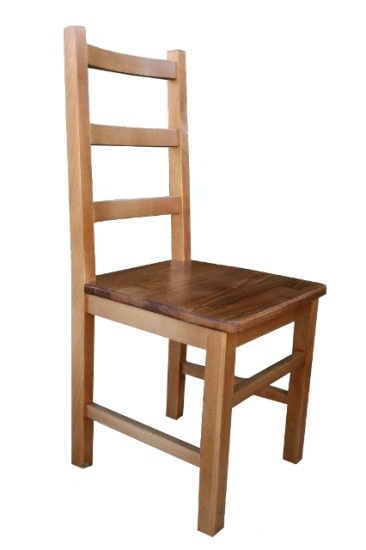
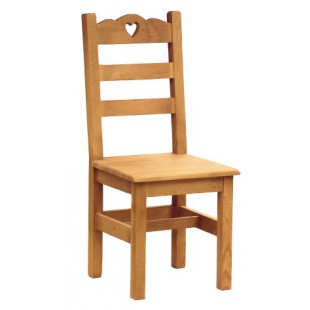
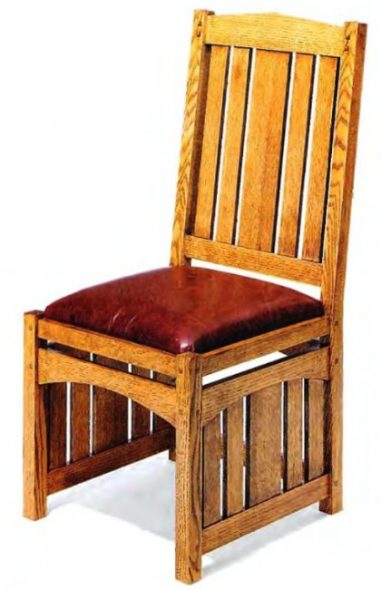
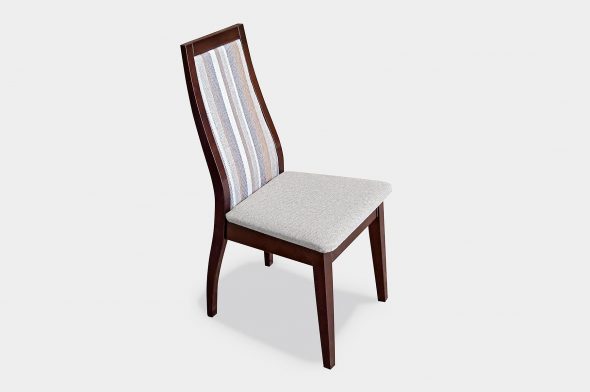
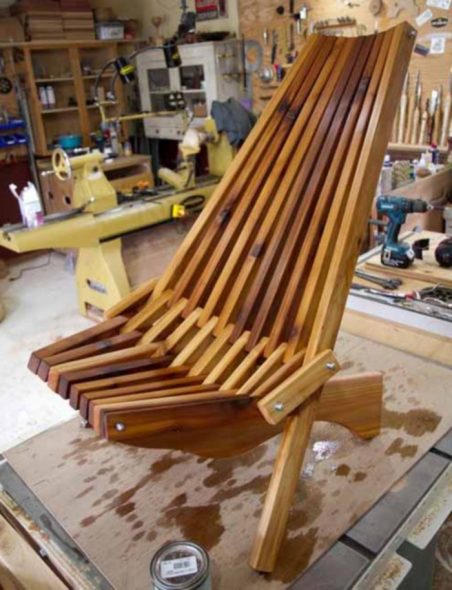
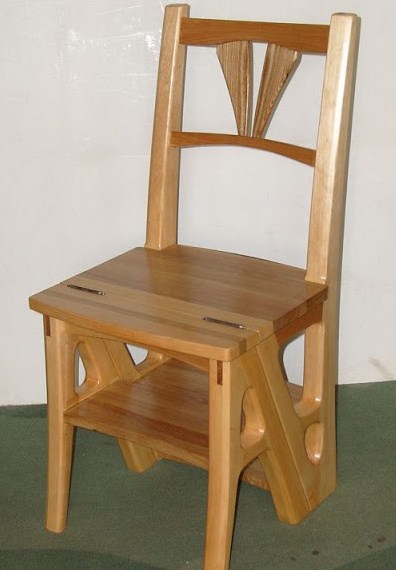
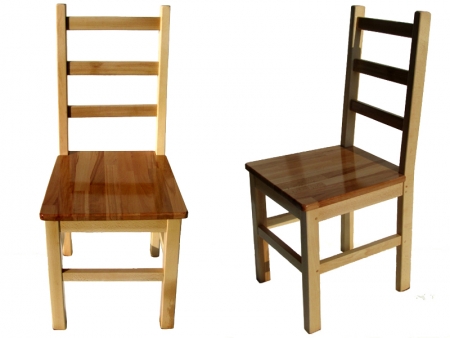
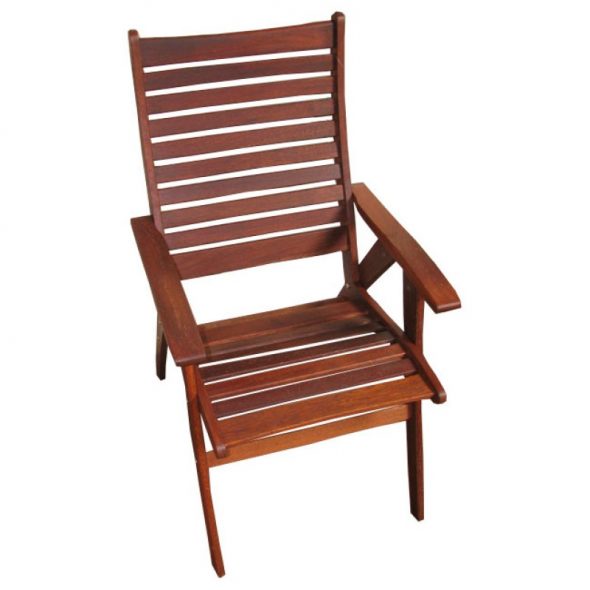
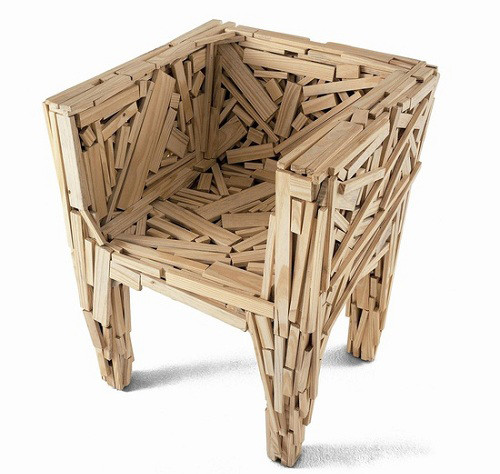
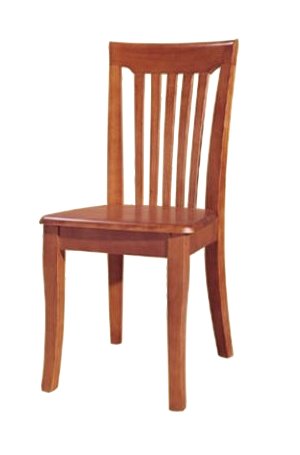
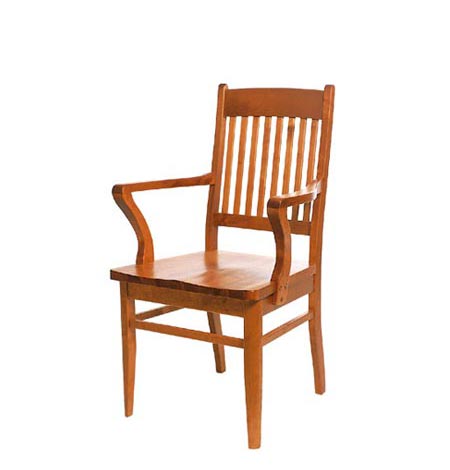
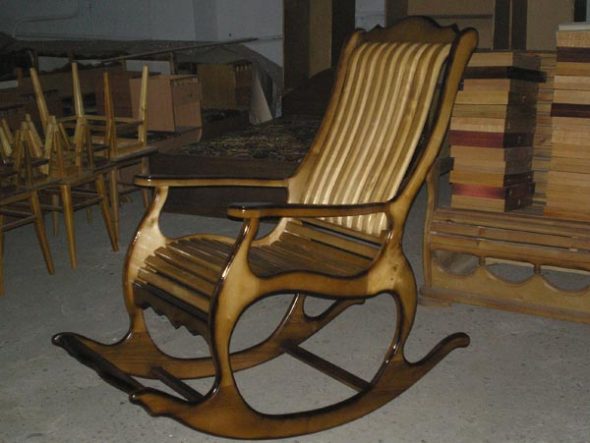
50 photo ideas on how to make a wooden chair with your own hands