Lately, things made with your own hands are becoming increasingly popular. Knitted items are especially valued. On cold winter evenings, they will help you warm up and bring coziness to your home. Warm knitted sweaters and dresses are simply necessary in winter, and knitted dresses are at the peak of popularity this fall-winter season. But knitted items are popular not only in winter, there are many different summer options for knitted clothing. And the granny square knitting technique is suitable for all the proposed options.
We are all familiar with the patchwork technique. It is based on the connection of various squares, circles and fabrics of arbitrary shape. The main area of application is the production of blankets. This technique is easy to use and also allows you to use old unnecessary things in a new role. Its main silhouette is a square.
The described technique is based on the patchwork variant described above. The only difference is that the elements in the granny square are knitted items, while patchwork is based on sewing. The essence remains the same: you need to create several elements and then sew them together. Thus, you get a blanket of squares. Why did this technique get this name? This is a colloquial name. Many people associate knitting with grandmothers, because we are used to the fact that grandmothers are the ones who do this. After all, many of our ancestors really loved to knit. The granny square can be considered a patchwork technique only made from knitted elements.
Content
- What is this technique suitable for?
- Master class on knitting granny square
- How to Use Technology in Clothing Making
- Knitting a blanket from granny squares
- How to Decorate a Granny Square Blanket
- Video: Crochet Granny Square Motif. Easy and accessible for beginners.
- Ideas for inspiration and creating beautiful and unique DIY items from the granny square element:
What is this technique suitable for?
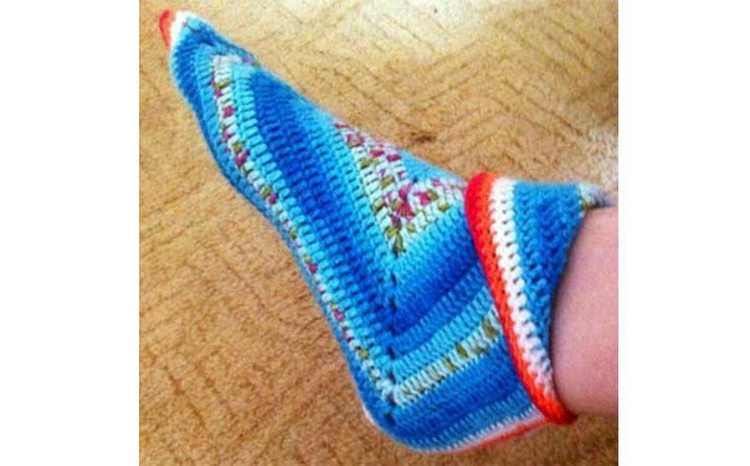
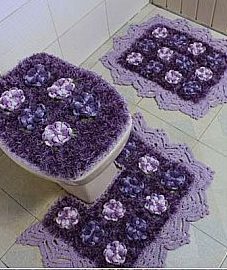
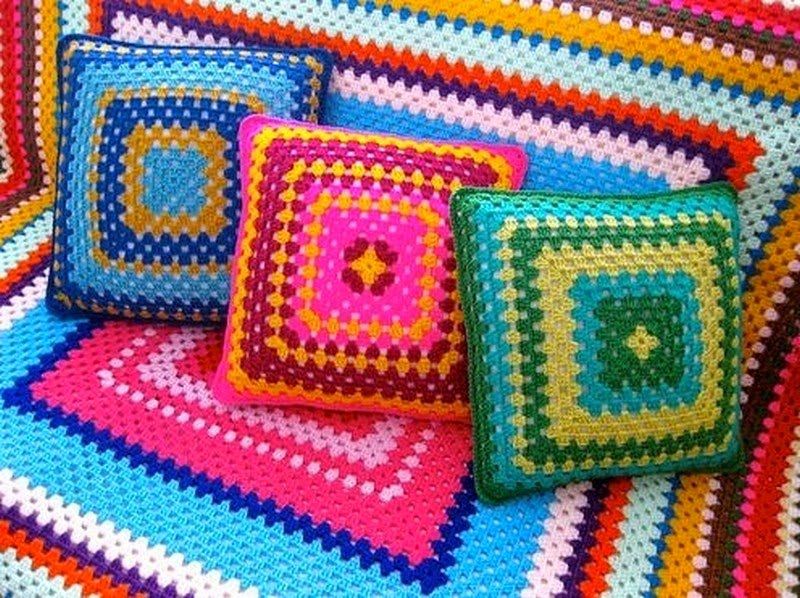
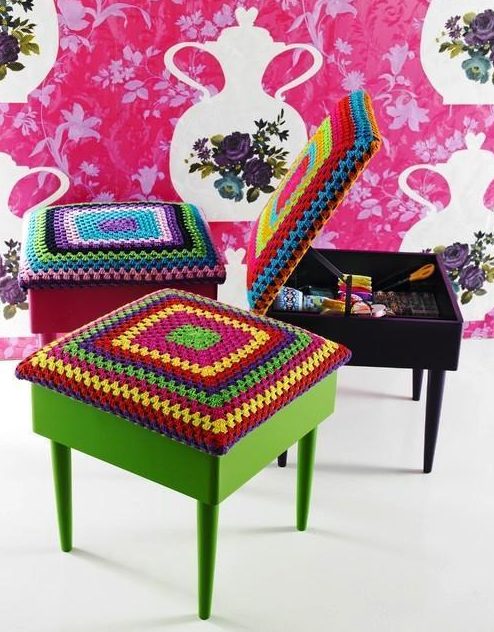
As already mentioned, the main area of application of this technique is the production of blankets. It is also suitable for knitting rugs, chair and stool covers, pillowcases, and various coasters. It is also used in the production of clothing.
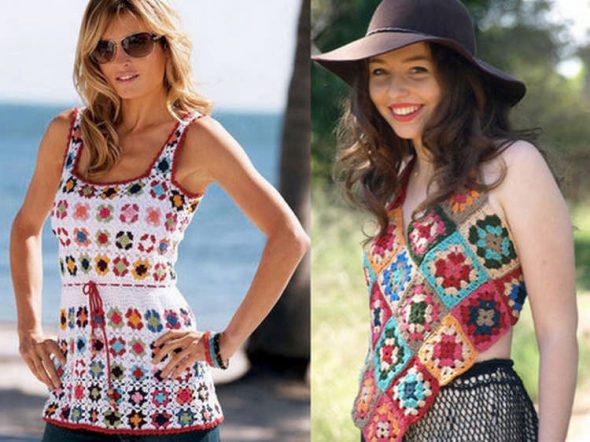
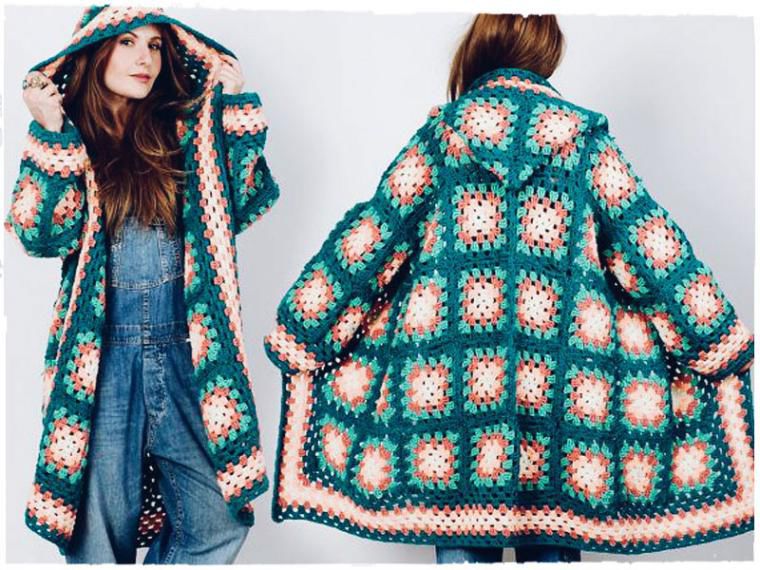
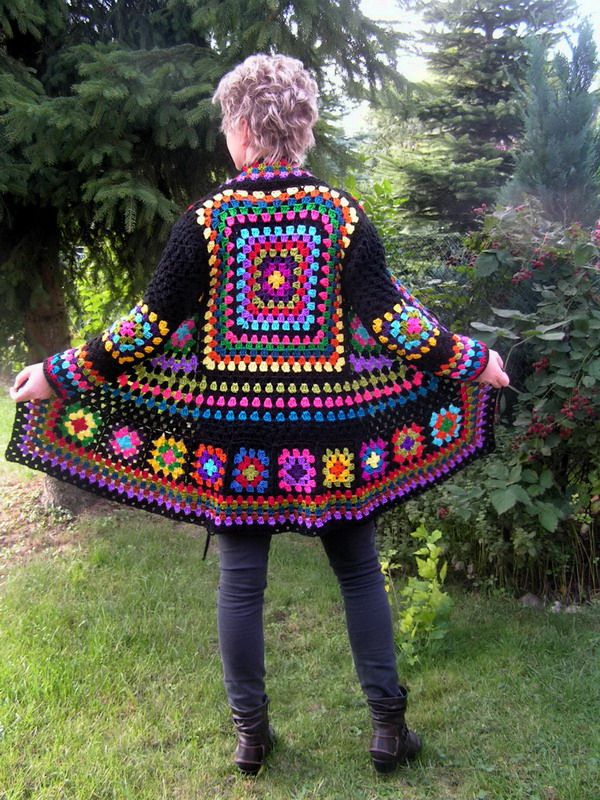
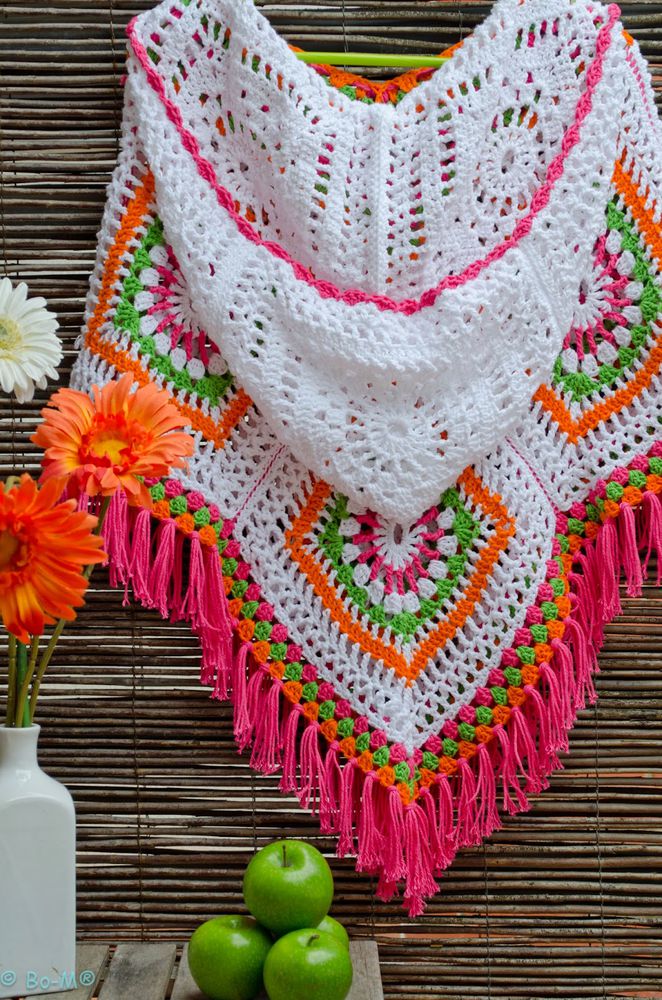
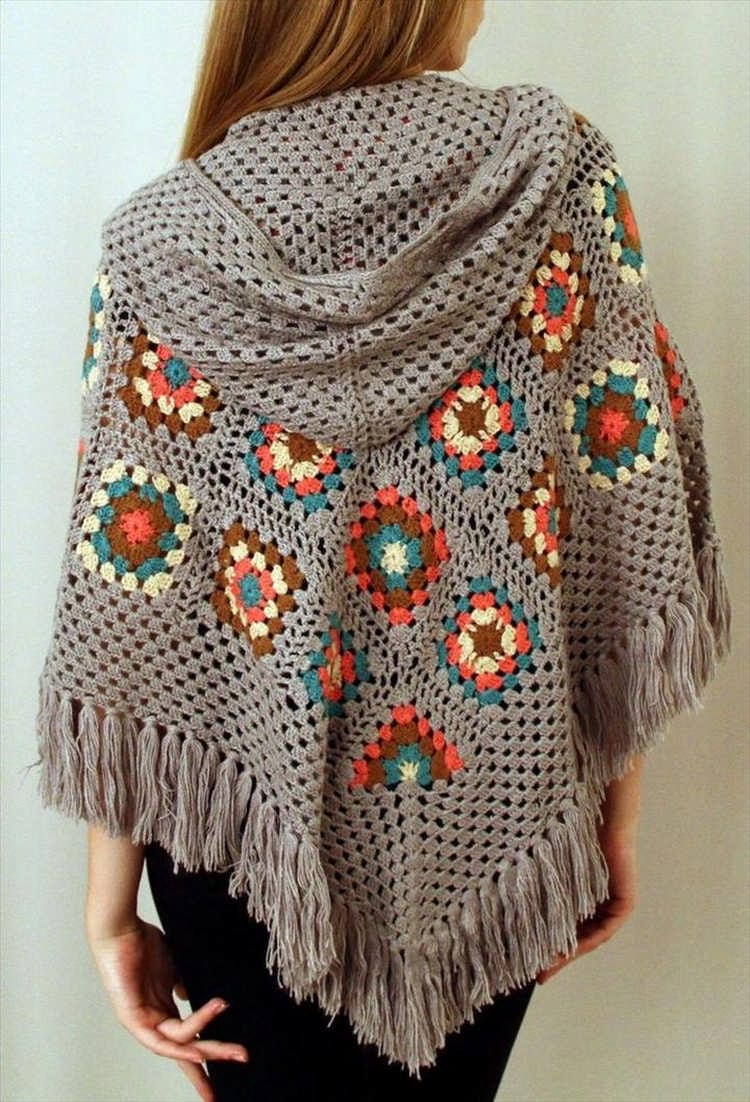
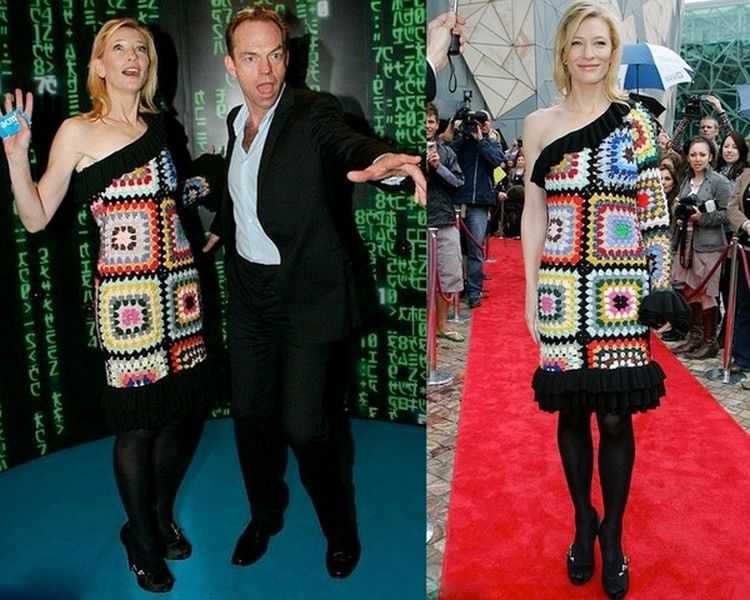
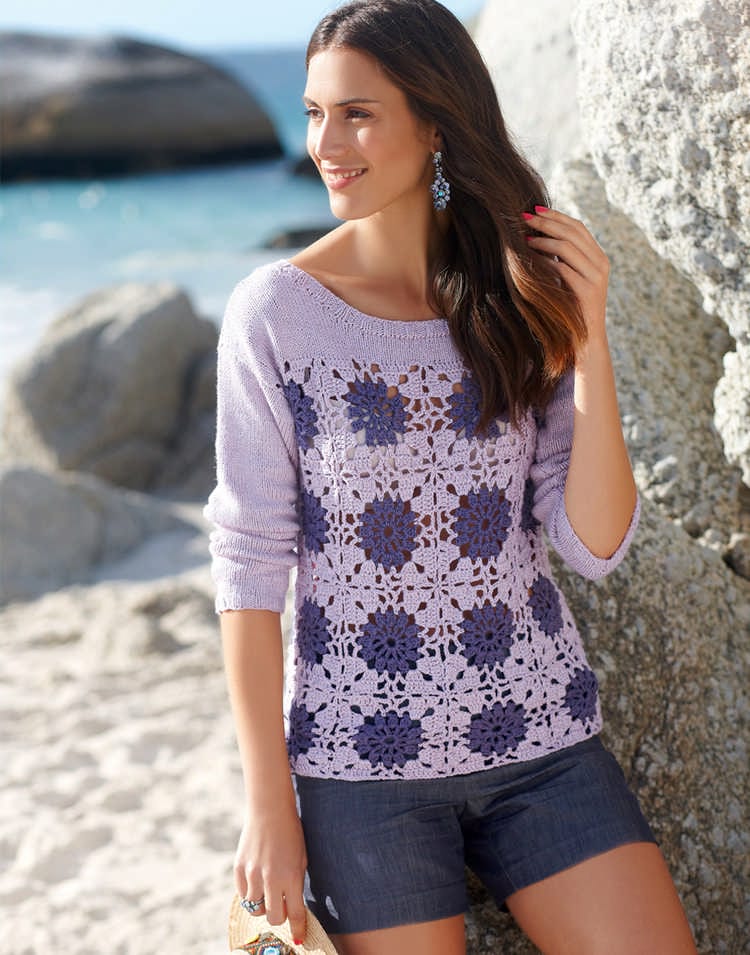
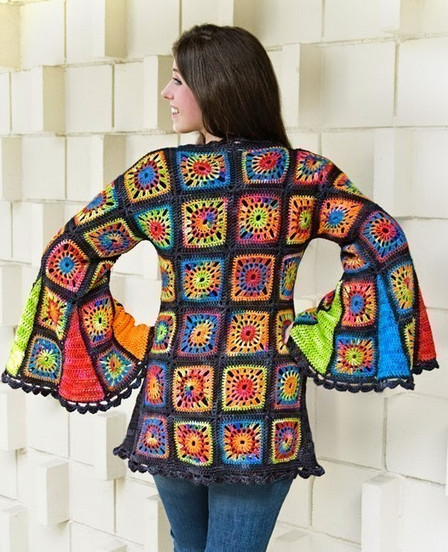
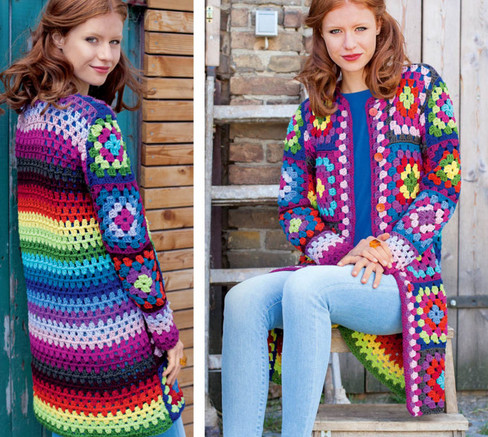
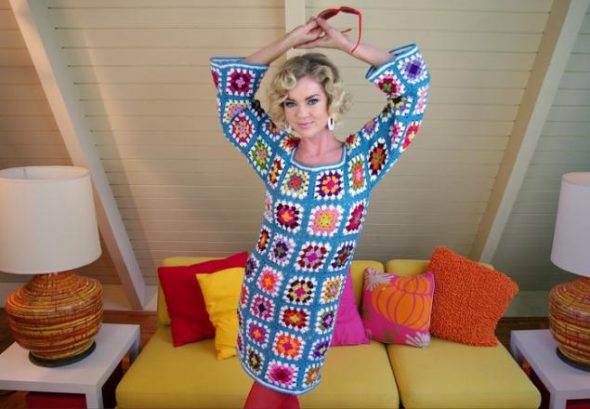
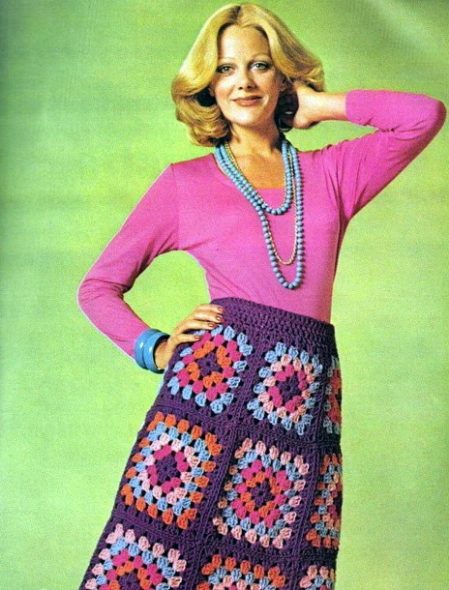
At the moment, boho is a very popular style in clothing. It is the main consumer of this technique, both in the form of sewing and knitting. If you want to create a fashionable skirt, blouse, T-shirt or dress for yourself, this technique will suit you perfectly. It is also worth noting that the granny square is made from yarn of different colors. Thus, a bright and interesting model is obtained, which perfectly emphasizes the boho style.
So, the technique can be used to create:
- blankets;
- duvet covers;
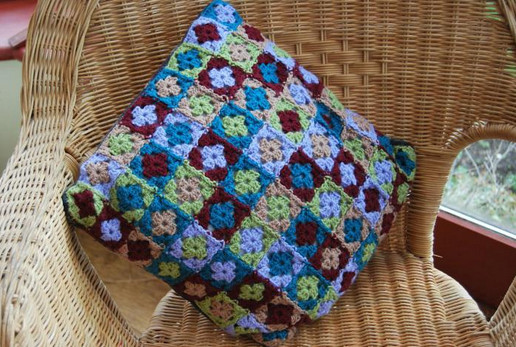
- pillowcases;
- hot stands;
- potholders;
- aprons;
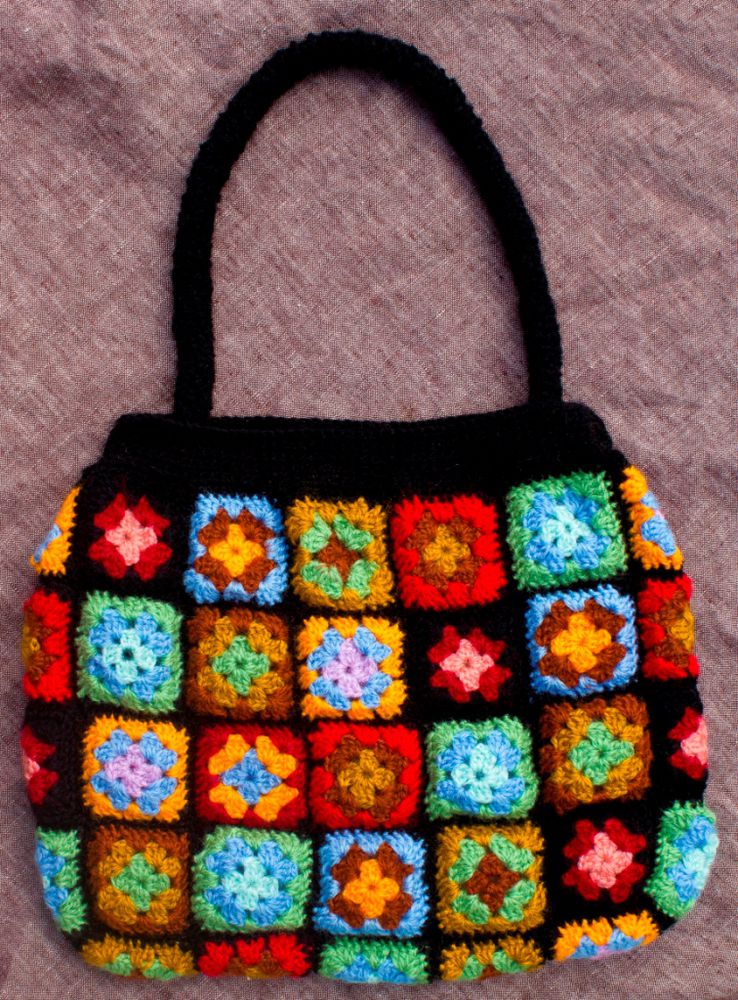
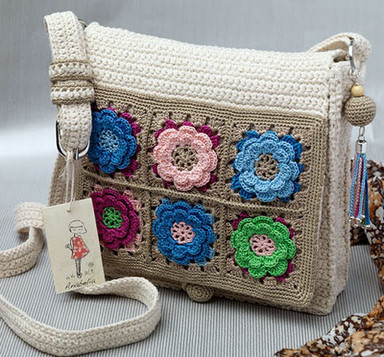
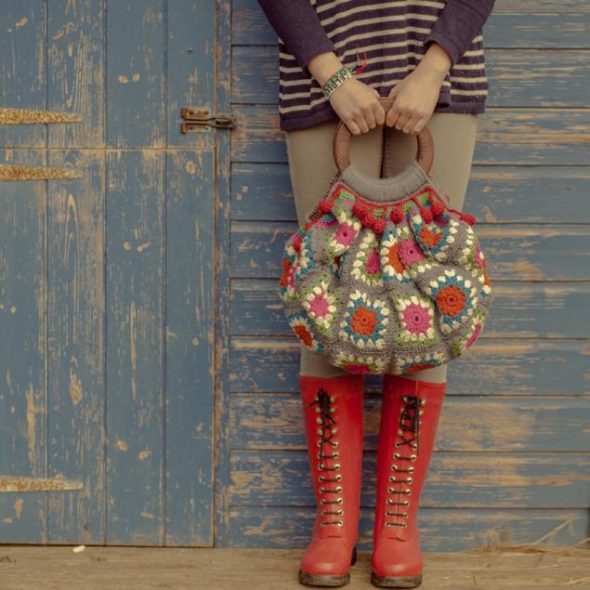
- bags;
- accessories;
- clothes.
As we can see, the use of this knitting option is quite popular and versatile. If you want to look original, while showing off a product created with your own hands, be sure to pay attention to this technique.
Master class on knitting granny square
We suggest creating several interesting things using this technique that will help you in your everyday life.
It is worth saying that the execution is quite easy, and will suit even beginner knitters. You can also create the product together with your child if you want to introduce him to knitting, because it is based on the simplest patterns and patterns. If you already have experience, do not pass by the technique, because it can be diversified with various elements that are already in the arsenal. But before you get down to business, you need to go through the preparatory stage.
What tools will you need?
For granny square, patterns can be found both in crochet and knitting. In both versions, you can create an openwork and dense fabric - it all depends on your own desires.
In general terms, you will need:
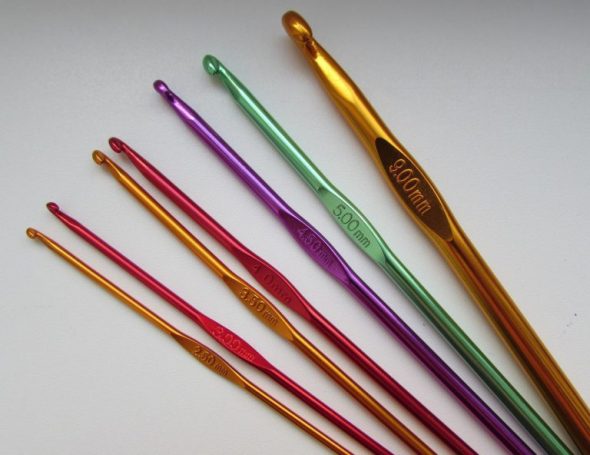
- knitting needles or crochet hook;

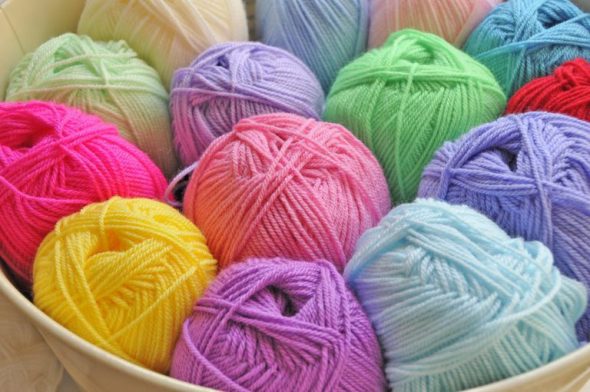
To knit the motif you will need a hook, ideally number 3 or 3.5 - bright threads.

These can be special threads for crocheting or semi-woolen and acrylic options.
A knitting pin and markers may also be useful. However, these elements are often unnecessary, since the elements for creating a complete product are quite small and are knitted with one thread without removing.
If you plan to sew the elements together rather than tie them together, you will need a large needle and thick thread. Don't forget about embellishments. If you plan to use them, prepare them in advance.
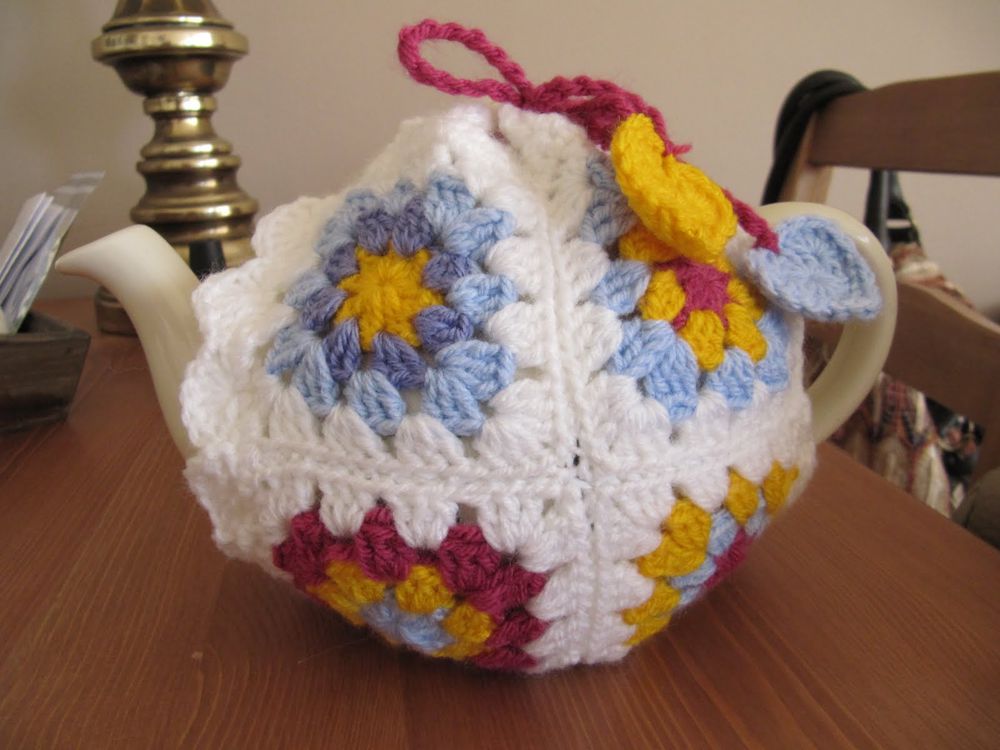
Granny Square Tea Coasters
We offer to knit openwork and beautiful coasters for tea using the knitting of a granny square. Such coasters can be used at home or given to a friend. They are perfect for creating home comfort. In this case, the chosen pattern means a lot.
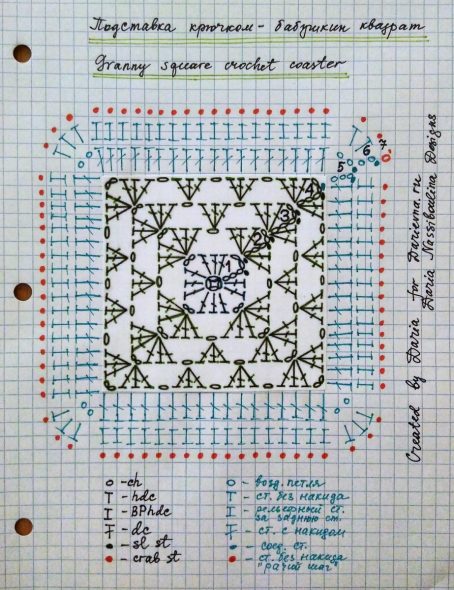
Note! The knitted pattern "deer" is more suitable for a New Year's gift.
We suggest creating simple coasters that even a beginner can handle. You can then decorate them with various elements, or, having advanced in your skills, use other schemes.
Let's get started!
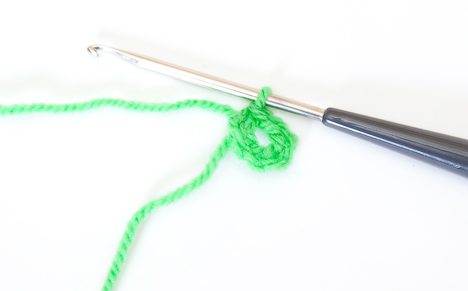
- Make an amigurumi loop, it will become the beginning of the element and will not allow the product to untie. This loop is perfect because it does not leave gaps and a hole in the middle of the stand.

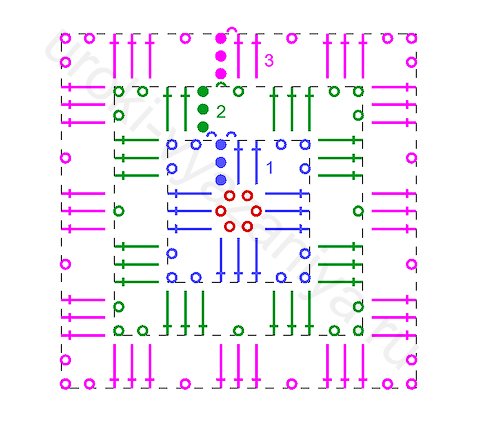
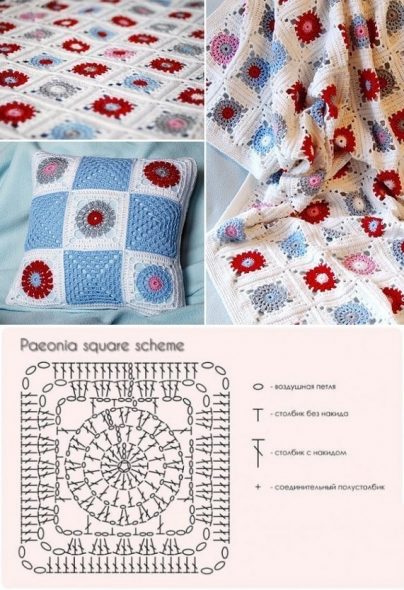
We knit a chain of 6 ch and close it into a ring using a slip stitch 
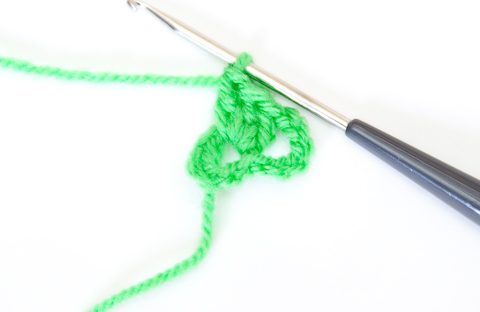
Knit 6 ch (3 ch + 3 ch according to the pattern) and 3 dc into a ring 
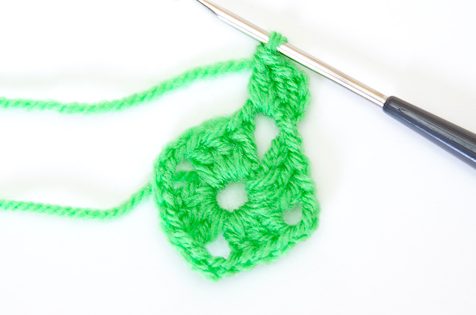
Then 3 more ch, 3 dc, 3 ch, 3 dc, 3 ch. - Work the first round with single crochet stitches, increasing the number of stitches at each corner by working two stitches into one loop.

Next, we knit 2 more dc and join the row with a slip stitch, inserting the hook into 3 ch of this row. 
To start knitting the next row from the arch, to move into it, knit another 1 sl st, 3 ch, 2 dc into the arch from the ch of the previous row - After knitting a circle, secure the thread.

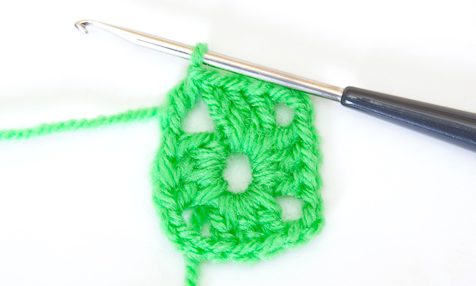
Next, knit 3 ch and 3 dc in the same space, 1 ch, and in the next space from the ch of the previous row, knit 3 dc, 3 ch, 3 dc 
We repeat 2 more of these elements, then we knit 1 ch and close the row with a sl st, inserting the hook into the upper lifting loop of this row. - The next circle should be knitted with threads of a different color. It is important that the threads are of the same thickness. At the corners, also make an increase of columns by 3 or 4 more.

Knit the following rows in the same way until you get the square size you need. - Knit all subsequent rows in this manner.

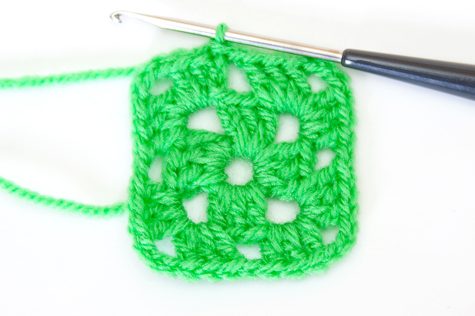
We get a finished element of the required size - a granny square according to the pattern
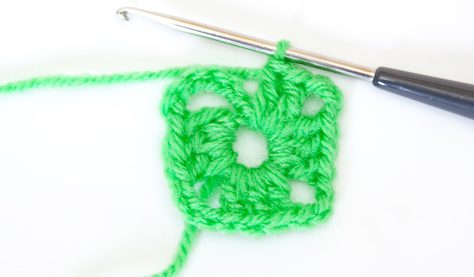
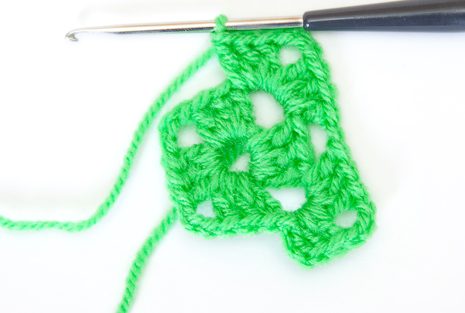
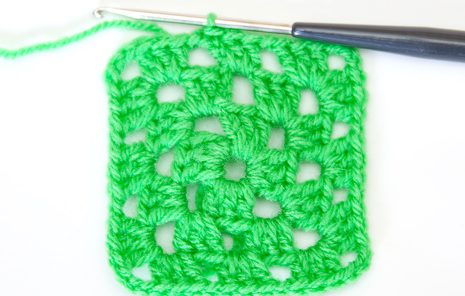
Important! In each new row, make the increase larger than in the previous one. Otherwise, the product will be uneven and will curl.
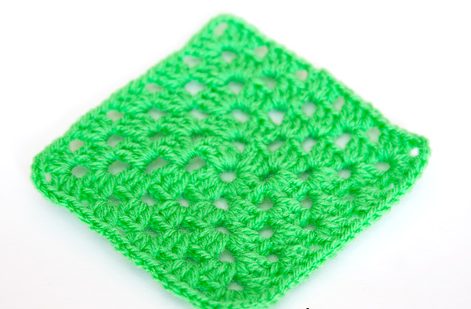
So we got interesting, bright and simple coasters in the proposed technique. They can be used in everyday life. The main thing is to take dark yarn if you plan to use them in the kitchen. Let's move on to more complex options.
How to Use Technology in Clothing Making
For clothing, this option is used in any part: skirt, dress, tunic, jacket, sweater. The most popular is the use for creating a skirt or dress. This way you will get a bright flared hem. It is better to choose light and thin threads as yarn. They do not weigh down the product, bend well and do not interfere with walking. If you use thick threads, the product will turn out bony and sloppy.
Also choose airy knitting patterns with many holes and columns not too close together. Otherwise, you will get the same effect of ossification.
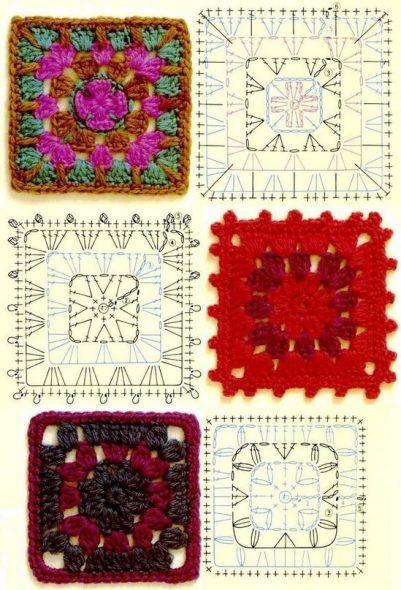
To knit, choose the openwork pattern you like from the presented ones, and knit the required number of elements. You can calculate them by making a pattern for the product. Finally, knit the squares together in an openwork way and sew or tie them to the belt.
Important! A petticoat is needed for a skirt made using this technique, because the openwork skirt is very translucent.
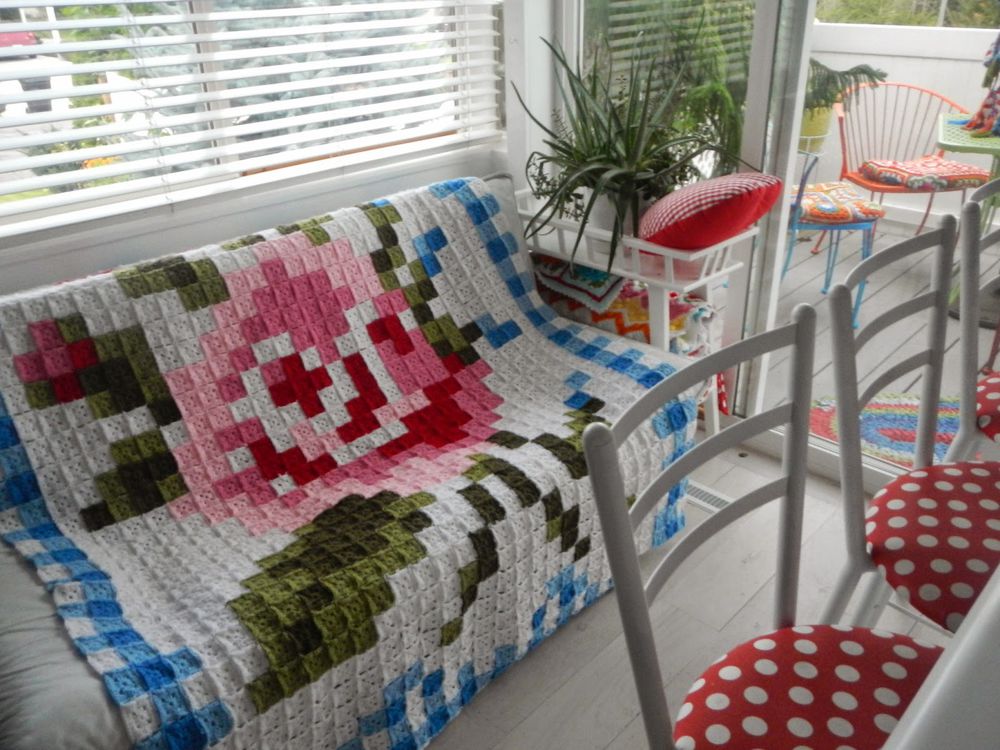
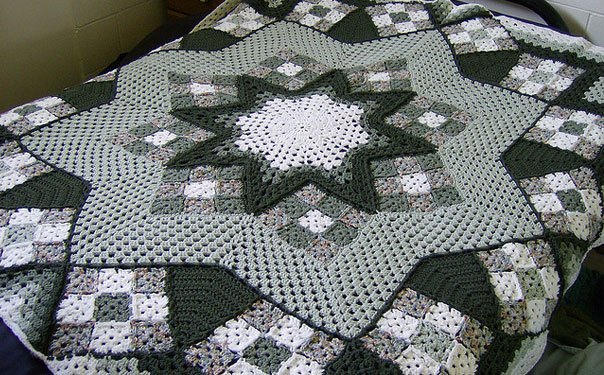
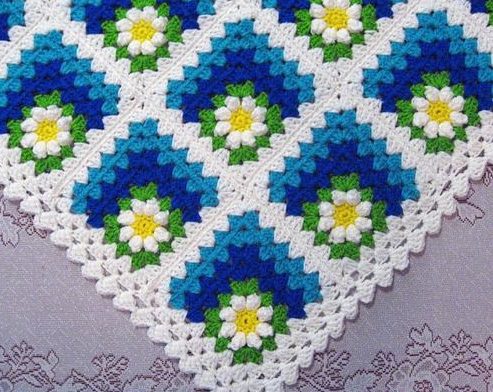
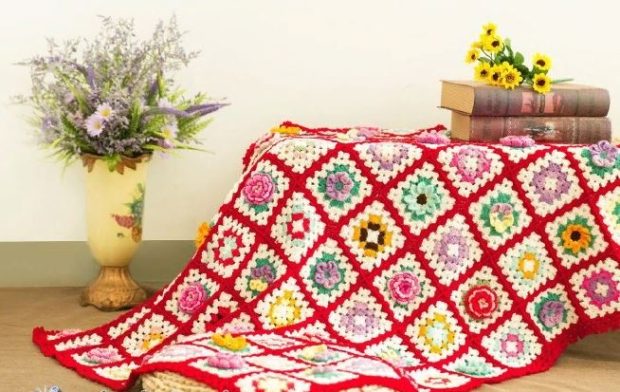
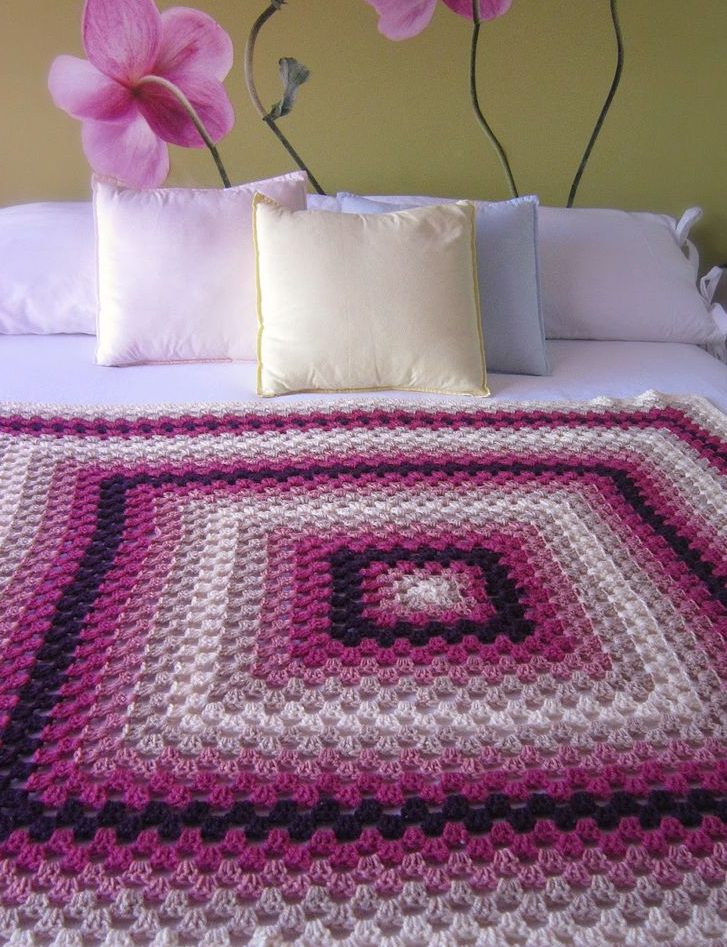
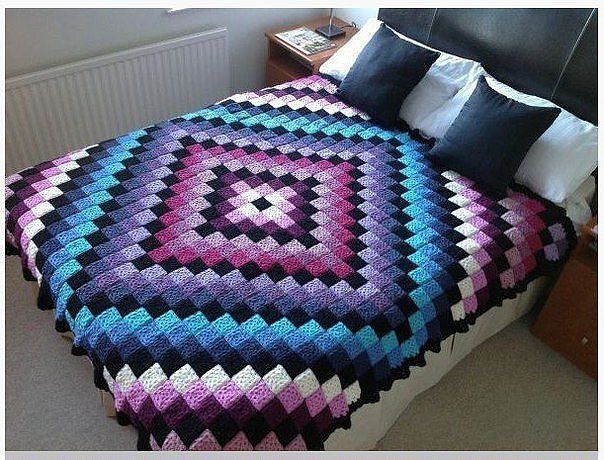
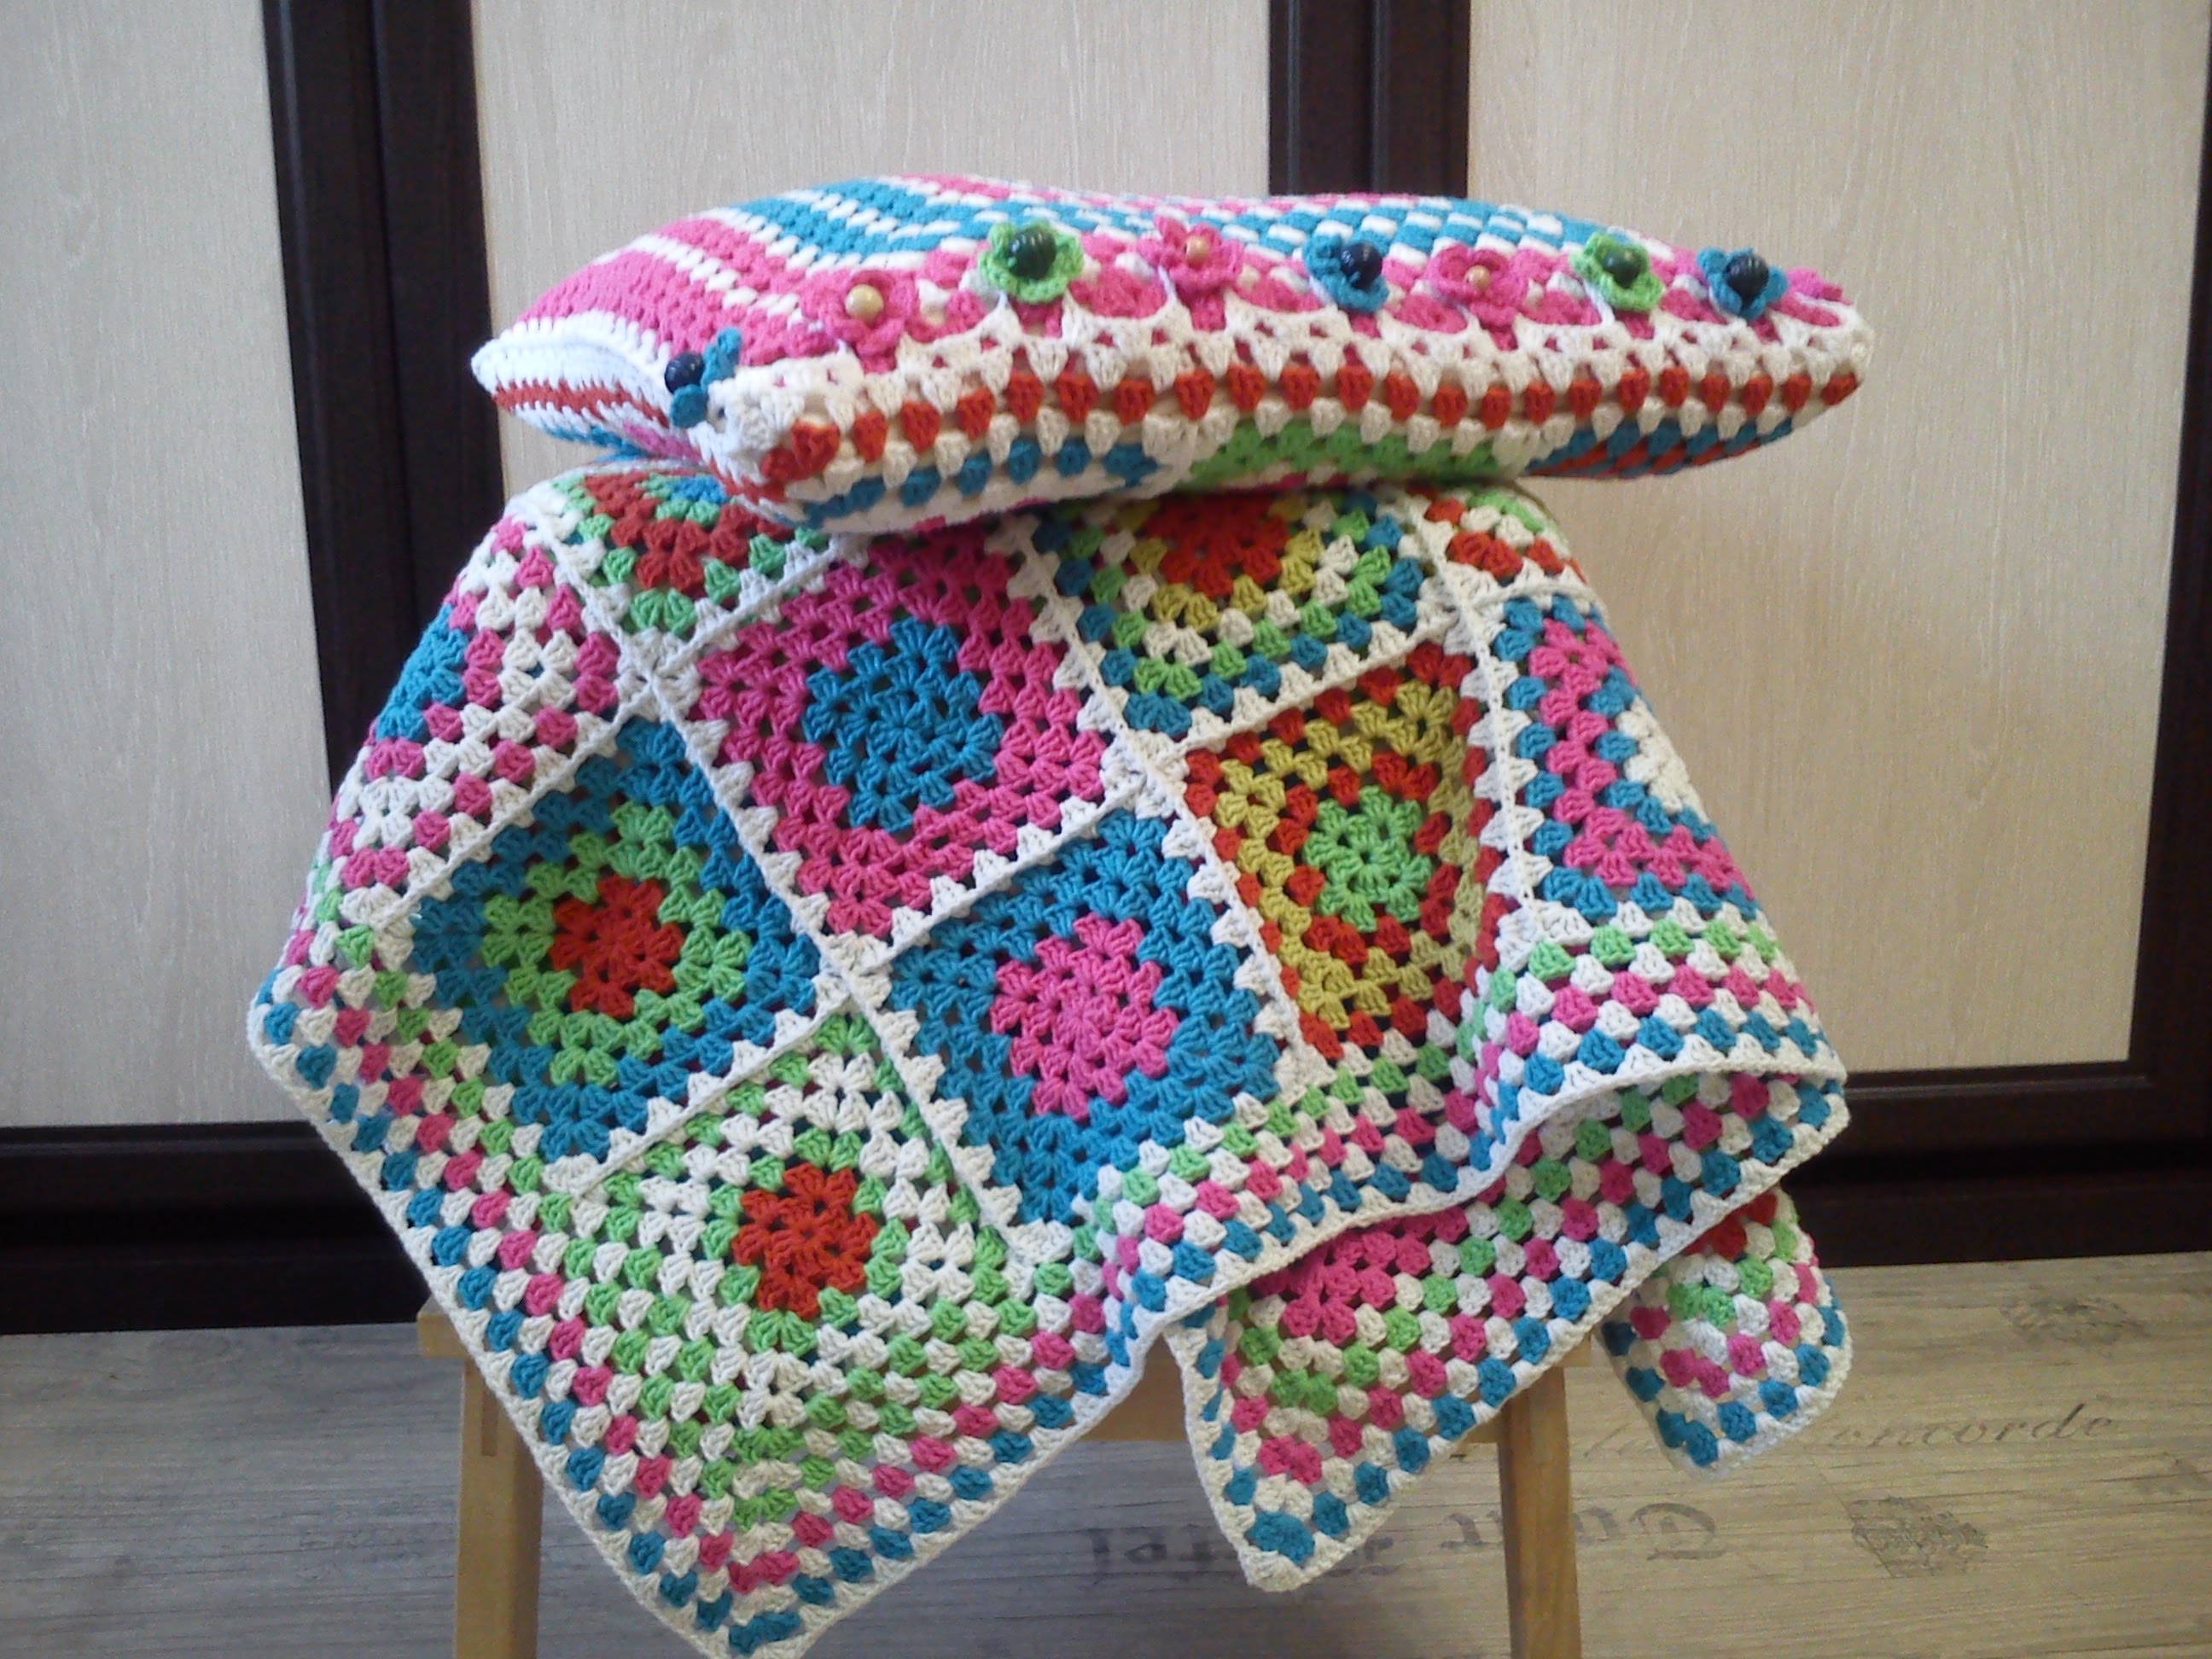
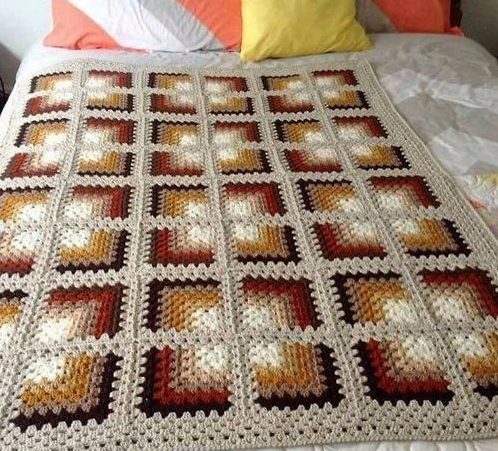
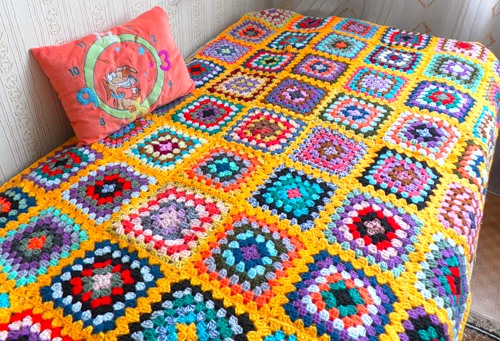
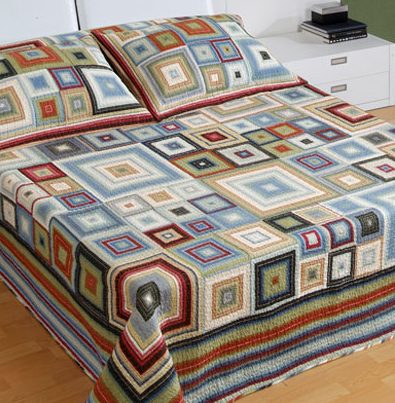
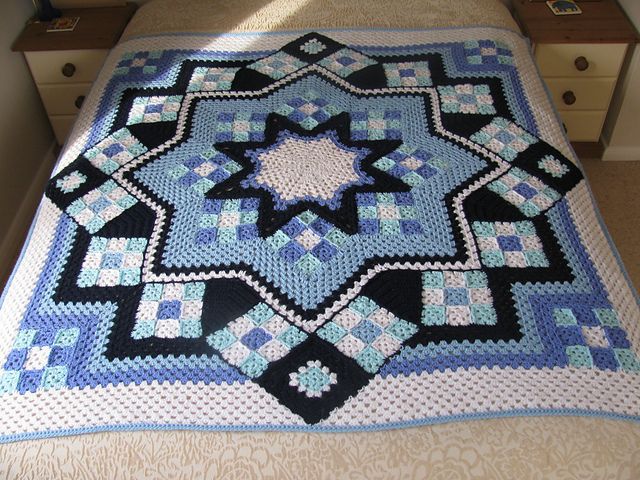
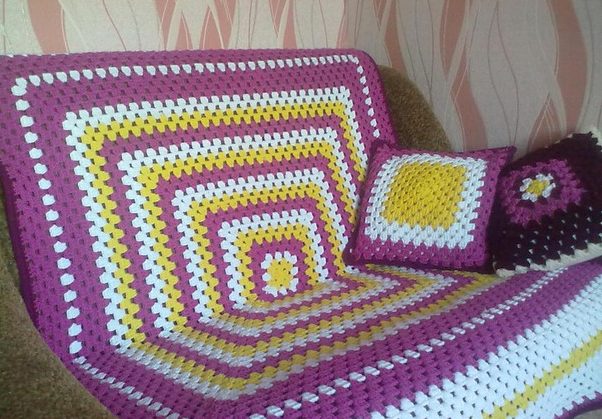
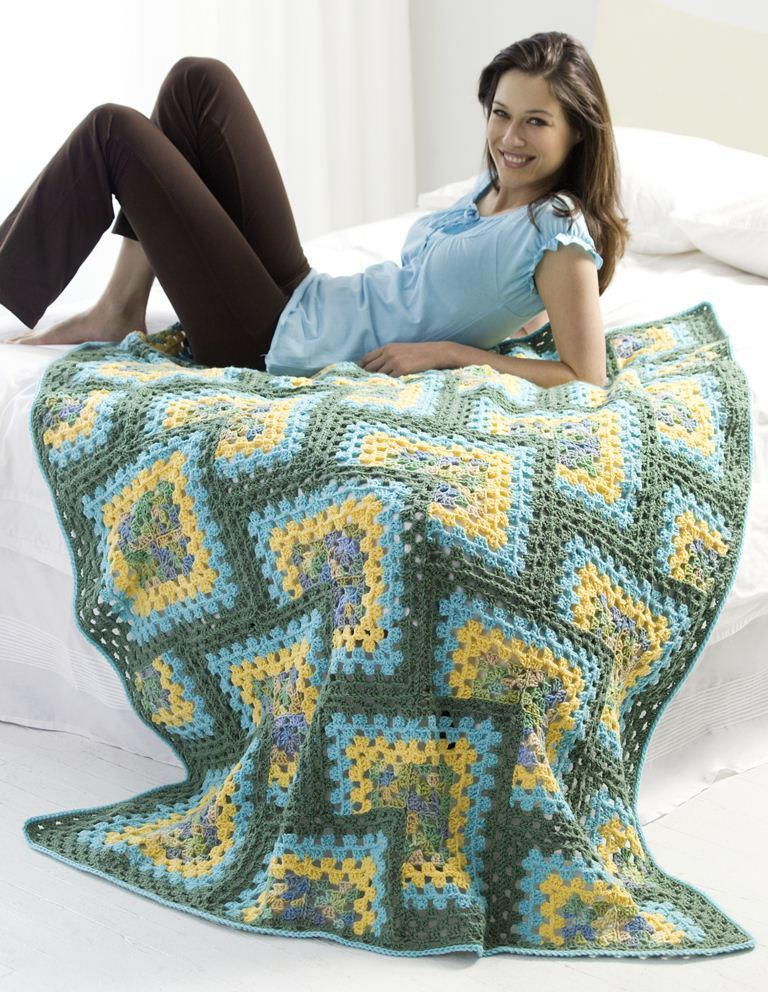
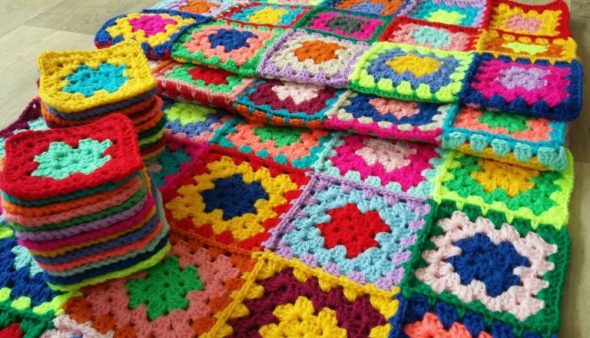
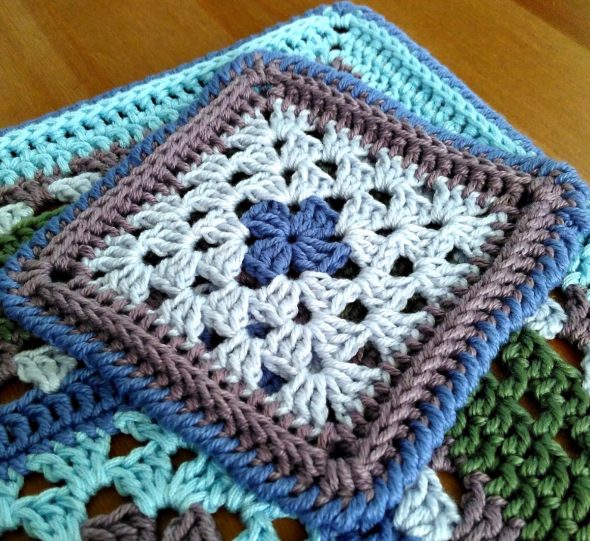
Knitting a blanket from granny squares
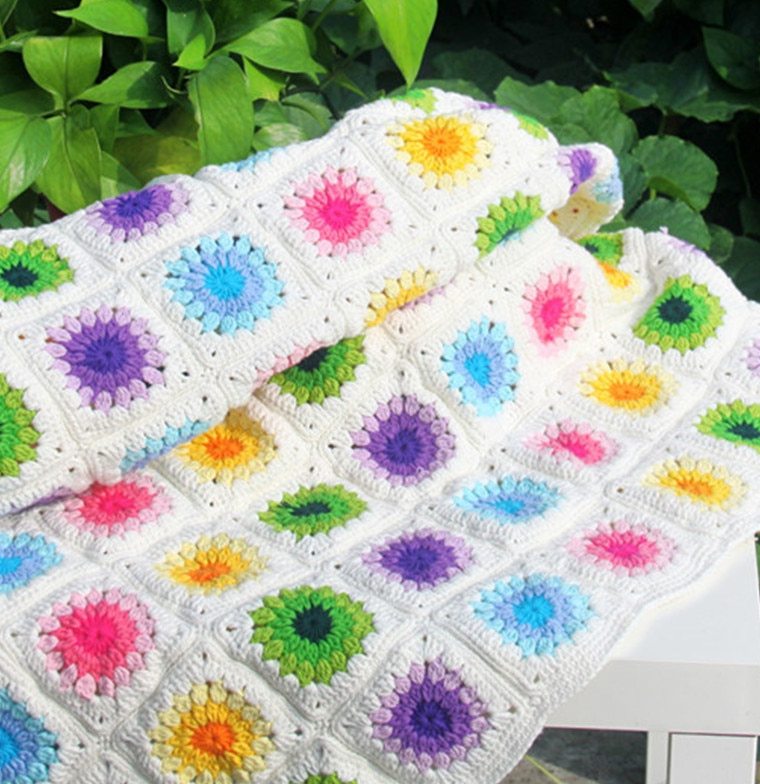
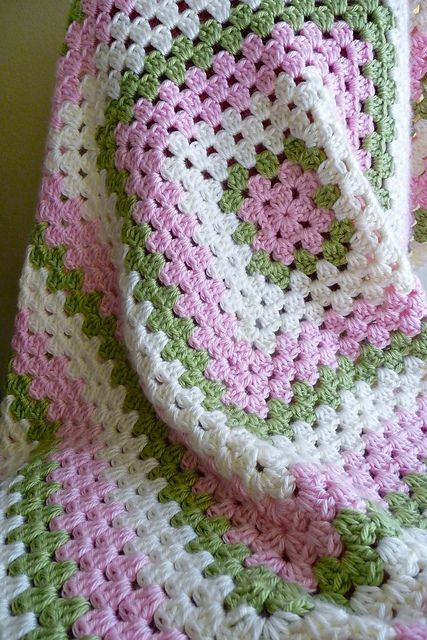
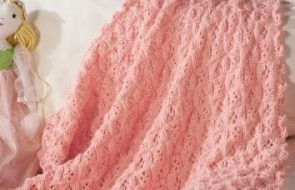
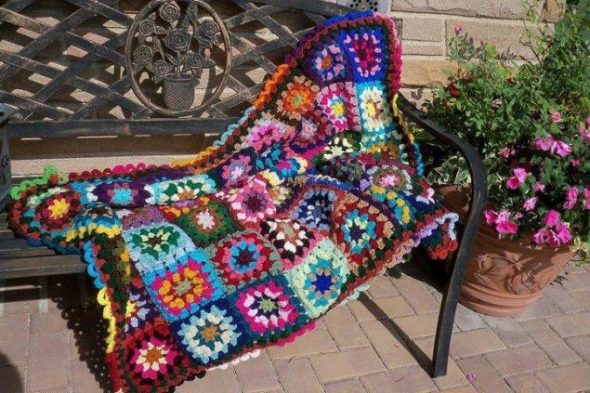
We suggest making the most common product in this technique – a blanket. Depending on the chosen knitting method and threads, it will be warm or light and airy. It is better to choose a medium-density knit so that the blanket is warm, but not heavy and not too dense.
Preparatory stage
We suggest knitting a granny square crochet blanket. Therefore, prepare a #4 hook and yarn. You should approach the choice of yarn responsibly, because the quality and condition of the blanket depends on it. Consider the most popular types, their pros and cons, and choose the right one.
| Type of yarn | Advantages | Flaws |
| Wool (sheep) | Naturalness, breathability, keeps heat well | It is electrified, can cause allergies, and becomes thinner over time. |
| Mohair | Fluffy, soft, dyes well, has a wide range of colors | May fade when washed, requires careful care, contains synthetic additives |
| Alpaca | Soft, keeps heat well, natural | High cost |
| Cashmere | Very soft and light, fits well when creating various patterns | Has the highest price of the available options |
We knit individual parts
Since the knitting method is similar to the patchwork technique, the first step will be making individual elements. Having selected the necessary yarn of different colors and a hook, start knitting.
The simplest version uses the method given for creating stands. It involves only chain stitches and double crochets.
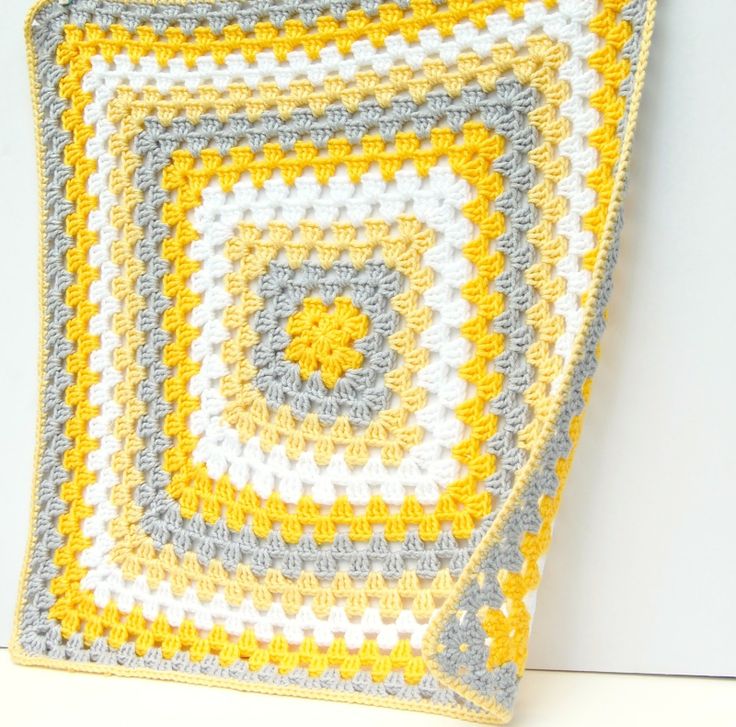
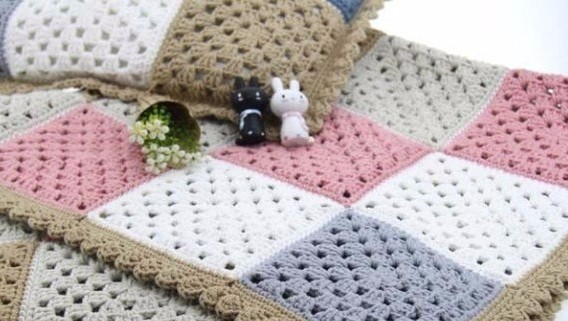
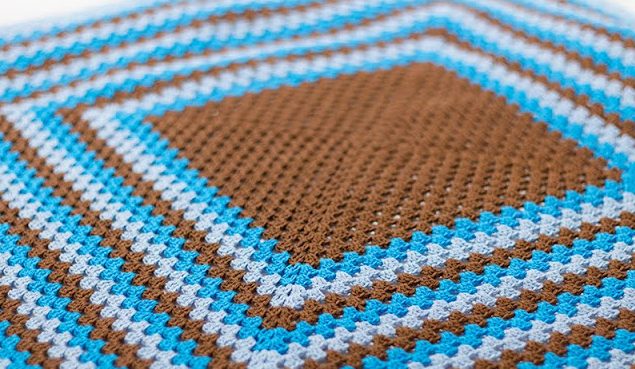
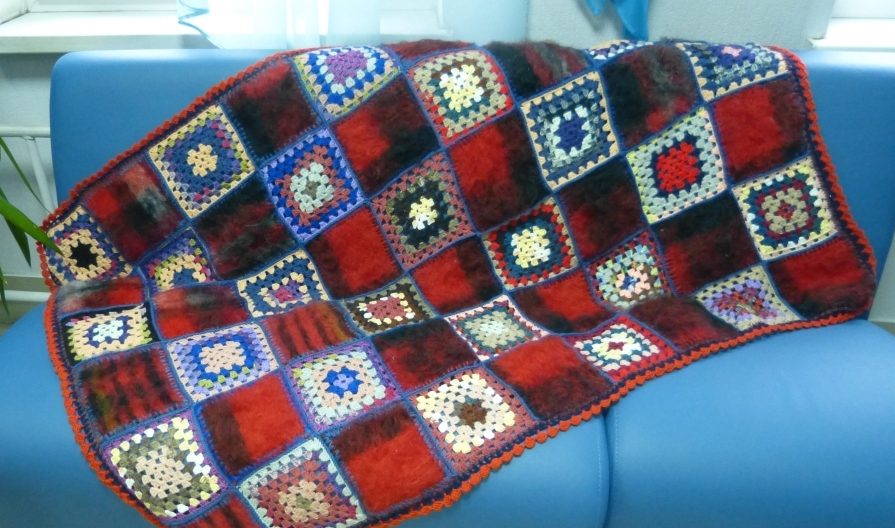
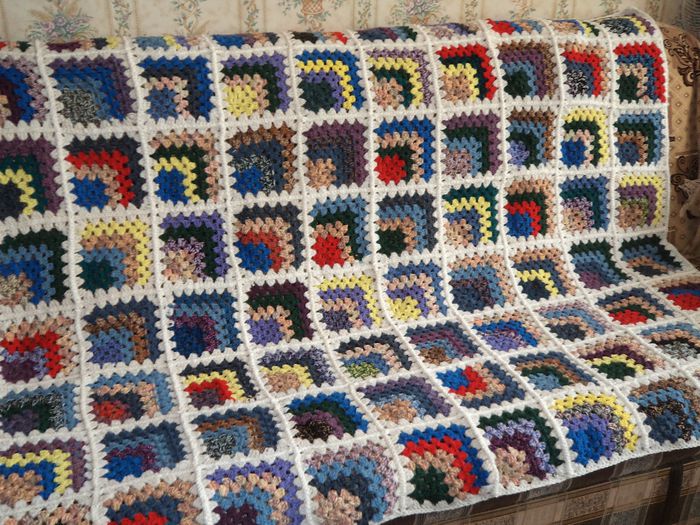
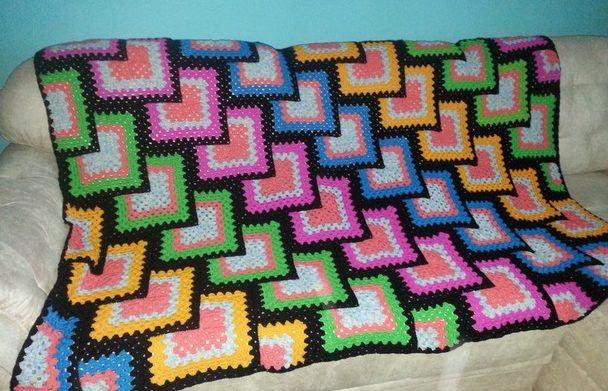
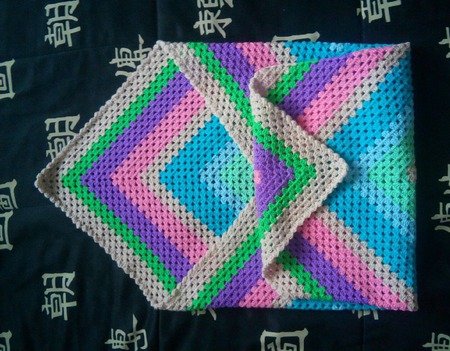
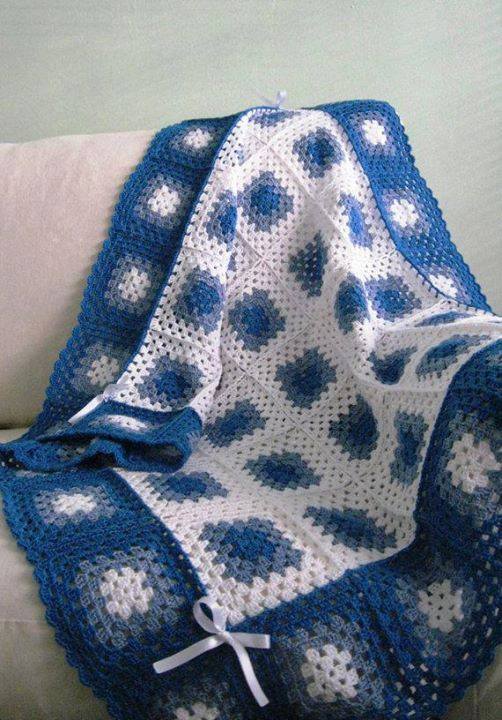
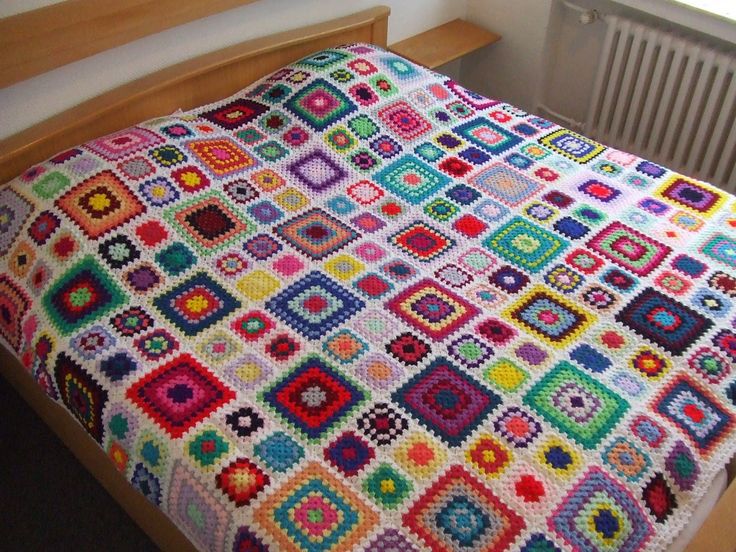
To knit a blanket from squares, we suggest using yarns of different colors not in one element, otherwise the process will take a lot of time, and the blanket will turn out too colorful. It is better to knit one element, completely consisting of one color, and select different colors for each detail. A blanket in the form of a chessboard will also be a good option. In this case, you will need yarn of only two colors. You can also choose black and white.
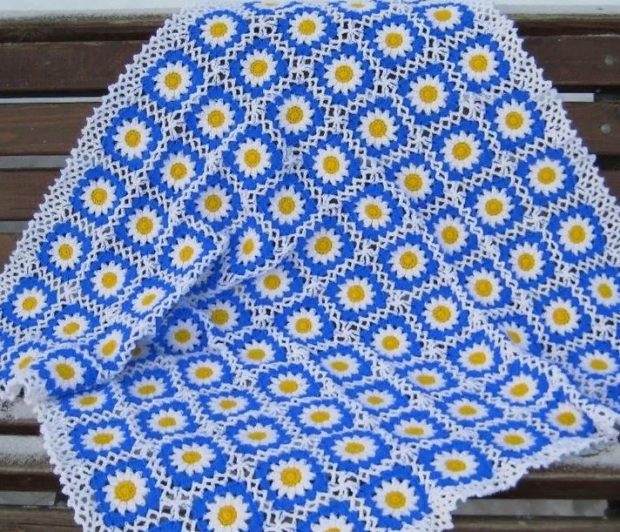
Choose the pattern you like from those presented and knit the required number of squares. Their number depends on the size of the components themselves and the future product. It is better to take the average size of 10x10 cm.
Connecting the parts
The final stage remains – assembly. It can be done in two ways.
- stitching;
- binding.
Note! The second method will be more reliable and easier. In addition, it will fit into the overall design of the blanket.
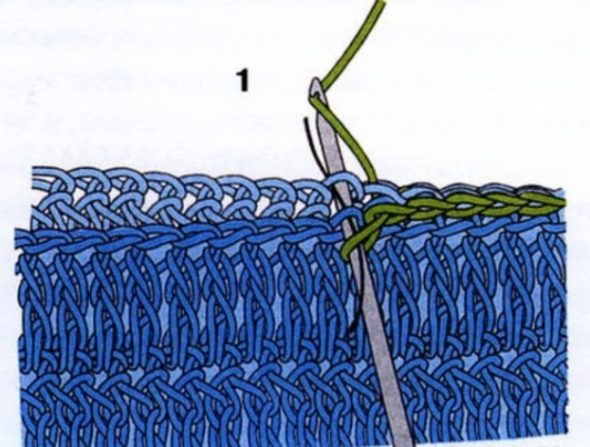
Method one. Take strong threads. Better №10 or more. You can also sew with the same threads that were used for knitting. Only in this case you need a needle with a large eye. You can take threads of the same color or a contrasting one - at your discretion. But when sewing the product, it is better to make the seam invisible. Then sew the elements together with a regular overlock stitch.
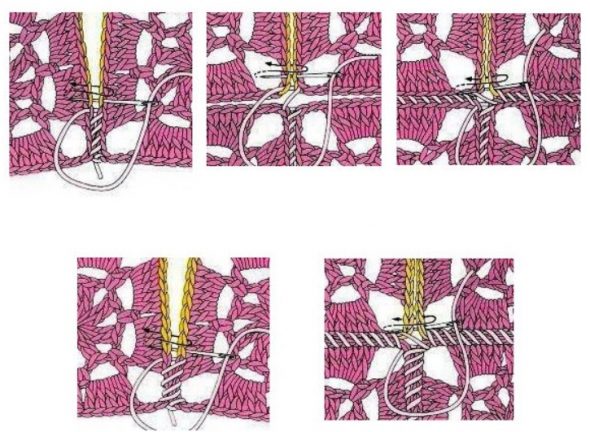
Method two. Take the threads you like and tie the elements together with single crochet stitches. They should be crocheted so that the beginning of the stitch is at the edge of one square, and the end is at the other.
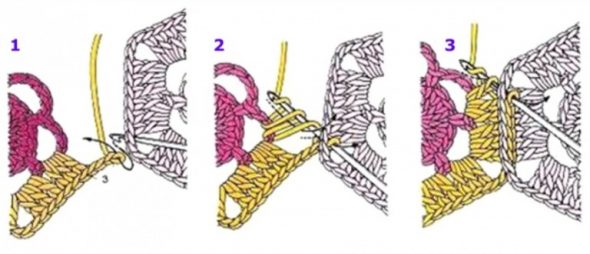
Here you can highlight another way of knitting. Make the elements round, and, connecting them, knit the square border as a whole element, knitting each circle. In this way, you will connect all the parts into a single whole.
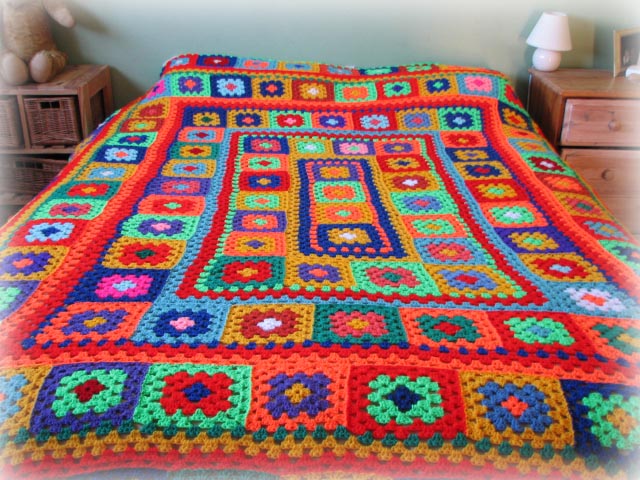
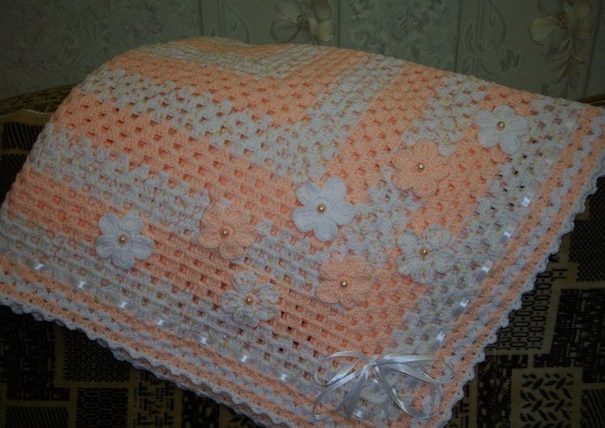
How to Decorate a Granny Square Blanket
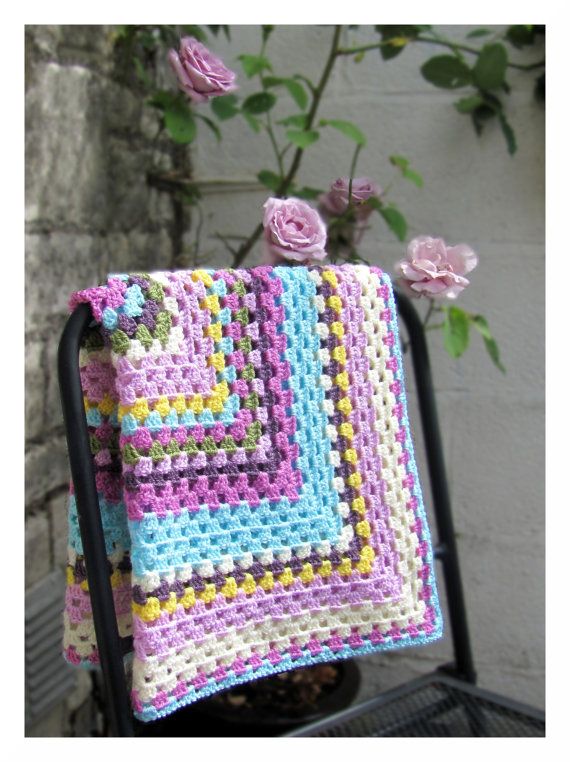
Since the geometric components are made of multi-colored bright threads, decoration for a blanket made of granny squares will be unnecessary. They will only make the product heavier. But if you wish, you can make pompons or tassels along the edge of the blanket. The main thing is that the decoration does not interfere with the use of the blanket and the performance of its main functions.
Video: Crochet Granny Square Motif. Easy and accessible for beginners.
Ideas for inspiration and creating beautiful and unique DIY items from the granny square element: