A simple way to make a beautiful rectangular or oval tablecloth yourself is to use the filet crochet technique. It consists of making a cloth imitating a lace pattern using regular thin threads and a hook. But at the same time, it turns out to be much more practical than the thin original.

Content
- What is filet crochet?
- What can be knitted using the fillet technique?
- How is the knitting of a fillet product done?
- Napkin-tablecloth in filet crochet technique
- Straight fillet napkin pattern
- Square napkins
- Tablecloth with a large flower
- Figured and rectangular knitting of napkins
- Oval napkins
- Round napkins
- Conclusion
- VIDEO: Do-it-yourself filet knitting.
- 50 variations of napkins using the filet crochet technique:
What is filet crochet?
The technique of filet knitting came to Russia from Europe only at the end of the 19th century. It consists of the fact that with the help of one hook and a skein of thread it was possible to create a product that would imitate an unusual pattern of rare and expensive lace at that time.

Like lace, filet fabric can have many variations of patterns and shapes. These include floral prints on a classic rectangular tablecloth or simply abstract figures on a round napkin net. But all of them are knitted exclusively according to pre-prepared patterns.
What can be knitted using the fillet technique?
Filet knitting became widespread in Russia in the 19th century. And literally in every home you could see things made using this technique:
- fillet tablecloths on the tables,
- curtains on the windows,
- napkins under flower pots,
- nets for fishermen,
- some elements of women's clothing,
- accessories in the form of capes on the shoulders.
The fillet technique was not forgotten by the following generations. And some products are still used in modern interiors. For example, hand-knitted napkins and tablecloths can be seen in such styles as: baroque, classicism, country, eco, chalet, shabby chic, etc.
How is the knitting of a fillet product done?
There are two options for creating a fillet product: knitting and embroidery. Knitting involves completely manual work: when the master makes all the elements of the mesh himself using a hook, gradually introducing the pattern into the fabric.
And embroidery in the fillet technique is no different from the classic one. Except that the basis is not just fabric, but a ready-made checkered canvas, where you need to fill the necessary squares with thread.
Important! No matter how much knitting experience the master has, it is worth starting with a rough version of the pattern. To do this, you need to select a complex fragment from the entire pattern and cast on a small number of loops on a separate hook. If you practice knitting on a rough version in advance, this will help to avoid unpleasant mistakes in the process of knitting the product itself.
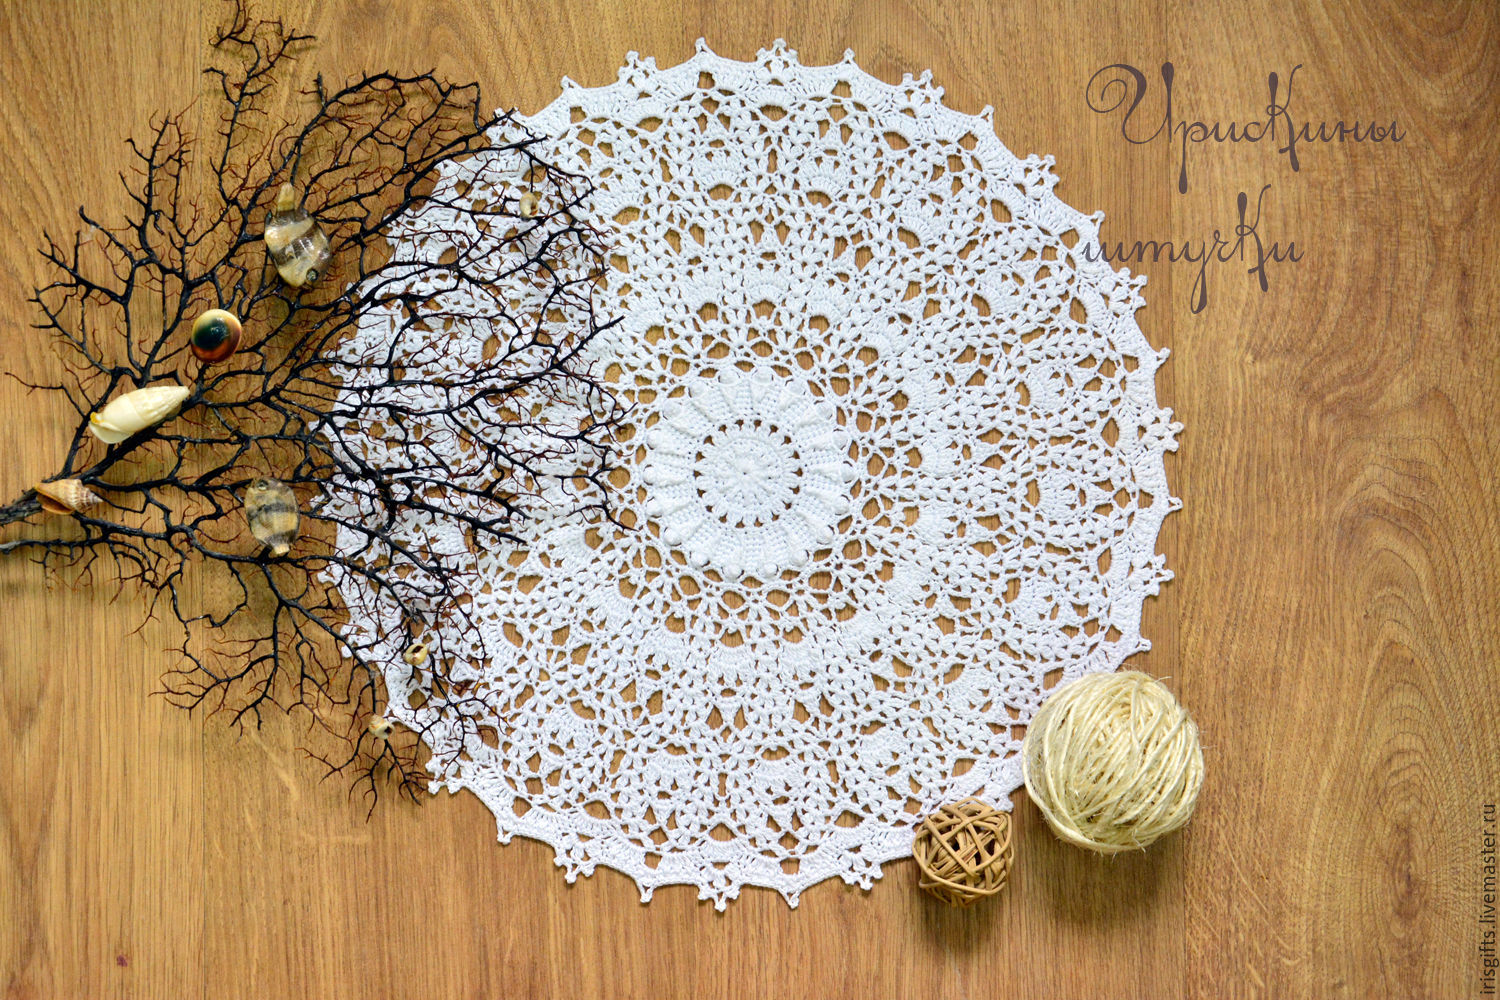
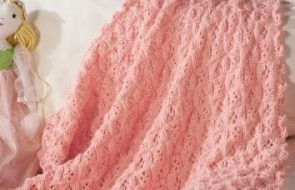
Napkin-tablecloth in filet crochet technique
Napkins and tablecloths made using the fillet knitting technique, although they look like ordinary lace, are not quite so. In fact, such products are much stronger than this analogue, due to the weaving technique and the threads themselves. This makes them more resistant to mechanical damage and at the same time they look neat in any of their design manifestations.
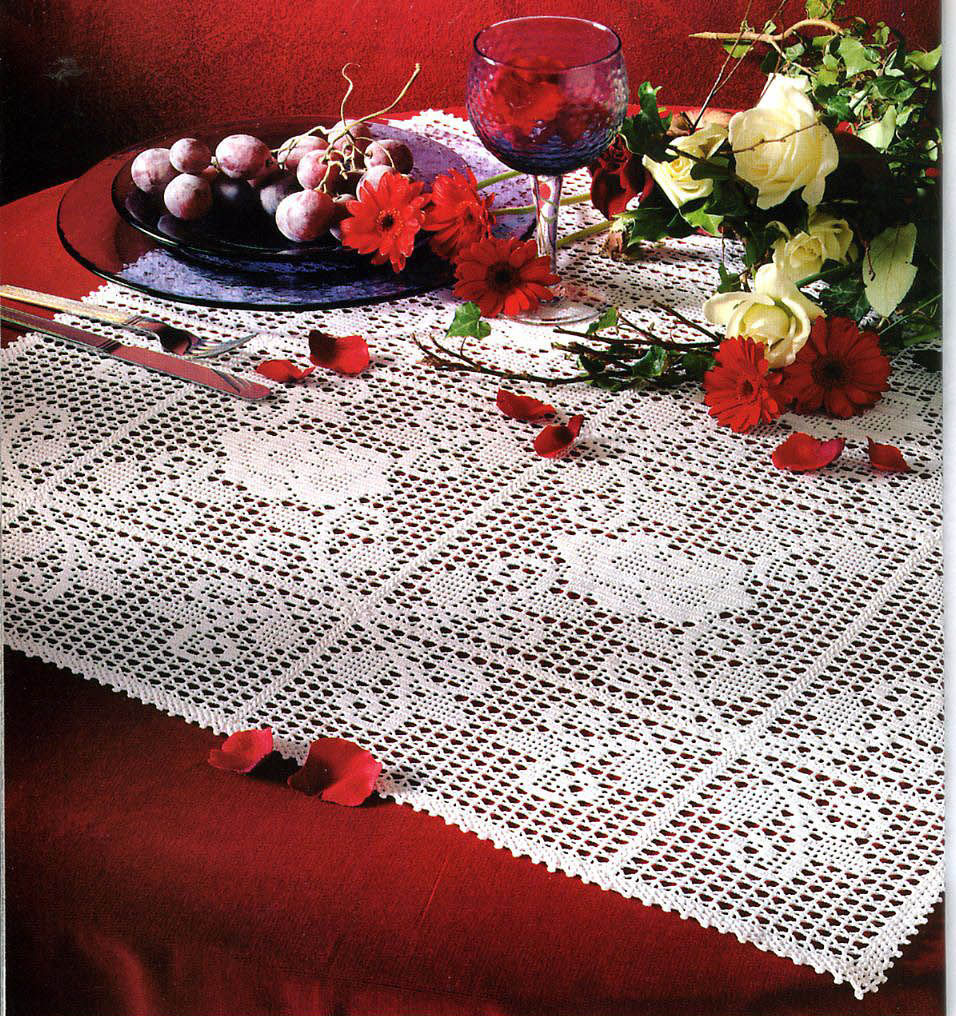
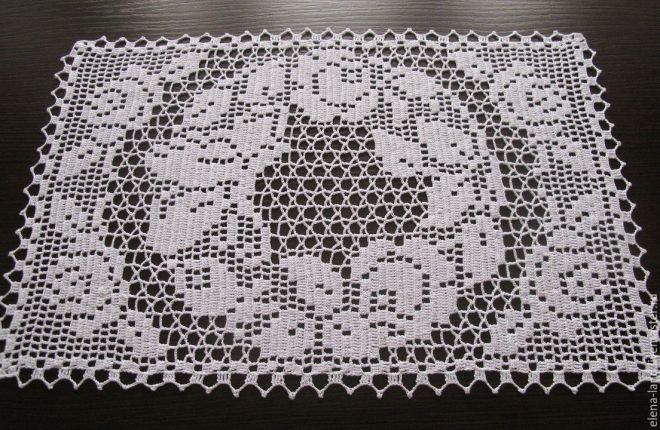
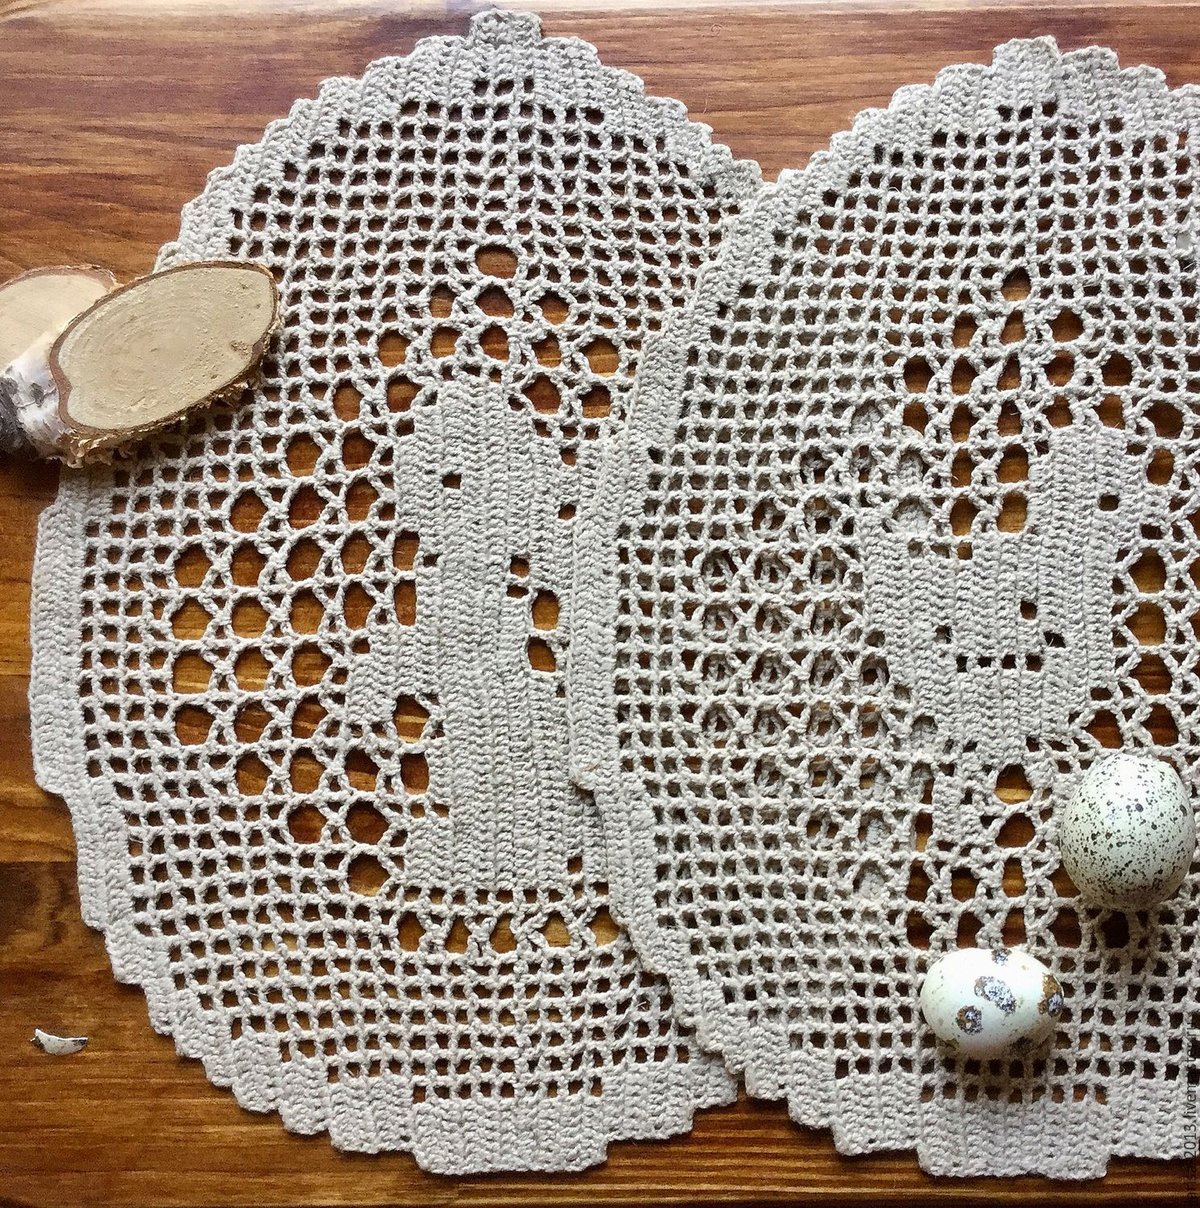
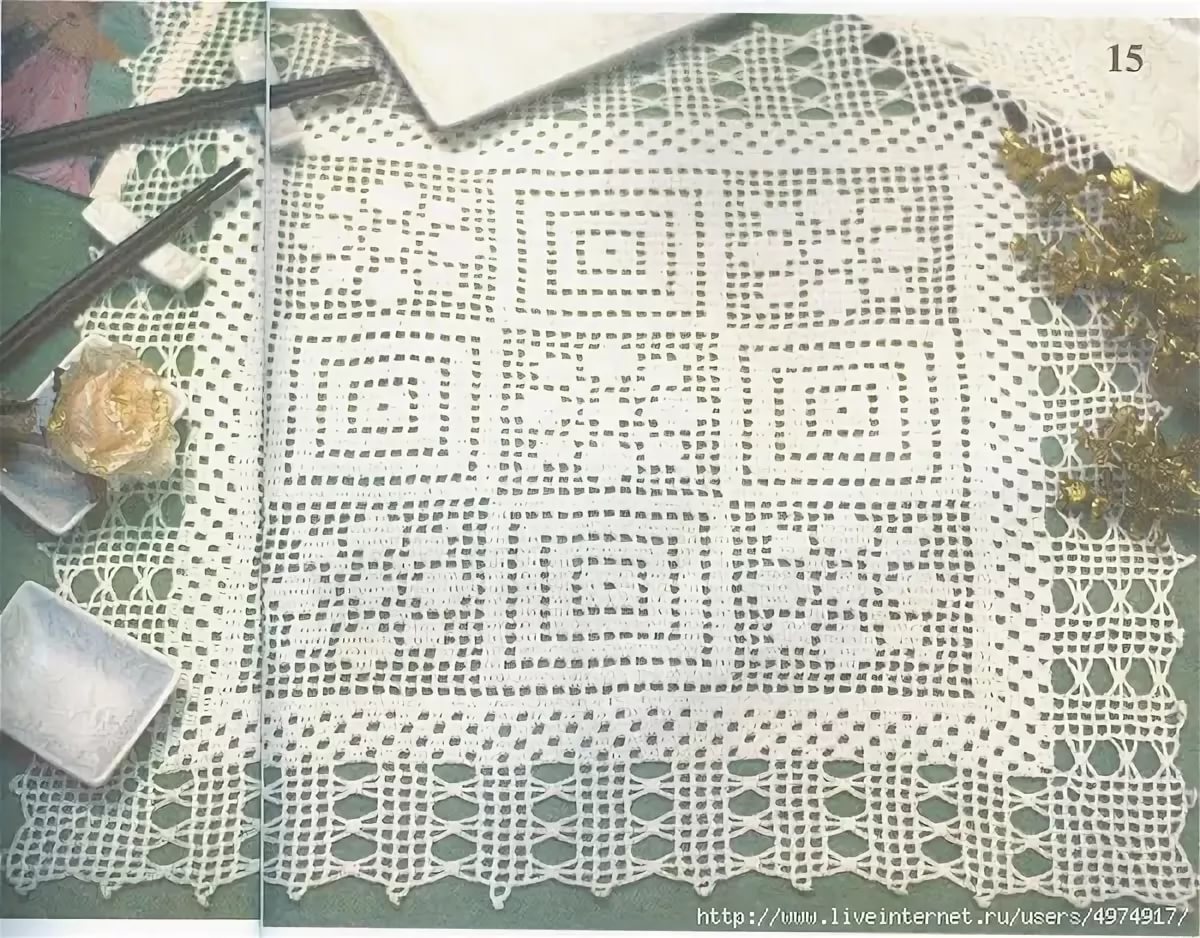
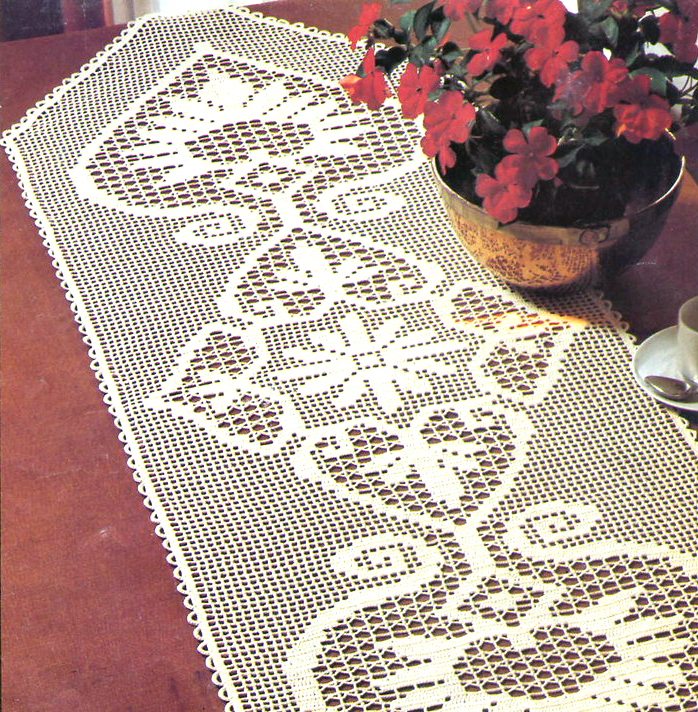
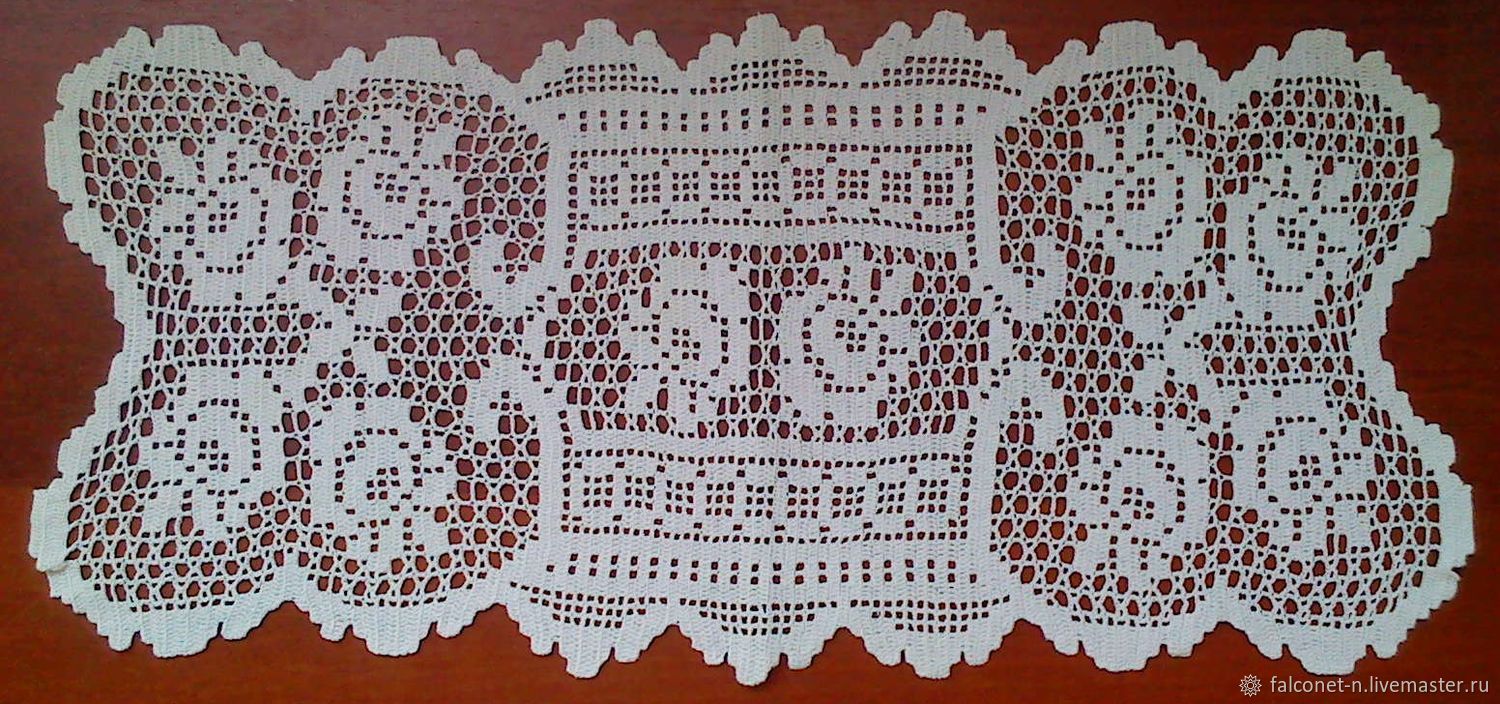
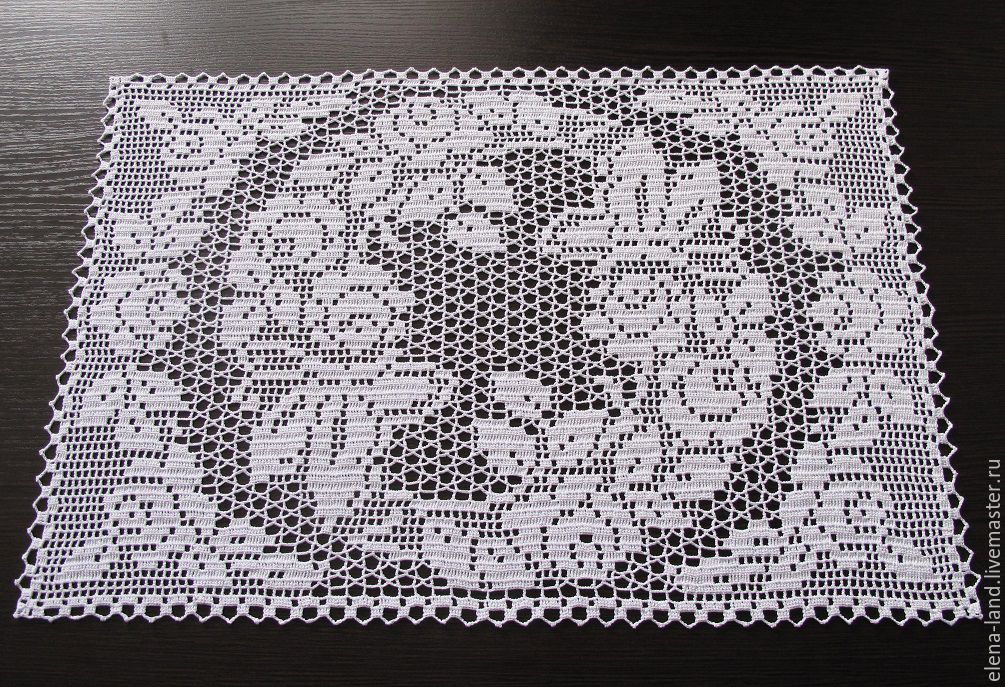
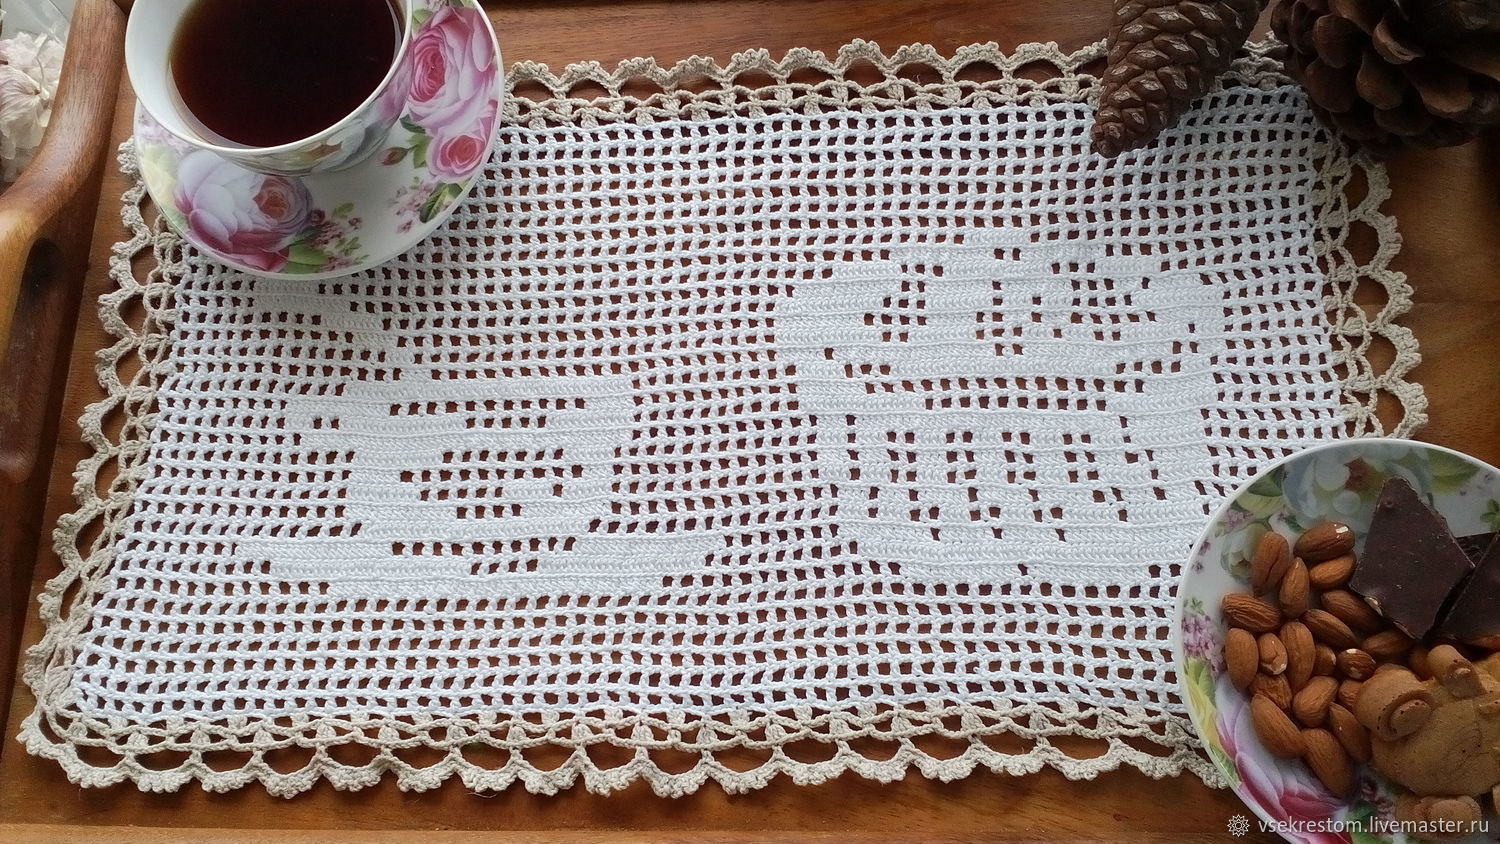
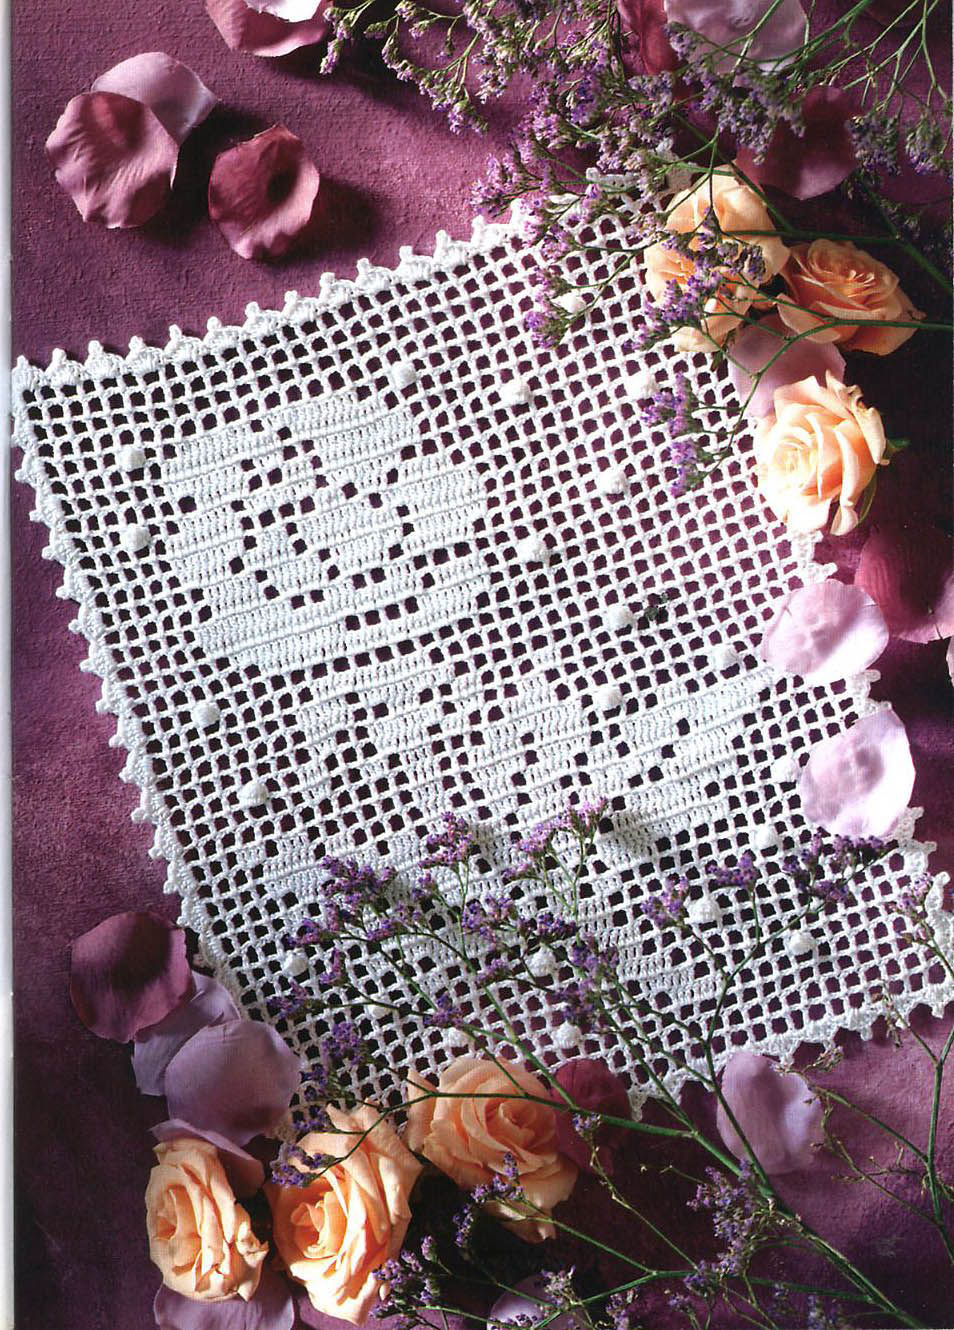
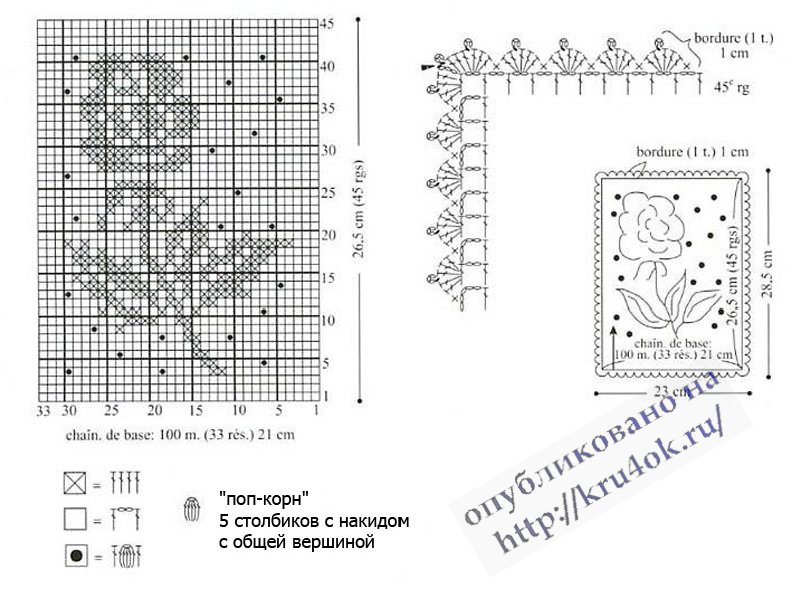
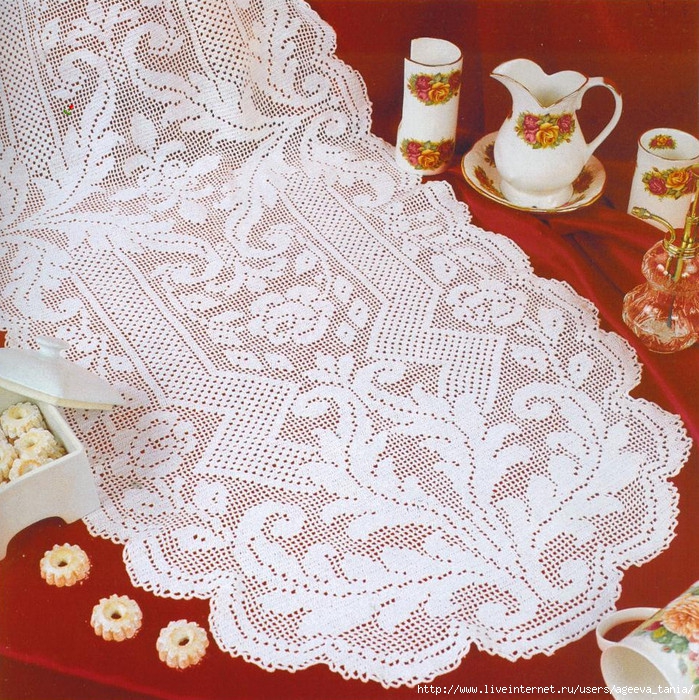
Straight fillet napkin pattern
The direct pattern of the fillet napkin is created for those who do not want to complicate their work and deal with a huge number of loops to create the shape. All that is needed is to dial a certain number of VP and follow the given pattern. Those cells that are painted are done using the reverse loop technique, and the rest are straight. Thus, a fillet cloth is created that resembles a thin mesh with a pattern in the middle and an interesting openwork edging of 3 cm.

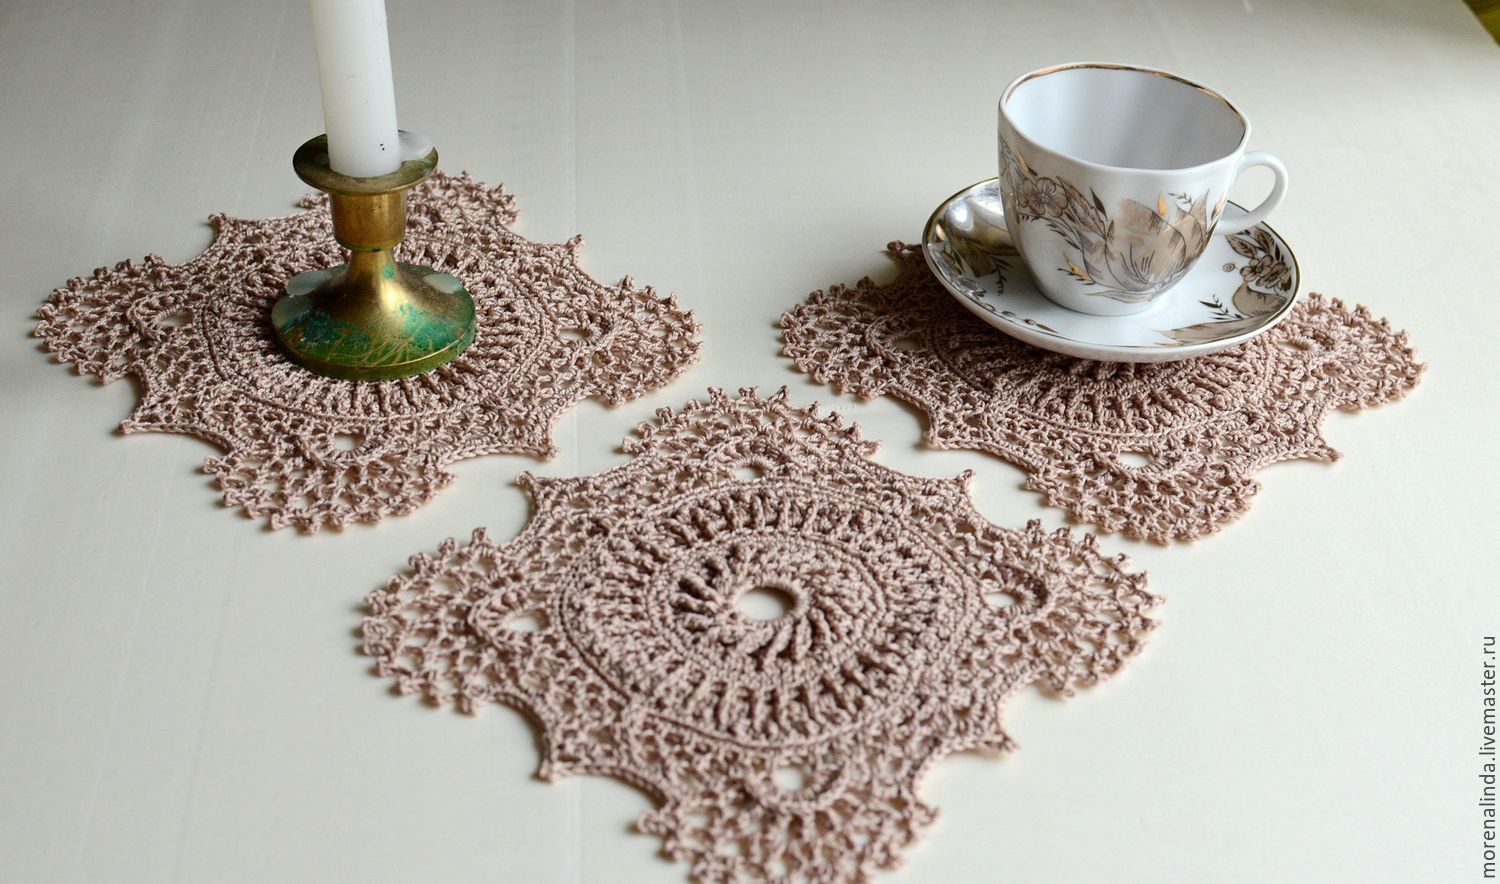
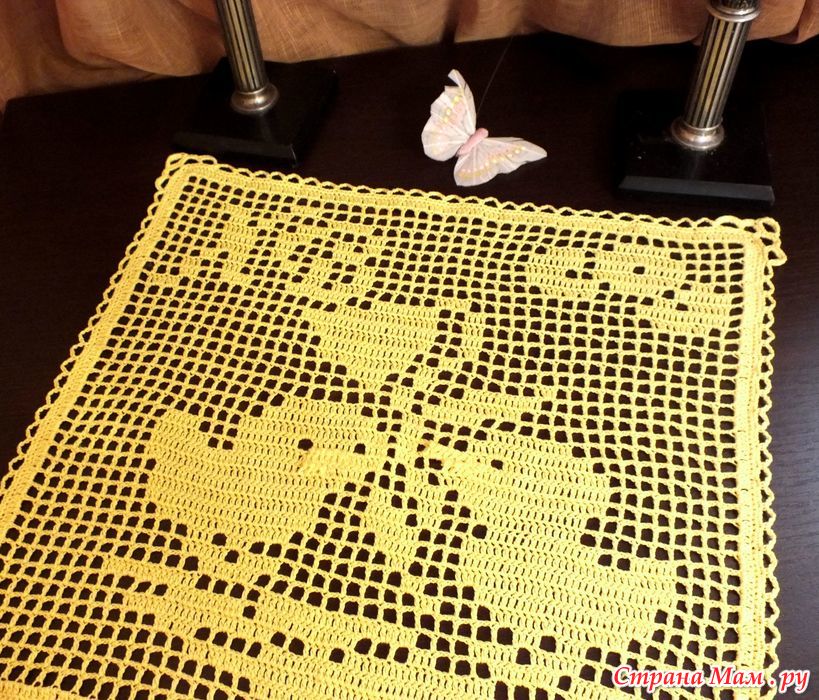
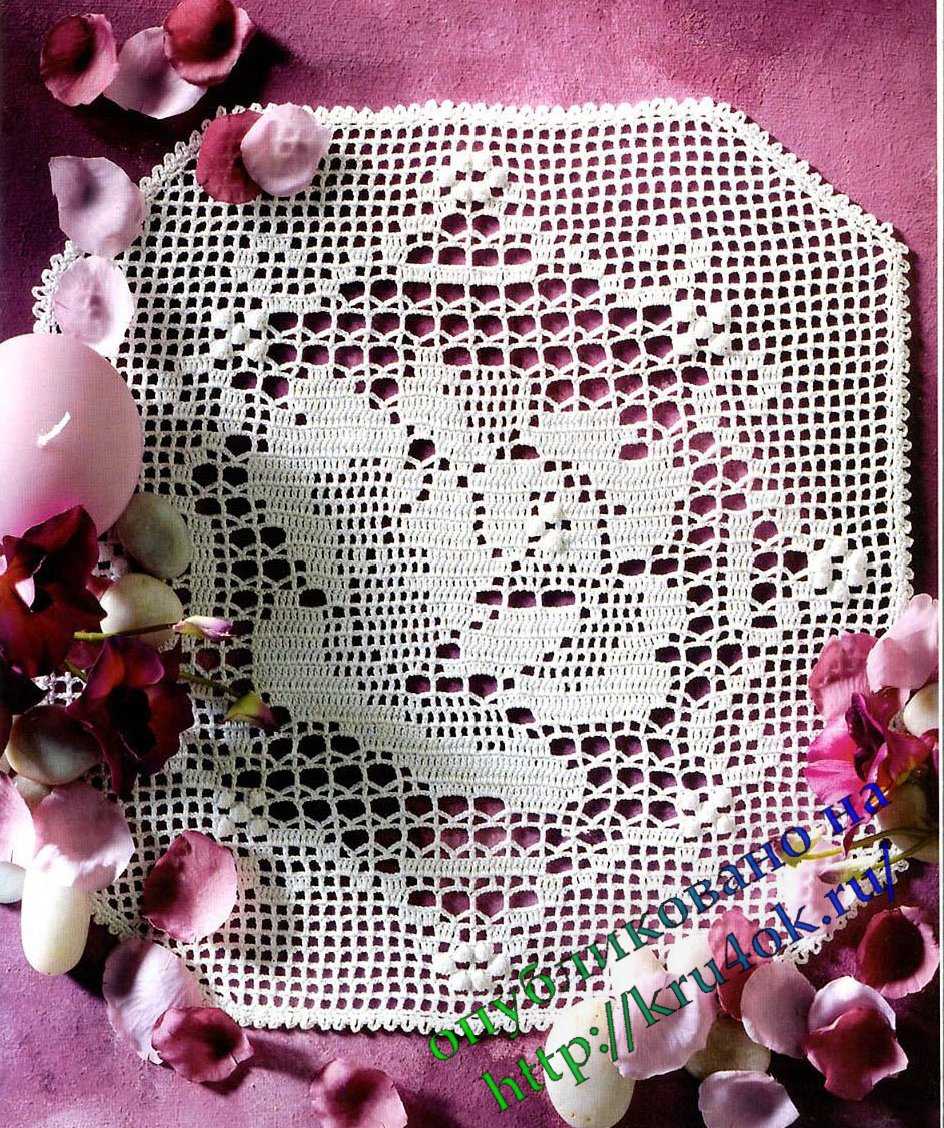
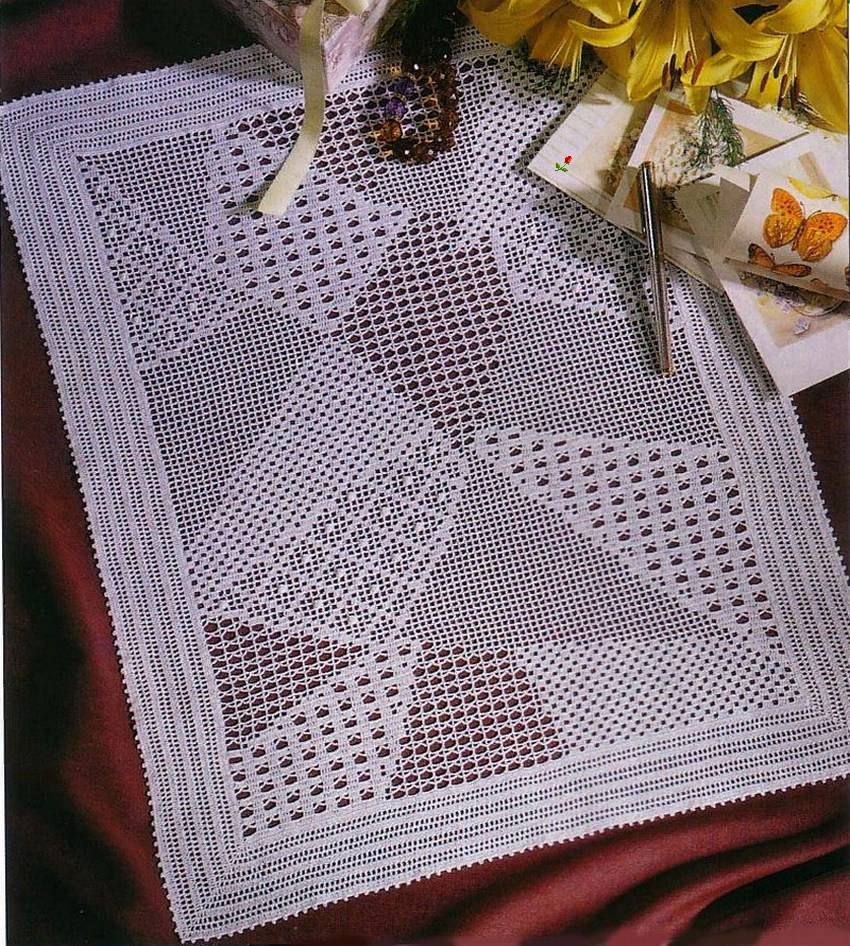
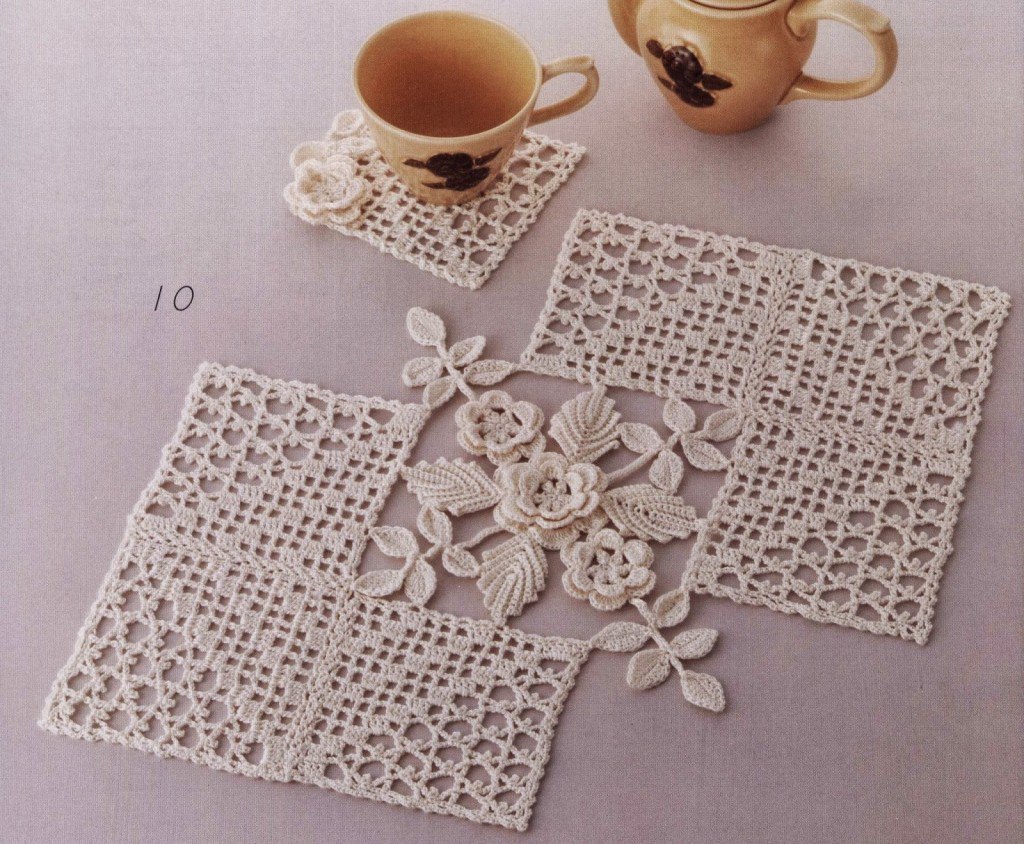
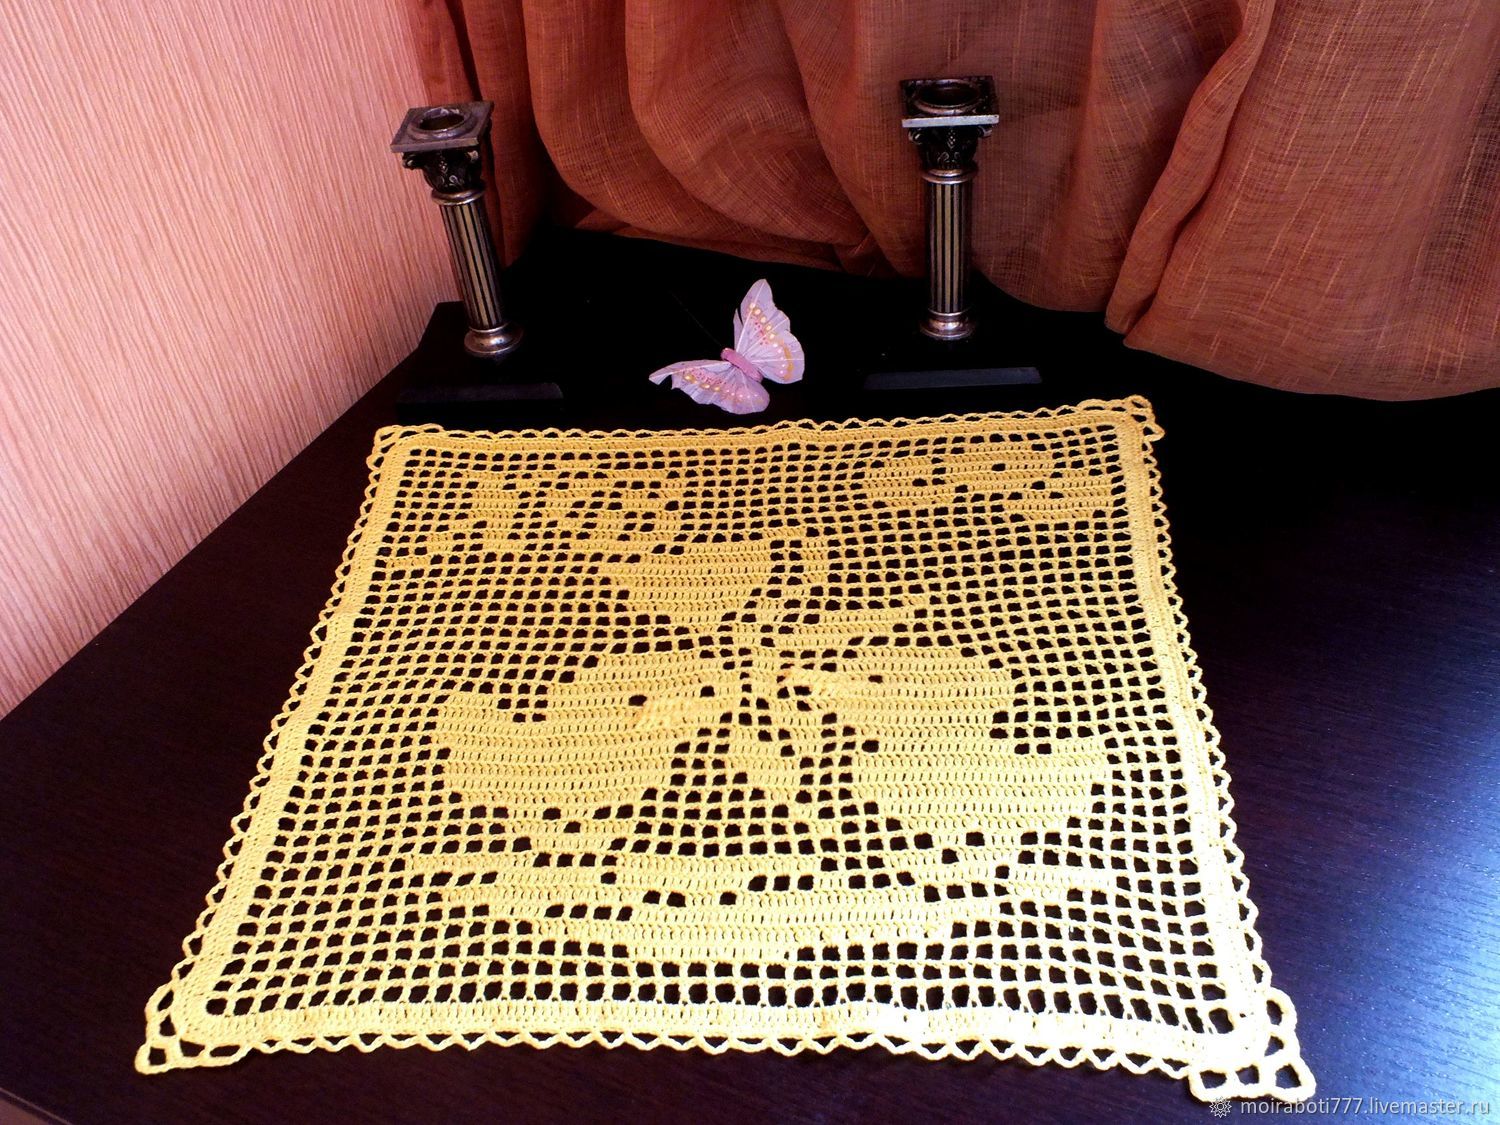
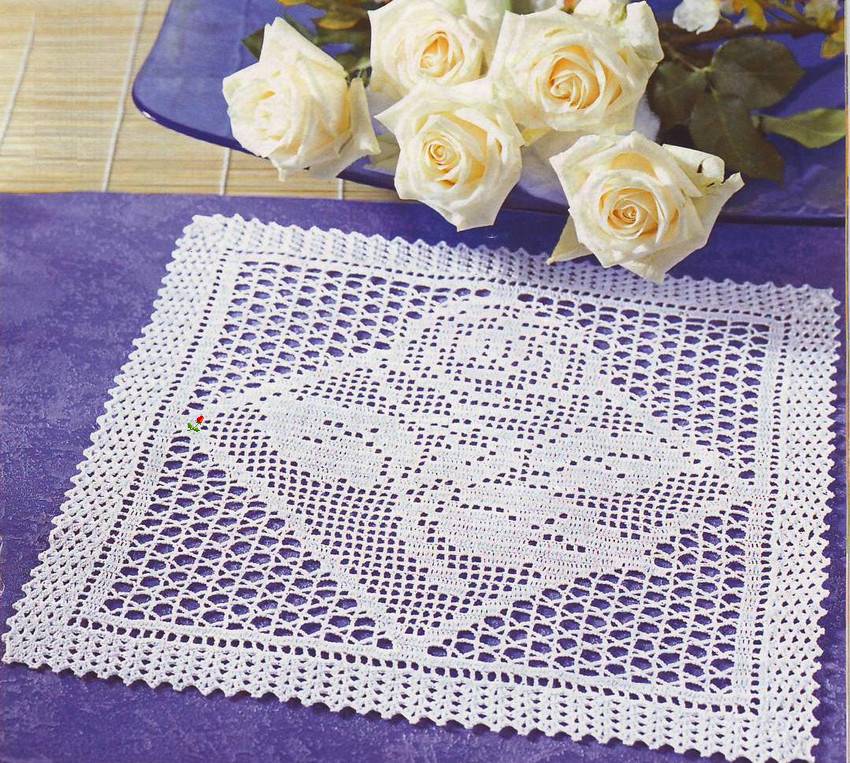
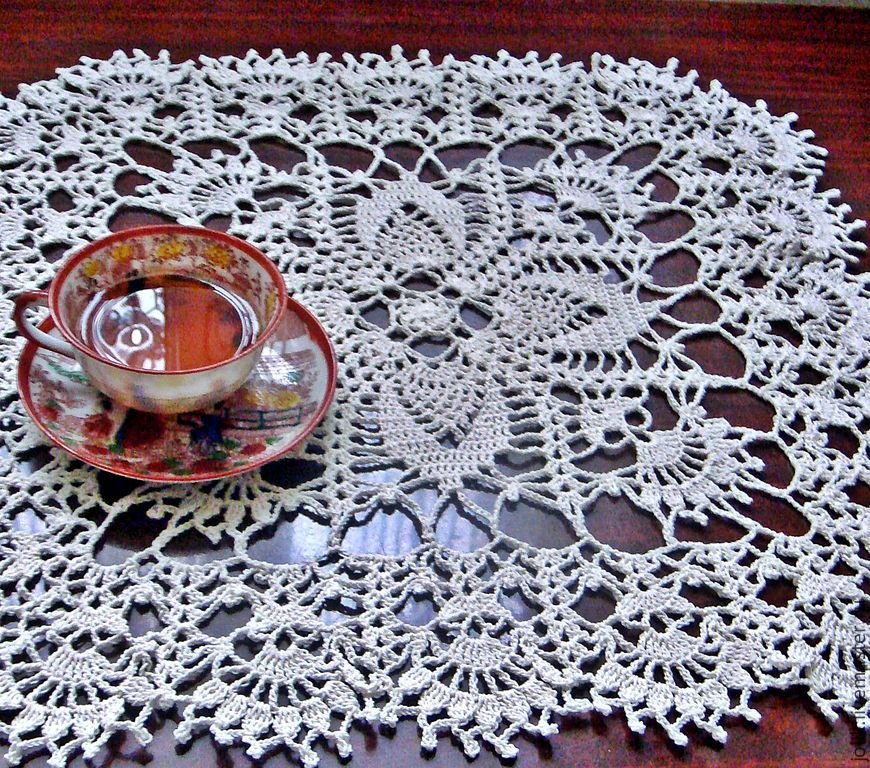
Square napkins
The pattern for making a square napkin is quite simple, but in the end you will still get an interesting fillet product for the table.
The size of the napkin is 90 by 90 cm, so to create the initial chain you will have to cast on quite a large number of loops. Total: 106 VP for the base, 3 VP for lifting and 2 more VP.
Filet crochet begins with the first row creating a tilt column. It is connected to the 9th chain link. Then 2 more VP are knitted. The second tilt column is secured to the 3 VP of the base of the chain. According to this principle, at least 35 filet cells must be knitted.
The next stage is knitting straight and reverse rows, as shown in the diagram up to row 35. To finish the work, it must be knitted according to diagram 1, 2 and 3 up to and including row 67.
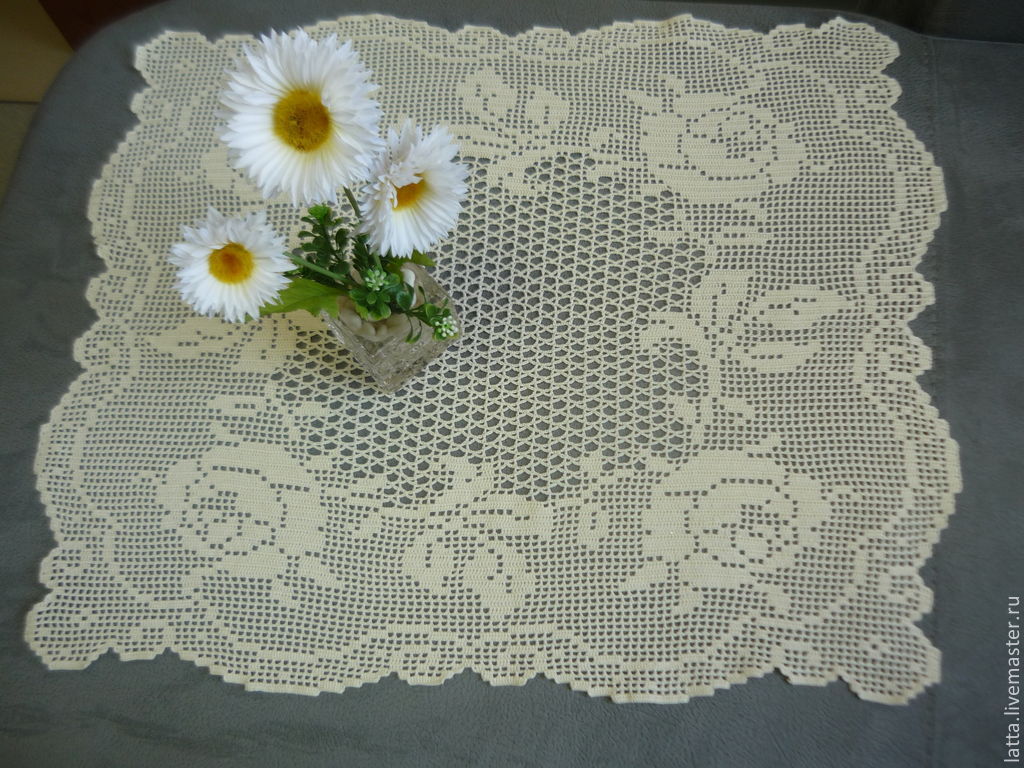
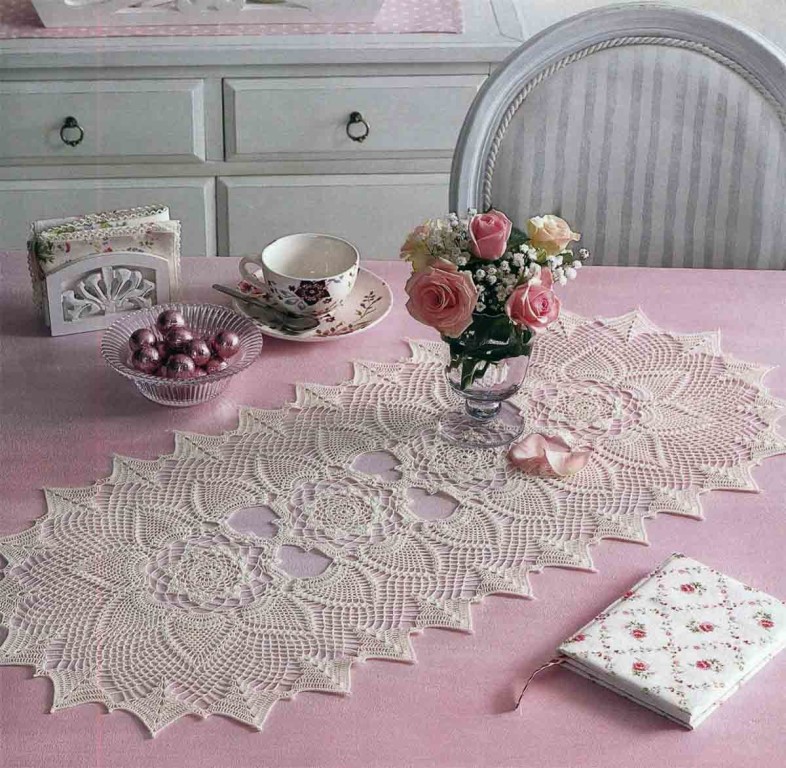
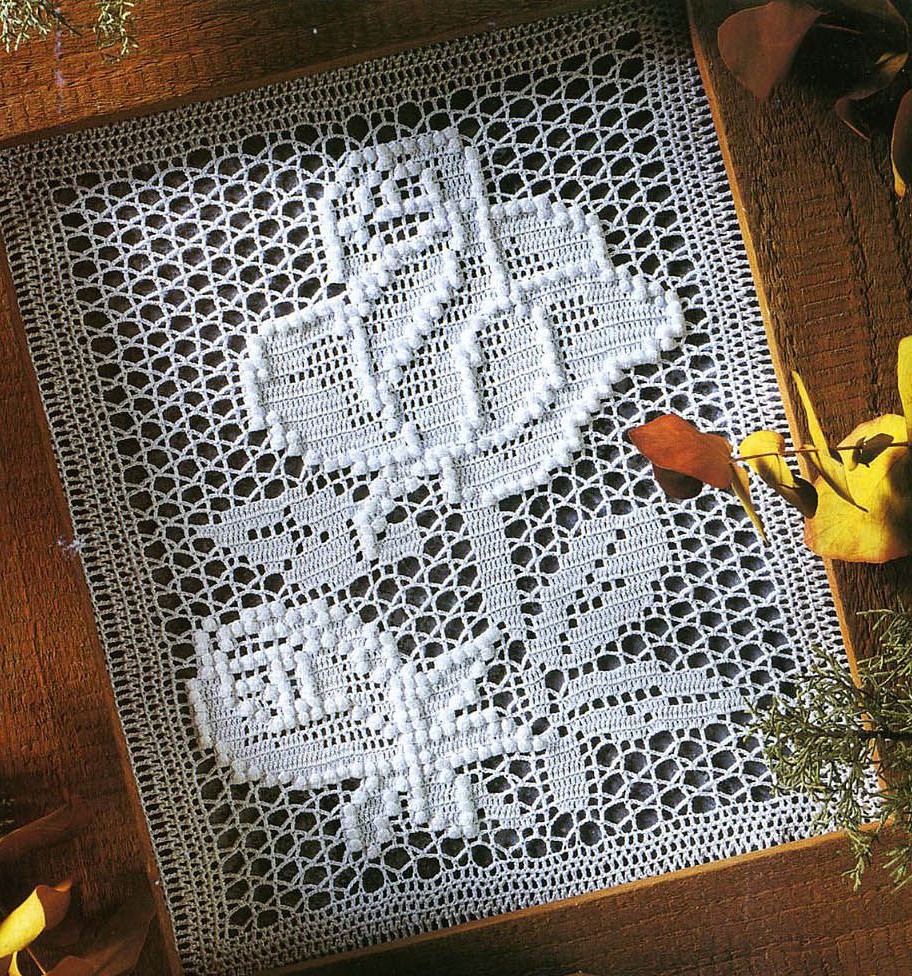
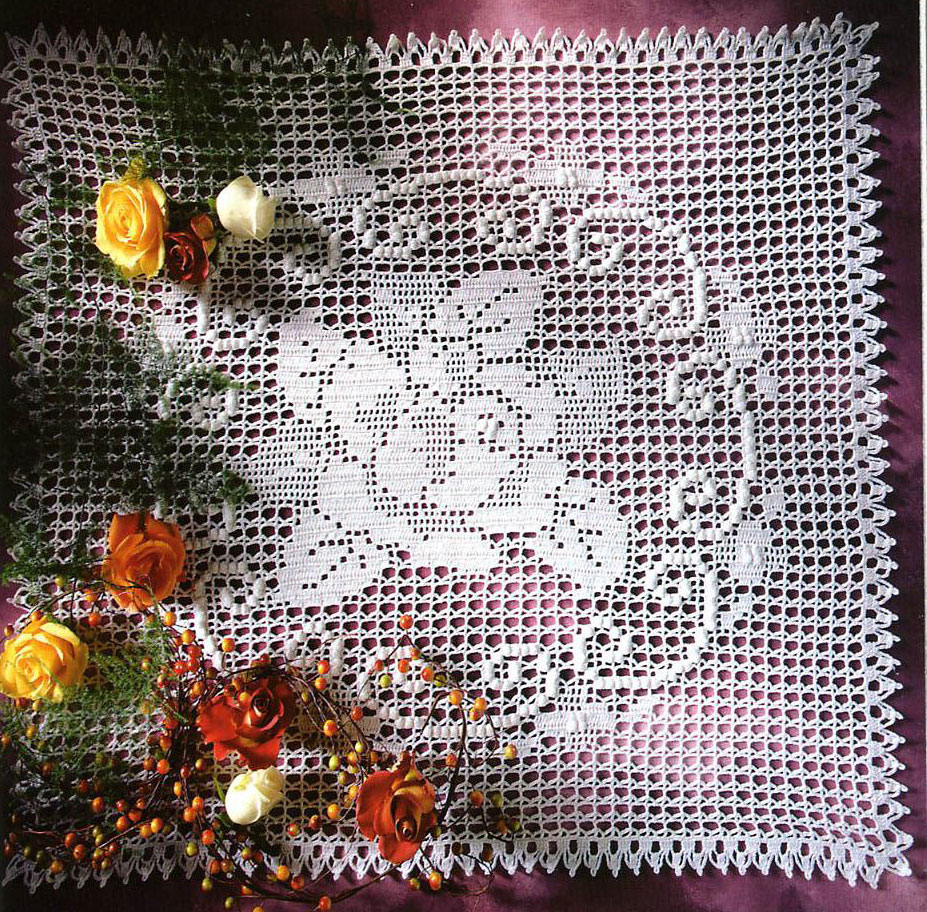
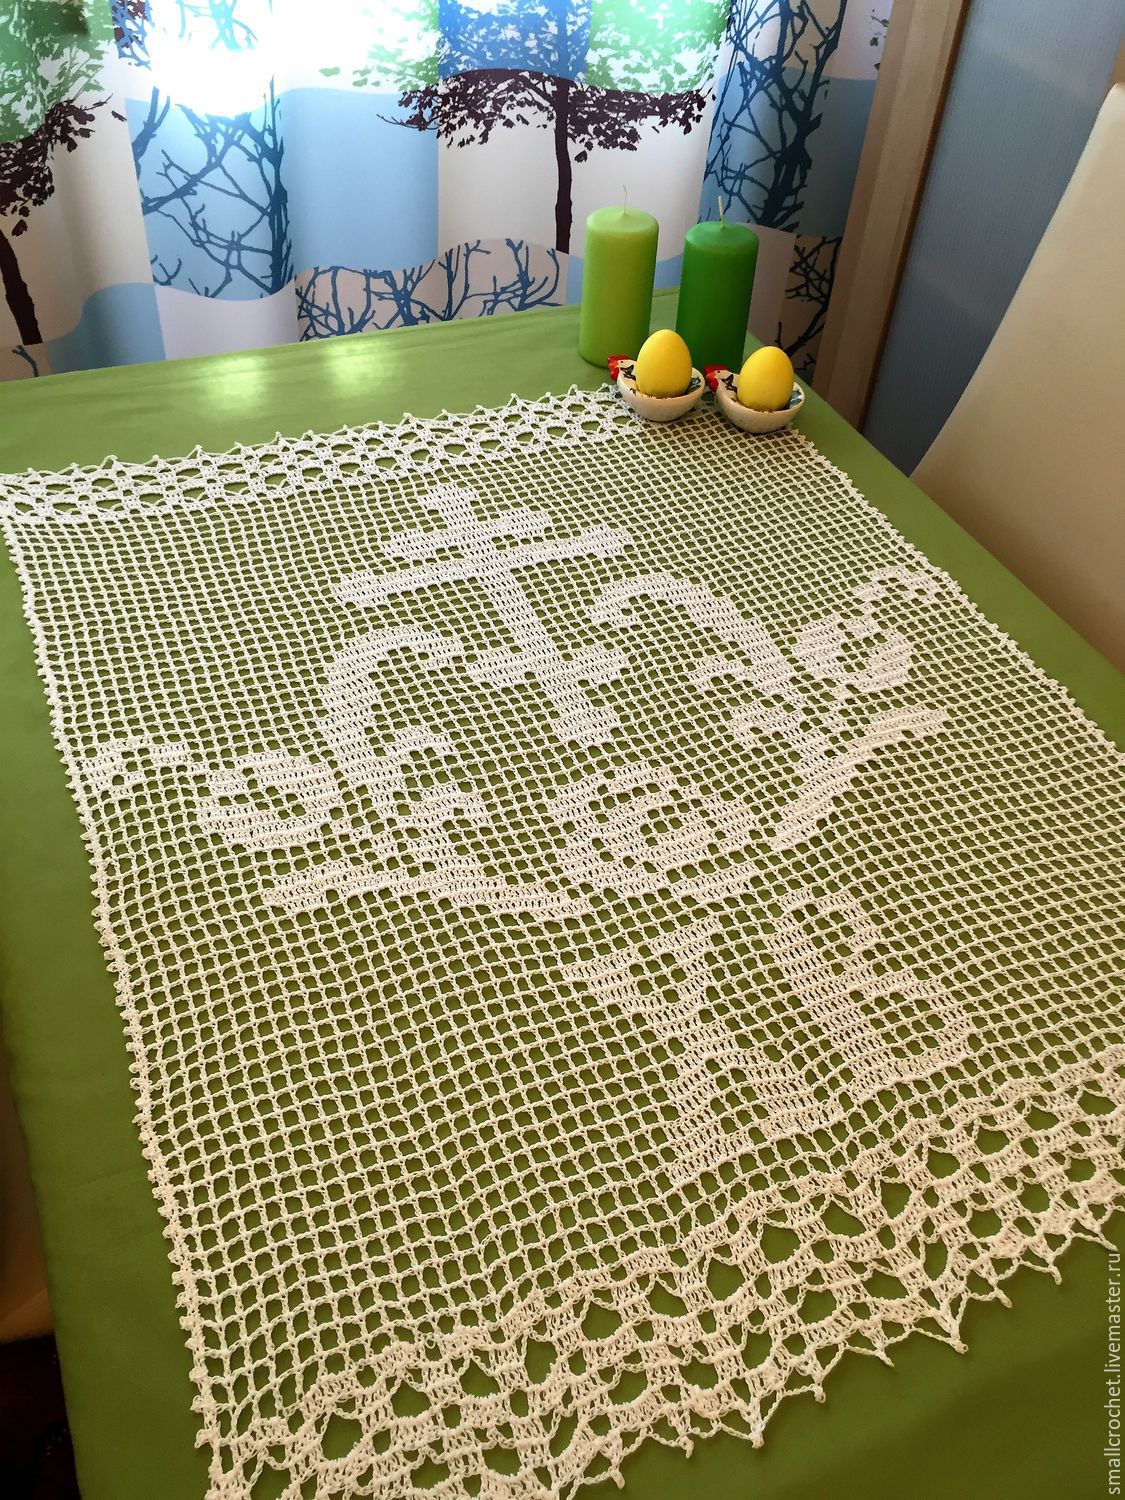
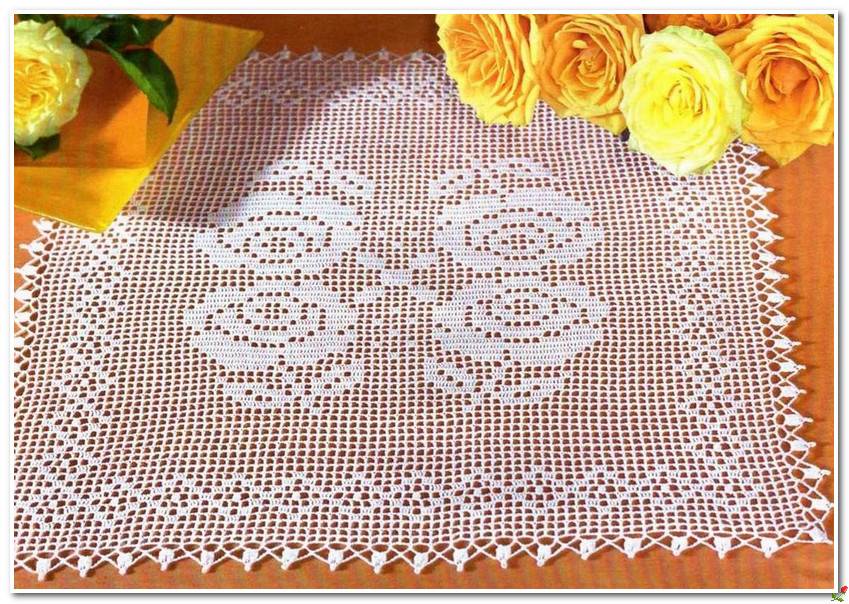
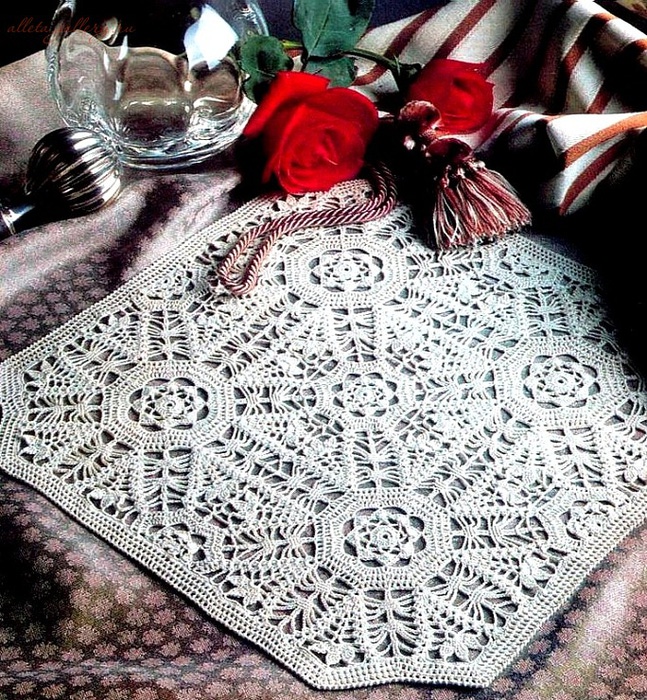
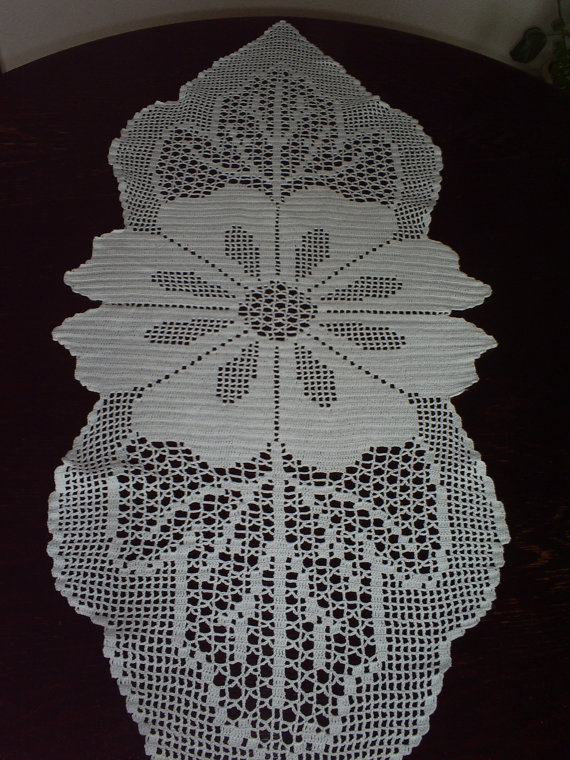
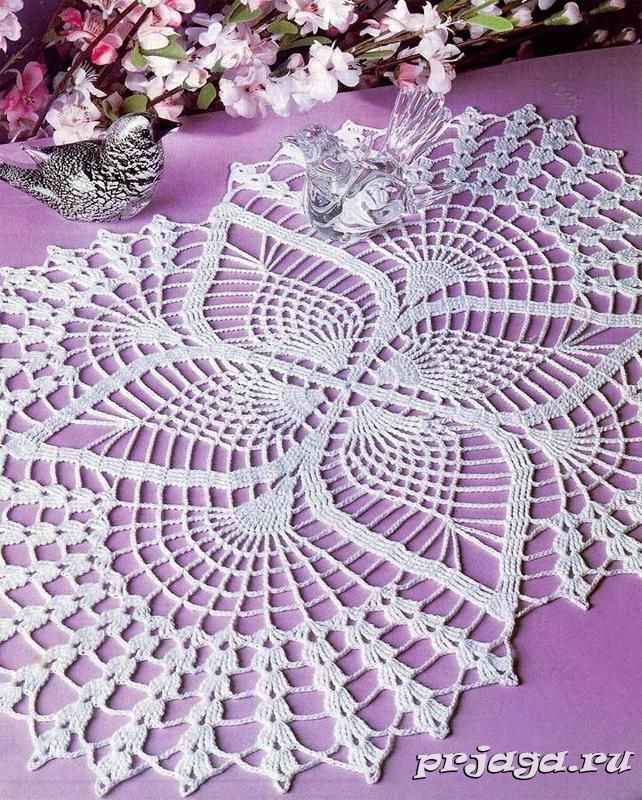
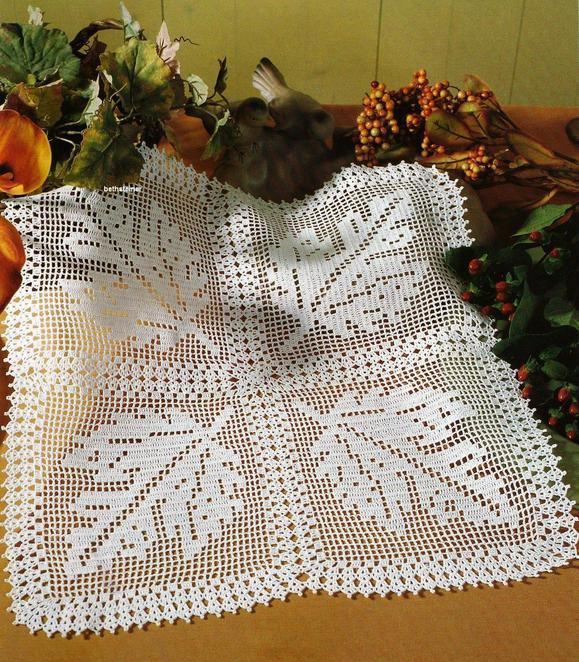
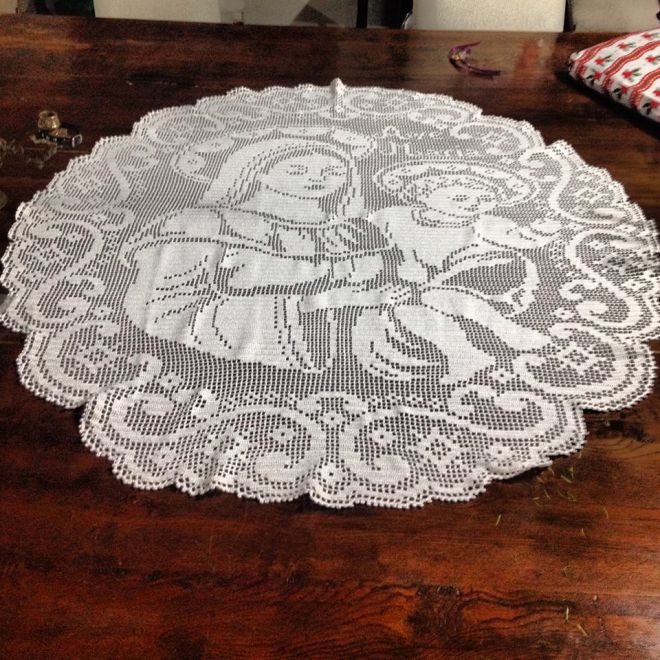
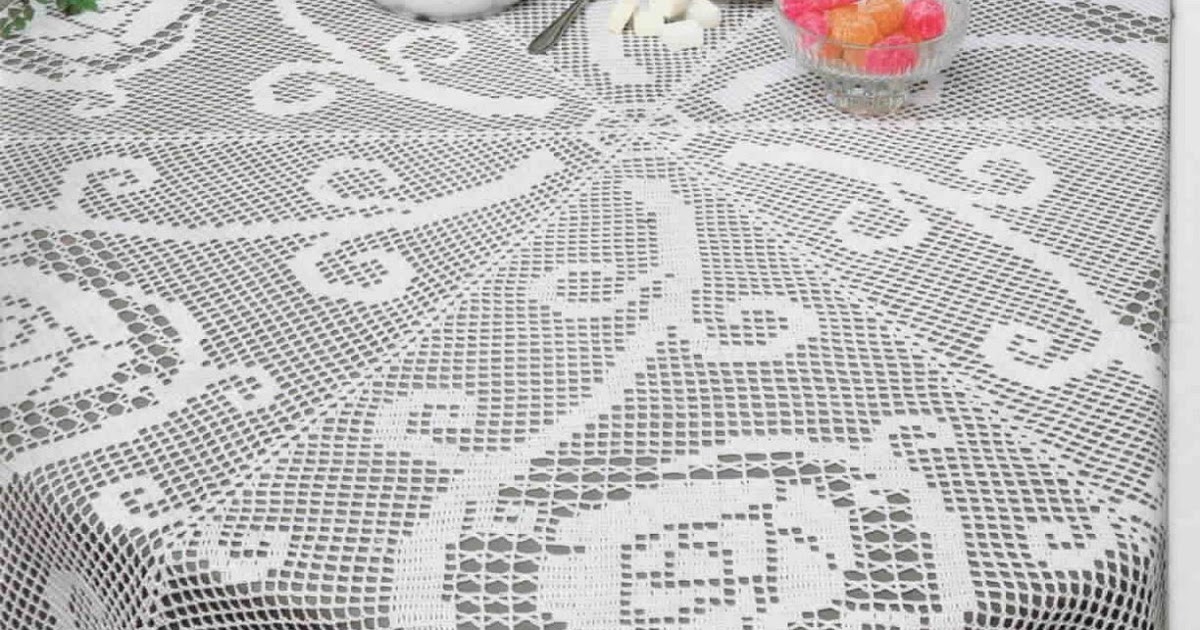
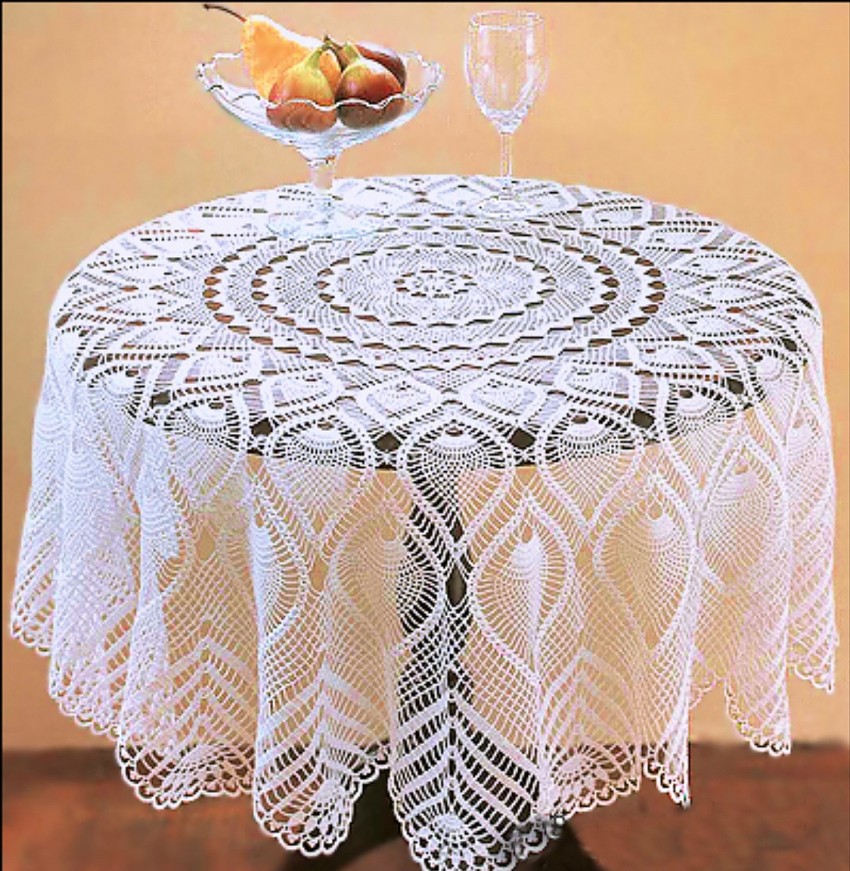
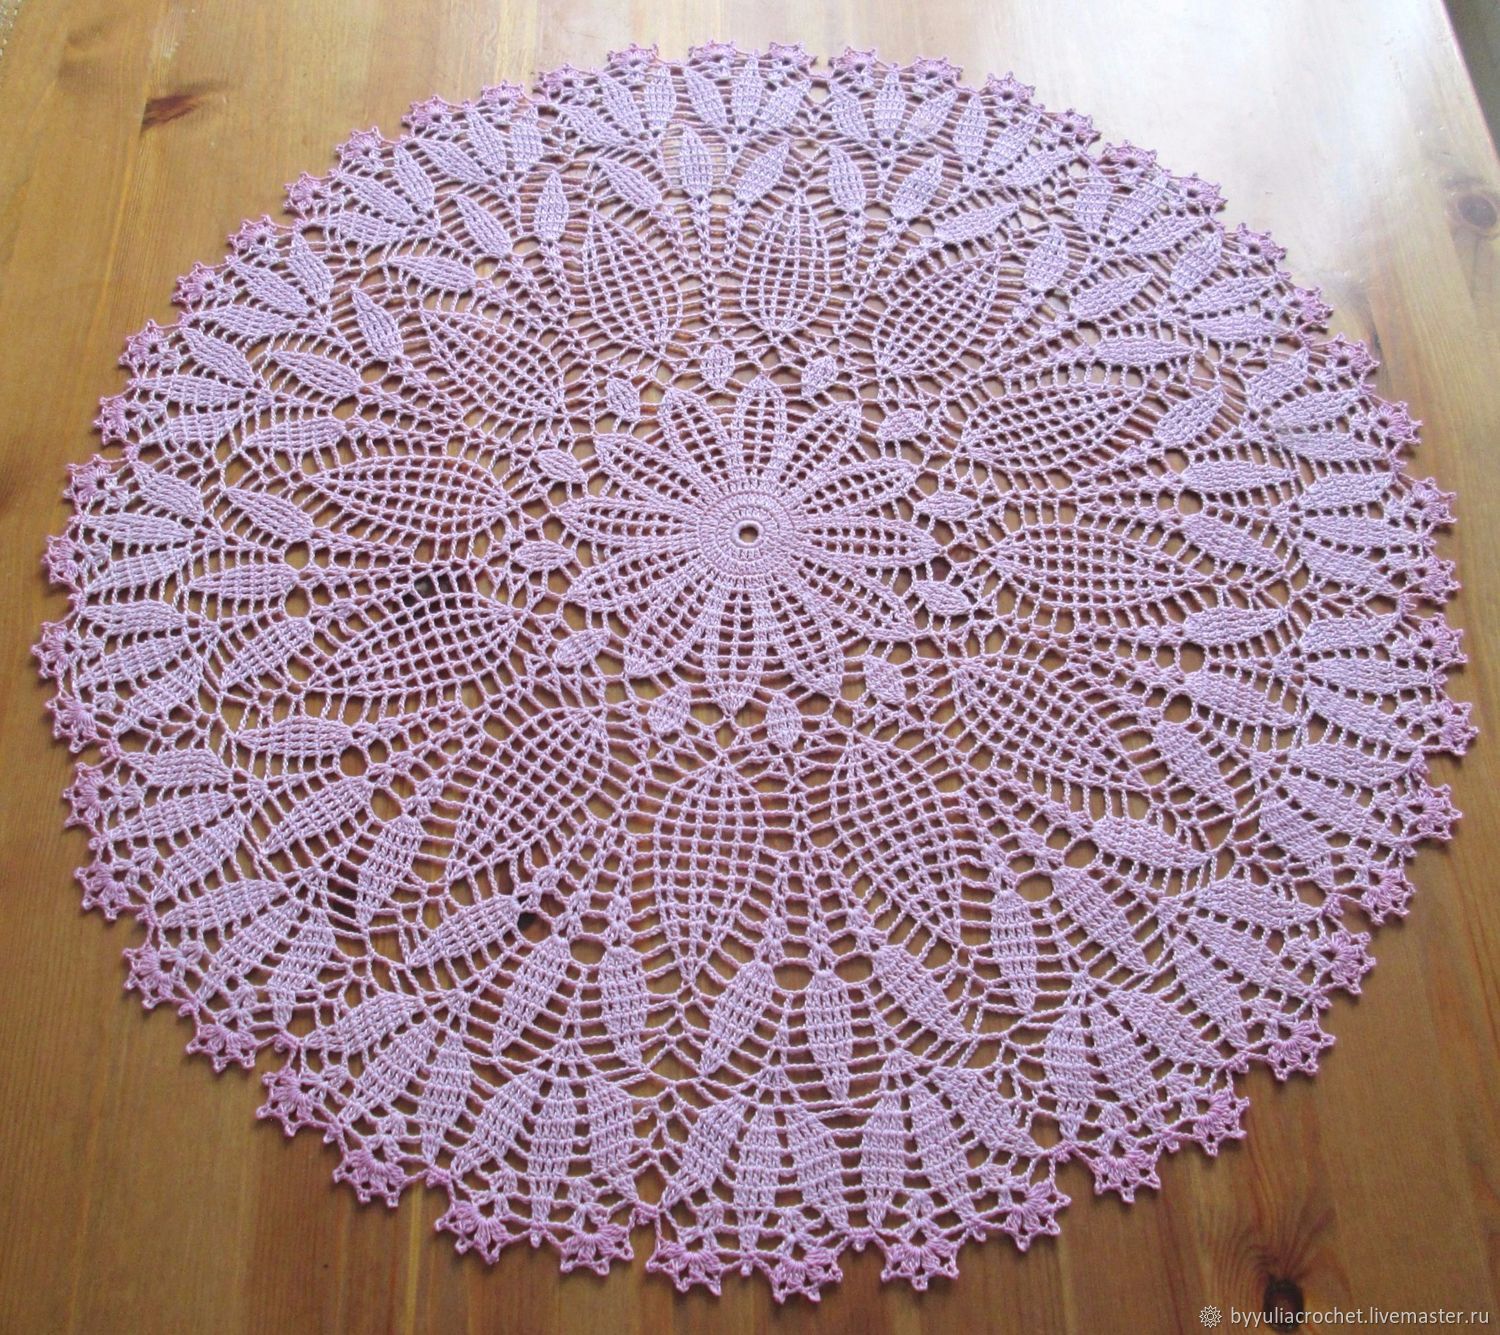
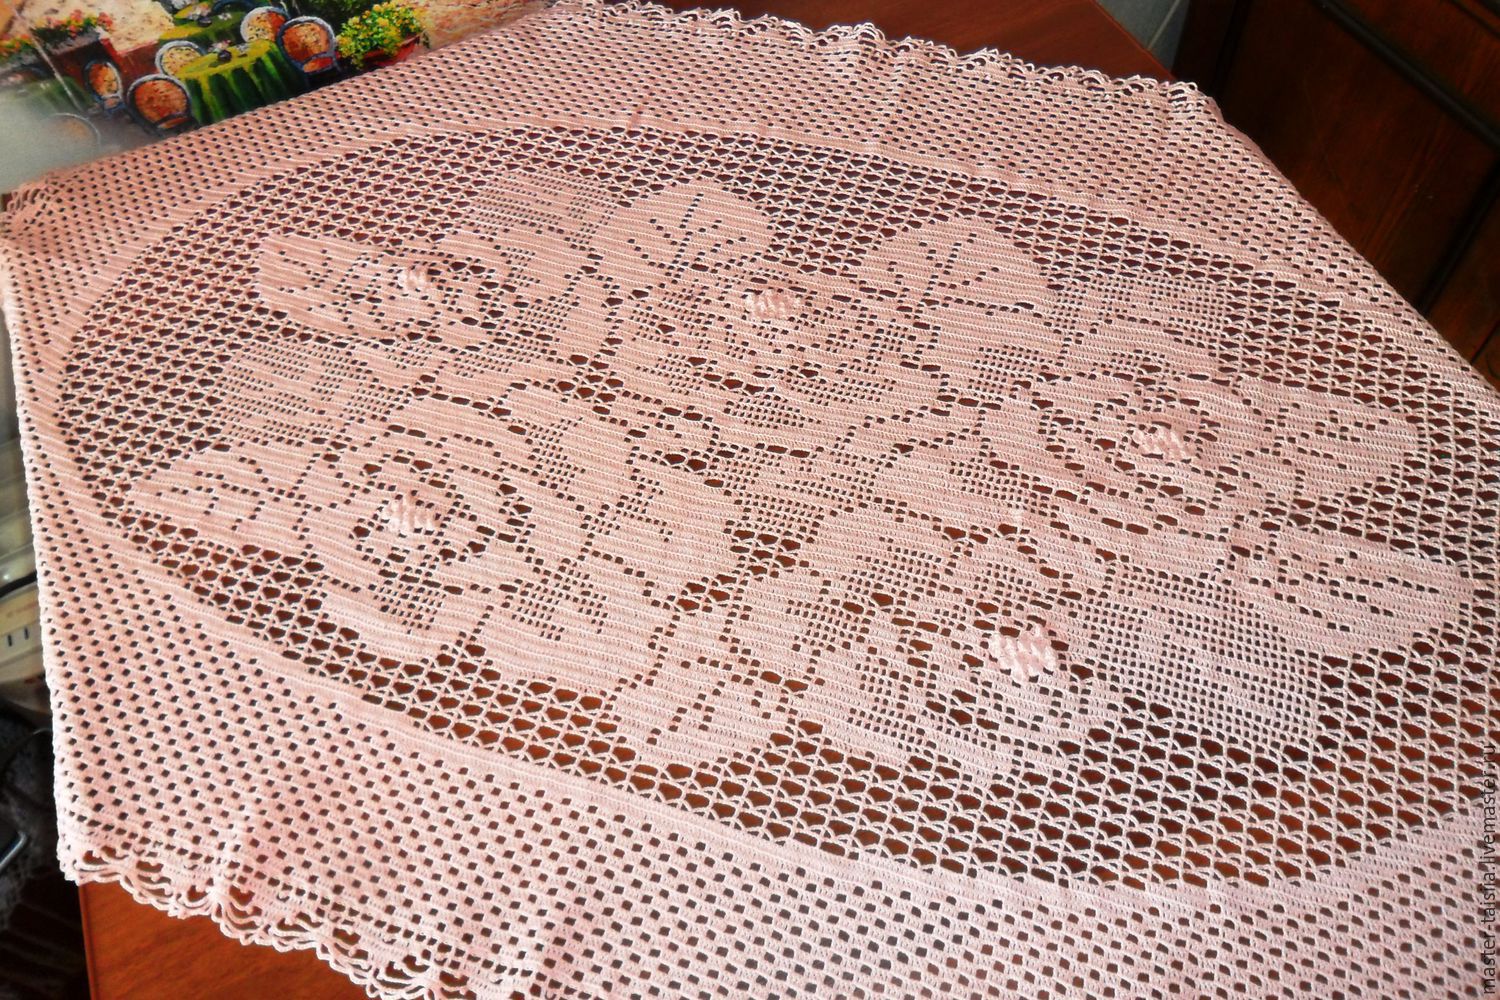
Tablecloth with a large flower
A regular square tablecloth in the filet technique becomes much better if you decorate it with a large design in the middle. In this case, it is a huge flower consisting of 8 petals.
Important! To ensure that such a large item as a tablecloth (more than 100 cm in length or width) holds its shape better, it is better to use threads that contain not only cotton, but also at least 56% polyester.
Knitting begins with a set of upper loop chains: 376 VP - base, 3 VP - rise. After that, the formation of the shape begins. To do this, 1 column with a slope is made, which is secured with 5 VP of the base. This technique must be repeated to the end of the chain (For example, 374 VP = 374 columns with a slope).
Afterwards, you need to do filet knitting. It is done in the form of direct and reverse loops and is repeated like this up to row 125.
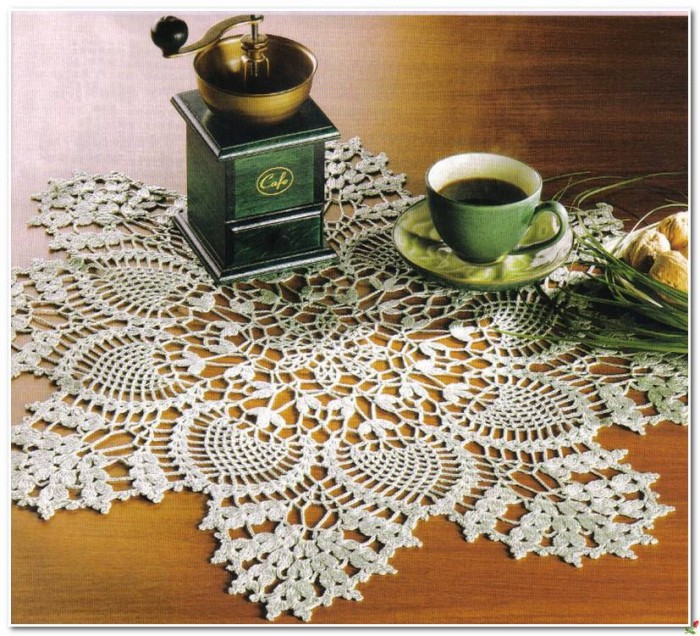
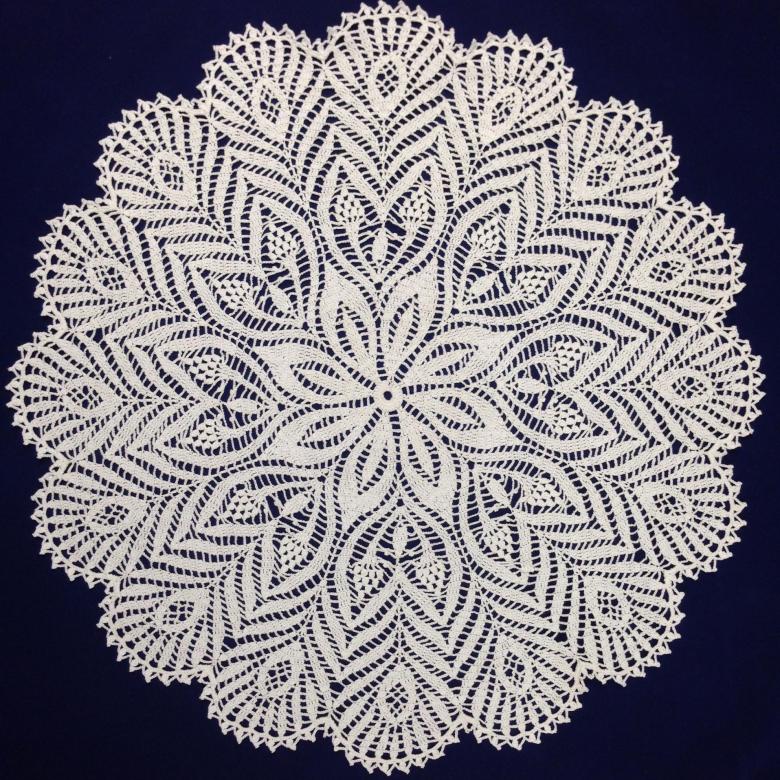
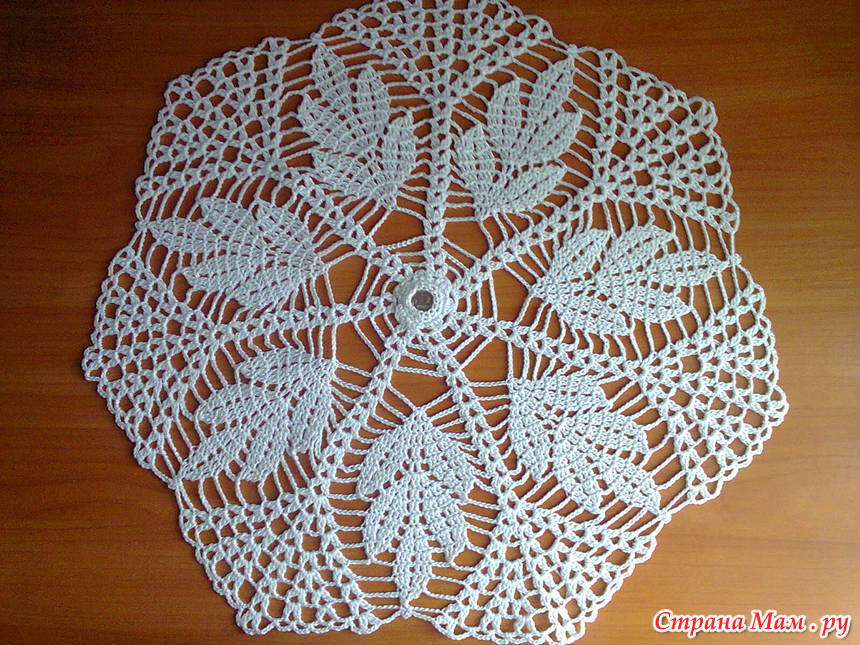
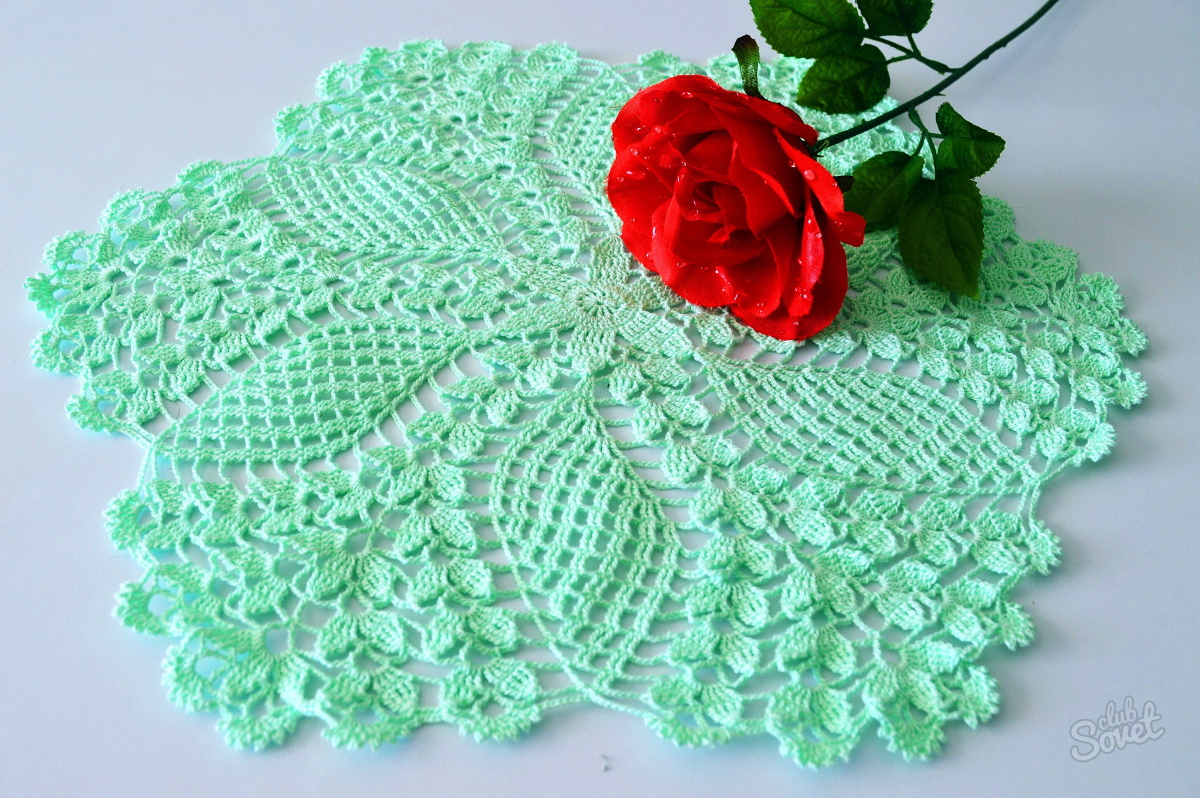
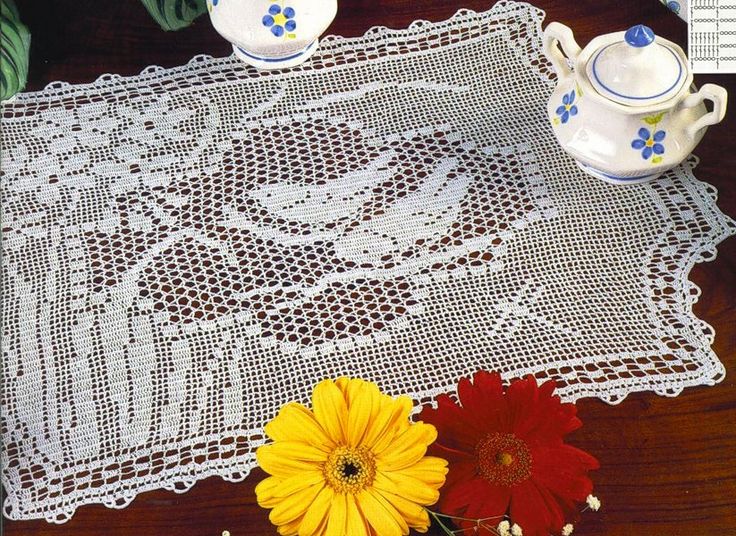
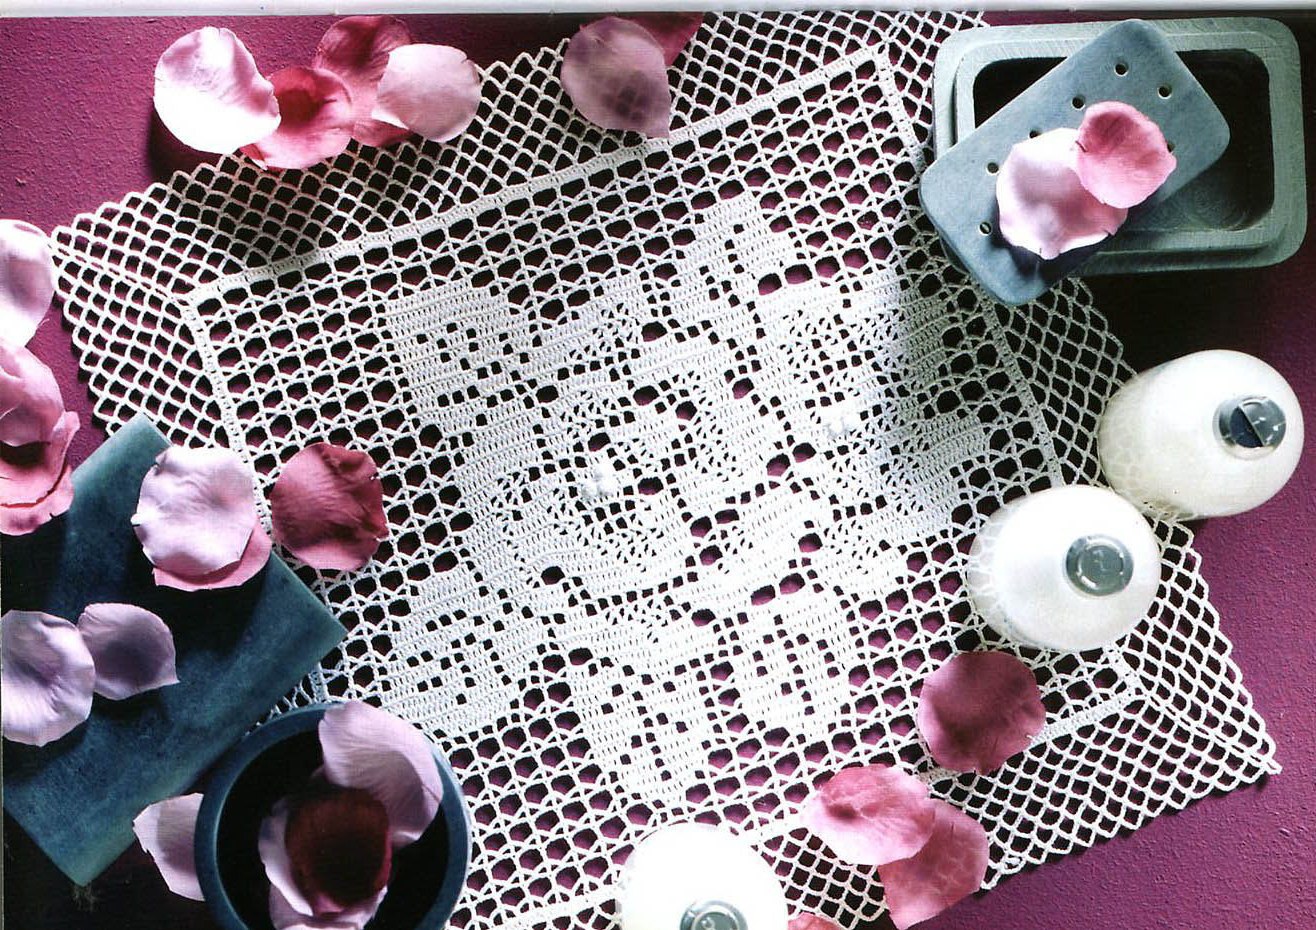
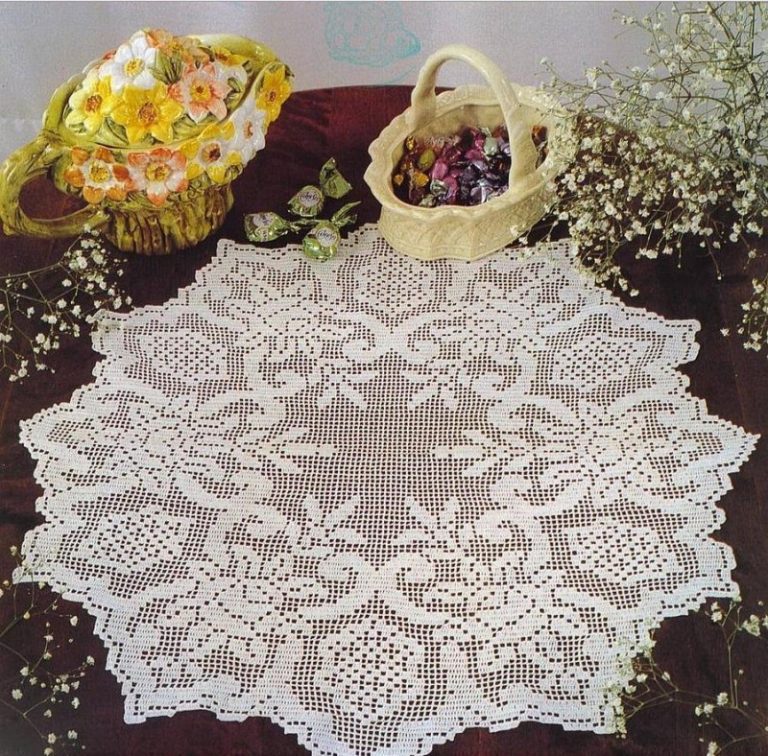
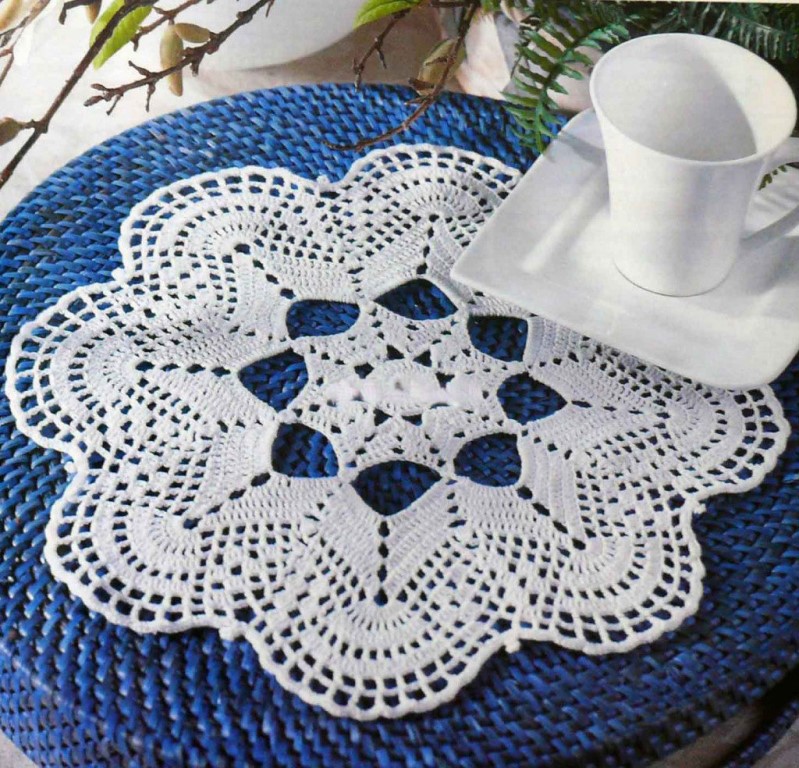
Figured and rectangular knitting of napkins
Figured crocheting of napkins is a more complex form, which not every master who knows how to crochet can do. For example, if you incorrectly add loops in one row, then instead of a neat oval, you can get a figure that has not been known in geometry until now. And the drawing itself will turn into an art house style work.
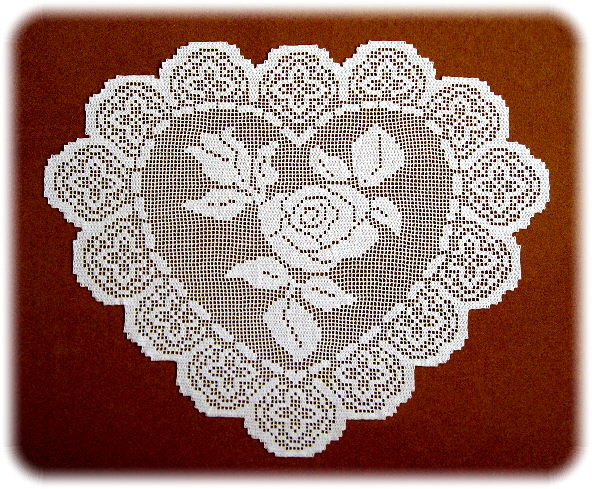
A figured product can be supplemented with a mesh of unusually shaped cells. They are usually knitted from regular VP, but they are much larger in size and look more beautiful.
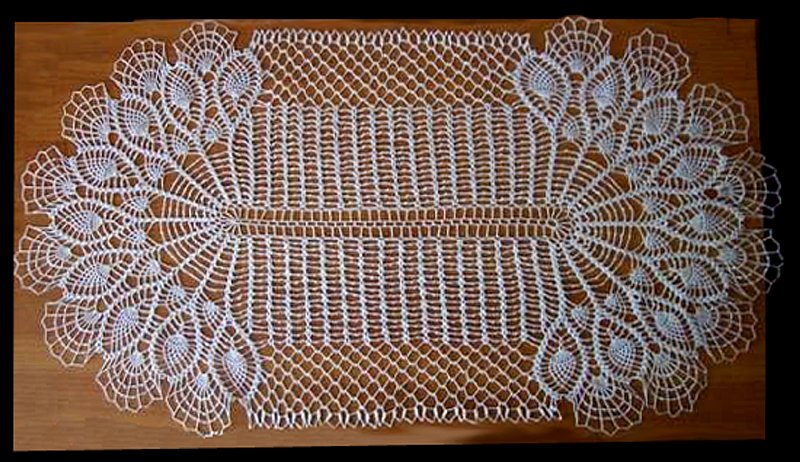
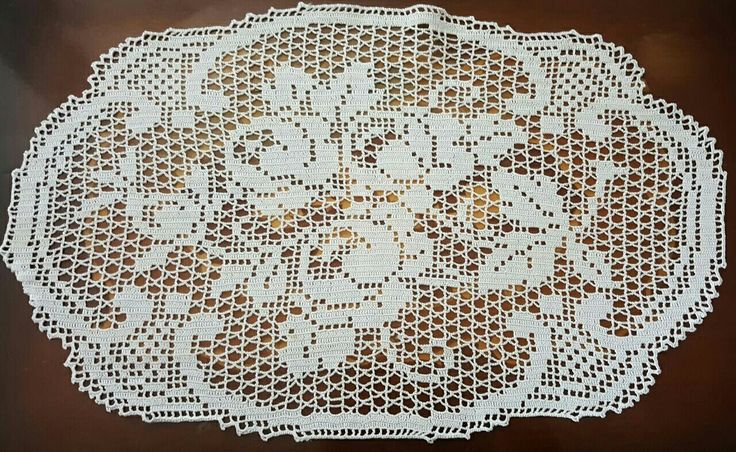
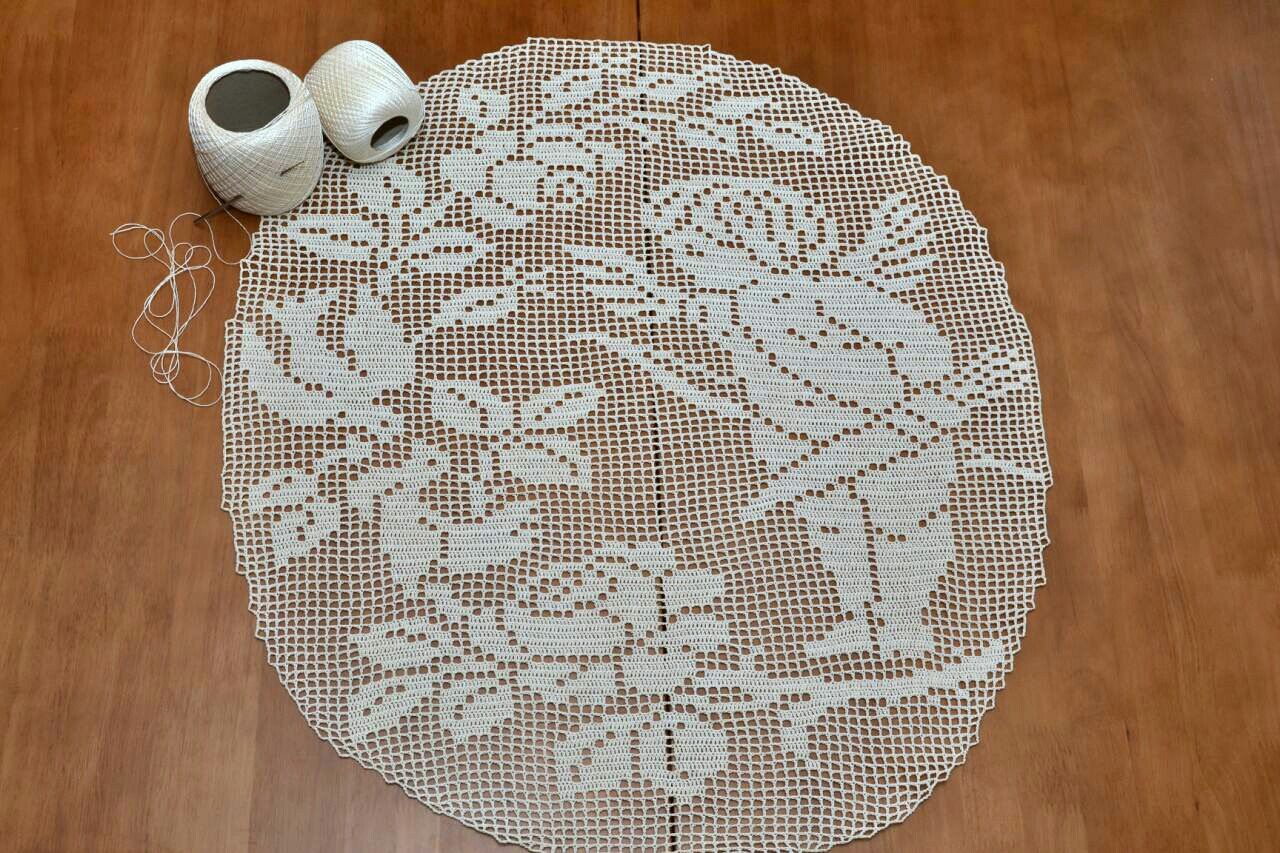
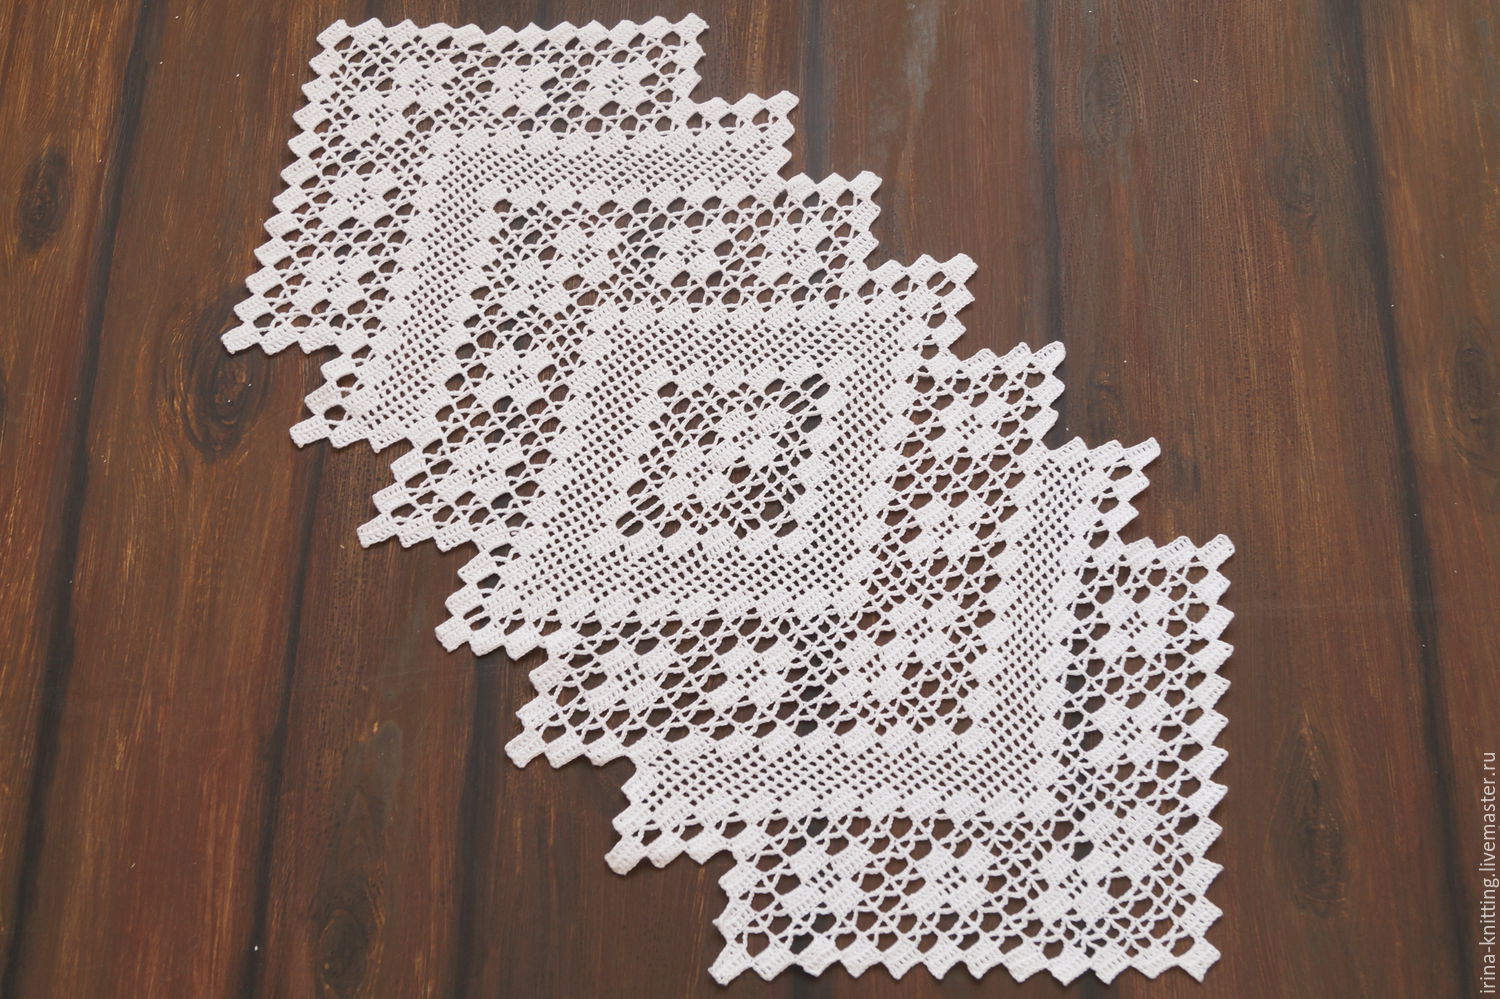
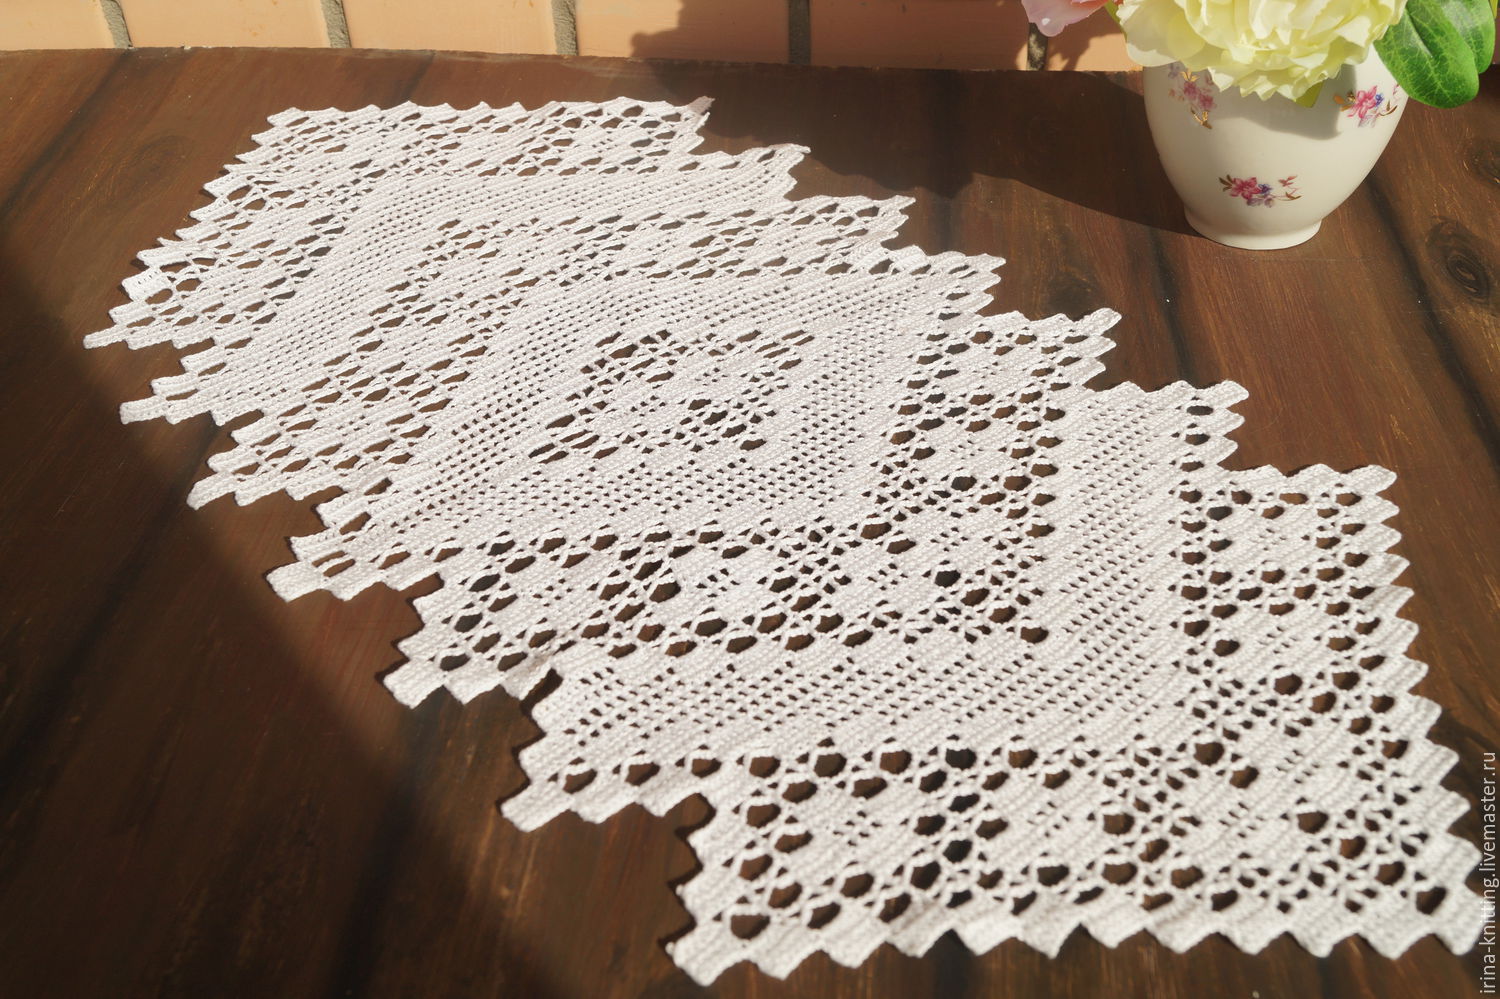
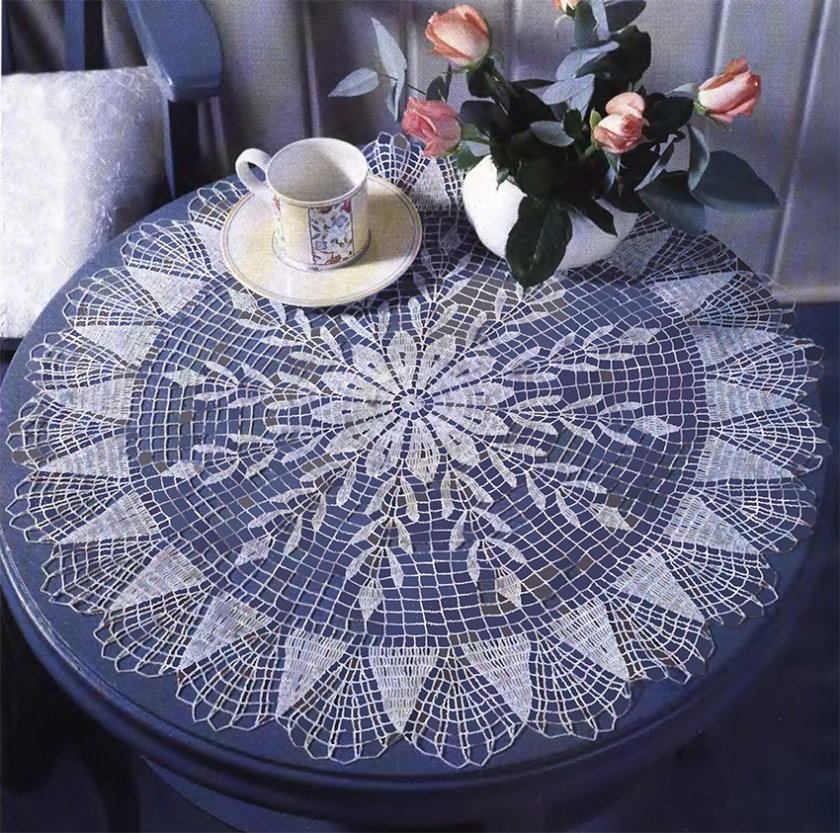
Oval napkins
According to this pattern, the oval napkin will be made with dimensions of 64 by 80 cm. But depending on your desire, the length of the product can be extended by repeating the pattern twice.
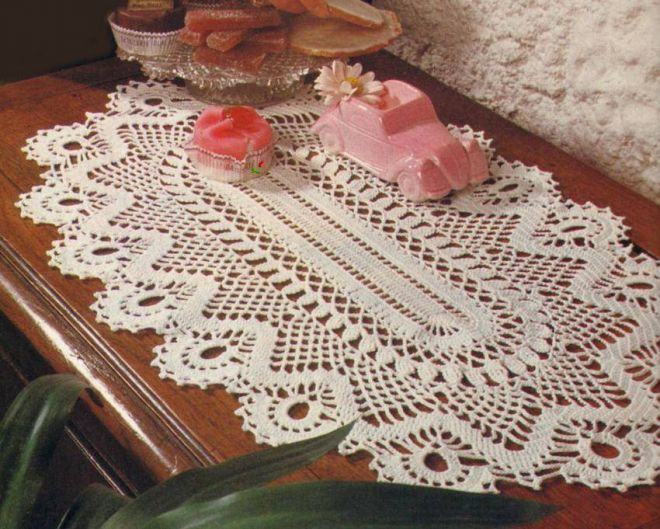
Knitting begins with the fact that using a hook a chain of 44 loops is collected, of which 22 VP are the base, and 3 VP are allocated for lifting and another 13 VP.
The main principle of creating an oval napkin with a crochet hook is to correctly add and subtract cells in rows and along the edges so that the product does not turn out round.
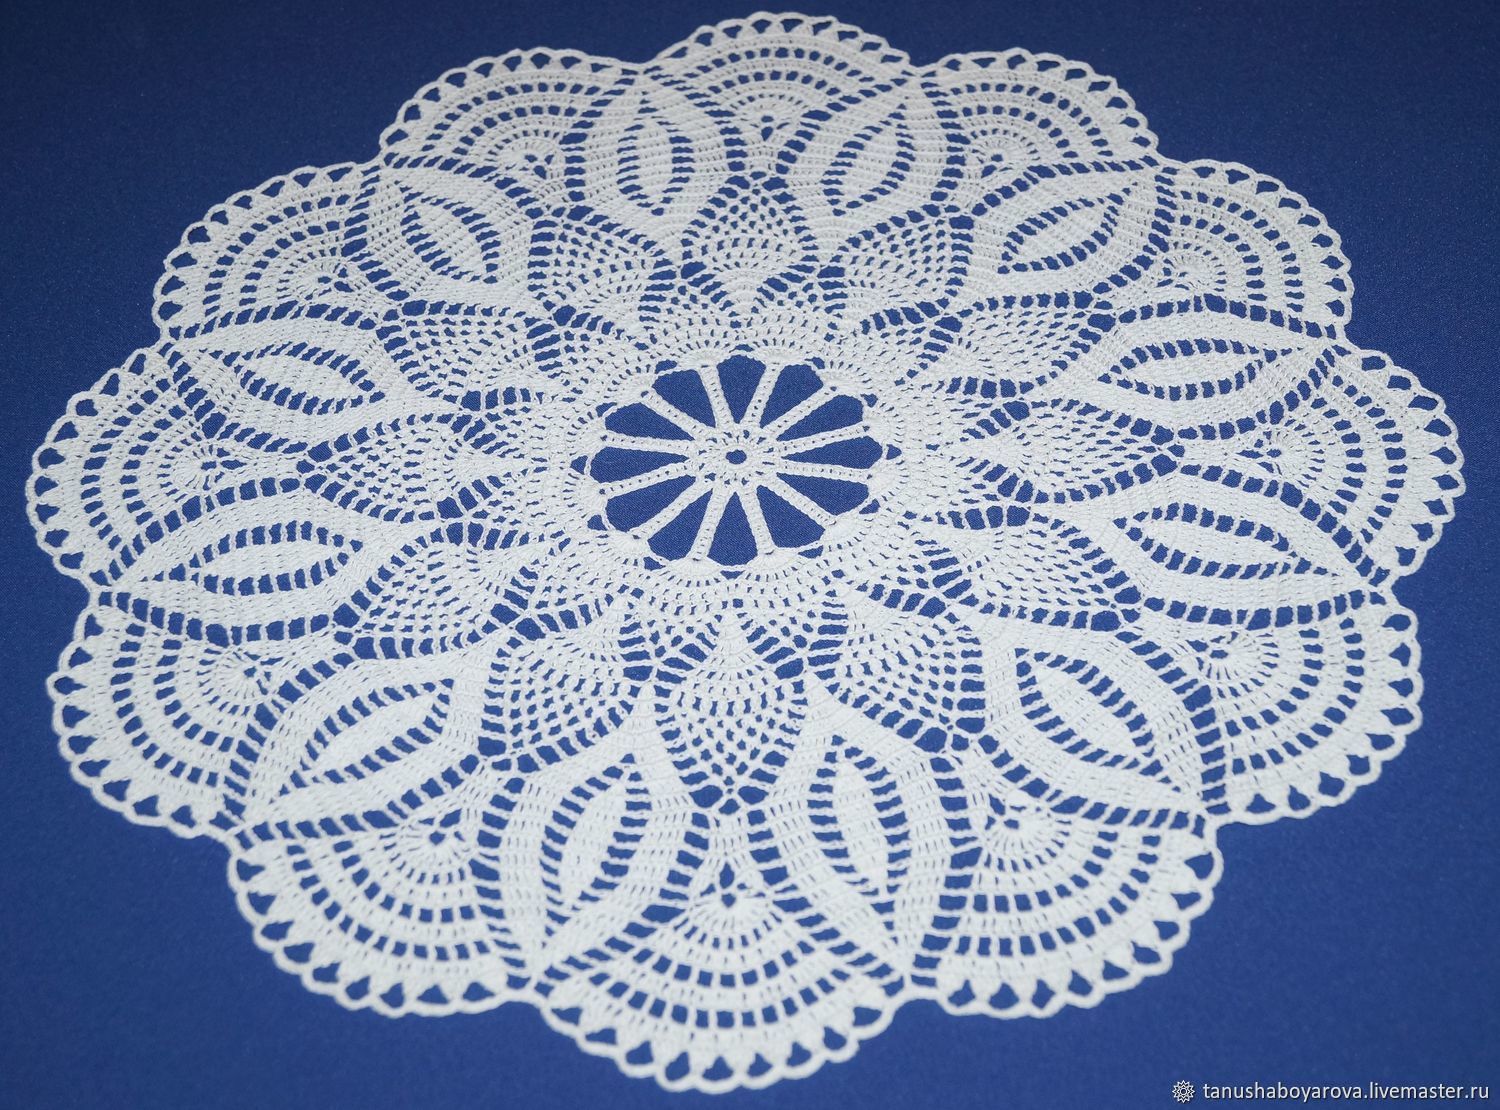
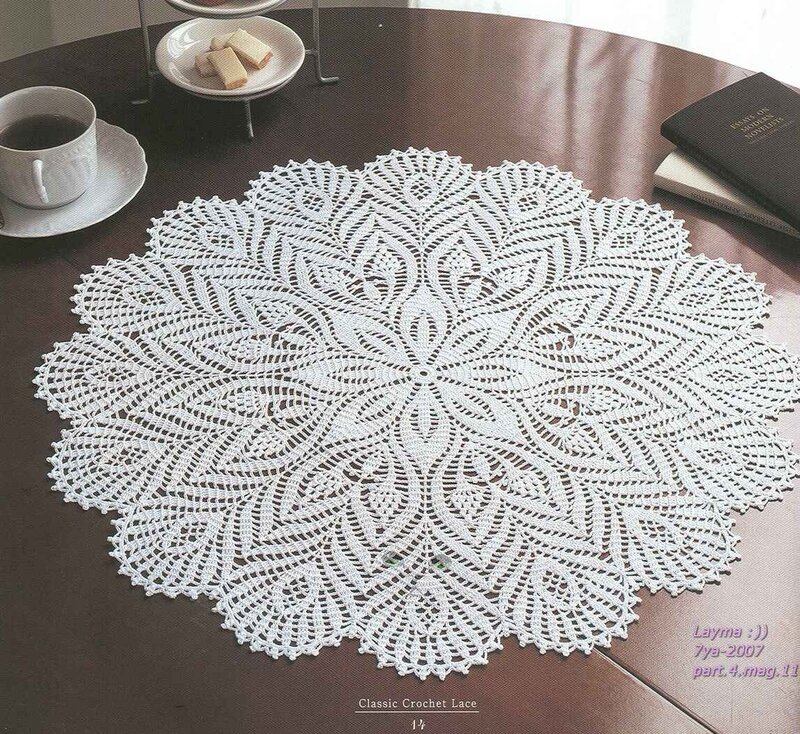
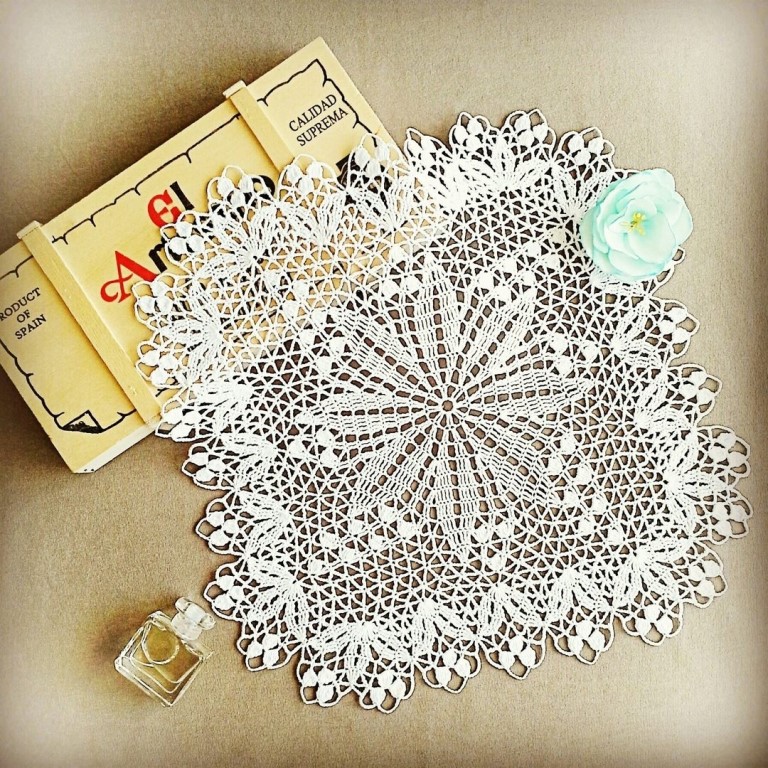
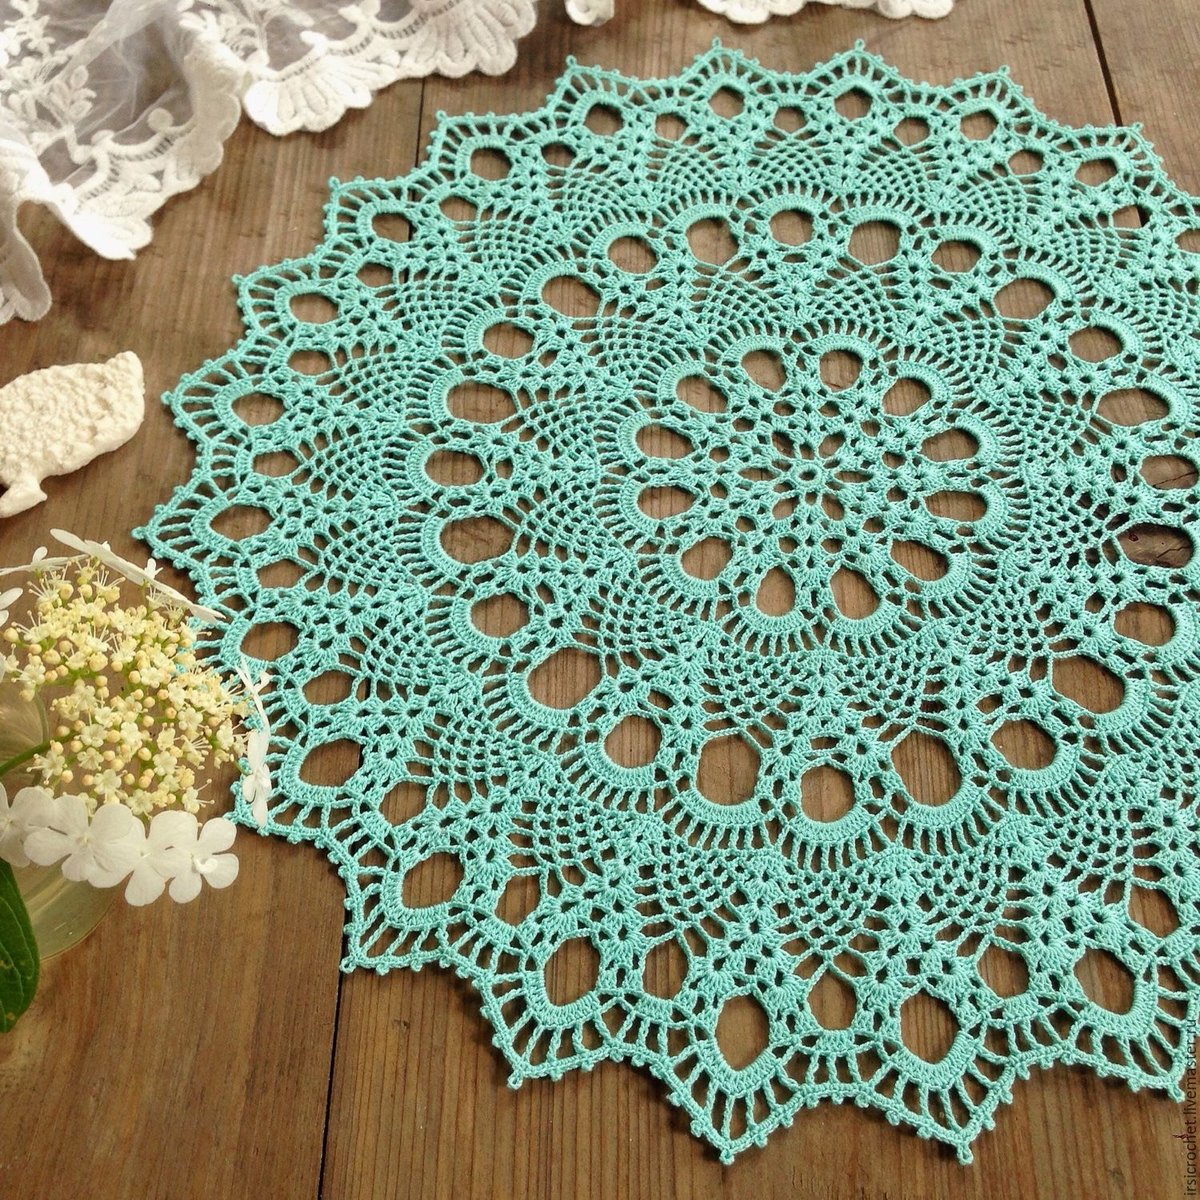
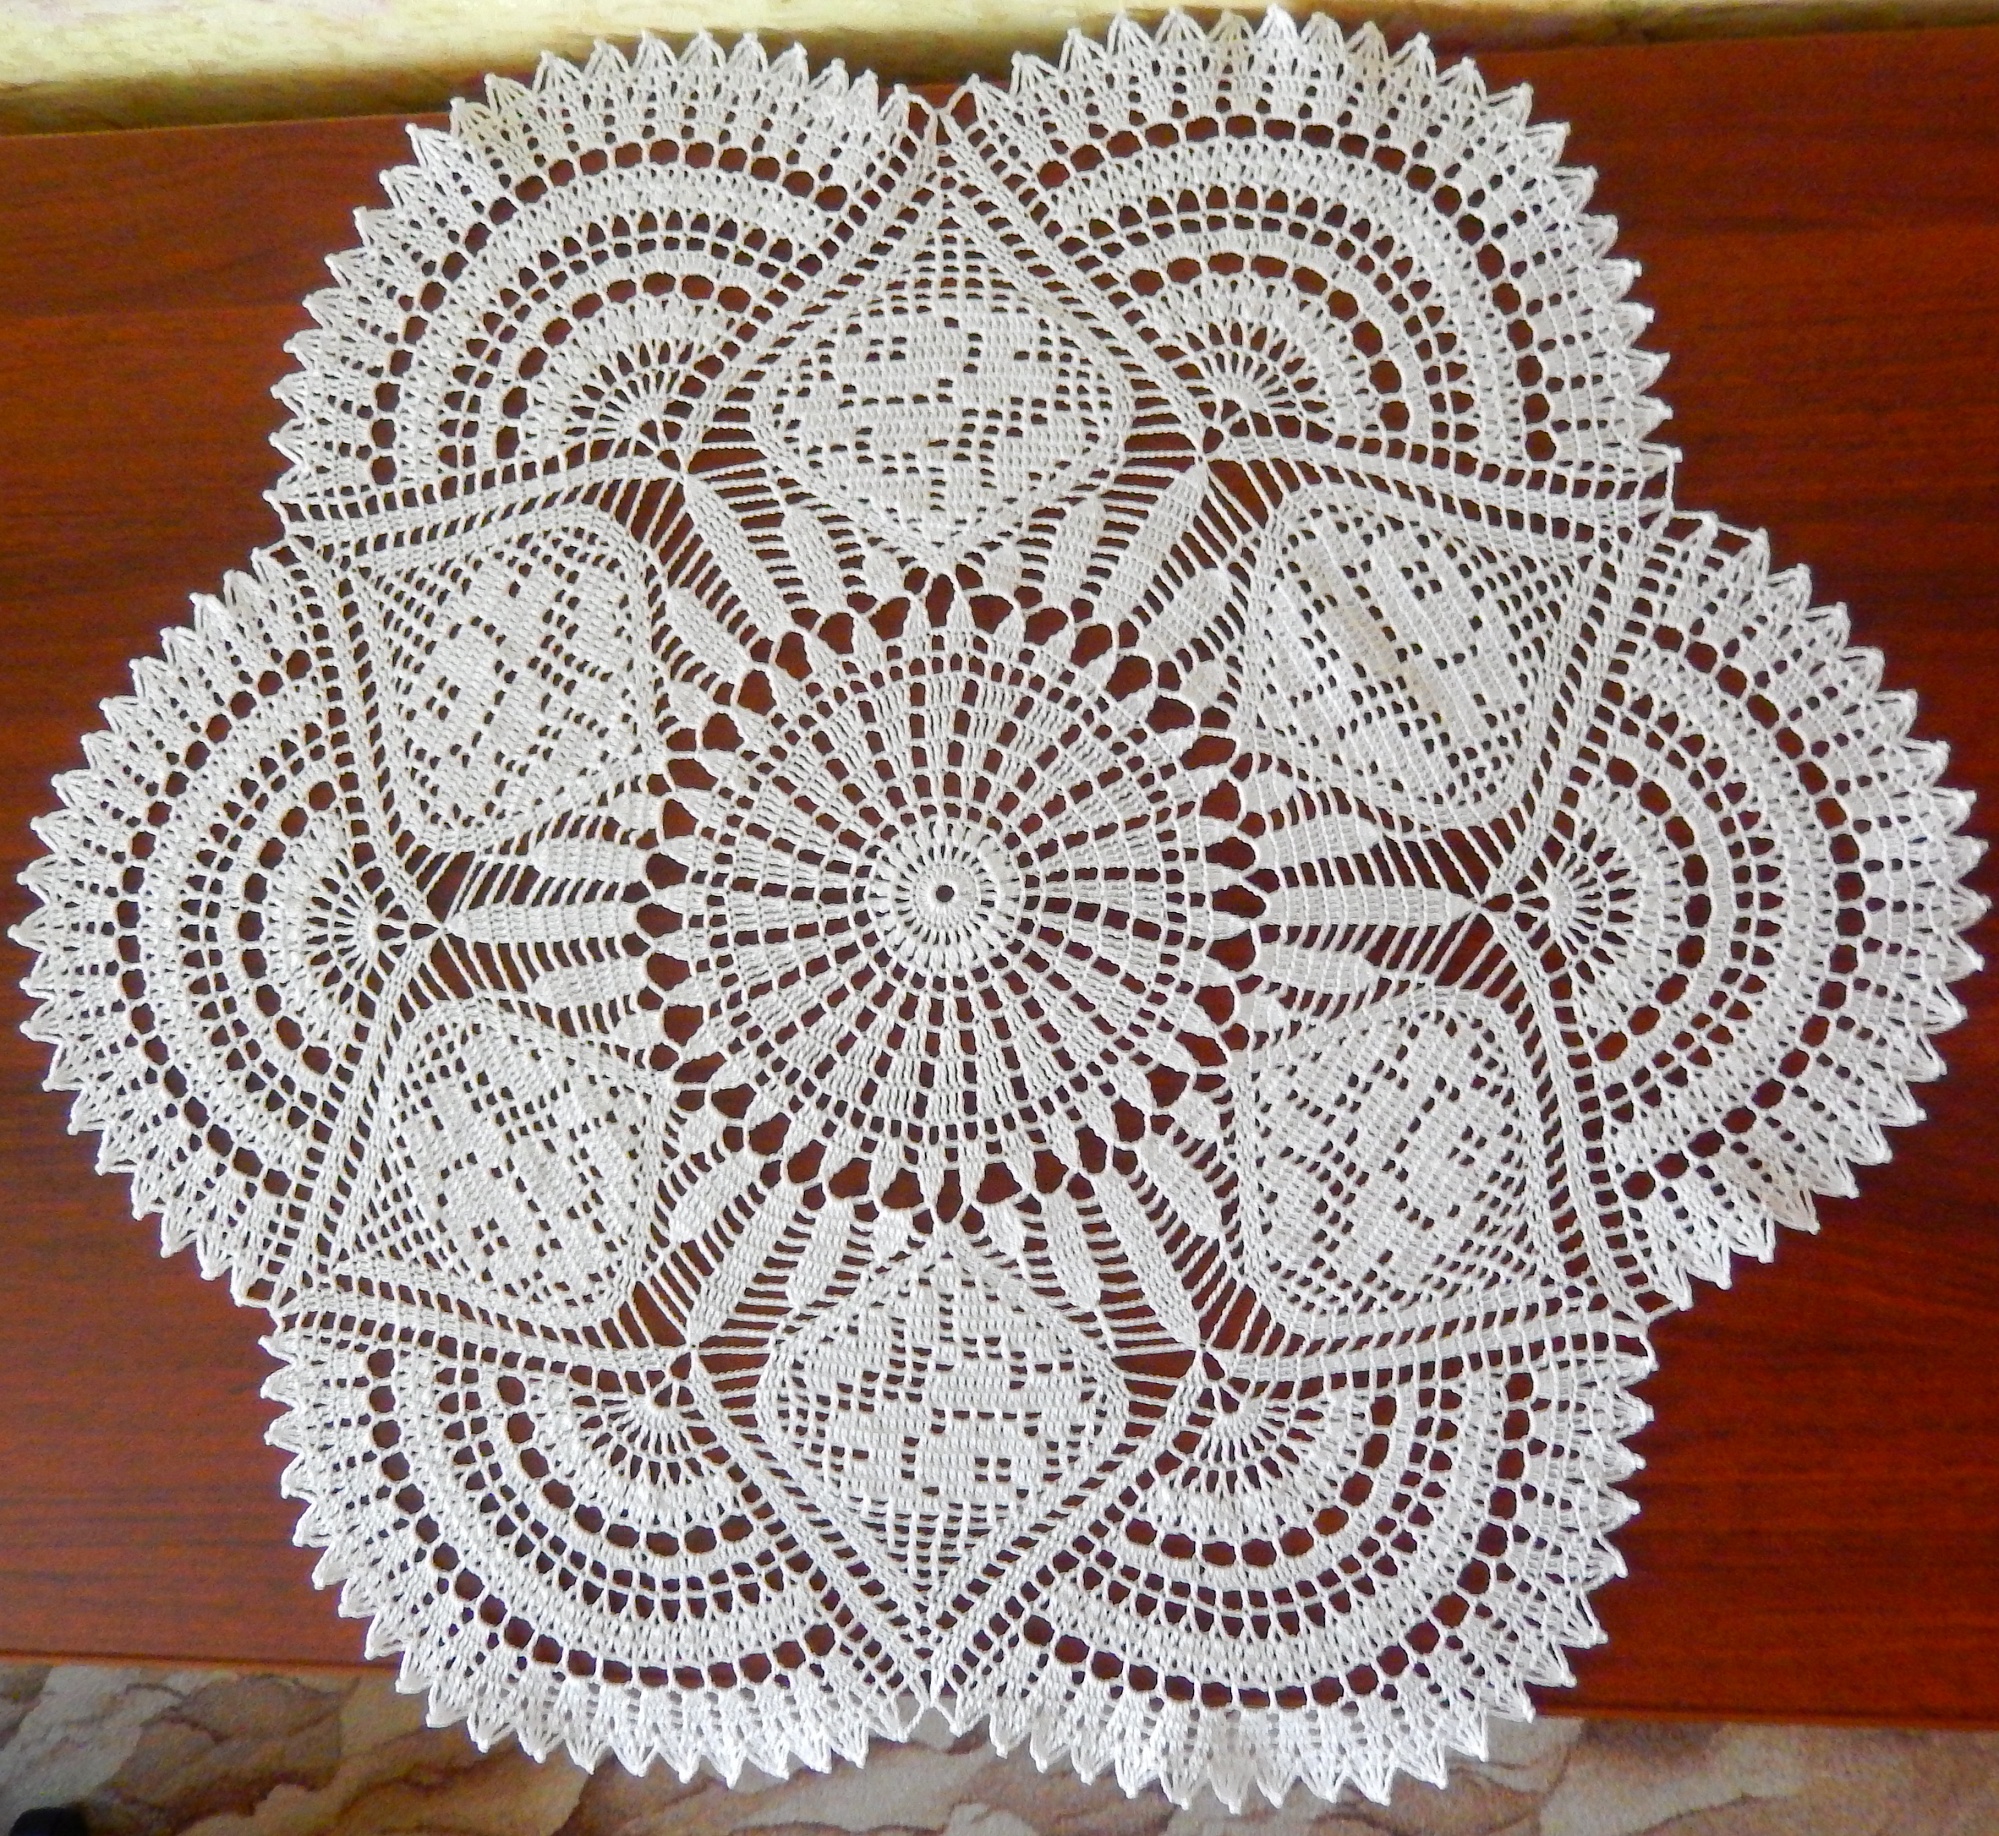
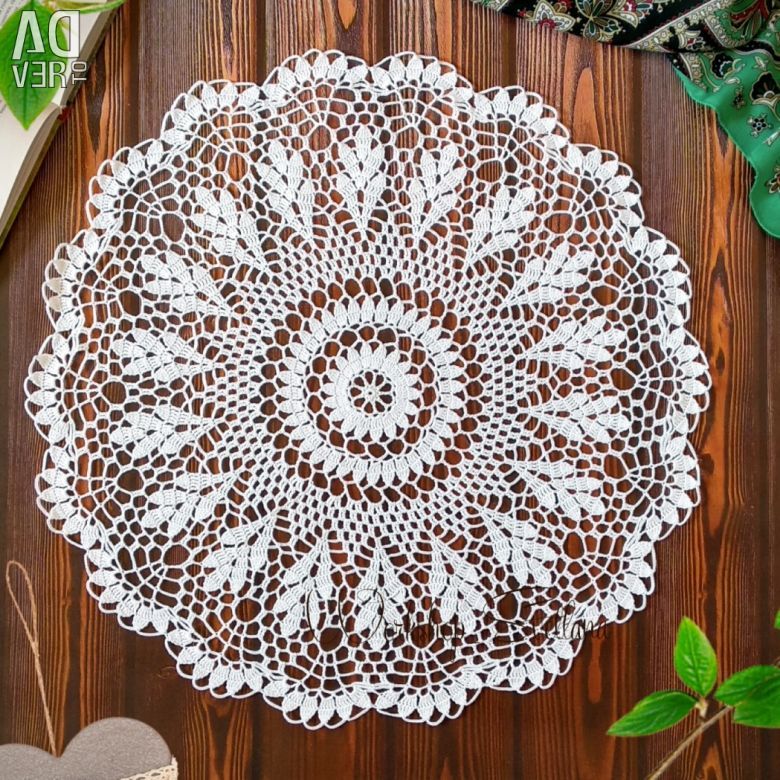
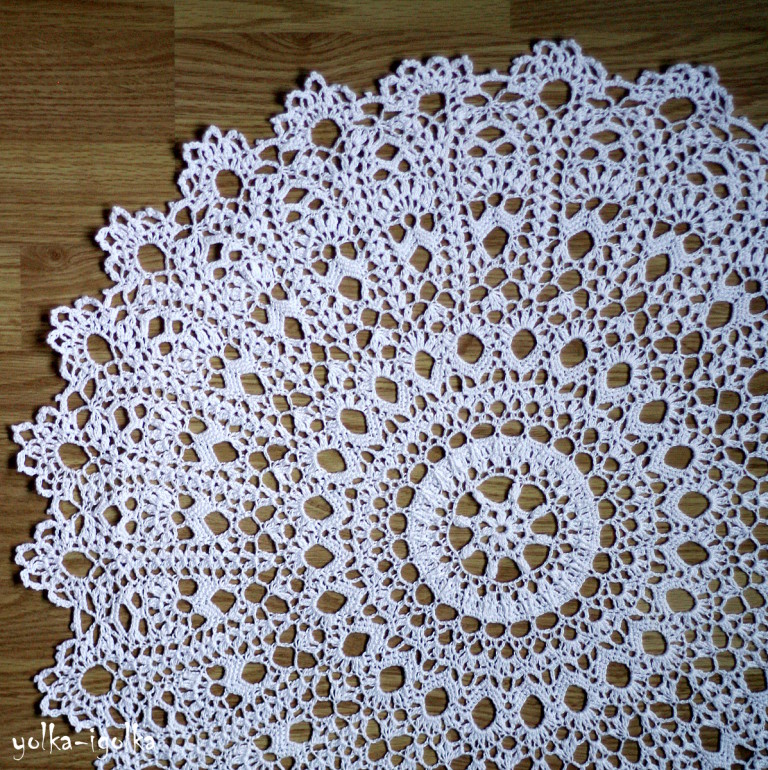
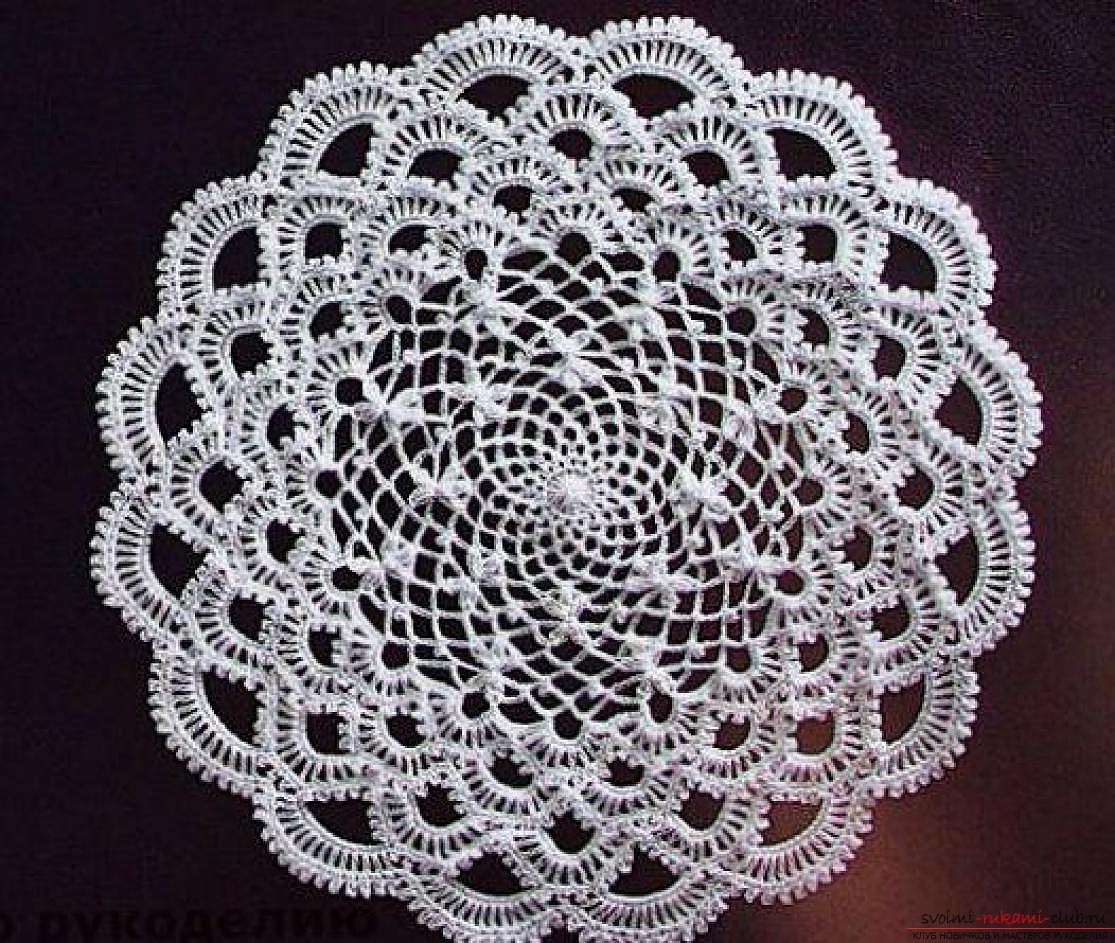
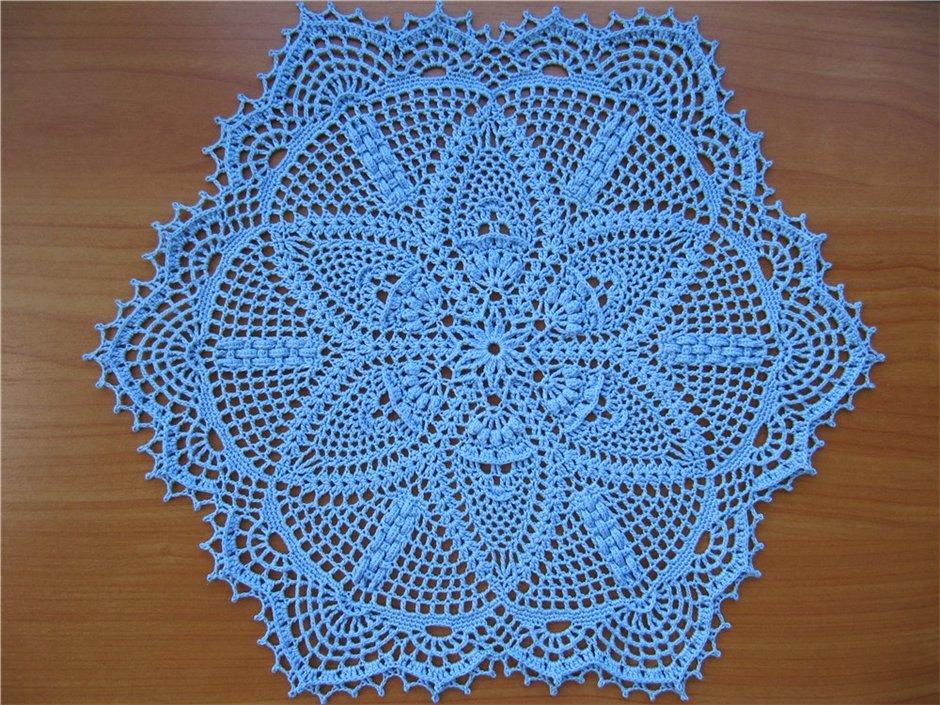
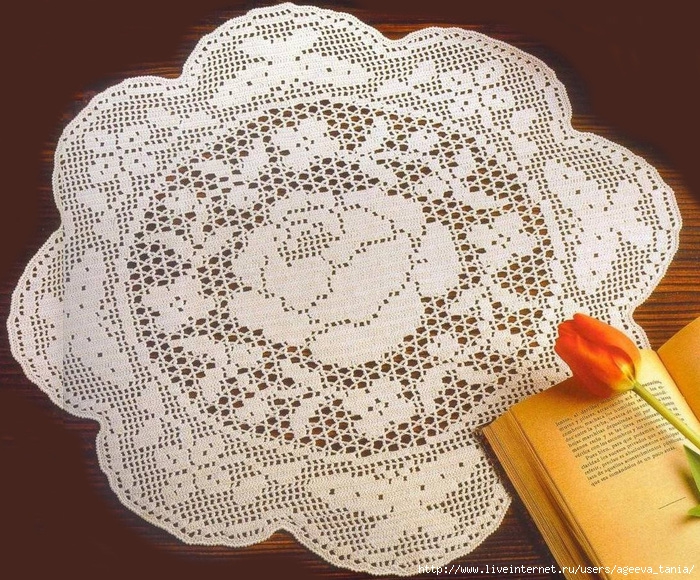
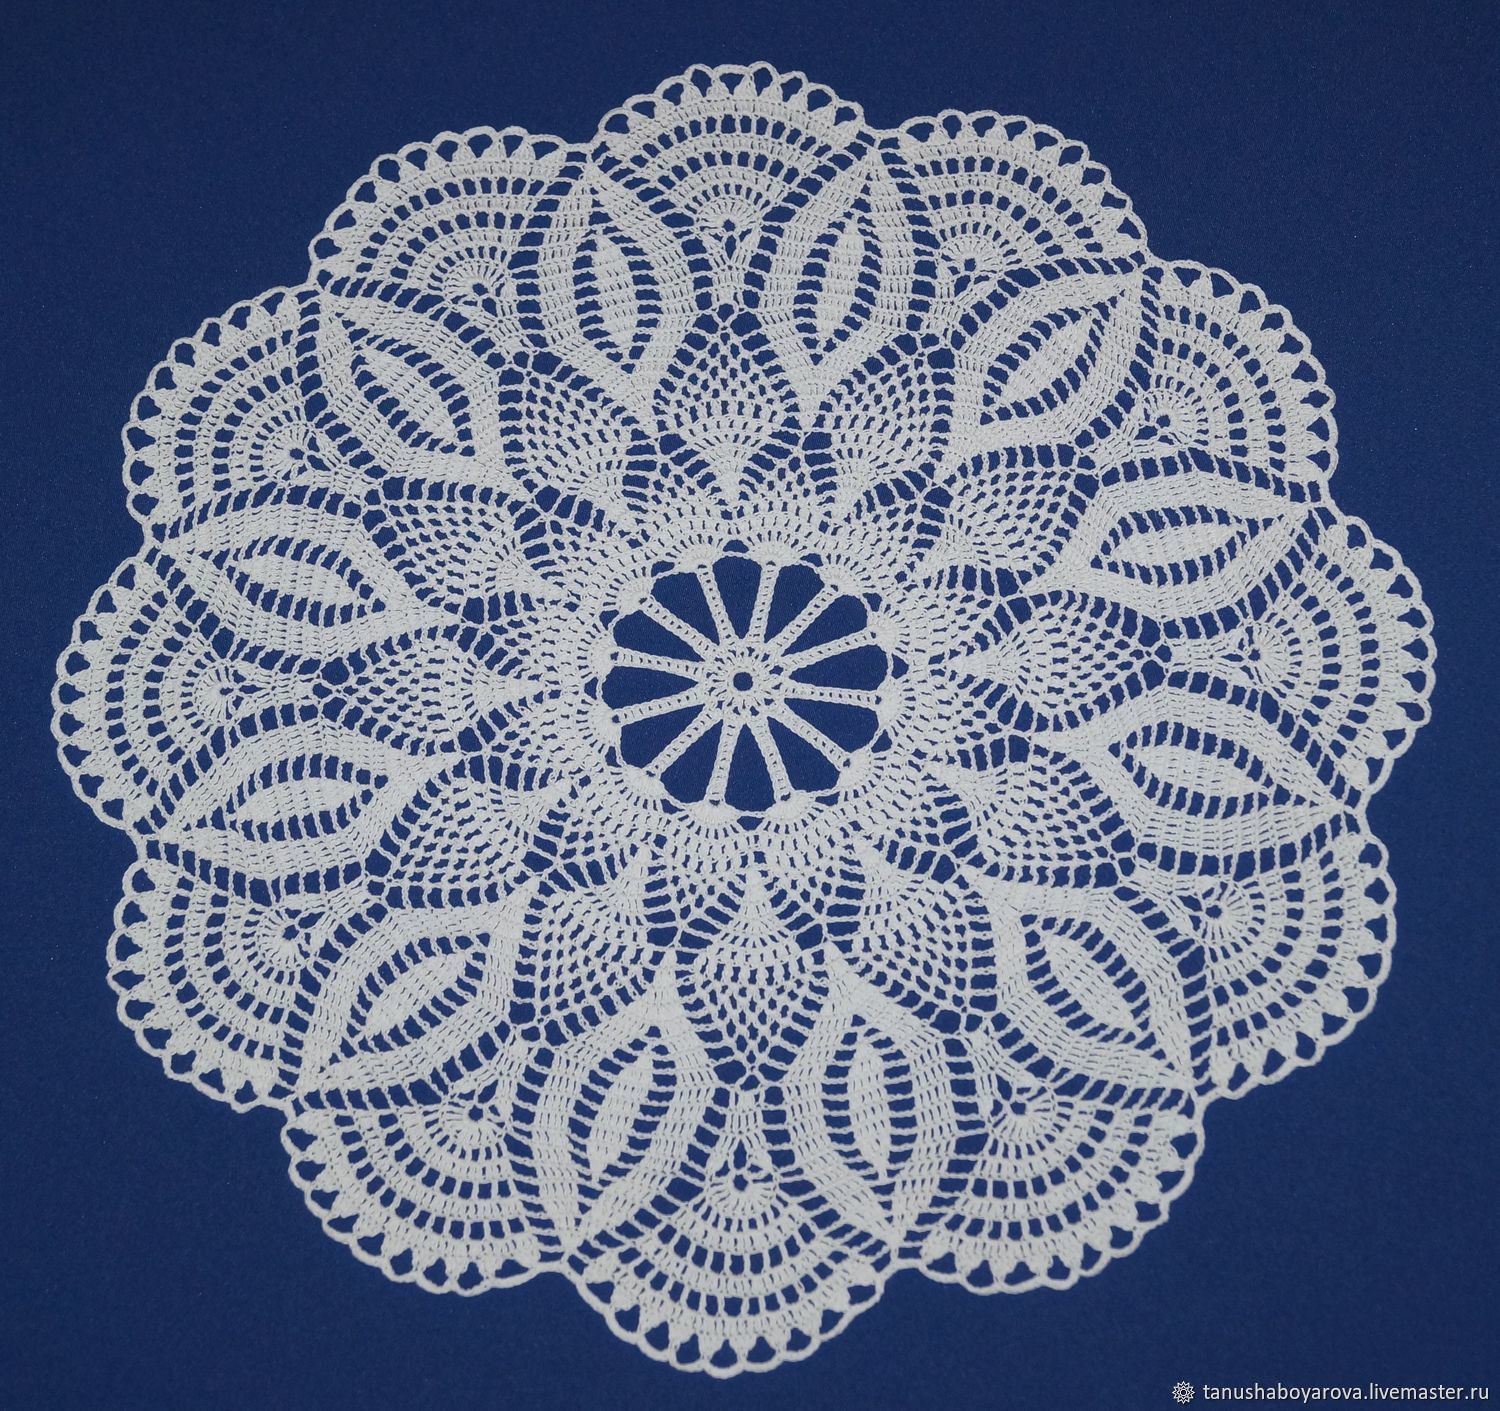
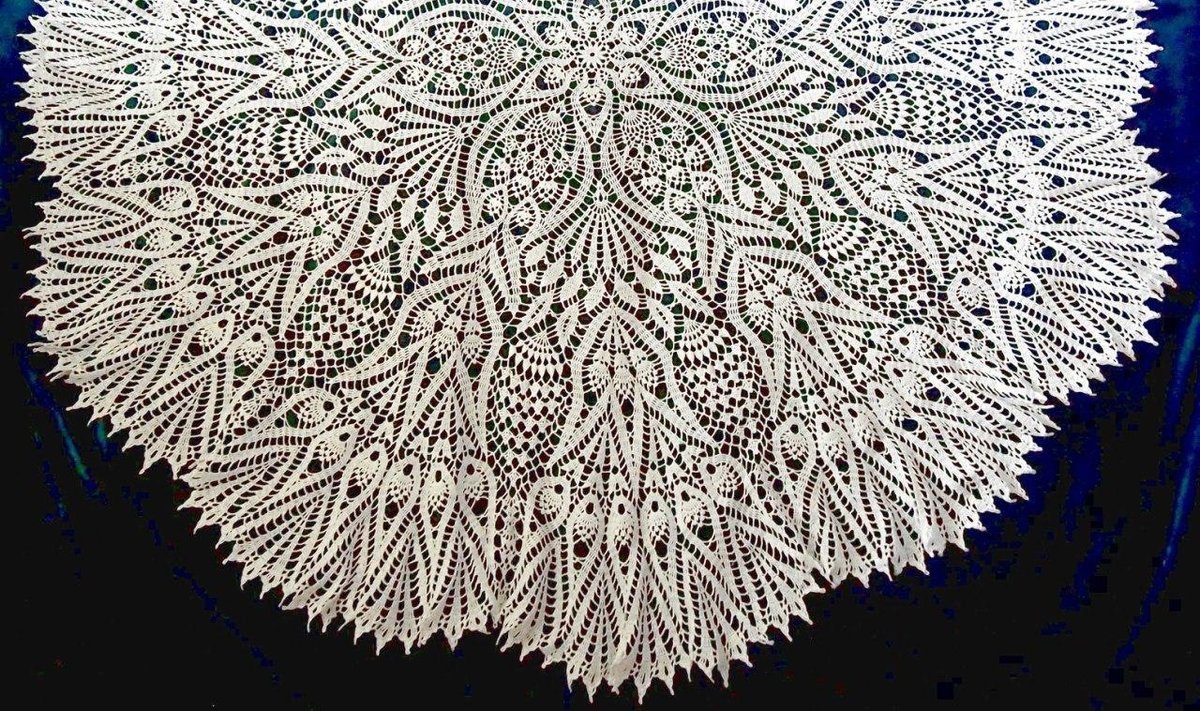
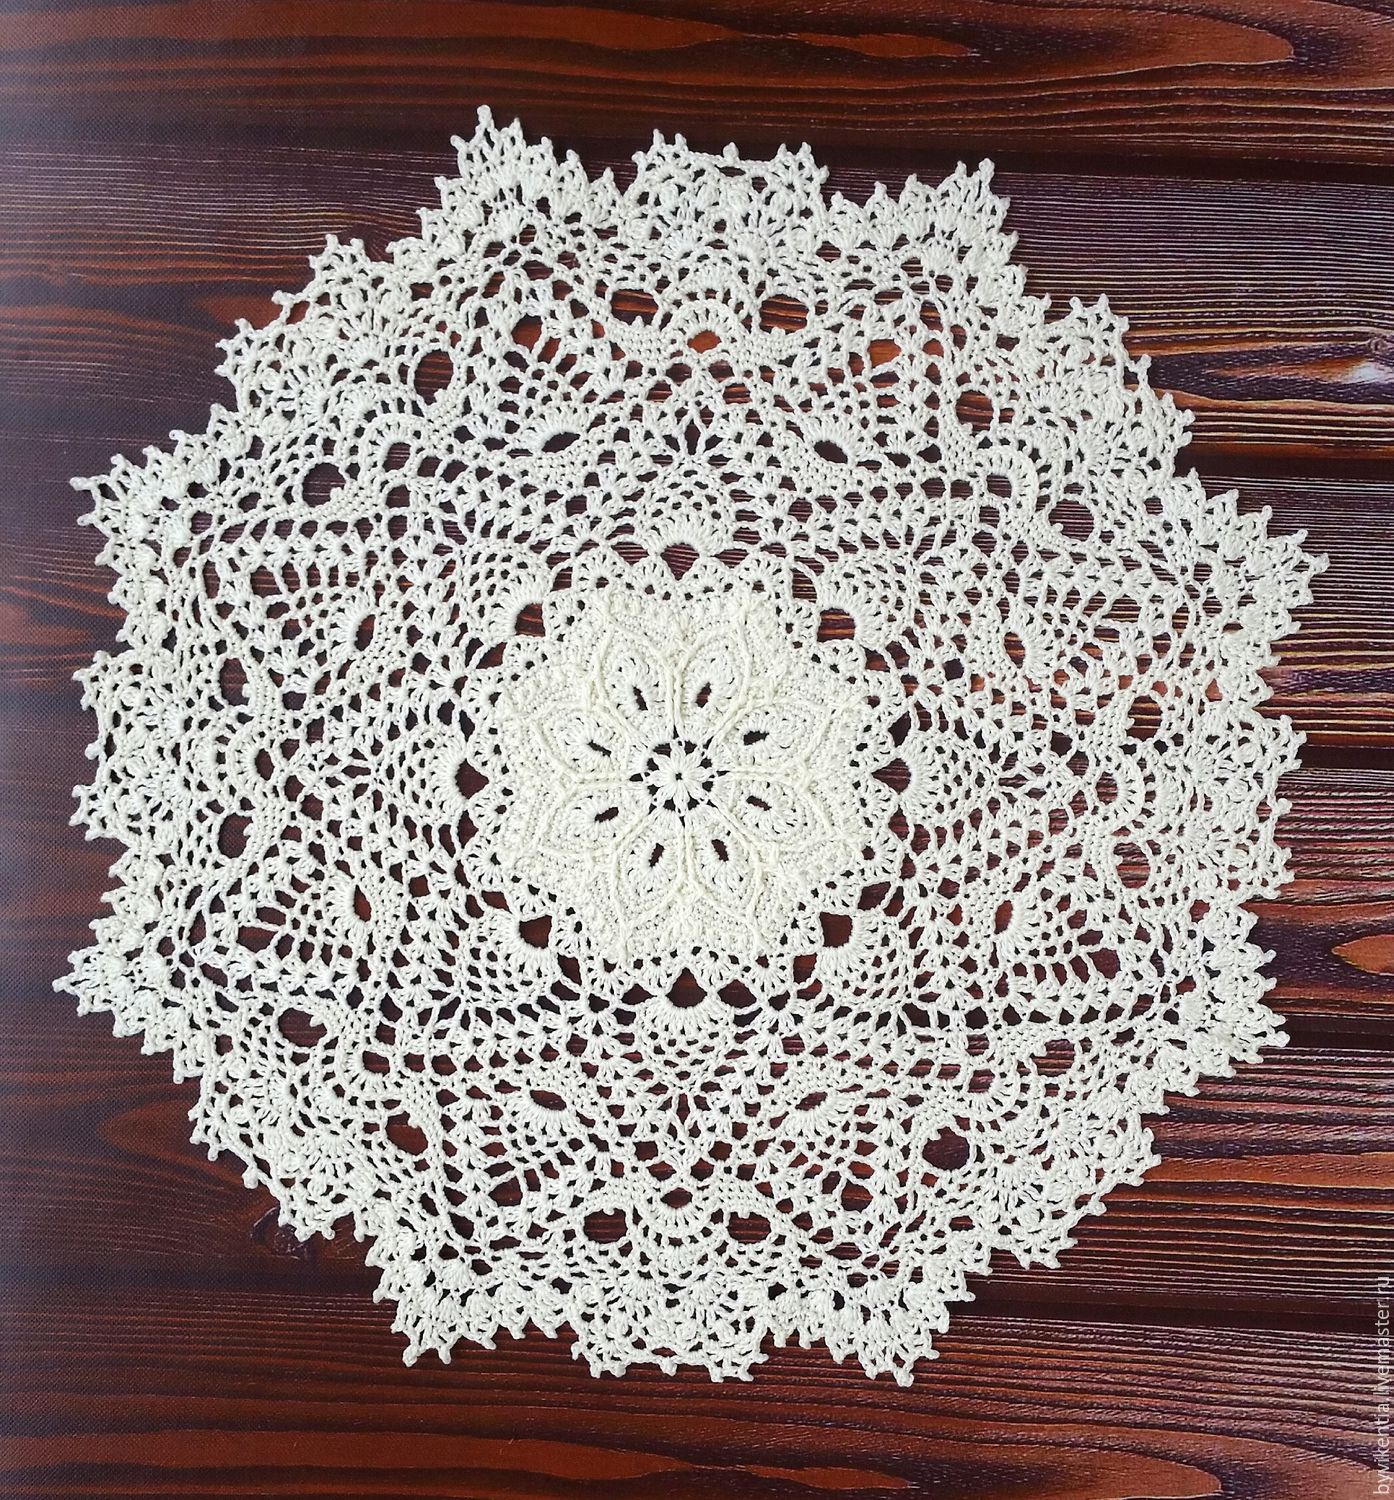
Round napkins
The size of the circle is determined at the stage of creating the middle of the product. That is, if 8 loops were initially taken, then judging by this diagram, the napkin will have a diameter of 80 cm.
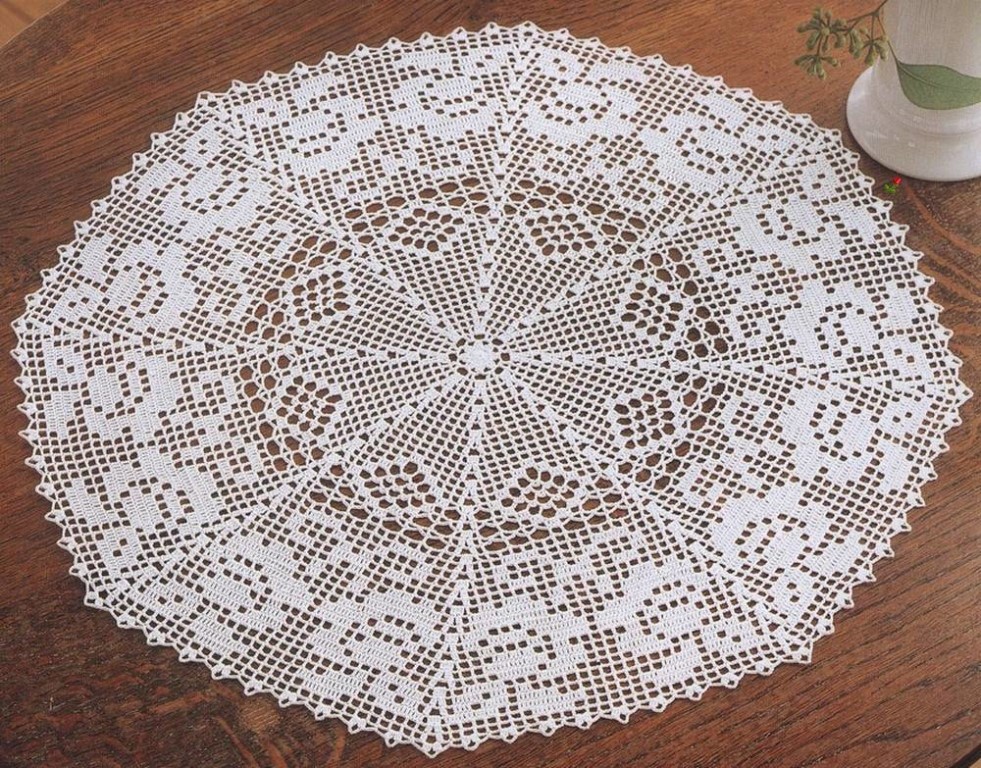
8 VP are cast on the needle and closed into a regular circle using a slip stitch. Then on the 1st row 3 VP are made for lifting, 1 StCH is placed in the ring, and the first stage ends with a SS.
The second row is connected to the previous one: 3 VP for lifting, 1 StCH is placed in the first VP of lifting, then 2 StCH are knitted in StCH of the first row, and all ends with SS.
Third row: 3 VP for lifting and 1 VP for further transition, 1 StCH into the previous StCH, finish with a row of SS.
And only after this, knitting of the main part of the napkin begins. 51 rows are allocated for this stage.
Conclusion
Creating beautiful napkins and tablecloths for your home is not that easy. Firstly, you need to have a lot of free time. Because it is not easy to knit a 100 x 120 cm tablecloth in one evening using one hook. And secondly, you need a lot of experience and knitting skills.
Of course, you can find a description of the process of creating a napkin or a diagram on the Internet, but it is unlikely that you will be able to repeat the drawing the first time. Therefore, it is recommended to make "rough" versions of some drawings from diagrams on other hooks. In order to repeat them without errors on the product itself.
Important! In addition to the fact that such tablecloths are quite beautiful and strong, they also require special care. In order for the product to retain its shape longer and the threads not to rub off, after finishing the work it must be washed and starched to fix the result of your work.
VIDEO: Do-it-yourself filet knitting.
50 variations of napkins using the filet crochet technique: