With the appearance of a child in the family, caring mothers and fathers try to buy the best for him. Young mothers prefer to make certain things themselves. It is not difficult for novice needlewomen to sew a baby blanket with their own hands, showing a little imagination.
Content
- Cutting out a blanket
- Necessary materials
- Sewing technique
- Sewing a blanket for discharge
- Sewing a patchwork quilt with your own hands
- Patchwork Blanket Starter Kit
- Methodology for sewing a children's patchwork blanket with your own hands step by step
- Sewing a bonbon blanket
- Knitted baby blanket
- Knitting pattern for baby blanket
- Video: How to sew a bombon blanket for newborns with your own hands
- 50 photo ideas for sewing baby blankets with your own hands:
Cutting out a blanket
Before cutting, take measurements. The dimensions are taken depending on the size of the crib and the purpose of the blanket. To make it hang gracefully from the crib, add an allowance of 15-25 cm to the width and length. There are standard blanket sizes:
- 90x120 cm;
- 110x140 cm;
- 143x215cm.
There are non-standard sizes:
- 90x90 cm, blanket for a stroller, cradle;
- 120x120 cm, blanket for discharge from the maternity hospital, for walks;
- 150x130 cm, blanket - sleeping bag in the form of a bag, later useful as a simple blanket.
Make a blanket pattern by drawing a rectangle using the measurements you took, with a 1.5 cm seam allowance on all four sides.
Necessary materials
Choose fabric according to the following criteria:
- wear-resistant and durable, capable of withstanding repeated washing;
- natural and antistatic (chintz, calico, linen, silk);
- not be the cause of allergies in the baby;
- no toxic dyes;
- All layers must be breathable.
For the bottom of the blanket, choose cotton fabric. It is absolutely natural, breathable, but not wear-resistant. Silk and twill are soft to the touch, but they require very delicate care. The most acceptable options are cambric, satin, fleece, flannel, calico, bamboo fabric, meets all the specified criteria. The top of the blanket can be sewn from any fabric, as long as it is soft and natural.
The following fillers are used.
- Down - lightweight; soft; air circulates through it, but it clumps; it has a characteristic smell.
- Sherstepon – soft; absorbs moisture well, stays dry; not recommended for machine washing.
- Sintepon is lightweight; does not provoke allergic reactions; washes well; is not expensive.
- Hollowfiber – resistant to pilling; very warm; does not deform during washing; more expensive than synthetic padding.
- Bamboo fiber - meets all criteria; does not clump.
The most popular types of filler are synthetic padding and holofiber.
Calculate the amount of fabric as follows: take two lengths according to the measurement, take into account the seam allowance of 1.5 cm on each side and 10 cm for shrinkage, i.e. a total allowance of 13 cm. Calculate the amount of filler depending on the size of the blanket and the number of layers.
For sewing you will also need threads No. 40-60, a machine needle No. 90-100, and pins.
Sewing technique
Let's look at how to sew a baby blanket from padding polyester with your own hands, step by step.
- Wet the fabric, dry it, iron it with a hot iron with steam to avoid shrinkage.

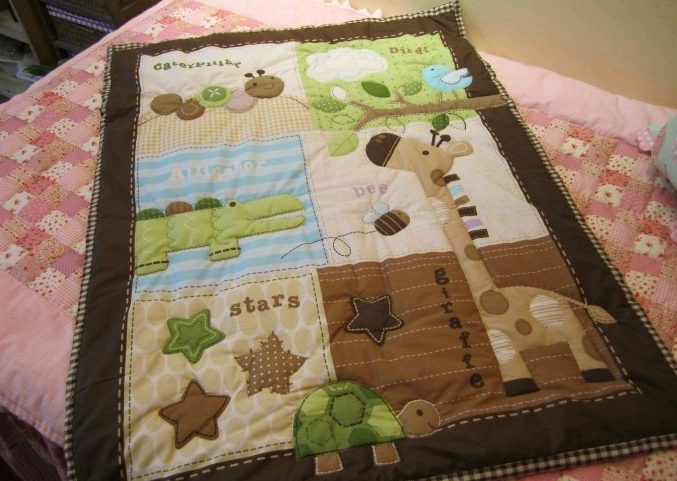
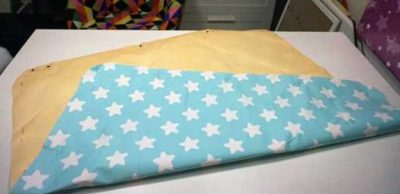
Place the fabric on a flat surface, smooth it out, pin the pattern to it and cut out according to the pattern. - Draw two rectangular or square shapes according to the dimensions, taking into account seam allowances, and cut them out.

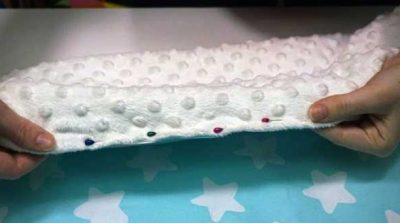
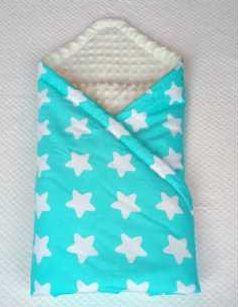
Cotton fabric detail with stars 
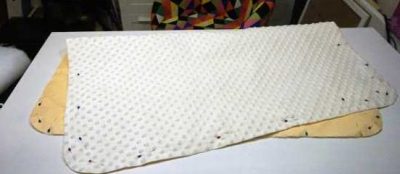
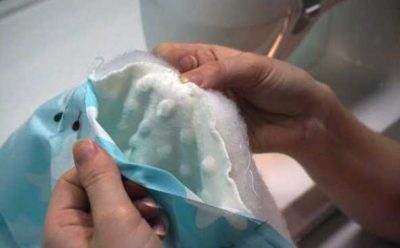
Detail of soft Minky plush - Prepare the synthetic padding of the required size in one or more layers, as desired.

Detail for a blanket made of synthetic padding 
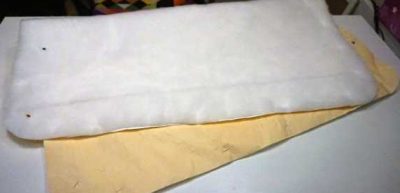
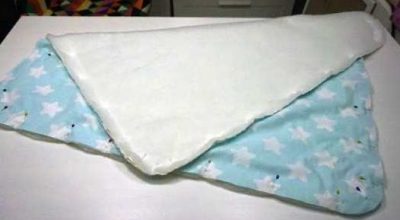
We put the parts together, overlapping each other, the first layer is synthetic padding, the second layer is plush, the third layer is cotton - Place the two pieces right sides together and sew three sides using a sewing machine.

Carefully pin all three layers together. 
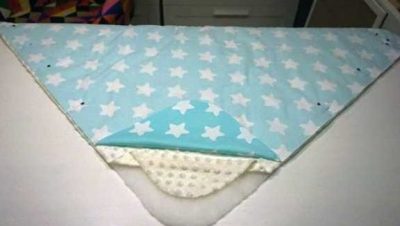
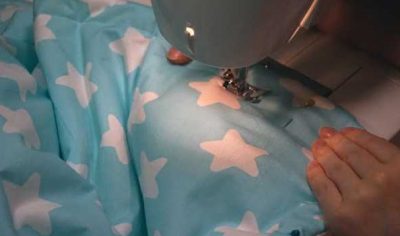
We sew on the machine, stepping back from the edge about 1 cm - Turn the blanket over to the unstitched side and iron along the seams.

Leave a 15-20 cm gap so that you can turn the blanket right side out - Place the synthetic padding into the blanket and spread it evenly.
We turn the blanket right side out and pin the remaining slit, then sew it by hand. - To secure the padding, quilt on the machine along straight lines or along patterns applied with a stencil. When sewing, make the foot pressure minimal and the stitch the largest. This will make it easier for the blanket to pass under the foot. Move the blanket with your hands.

We stitch the blanket, stepping back from the edge a few centimeters, first pinning the blanket with pins along the edges - Fold the unstitched side inward and sew with a blind stitch.

For a plain blanket, you can make a pattern

A baby blanket made of holofiber is sewn using the method described above.
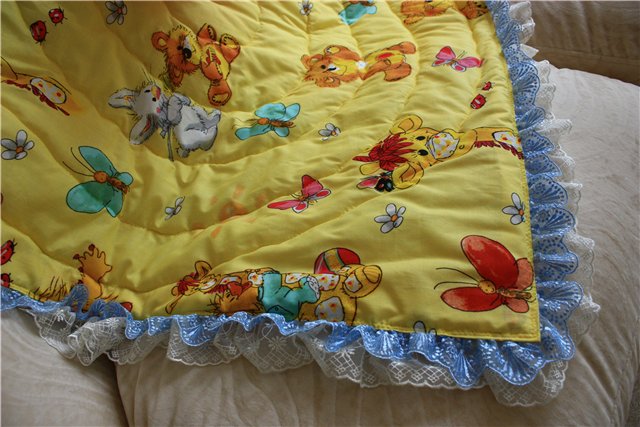
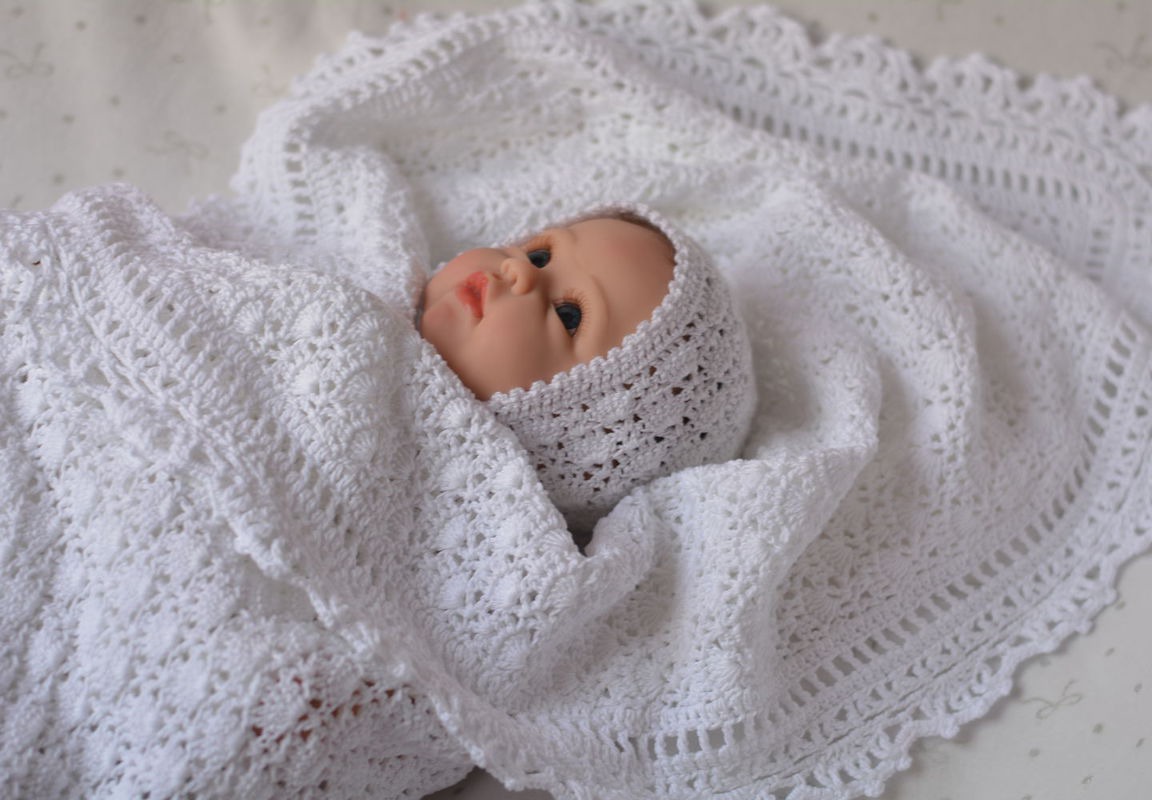
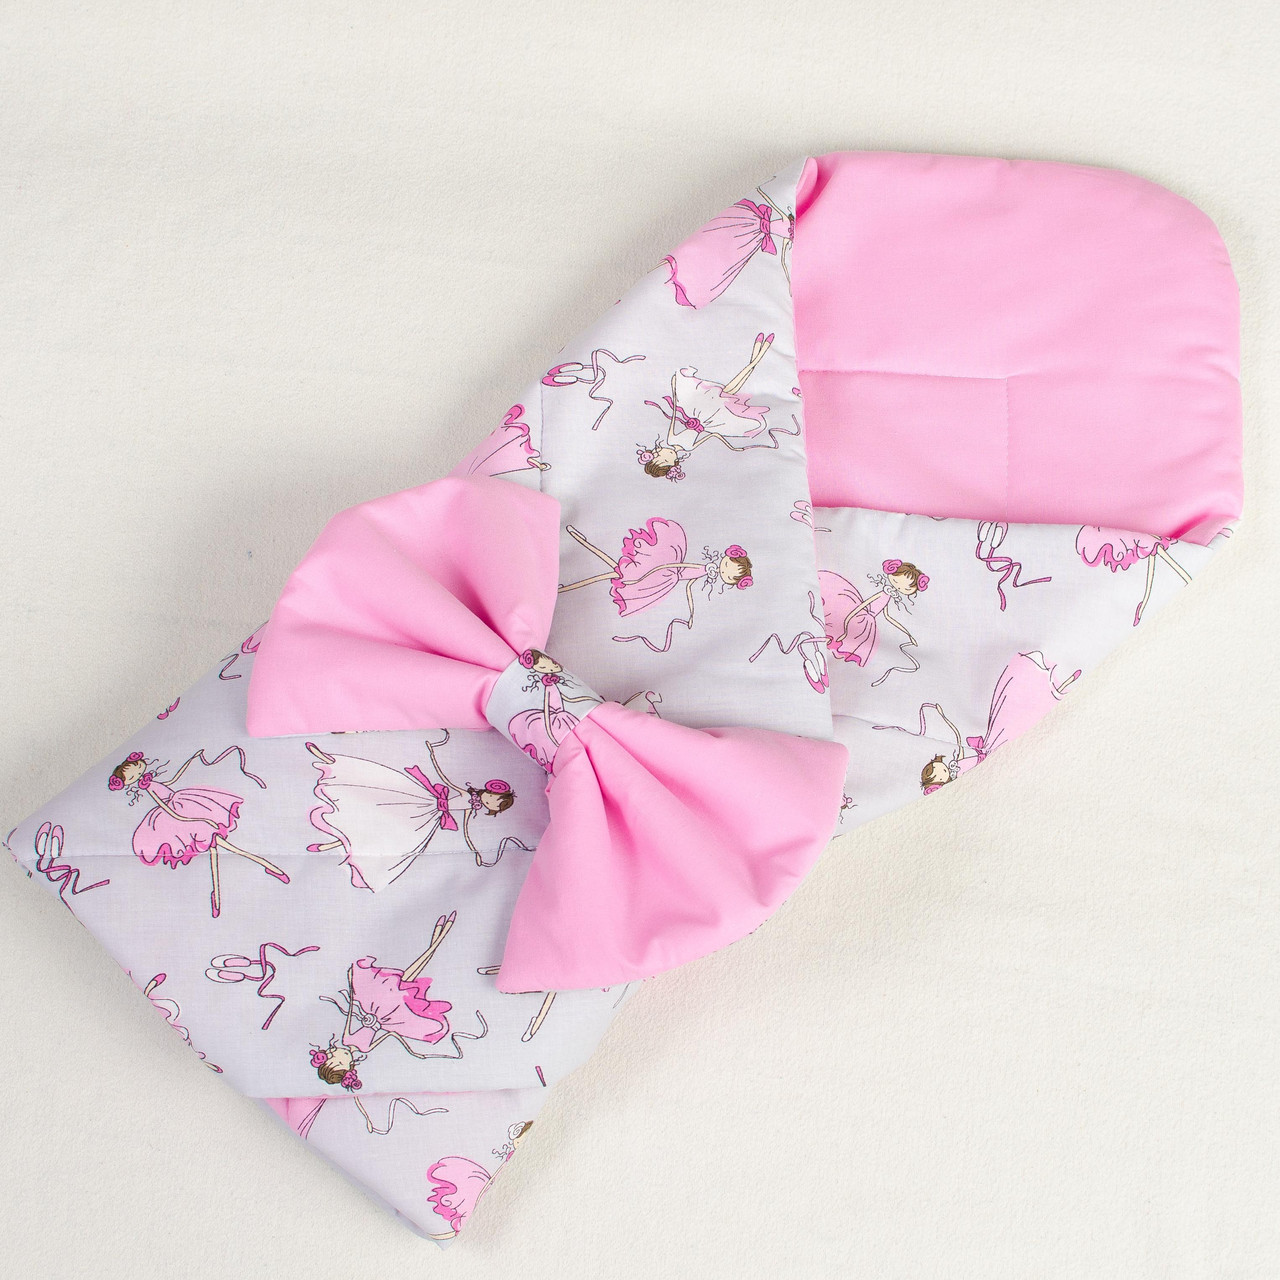
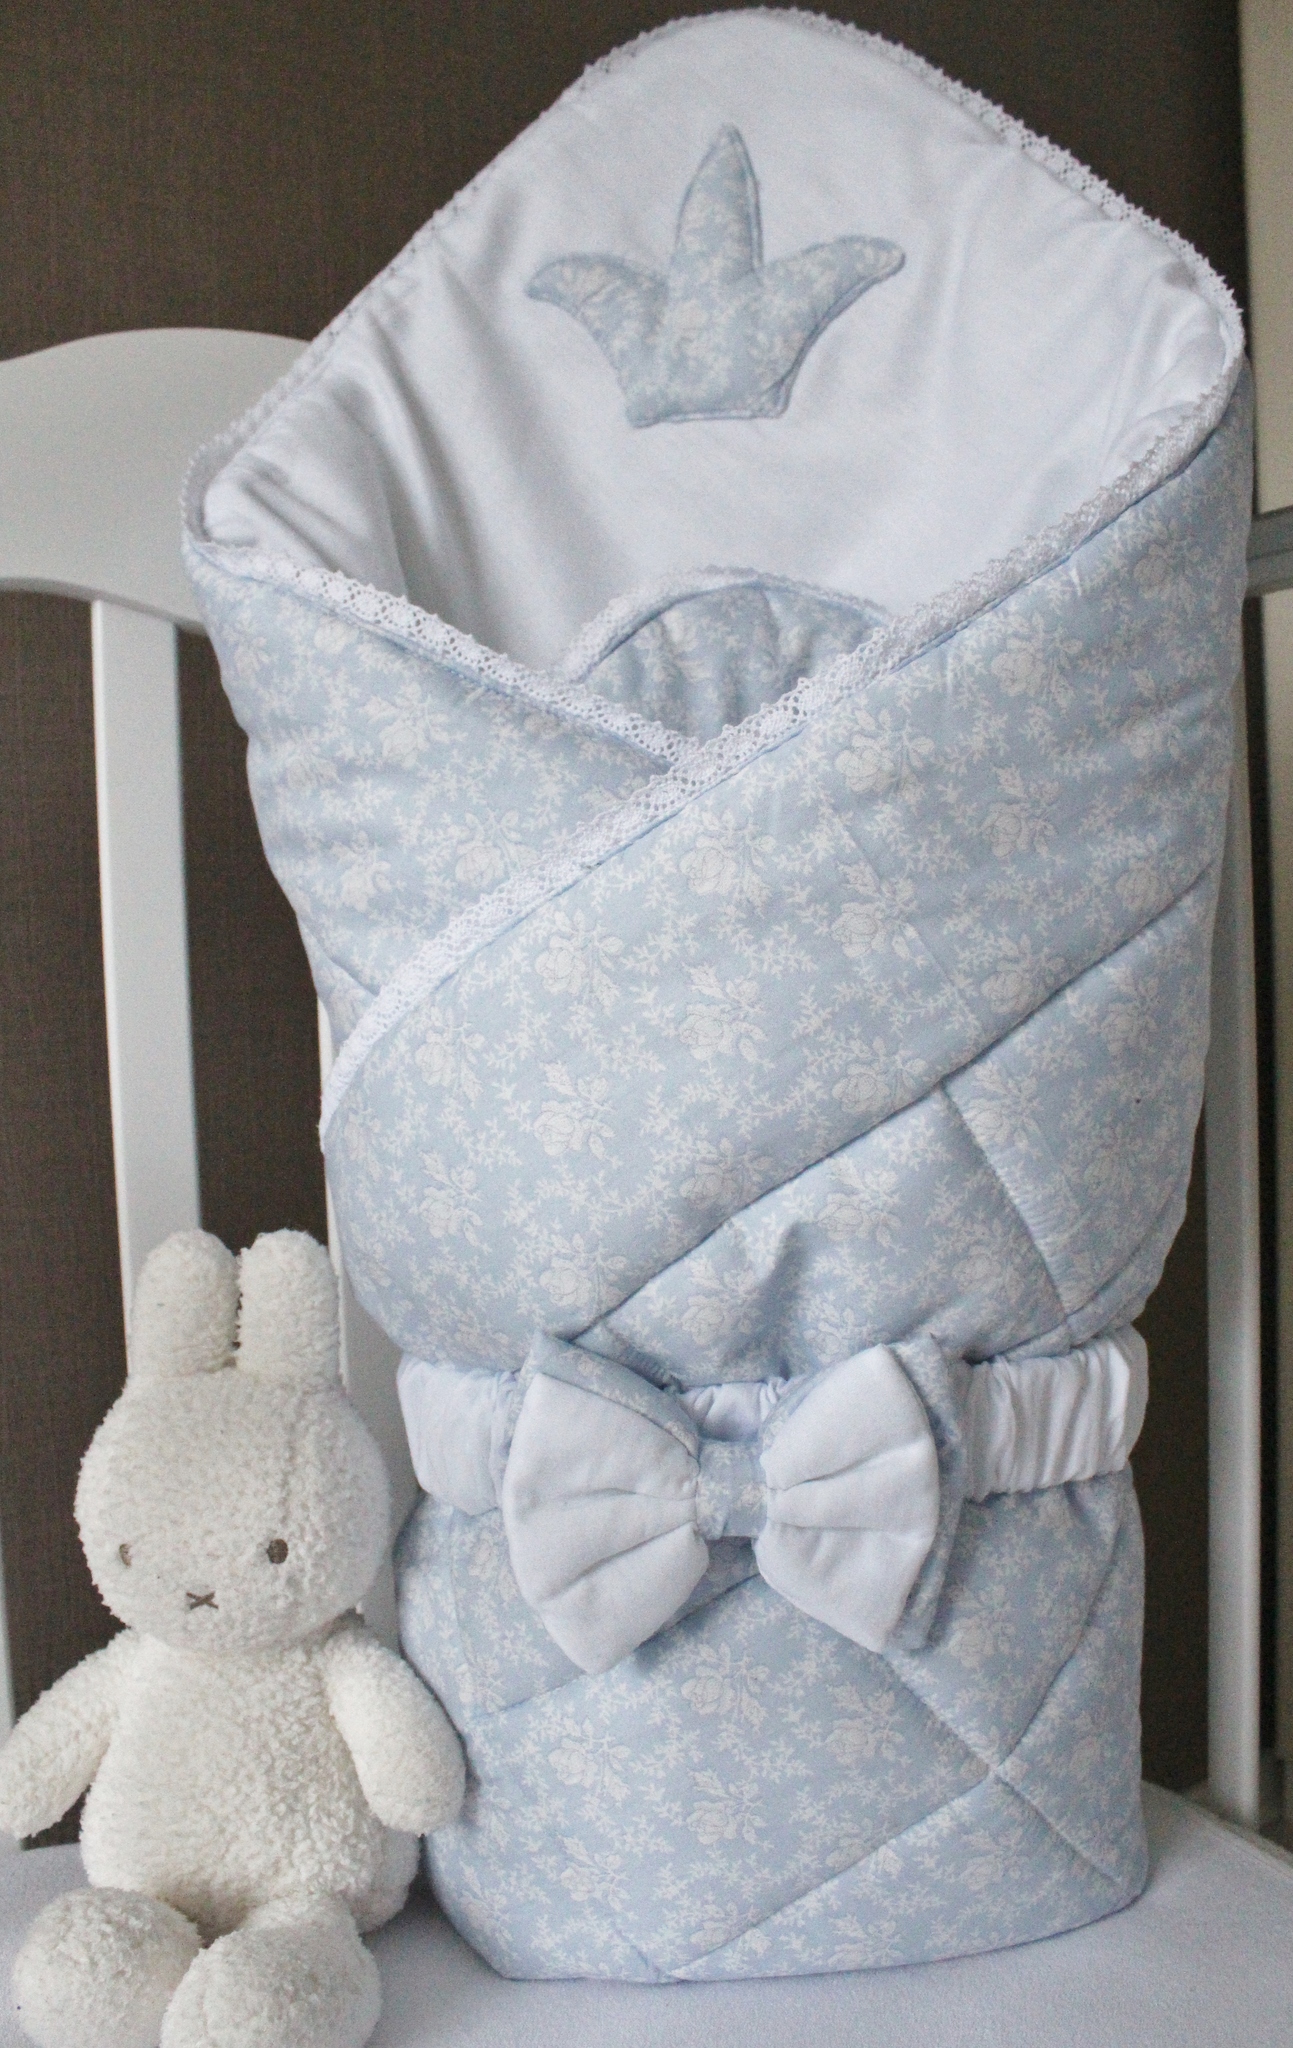
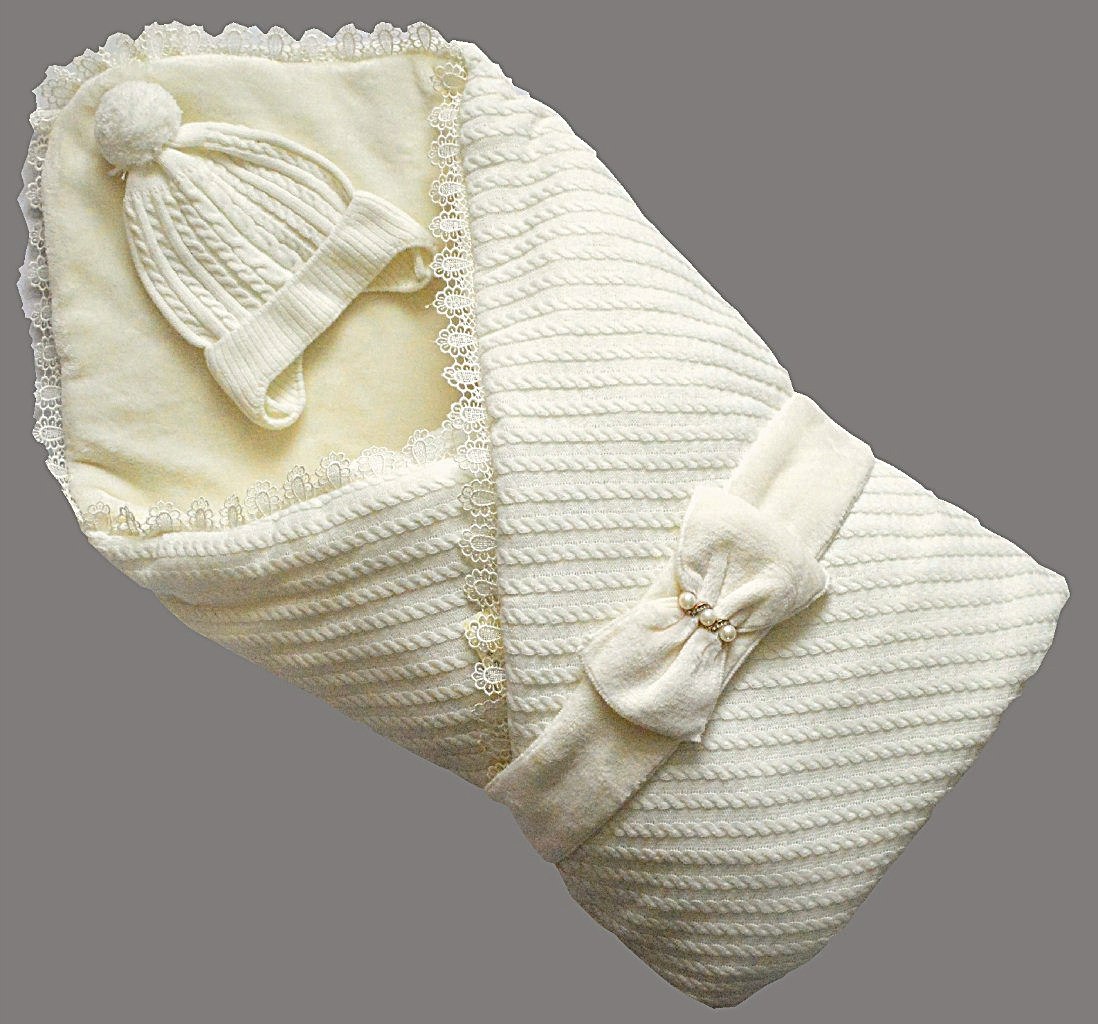
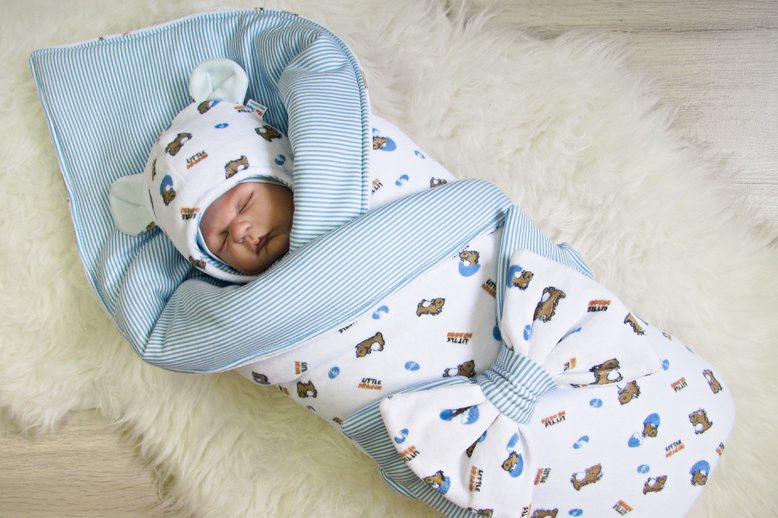
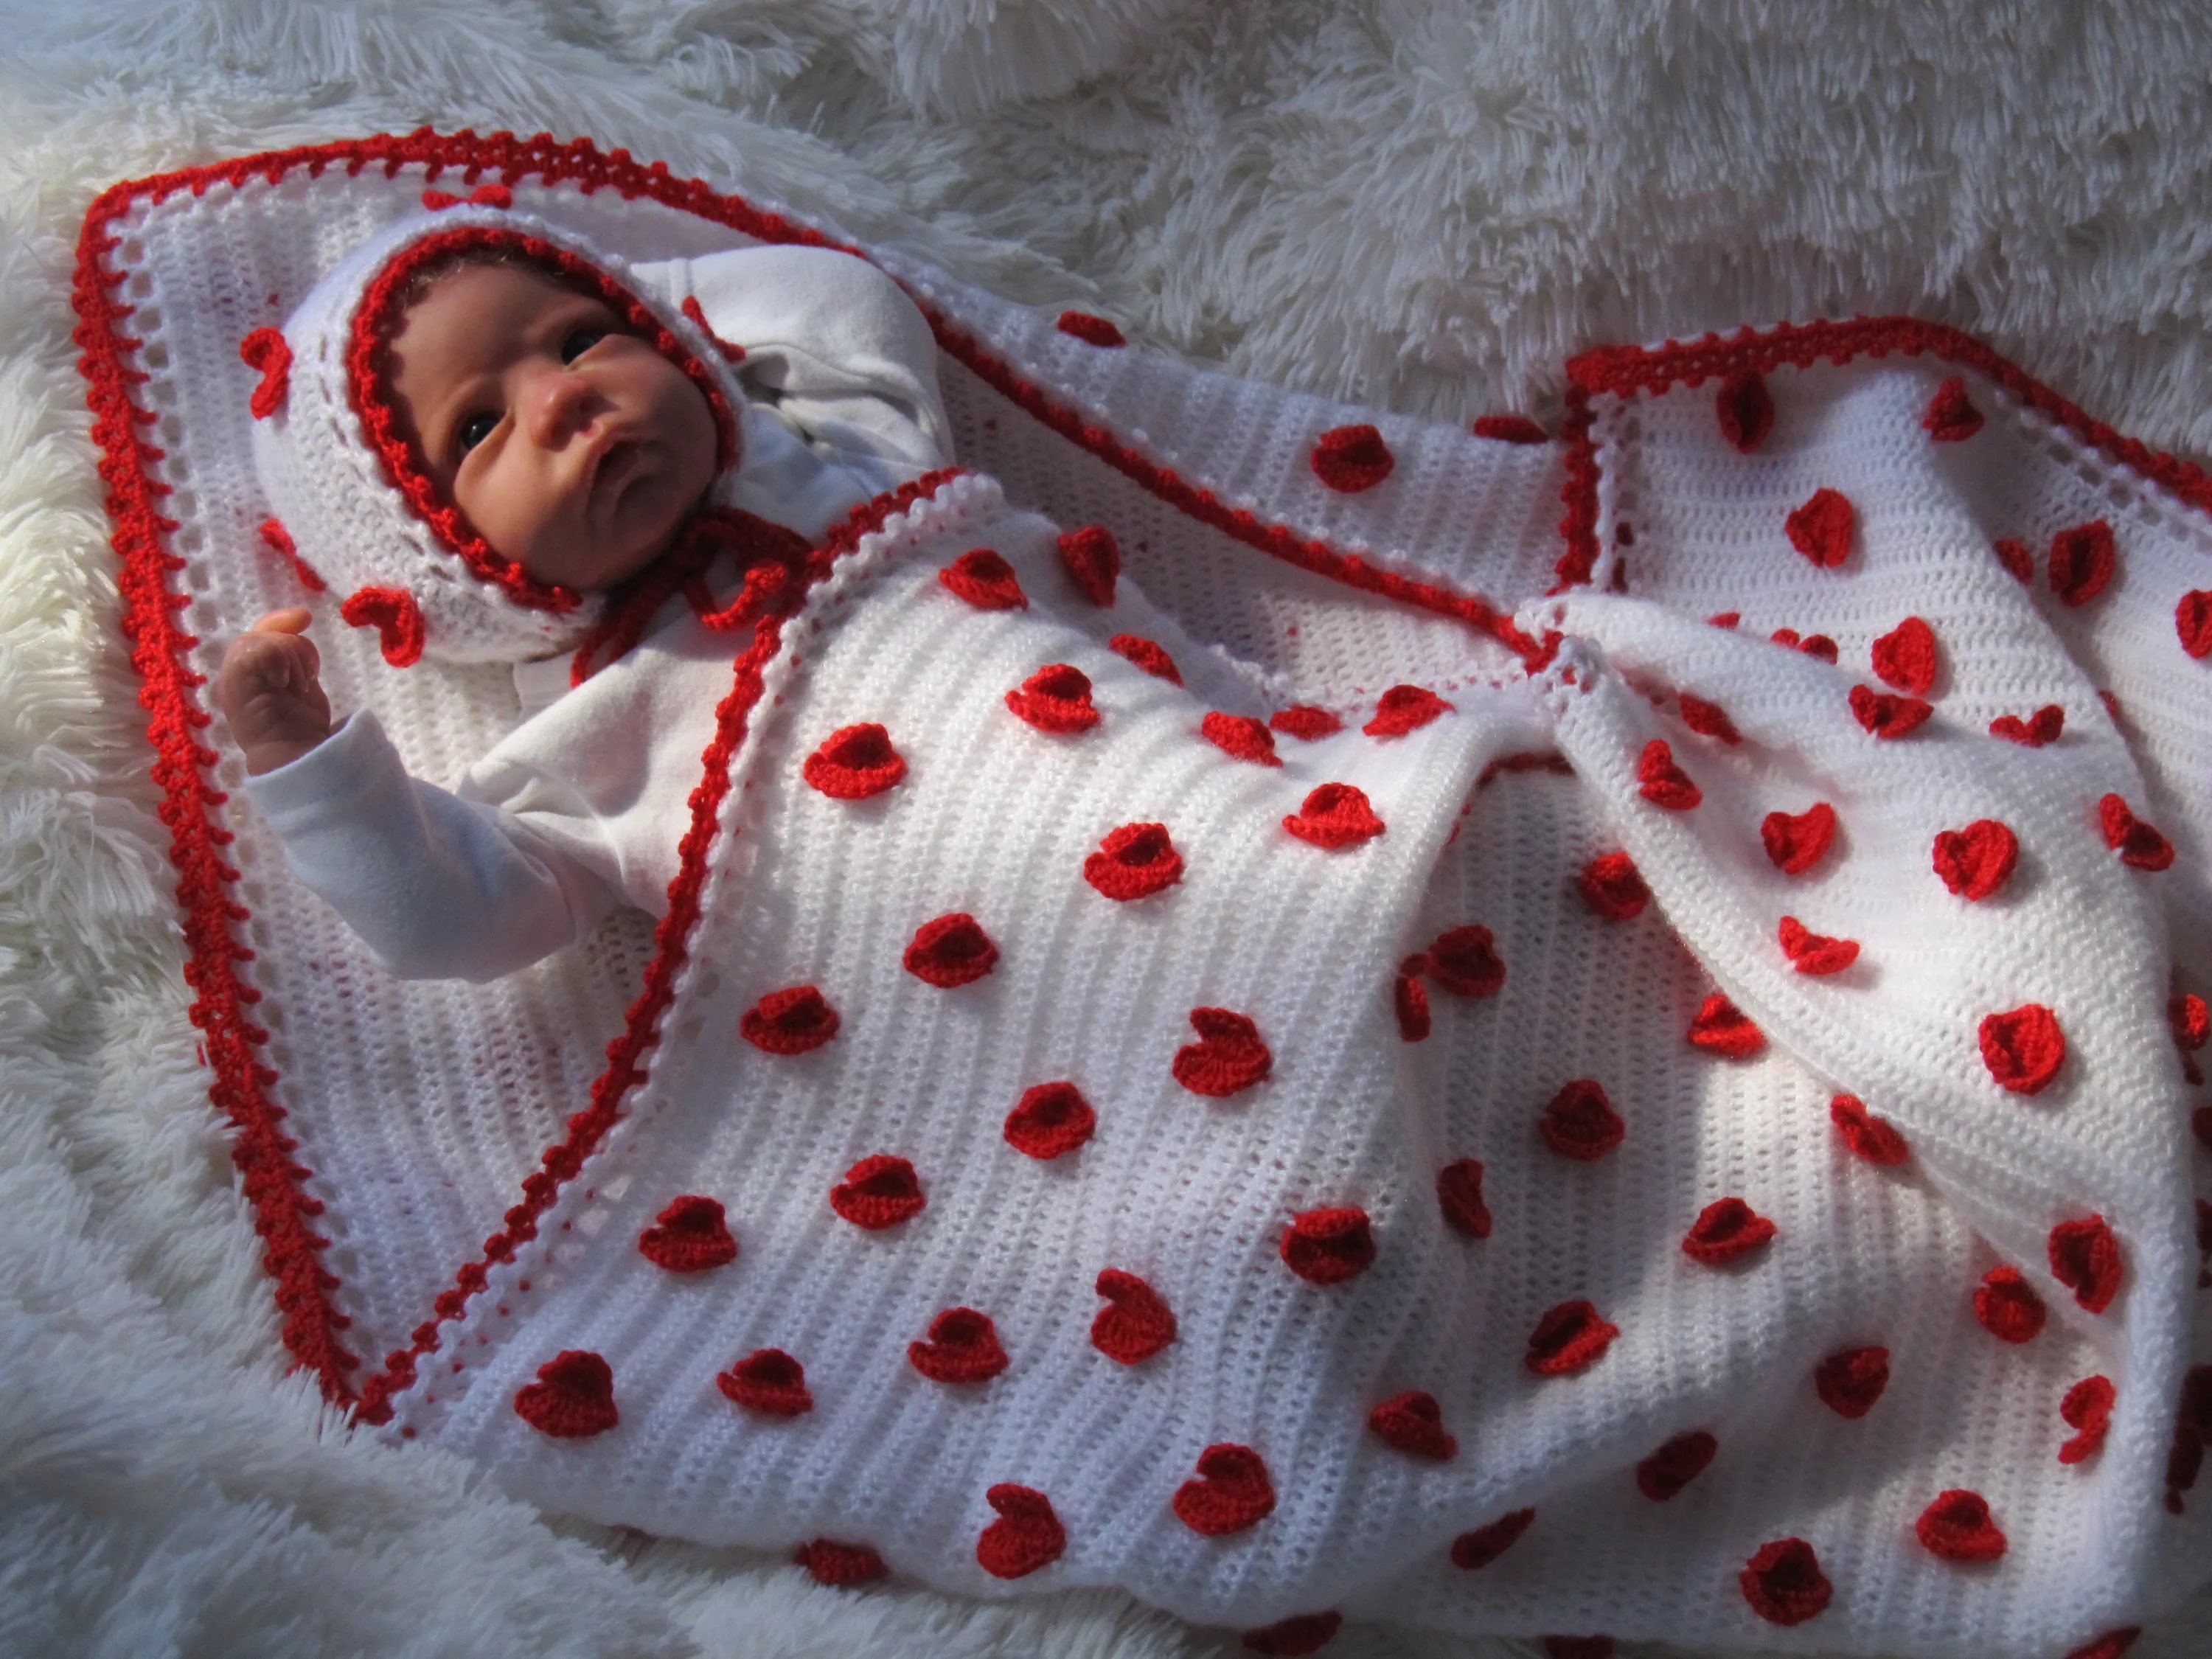
Sewing a blanket for discharge
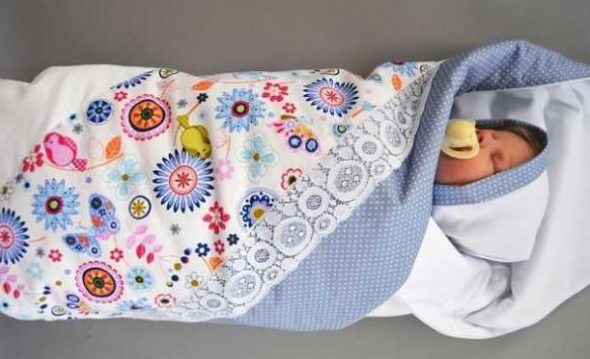
The topic of how to sew a baby blanket for discharge from the hospital is relevant in cool weather. Festive satin and lace envelopes will not work. For this purpose, a transforming blanket is sewn using the same technique as a regular quilted blanket on padding polyester. Sew two main parts of the blanket measuring 46x85 cm and 46x60 cm, two side flaps measuring 20x70 cm. Fasten the two main parts and two side flaps to the bottom of the blanket with Velcro, or sew on satin ribbons. The top of the blanket can be decorated by trimming it with lace or pleated ribbon. Such a blanket can easily be turned into a regular blanket for a stroller.
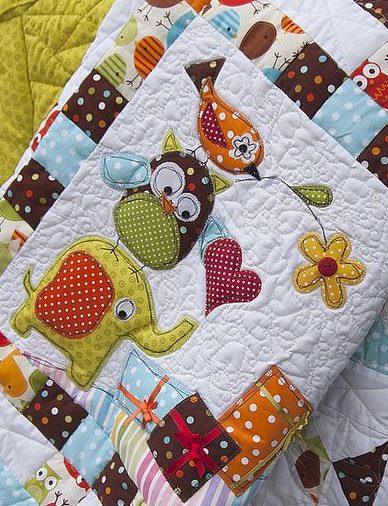
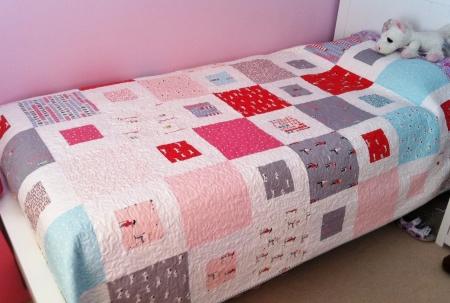
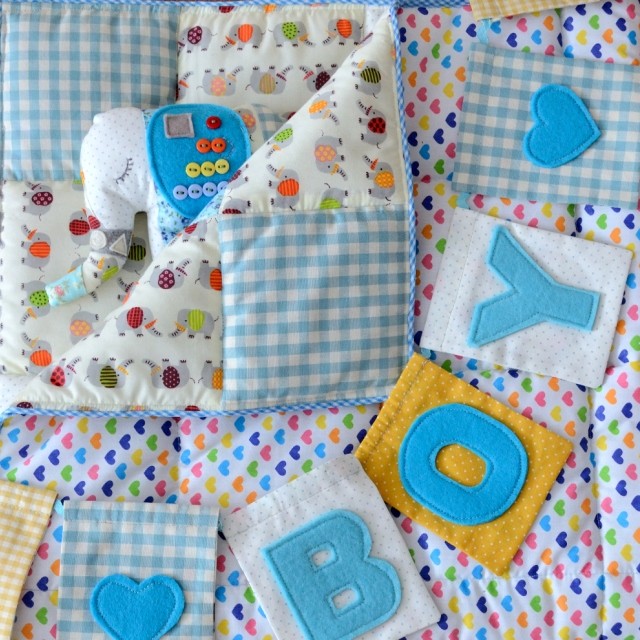
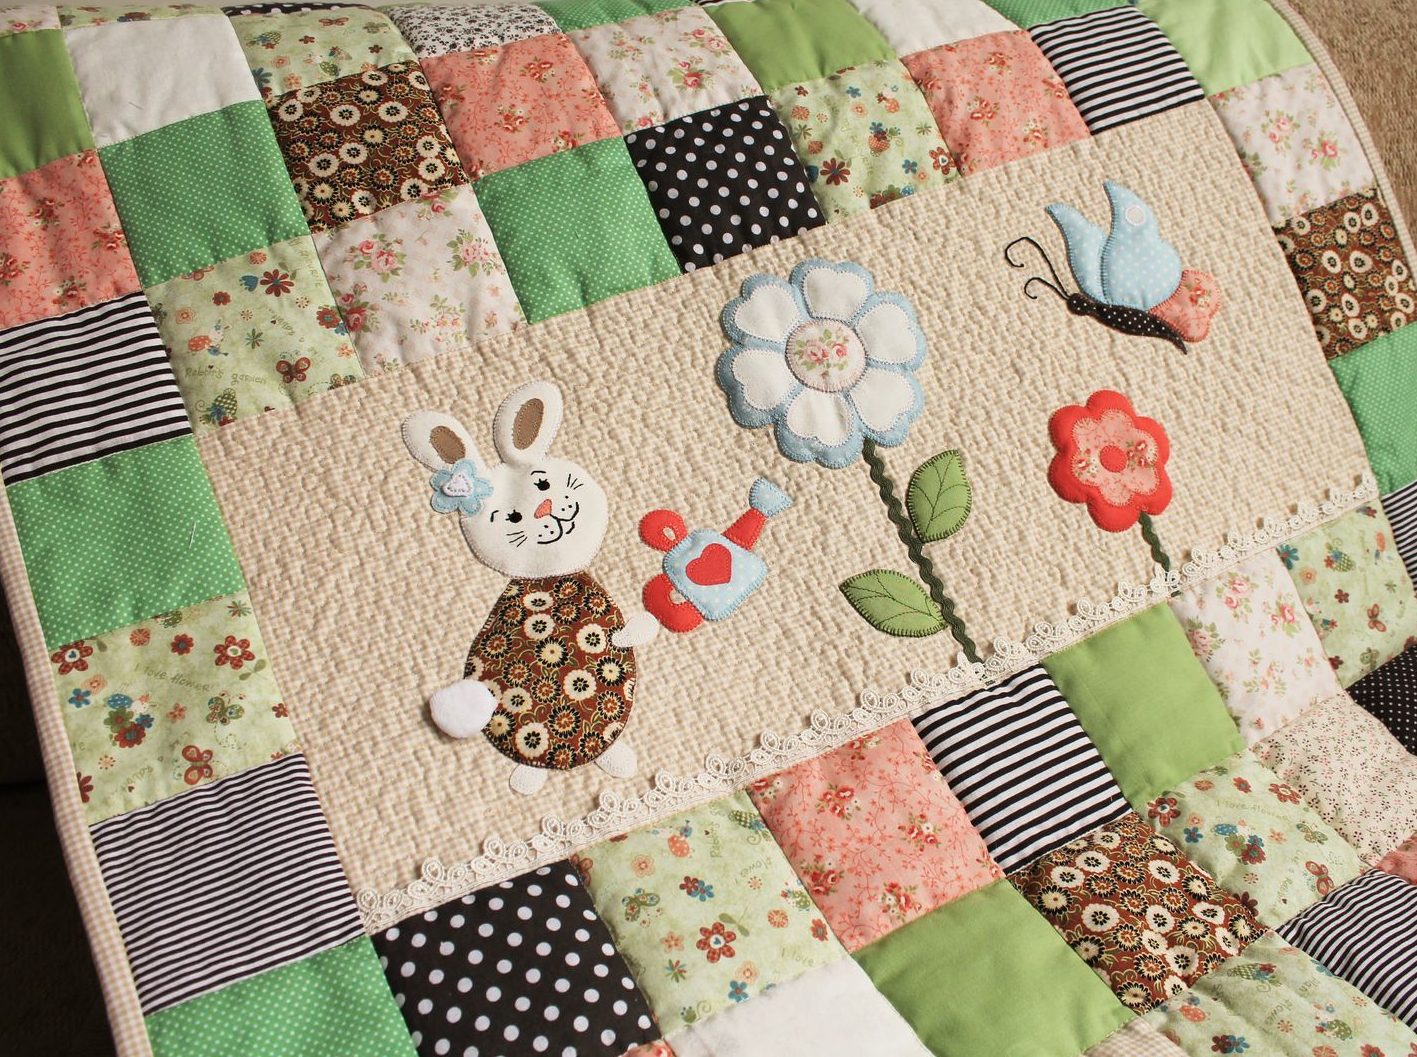
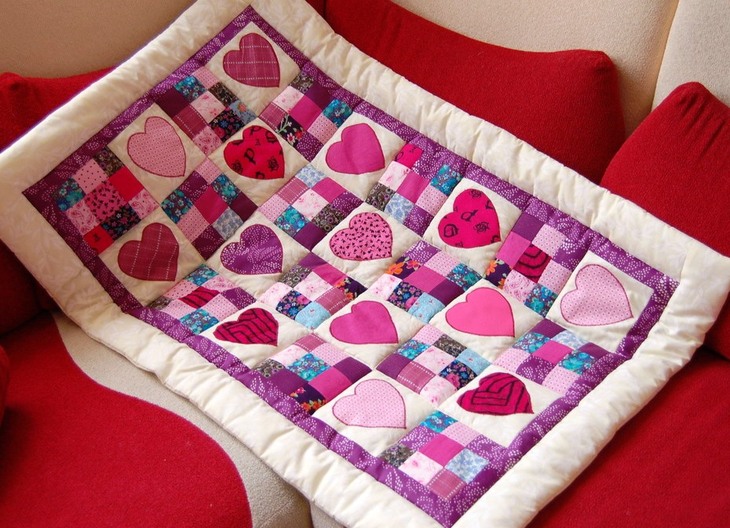
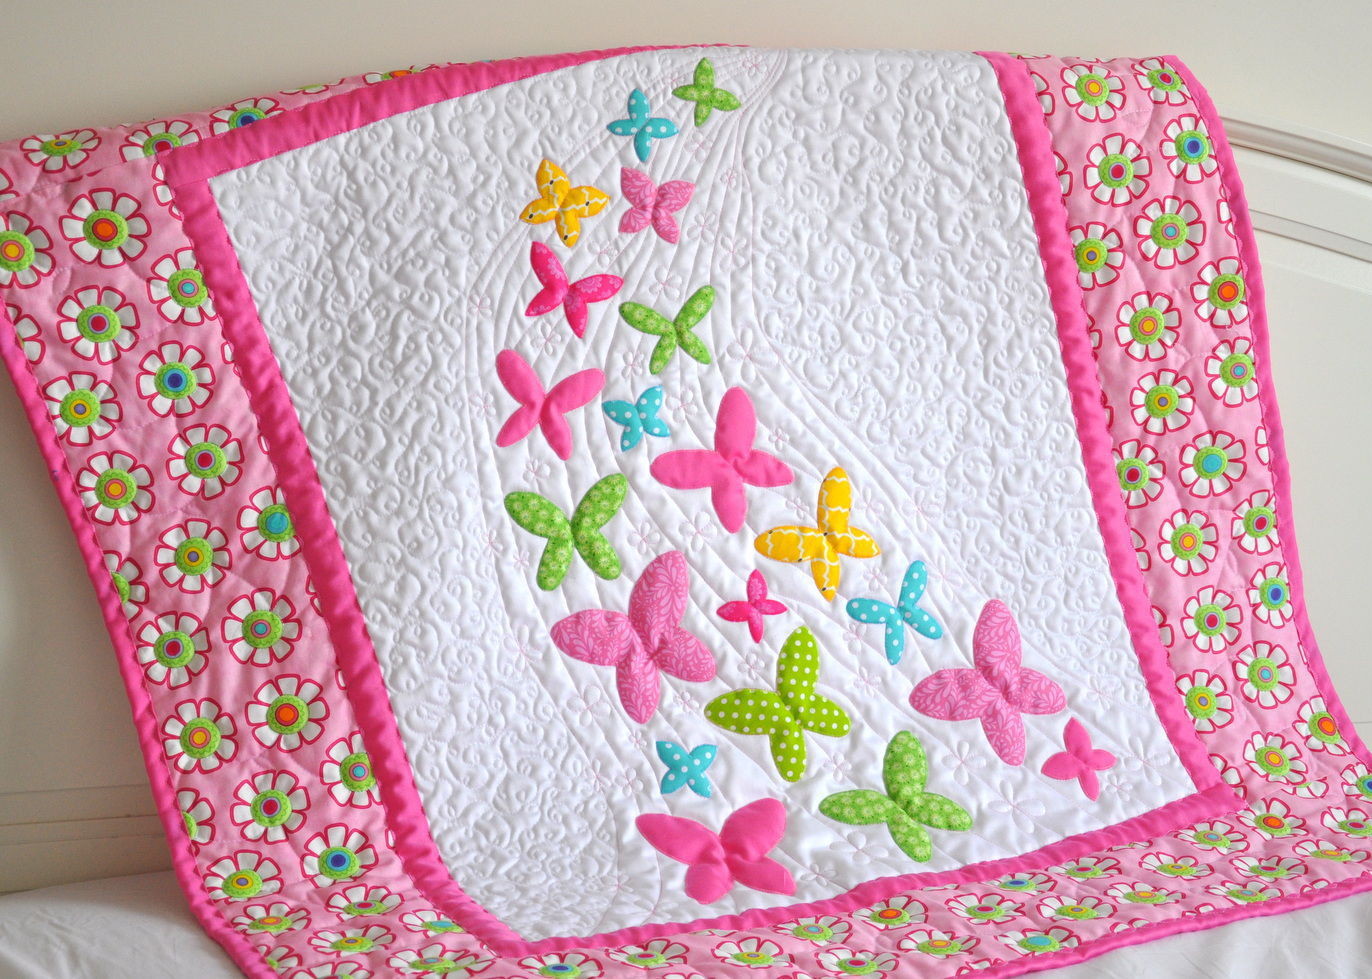
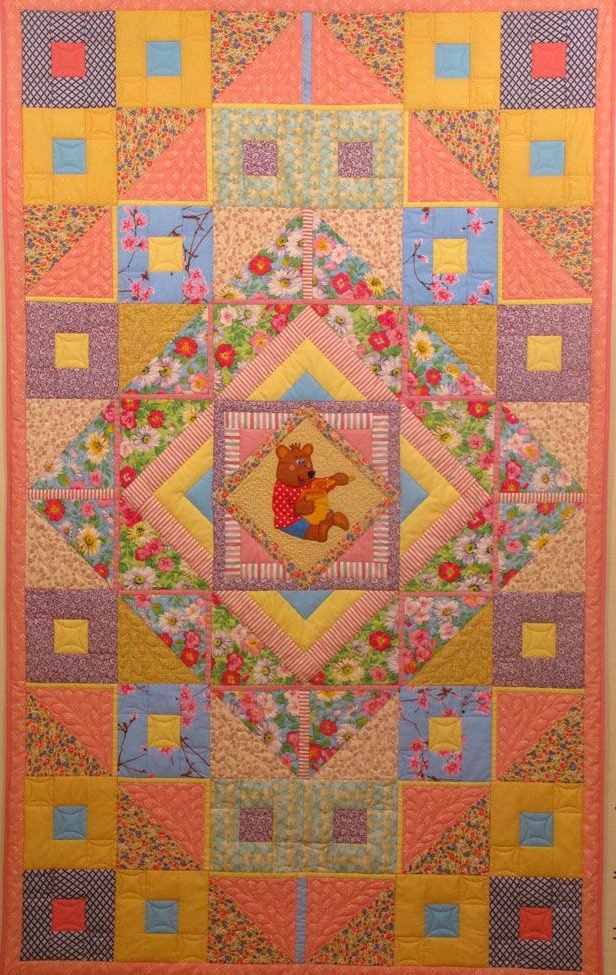
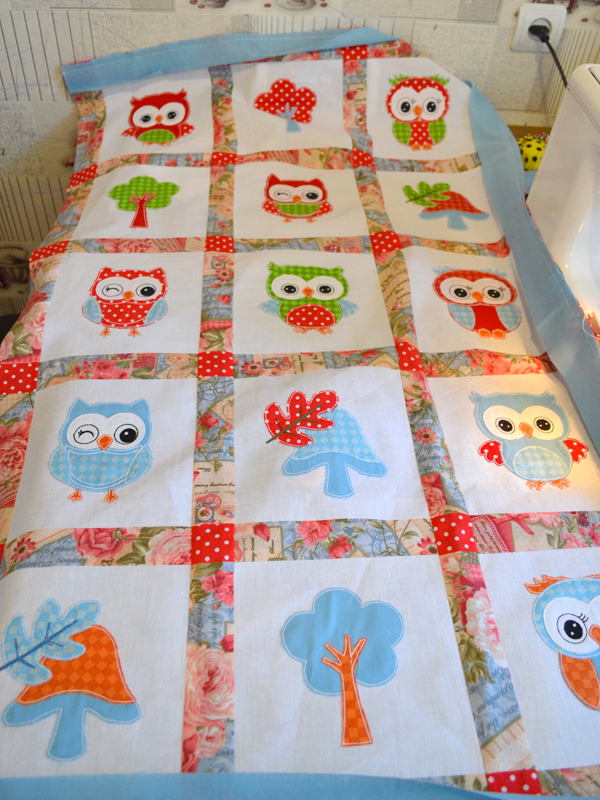
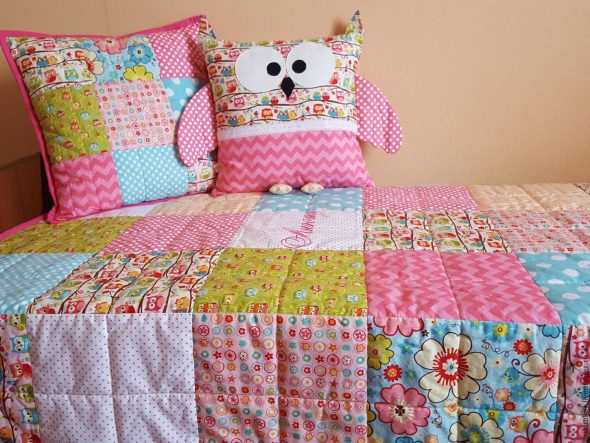
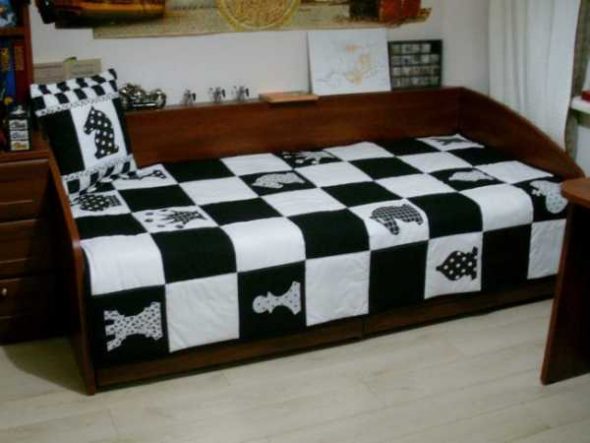
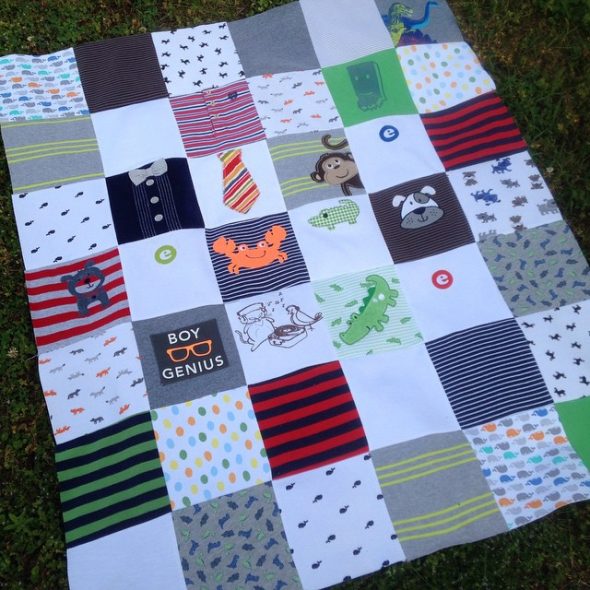
Sewing a patchwork quilt with your own hands
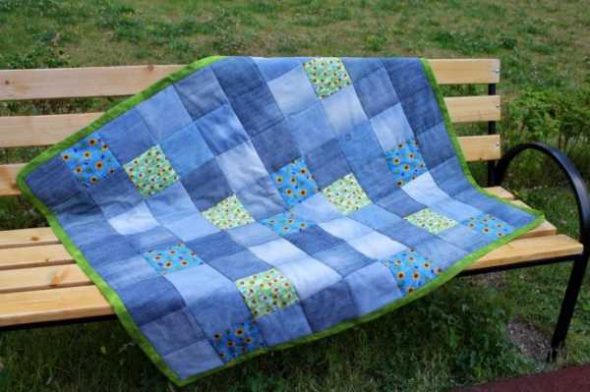
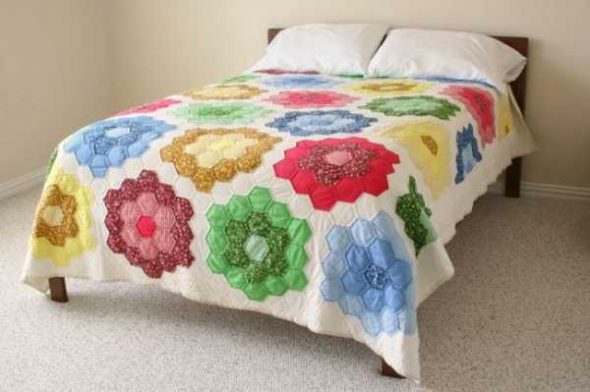
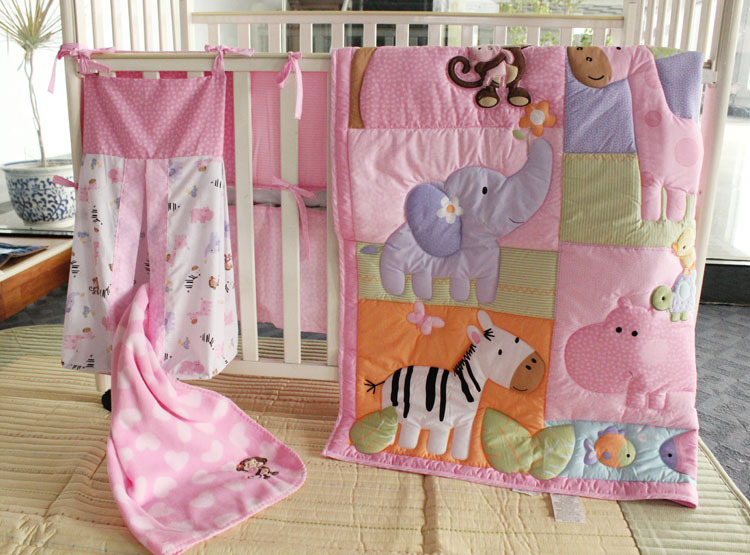
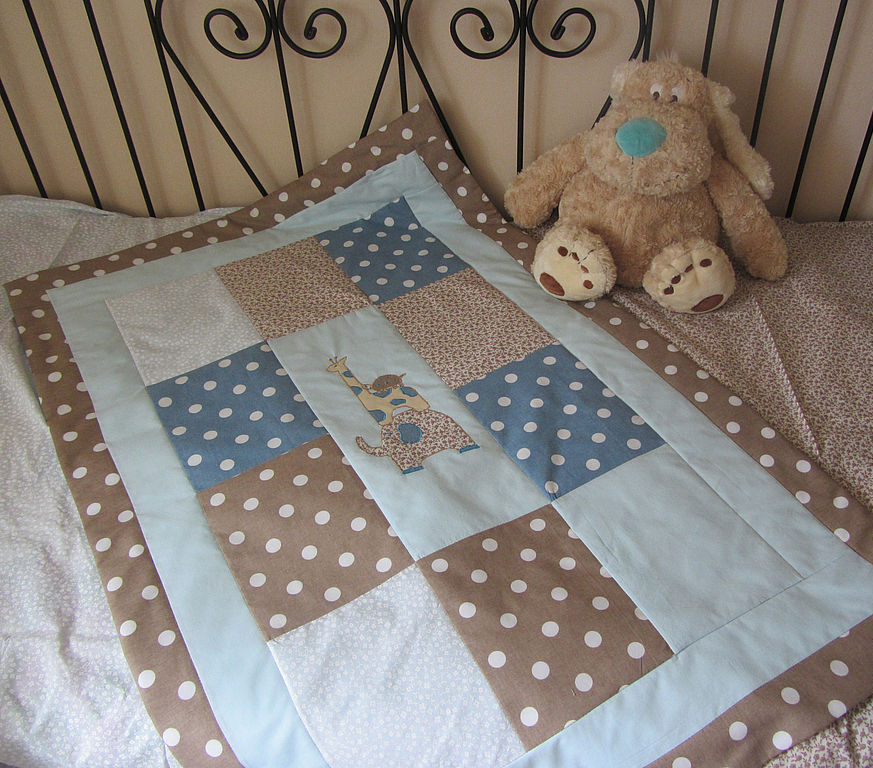
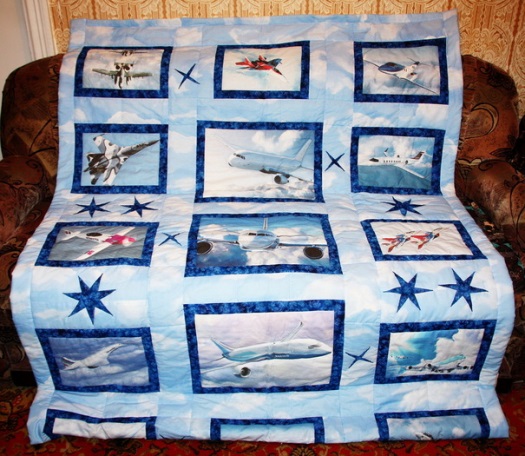
Patchwork sewing is very popular. It is not only an opportunity to use unnecessary scraps of fabric, but also a fashionable interior accessory. Unique creations are created from scraps of fabric with figures of animals, cartoon characters, with images of ships, flowers, fruits, etc. It is good to use old bright children's clothes.

Patchwork Blanket Starter Kit
To sew a patchwork blanket you will need the following kit.
- Scraps of multi-colored fabric with different patterns.
- Fabric for the bottom of the blanket.
- Filler, such as synthetic padding.
- Sewing threads of different colors to match the patches.
- Sewing machine.
- Iron.
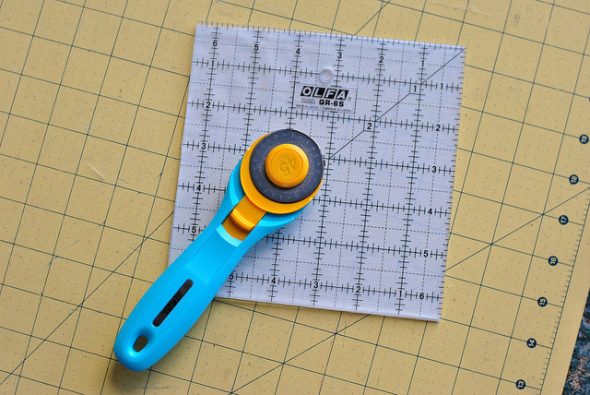
- Ruler.
- Scissors or rotary cutter.
- Pins.
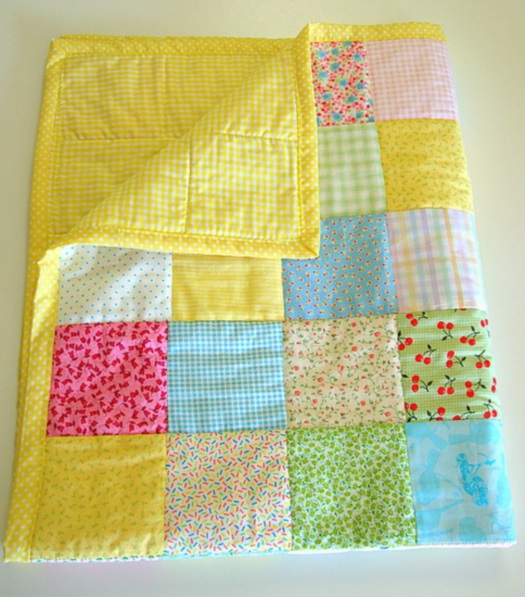
A patchwork blanket can be sewn from scraps of various shapes: square, rhombus, triangle, stripes. Squares can be of different sizes. The pinnacle of skill is considered to be the creation of patchwork sewing from a chaotic mixture of scraps. Sometimes it takes many months.
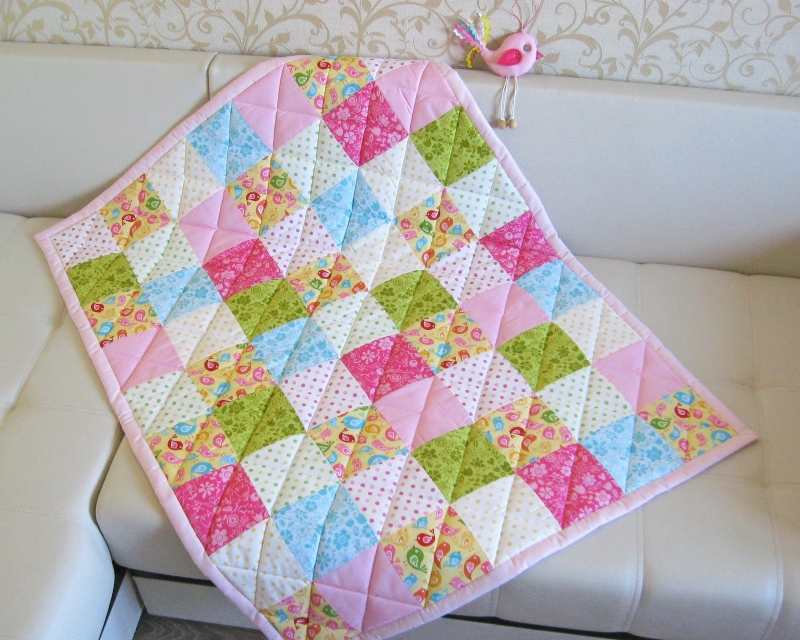
Methodology for sewing a children's patchwork blanket with your own hands step by step
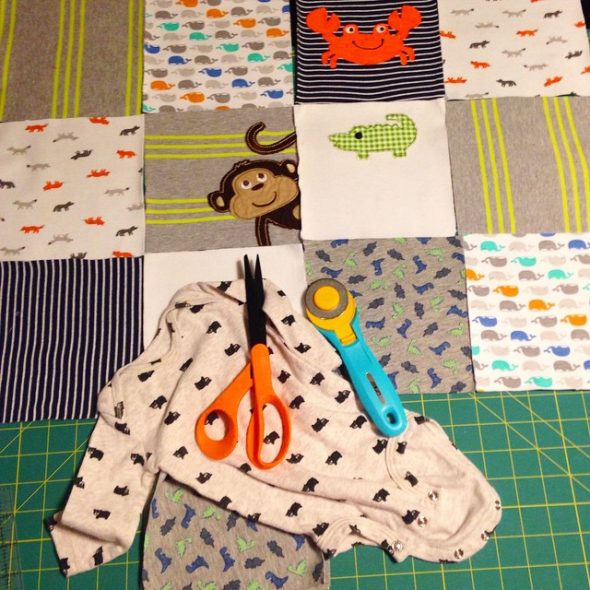
- Select multi-colored fabric scraps according to the color and texture of your choice.

From the prepared material we cut small squares 15x15 cm, using a ruler and scissors - Iron the patches with a hot iron and steam.
- Cut into squares, for example 20x20 cm.
- Lay out the scraps on a table or floor surface and make a sample.

We fold the layout of the future blanket, laying out the patches in the chosen technique, sewing the patches face to face in the form of strips of 7-8 patches - Sew the patches together in the order they are laid out on the sample. First, sew into strips horizontally across the width of the blanket.
We sew a whole piece of fabric from the ribbons, iron all the seams - Be sure to iron the resulting strips along the seams.
- Sew them together until you get the required length. Iron all seams.
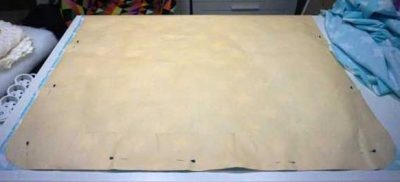
- Cut out 1 cm thick synthetic padding along the outline of the blanket with an allowance of 1.5 cm on each side.
- Connect with the fabric that will serve as the bottom of the blanket, on top - the patchwork part. Baste all the layers with your hands along the perimeter.
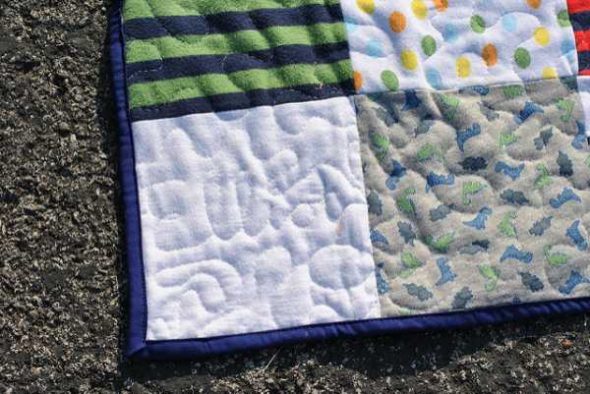
- Fold the edges of the bottom part by 1.5 cm and sew them onto the patchwork part using a machine.

Fold the edges of the top and bottom parts by 1.5 cm and sew along the perimeter, the edges can also be processed using piping - Finish the edges with bias binding.
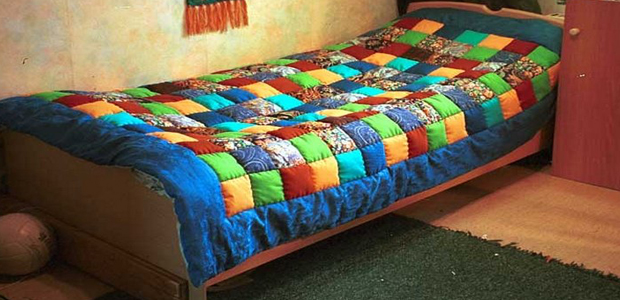
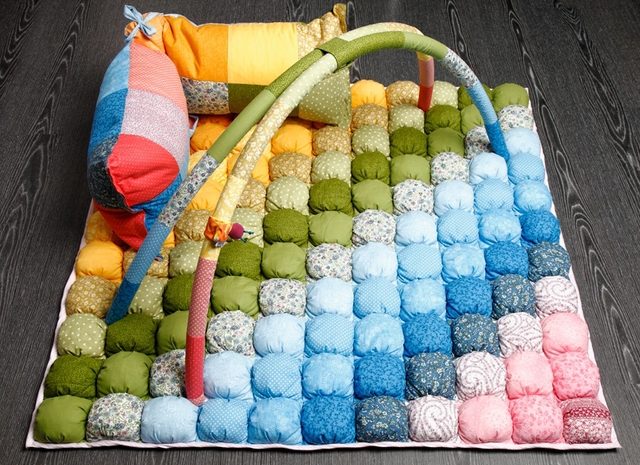
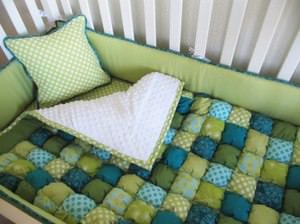
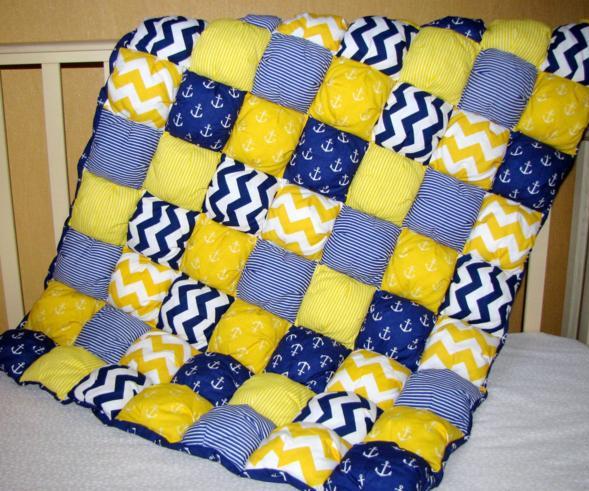
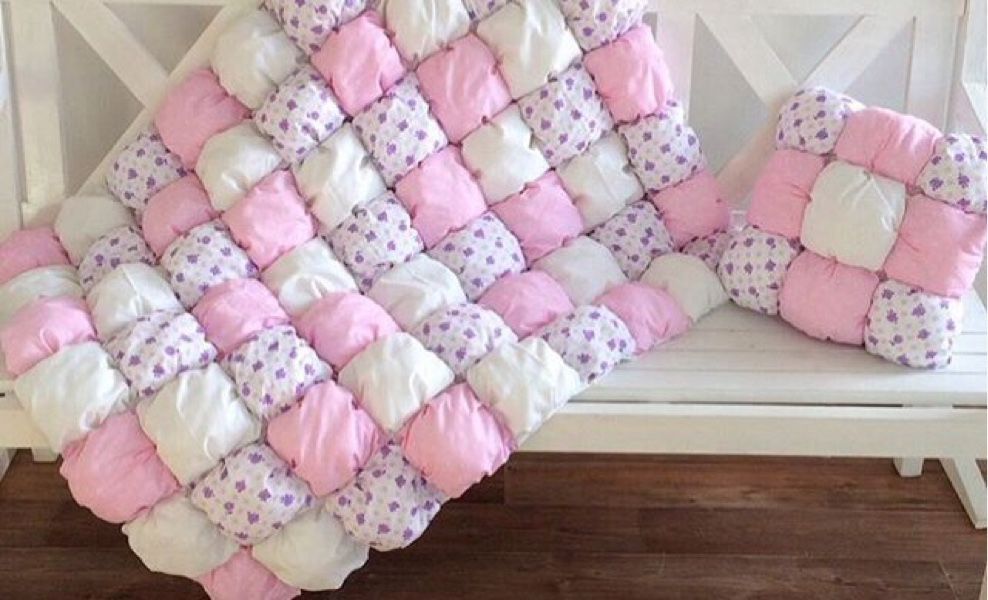
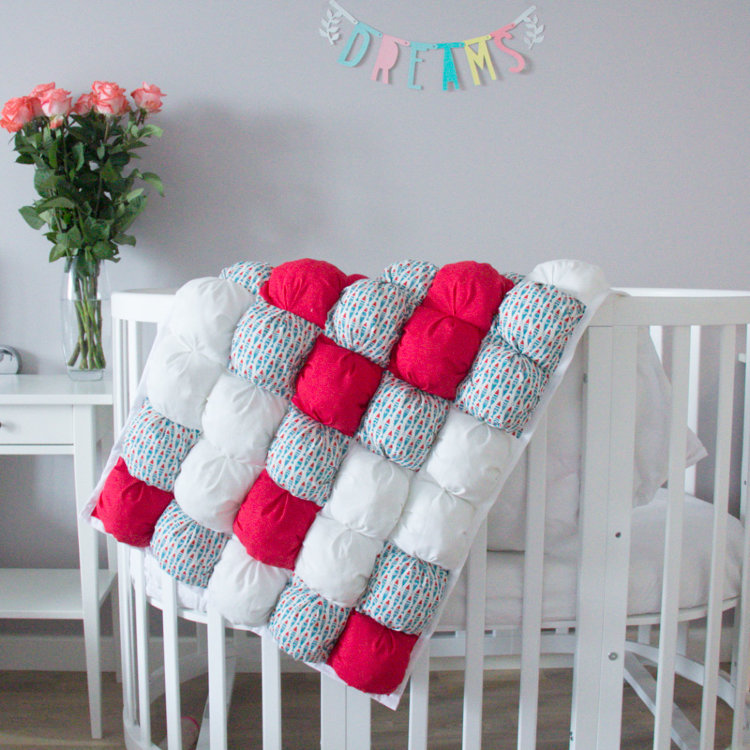
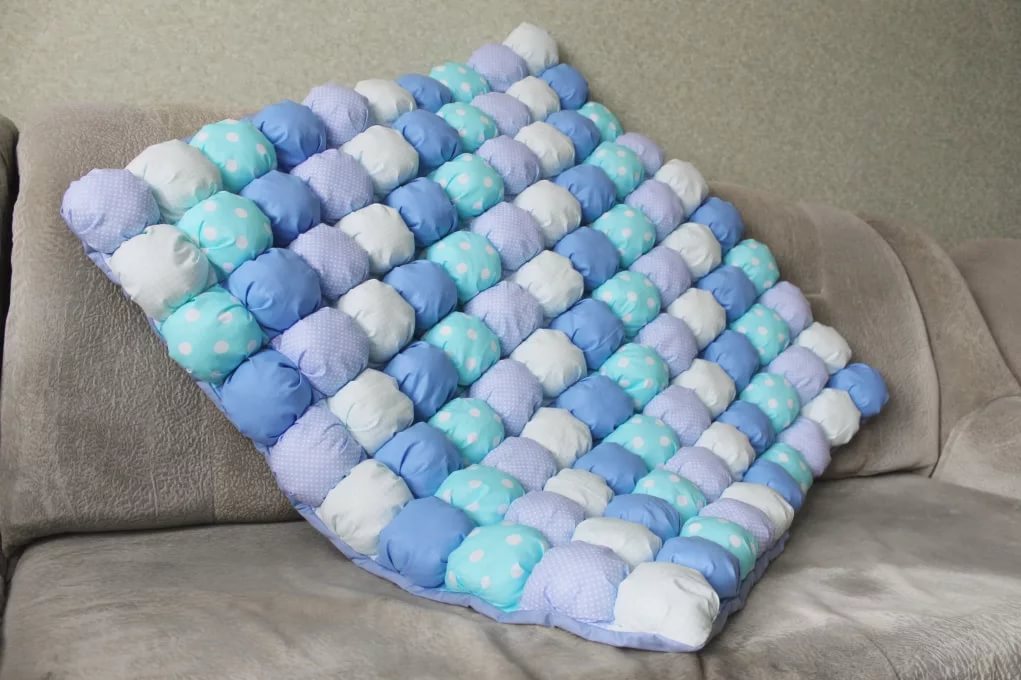
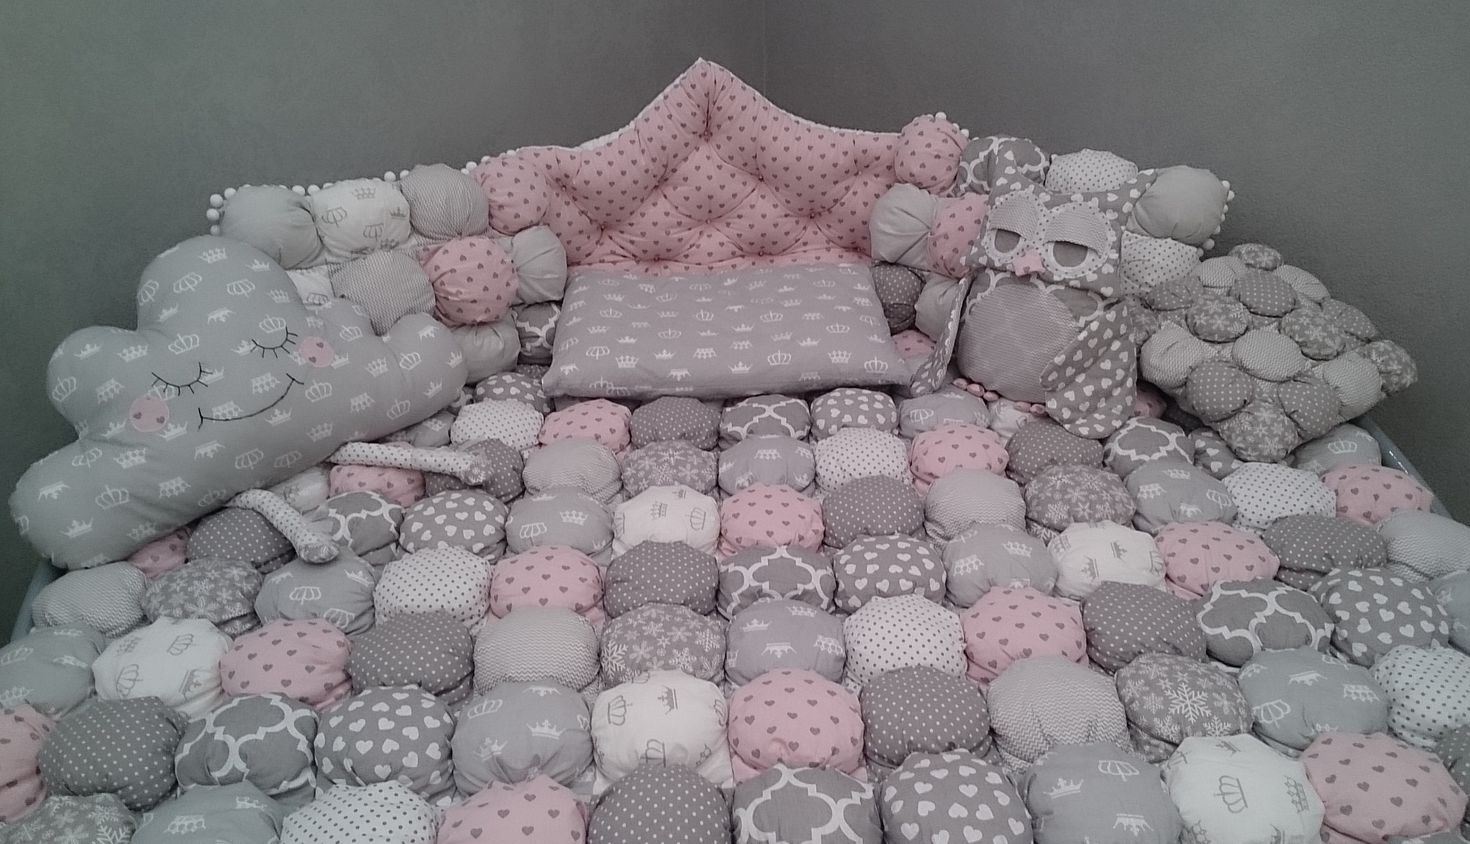
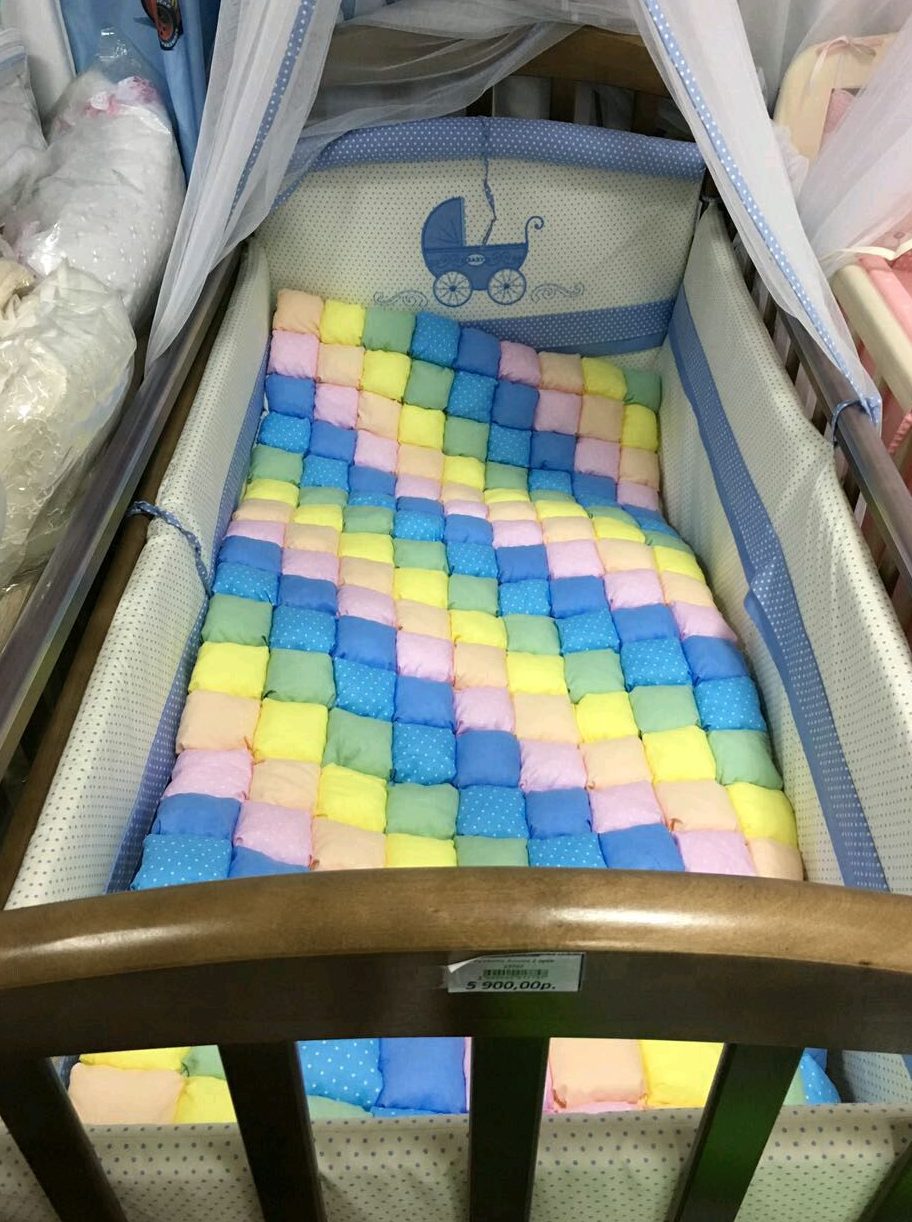
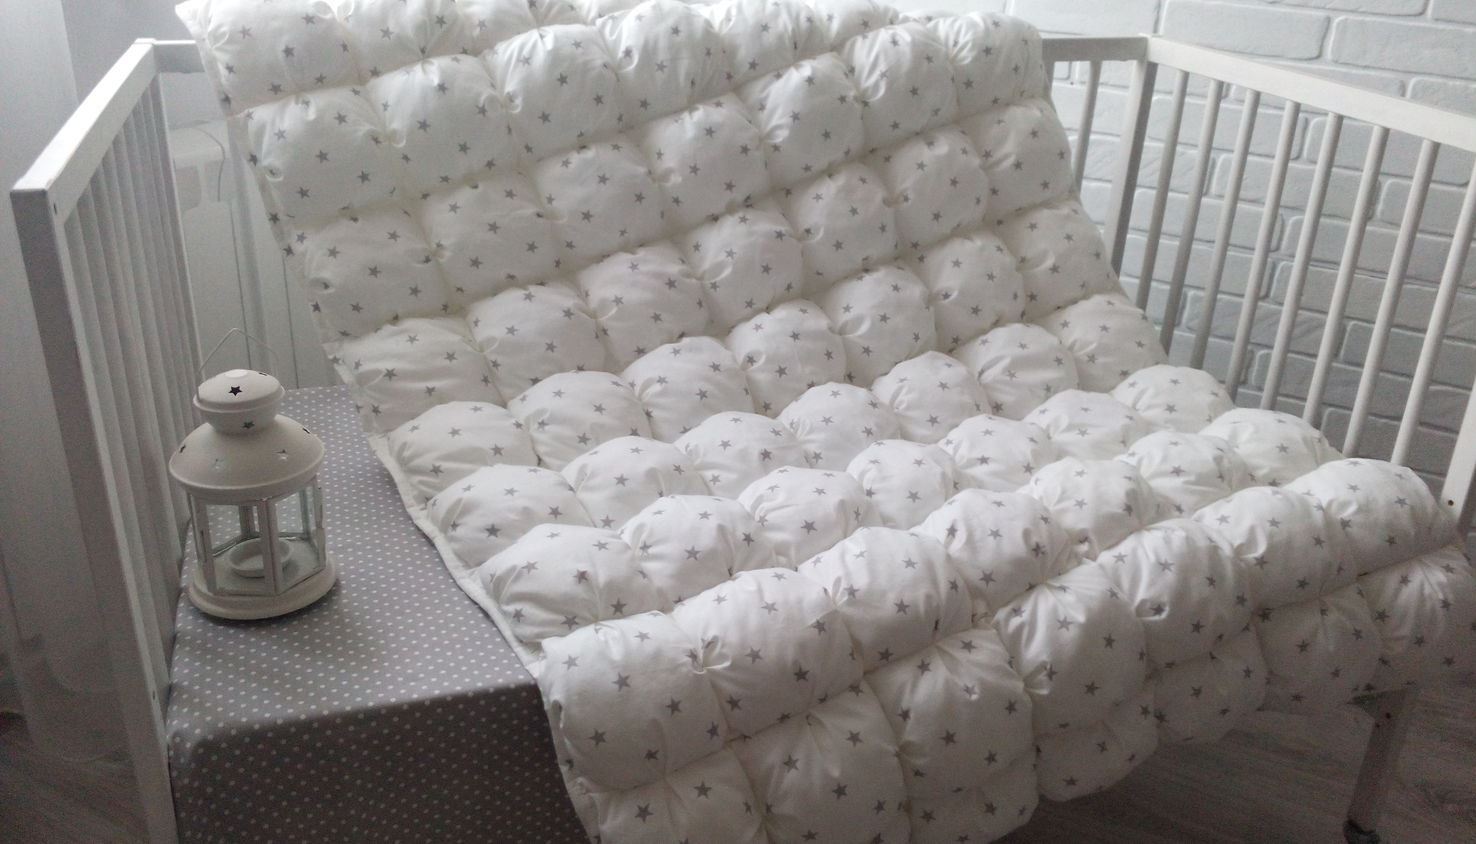
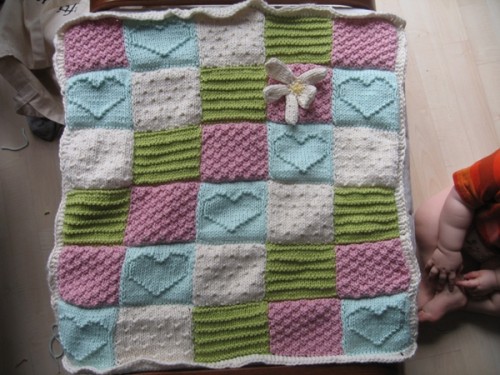
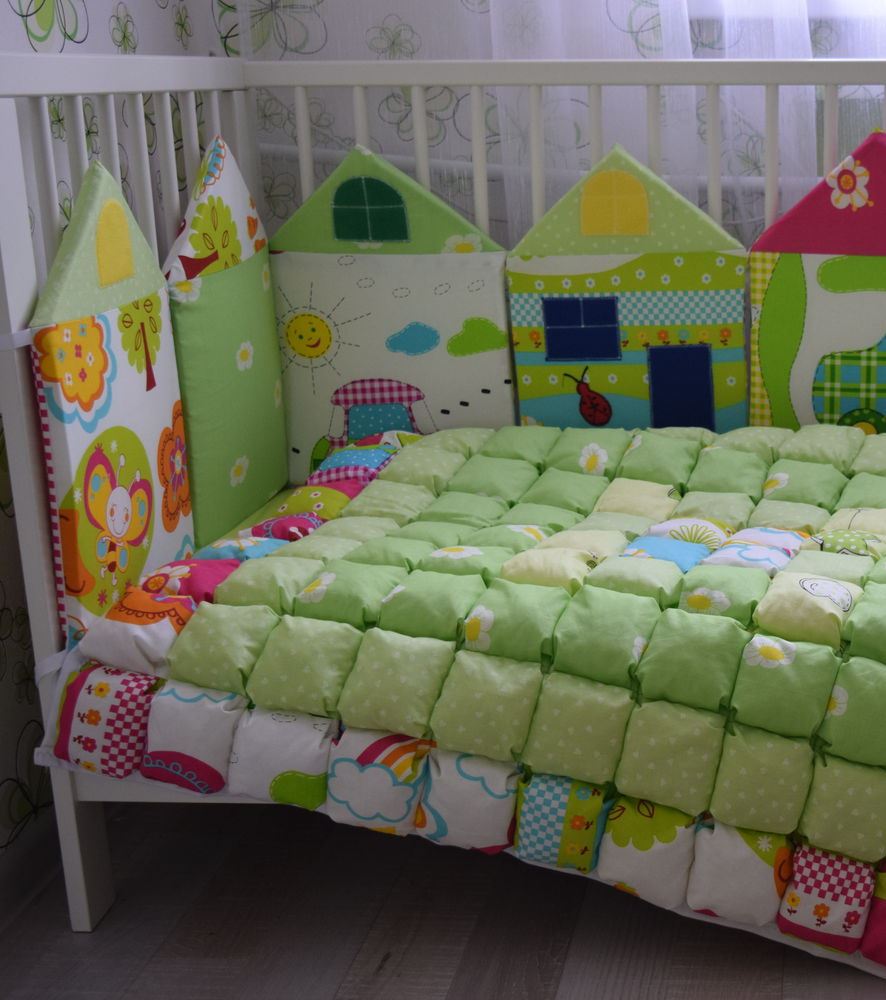
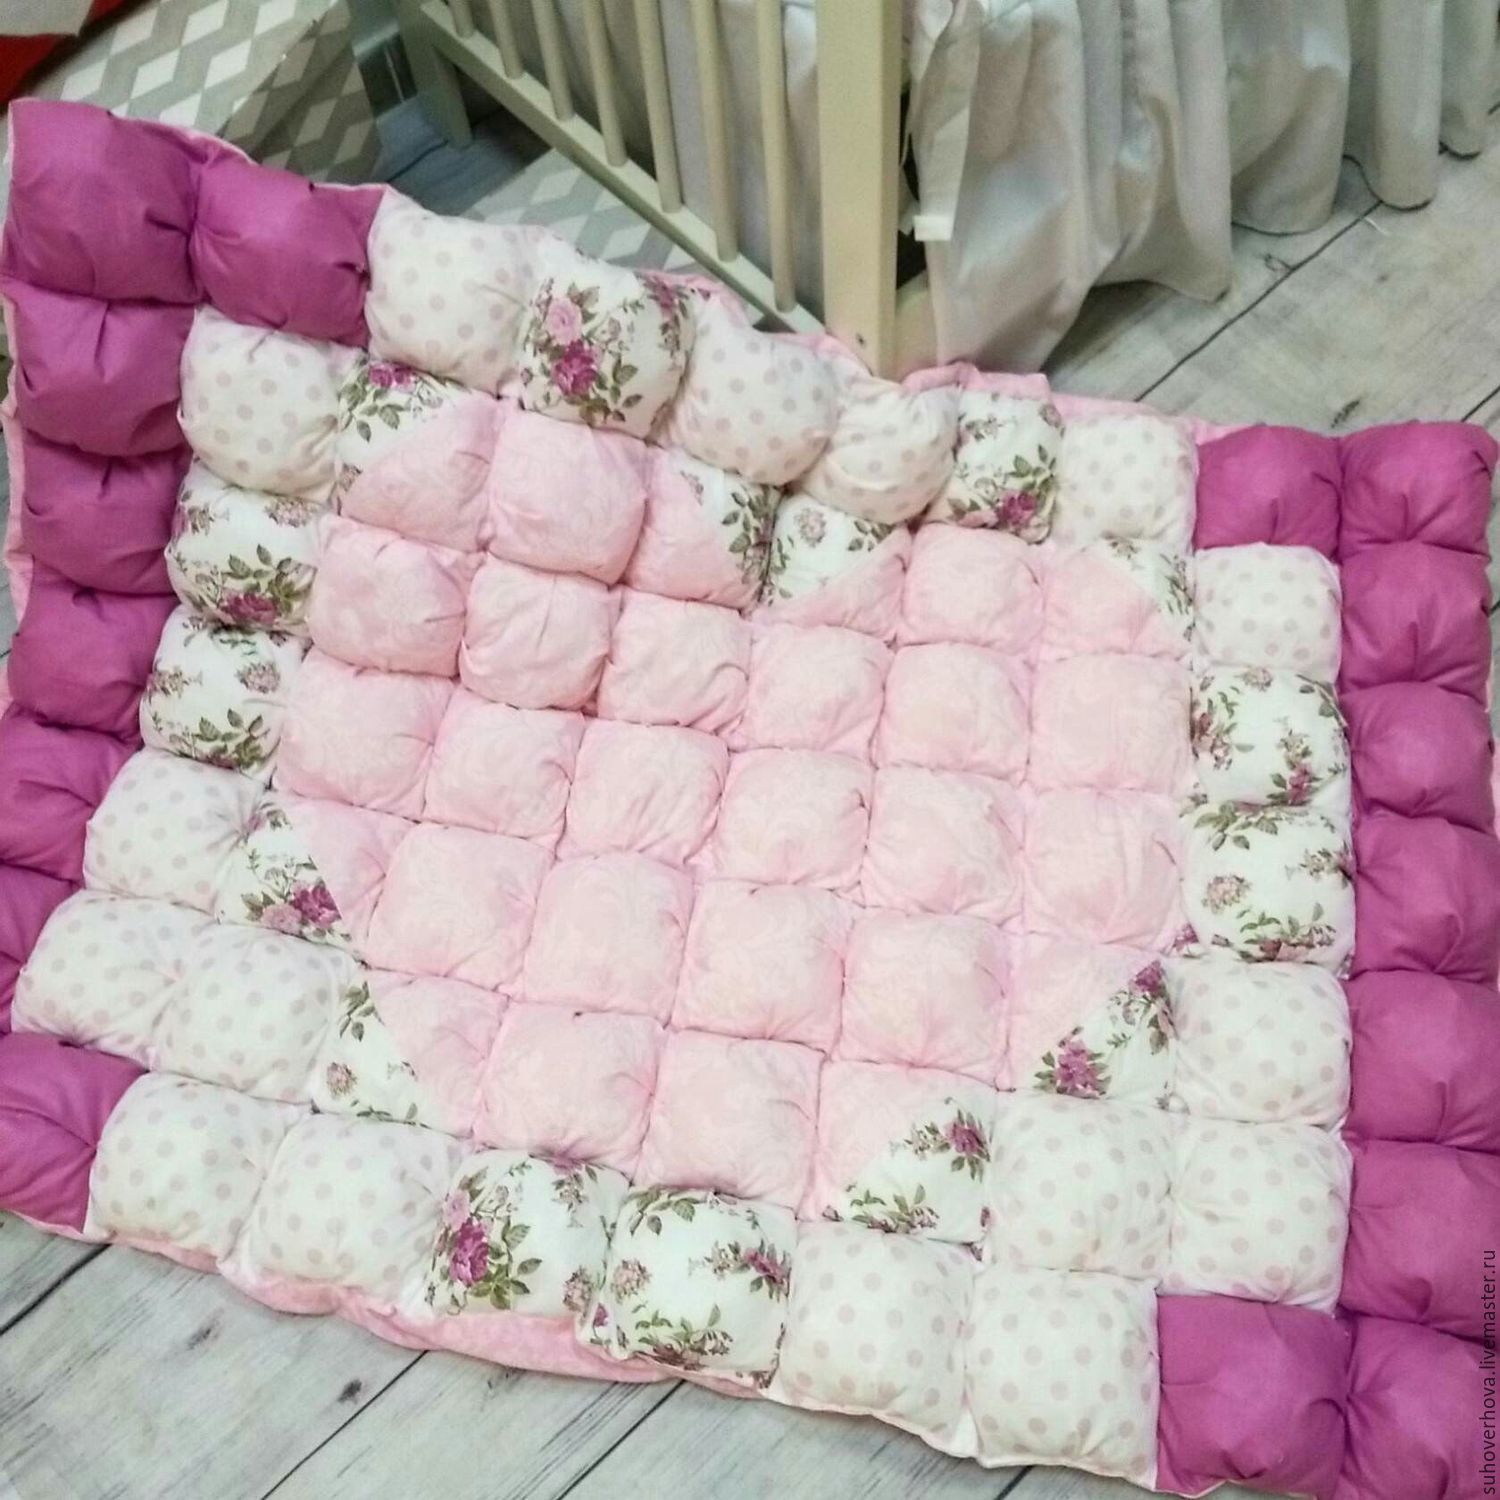
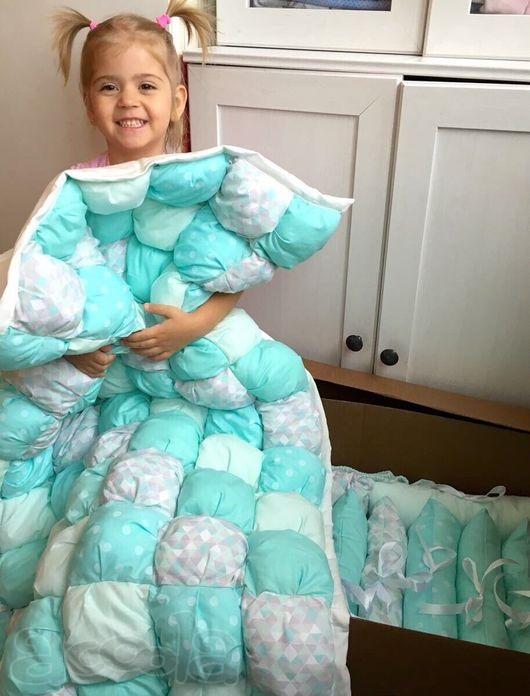
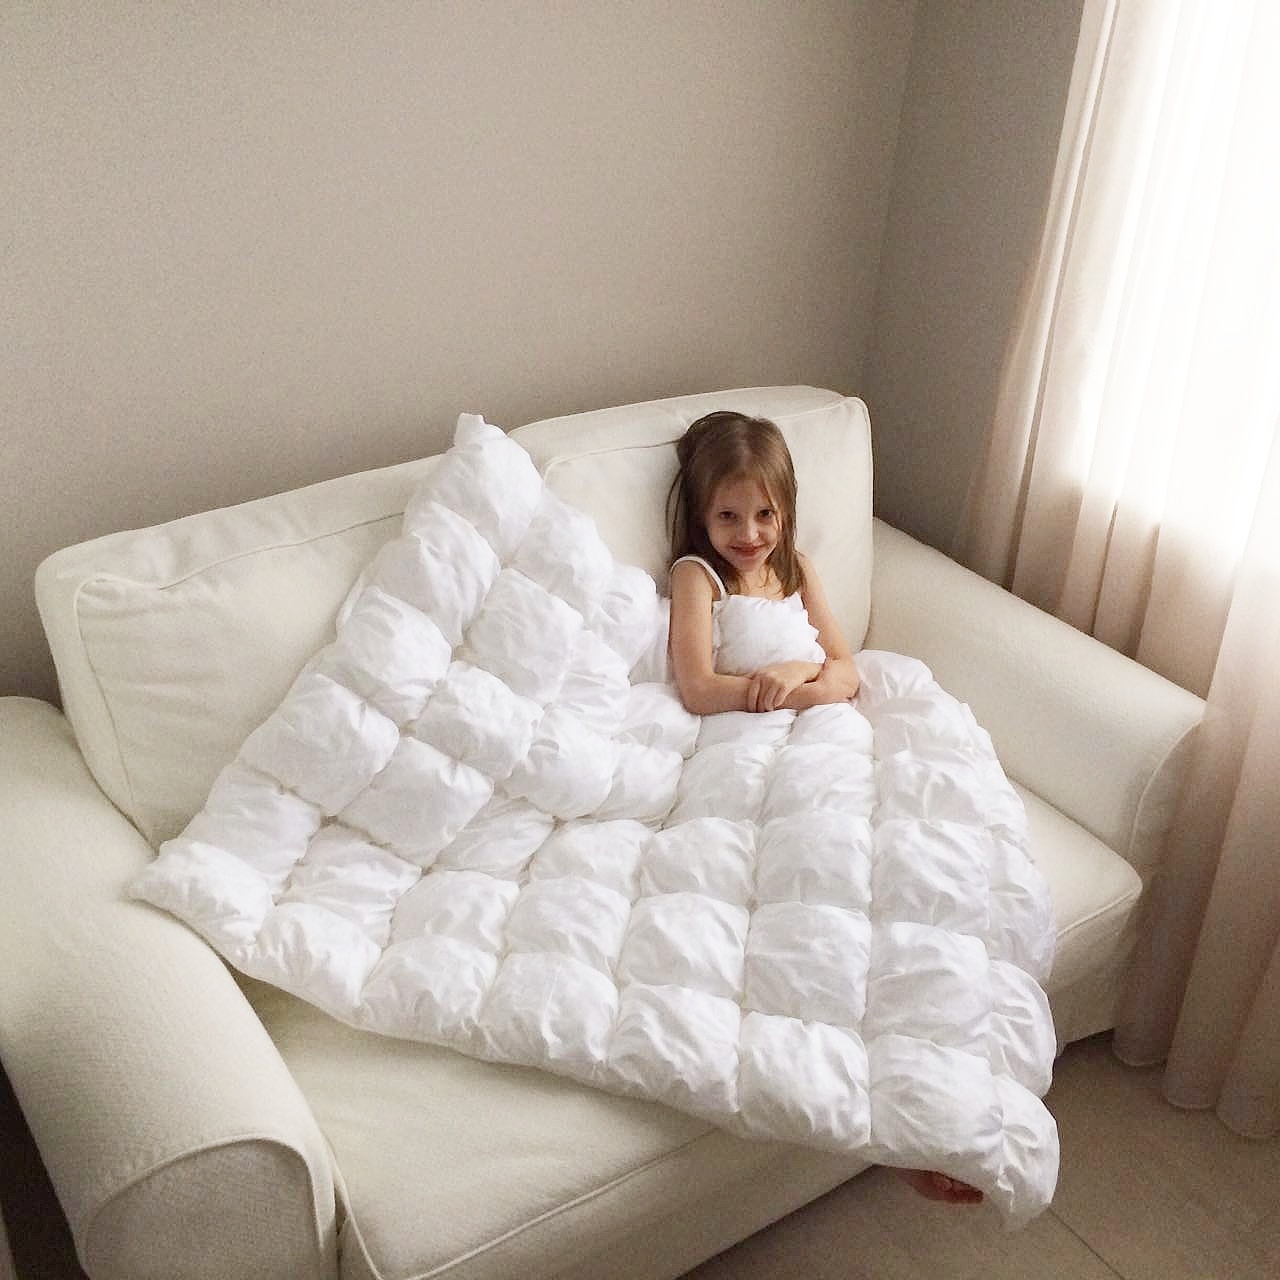
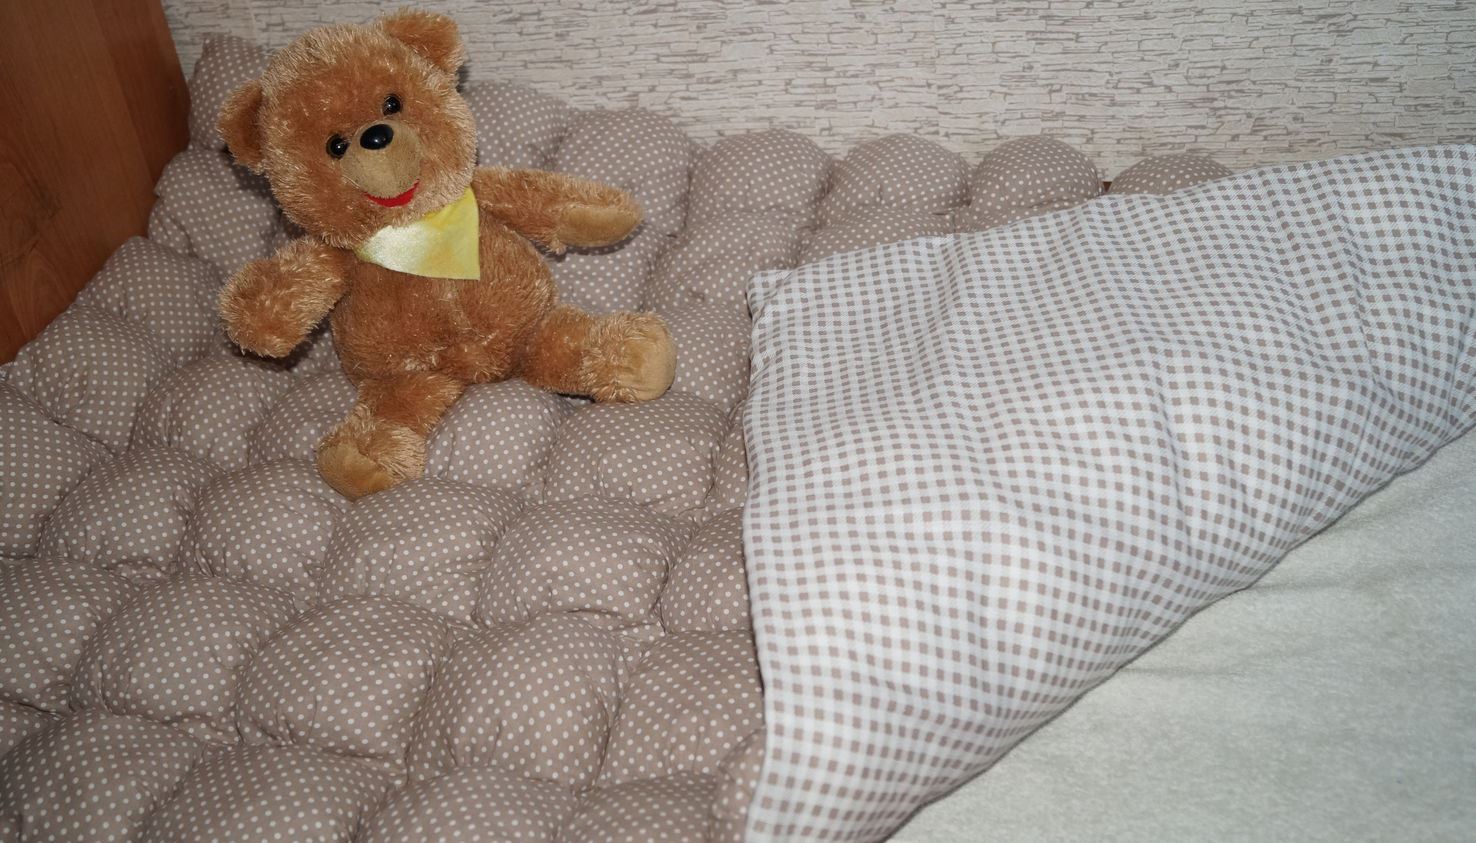
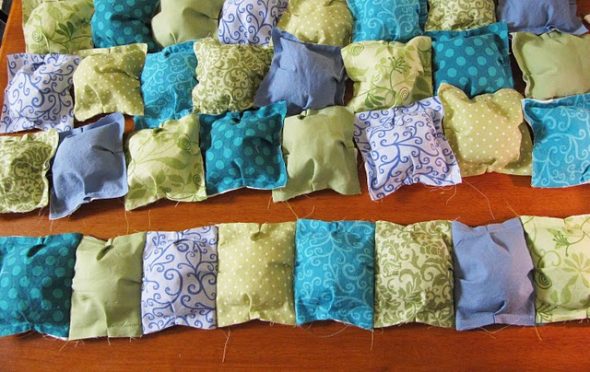
Sewing a bonbon blanket
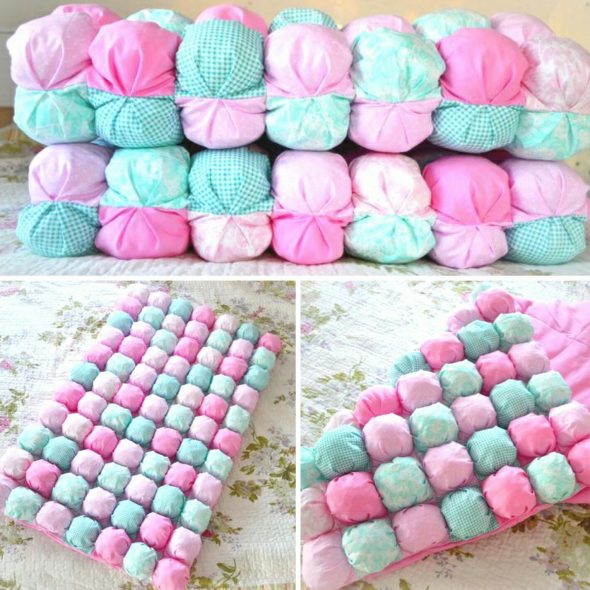
A bonbon blanket is a patchwork variation. At first glance, it seems incredibly difficult to sew. It is warm, unusually beautiful, and bright. For it, plain and multi-colored patches are taken, forming a mosaic. The base fabric is drawn into squares with a side of 11 cm. The cut square patches with a side of 17 cm are sewn into horizontal stripes, as in a patchwork blanket. The strip is sewn to the base as follows: using pins, the patch squares are secured to the vertical lines of the base fabric, a fold of excess fabric is made in the middle of the square for lifting. The resulting voids are filled with holofiber, the squares are sewn on three sides to the main fabric on a machine. The following rows are sewn to the bottom edge, continuing until the entire length is filled. The edges of the product are processed with bias tape.
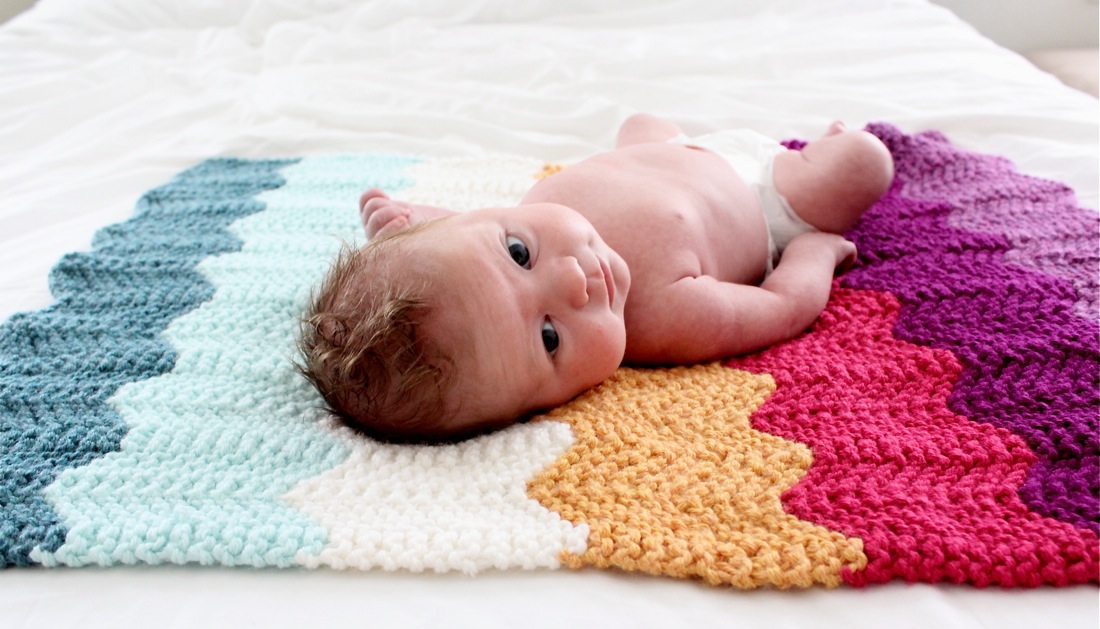
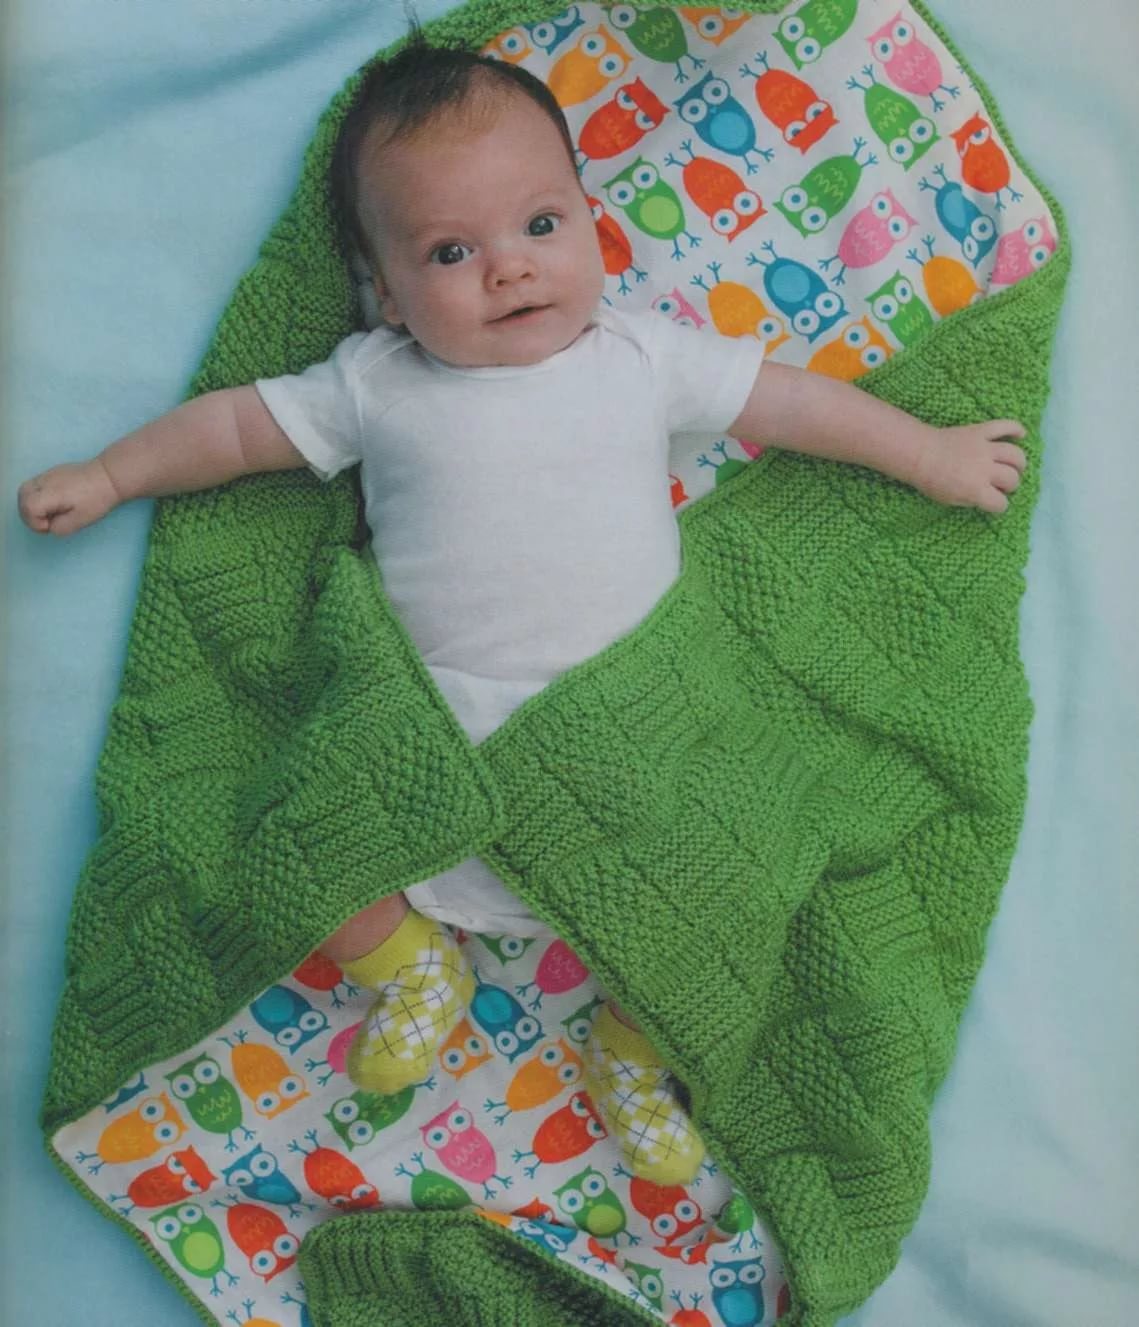
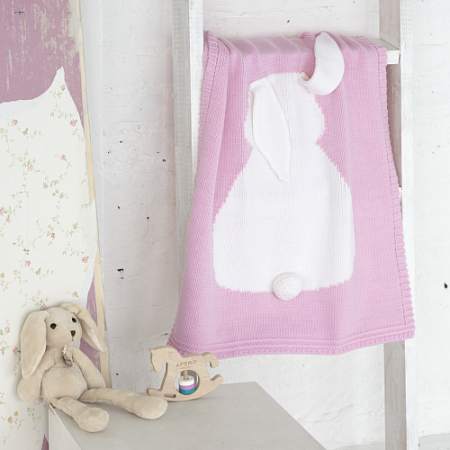
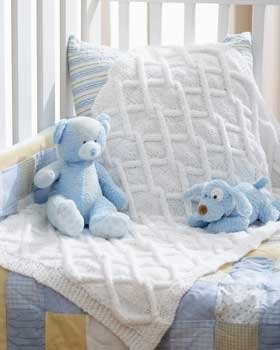
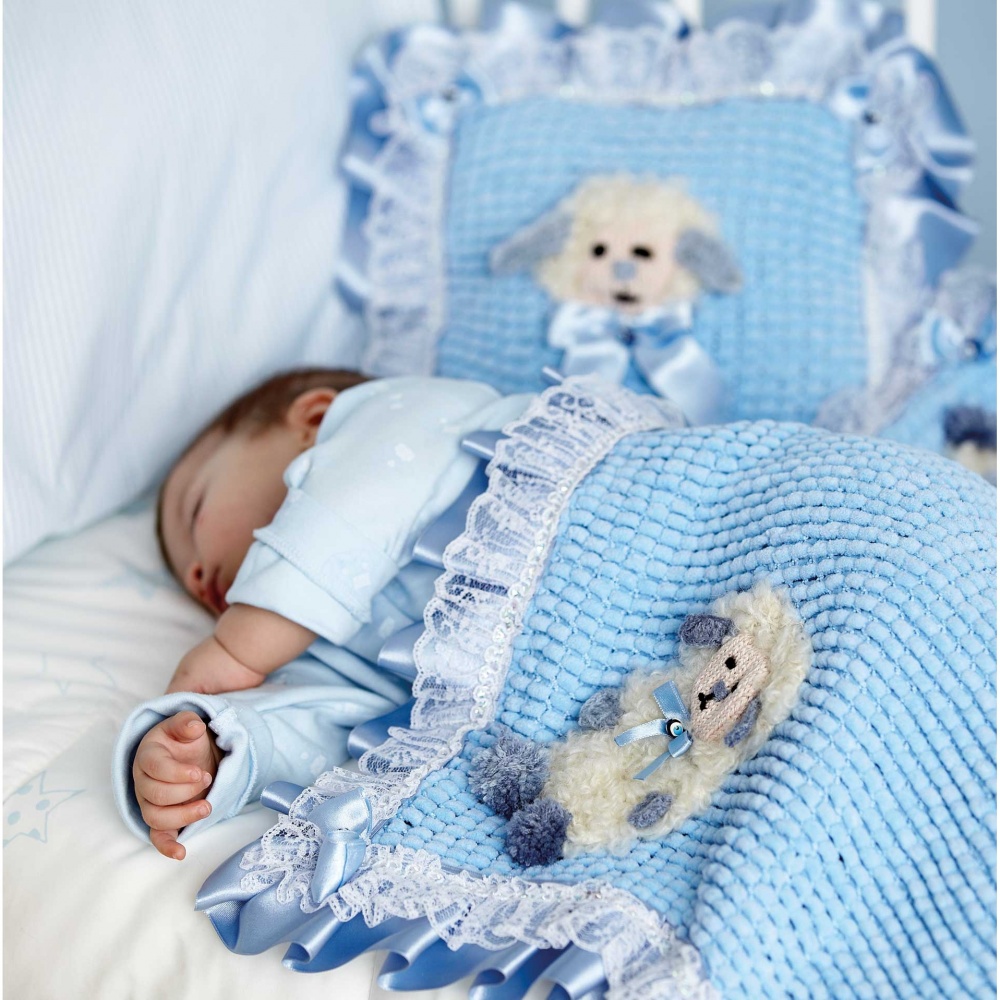
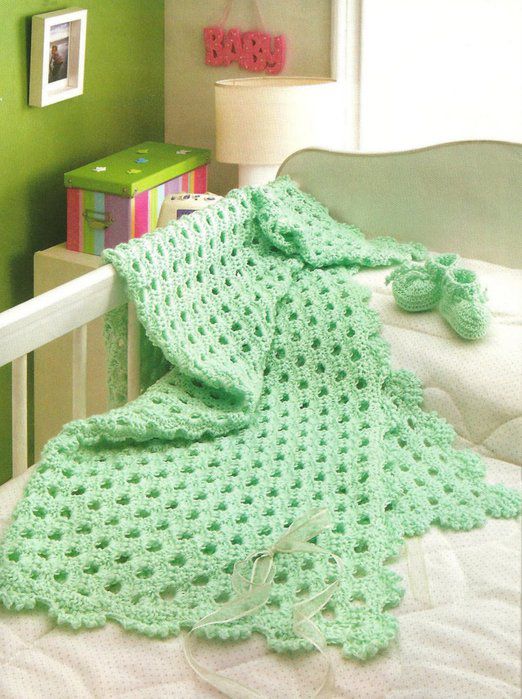
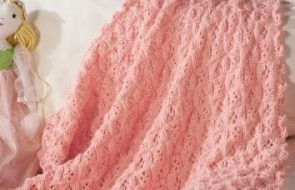
Knitted baby blanket
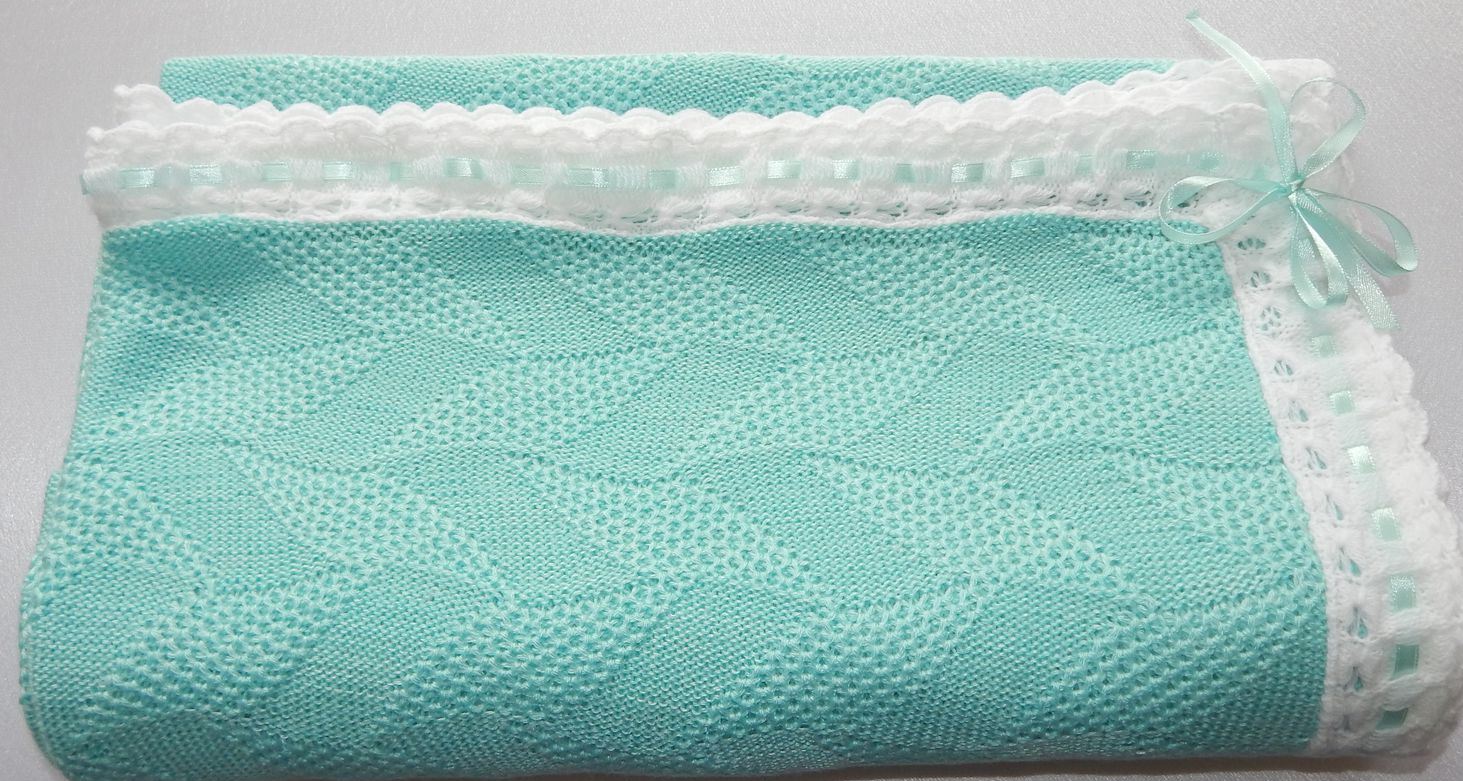
A blanket for newborn babies can be not only sewn on a machine, but also knitted on knitting needles. To do this, take 450 g of thick yarn and knitting needles No. 5. The size of the finished product is 88x88 cm.
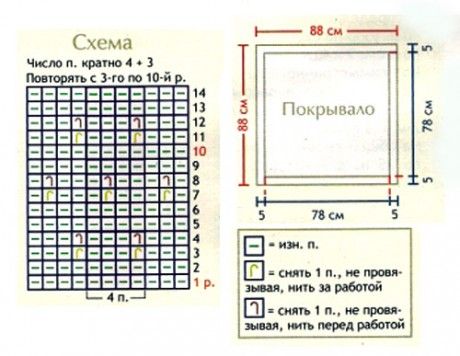
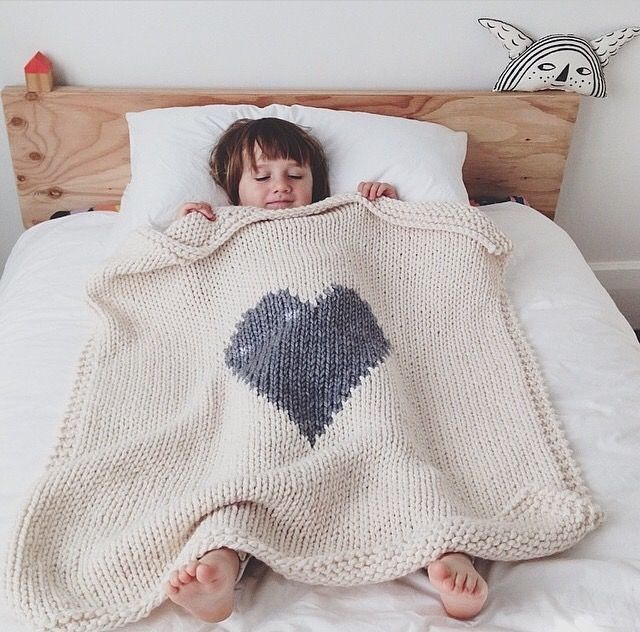
Knitting pattern for baby blanket
- Cast on 139 stitches, knit 5 cm high with double rib. In the first row, alternate 1 front stitch, 1 back stitch. In the second row, knit the front stitch, slip the back stitch, leaving the thread in front of you. In the third row, knit the stitch that was slipped in the previous row, and slip the next stitch, leaving the thread in front of you. Repeat the pattern from the second row.
- Then knit the first and last loops with a double elastic band, 123 loops in the middle - with a fancy knitting according to the pattern. For those who know how to knit, it will not be difficult to find any knitting pattern they like. Knit like this to a height of 83 cm.
- After this, knit 5 cm in double crochet, finish knitting by closing the loops of the last row.
You will get a cute blanket for a newborn.
That's how, without big money expenses, you can make a baby blanket, a baby plaid with your own hands. It will warm you up, will come in handy for walks in winter, will decorate the interior, will serve as a rug for the child's fun.
Video: How to sew a bombon blanket for newborns with your own hands
50 photo ideas for sewing baby blankets with your own hands: