In the modern world, where the bulk of things that surround us are manufactured in factories, handmade items are gaining popularity. The brand "hand made" is valuable for the uniqueness of the created product.
In winter, when it is cold and damp outside, you want your home to be a place of warmth and comfort. A do-it-yourself pompom blanket creates a special atmosphere in the house, and it is doubly pleasant if this blanket is not only aesthetically attractive, but also useful.
Content
How to Make a Pom Pom Blanket with Your Own Hands
Before you start making a pom-pom blanket with your own hands, you should carefully read the instructions. The knitting technique is varied: you can knit a blanket with knitting needles or use a special material as a base.
It looks simple enough in the description, but in reality it is a very labor-intensive procedure, it requires time, effort, perseverance, as you will have to perform many monotonous actions, from which calluses may appear on your hands. If the master is patient, you will get a warm, fluffy blanket of pompoms, which will decorate your home and warm the owner.
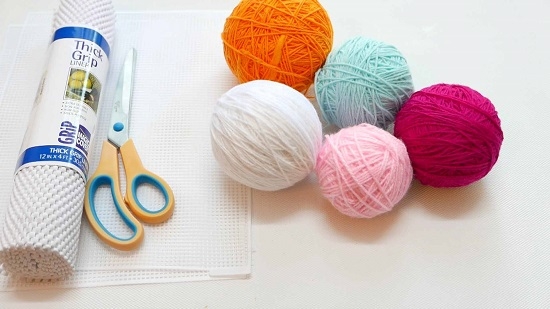
You need to prepare the necessary tools:
- special frame;
- yarn;
- scissors.
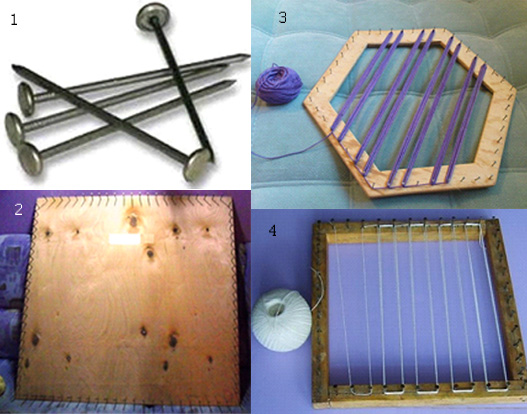
How to Make a Frame for Weaving a Pom Pom Blanket
Making a frame for weaving a blanket is quite a difficult process for a woman, in 90% of cases you have to use male strength. You need to prepare materials.
- The slat is 3 cm wide. The frame is 144 cm long and 136 cm high. Since this is quite a large thing, the frame must be strong enough to withstand the weight of the threads, not break, and not ruin the whole job. The quality of the wood does not matter.
- Self-tapping screws for fastening the slats together.
- Nails in the amount of 132 pieces, 7-8 cm long.
- Hammer.
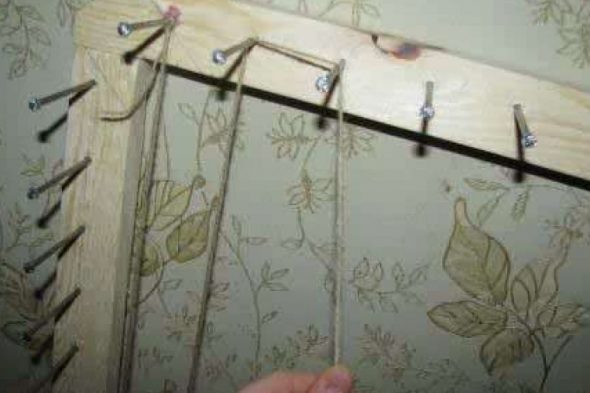
The technology of making the frame is simple. First, you need to fasten four slats together at the corners, two slats 144 cm long will be located at the bottom and top of the frame, and two more - 136 cm - on the right and left. Thus, you will get a square. The slats are fastened at the corners with self-tapping screws, the length of all the slats on the finished frame will be the same due to the fastening.
Next, using a hammer, you need to hammer in the nails. You need to step back 8 cm from the corner, start hammering in 33 nails on each side every 4 cm. The frame is ready.
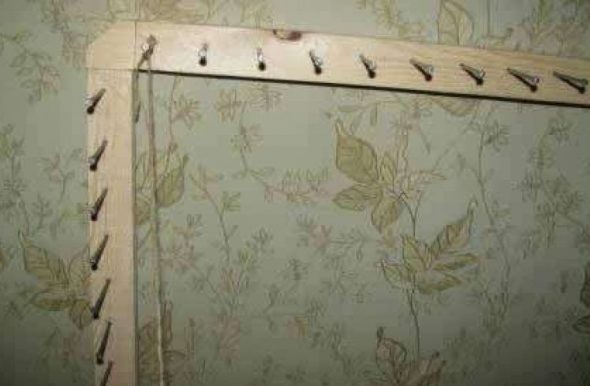
To ensure the strength of the frame, you can use additional fasteners in the form of narrow, short strips at the corners of the main frame from the back side.
On such a frame it will be possible to weave a children's size blanket 115 cm by 115 cm, and with fringe at the ends - 130 cm by 130 cm.
Choosing yarn for a pom-pom blanket
Depending on the purpose of using the item, the choice comes down to three types of yarn:
- cotton;
- wool;
- acrylic.
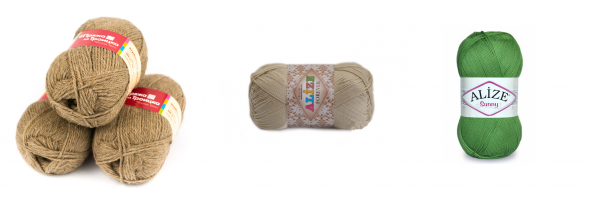
Cotton is environmentally friendly, hypoallergenic, provides free air circulation, is easy to machine wash in hand mode, the yarn does not stretch and retains color. The only drawback of cotton is probably its weight - the blanket will be quite heavy.
Wool has healing properties, warms well, prevents moisture from entering from the outside, and removes it from the inside. At the same time, a wool blanket can cause allergies, is very demanding in care, can stretch or, conversely, shrink after washing. Pure wool will eventually form pellets. Definition of quality: when stretched, the fibers may decrease in size, but the thread will remain intact.
Acrylic is similar to wool, but stronger, holds color well, does not fade in the sun, is more resistant to wear, slowly thins out, but does not let moisture through, but retains heat well. After washing, it can stretch, it is recommended to wash on a delicate cycle.
Based on the fact that each type has its own disadvantages, it is better to choose a natural thread with an admixture of artificial. For a blanket with fringe 130 cm by 130 cm, you will need 11 skeins of 100 m of yarn.
Weaving technology.
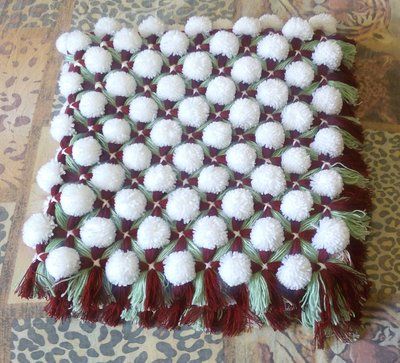
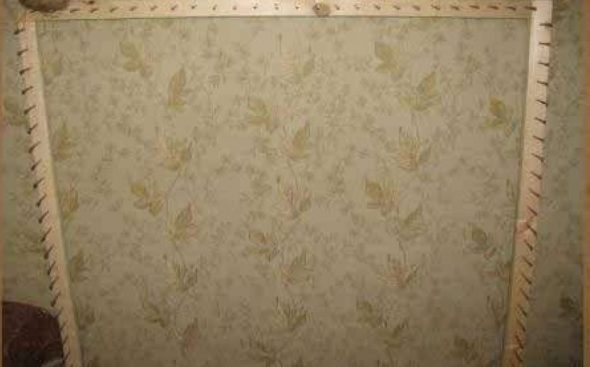
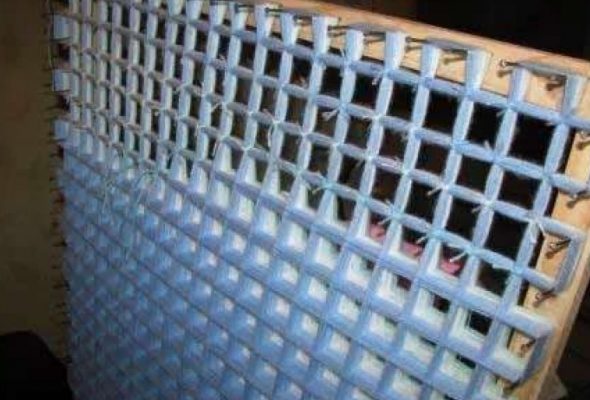
- You need to start weaving from the base. If the master is a beginner, it is better to choose two different colors, so it will be easier to cut the pompoms. The base will be 20 layers of weaving. First, you need to secure the thread with a knot on the corner top left nail.

First we will weave the base vertically, for convenience it is better to do it with other threads, a tone darker or lighter, or a completely different color - Next, you need to go to the nails on the bottom rail, bend the first two nails together, then go up, and bend the next two top nails in the same way. So to the very end.
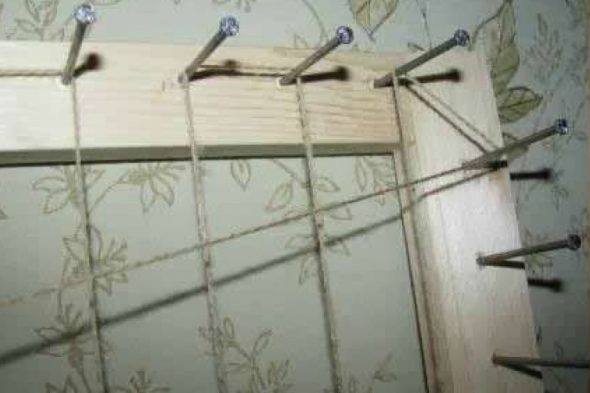
Now we turn the thread to the horizontal part and in the same way, grasping two nails, we weave to the very bottom - When all the nails at the bottom and top are wrapped, from the last bottom one you need to pass the thread to the nearest side right nail, go around it, pass the thread horizontally to the left parallel nail. Go around two left nails, also pass horizontally to the right rail, go around two nails - and back to the left. Continue the movement to the very top.

This is what 1 row wound vertically and 1 row wound horizontally will look like. - When the thread reaches the left corner nail, it is necessary to throw it over the extreme horizontal nail and continue weaving according to the previous scheme. So make 20 layers of the base. After that, tie the thread with a knot on the left corner nail.

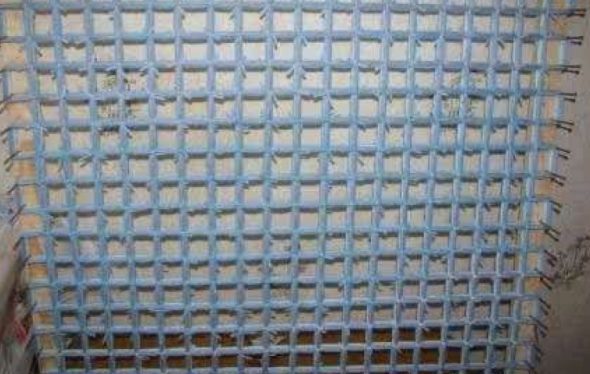
Then we weave the vertical part again, and then the horizontal part, and so on in turn until you wind 20 threads on the vertical part and 20 on the horizontal part. - Next, take another color and do the same procedure, only 30 layers - this is the base.

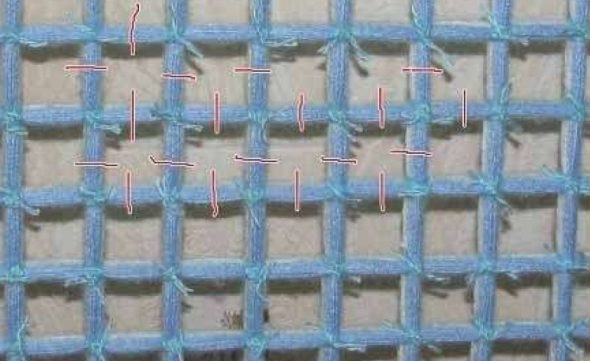
The next step is to take yarn of a different color and wind it in exactly the same way vertically and horizontally, 30 threads each, they will be our future pompoms. - Then you need to take pieces of approximately 10-15 cm, tie each intersection crosswise so that it does not unravel. Cut the ends of the pieces at a distance of 2 cm from the knot. You need to be extremely careful not to miss a single intersection, otherwise everything will fall apart.

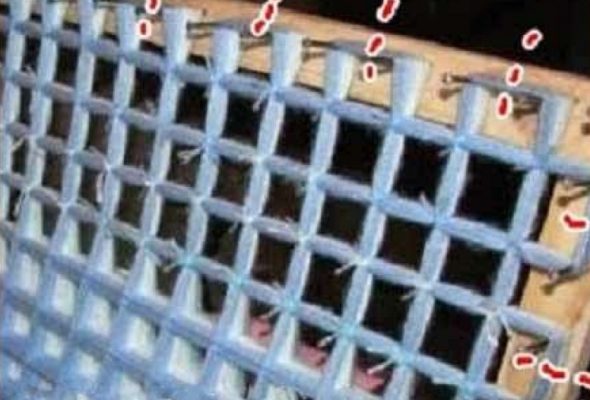
Tie knots at the intersections, without skipping any intersections, otherwise the blanket will not work. - Cut the threads along the edges, in the middle between the nails along the entire perimeter, making a fringe.
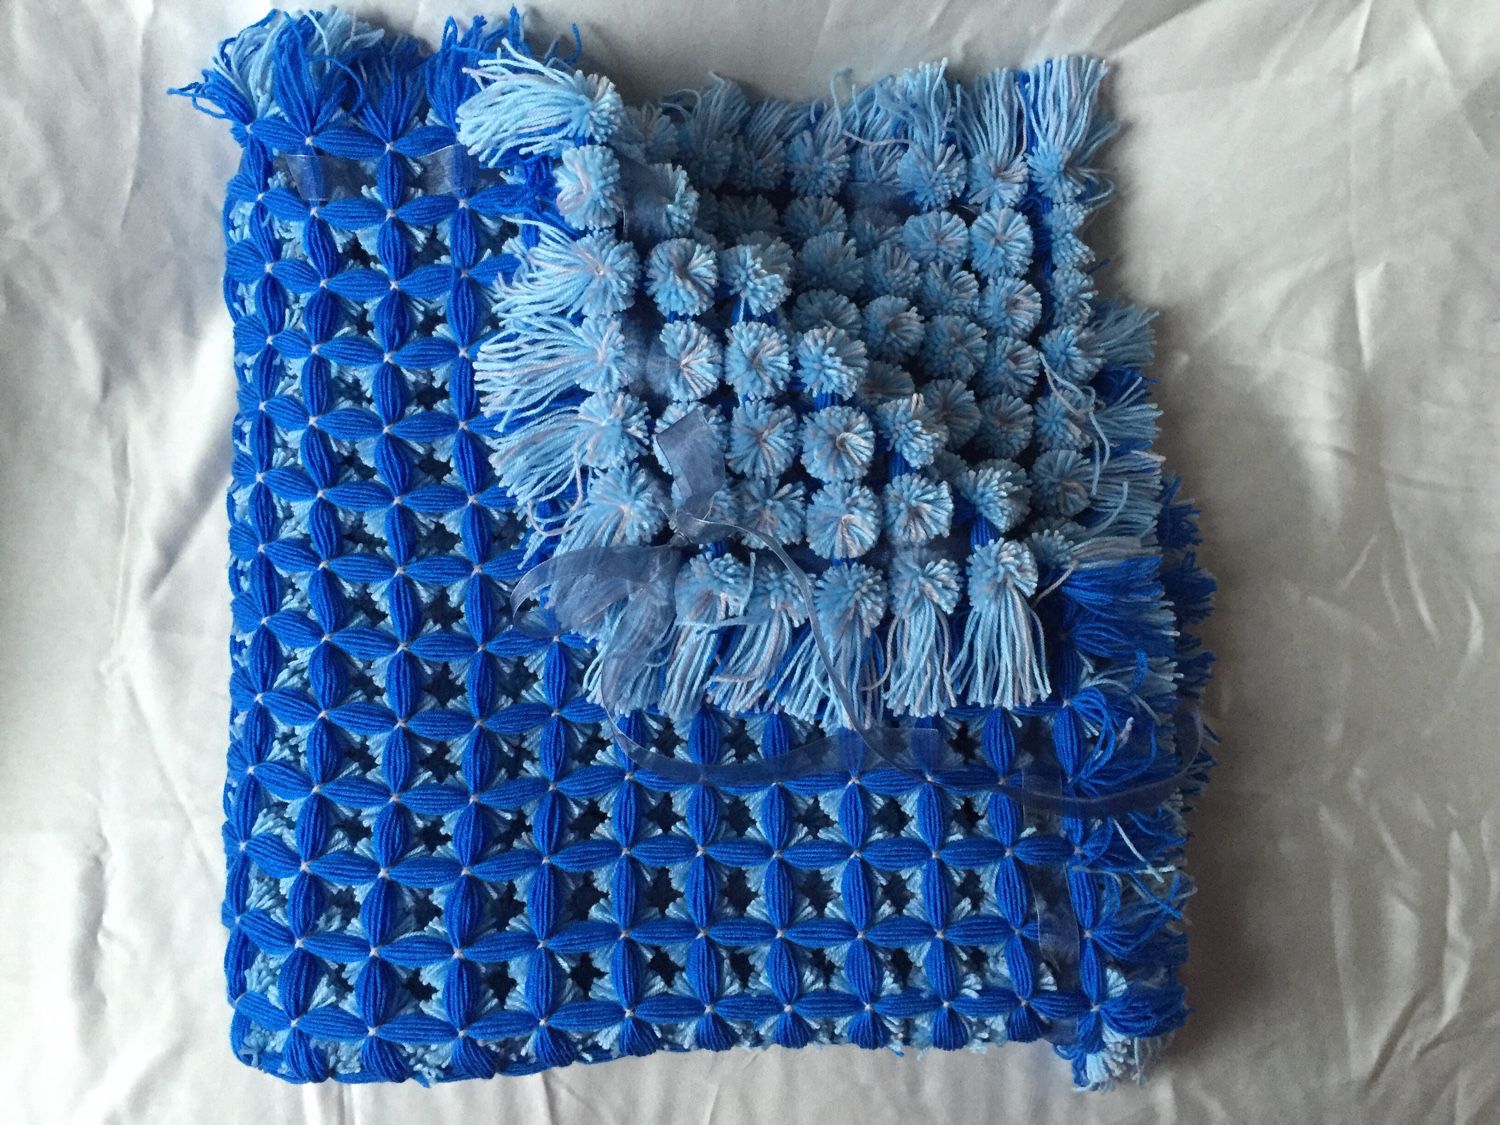
We cut our blanket from the nails, go along the entire perimeter of the frame and where it is marked with a red line, cut it in half - Carefully remove from the frame.
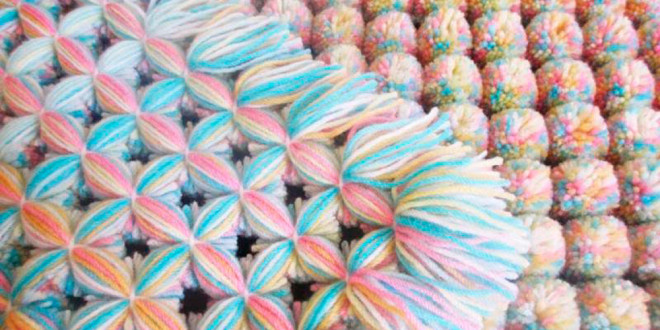
- Cut the top 30 layers with scissors in the middle between the bandages, fluff them up. If the base is a different color, it will be easier to select the threads.

We take scissors and cut 30 threads from our knots on four sides, without touching the base. - The final stage of making a blanket from pom-poms on a frame is to cut off the excess, align the fringe along the edges, and fluff it up.

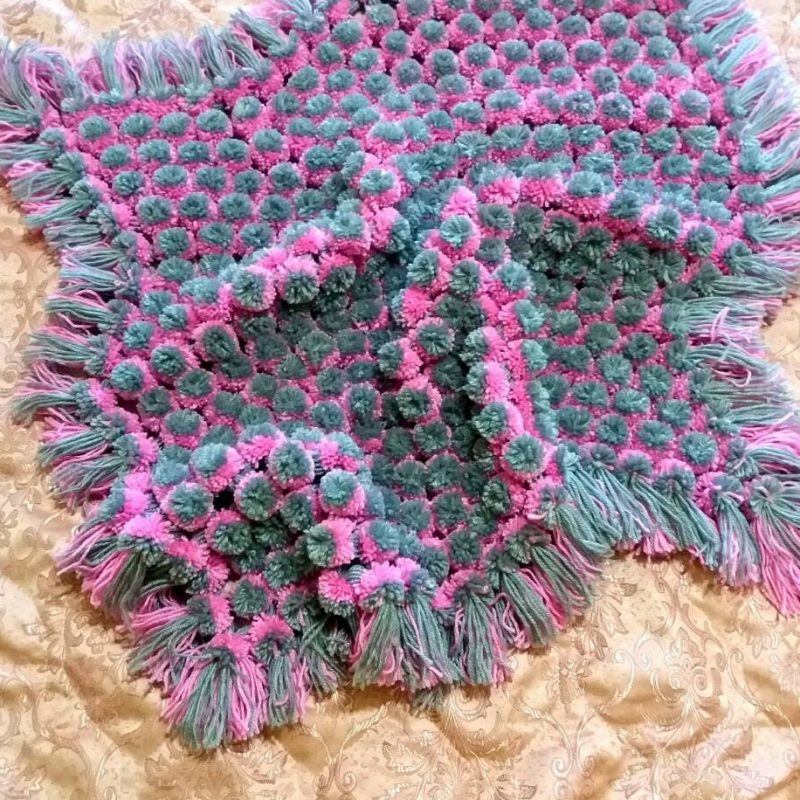
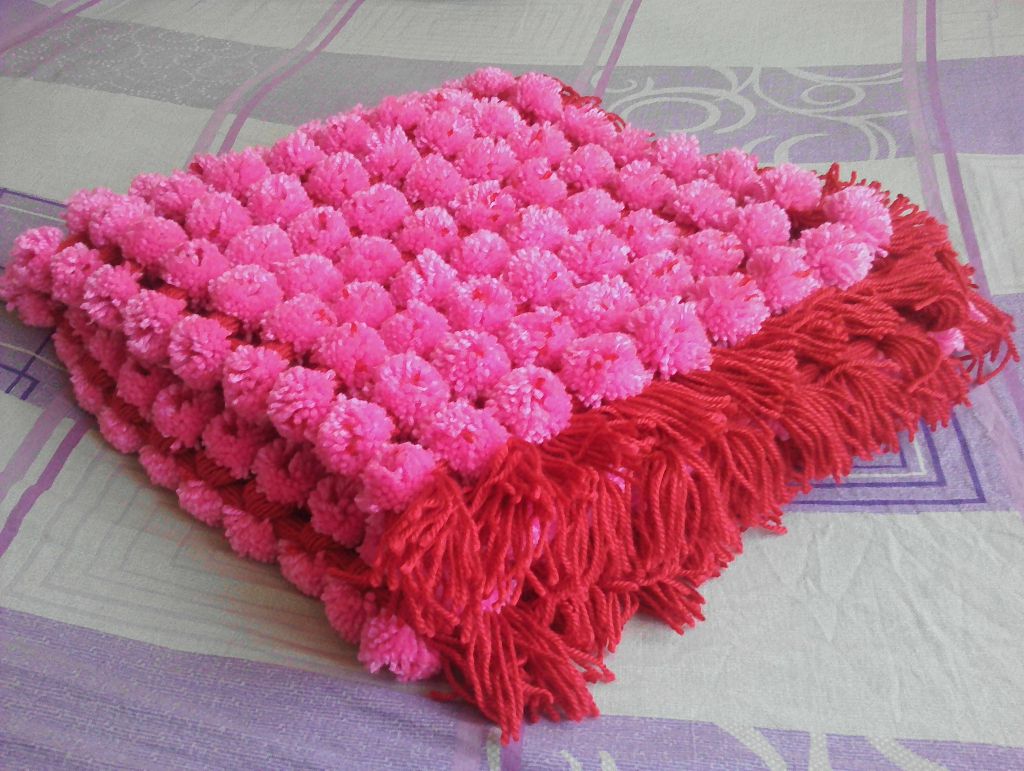
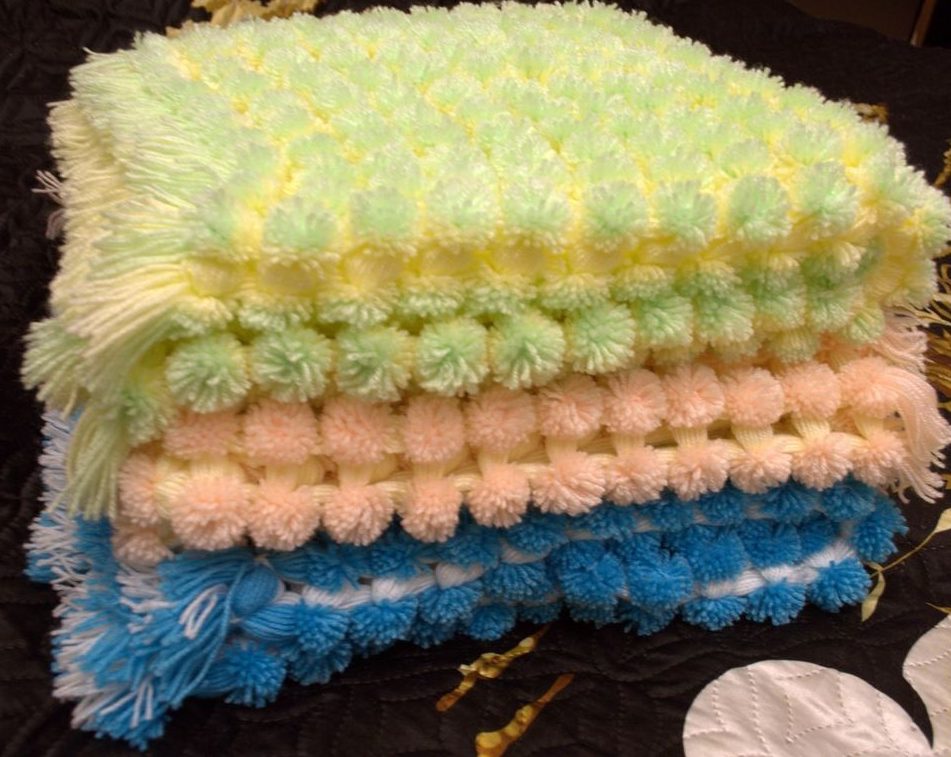
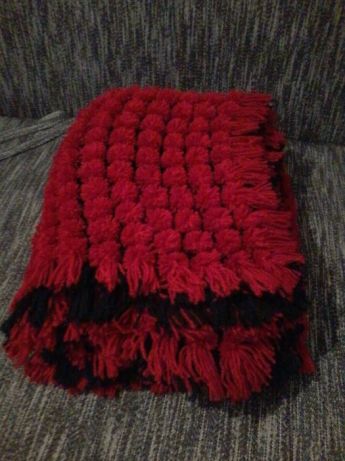
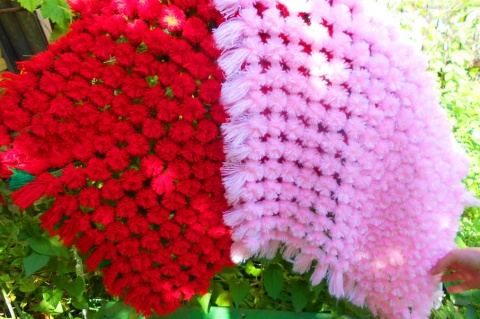
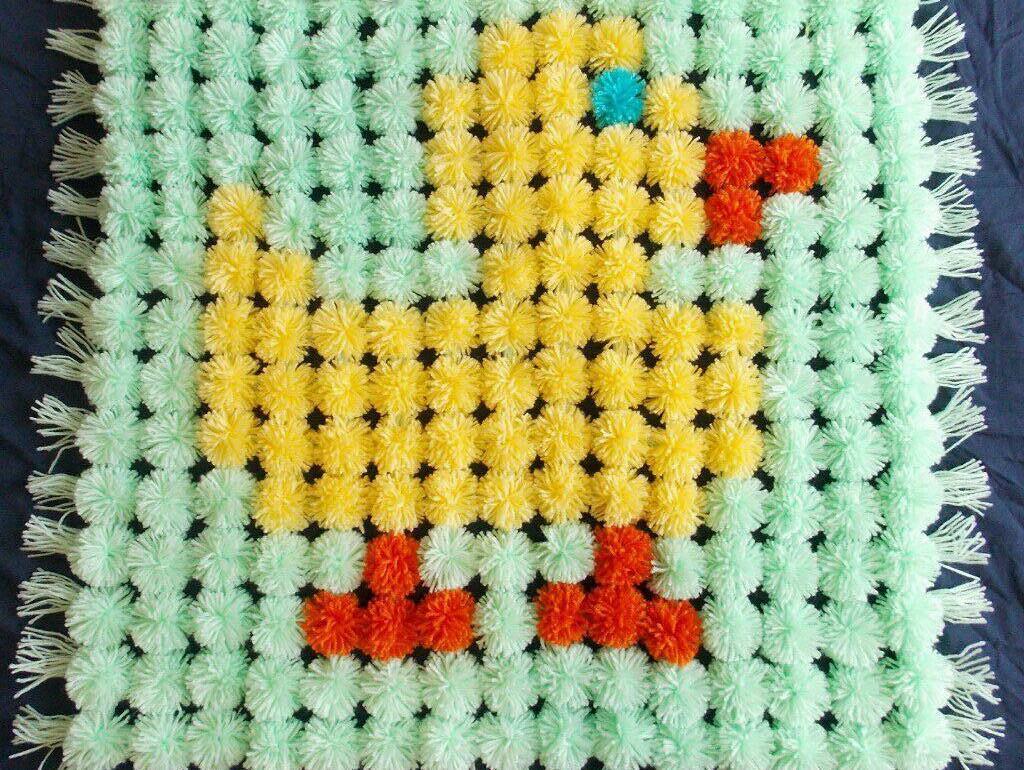
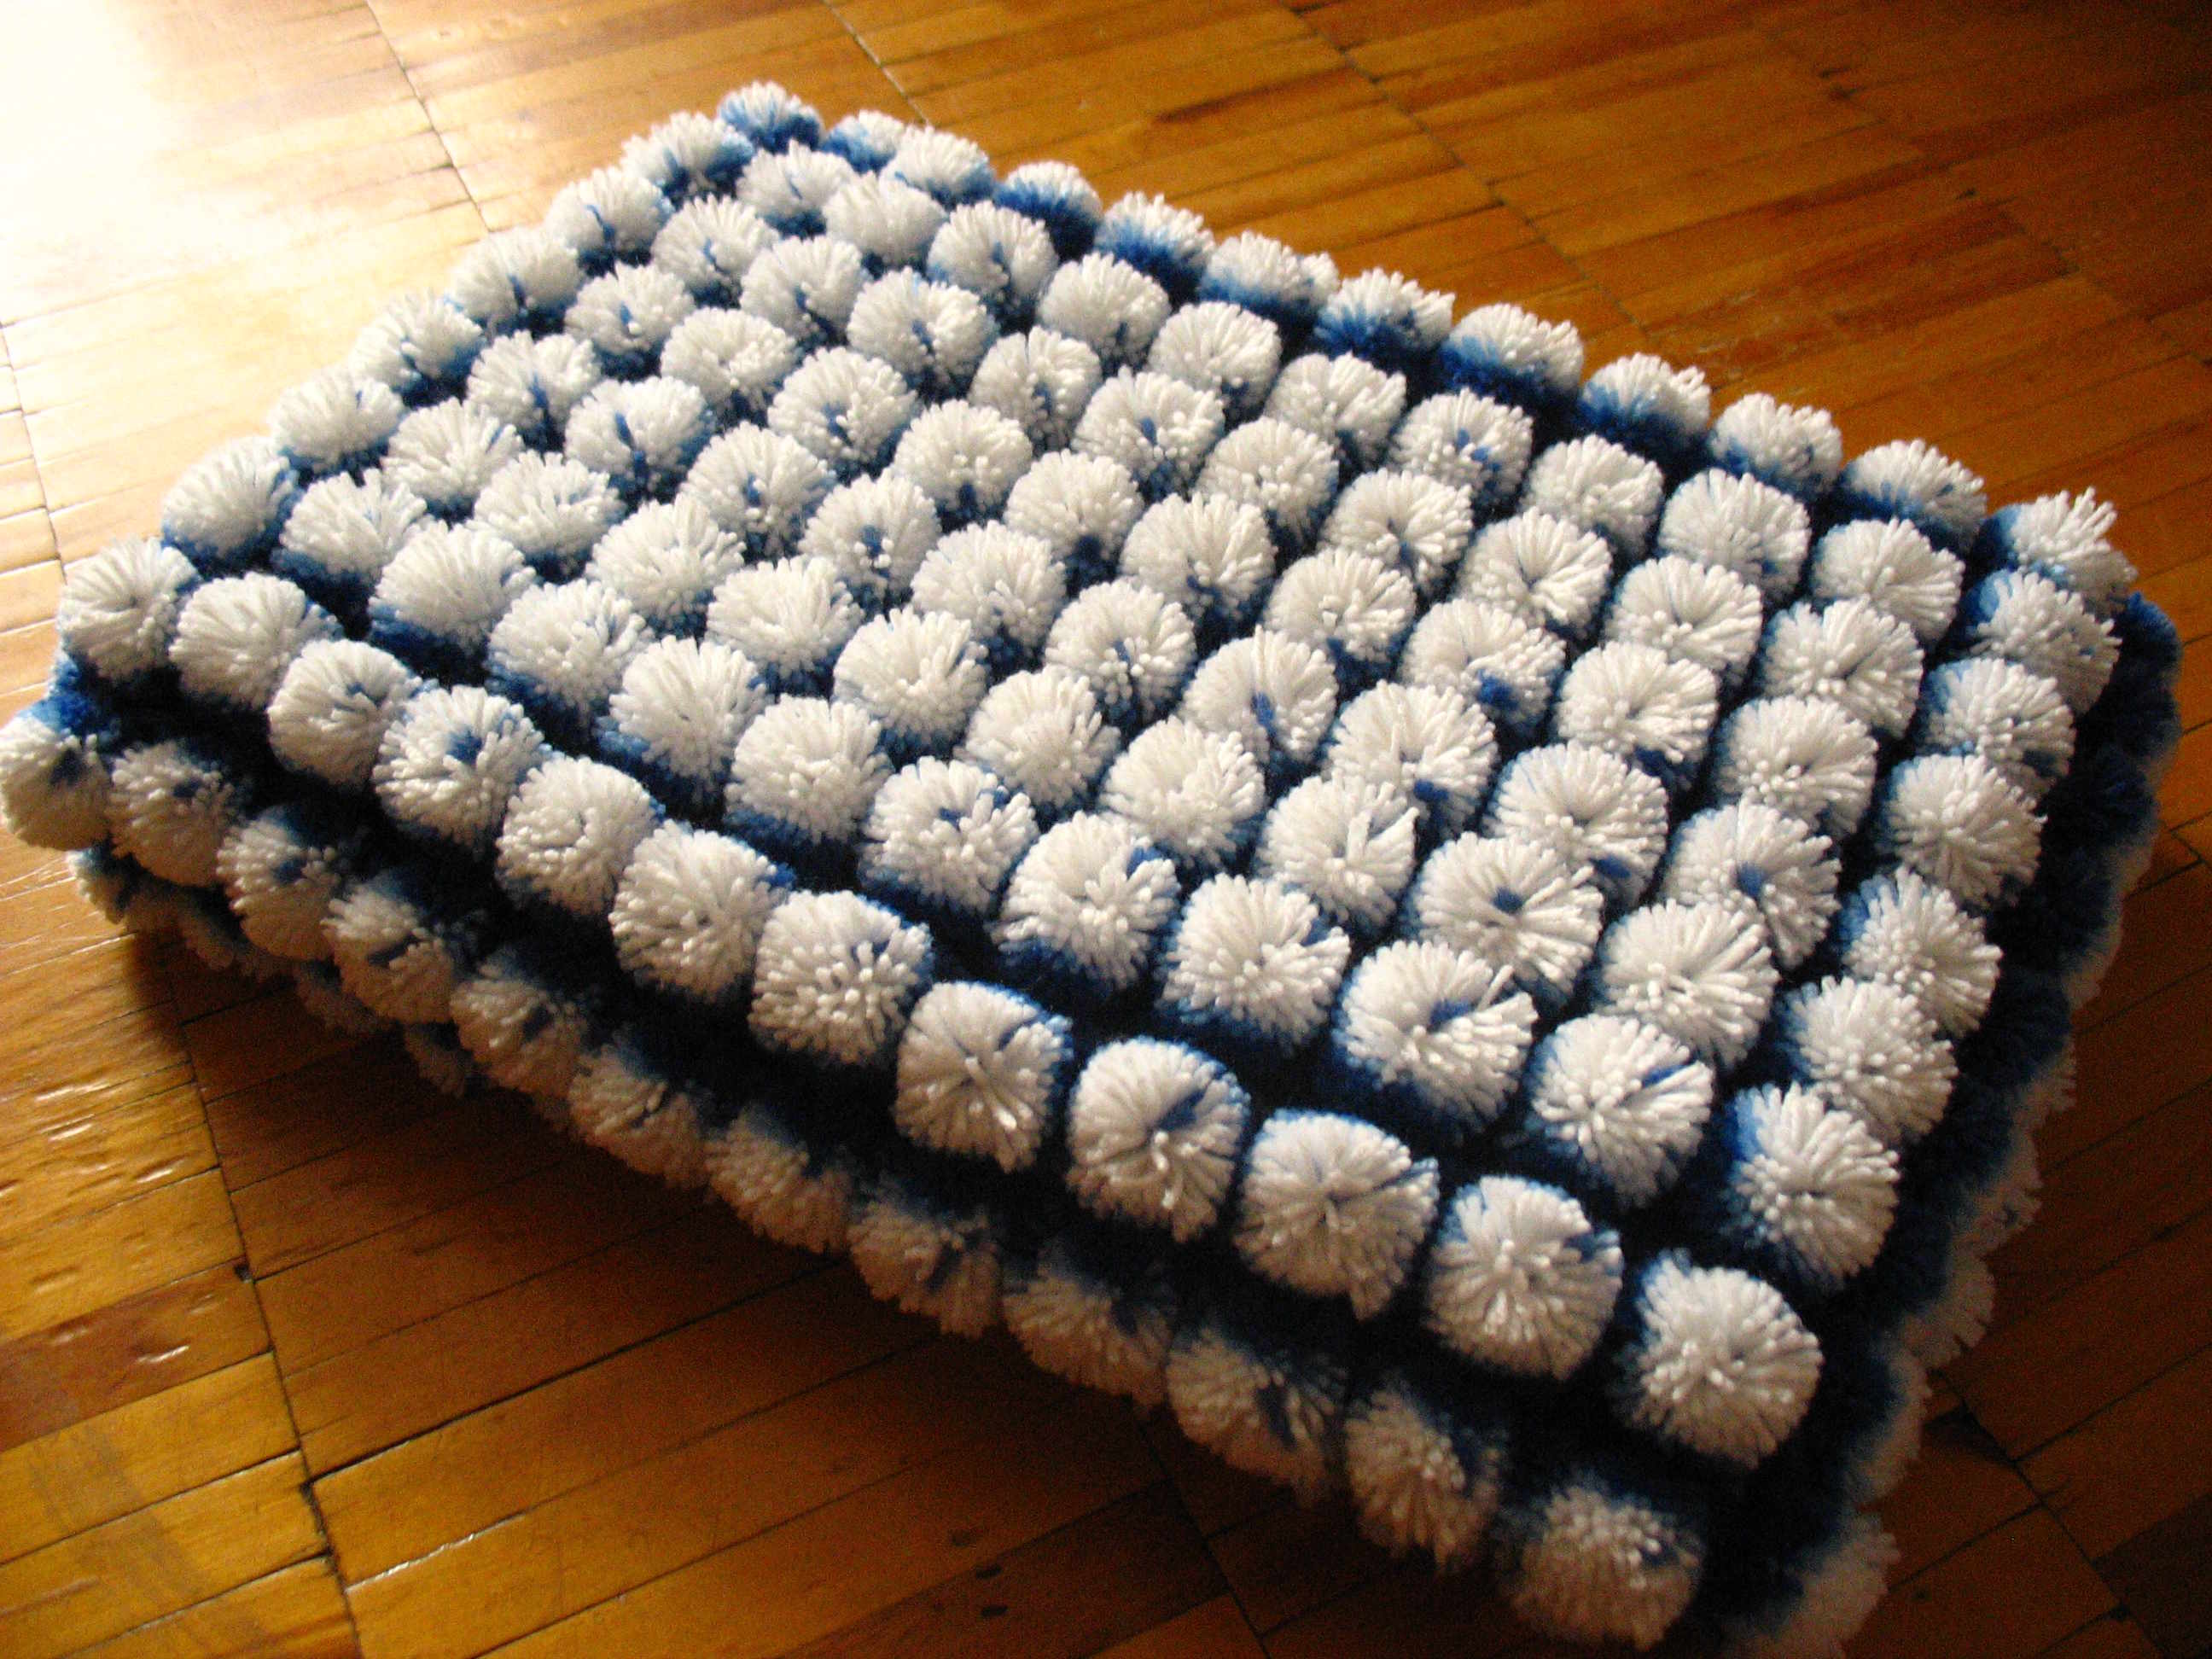
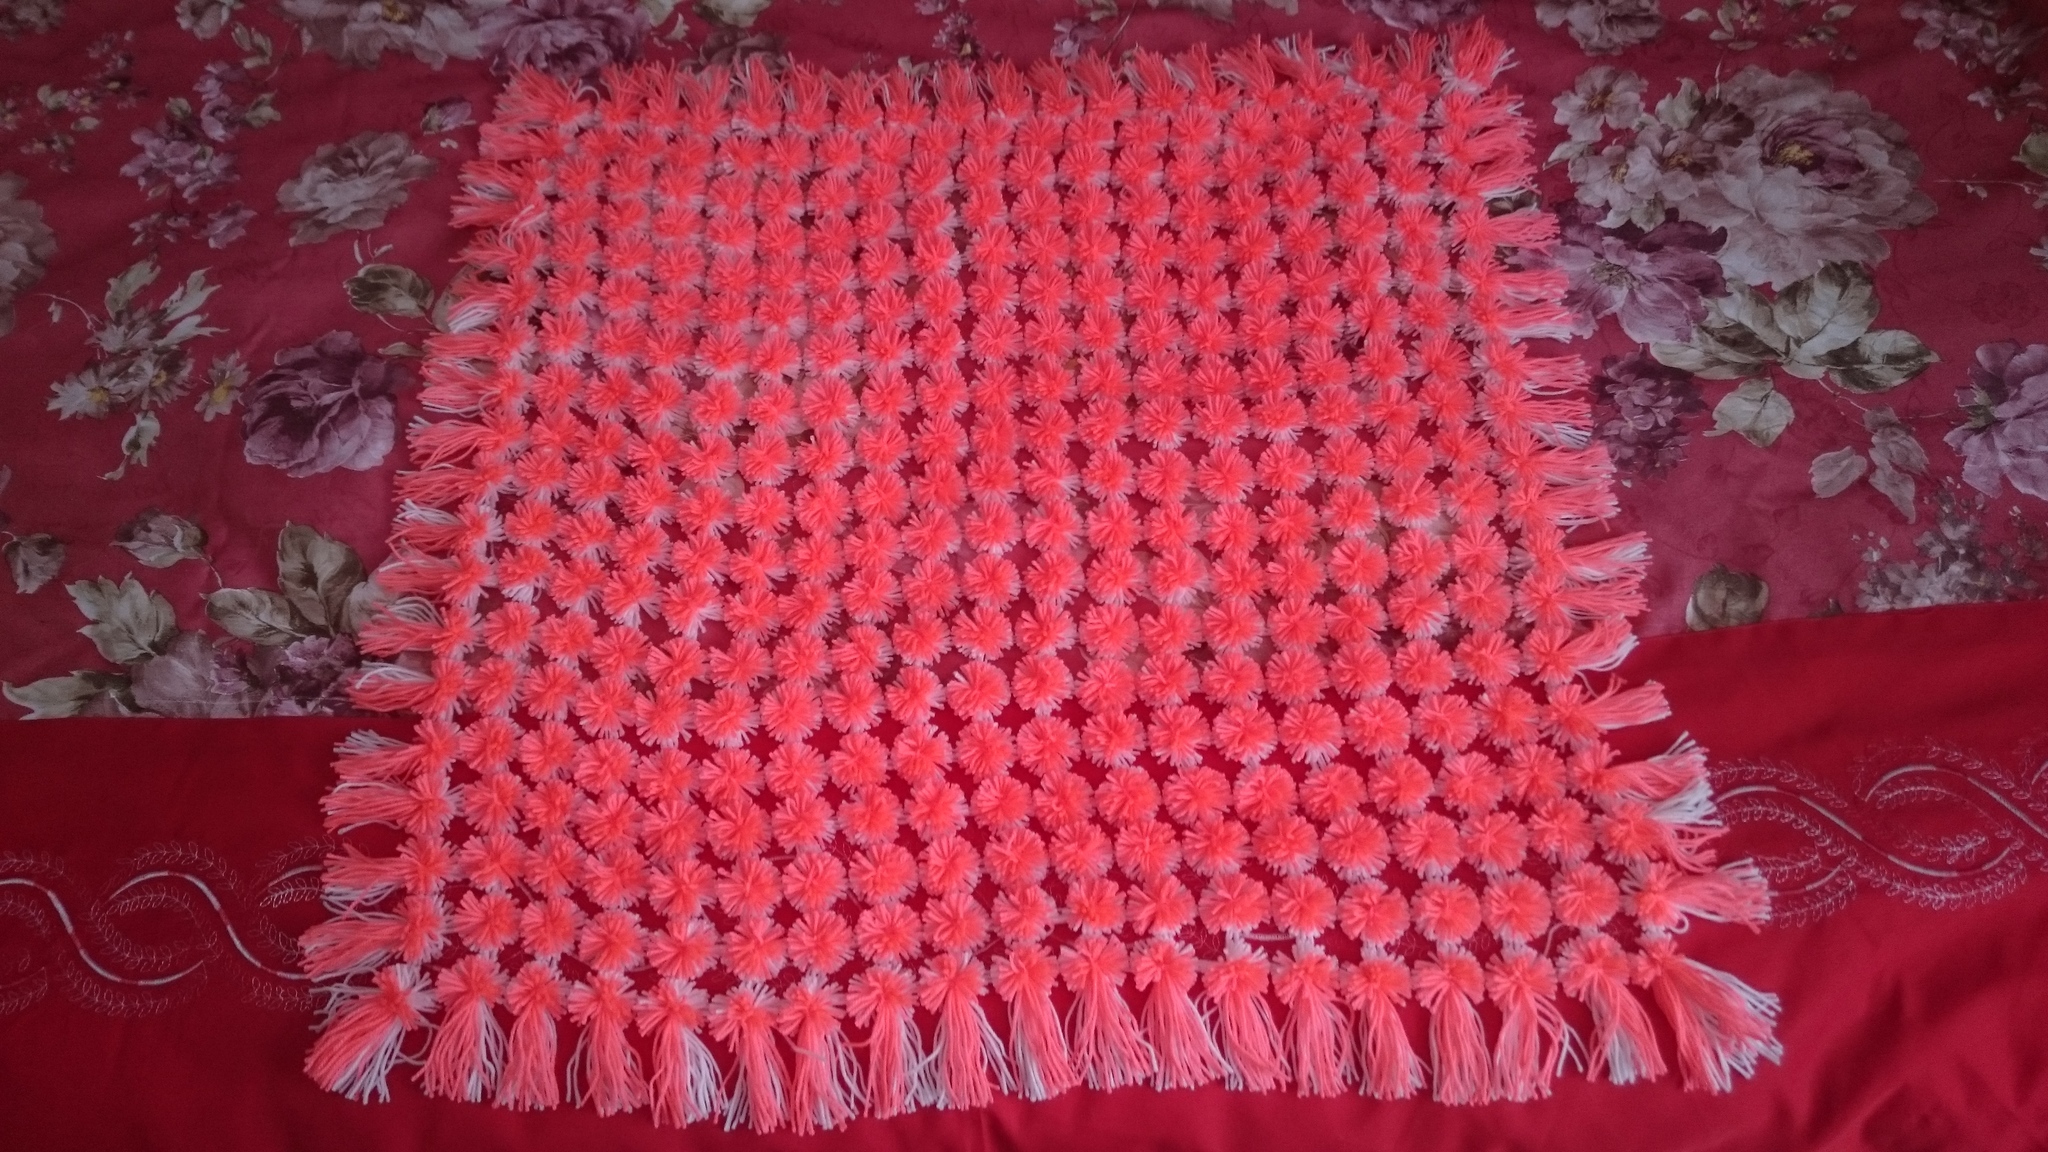
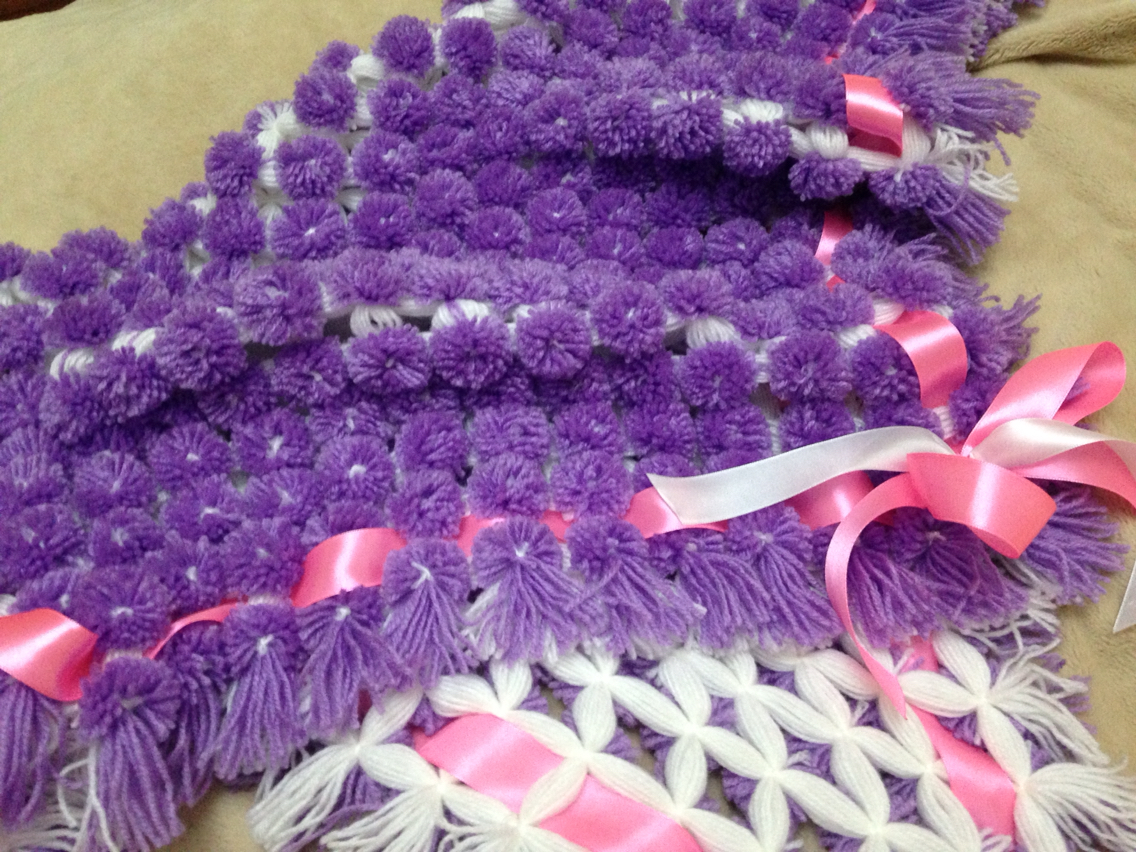
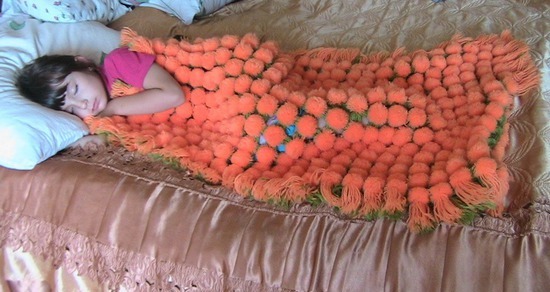
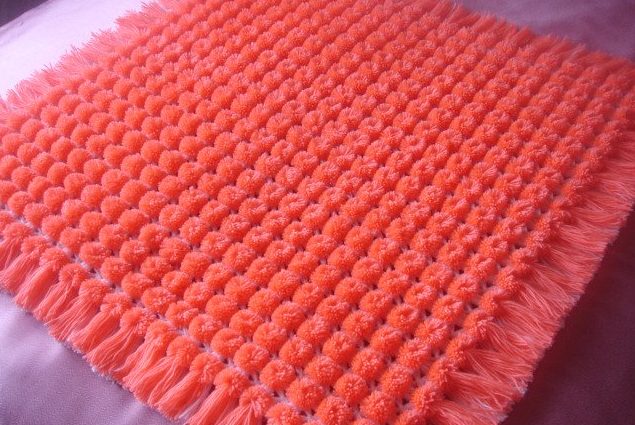
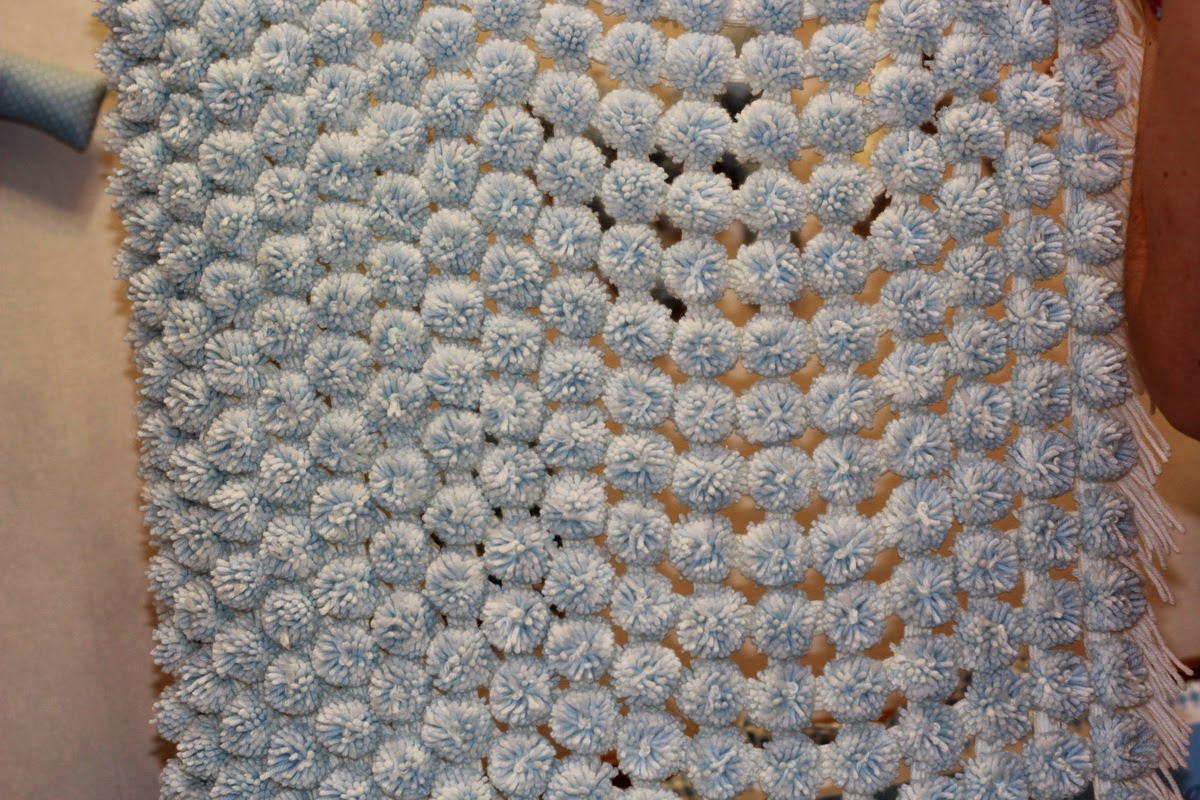
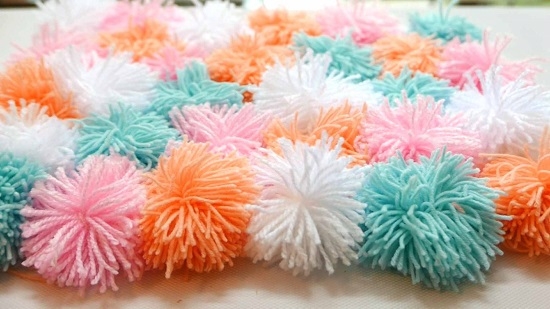
We cut all the pompoms and as a result we get such a wonderful fluffy blanket

The blanket will be soft with fluffy pom-poms.
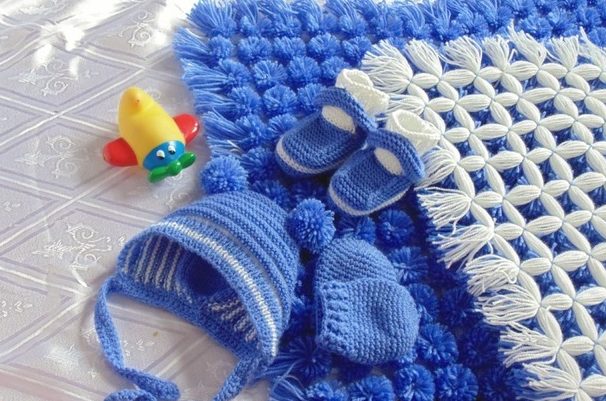
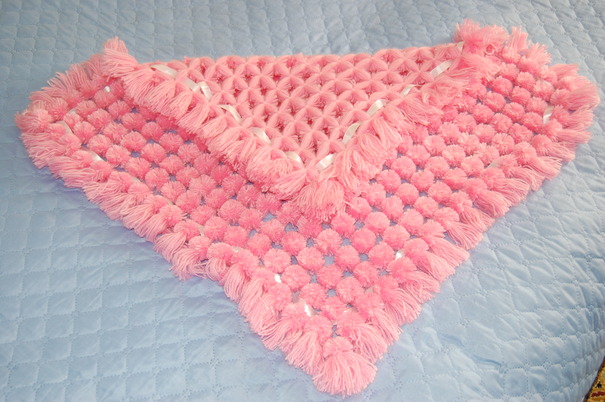
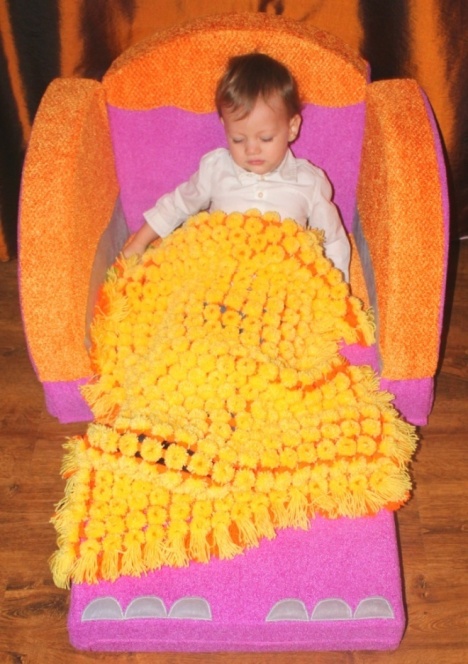
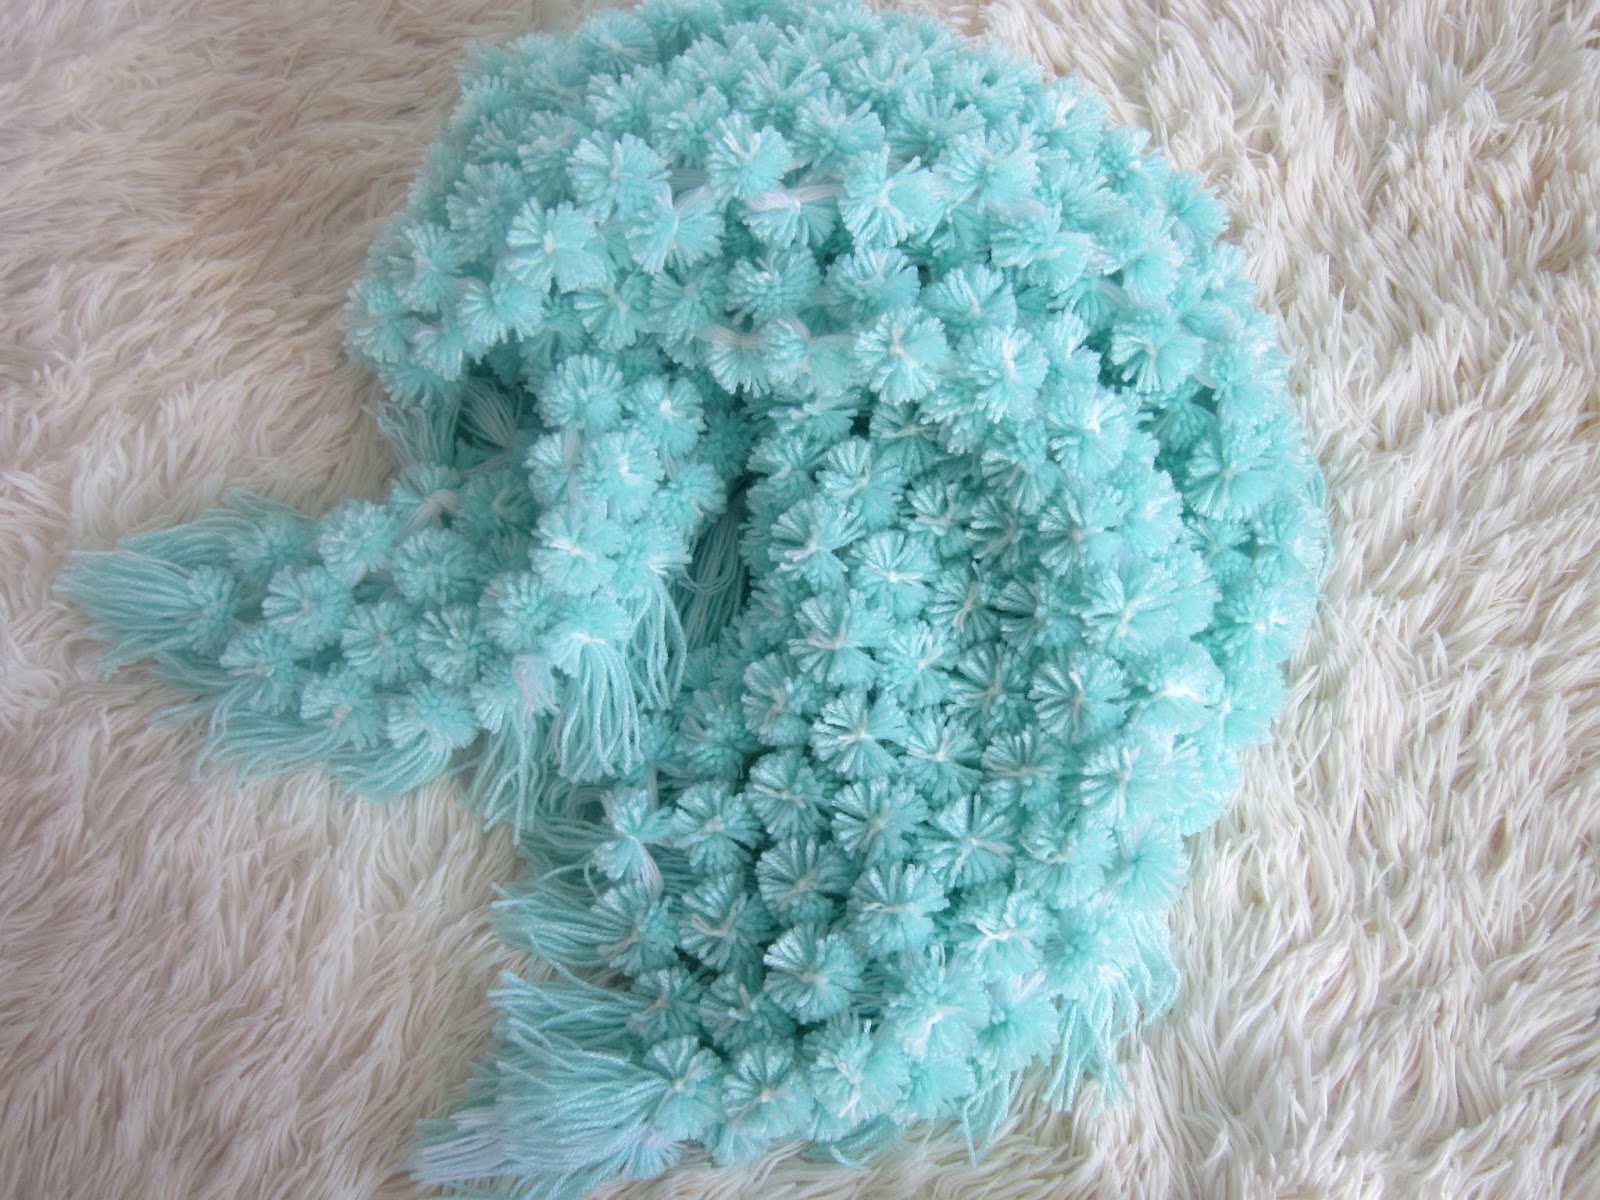
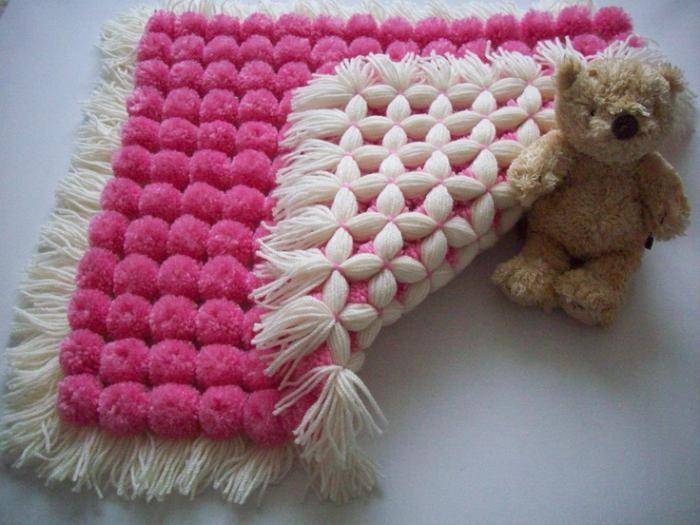
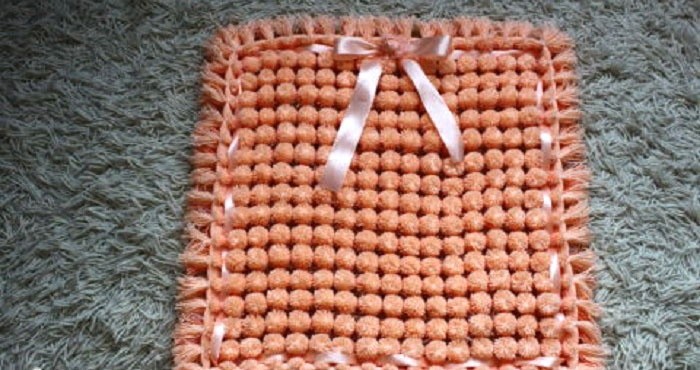
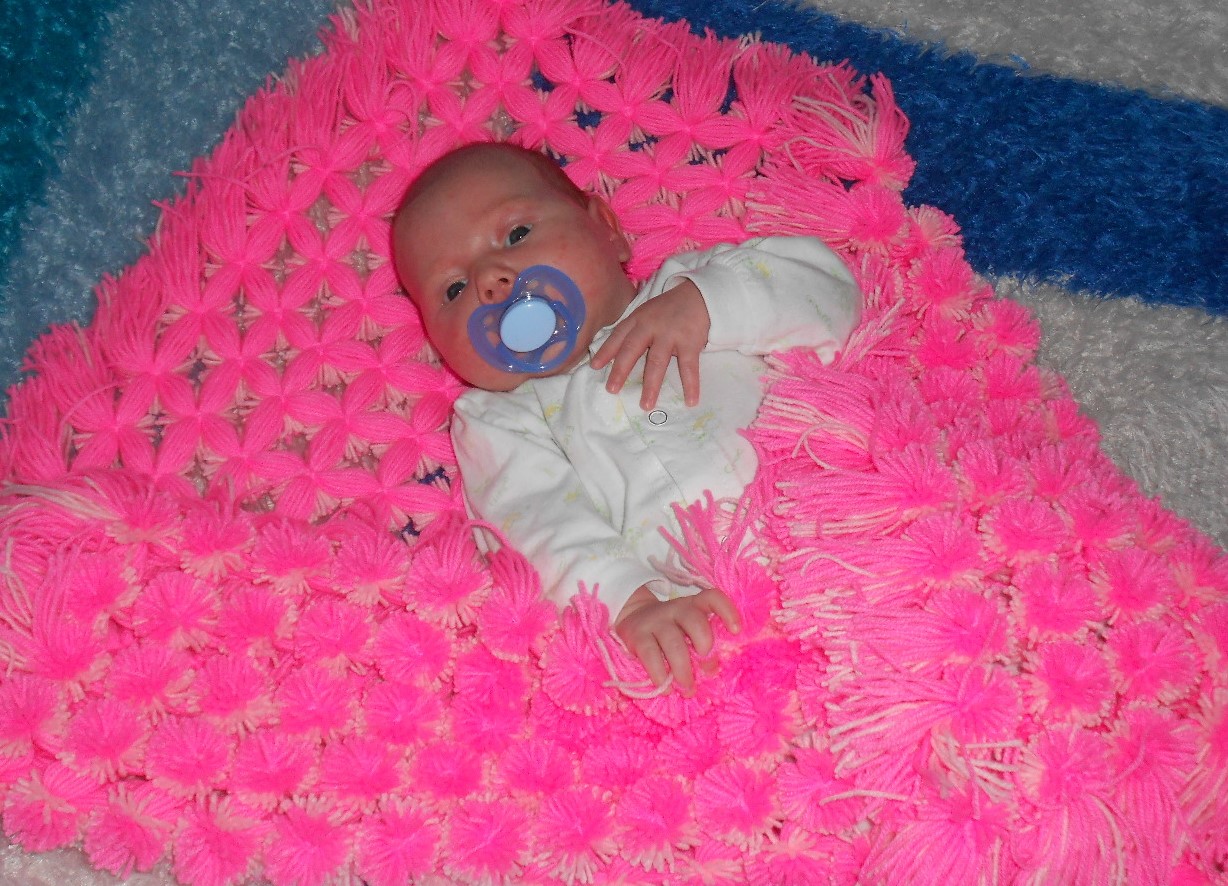
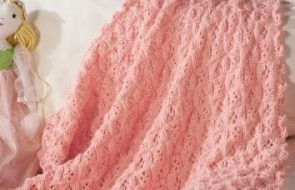
Baby blanket made of pompoms
The choice of yarn is a very important moment, it determines how comfortable the baby will be. Based on the above description of the types, it is better to choose a mixture of cotton fibers with bamboo or silk. If the choice fell on wool. It is better to mix it with acrylic thread - the blanket will last longer, will hold its shape better, and retain its color. To be sure of the hypoallergenicity of the material, you need to buy yarn with the inscription "children's", it is already mixed in the right proportions.
Weaving is similar to the technique described above, the only difference is in the frame size and the amount of yarn. Depending on its quality, for a newborn 80 cm by 100 cm, it will take from 9-10 skeins of 100 m.
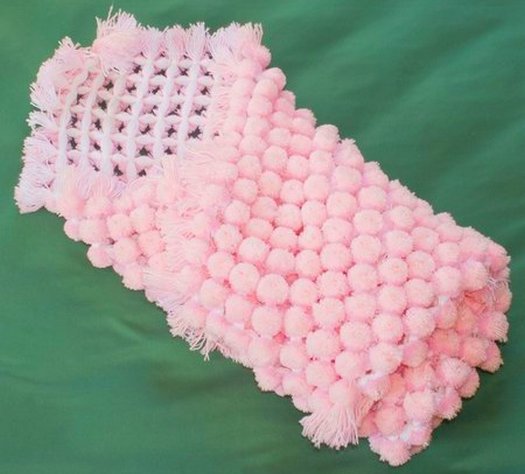
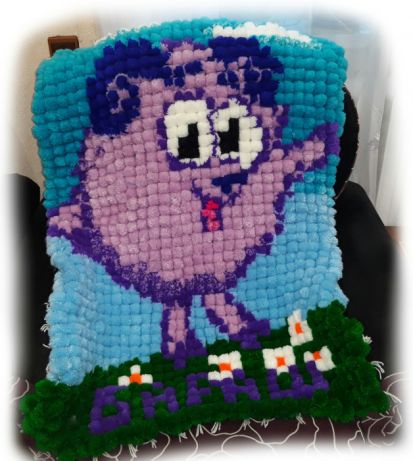
Knitted blanket for newborn with pompoms
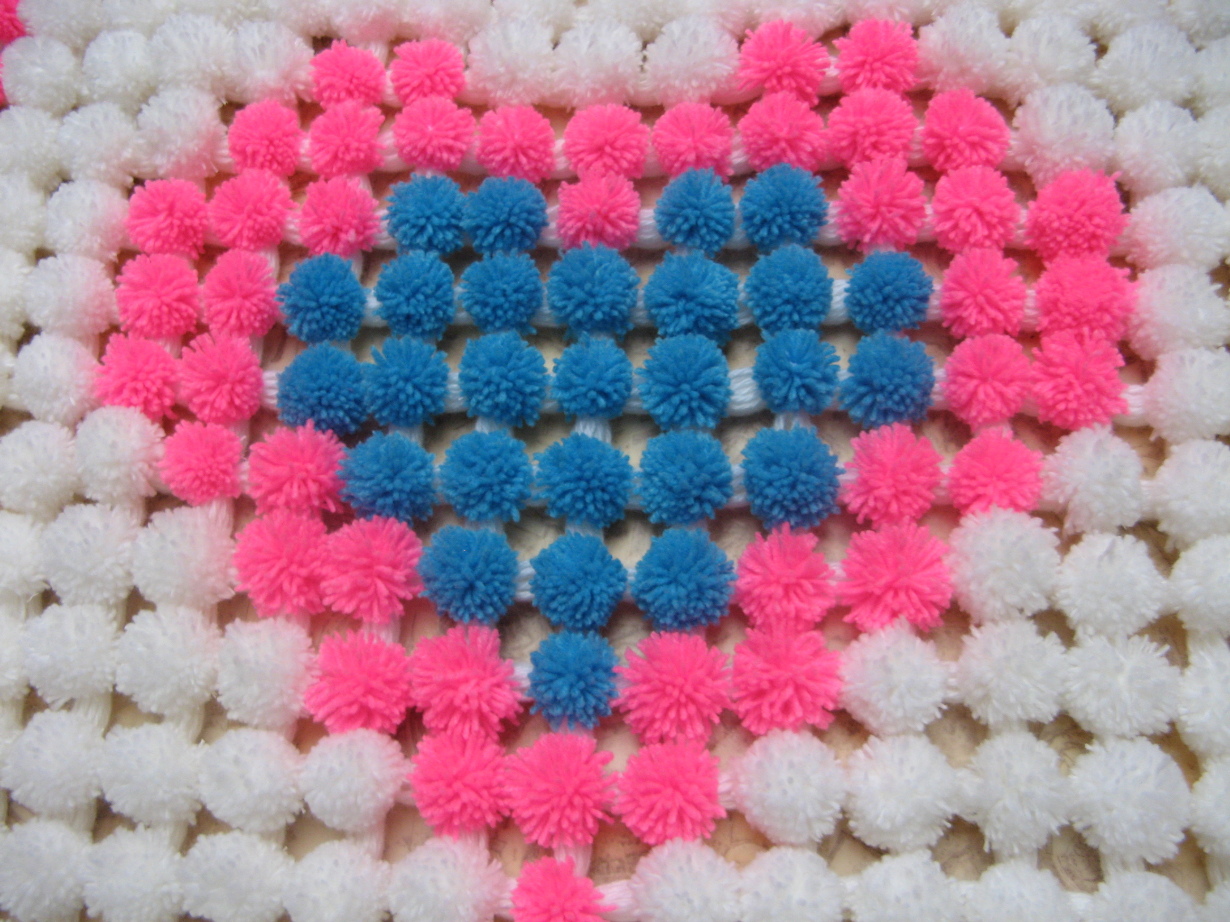
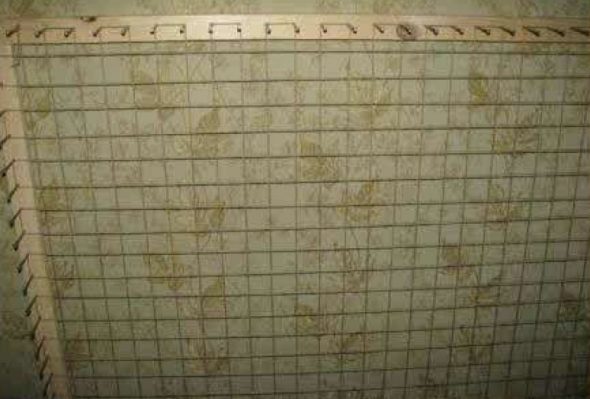
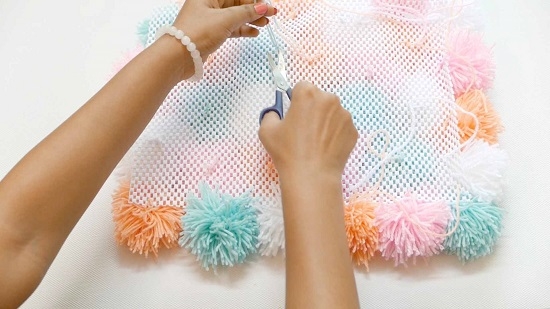
For little ones, you can knit without a frame. For this, you can use a special mesh as a base. You can take multi-colored yarn. Such creativity will please the eye.
- First you need to cut using a ruler, measure the required size, mark it, and cut along the contour.
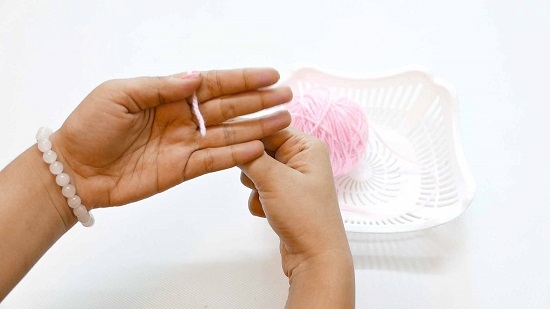
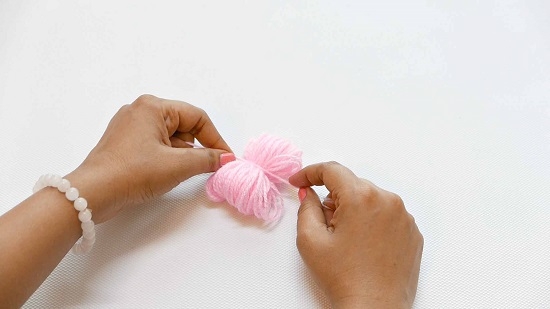
- Prepare by winding it around your fingers, leaving 2 cm between them. Make about 55 turns.

We grab a small piece of yarn and begin to wind it around our fingers, carefully holding the tip. - Carefully remove from fingers.
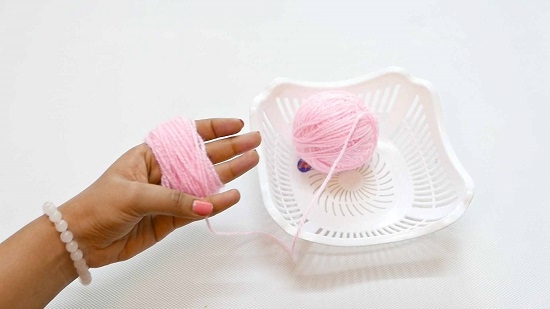
To get a medium-sized pompom, wrap the thread around your hand 55-60 times. - Cut a 15 cm long thread, pass it through the center of the skein, tie a tight knot, make 3 such turns for strength.
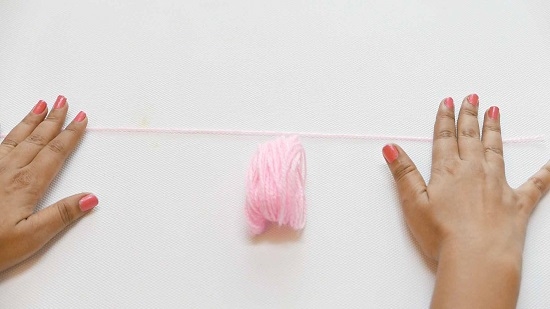
Carefully remove the yarn from your hand and place it on the table, measure out a piece of thread of the same color 15-20 centimeters long - Use scissors to cut both sides of the yarn in the middle. Fluff up the pompom and trim off any excess.
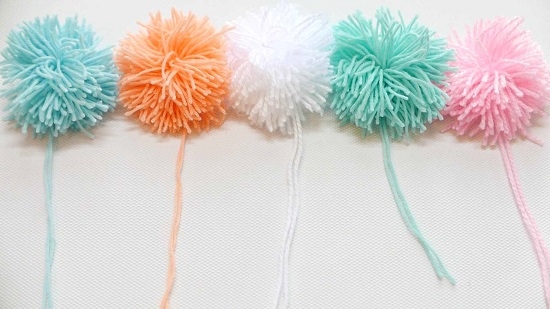
Wrap the thread around the center of the yarn to divide it into two equal halves and tie the ends into a knot. Take sharp scissors and carefully cut the loops on both sides, trim the slightly protruding threads - Make according to the size of the base mesh.
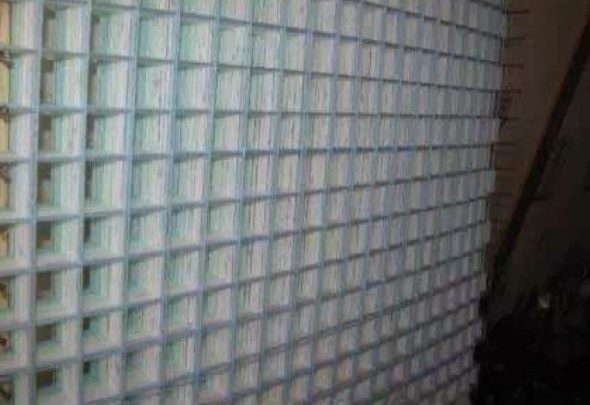
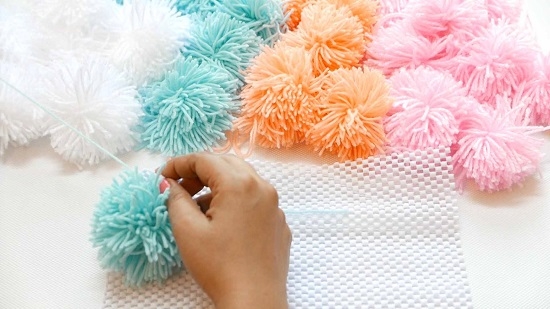
We do the same with yarn of other colors and form as many pompons as required by the size of the base. - Take a pompom, pass pieces of thread through the holes of the mesh, tie both ends from the wrong side.
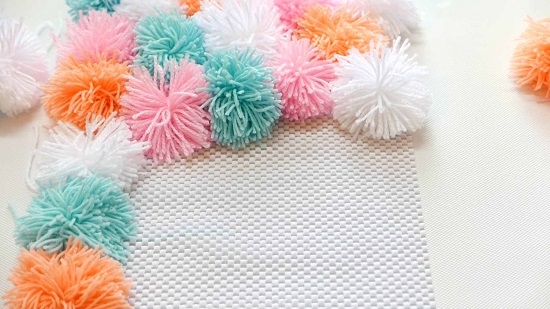
Take the first pompom and carefully push the threads through the holes of the mesh, tie the edges with a tight knot on the back side, cut off the excess thread with scissors Using the same method, we attach pompoms of other colors to the first and subsequent rows. - Do the same with the others, sewing them tightly to each other over the entire area of the base. Cut off the excess from the inside.
After you have finished everything, turn the blanket inside out and check if all the threads are cut, sew the base fabric to the wrong side if desired. Colorful DIY baby blanket is ready

Care.
- Knitted fabrics are prone to stretching and pilling; they should not be machine dried or cleaned with hard brushes.
- If pellets appear, remove them with a razor or a special machine.
- The snags can be easily removed with a needle: pull the threads from the wrong side.
- After washing, lay it out to dry completely; it is better to refrain from ironing.
- Wash the blanket at a temperature no higher than 30 degrees in a delicate wash mode; to make it last longer, it is better to use dry cleaning services.
With proper care, the blanket will delight you with its warmth and cozy appearance for a long time; handmade items reflect the owner’s inner world, create a special character for the home, and make it unique.
Video: Pom-pom blanket
https://www.youtube.com/watch?v=hY477RmSBlg
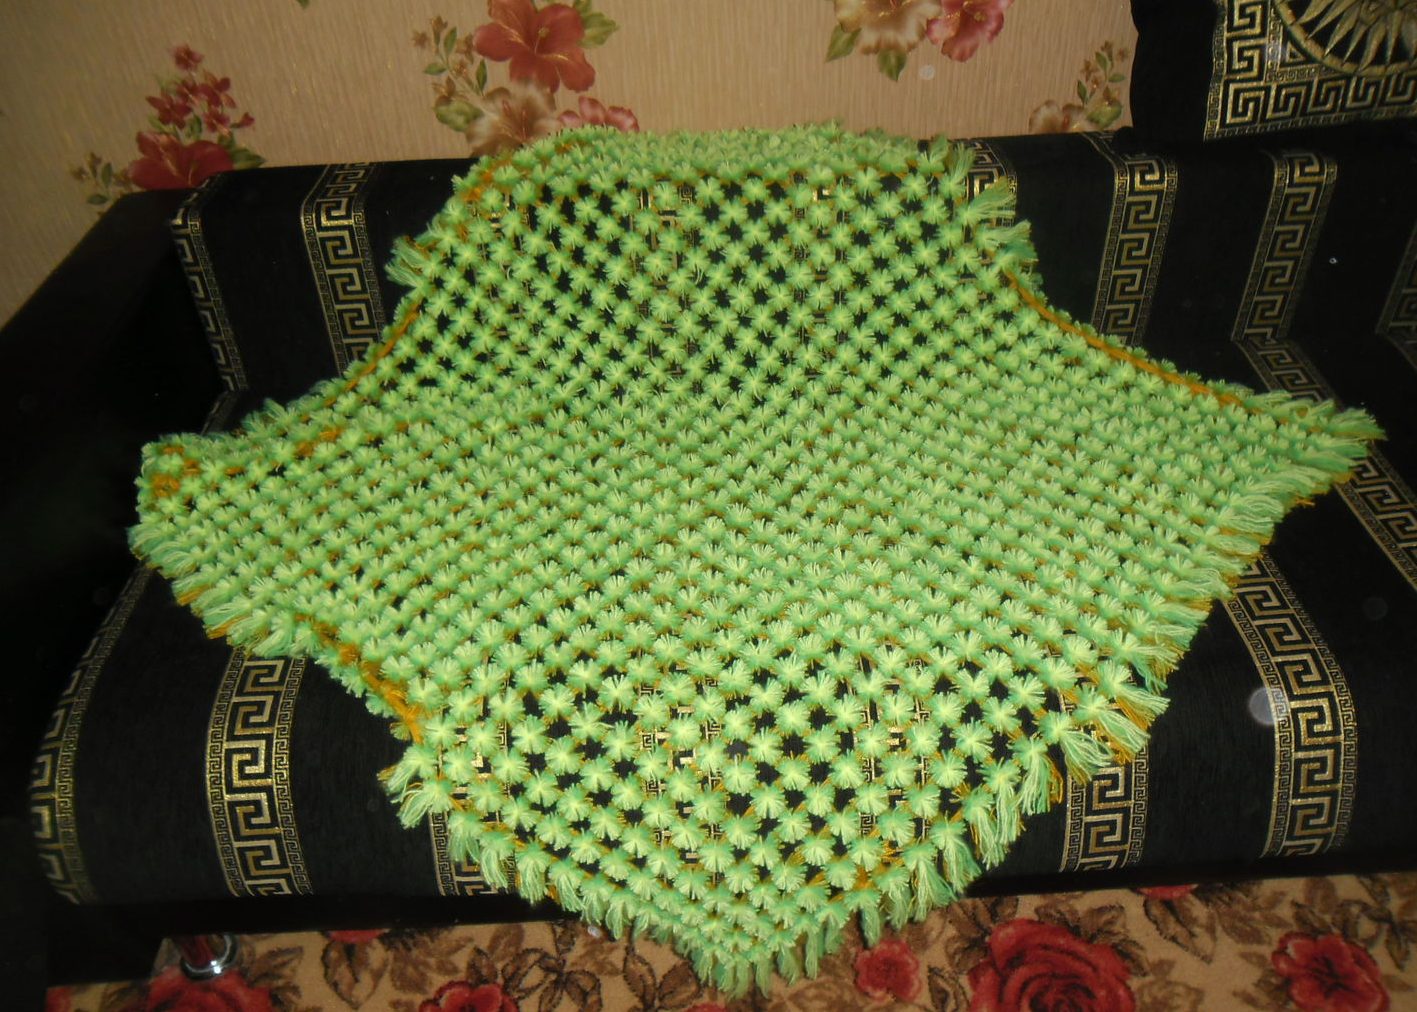
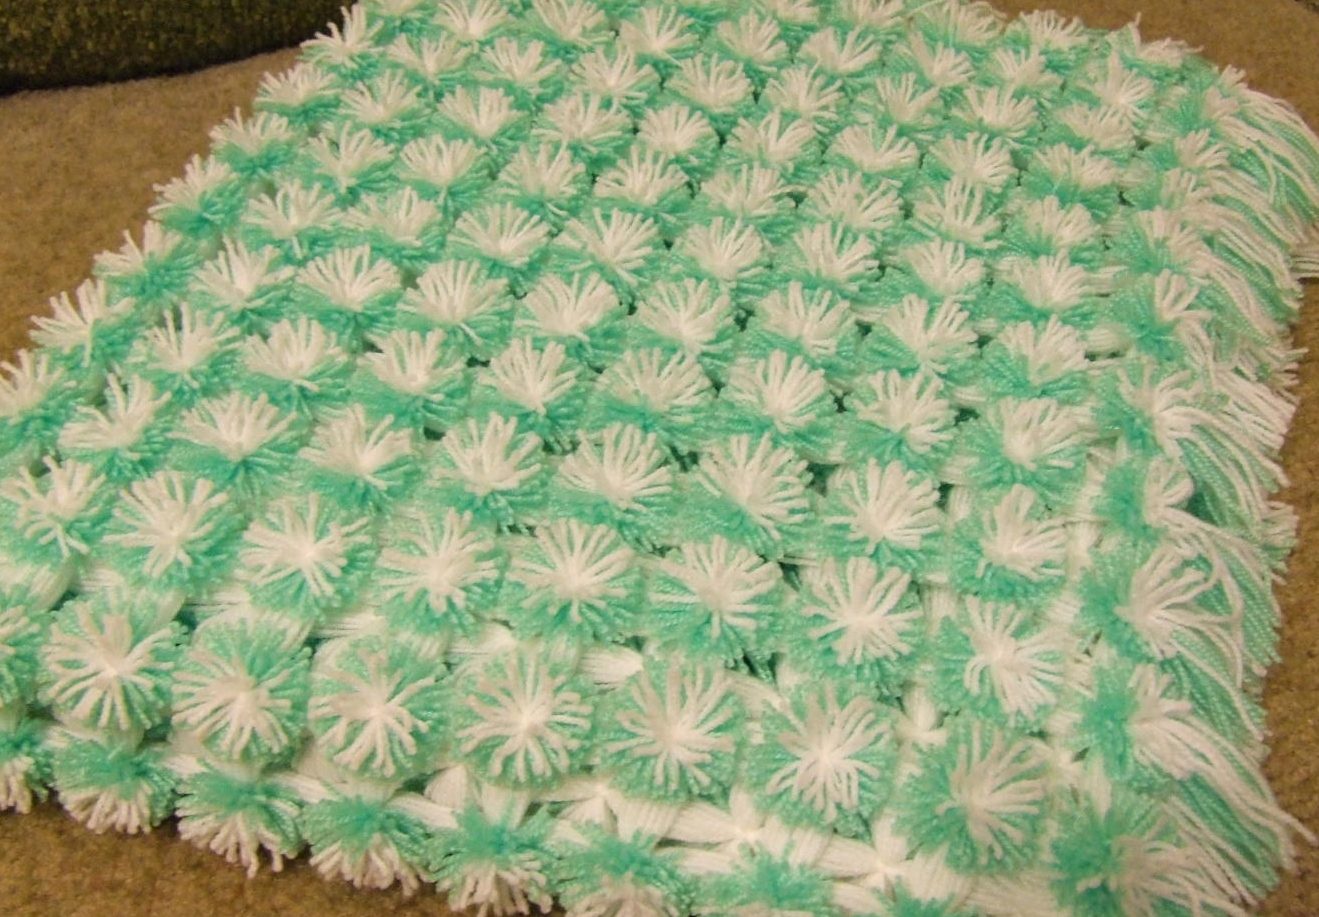
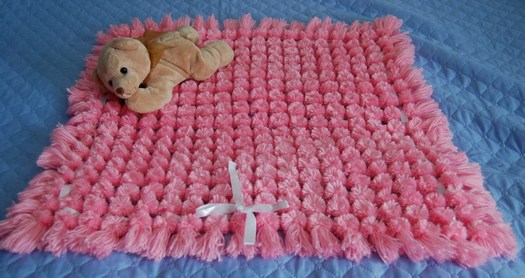
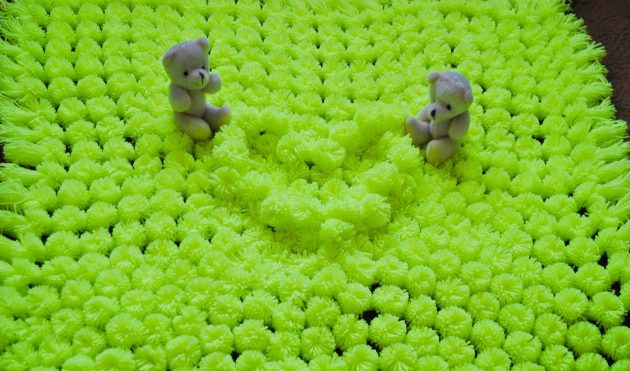
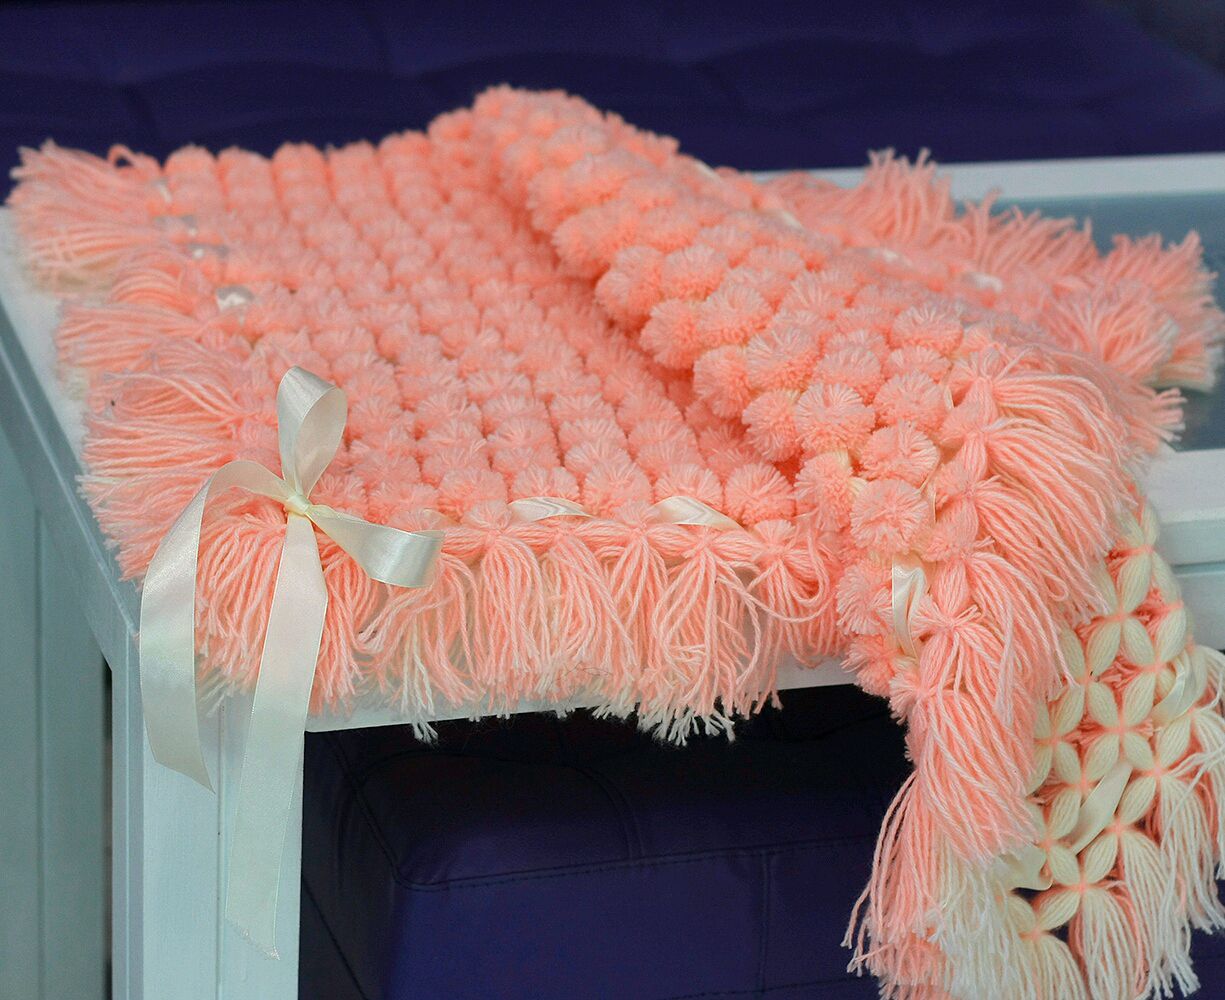
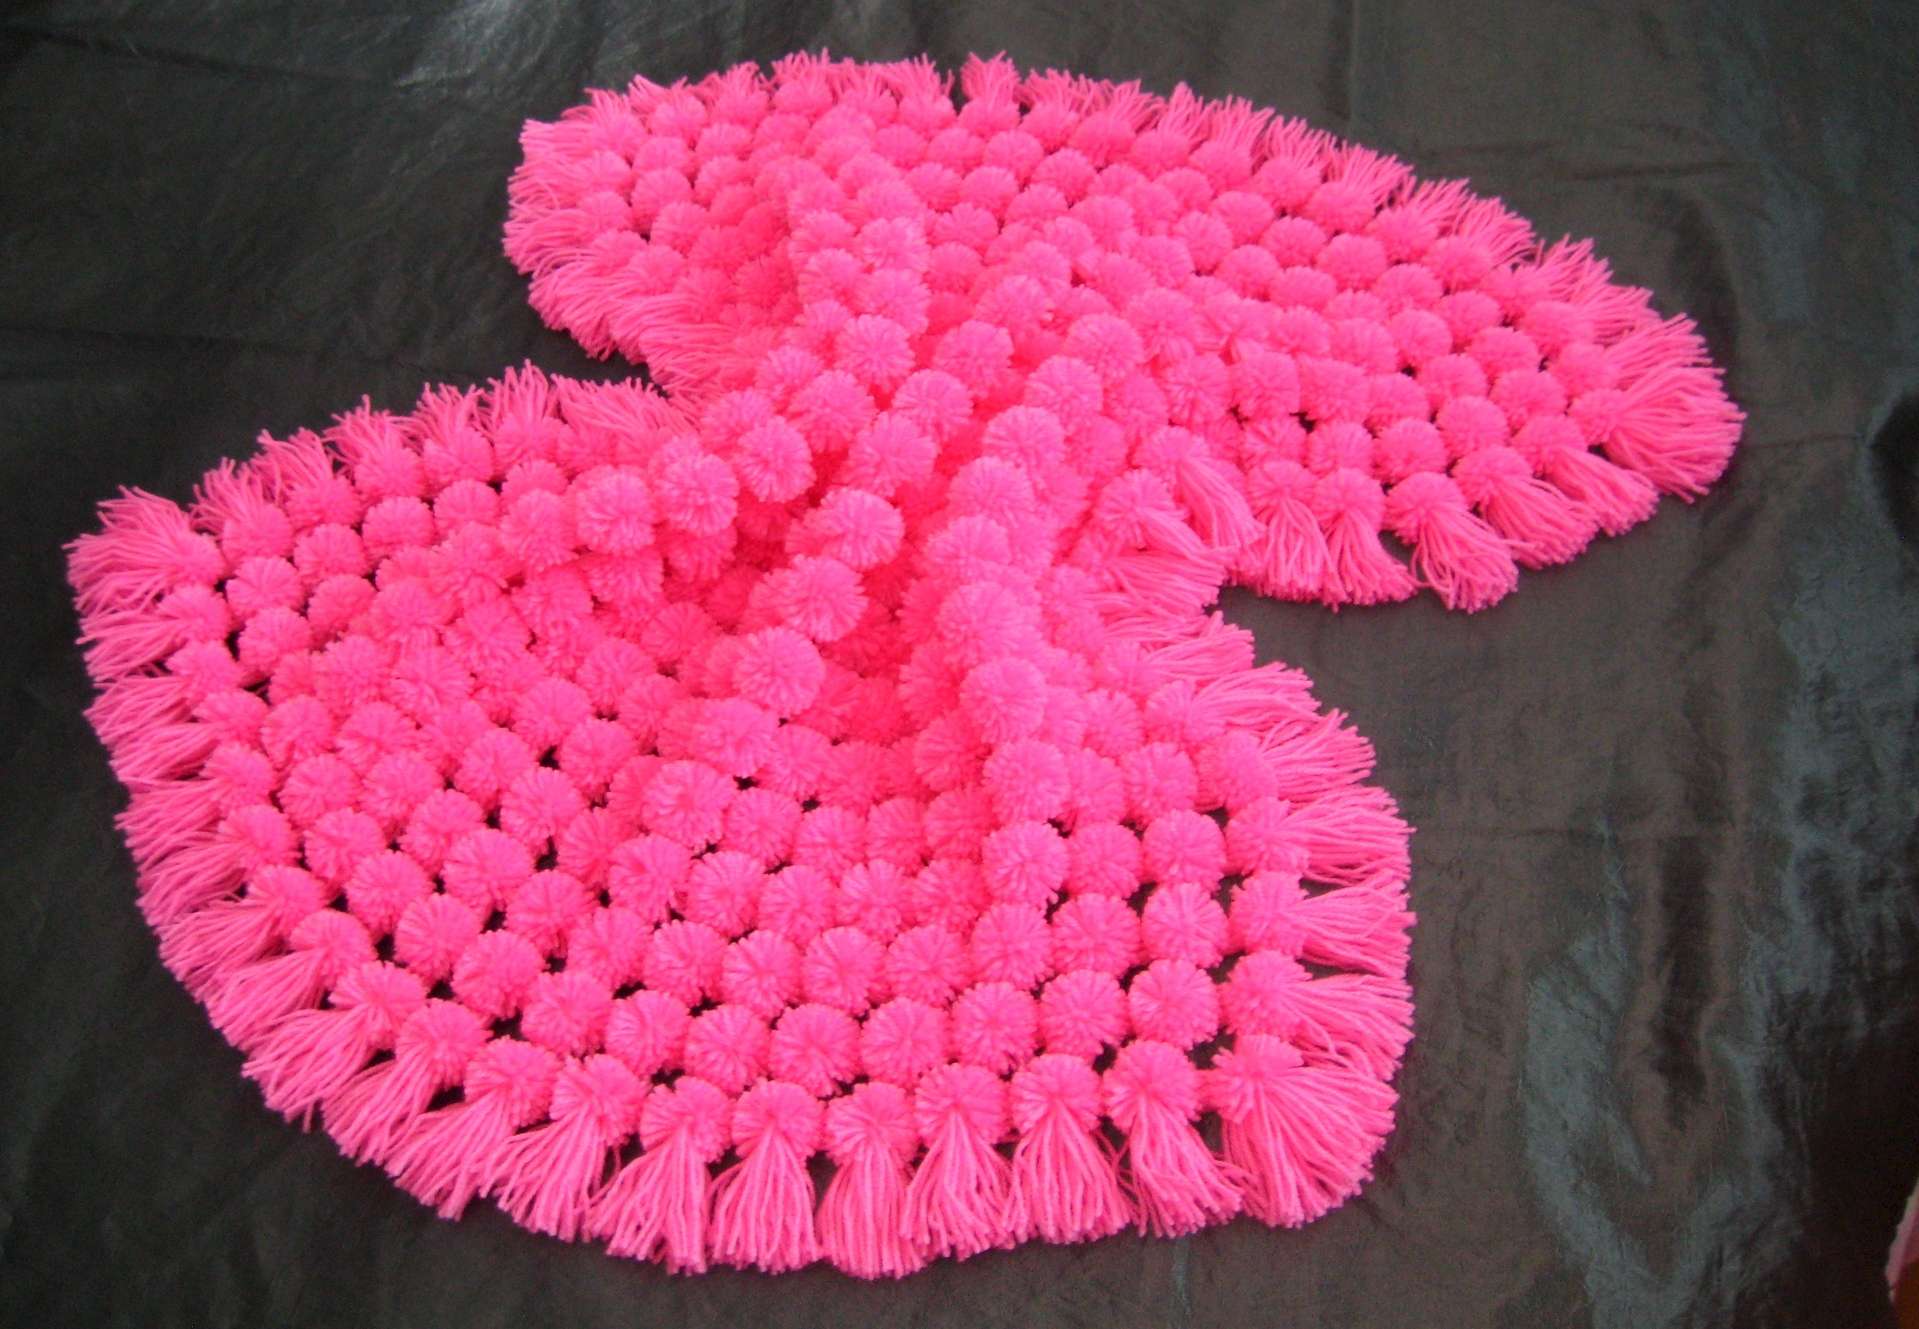
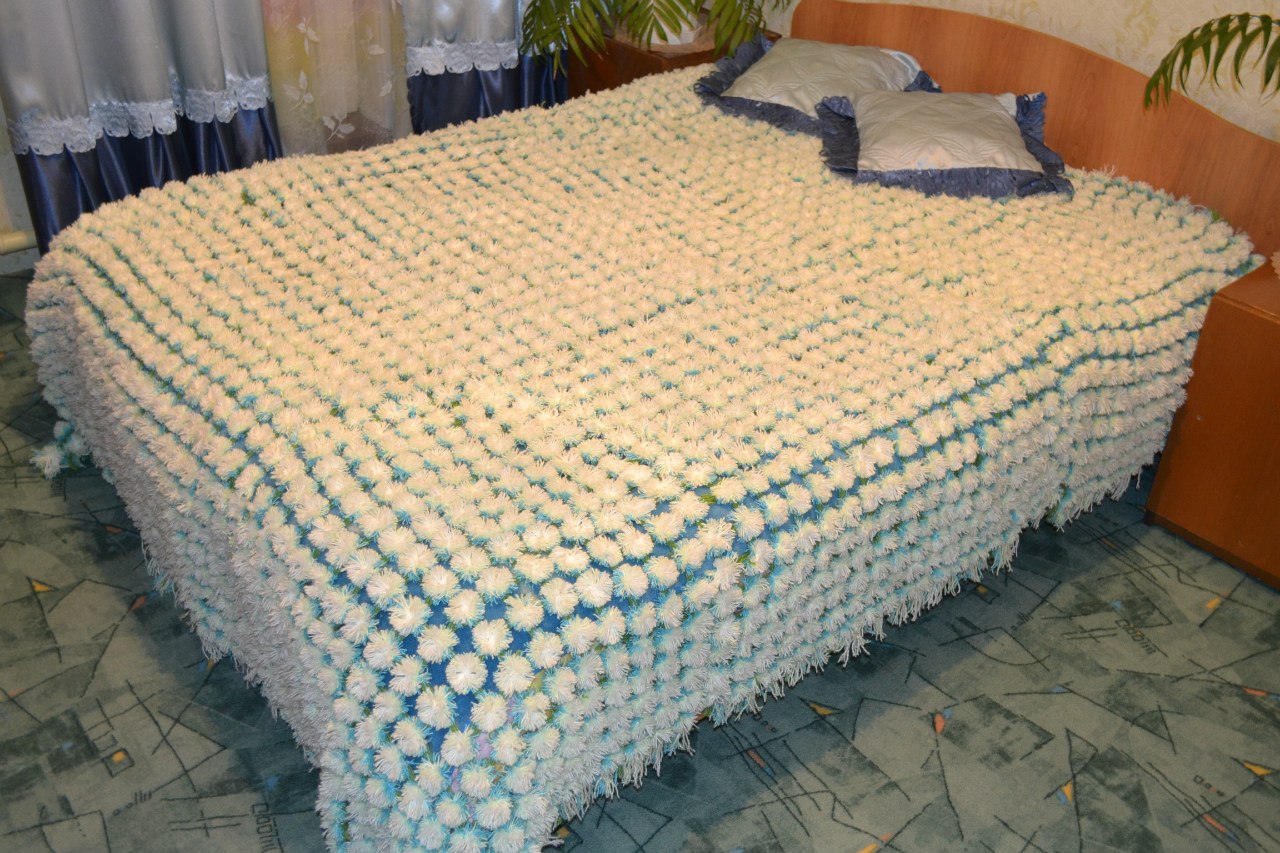
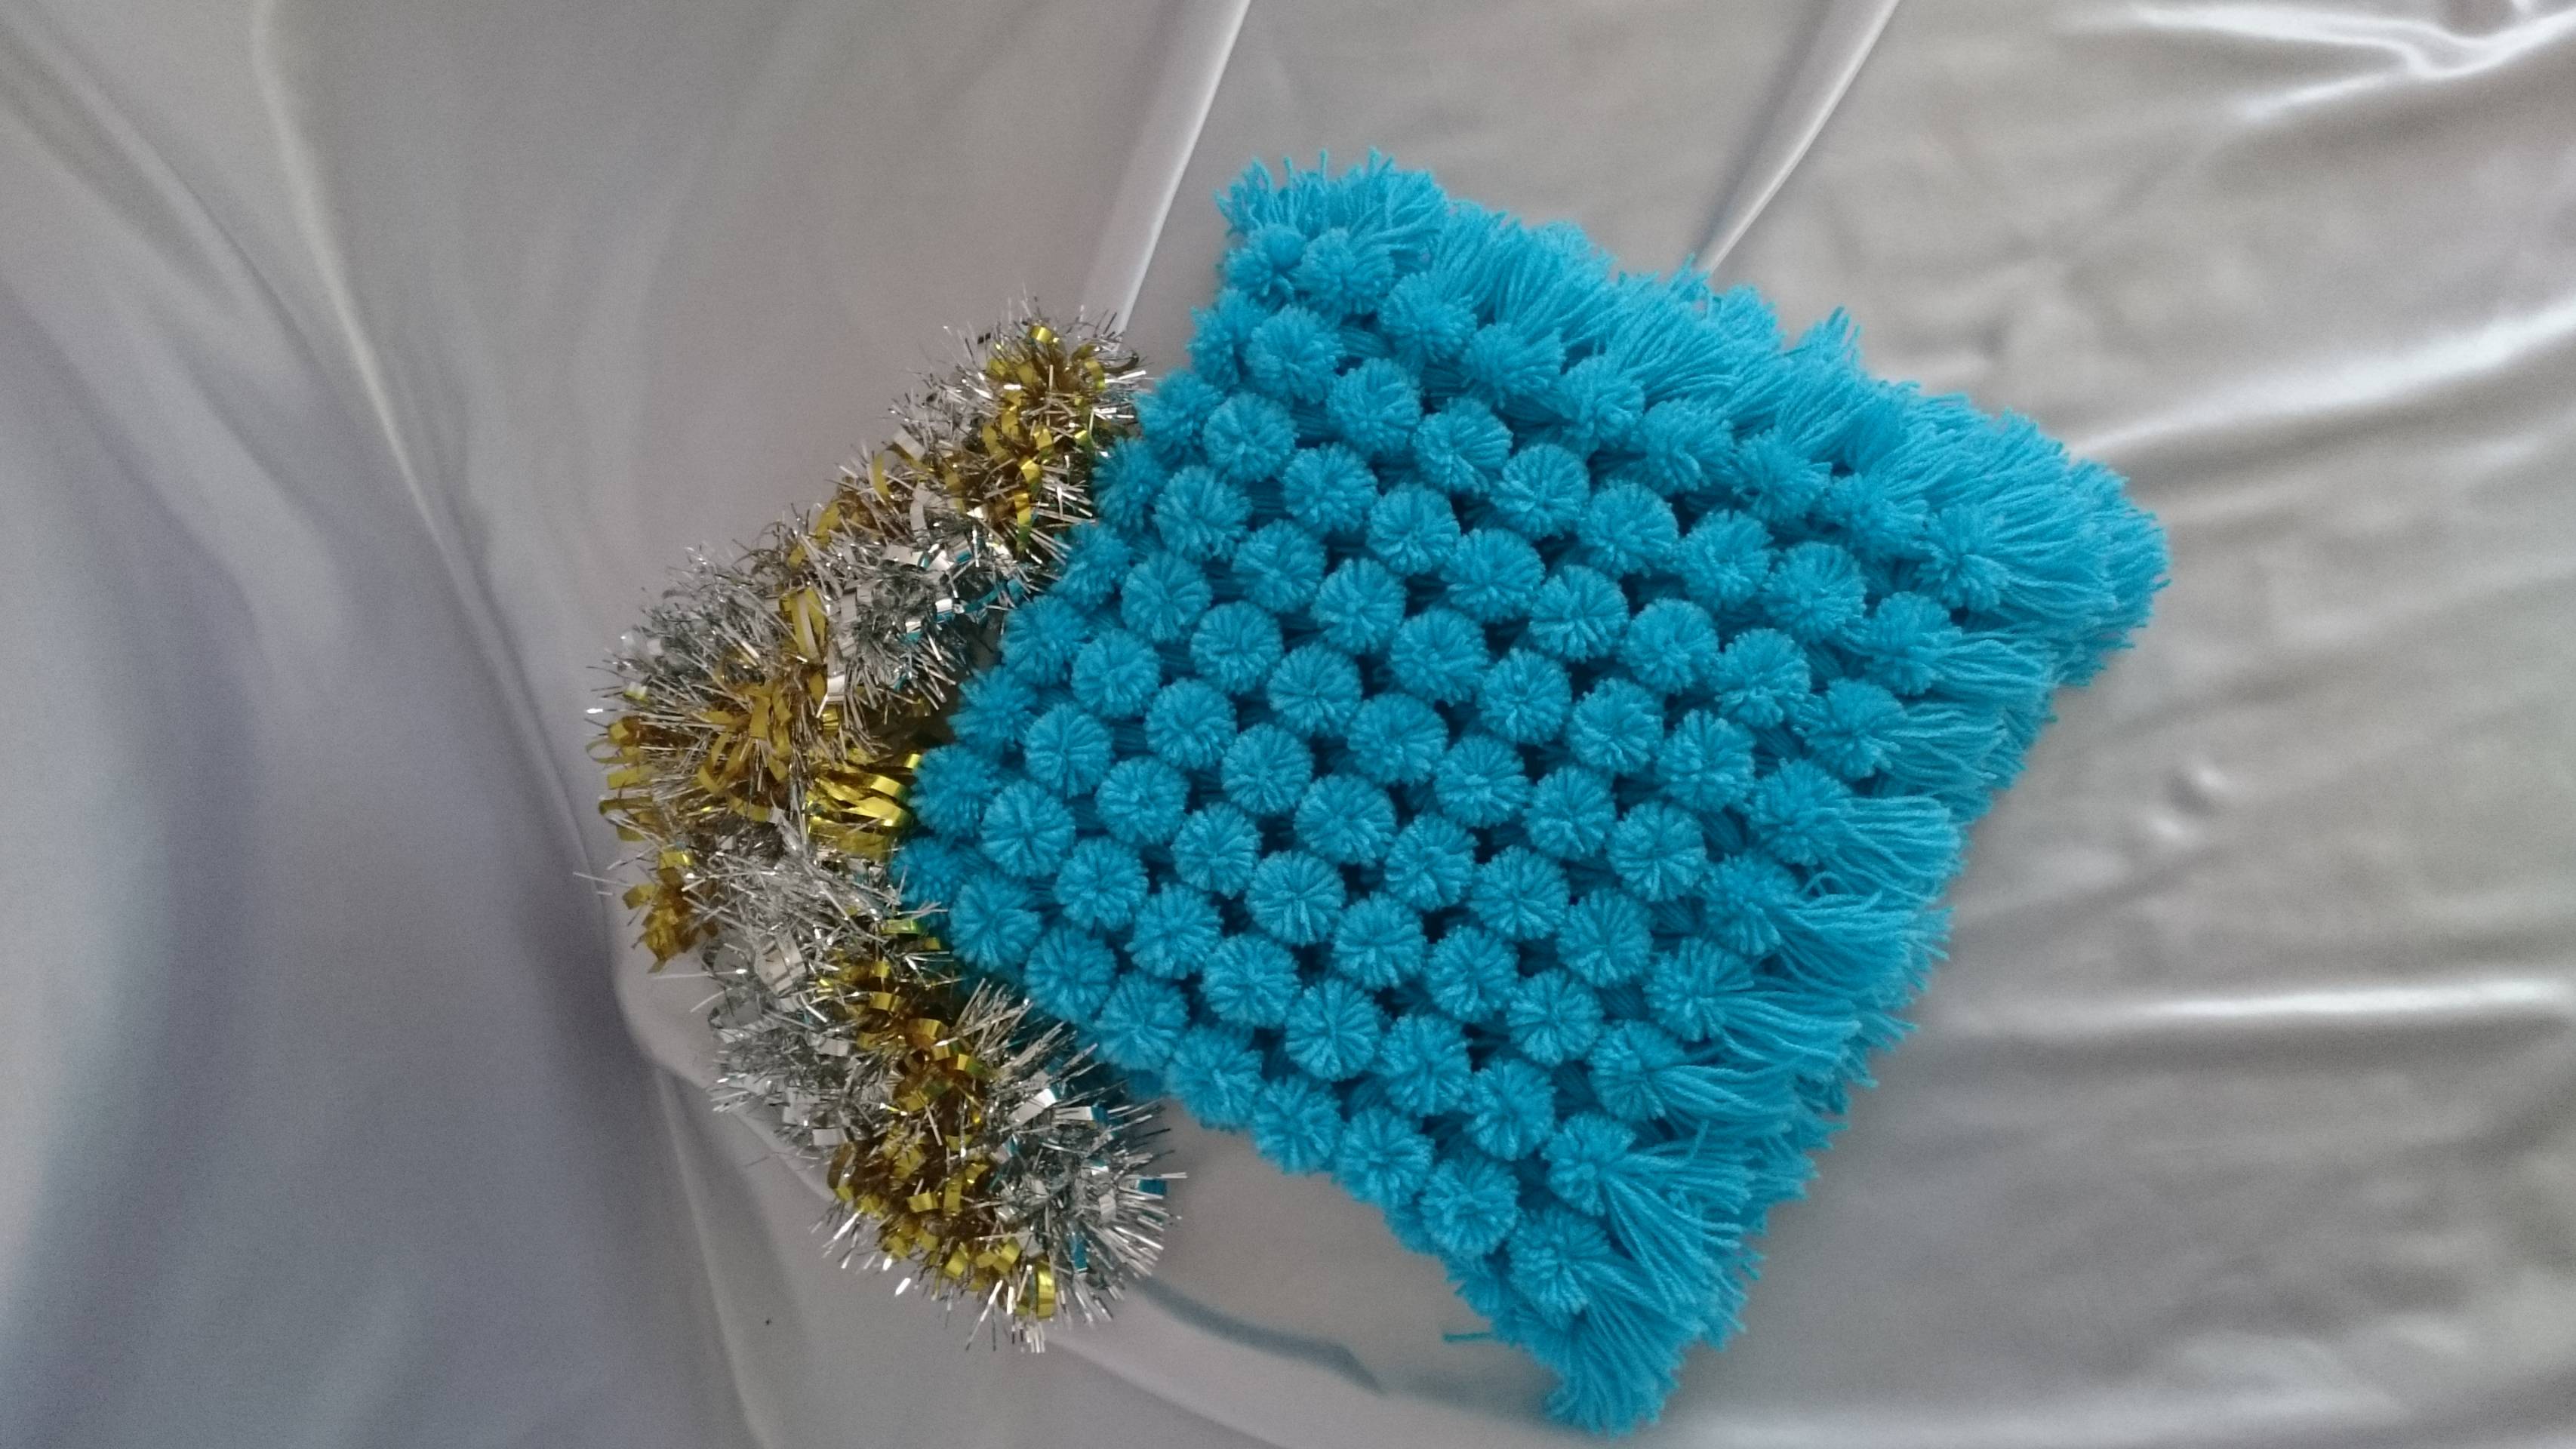
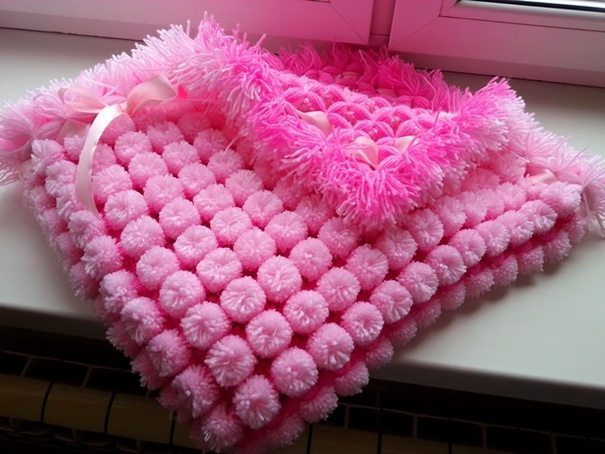
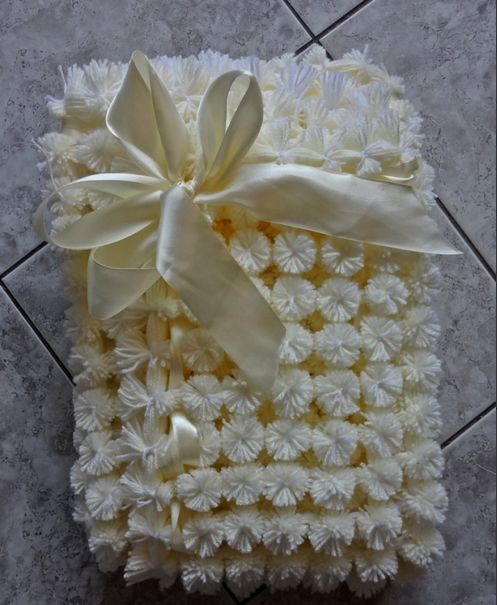
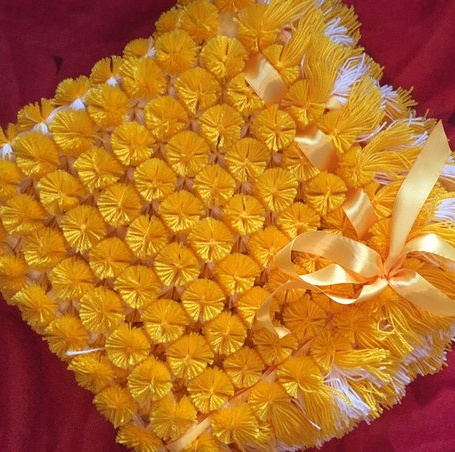
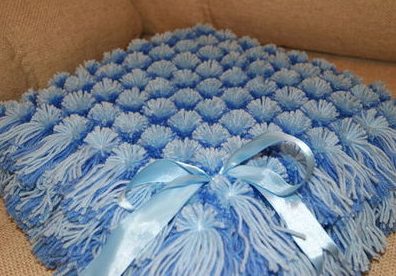
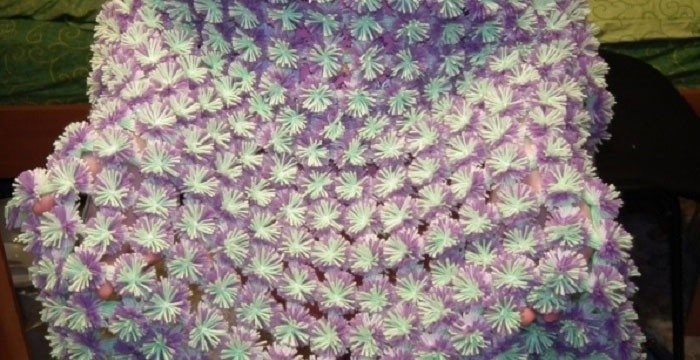
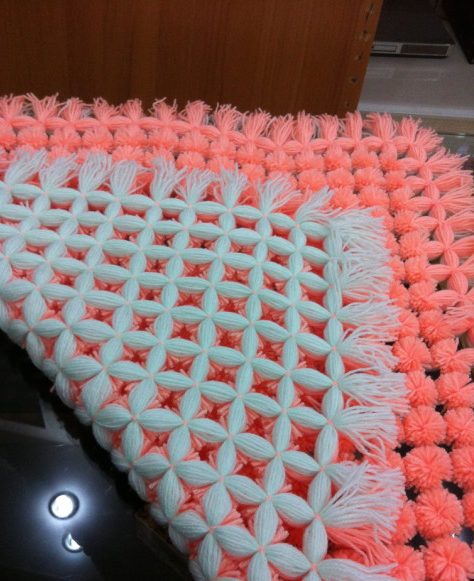
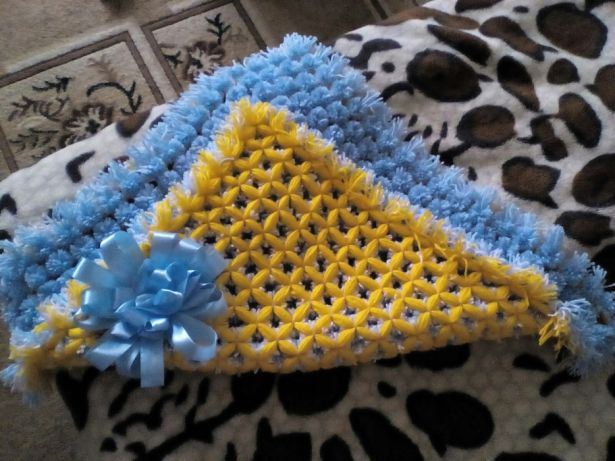
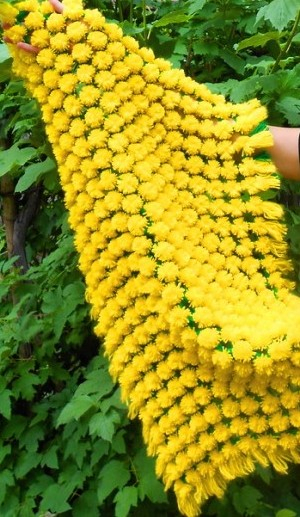
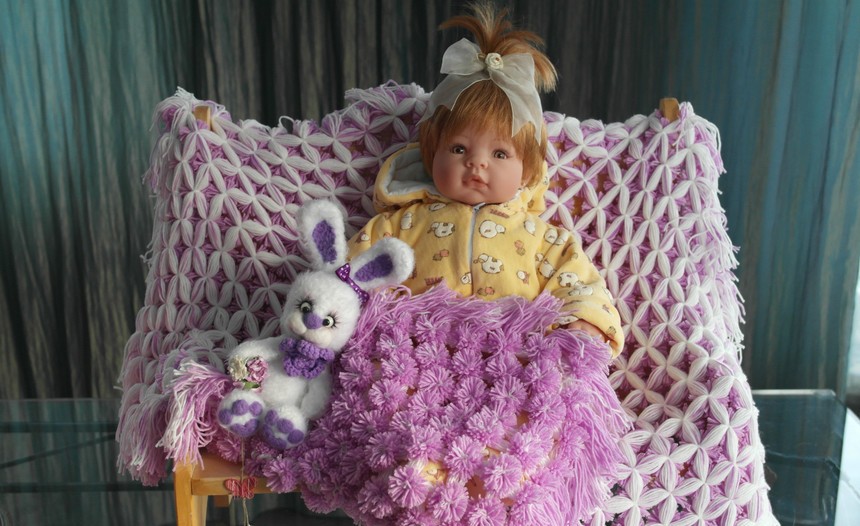
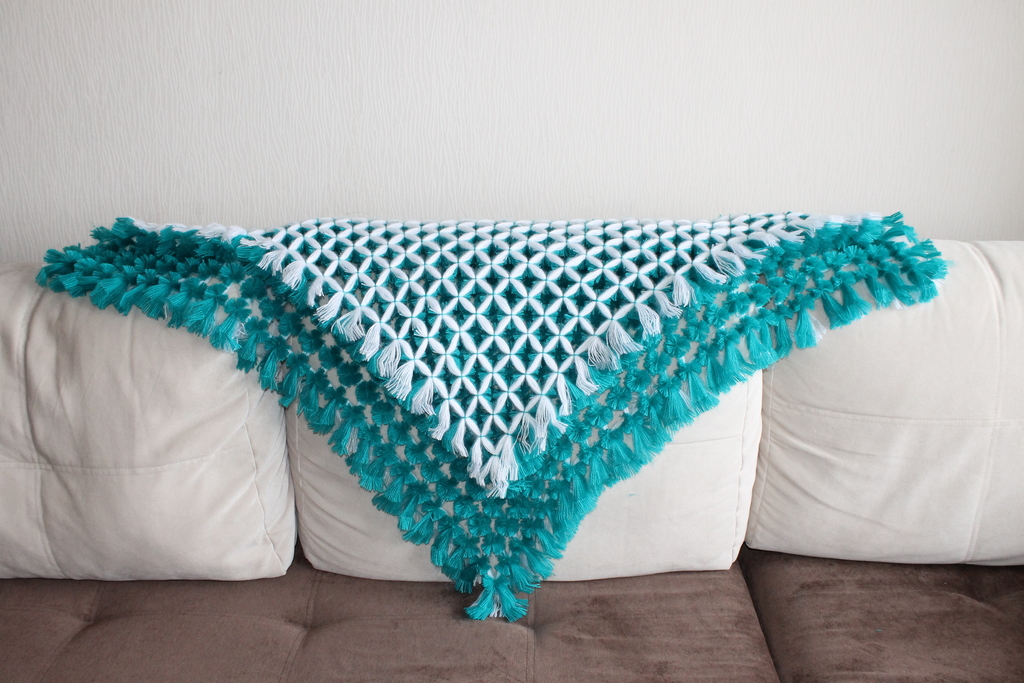
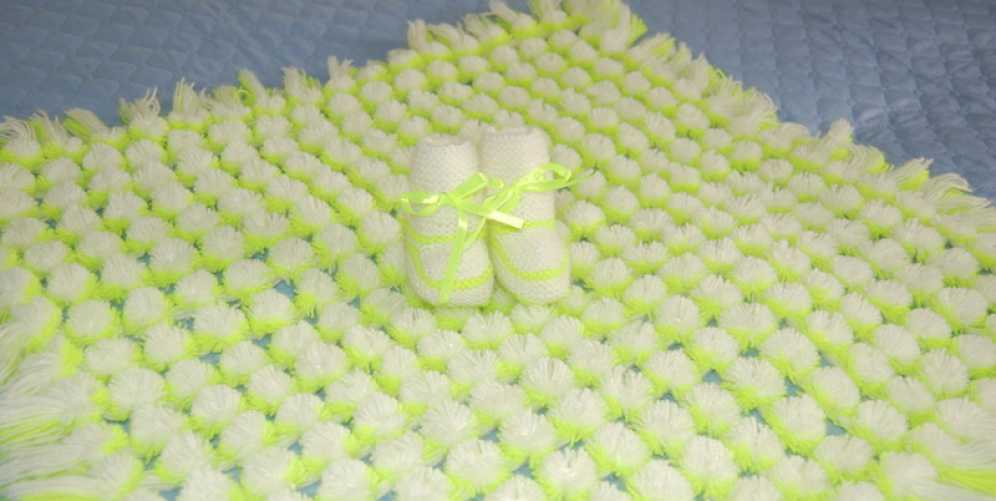
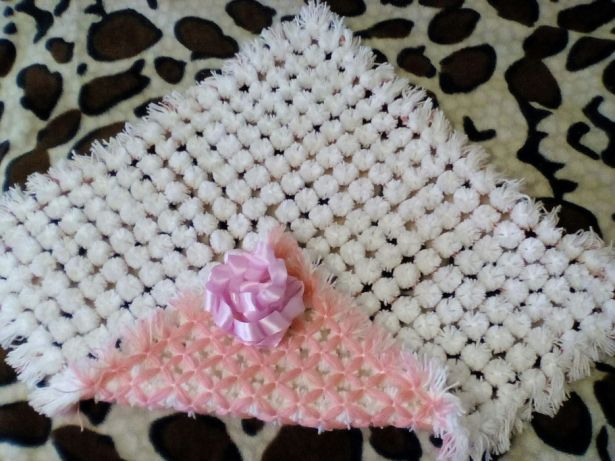
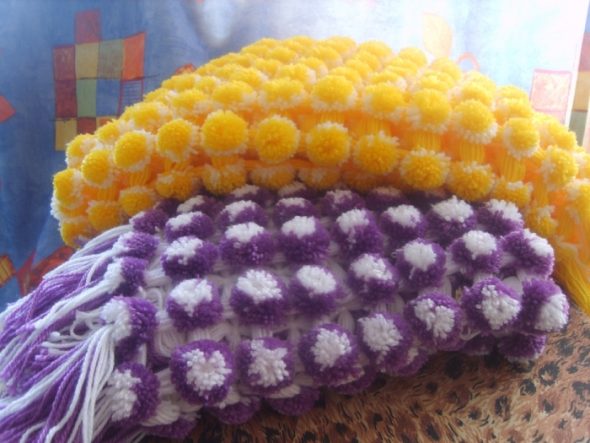
A photo selection of beautiful pom-pom blankets made by hand: