Simple and beautiful napkins and tablecloths only seem so at first glance. In fact, the craftswomen who knit these decorative elements go through many stages in order to make this small piece of cloth. And each of them is described in detail in this article.
Content
- Purpose of knitted napkins
- Instructions on how to read a knitting pattern correctly
- Abbreviations in text descriptions
- Working techniques and recommendations to make the knitting process easier
- Crochet Napkins: Detailed Patterns and Instructions
- Conclusion
- VIDEO: Openwork crochet napkin.
- 50 crochet napkin variations:
Purpose of knitted napkins
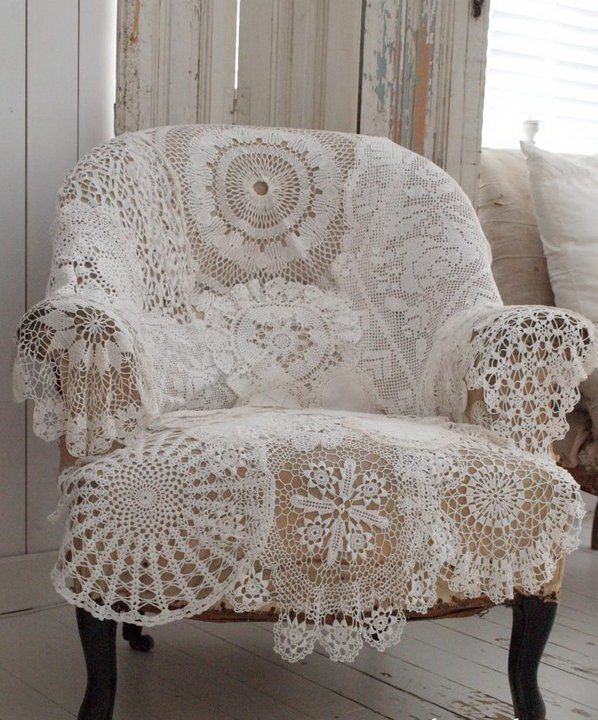
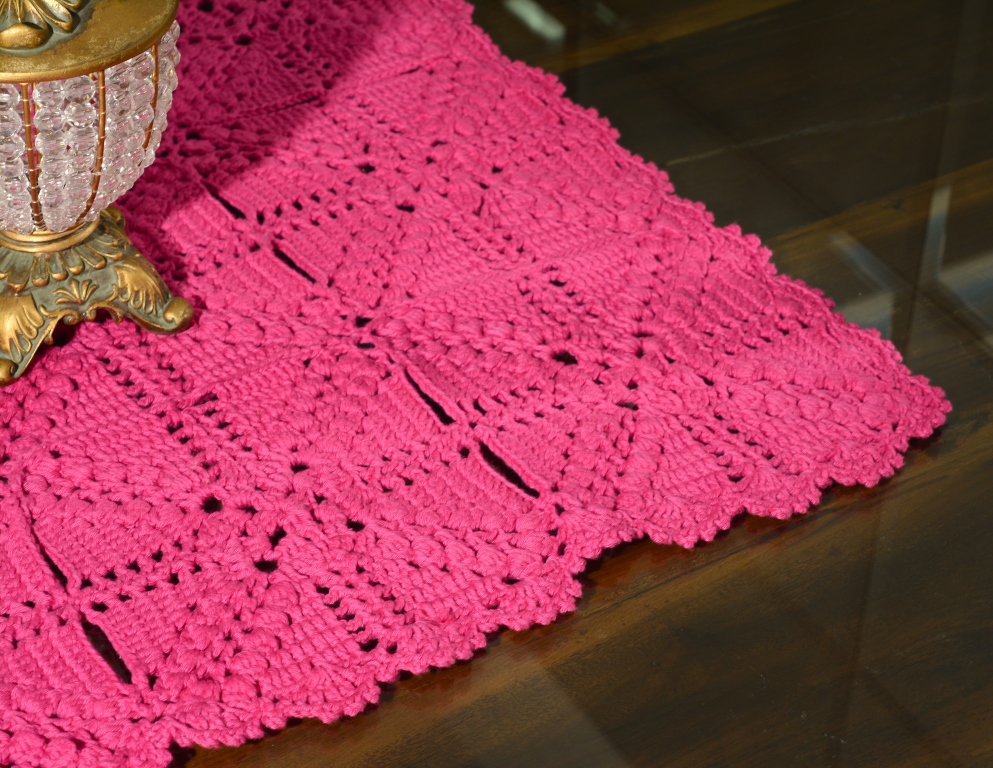
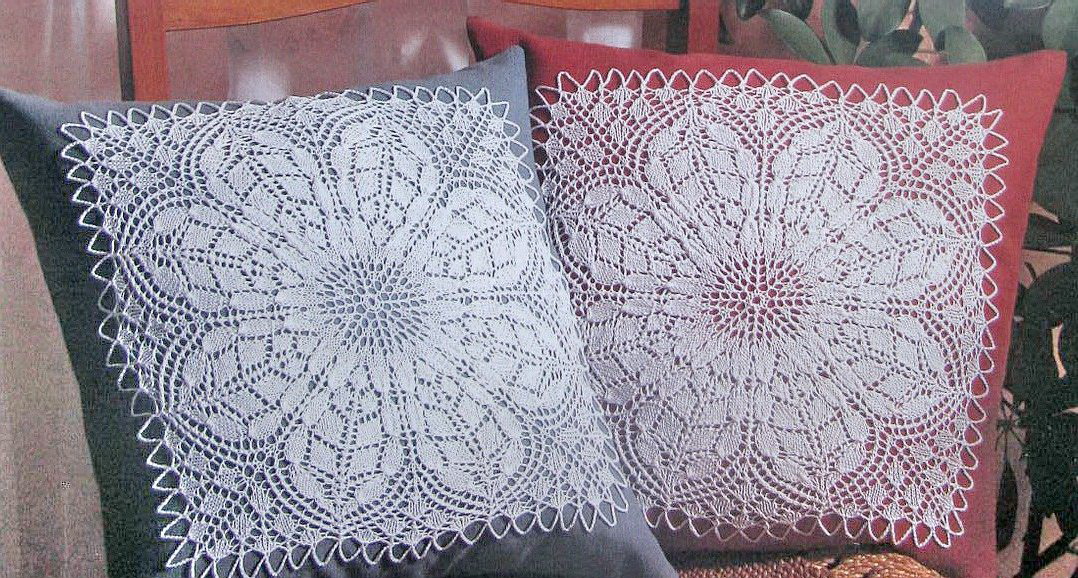
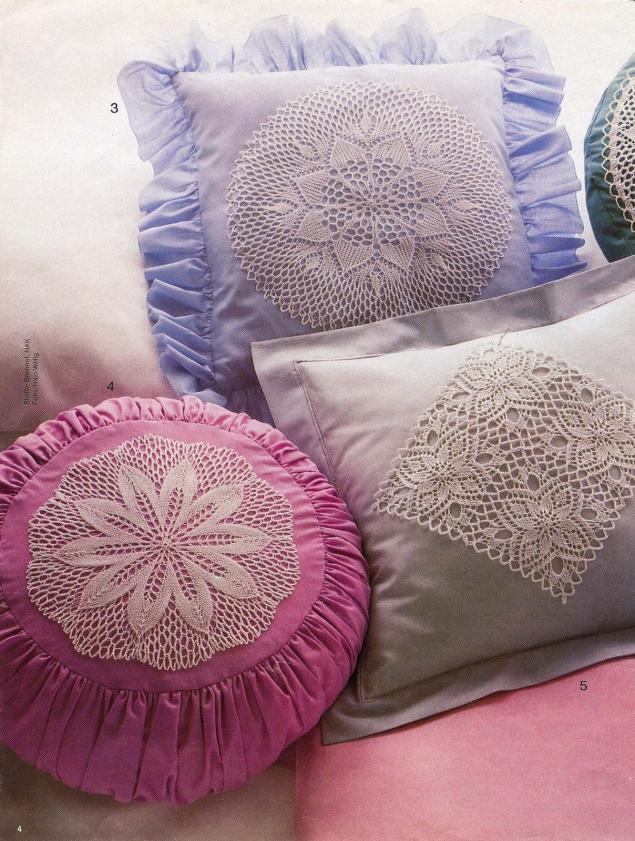
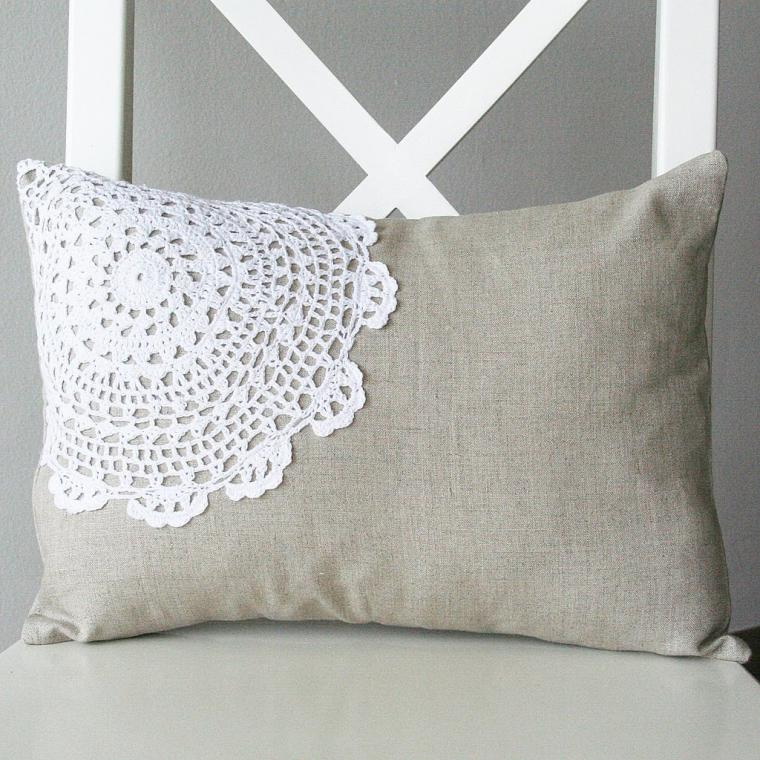
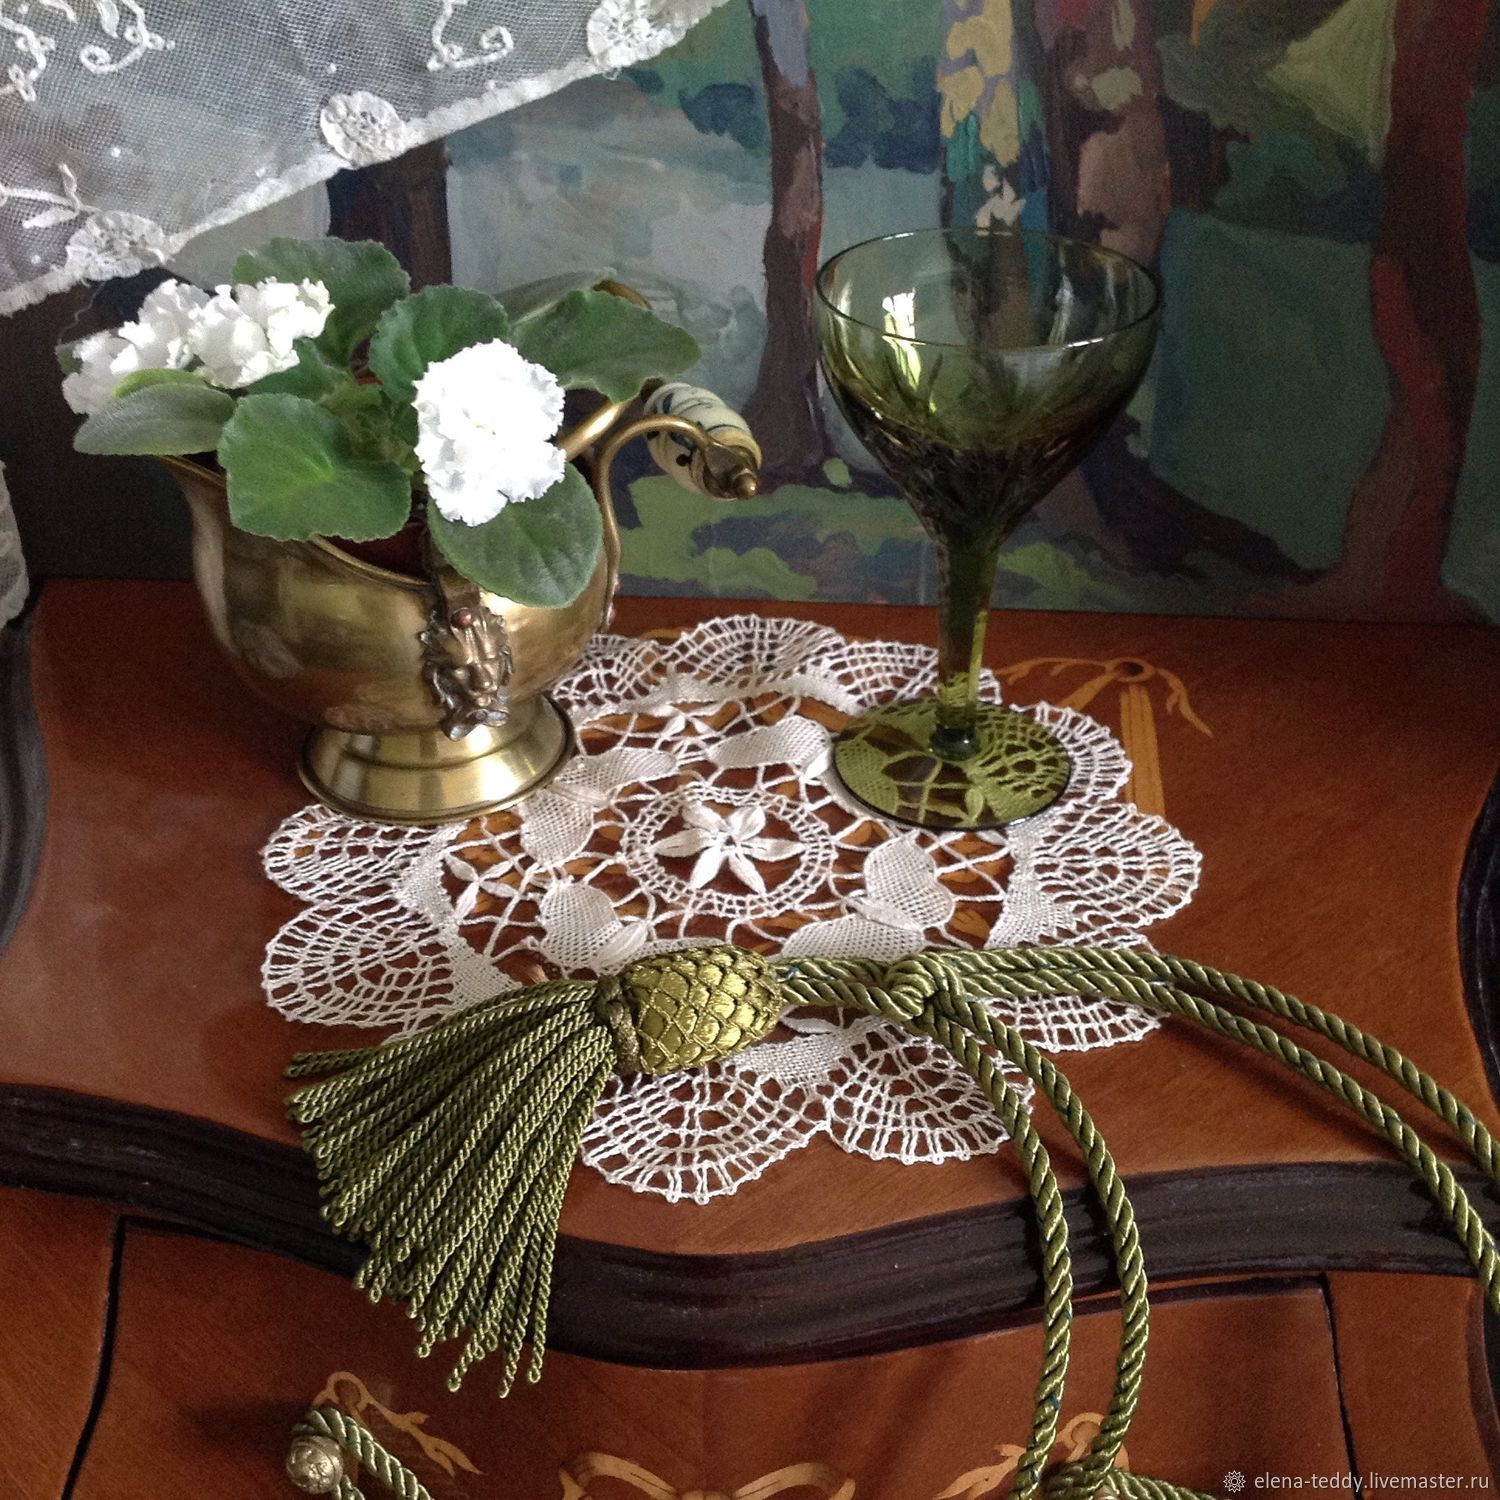
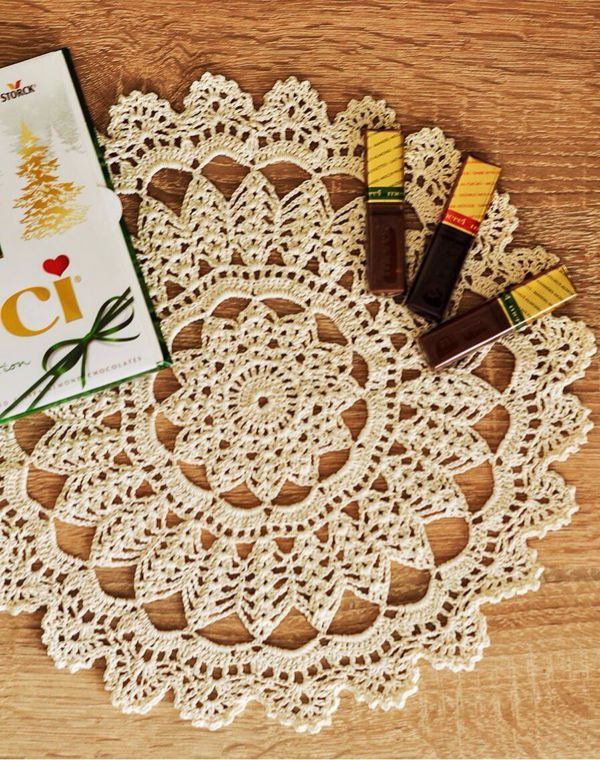
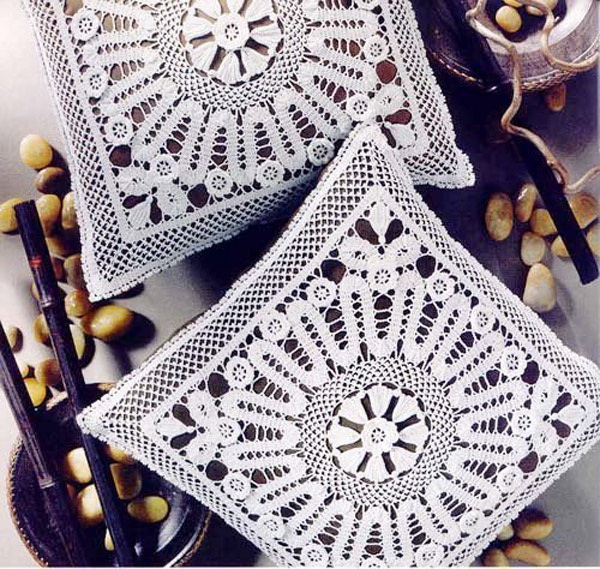
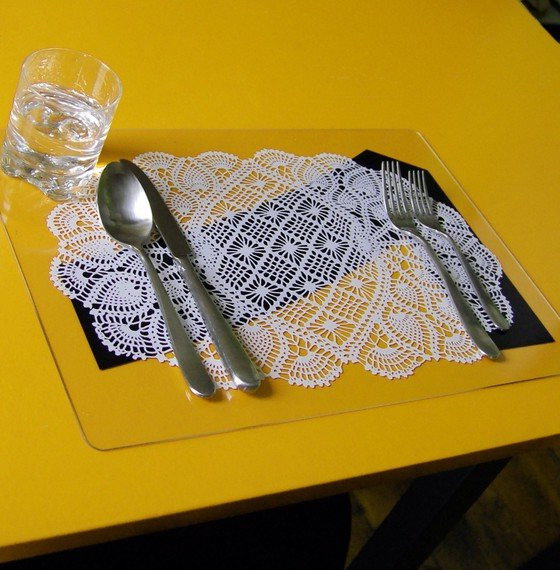
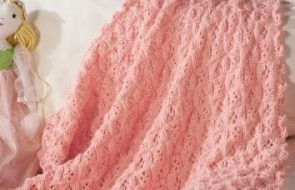
The main purpose of knitted napkins is decor. With the help of such small products, you can decorate the interior of the room, laying them on various horizontal surfaces. Which creates an atmosphere of coziness, comfort and family heritage.
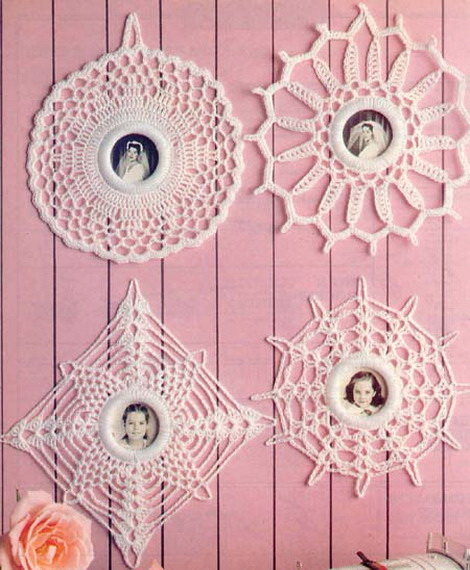
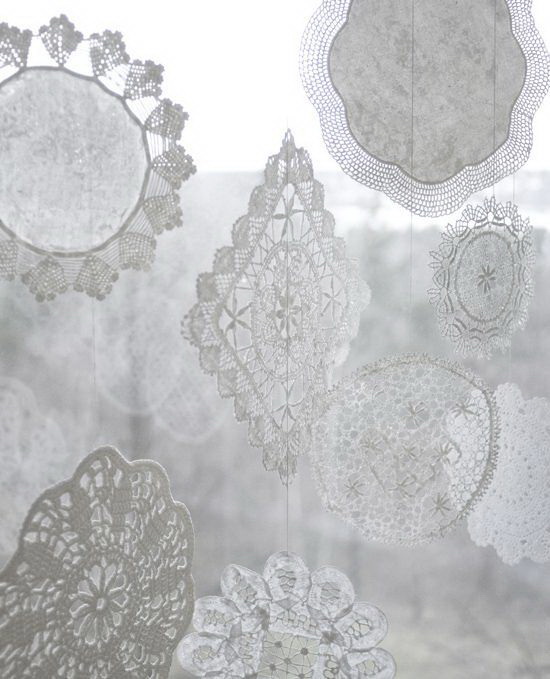
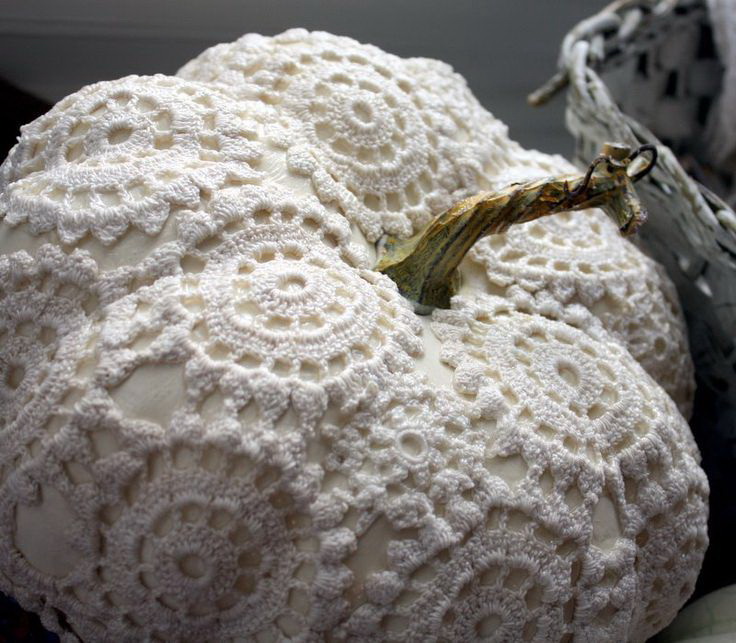
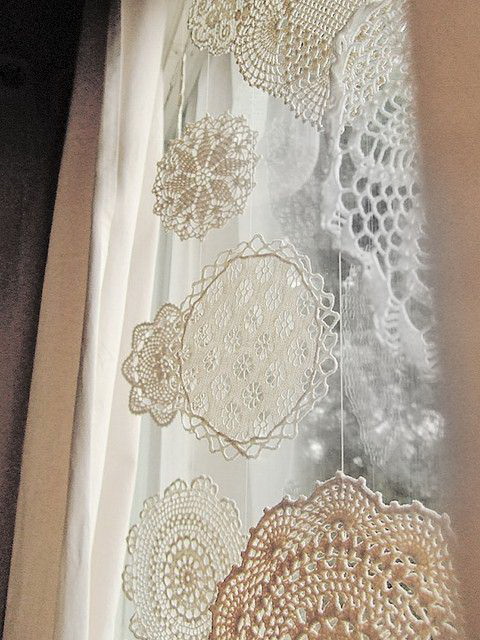
Also, if the napkin is processed correctly, it can be used for the second, third and fourth purposes. For example, they can be used to decorate home bedding textiles, make lampshades from them, insert them into furniture trim, etc.
Crocheted napkins are also a great training ground for beginners before crocheting larger projects, entire tablecloths or items using just one hook.
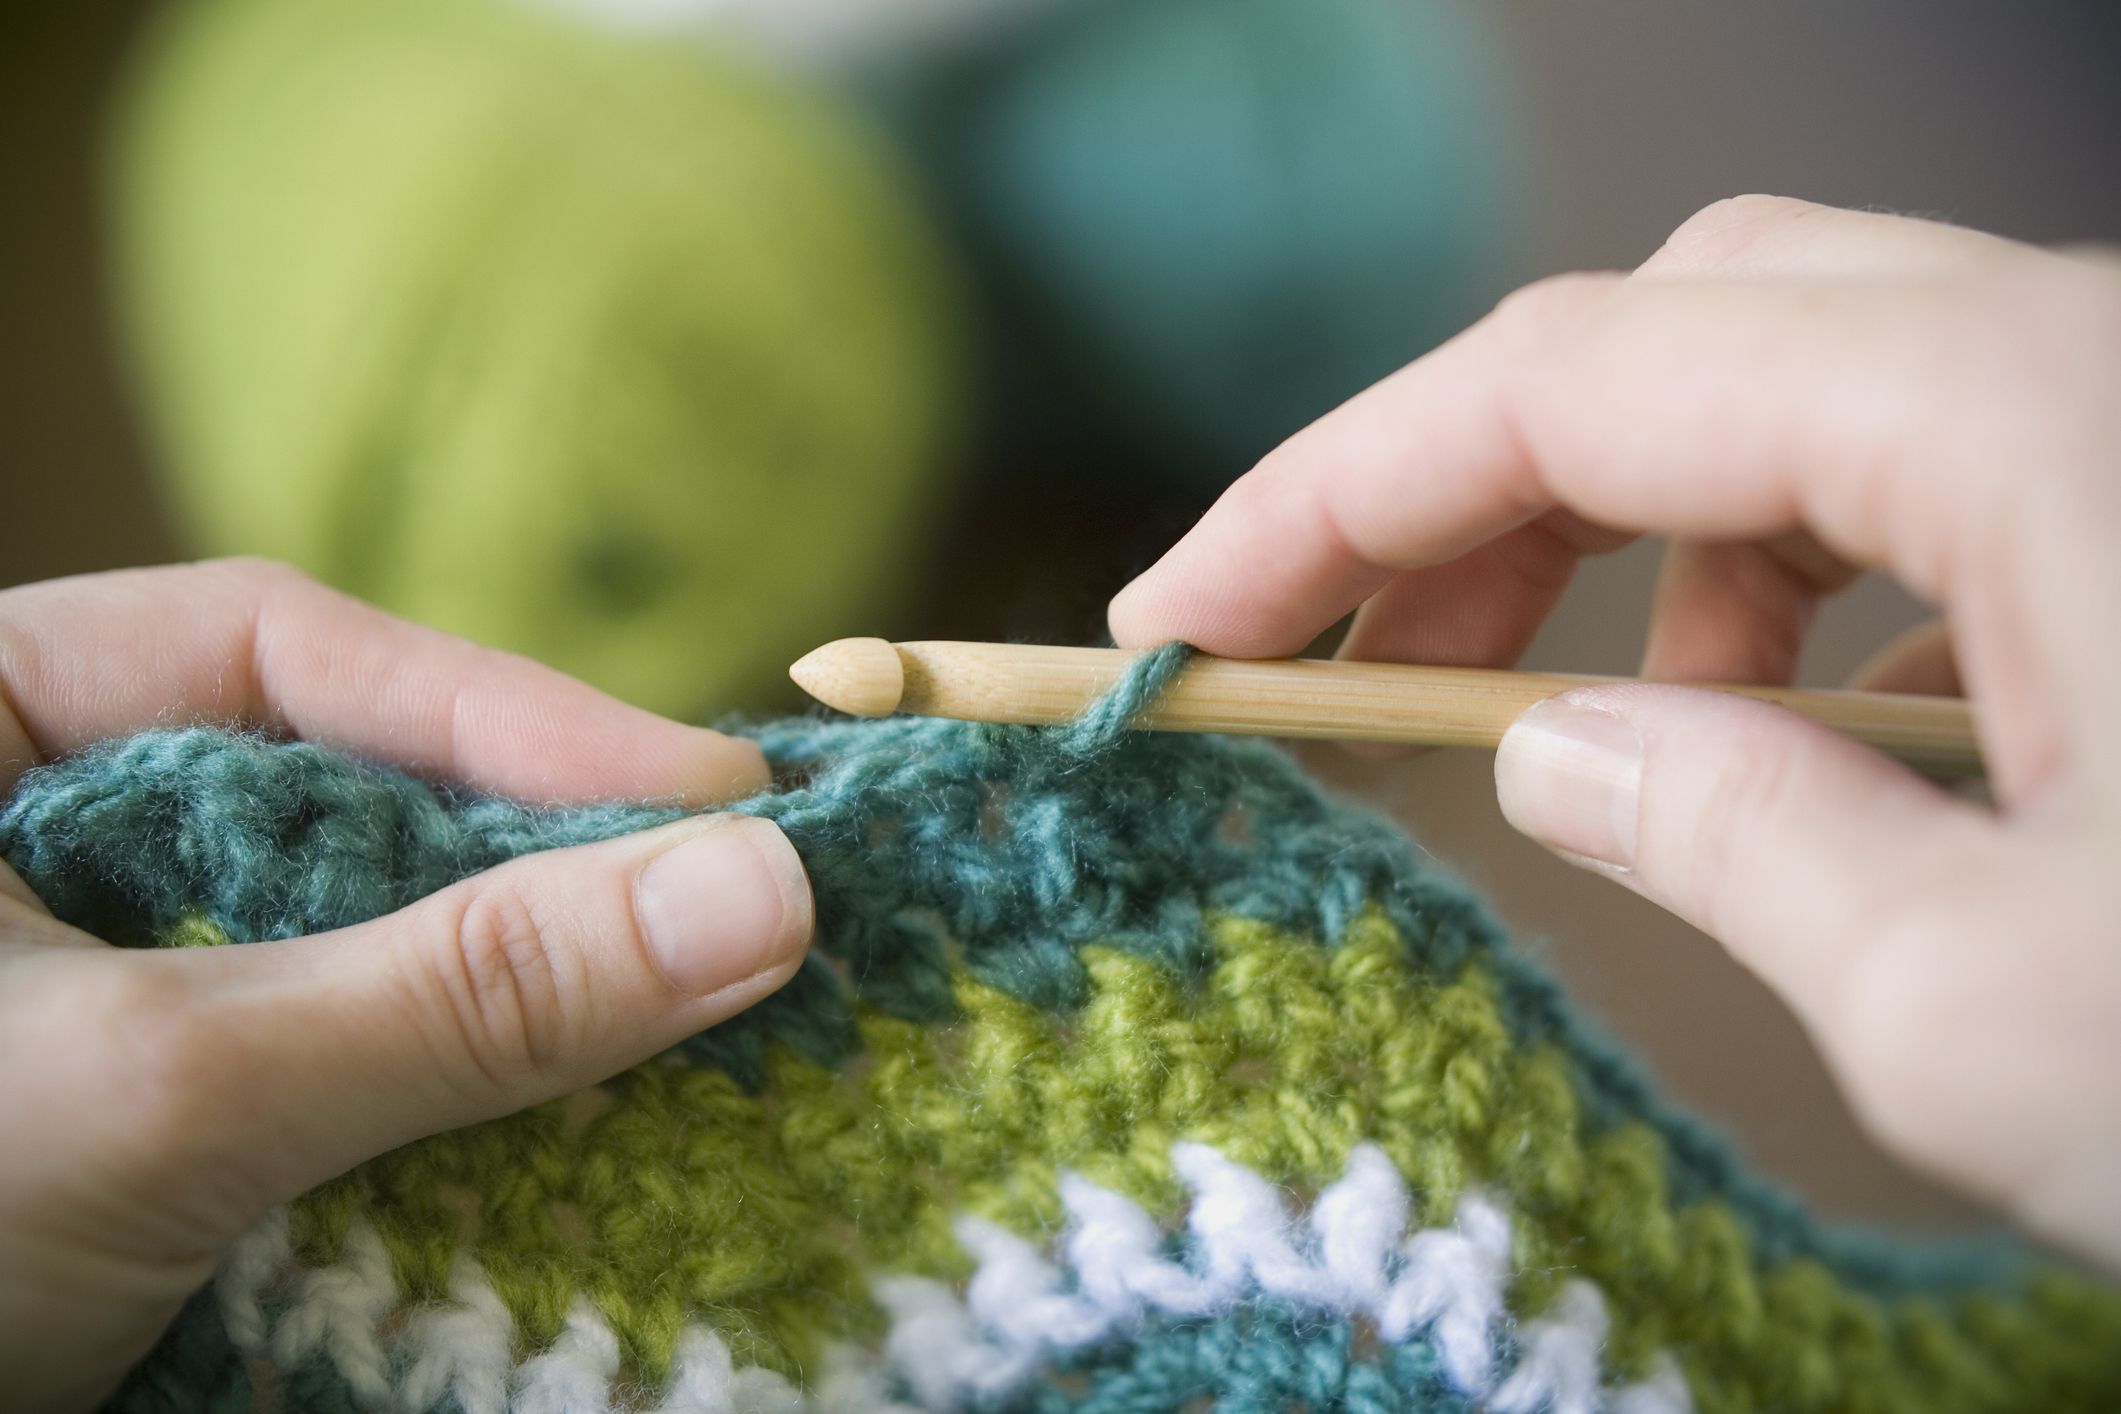
Instructions on how to read a knitting pattern correctly
If the basics of knitting have not been learned, namely abbreviations and symbols, then it will not be possible to make even the simplest crochet napkin. To be able to knit, you just need to know all the nuances of this process. And then the patterns will become as clear to the master as reading a regular book.
Let's start with the fact that there are 2 types of patterns that can be found in the Russian segment of the Internet for crochet, namely: for fillet crochet and regular crochet.
The first is presented in the form of a sheet of paper in a cage, on which a drawing is applied. Some cells are painted, others are empty, and numbers are located on the side. This scheme is formed for the convenience of perception of knitting. After all, fillet products resemble a network with filled and empty cells, from which the drawing is formed.
Thus, accordingly, the painted cells imply three or four columns in a row. And the white ones are ordinary air loops that create the outline of the cells.
Also, the pattern for filet knitting has numbers horizontally and vertically. They show the width and height of the products in loops, but often their number has to be multiplied several times, because they turn out too small in volume.
It is much more difficult with regular patterns. In order to read them correctly, you need to know the conventional abbreviations in the texts describing how to knit a product. But in addition, it often happens that the authors do not reveal all the cards in them, and most of the stages of creation may simply not be indicated. Then crochet patterns come to the rescue. They contain conventional symbols that imitate one or another type of loop. And without knowing them, you will also not be able to read the pattern.
Abbreviations in text descriptions
VP – air loop;
SP – connecting loop;
PP – lifting loop
PS – half-column;
St – column;
SC – single crochet;
С1Н – double crochet;
С2Н – double crochet;
С3Н – a column with 3 yarns;
[…], *…* - repetition;
A – common vertex;
Pico – 4VP and 1SC in the first VP.

Working techniques and recommendations to make the knitting process easier
- It is better to start knitting napkins by working out some of its elements from the pattern separately. This way, you can understand how thick the threads or hook size are needed for more comfortable knitting of the entire napkin.
- If the craftswoman has only recently become interested in knitting napkins, then it is best to start knitting a model in the shape of a rectangle. Unlike all the others, their shape is the easiest to follow. Nowhere is it necessary to add or, conversely, remove extra loops to obtain a certain geometry of the product.
When the rectangular napkin has already become familiar and simple, you can move on to more complex patterns and gradually improve your level.
- It is better to start knitting napkins not according to the patterns that you like, but according to those that have a description, where all the nuances of knitting are explained step by step.
- If knitting takes place in several stages, it is better to use threads of different colors to make it easier to find the stopping point on the pattern and the fabric itself.
- One of the rules that is mandatory for all knitted decorative items is proper care. After the napkin has been made, it must be washed in warm soapy water, preferably by hand. Additionally, it is also better to fix the result with starch and iron the product. Then it will retain its shape longer.
Crochet Napkins: Detailed Patterns and Instructions
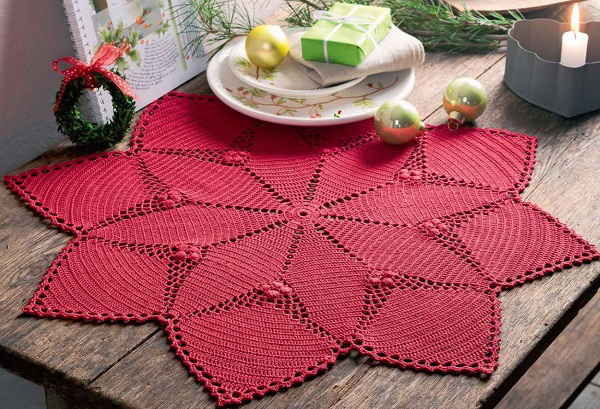
Simple crochet napkin
In order to knit this napkin, you will need to know how to make air and columnar loops. The pattern of the product itself is also very simple, so even novice craftsmen will not have any trouble making the product according to it.
It all starts with a classic ring-shaped loop base. For this model, 12 VP are enough, which are then tied with 3-tier ST. They are connected into one ring, which is larger in diameter than the first.
The second row already begins to form a pattern that will be repeated at all subsequent stages of knitting, namely: take four loops of the second ring and weave 3-tiered ST from each of them. They are connected to each other, and the entire row is knitted this way. At the 3rd and subsequent stages, the principle is repeated, only with the addition of 1 column on each side. This must be repeated up to the 7th row. Thus, a simple pattern in the form of rays that diverge from the middle of the product is observed.
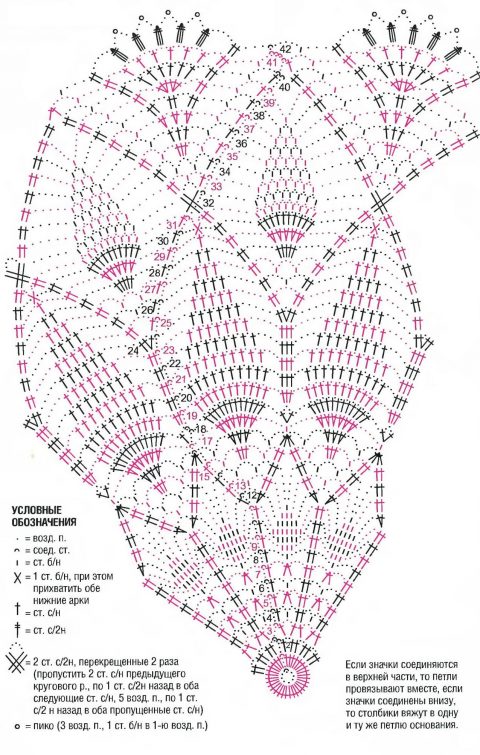
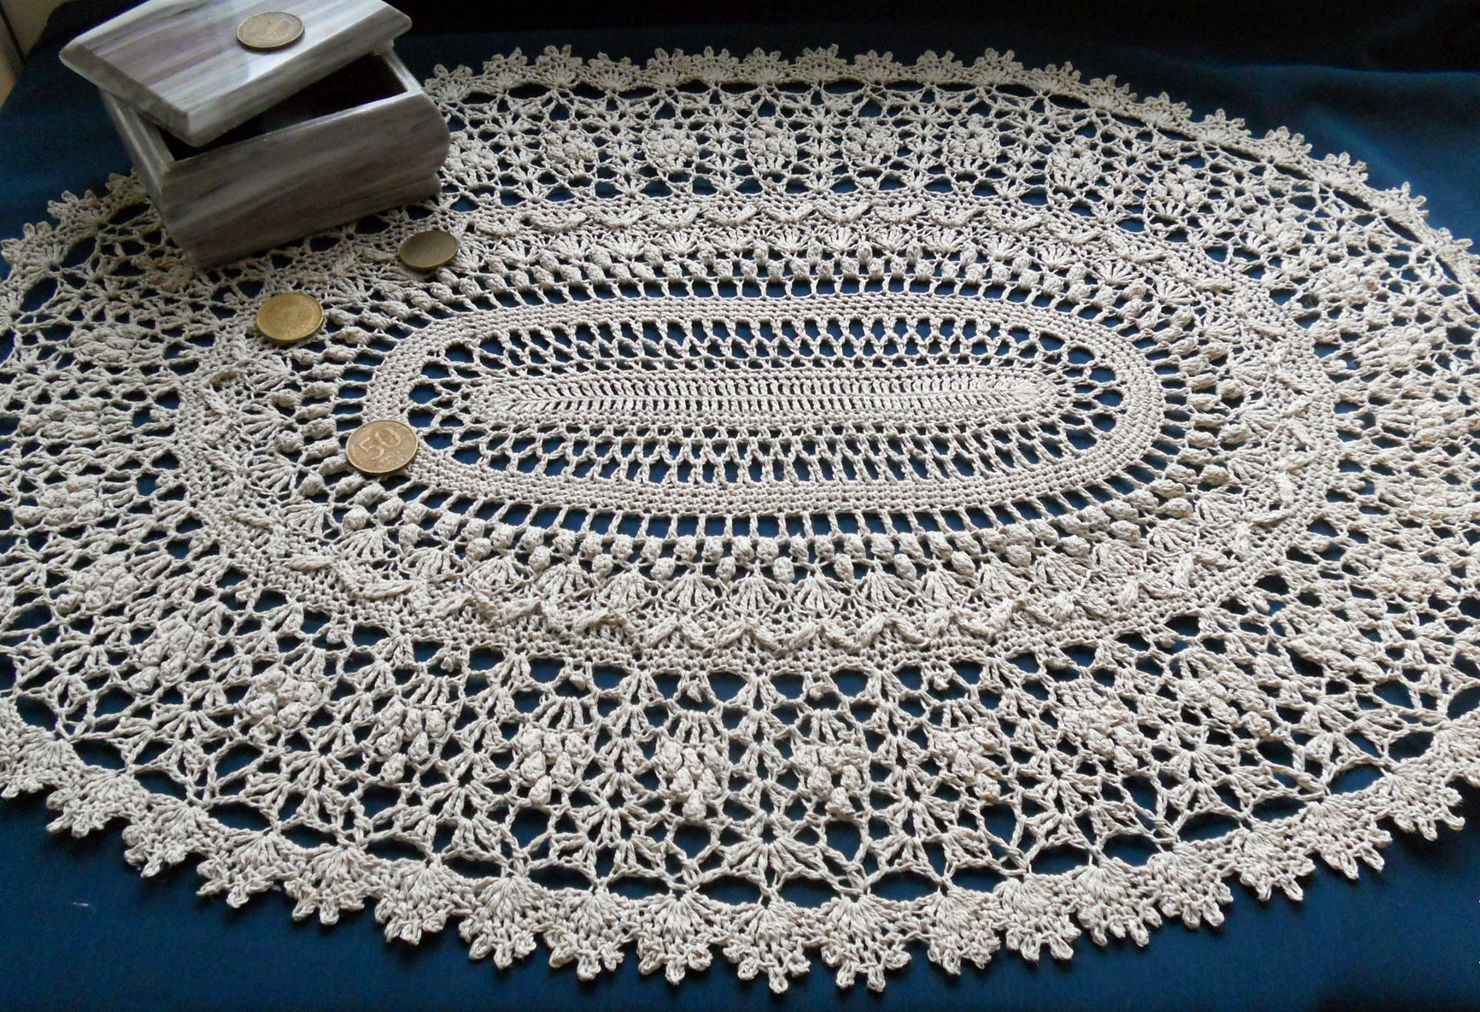
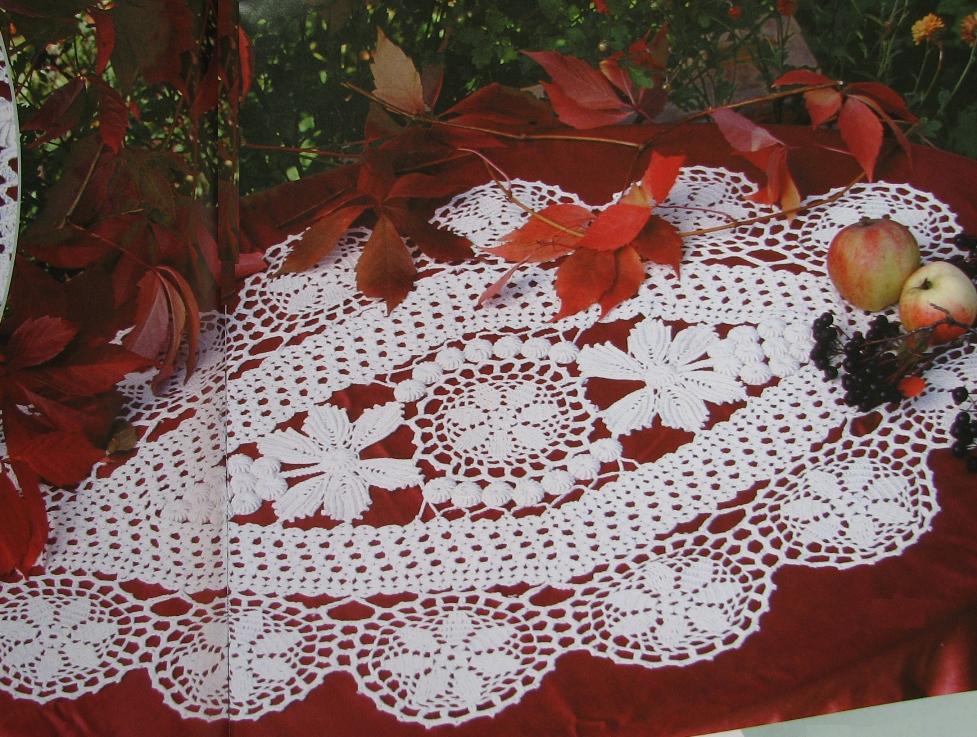
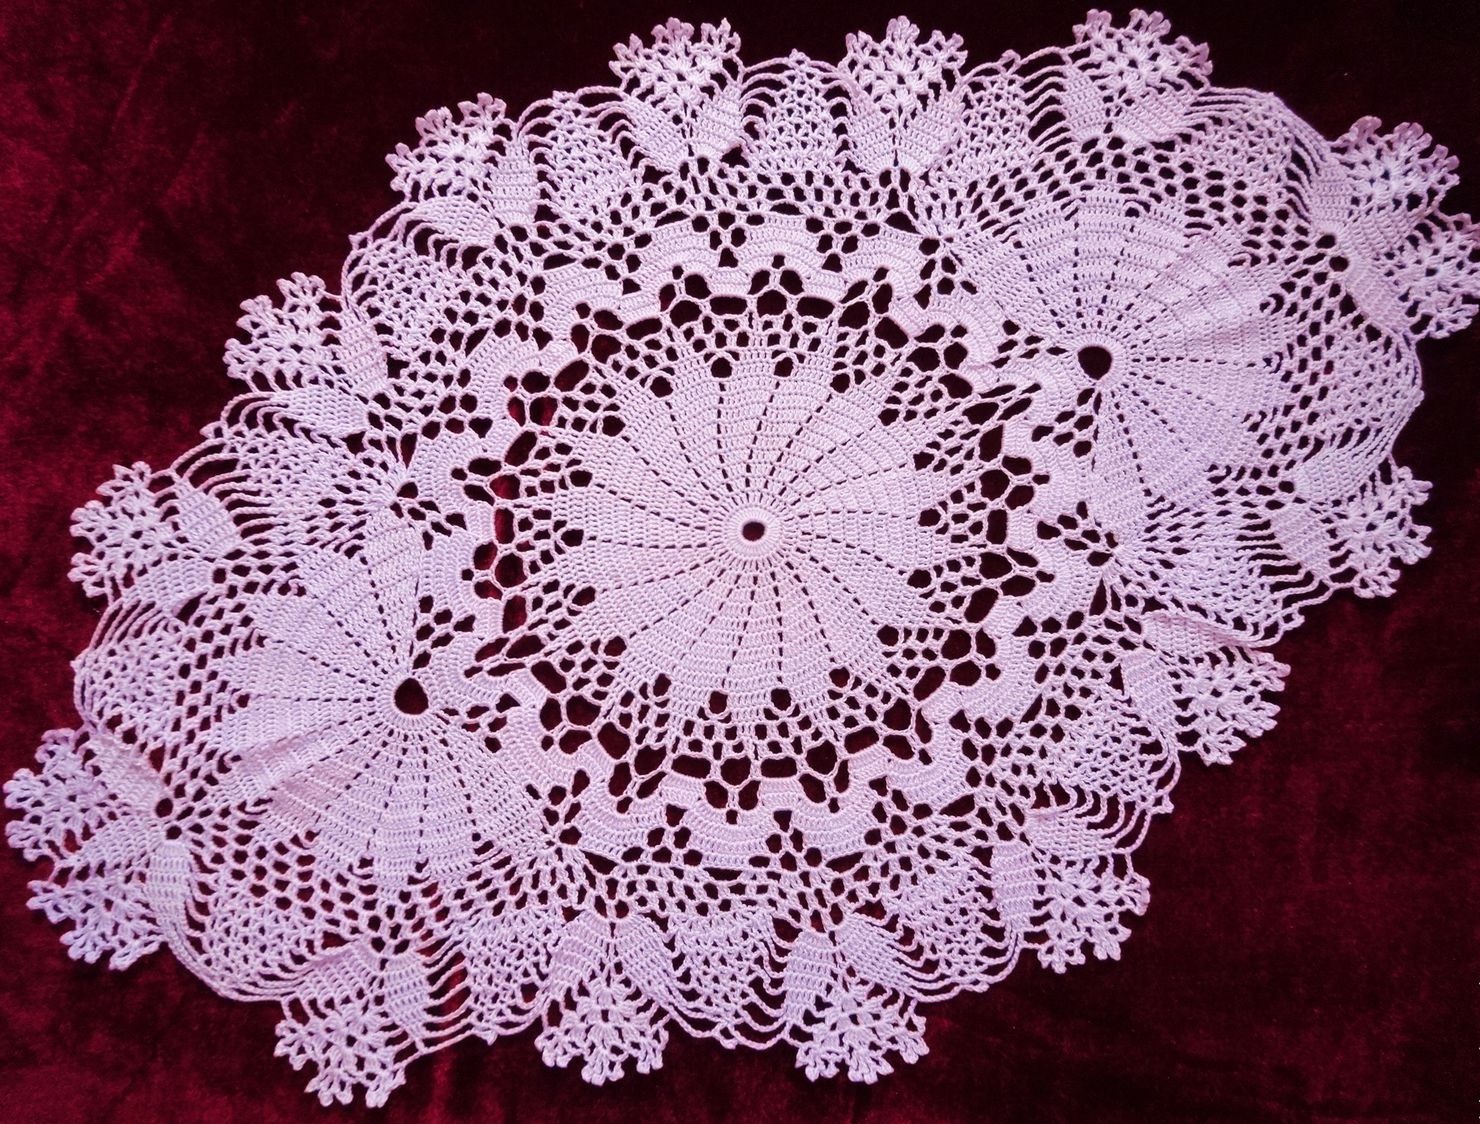
Oval shaped napkin
To make an oval napkin you will need: cotton thread (approximately 100g) and a hook. It is recommended to use No. 1, 25 or 1.5, so that the product turns out more neat. But in general, the choice of this tool depends more on the convenience of the master himself.
Since the napkin will be knitted in a circle, to start knitting the napkin, you need to make a base. It consists of 26 chain links that are combined into one ring. At the next stage, you need to knit several rows, as shown in the diagram, to secure the base. In this case, each first loop of the new row is replaced with VP.
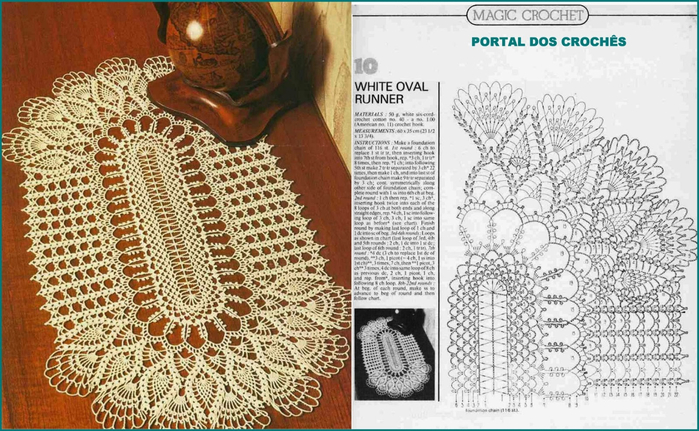
Rows 3 and 5 are made using SC, using only the back wall of the loop. As the pattern becomes more complex, special attention should be paid to rows 1, 10, 15 and 17. They consist of an equal combination of VP, PS and C1H
Important! Each subsequent row begins with the completion of the SS.
The complexity of the scheme in this napkin will arise during the formation of the report, namely in its straight parts and the formation of the shape. It is unlikely that you will be able to do everything successfully the first time.
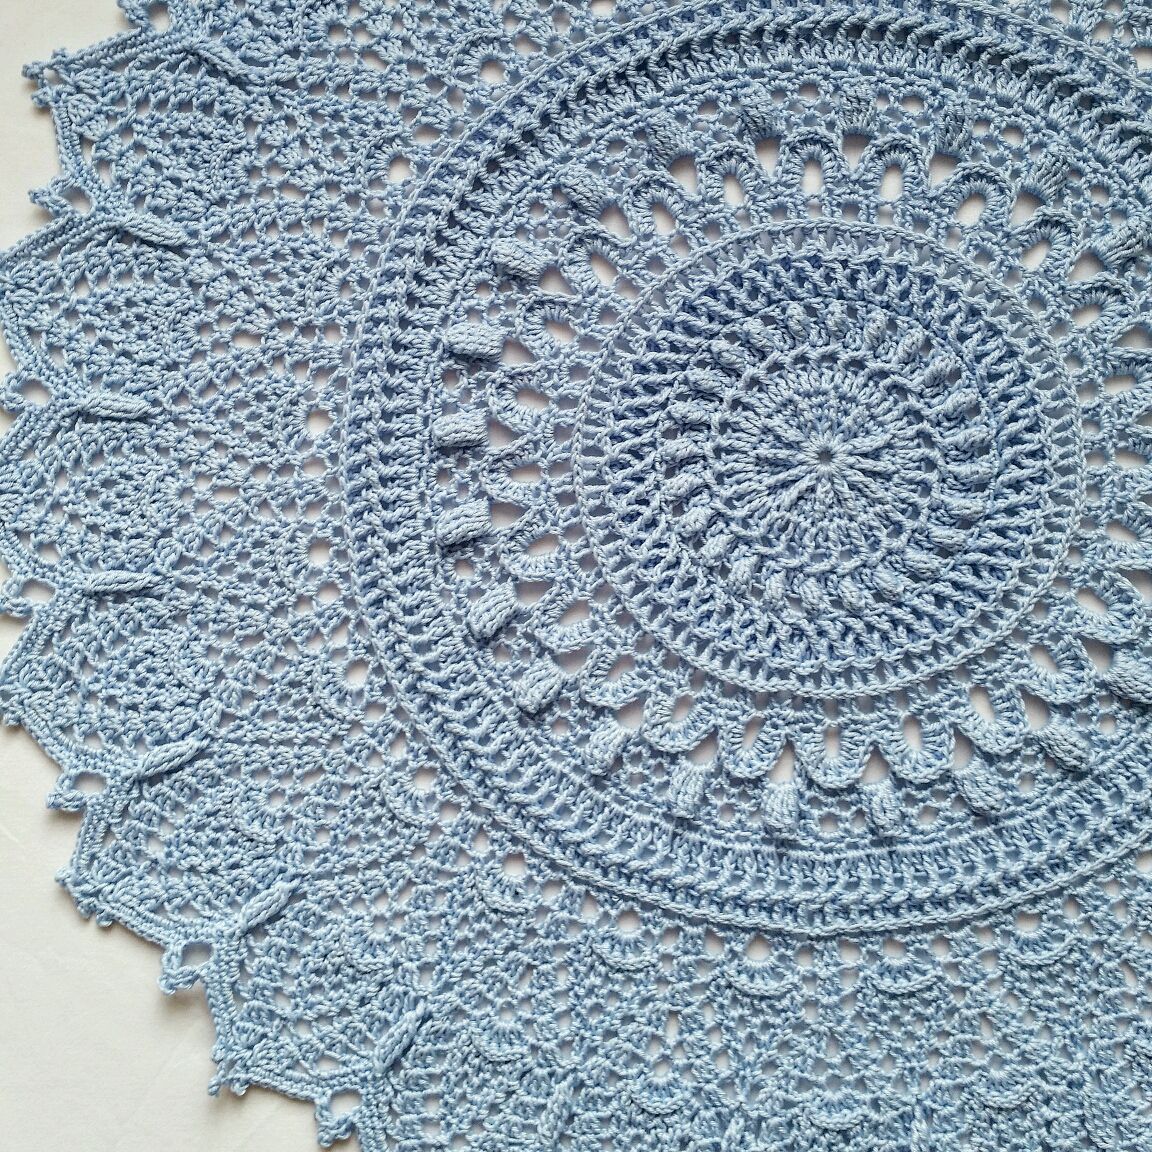
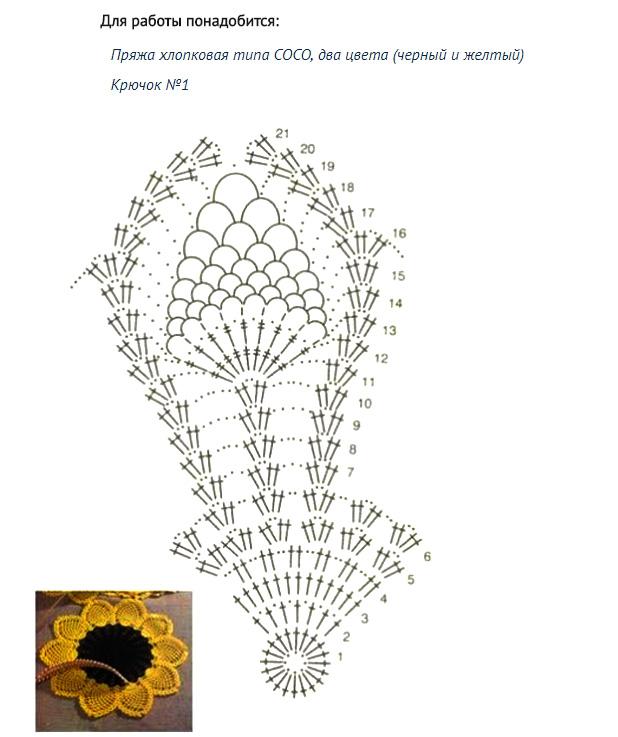
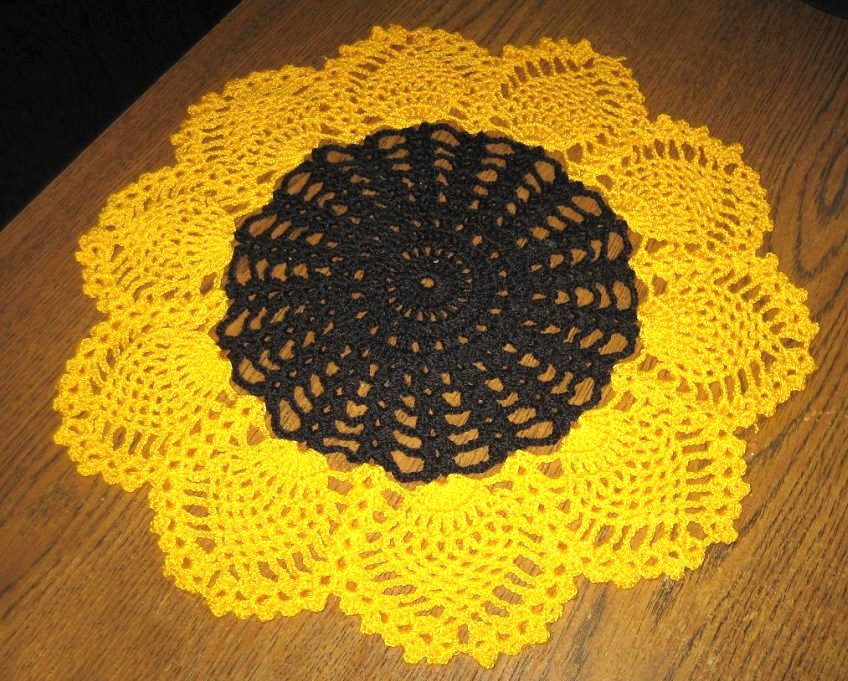
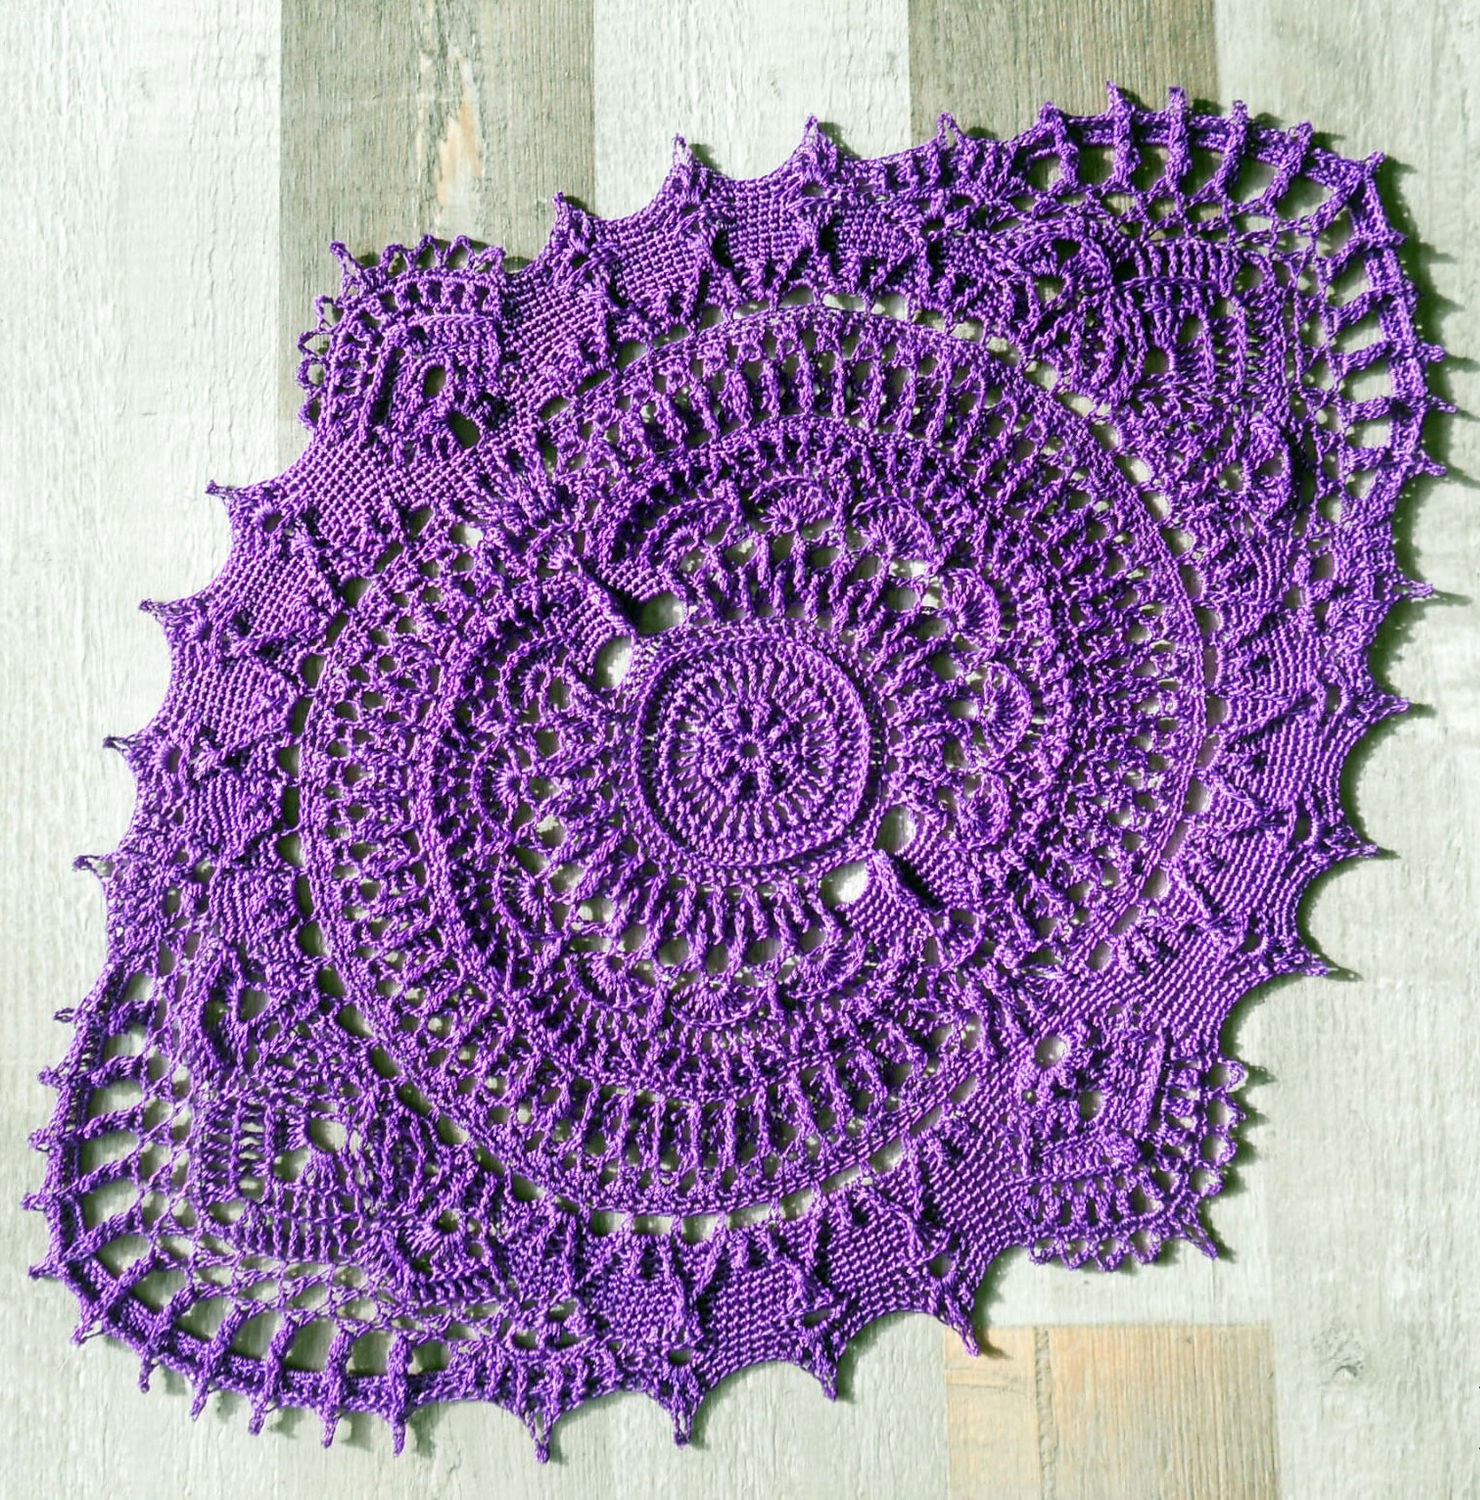
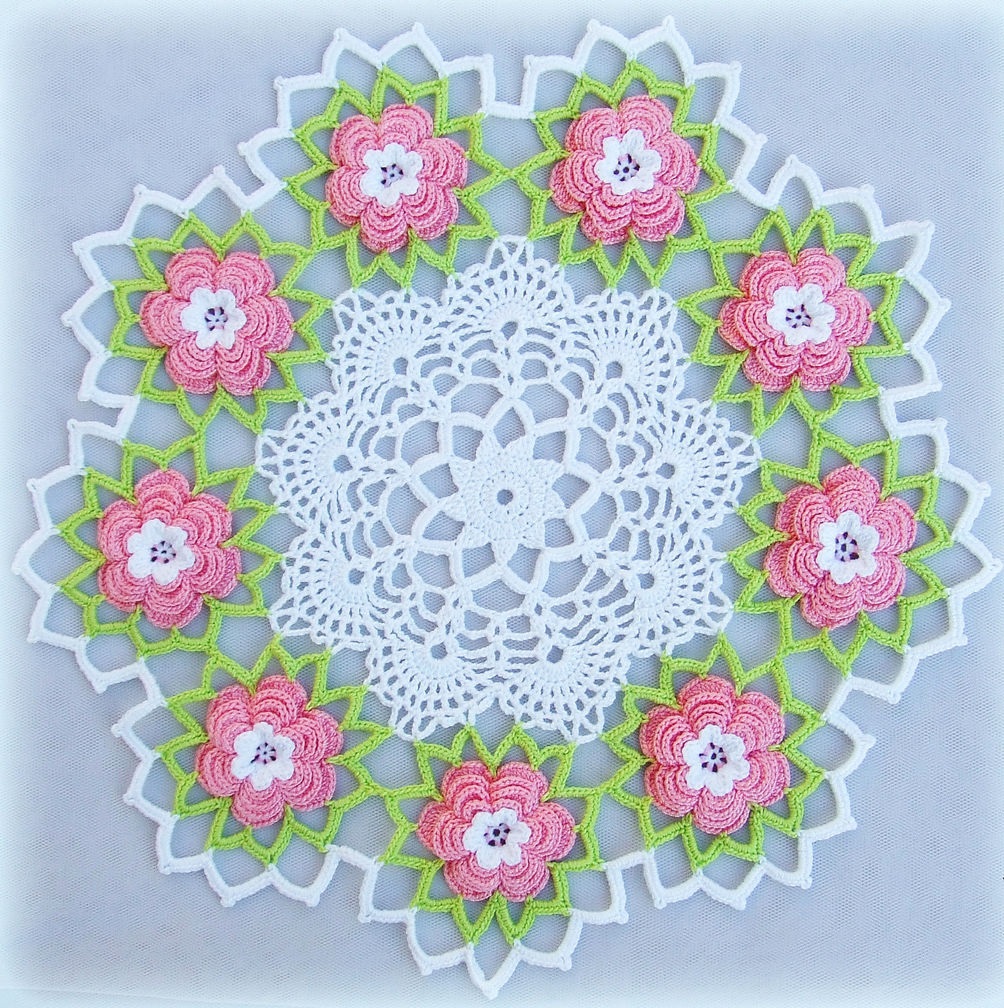
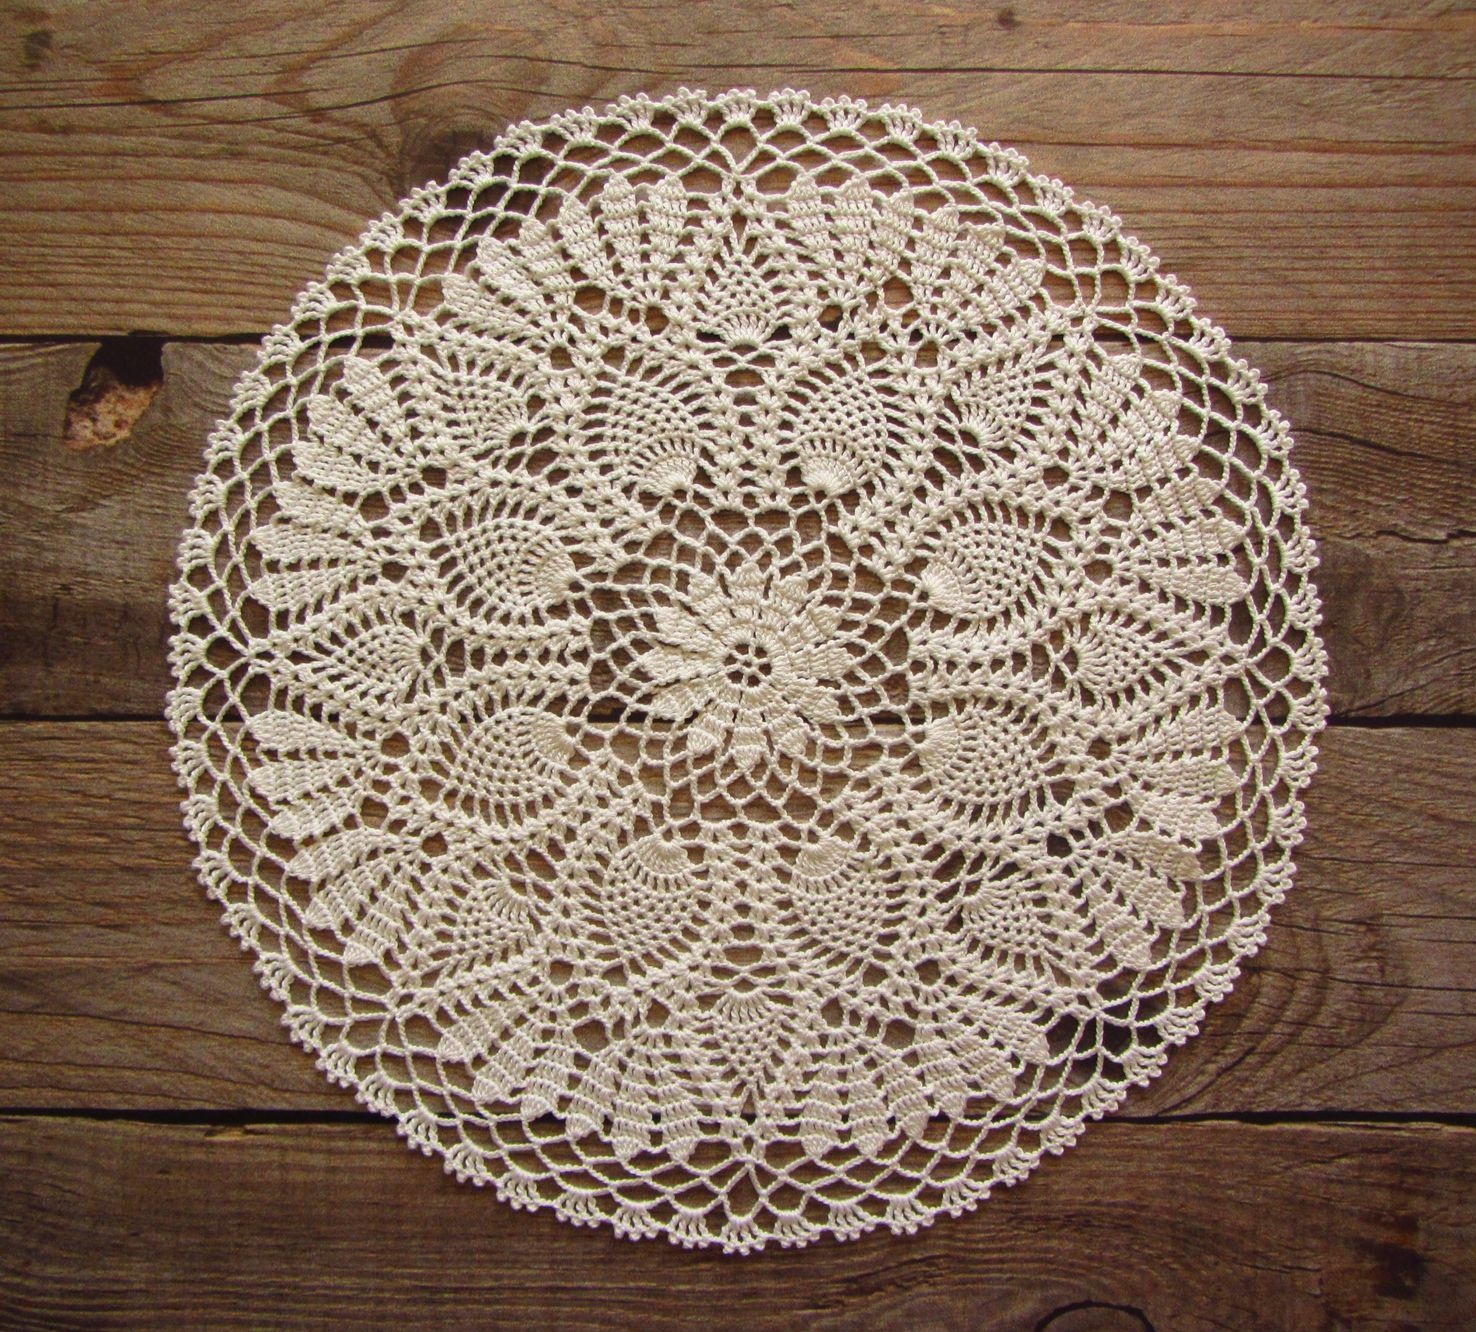
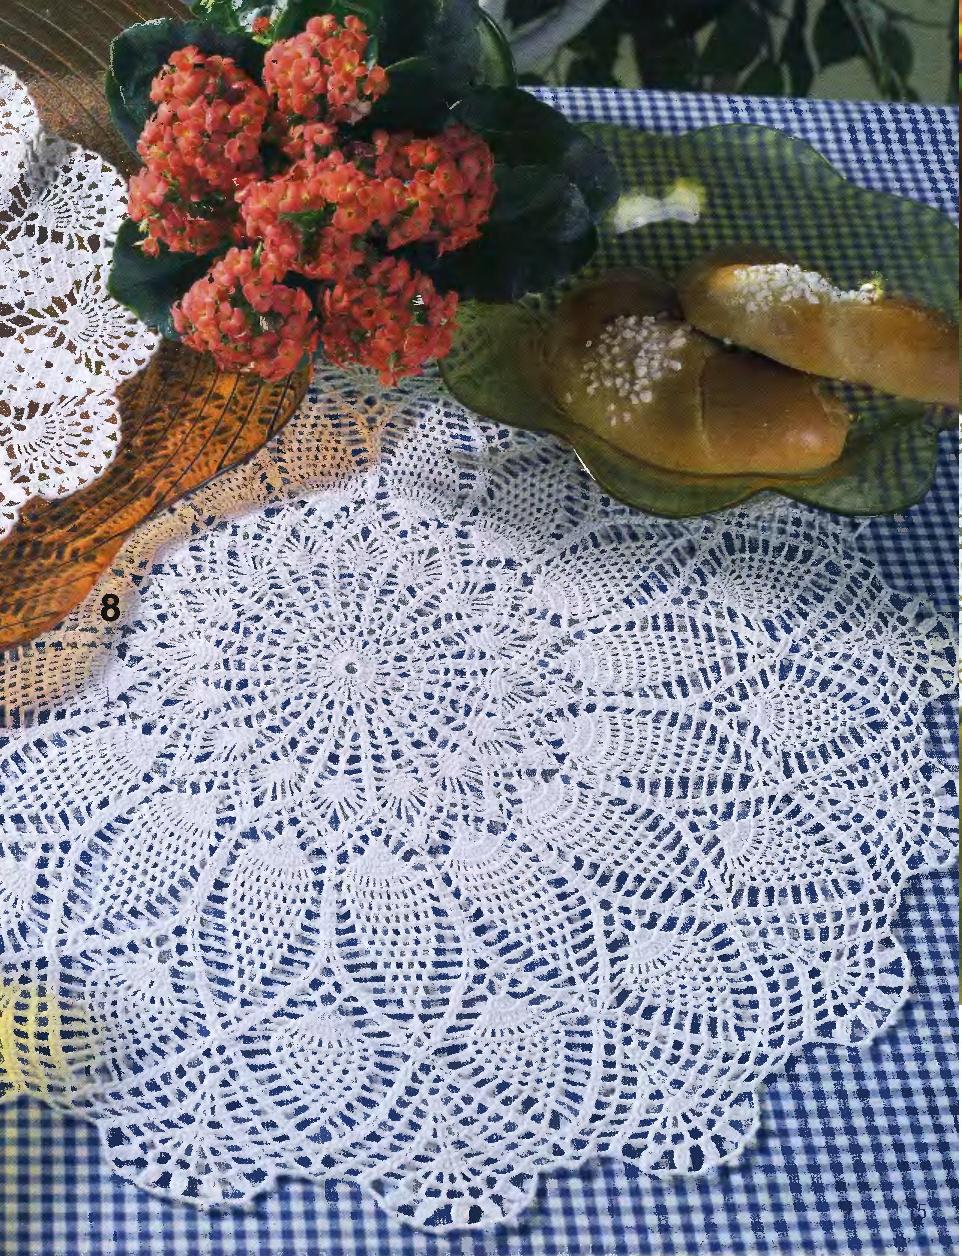
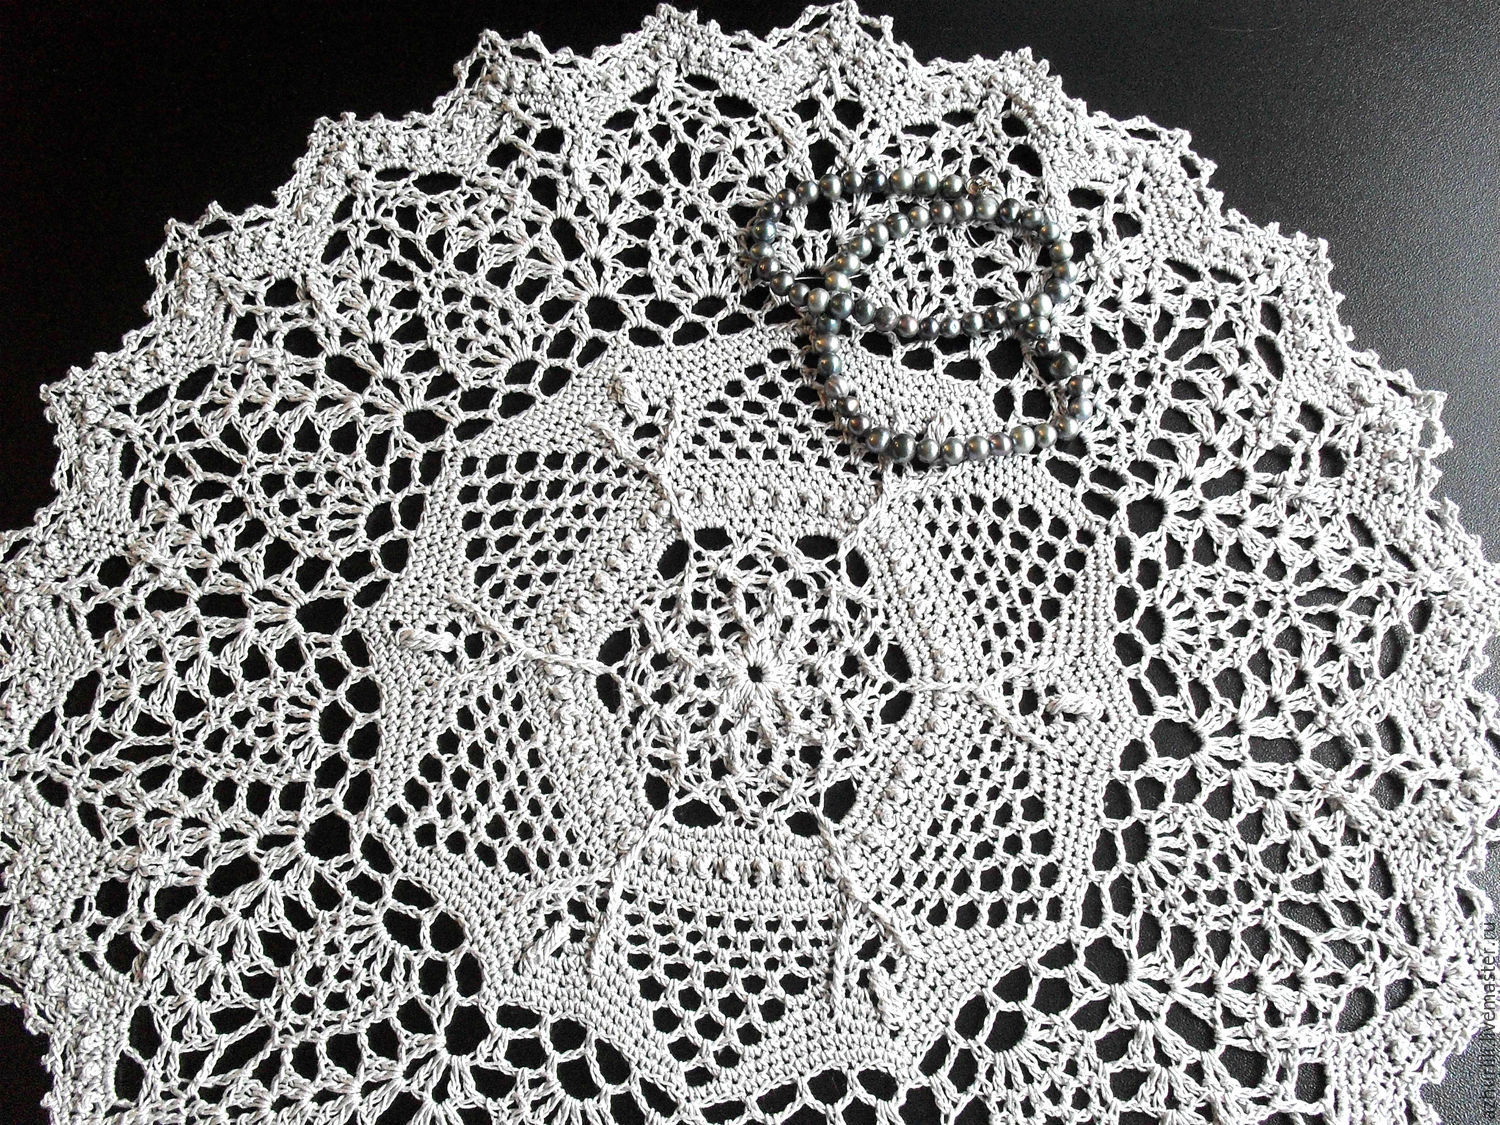
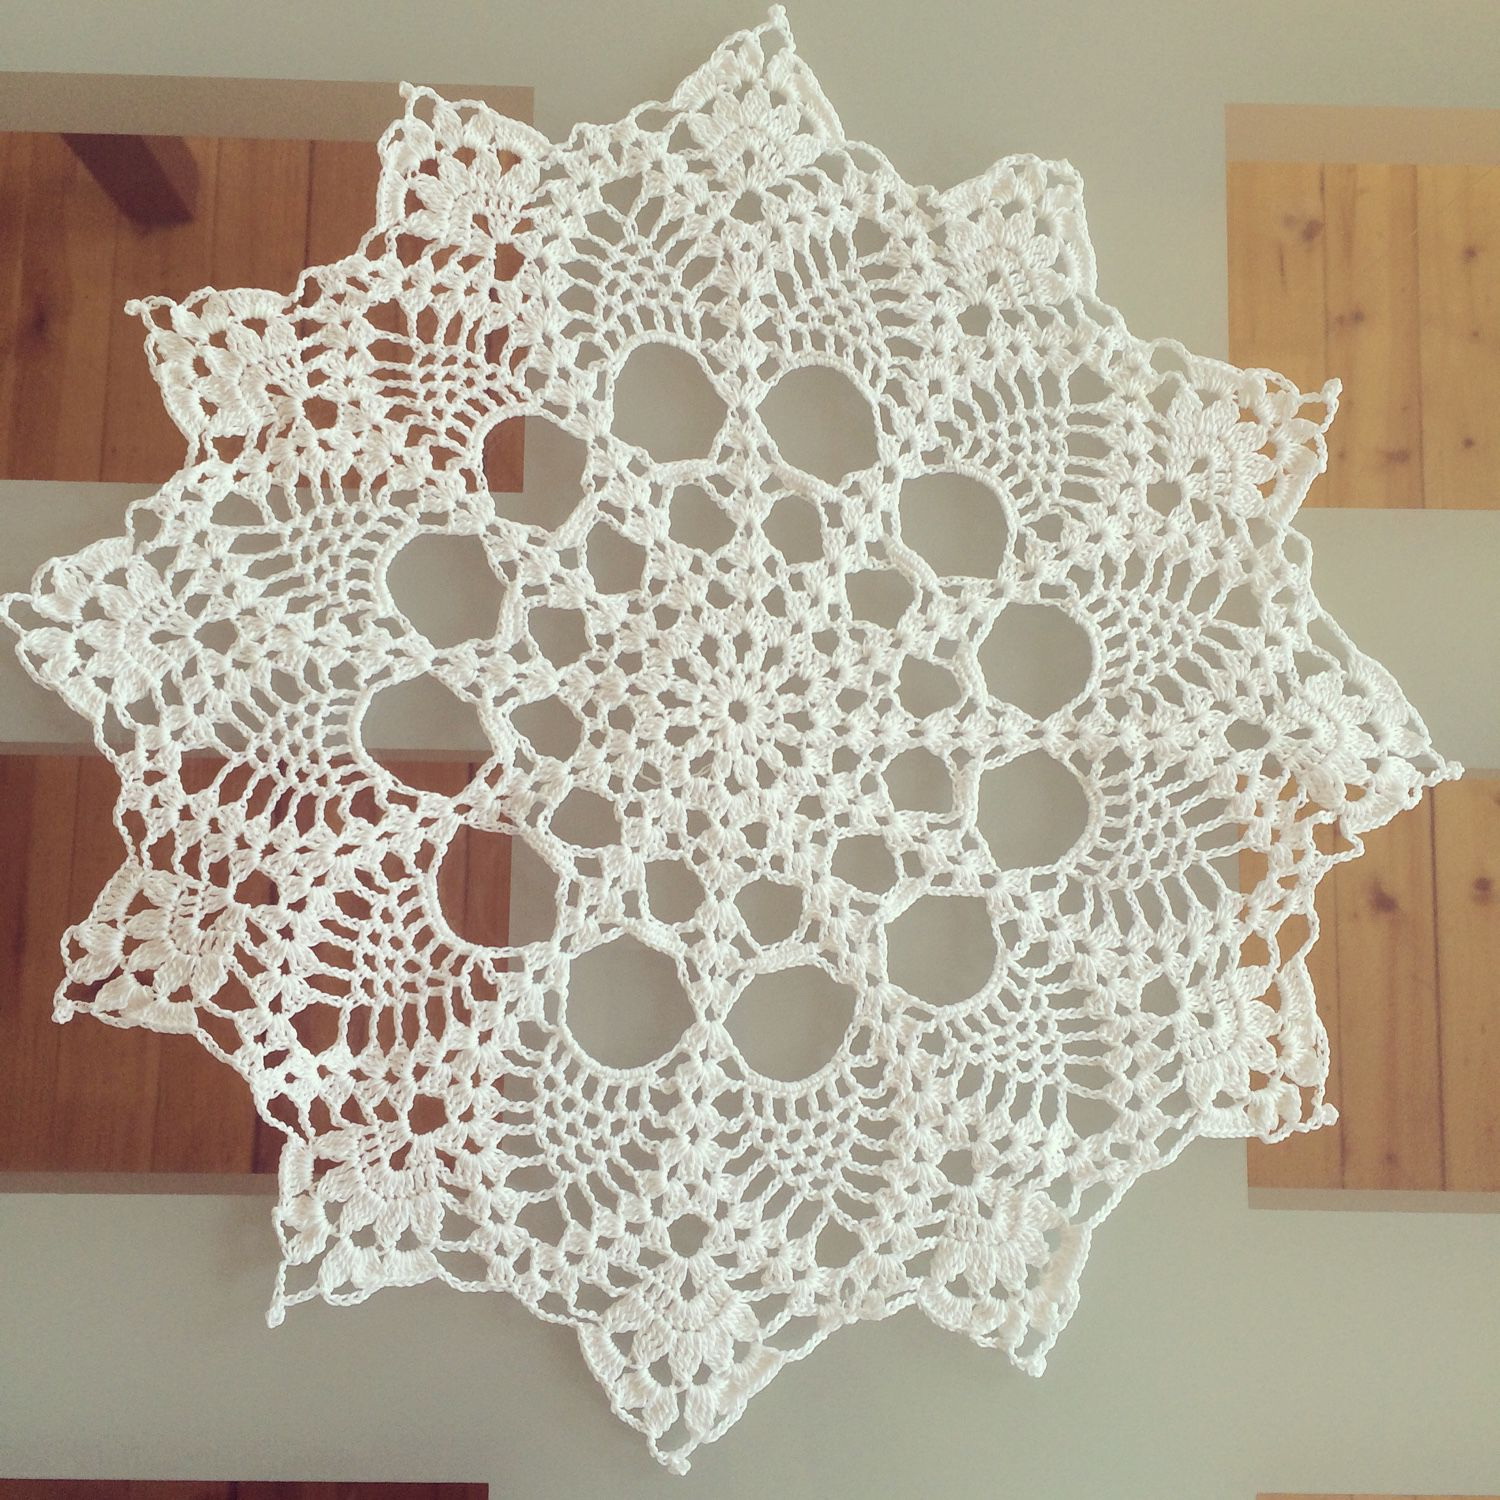
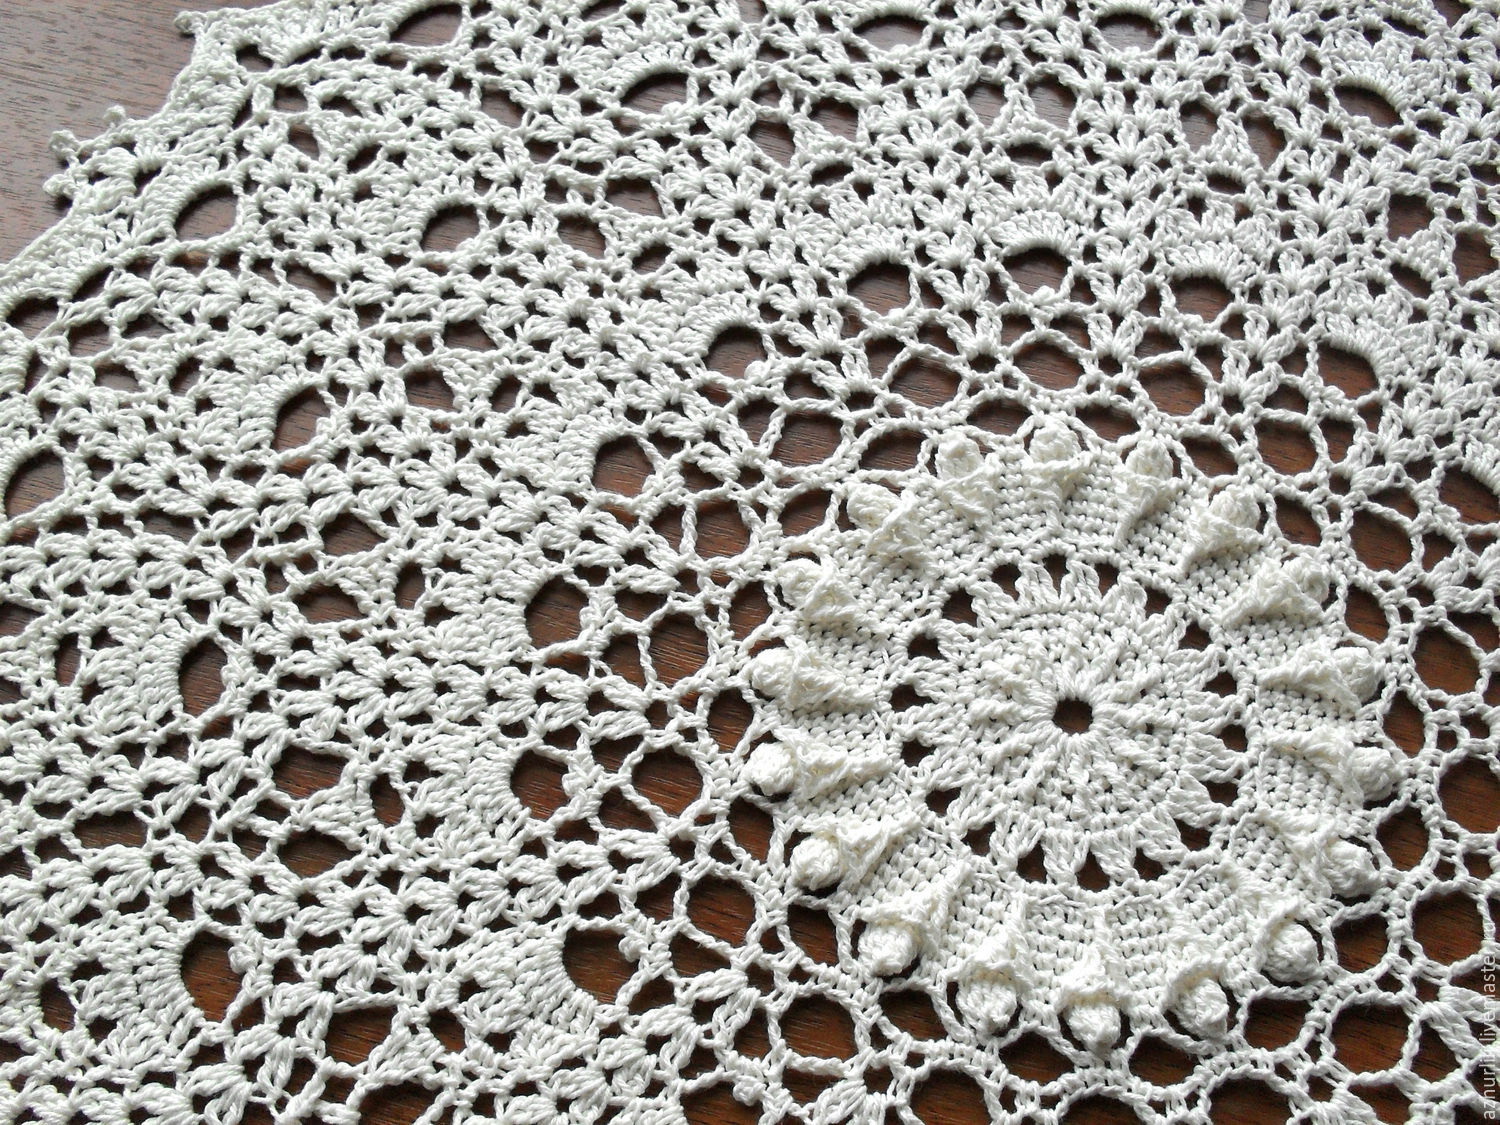
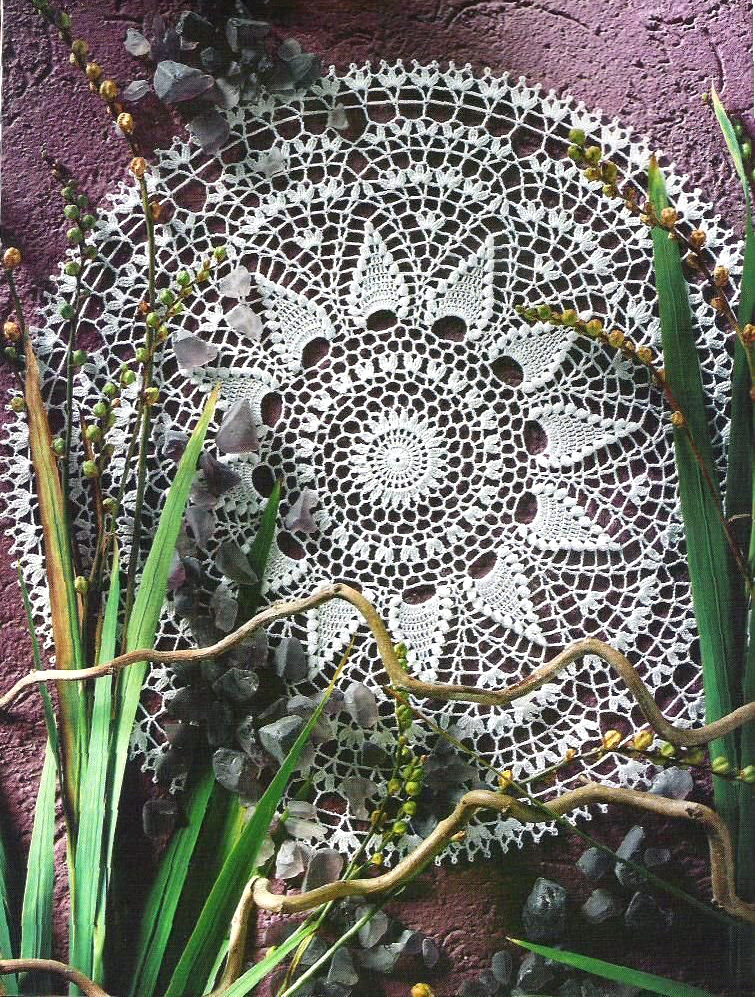
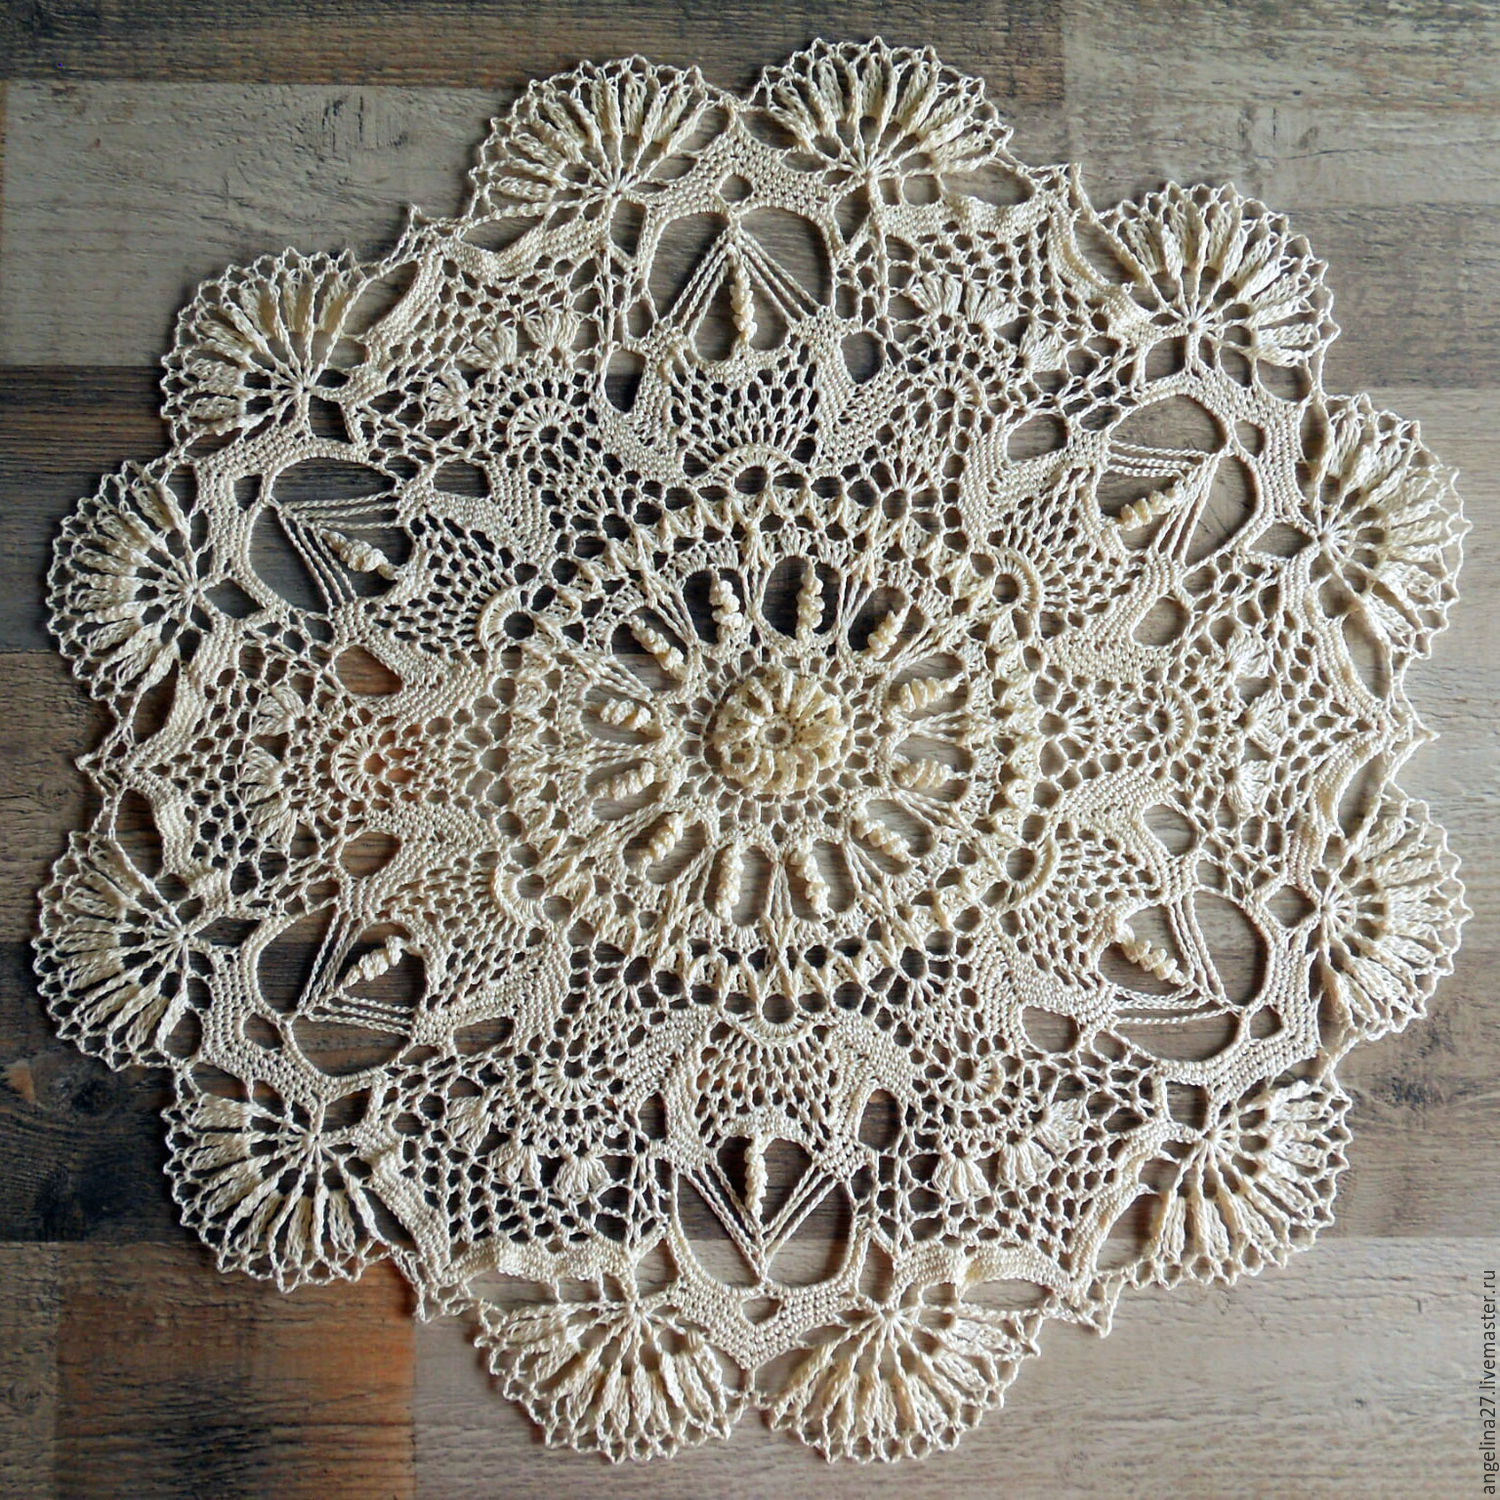
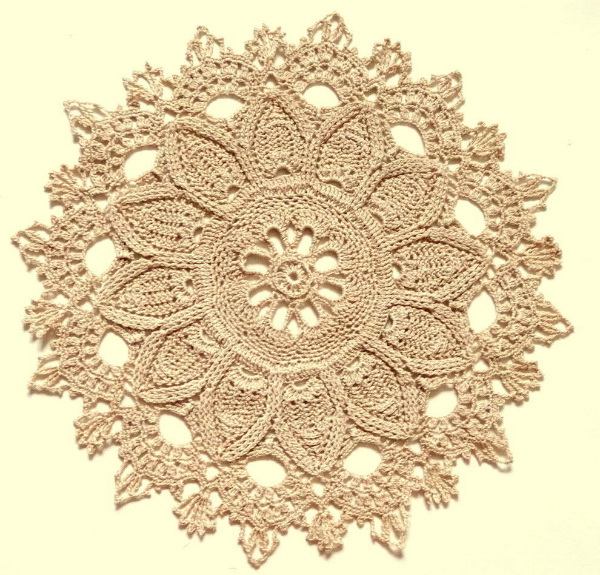
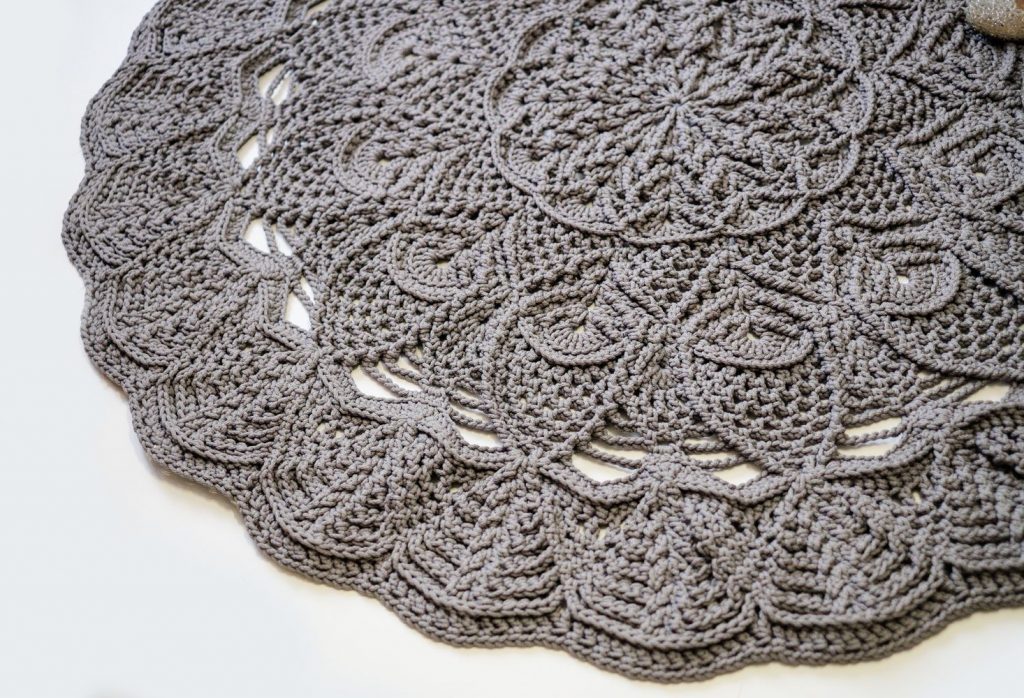
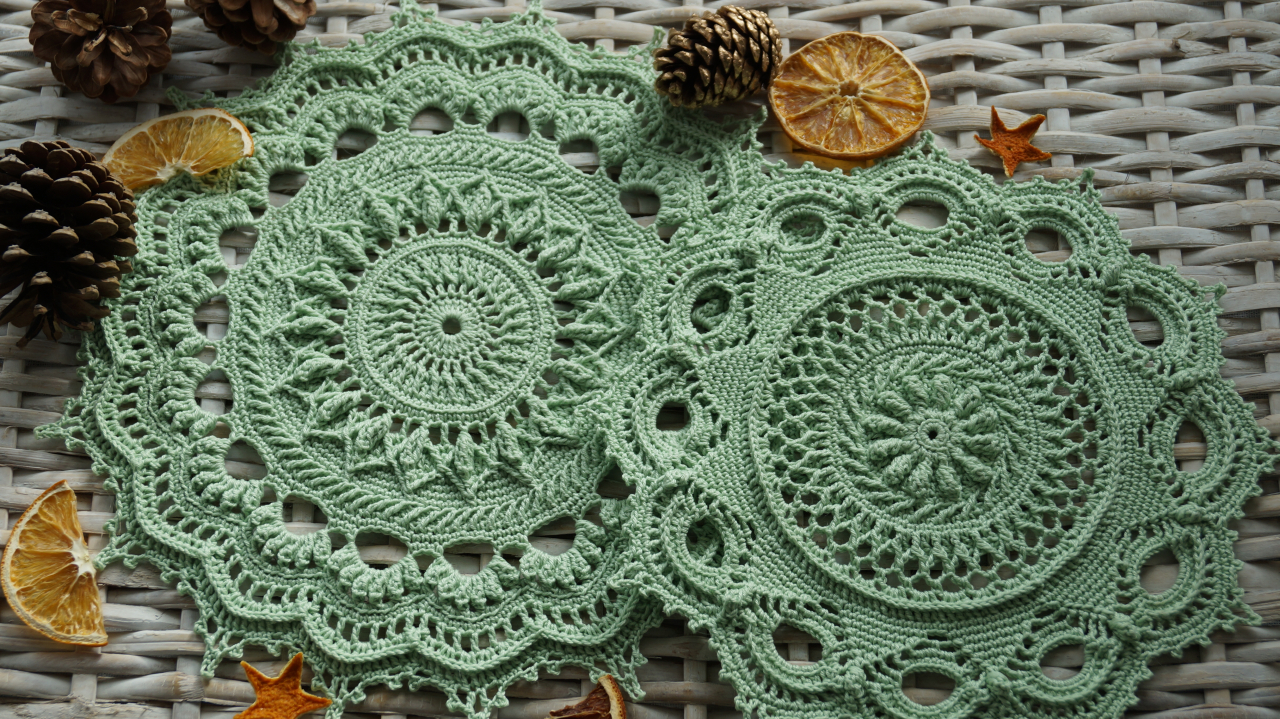
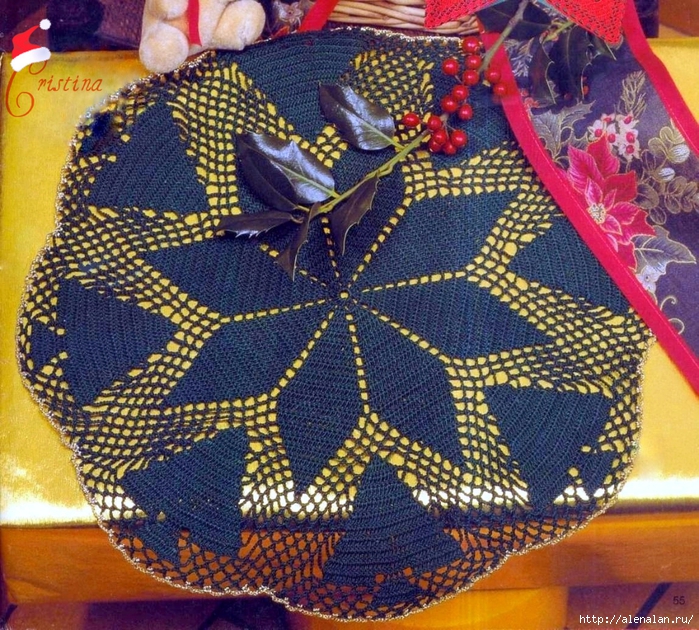
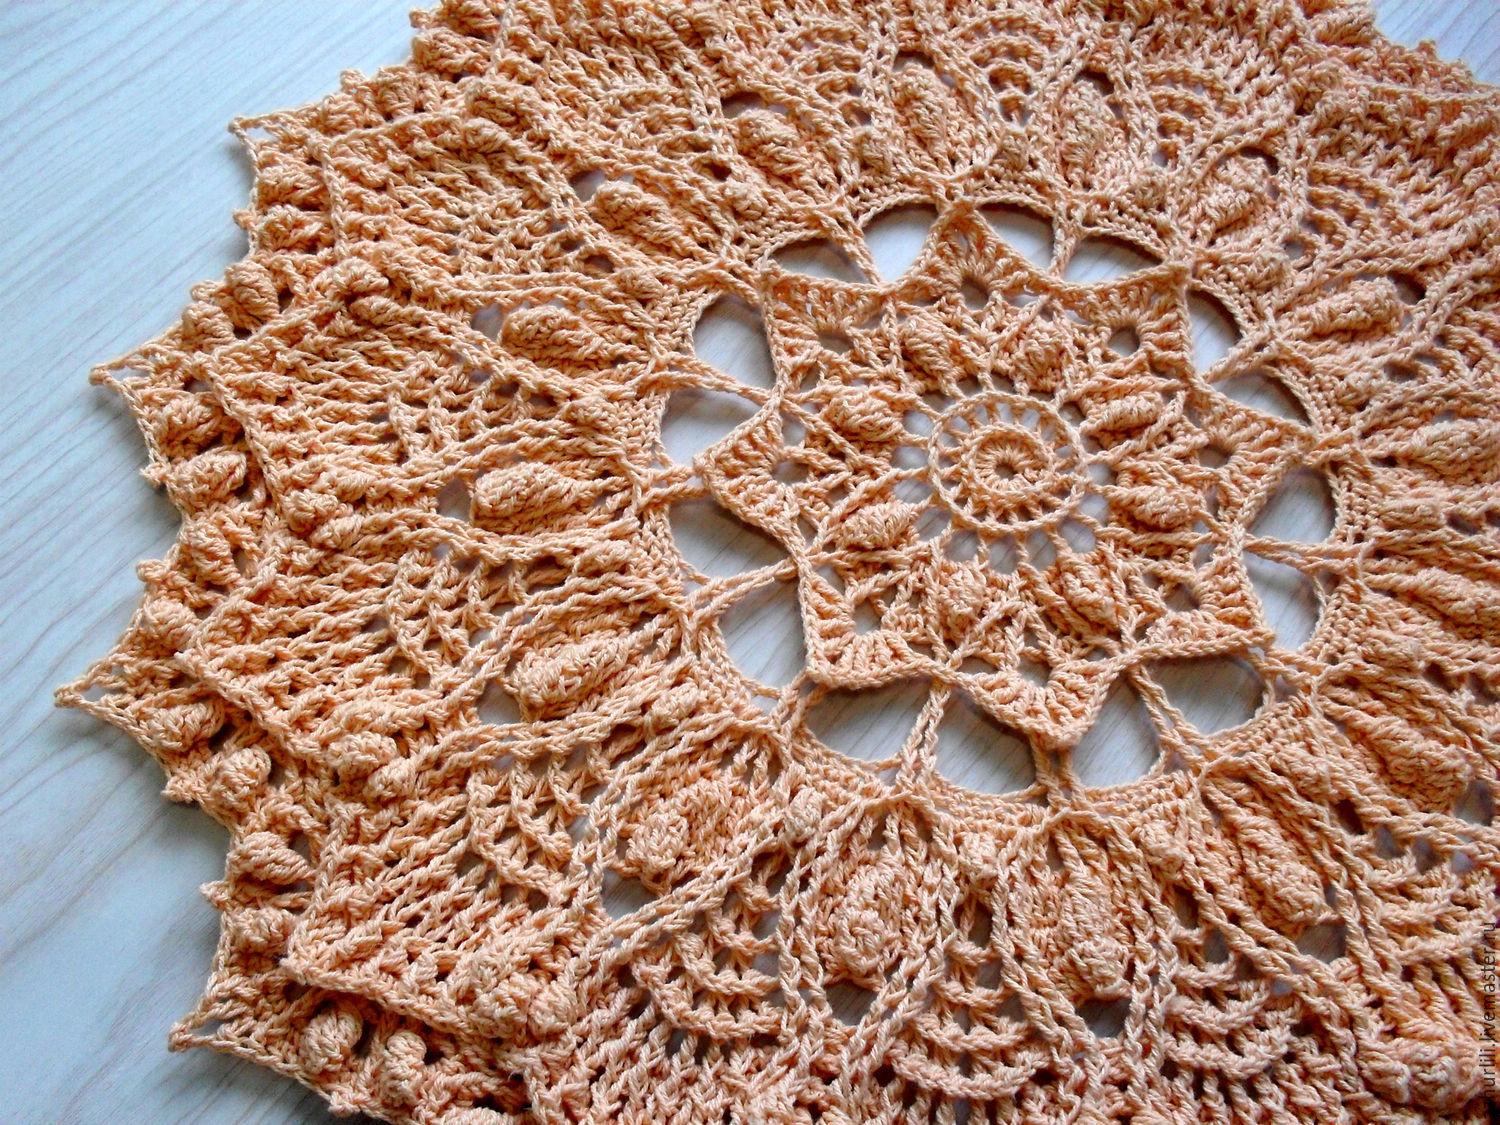
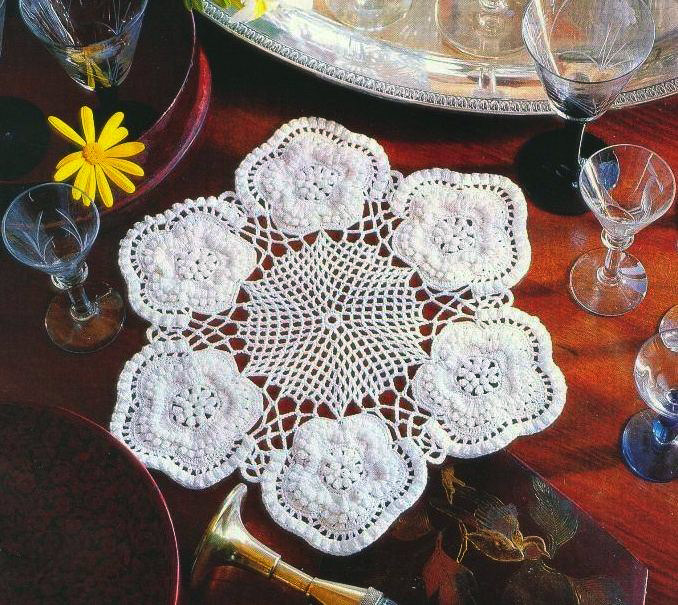
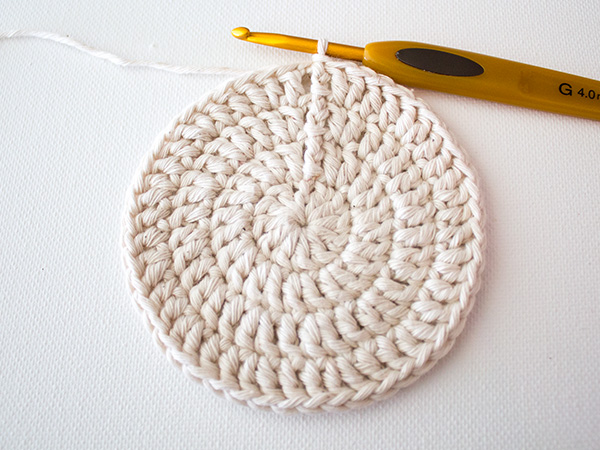
Round shaped napkin
A round napkin can contain any design. In this pattern, the basis is a flower with eight sharp edges.
The first few rows always raise many questions about how best to knit them. After all, most authors of patterns place the main emphasis on the pattern itself.
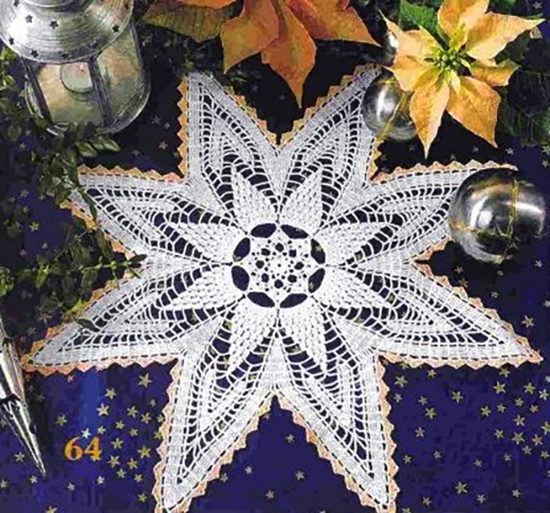
Therefore, to start knitting, you need to take 8 VP and connect them into one ring. After that, you begin to build columns from 5 VP, connected to each other by 2 VP. This allows you to evenly divide the circle on which the edges of the flower will be located.
On the 2nd row there should be 2C1H and 3 VP between them evenly spaced. The following rows, up to 6, repeat this principle with only one condition: each subsequent row increases the number of VP and C by 2 pieces. Then the effect is that the flower edges become more voluminous. But after 6 it returns to its original position.
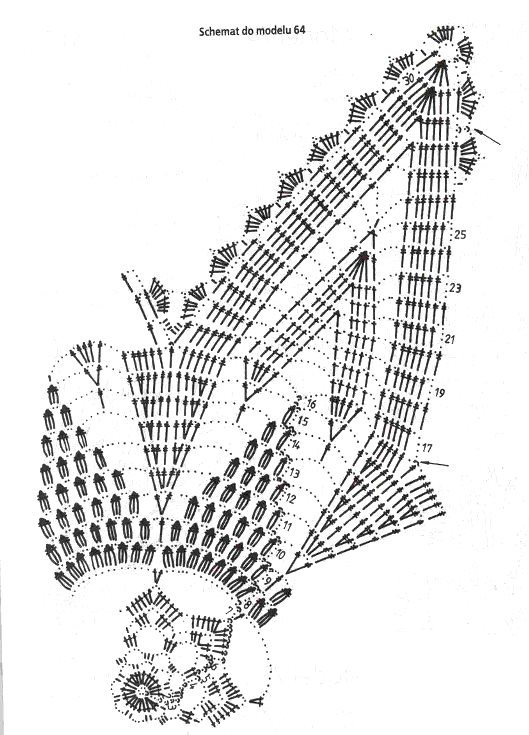
To prevent the napkin from continuing to narrow along with the edges of the flower, it is recommended to increase the number of VP between St and begin to form a rhombus. Thus, weaving will continue until the 11th row. On it, only 1C1H will remain, which separates the pattern from the edging - the final element of the composition.
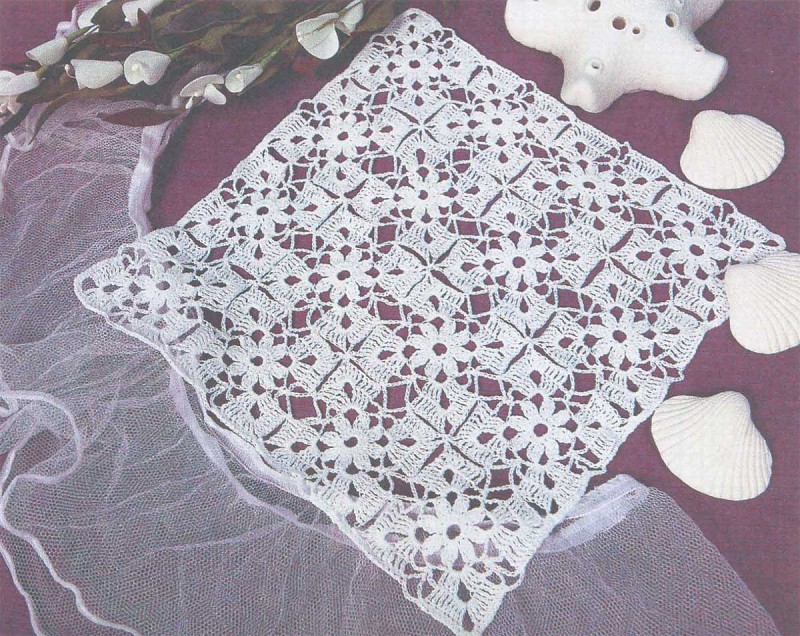
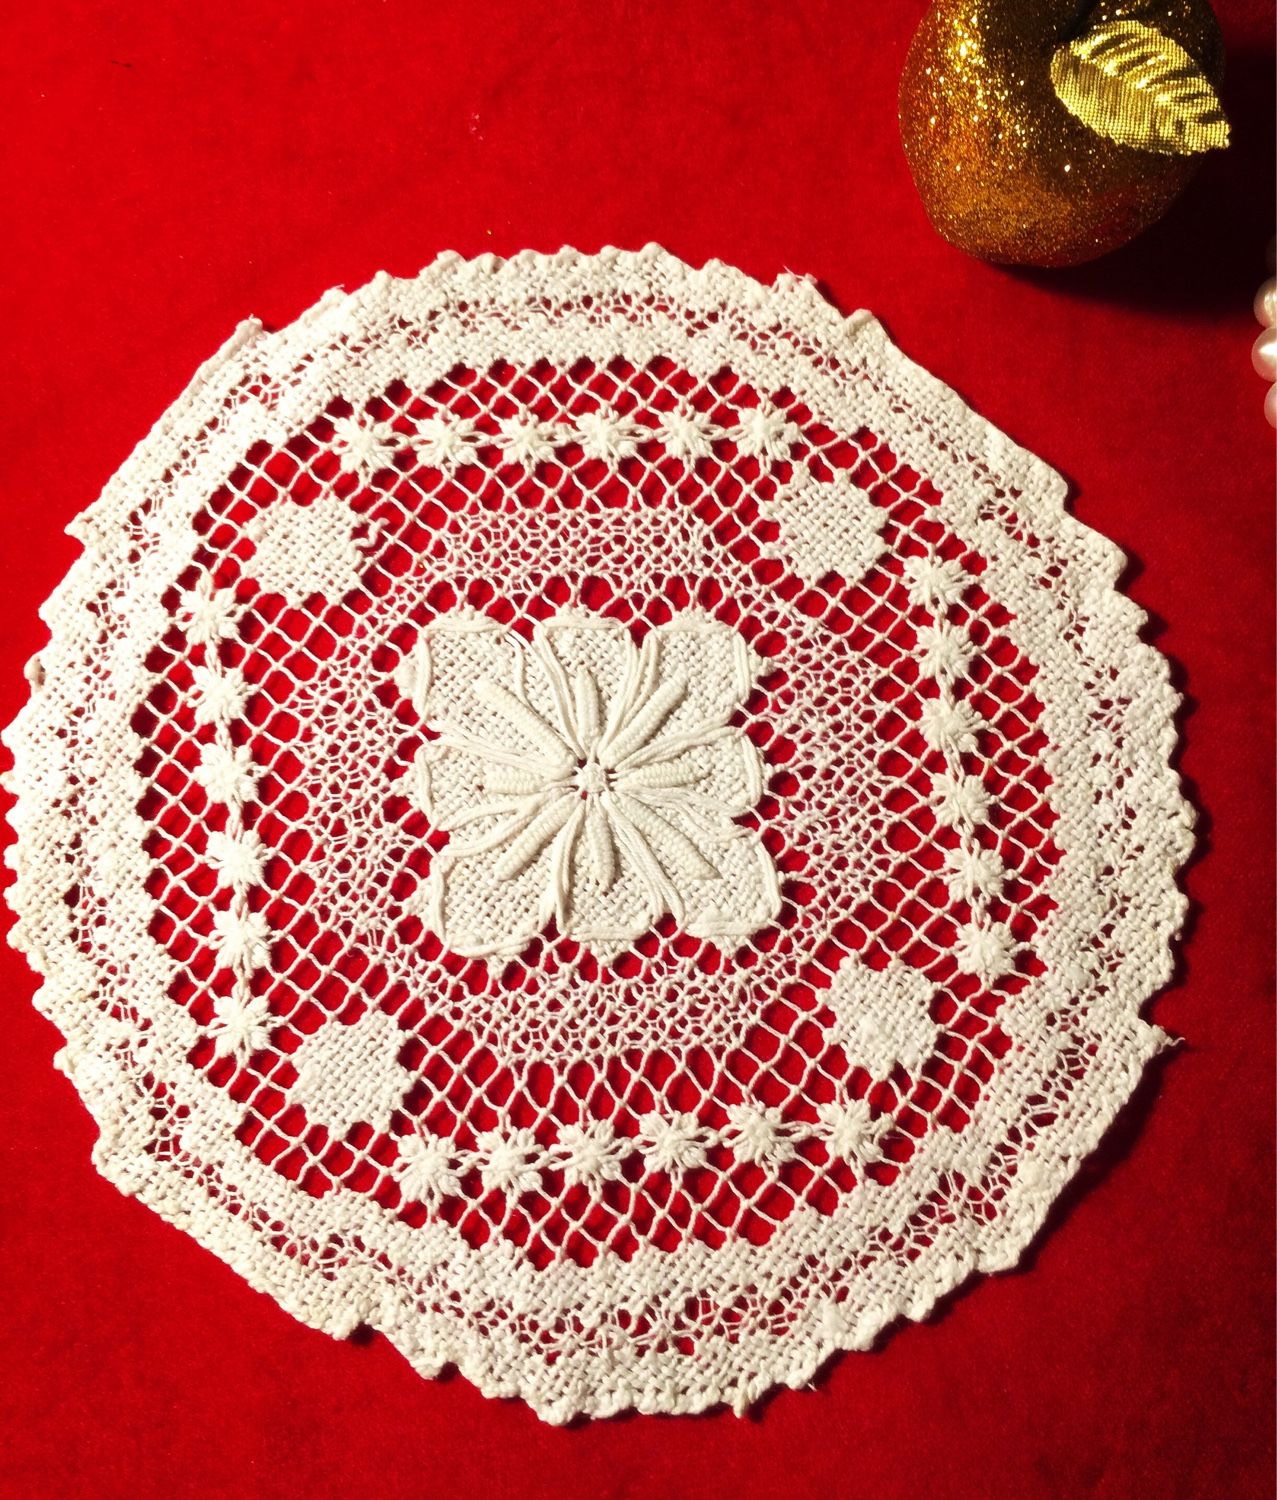
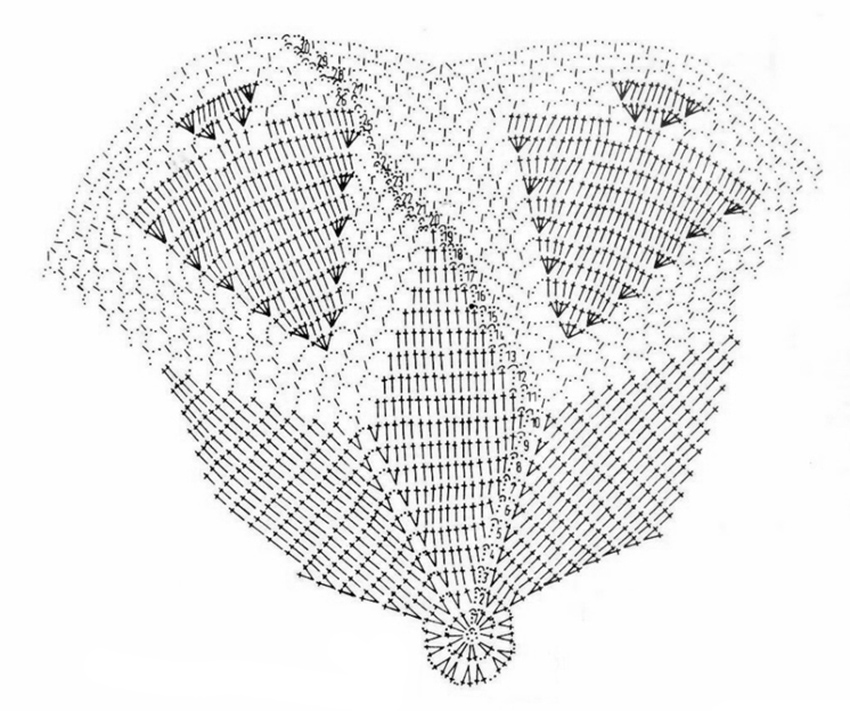
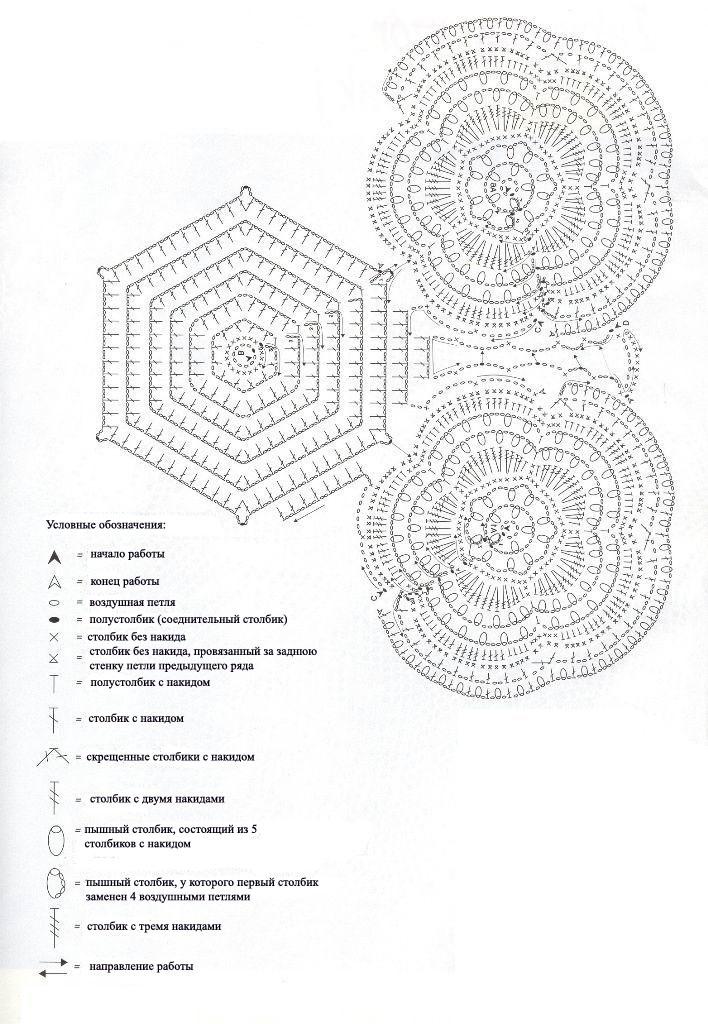
Square shaped napkin
This pattern is intended for a square napkin. However, it has a round pattern at the base. Therefore, the beginning of its knitting begins with the composition of the classic ring-shaped base.
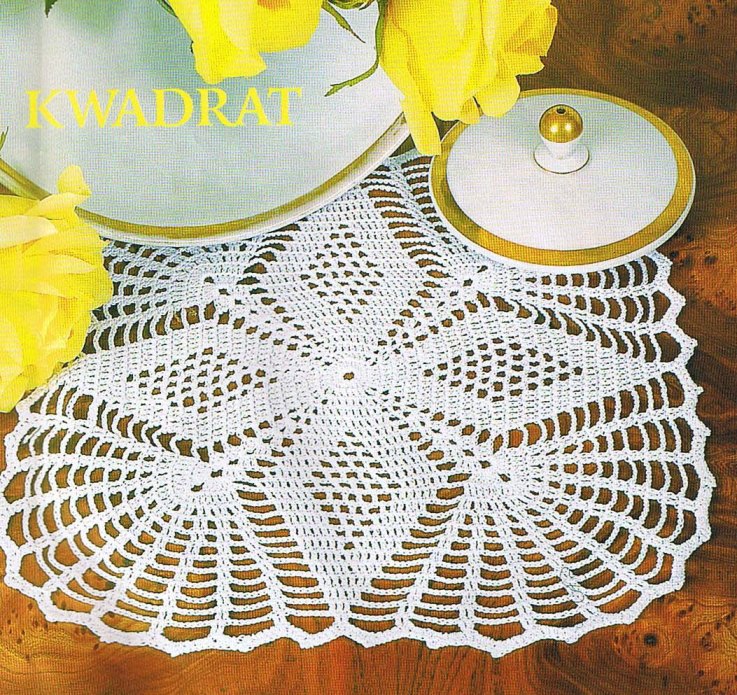
To make it, you need to dial 7 VP on the hook. When they are connected in a ring, then immediately begin knitting the columns. In this case, the first one is made from 3 C1H, and all the rest - using the classic method. After the columns are formed, they need to be connected using 15 C1H and finished with 1 SP.
Important! It may not be visible in the diagram, but each row ends with a SP and begins with a VP.
After row 27, the first segment of the product ends and needs to be additionally secured with straight and reverse rows, as shown in the figure.
They start from the 28th row and end on the 42nd. They are distinguished by their knitting and consist of an equal number of direct and reverse loops that alternate with each other. After forming the corners, the product can be brought to the finish line.
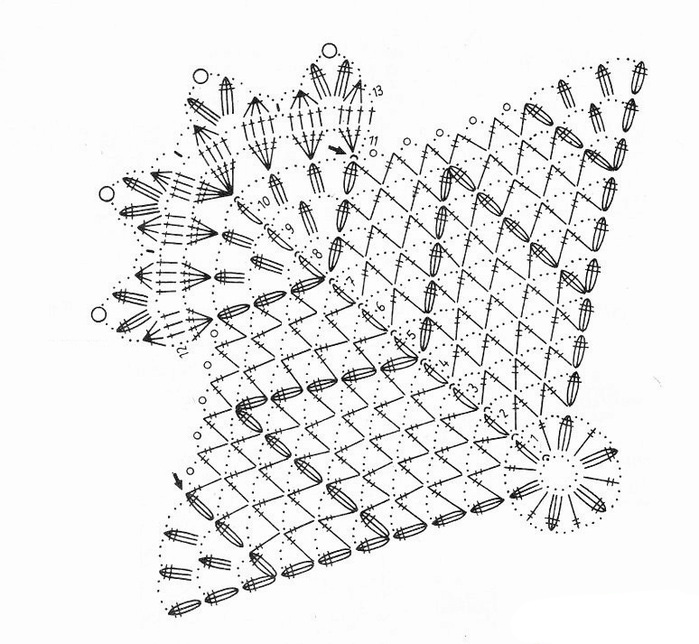
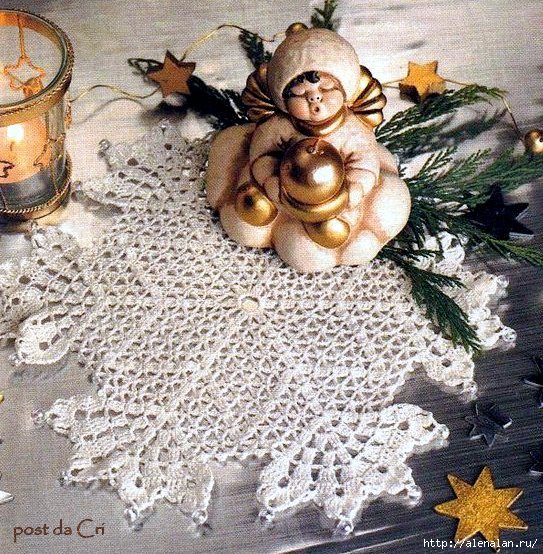
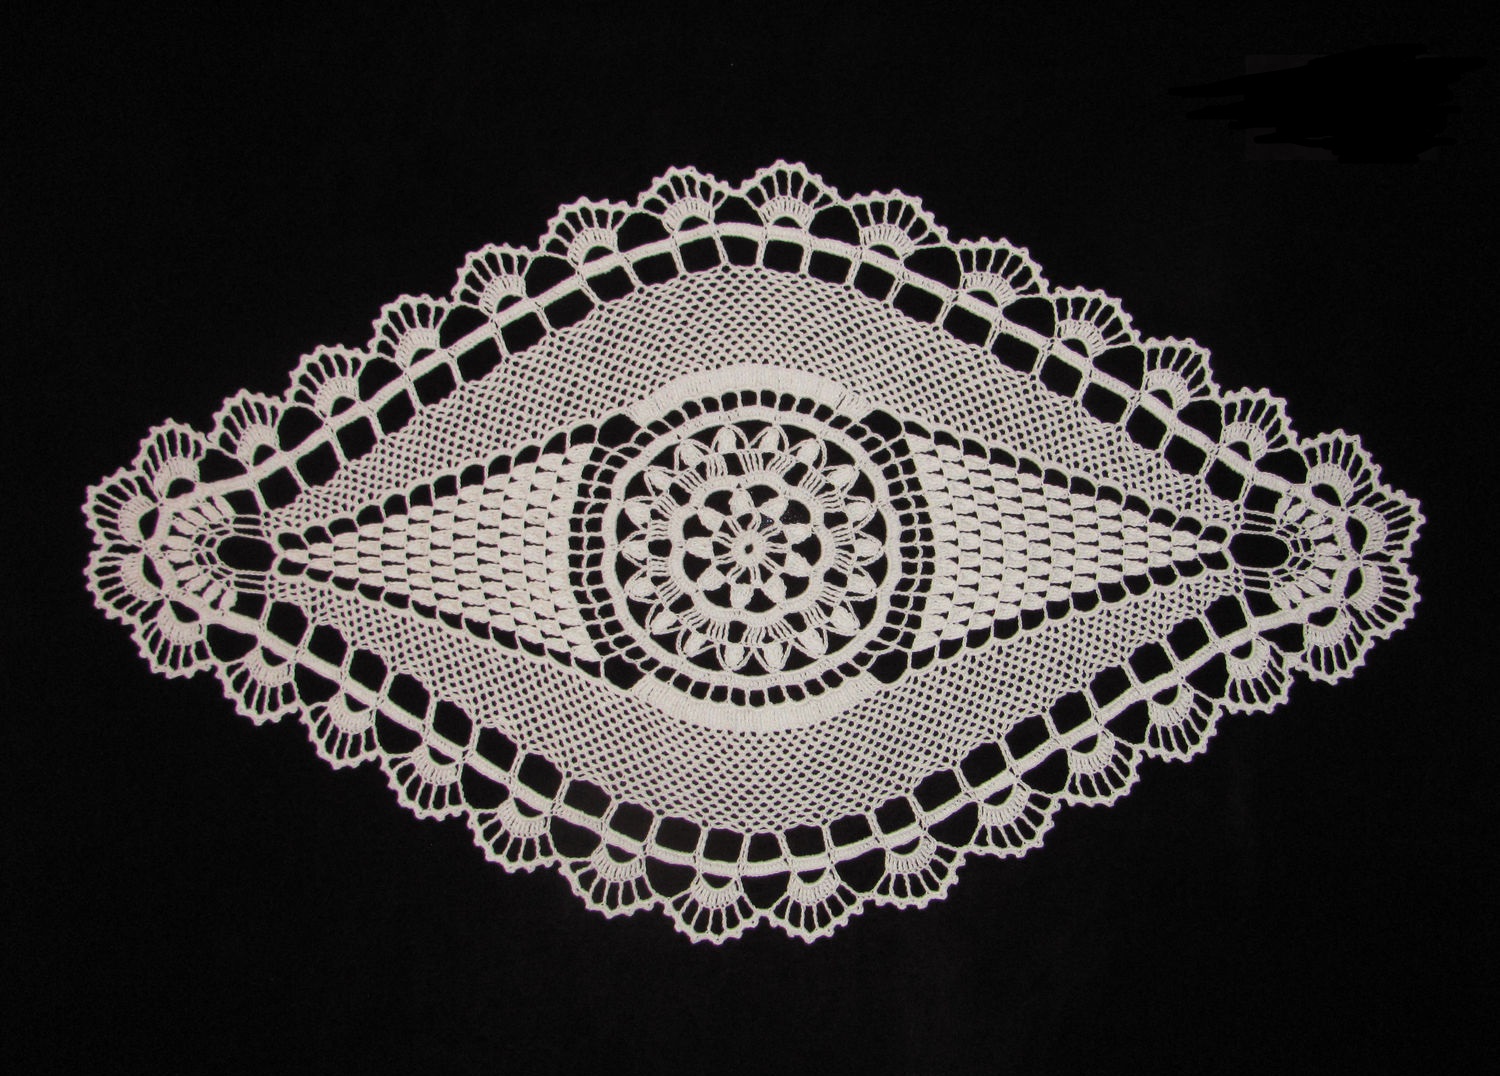
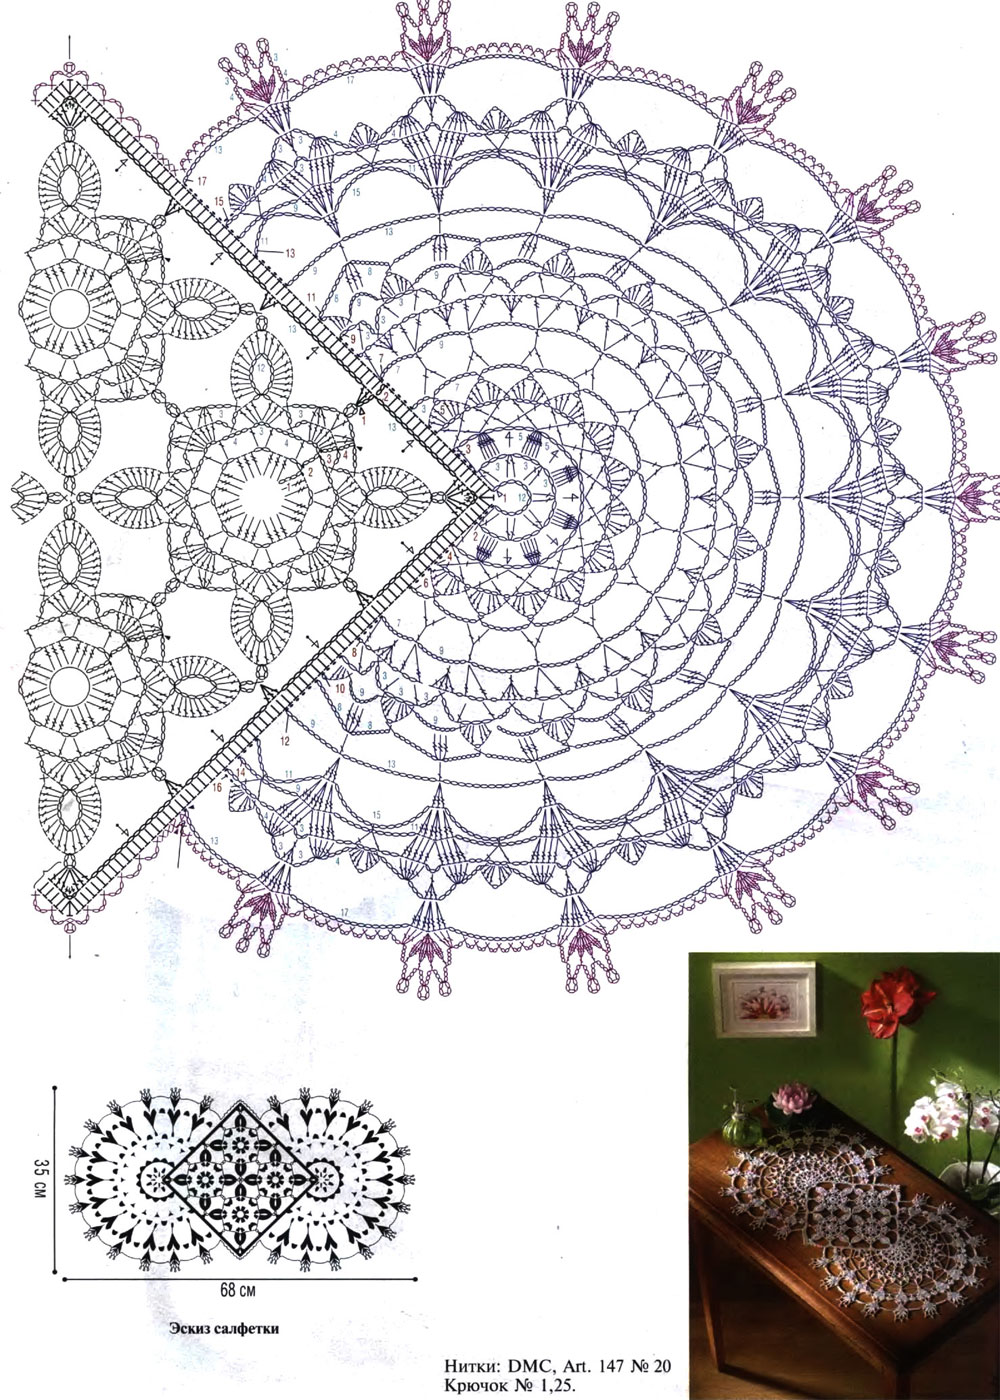
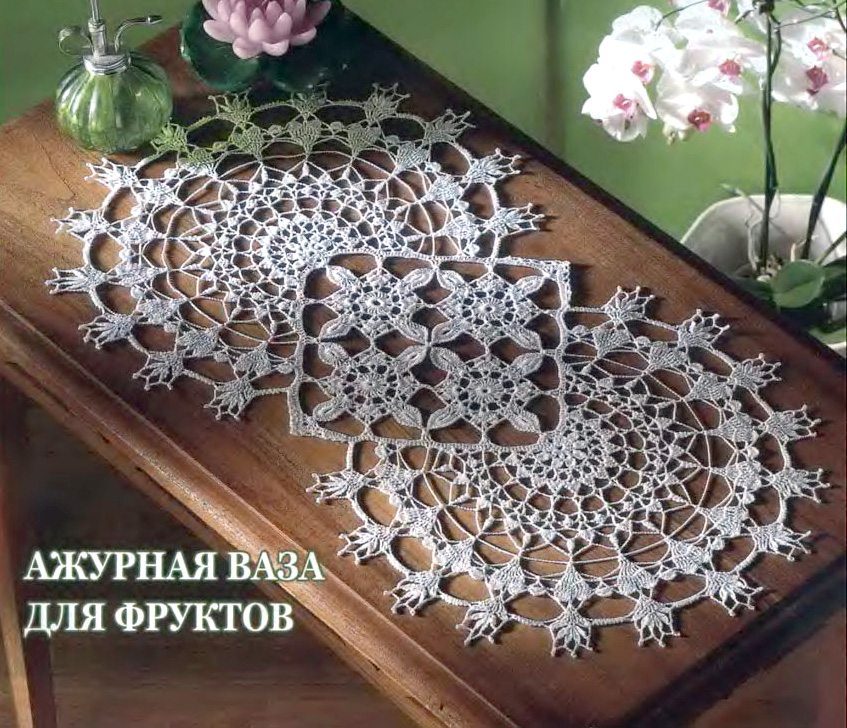
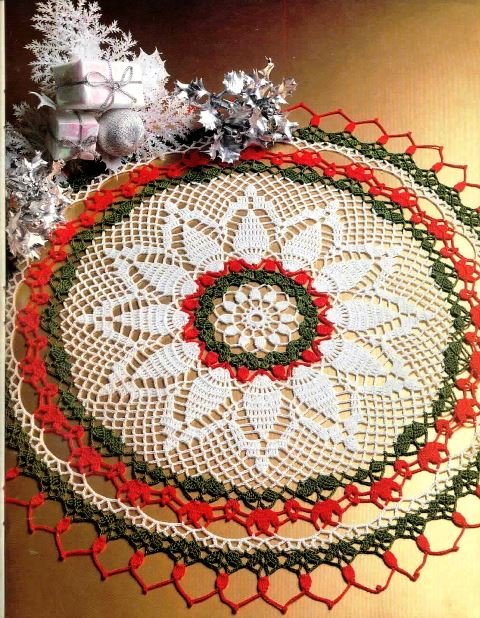
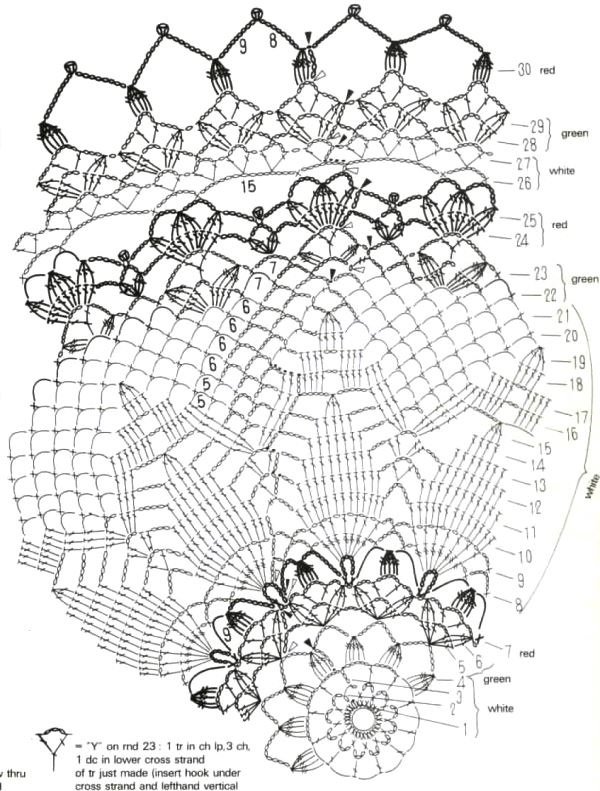
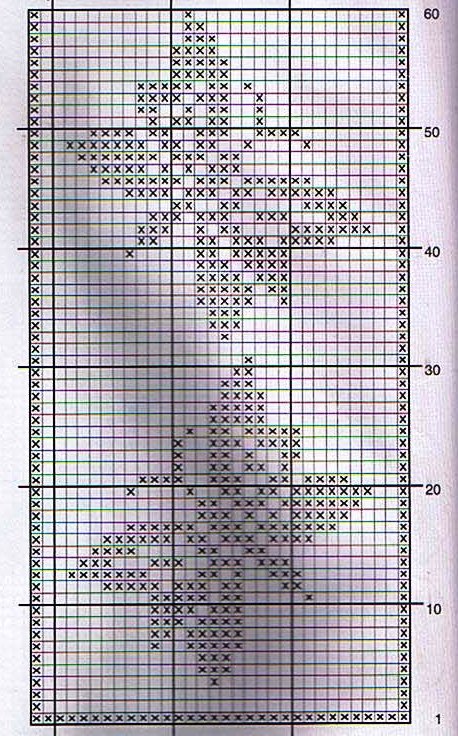
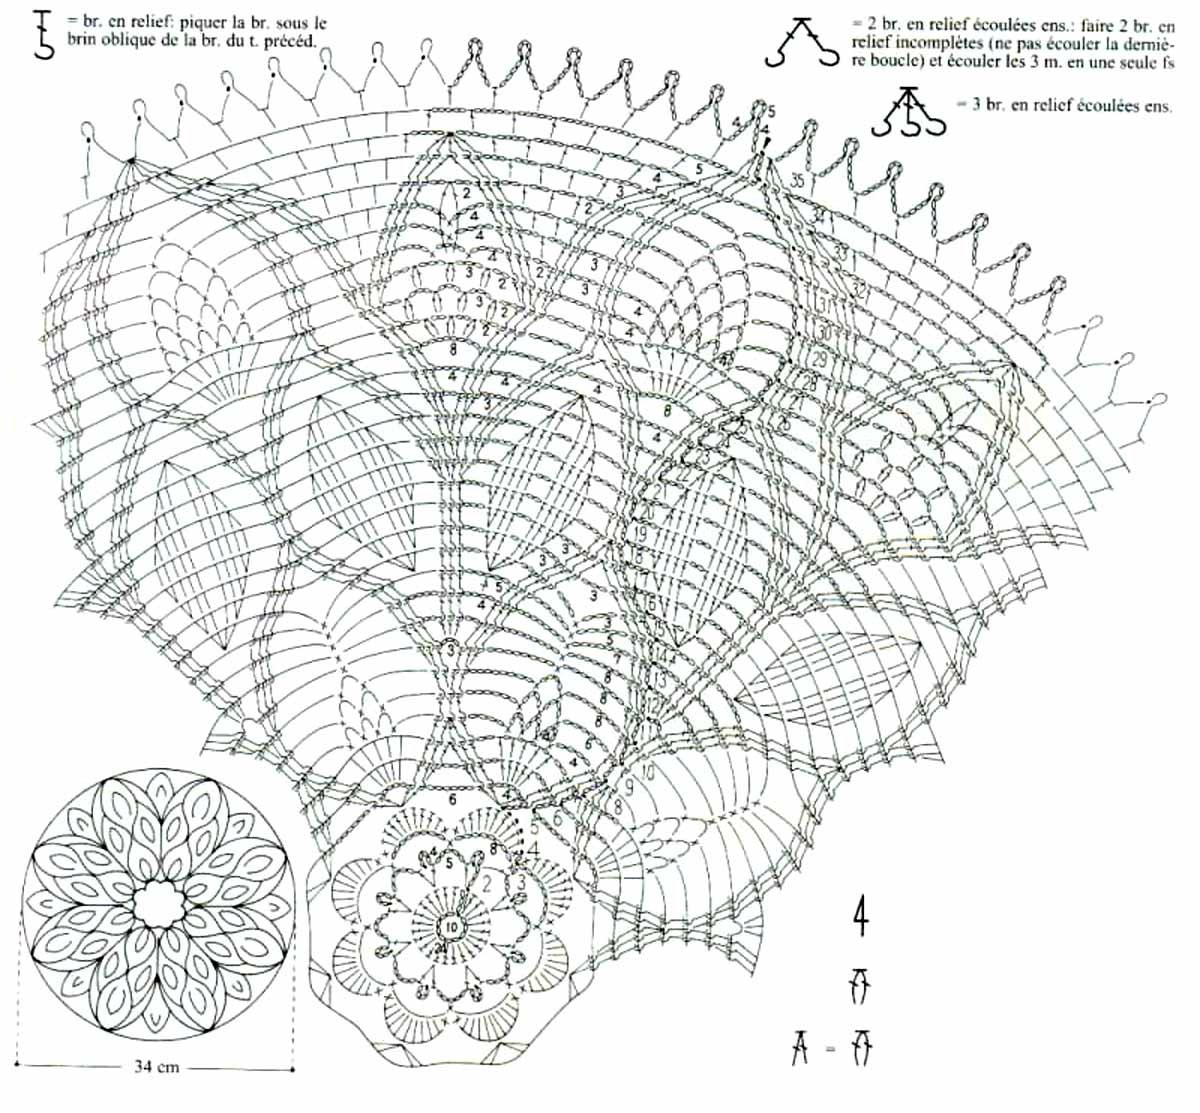
Festive table napkin
The festive Easter napkin is knitted in a not quite standard way, which were indicated earlier. It all consists in the fact that the crochet master makes a pattern not in a circle, but horizontally, while using the fillet knitting technique to fill all the elements of the canvas.
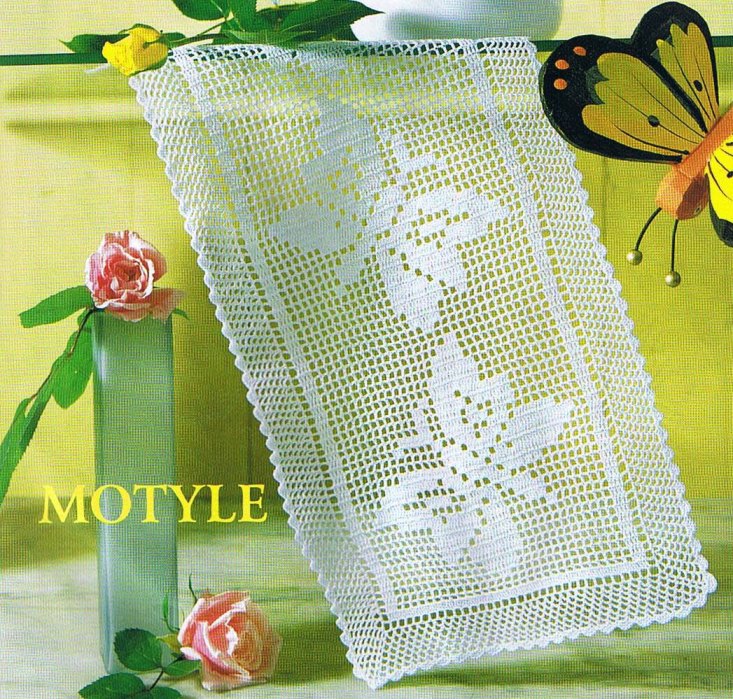
As you can see in the picture, it is indicated that the width of the product will be equal to 23 loops, but since this is not enough, this figure is multiplied by 3 times and plus another 3 VP of the turning chain. In total, it turns out that you need to dial 72 VP. And then you need to act according to the rules for reading the pattern for filet knitting.
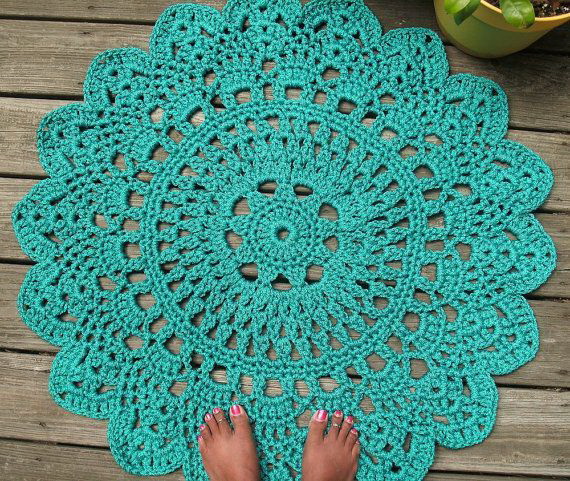
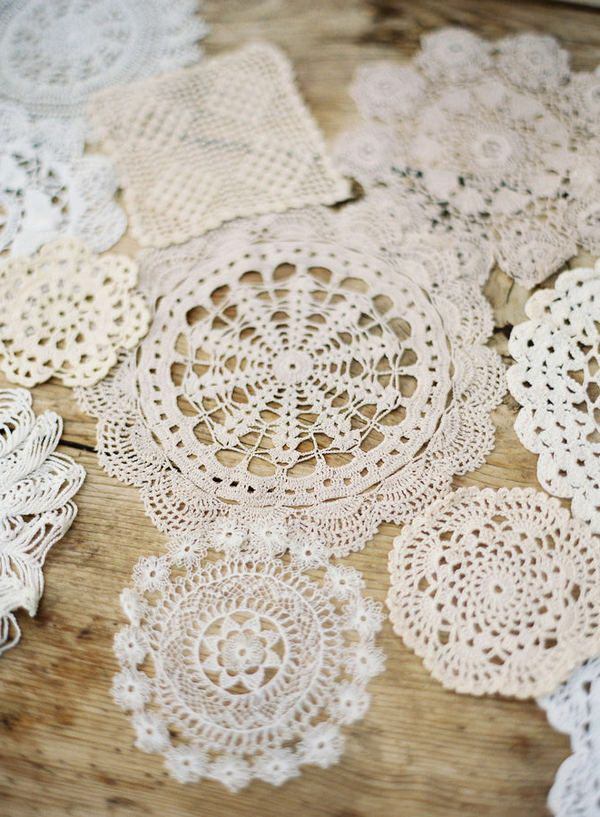
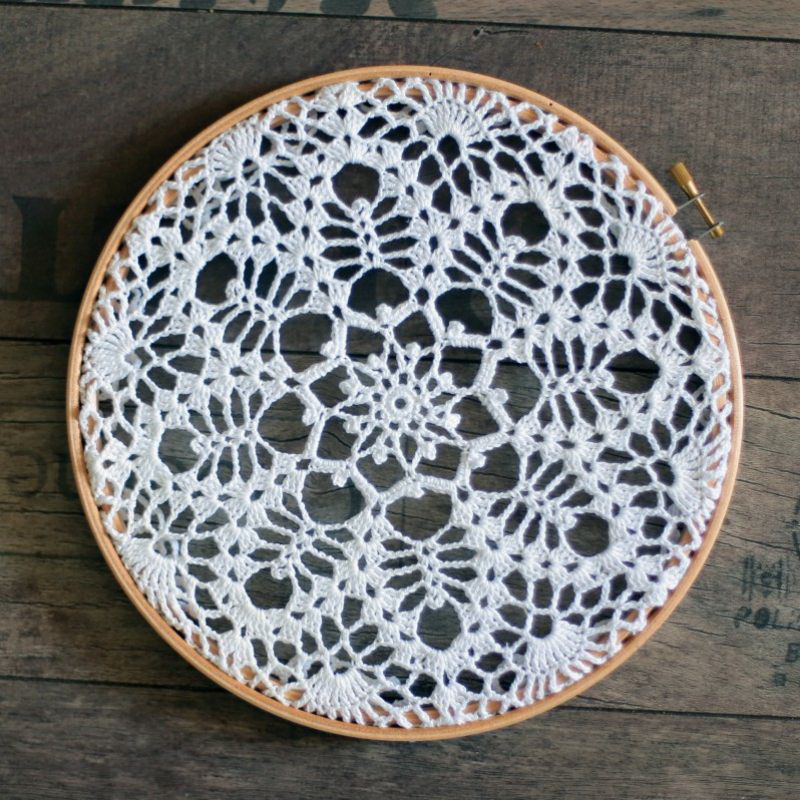
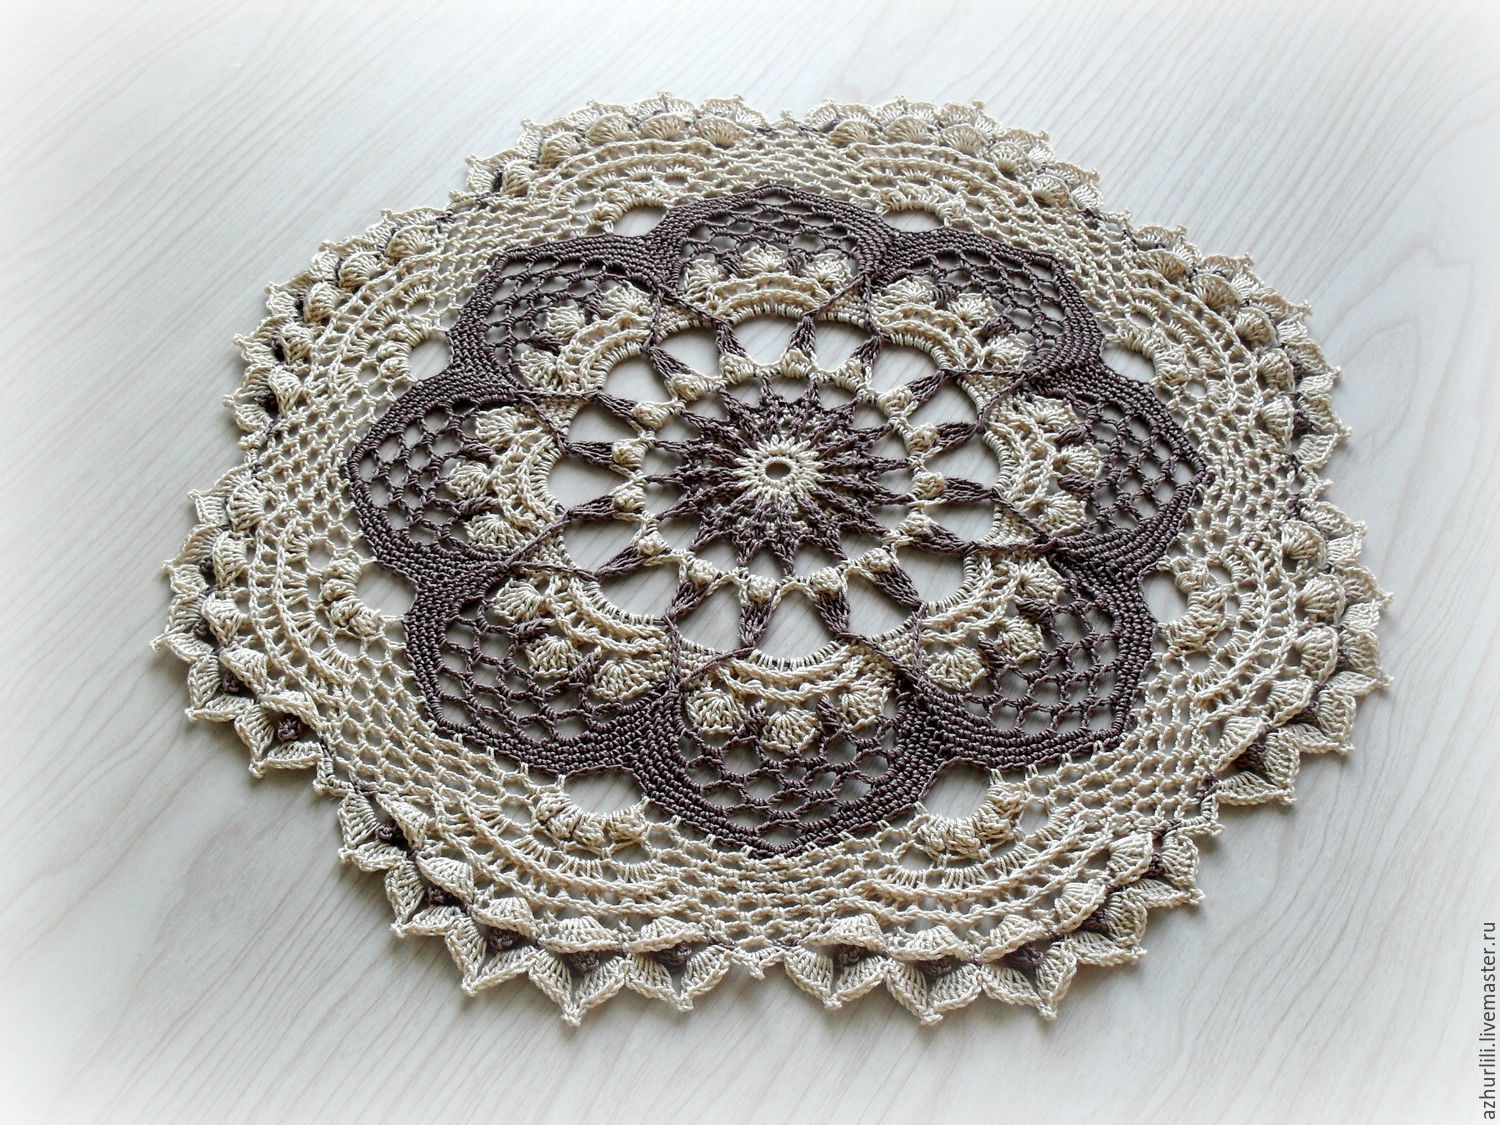
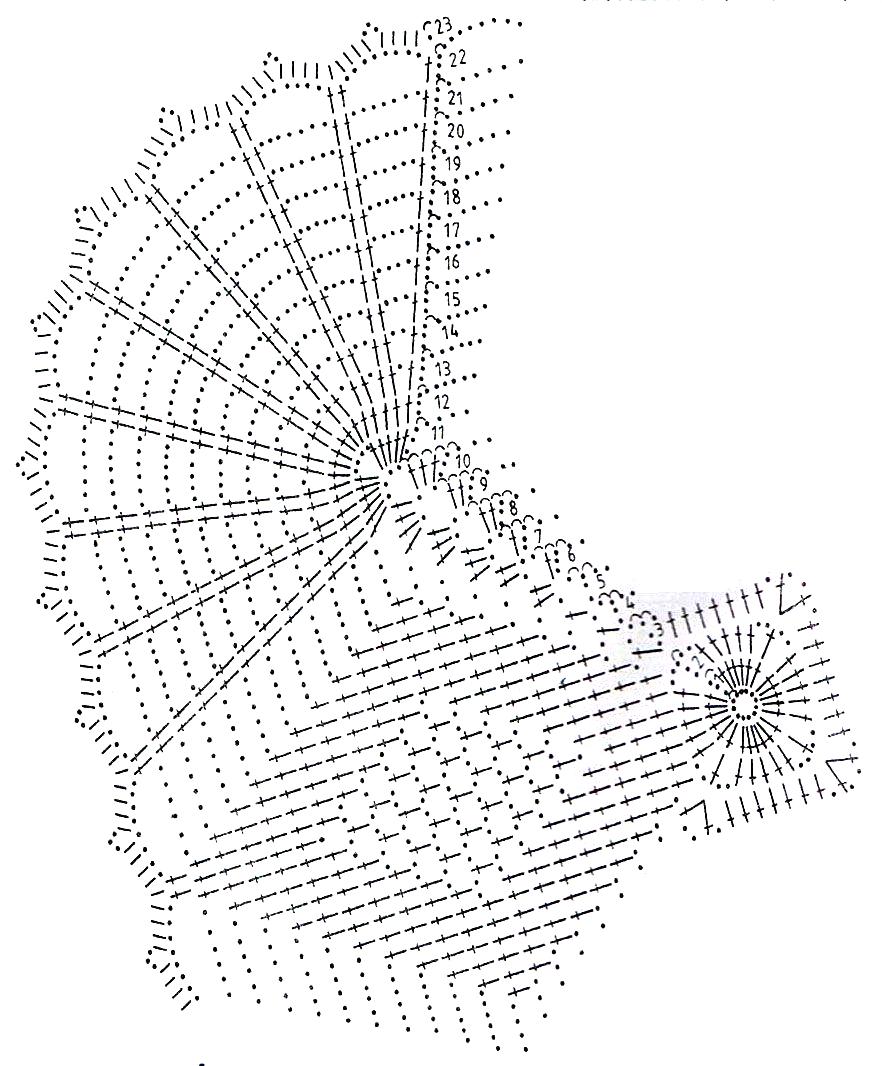
Japanese style napkin
To make a napkin in Japanese motifs, you will need white or beige yarn, only 150-200g. The product from this amount of source material will be small - 36 cm in diameter.
The napkin has a round shape, so it will be knitted in a spiral. The base for it is a ring and 8 VP. But instead of strengthening it once again, the pattern says to knit 8 columns for lifting, after which they are again connected to each other by a ring, but of a larger diameter than the first.
In the diagram, you can see two types of loops. Some of them are connected to others at the top, and others - at the bottom. They differ in the location of the top. If in the first case, you need to start knitting loops from a common top, then in the second - they have different bases, but all are directed to one point of convergence.
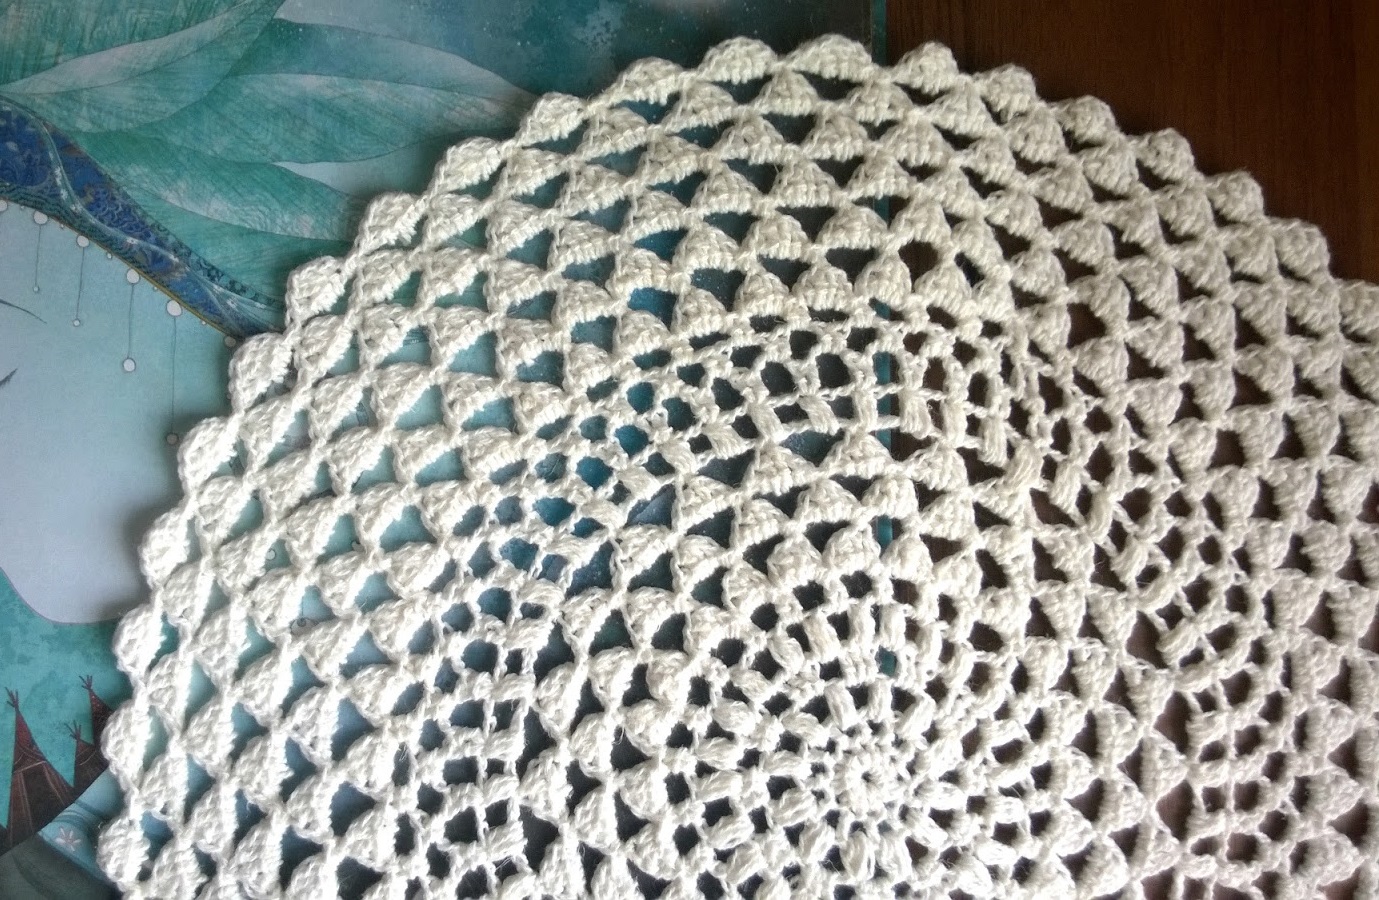
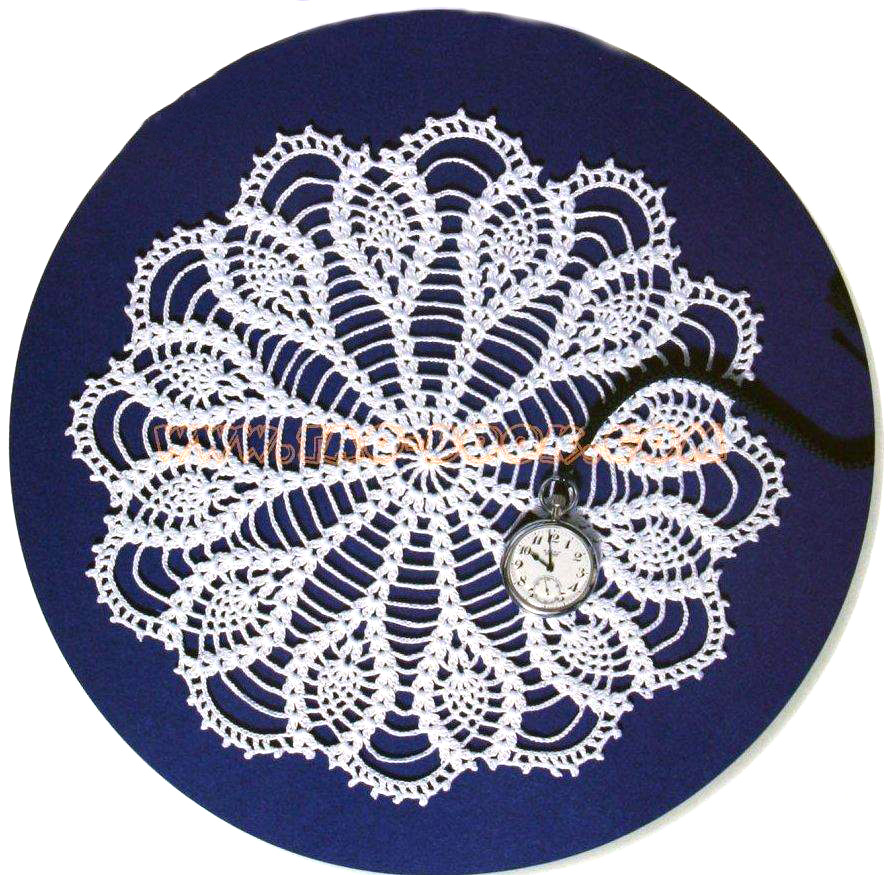
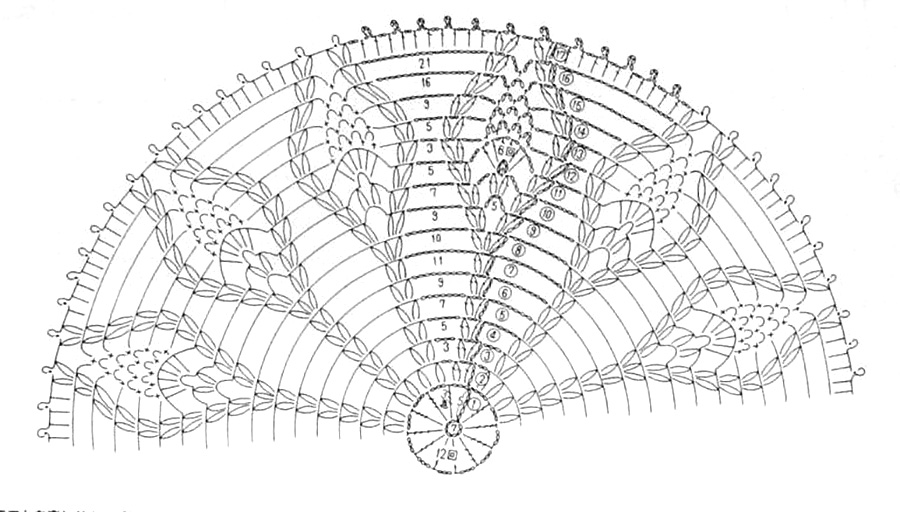
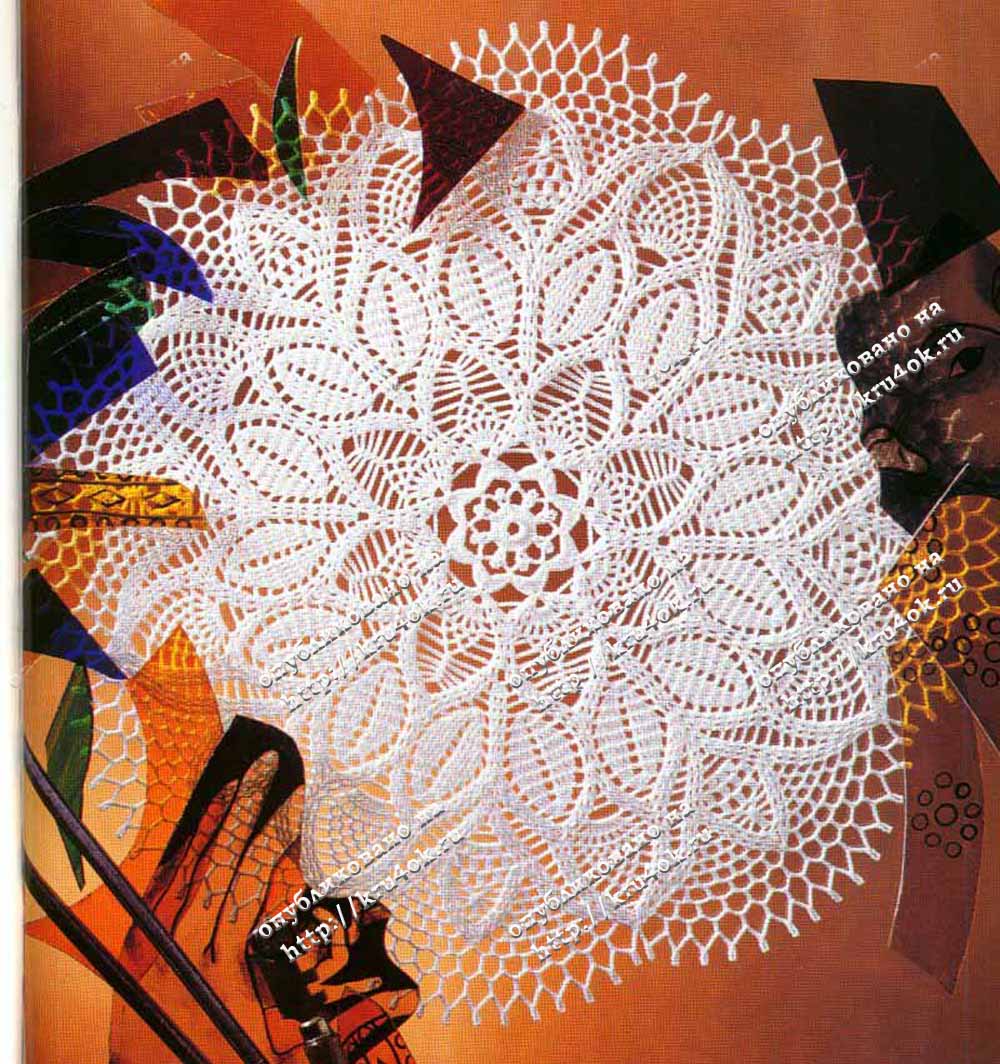
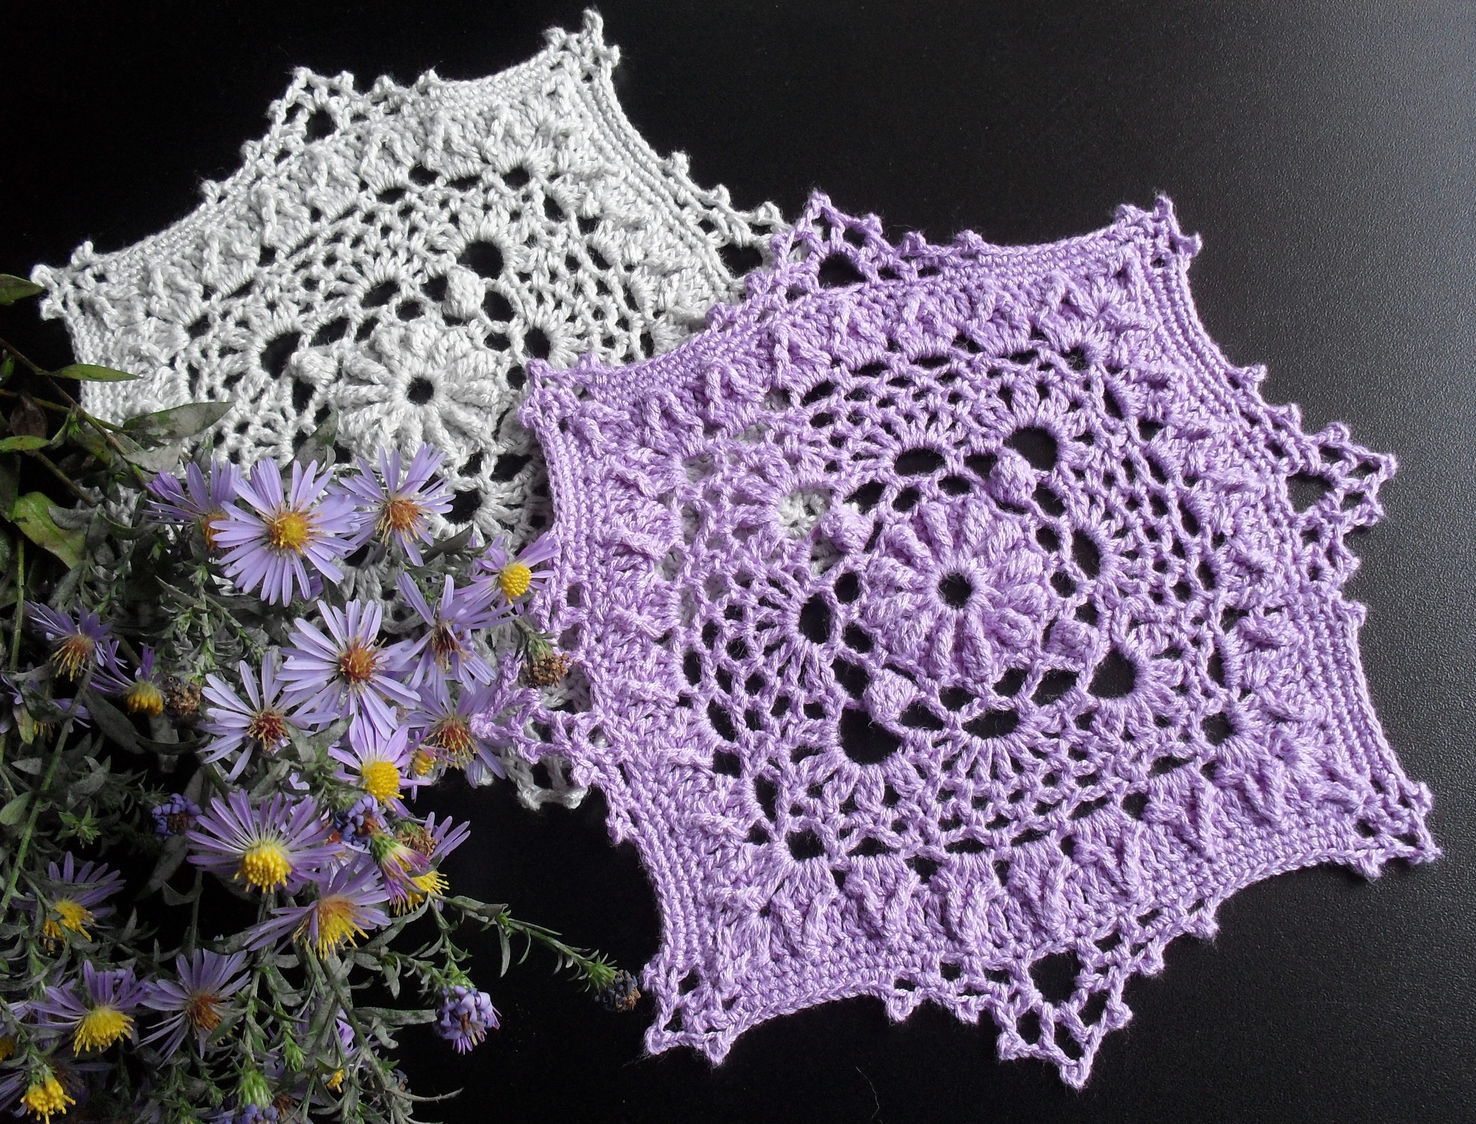
Openwork crochet napkin
The most complex models of napkins that can be crocheted are openwork ones, due to the abundance of various techniques for knitting decorative elements.
Knitting a napkin begins with making a sliding loop, from which 17 sc are knitted inward. After that, the last and first loops are connected and closed between themselves. Conventionally, this can be called the first row of the future product.
The next stage consists of dividing the resulting circle into equal parts and knitting 3 VP without a yarn in some of its places. After which they are also connected to each other, forming arches.
The third row is somewhat similar to the first in that it fixes the position of the threads. A thread is threaded through the arches and several sc are made, breaking their order only at the SP places.
The following arches will be formed by tying 5VP, which will be carried out through the SC. Empty holes will form 2 SP. The following rows repeat this algorithm. The only thing is that in some you can see not 5VP, but 10 VP (15 VP, 20 VP, ...), which are interrupted.
Conclusion
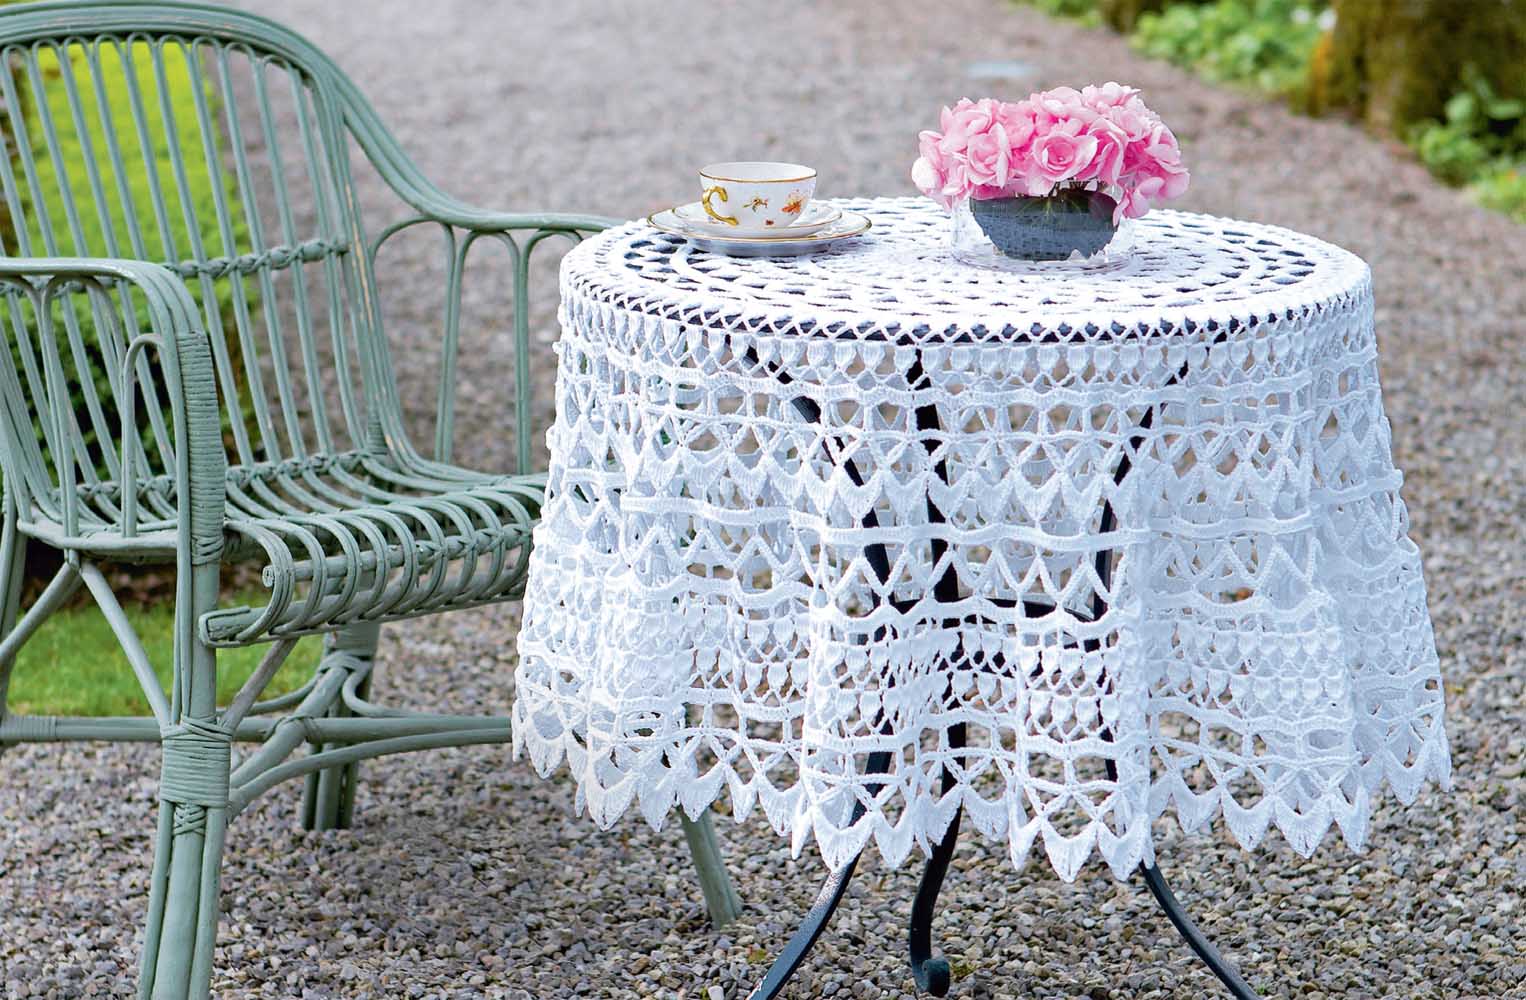
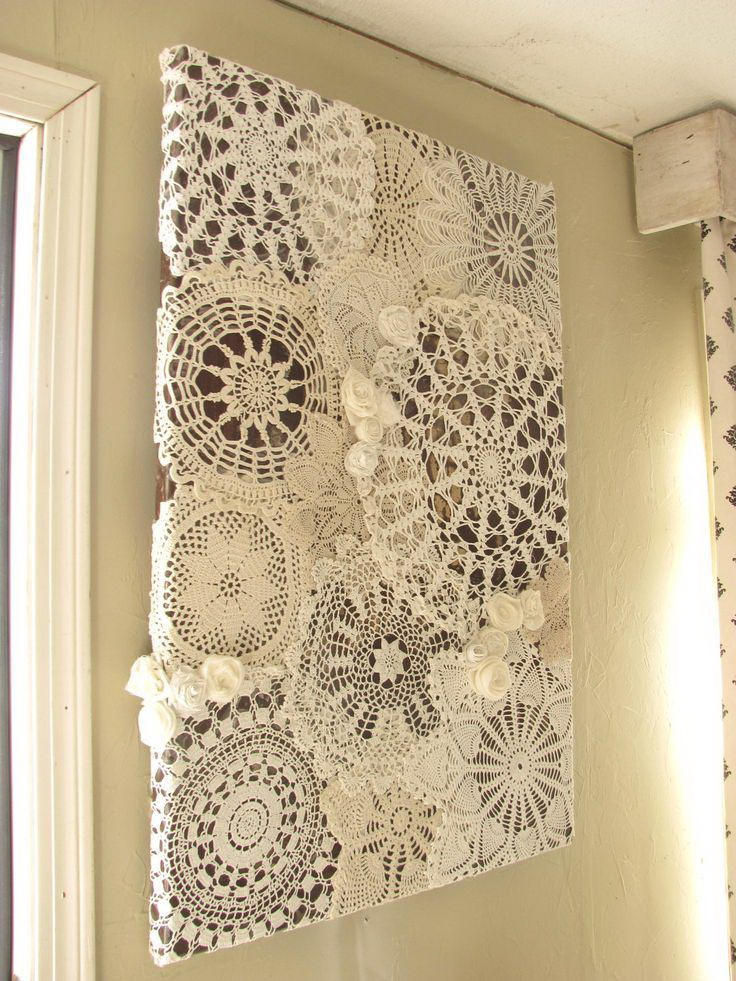
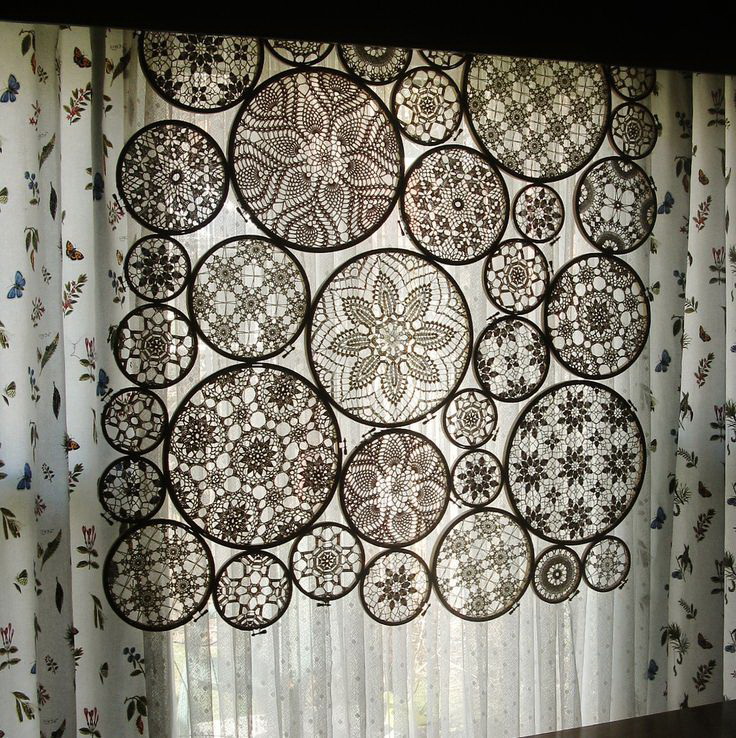
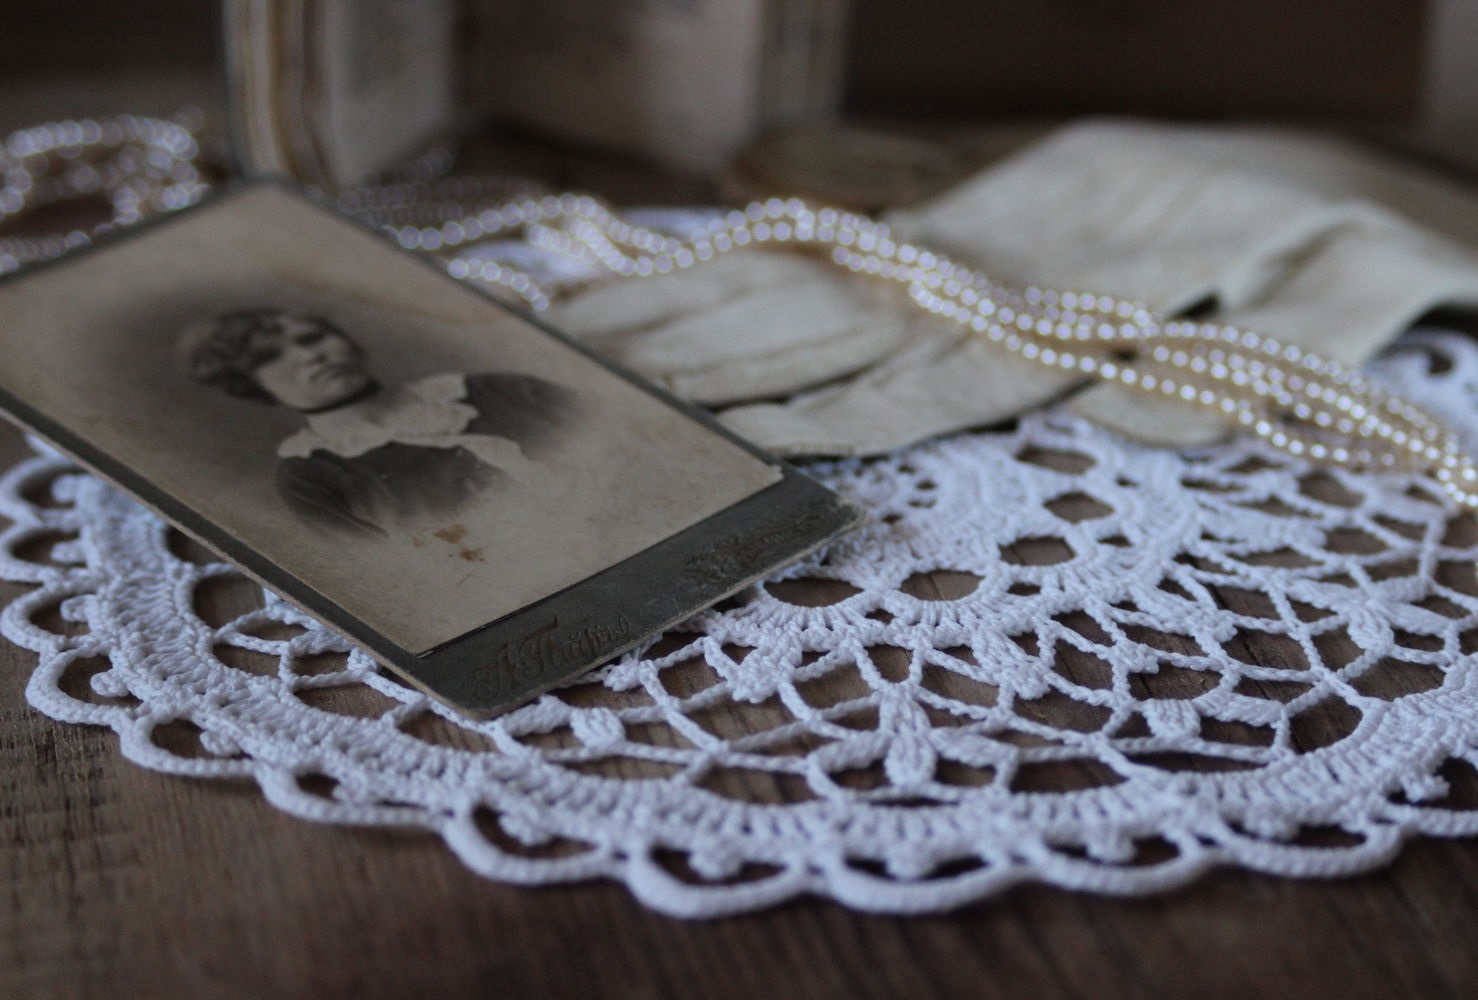
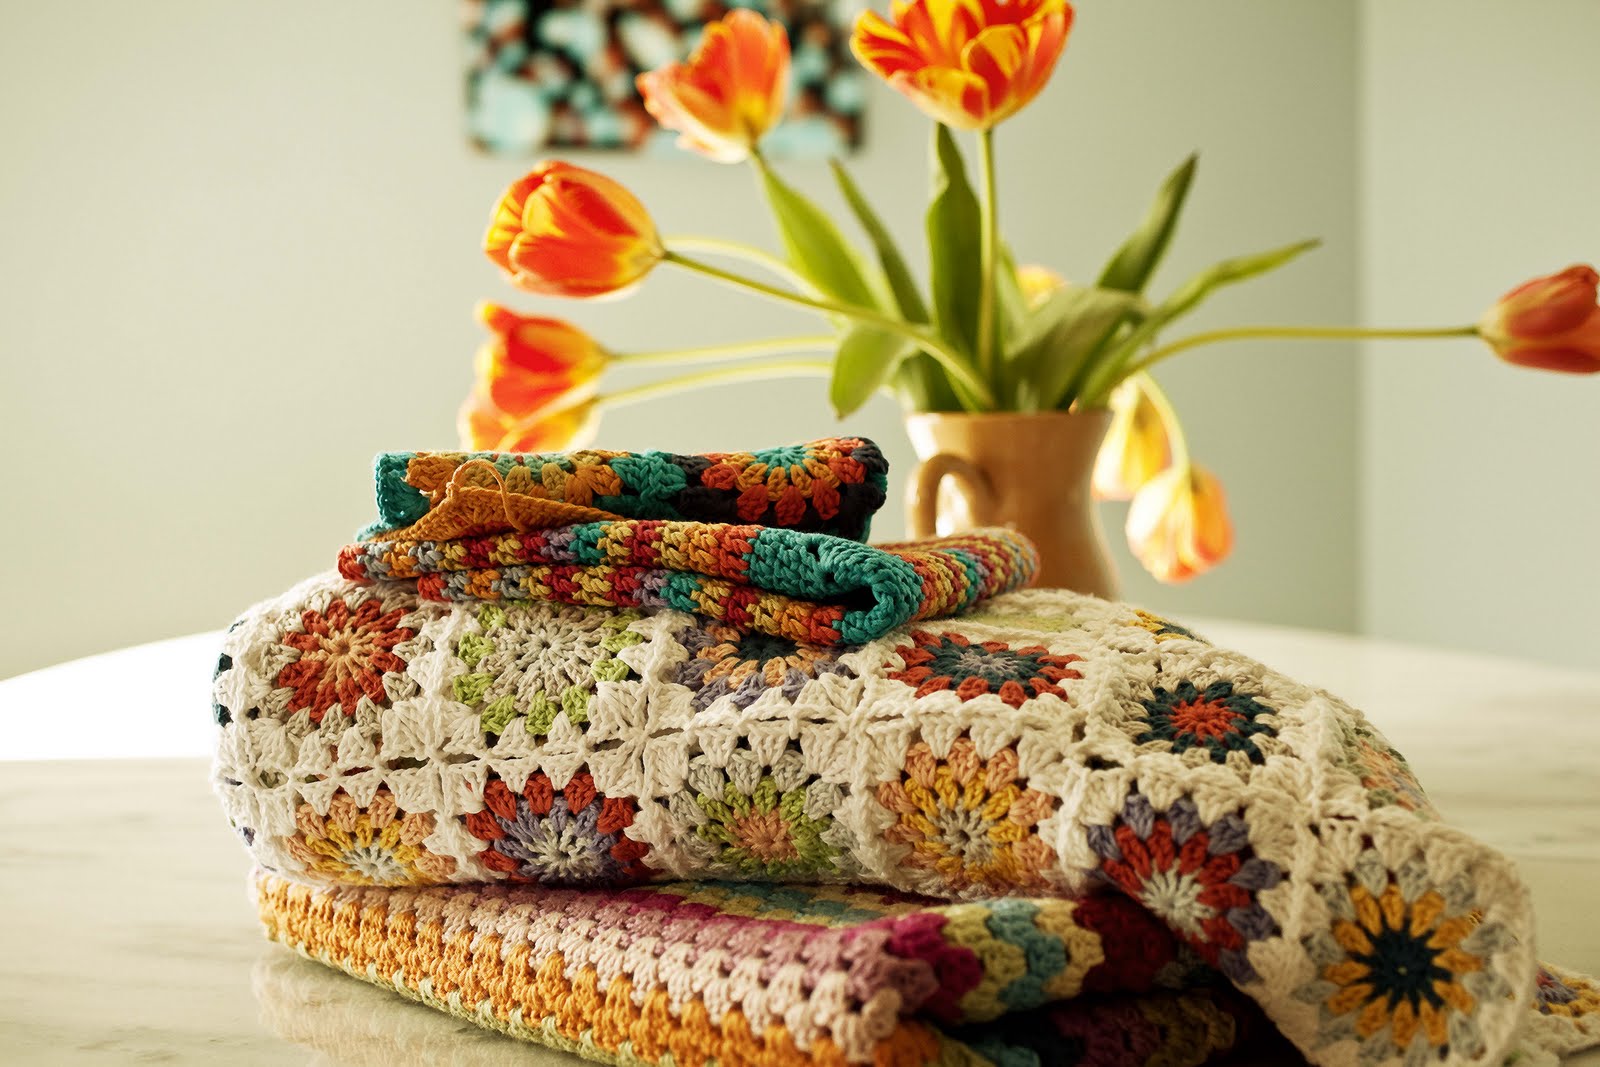
Knitted napkins or large tablecloths instantly perceive them in the retro interior style. Indeed, these products belong to this direction, with the help of which you can complement the interior of the room or even create new elements.
Mini tablecloths can be made with your own hands. All you need is a hook, yarn and some knitting skills and understanding of patterns in this area. And then everything depends on the experience and practice of the master himself.
Using seemingly ordinary patterns, you can create original napkins of various shapes (round, triangular, and even figured), with flowers or abstract patterns, flat or 3D models, etc.
VIDEO: Openwork crochet napkin.
50 crochet napkin variations: