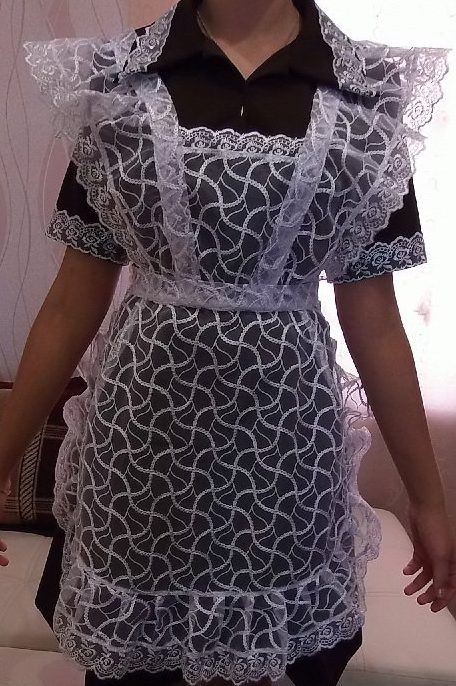
Many people think that the school uniform of the distant Soviet era is hopelessly outdated. However, more and more often, graduates dress up in a chocolate-colored dress and a snow-white apron for the last bell.
Content
How to sew a school apron
It is not difficult to sew it yourself. Precisely following the instructions, paying close attention to taking measurements and the cutting process, as well as a strong desire to look different from everyone else, will help you cope with this task.
Necessary materials
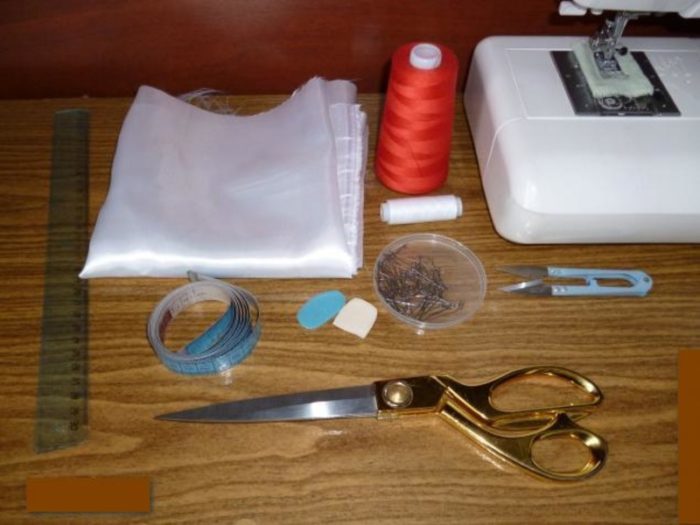
Let's get to work. To begin with, you will need the following.
- Paper, pencil and ruler to make a pattern.
- A centimeter for taking measurements.
- The material from which the apron will be made (thin cotton or lace, guipure, organza, etc.).
- Scissors, threads (contrasting color: for basting and for sewing the product).
- Pins to attach the pattern to the fabric for cutting.
- Sewing machine and the basics of operating it.
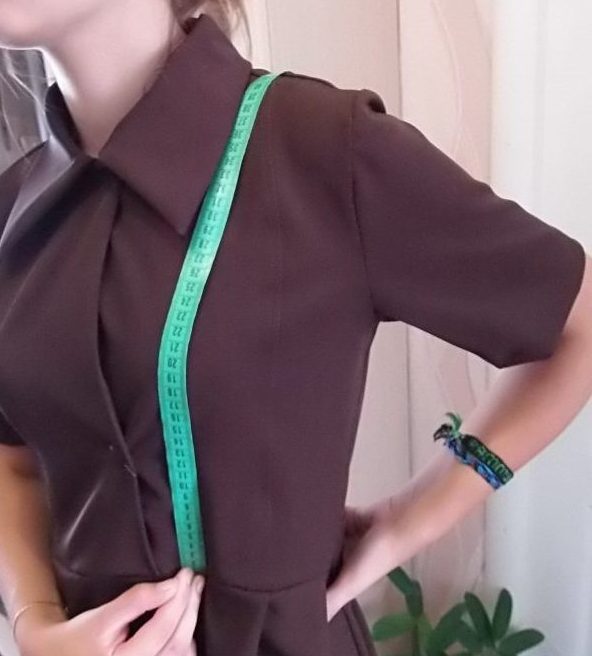
How to take measurements
It is better if someone close to you helps you take the necessary measurements, since self-measurement may have errors.
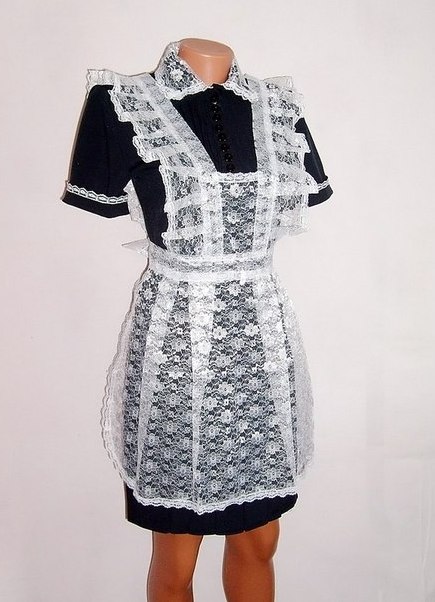
Let's take the classical model as an example.
If desired, any variations and styles can be implemented on its basis.
So, let's start with the waist circumference. The measurement is determined by the narrowest place on the body. This will be the length of the future belt on the apron. For the ties, you need to add about 1 meter.
Next, the hip circumference is determined. This measurement is taken at the convex points of the buttocks.
The next indicator is the length of the apron. To do this, measure the desired length from the waist. Usually, the apron is made shorter than the dress by 2-5 cm. In general, this value depends on personal preferences and wishes.
The length of the apron strap is measured as follows: a centimeter is passed from the waist up over the shoulder to the waist at the back.
To determine the size of the "chest", it is better to cut out a paper model and put it on yourself in front of a mirror. If everything is visually satisfactory, leave it, and if you don't like it, you can experiment a little with the width and height. The main thing is not to "overdo it" with the width, otherwise the straps will constantly fall off the shoulders.
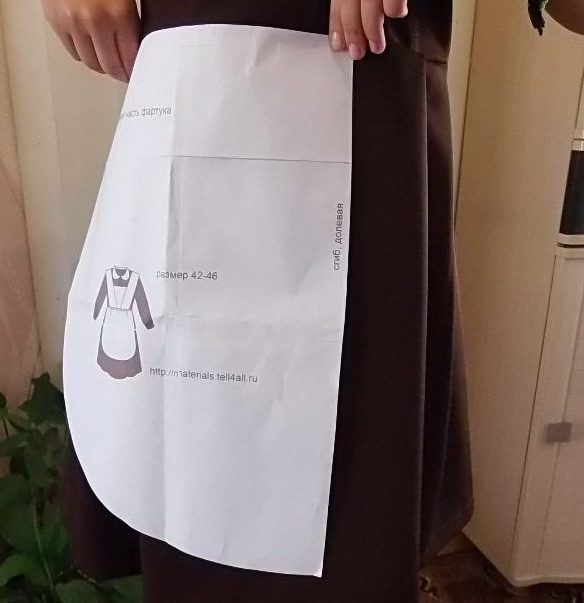
Pattern of the upper parts of the apron
Now you can start working with the material. Remember the saying about measuring seven times? Carefully transfer the pattern to the fabric, make allowances, double-check, and only then take the scissors in your hands.
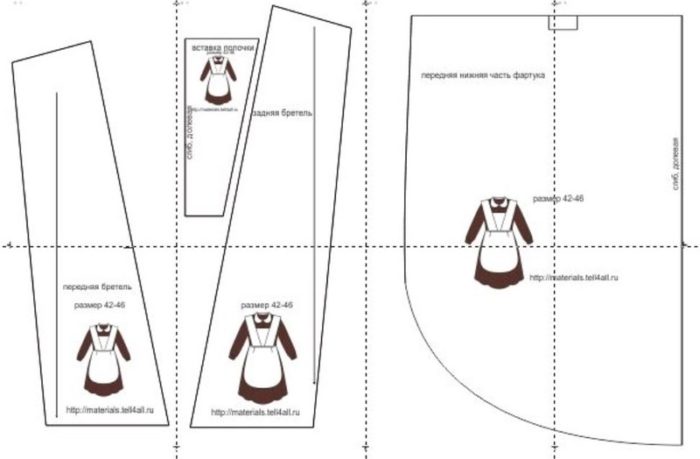
Of course, you can easily take a ready-made pattern from the Internet or an old magazine. However, such patterns are made according to standard measurements, and in reality this is rare. Therefore, it is preferable to take your own measurements and construct the pattern yourself.
To avoid making a mistake with the required amount of fabric, you can first lay out the pattern pieces on the table and roughly determine what width and length will be required.

Typically, patterns are placed on fabric folded in half. This allows the pieces to be symmetrical and more even.
Important! There must be seam allowances. Depending on the texture of the fabric, they can be different. On average, if the fabric does not fray, add 1 cm.
Stages of sewing an apron
So, you can start creating a masterpiece.
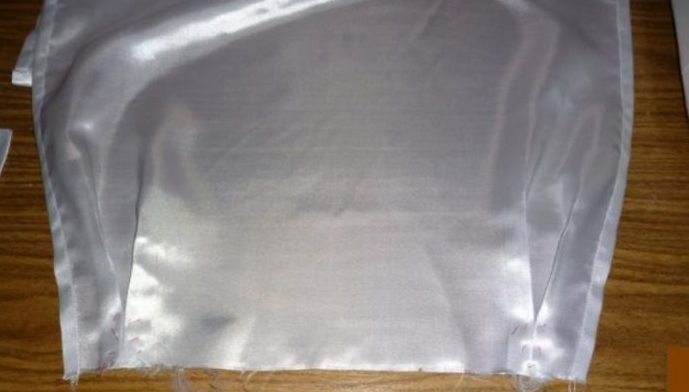
At the first stage, we process the chest: we fold the upper part and stitch it.
Then we connect the chest and straps.
Place the two parts of the left strap face to face and place the chest between them. Sew.
We do the same with the right strap. Then, turning it inside out, we sew the finishing lines.
The outer edges are folded inward and also stitched with a finishing line.
The production of the lower part of the apron begins with processing the bottom of the part.
Then the belt is sewn to the top.
It is important to make sure that the middles of the parts match. Then the lower part of the apron and the chest with the straps and belt are connected. If desired, you can use braid, lace or frills. They are sewn to the bottom of the product, to the straps, making them a little wider on the shoulders to create "wings", and also to the upper part of the chest.

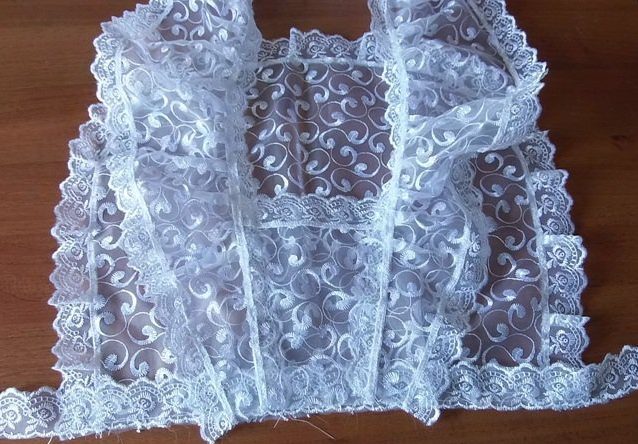
Apron for the last bell made of white guipure
Guipure is an airy and light material. It is hard to imagine a more suitable fabric for such a special occasion as the last bell before the graduation ball.
For the apron you will need about 3 meters of fabric 0.6 m wide, and 8 m of sewing for finishing (4 cm wide).
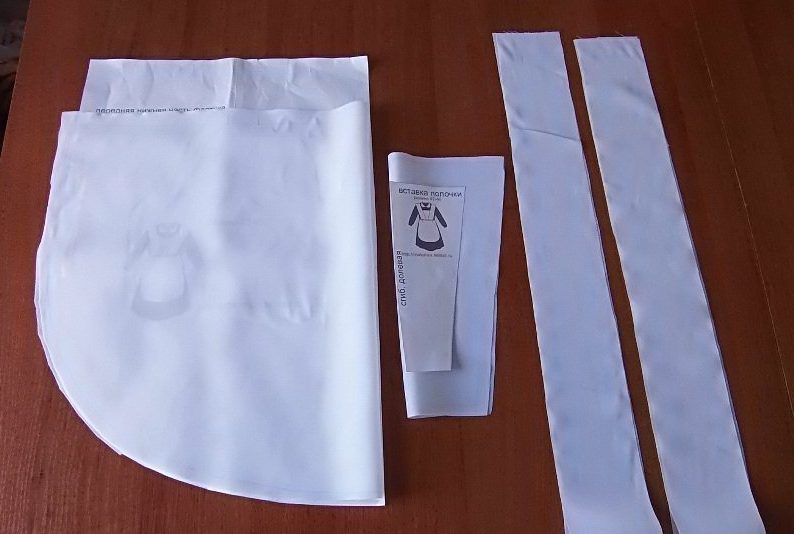
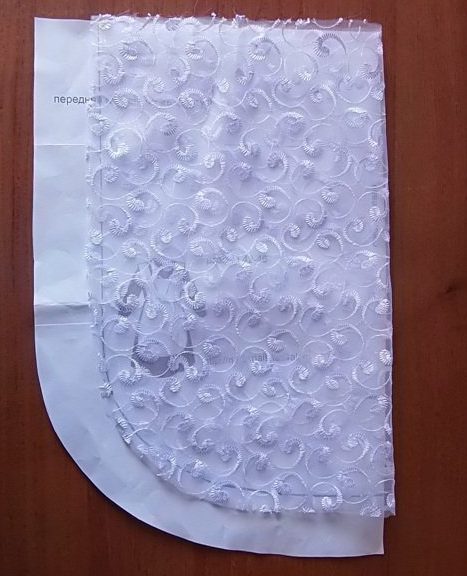
First, cut out the base of the lower part without the frill.
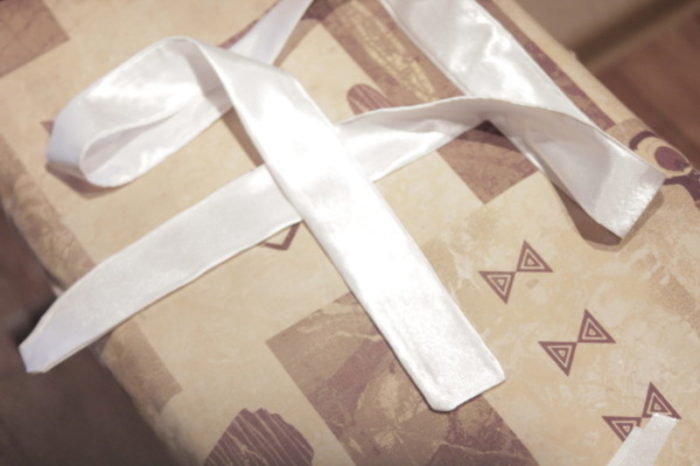
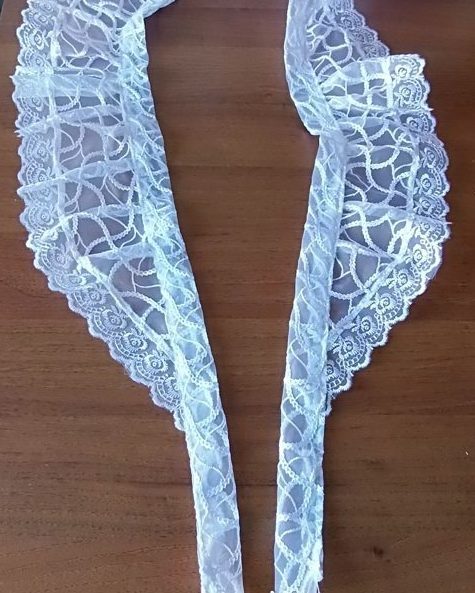
Then we make straps. In this case, the straps will be sewn.
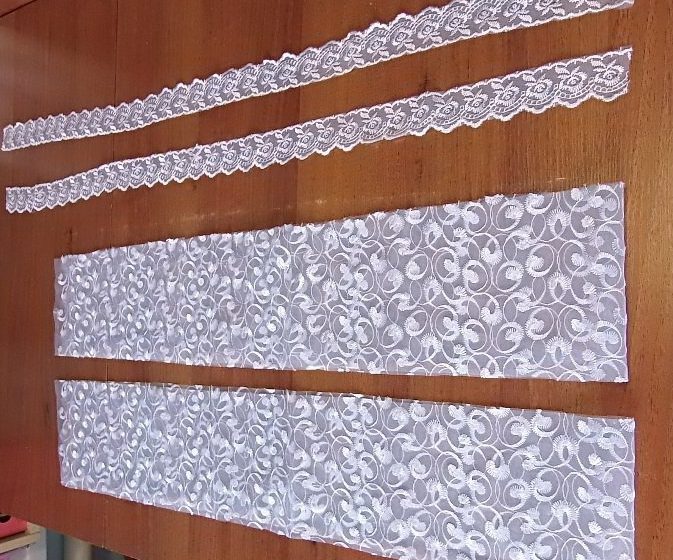
To make a frill, multiply the length of the strap by 1.5. This will give you a drapery of the desired volume. Then cut out the chest.
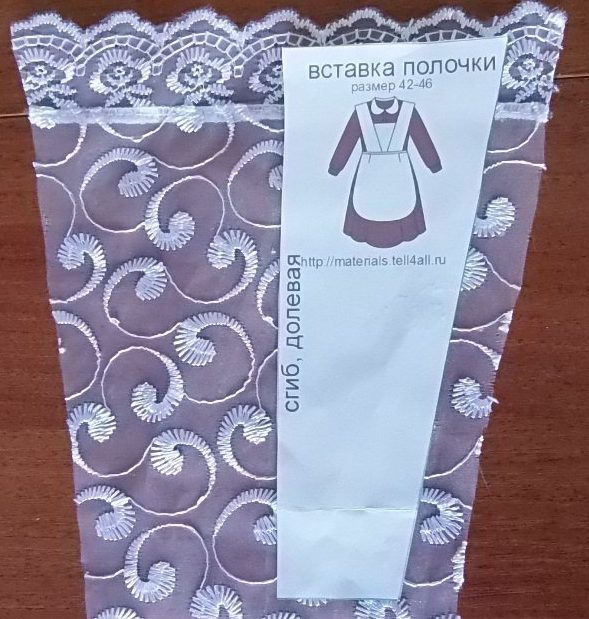
And finally, we decide on the belt. This will also be sewn.
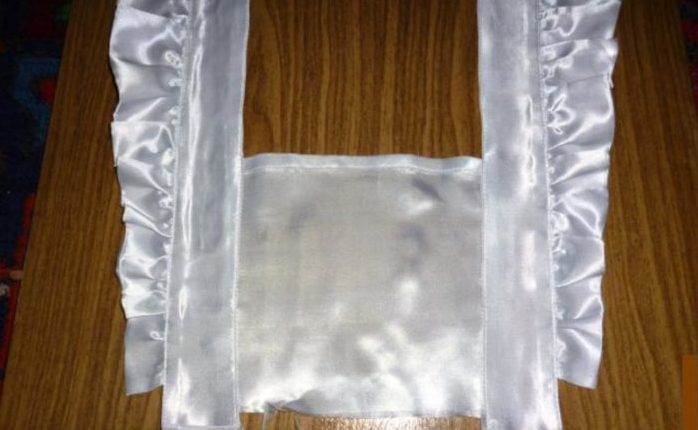
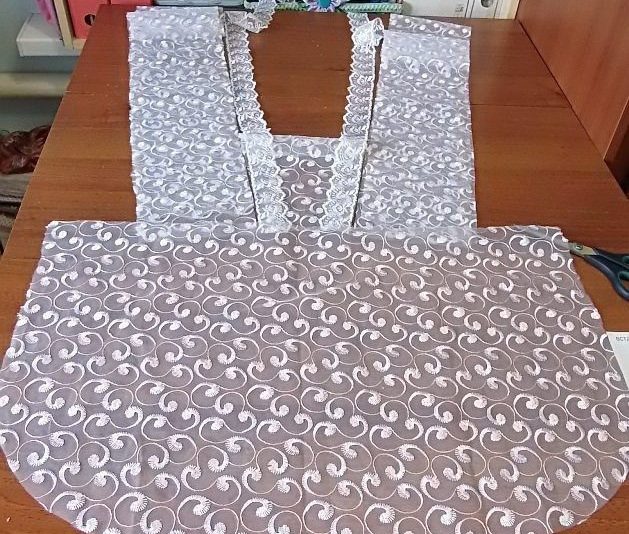
As a result, before approaching the sewing machine, you get a design that looks something like this.
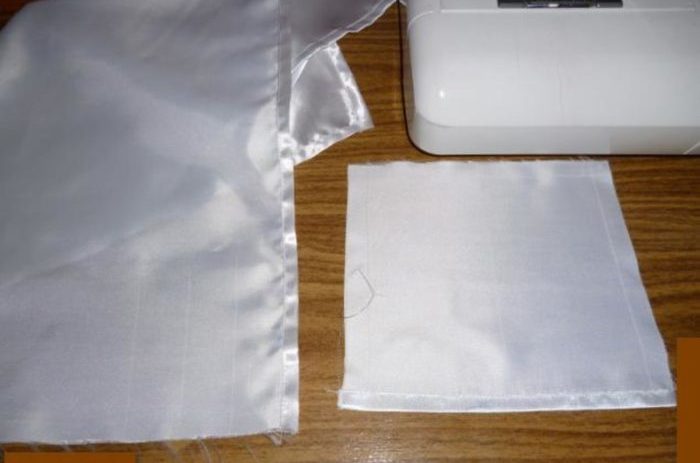
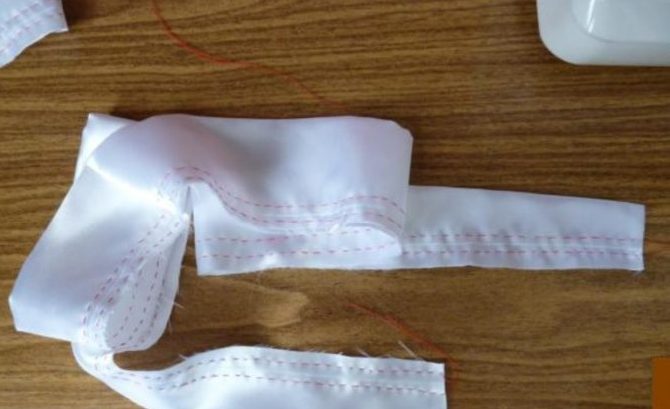
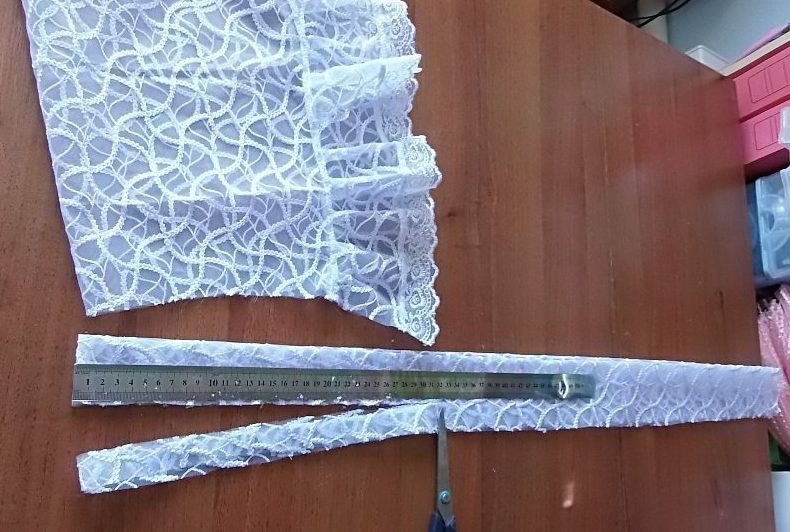
First, the stitching is sewn onto the frills of the straps using an overlock machine.
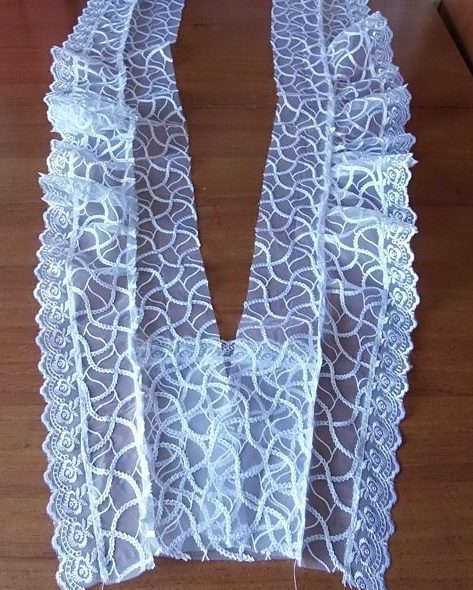
Then we connect the straps to the chest.
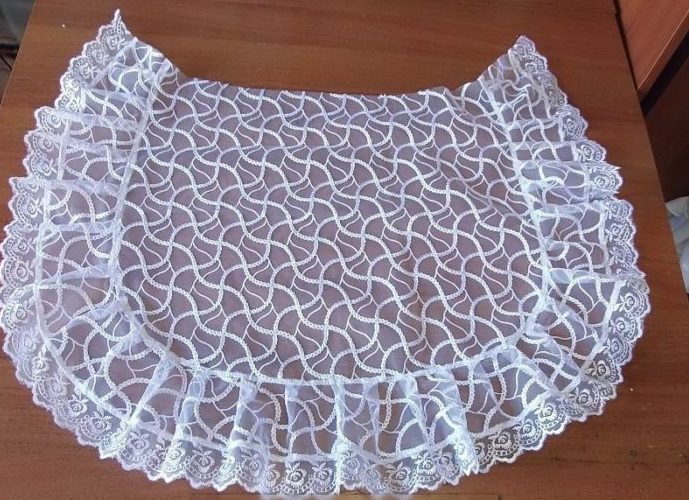
Sew the frill to the bottom.
Now we sew the belt. To do this, its middle needs to be aligned with the middle of the chest and the middle of the lower part. Baste.
In the process of basting, make the planned folds on the bottom part. Stitch. And then lay the finishing line.
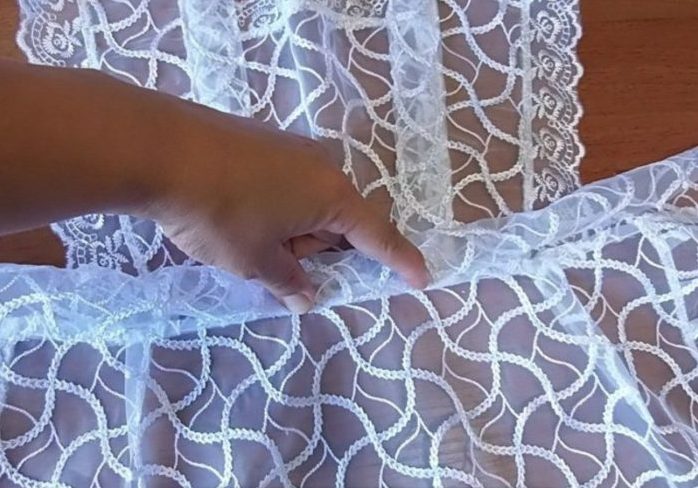
At the end of the work, we sew the straps on the back. And here is a little trick. It is better if the straps at the place of attachment to the belt are narrow. Then the frill looks impressive. If you leave wide straps, then the frill will overlap, very rough and unsightly.
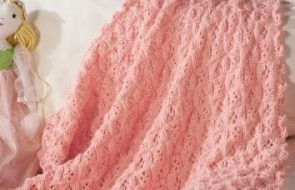
It is worth noting that in addition to the classic apron style, there are many interesting options. For example, crocheted aprons. Regardless of the technique used to make the work: crocheted from motifs or solid fabric, such models turn out to be very unusual and spectacular.

The last bell, like the graduation party, is a very important and touching event. You want to look decent. And by making an apron for a school uniform with your own hands, you can not only look great, but also feel comfortable.