A person cannot do without bed linen. For a pillowcase, sheet, or duvet cover, patterns are not made on paper. The drawing is made directly on the fabric. And questions about how to sew a pillowcase from a single piece of fabric or make it from scraps in the patchwork style rarely arise. Any, even the most inexperienced needlewoman, can cope with this task - no complex work with constructing a pattern is required! Cutting squares/rectangles from fabric is easy.
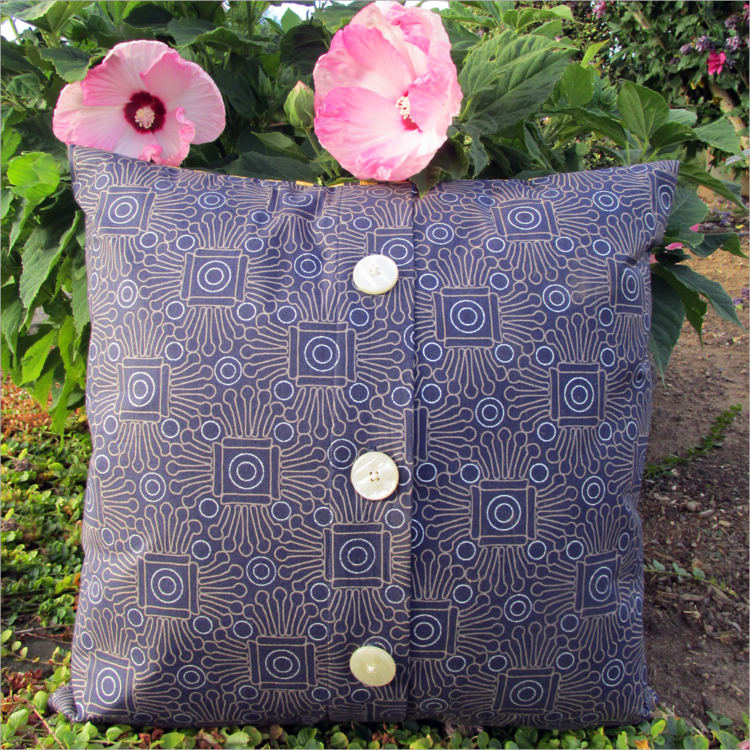
This type of bed linen can be made of any type: with buttons, zippers, or with a wrap. You can verify the above and try sewing a pillowcase yourself using the instructions in this article.
Content
Necessary materials
Before sewing a pillowcase, you need to prepare the following materials.
- Fabrics. Satin, calico are more suitable for this purpose, you can use silk, chintz, etc., which are selected, picked up scraps.
- Sewing machine.
- Threads that match in color and texture.
- Measuring tape.
- Pencil, chalk for drawing lines.
- Scissors and pins used to secure pieces of fabric.
- Other fittings, if needed.
- Calculation of fabric consumption for the simplest type of pillowcase.
The amount of consumables should be calculated, plus 5%. For a 50 x 50 cm pillow, 1 m plus 5 cm is needed. If the pillowcase is sewn with a wrap, then you need to add fabric for the wrap.
It should be remembered that in stores, when sold, the material is cut unevenly or even torn, which sometimes distorts it. Therefore, experienced craftswomen take about 10-20 cm more than the planned amount.
Now you should understand the instructions for sewing this item of bed linen.
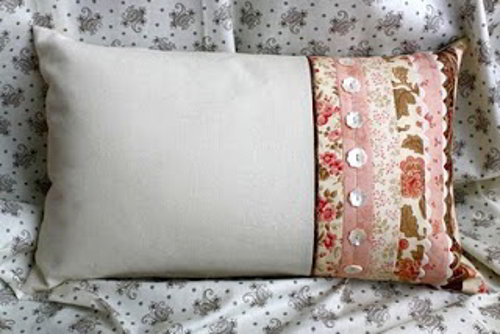
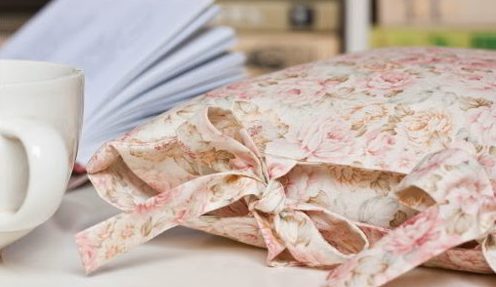
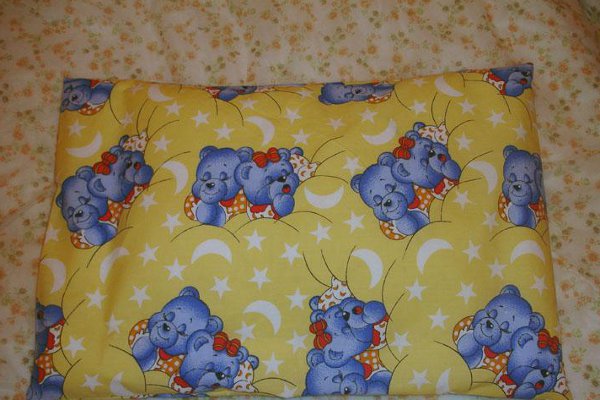
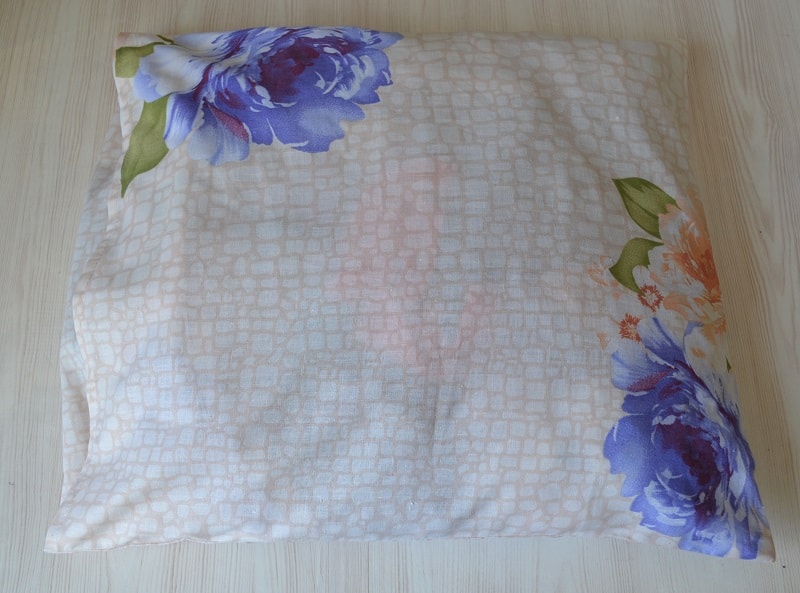
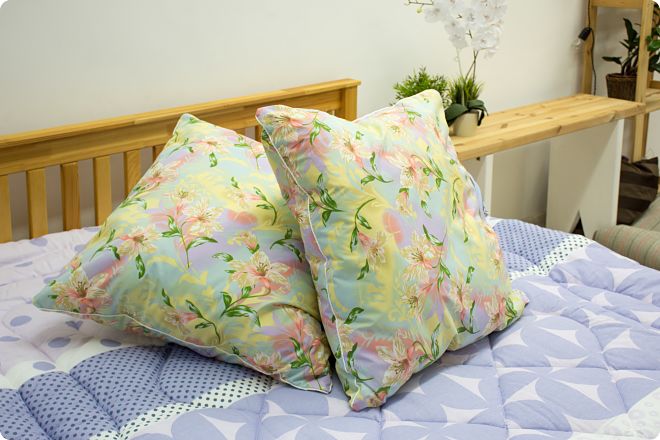
Rectangular pillowcases with a smell
How to sew a pillowcase? There are different ways to sew such bedding. Here is one of them.
- The extreme ends are turned under. There are usually two of them.

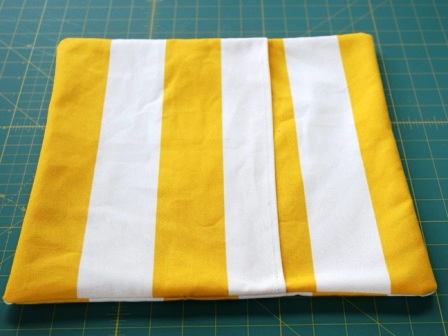
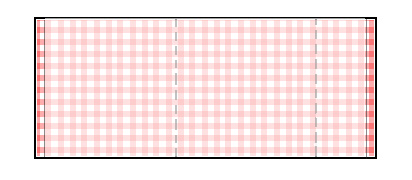
We bend the edges and stitch - The product is folded with the front side facing outward, as it should be in its finished form.
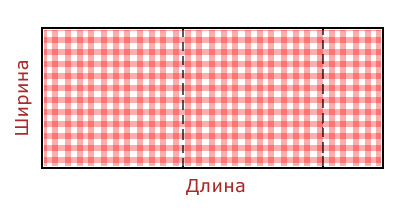
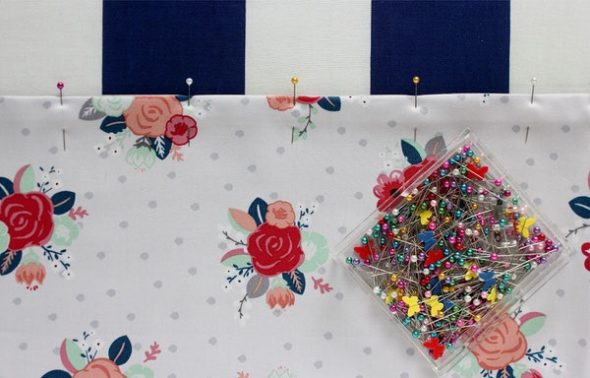
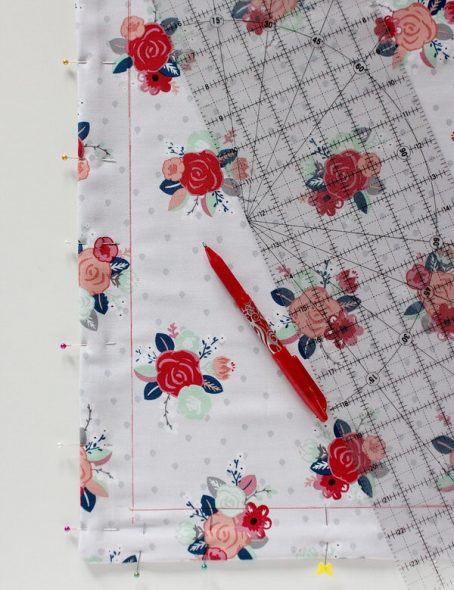
Place the fabric face up, measure 70 cm on the left side and fold this edge - The sides are secured with pins. A straight line is drawn with chalk or pencil where the seam will be made.
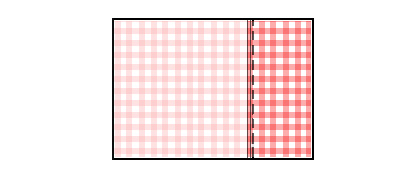
Fold the pillowcase flap to the right, stitch the edges, and overcast the seam allowances with a zigzag stitch - After this, the item is turned inside out, stitched again so that the edge of the front seam is inside. With this treatment, there is no need to overcast the edges. They will all be hidden inside. This scar is good because when sewing, a so-called roll is formed, which does not allow the product to deform during washing and ironing.

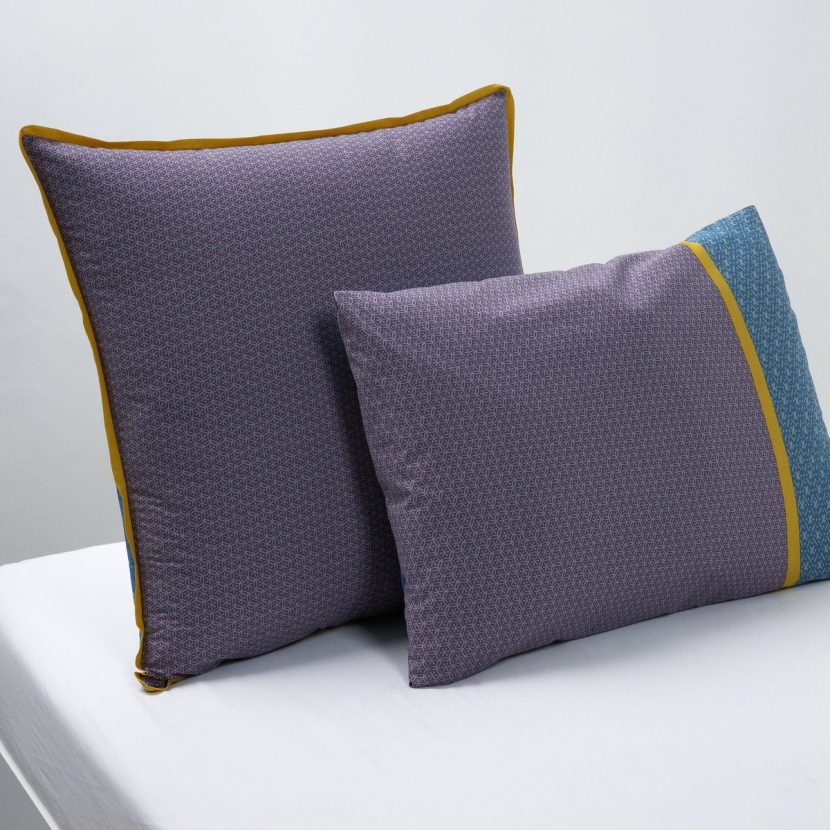
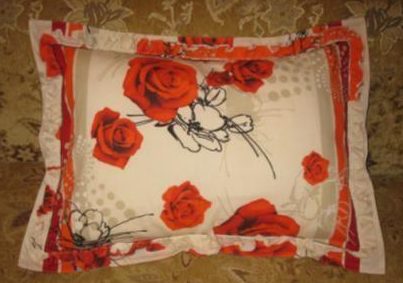
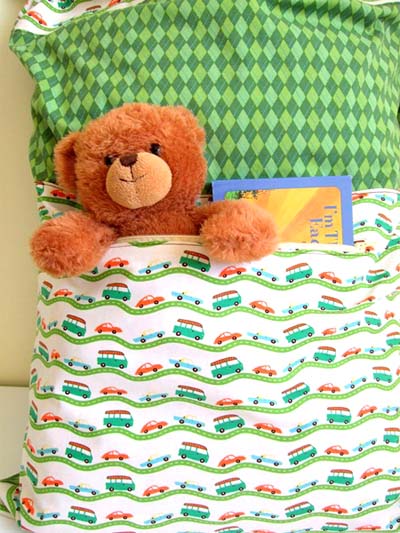
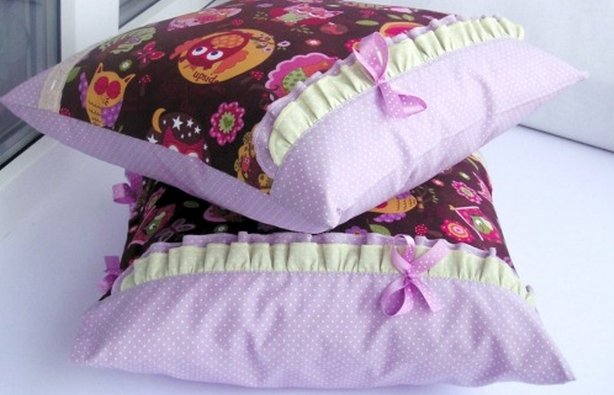
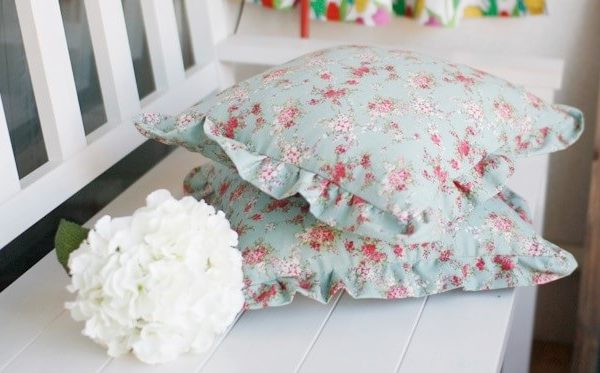
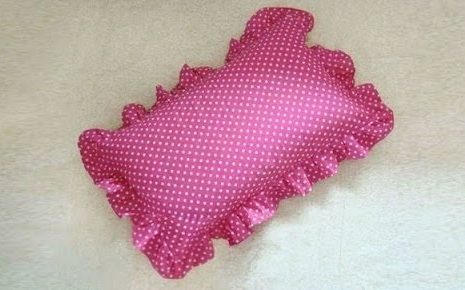
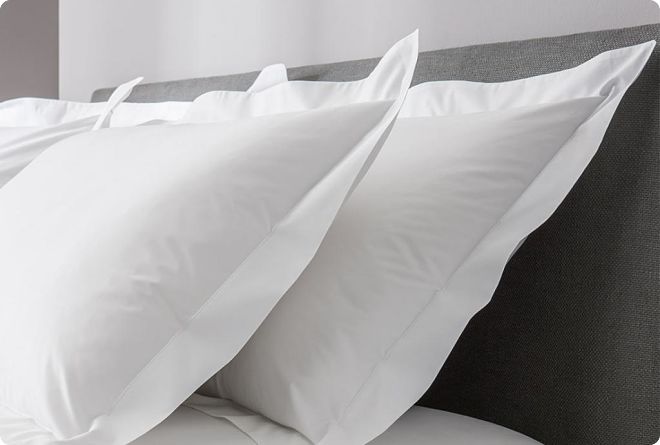
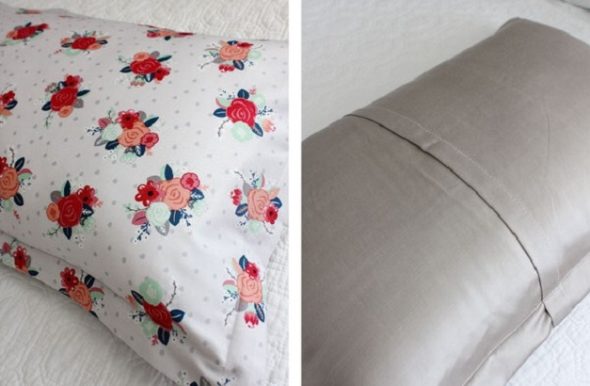
Pillowcase with "ears", master class
It would be more correct to call these beautiful covers Oxford ("with borders"). The rules for sewing them are no more complicated than the usual wrap-around ones. The material consumption is slightly higher.
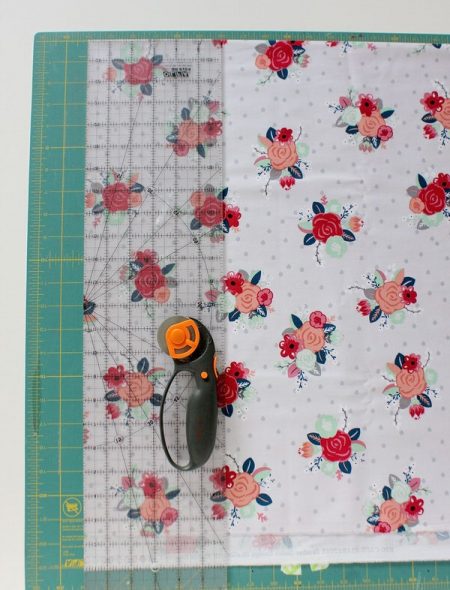
The product is usually sewn for a double bed set, where the material used is at least 220 cm wide. Before sewing, the required rectangles are cut out.
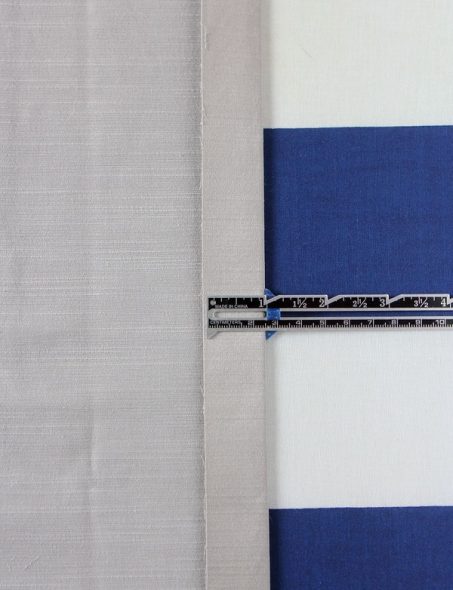
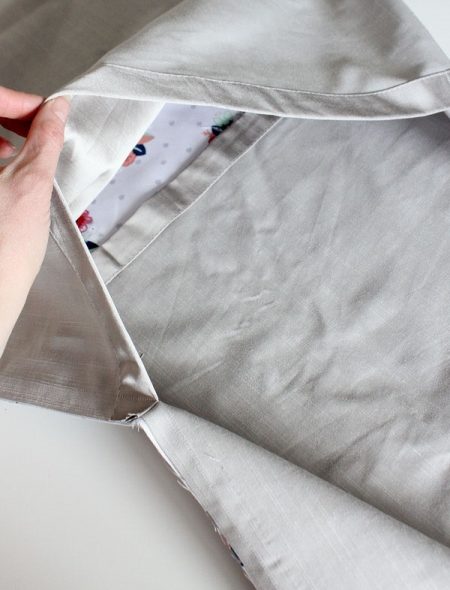
First, the short edges are processed with a double hem. The edge is folded over by about 1 cm, ironed. Turned over another 2 cm, ironed.
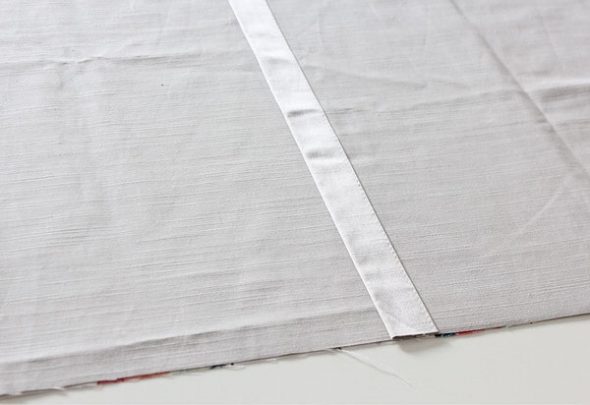

The product is stitched along the edge. If desired, you can leave the edge where the zipper will be. Then a double seam is made, the width of which is 5 cm.
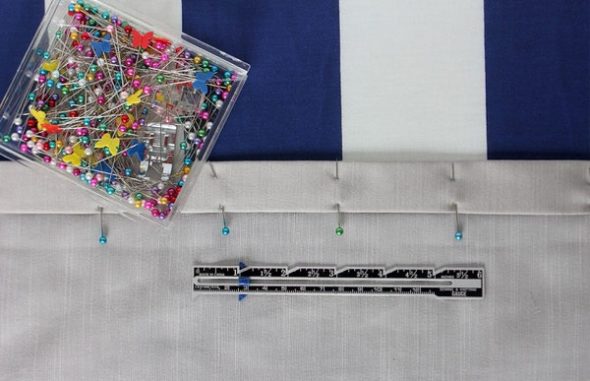
The cover is turned inside out, ironed along the scar. Take a ruler, draw straight lines with chalk, 5 cm from the edge along the perimeter of the fabric, stitch. The pillowcase with "ears" is ready.
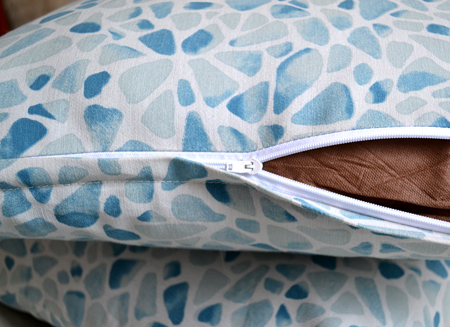
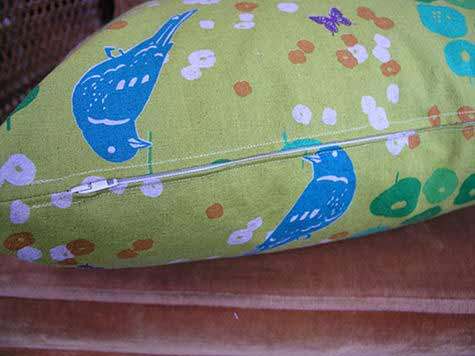
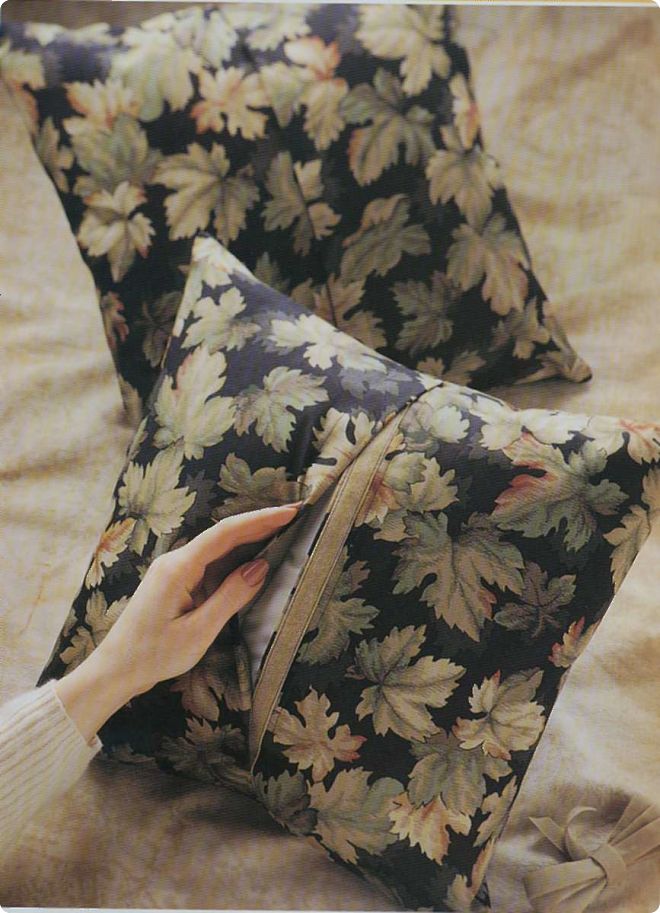
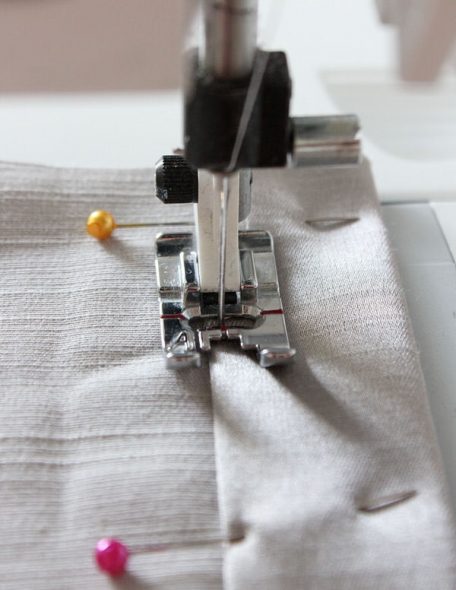
If there is not enough fabric, you can sew the cover with a zipper. In this case, a basting machine stitch is made where the fastener will be. Then the fabric is unfolded, smoothed out so that the material lies evenly along the scars. A zipper is placed over the scar with the lock down, half open. The line of teeth should lie strictly along the basting seam. A zipper foot is installed on the machine and carefully stitched. Then the product is turned inside out through the half-open fastener.
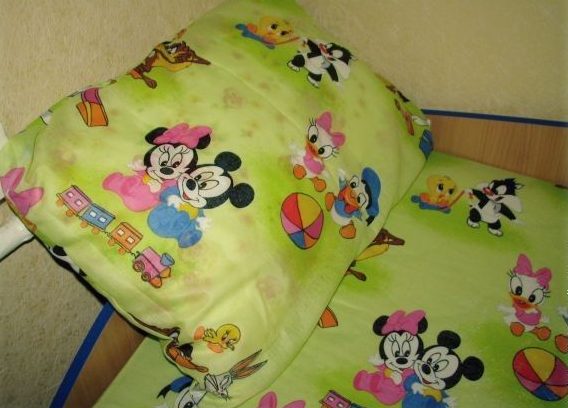
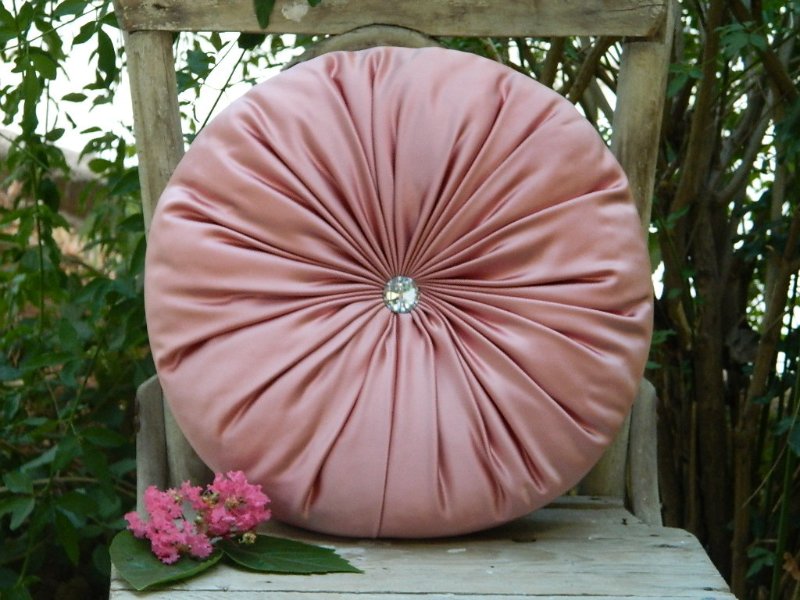
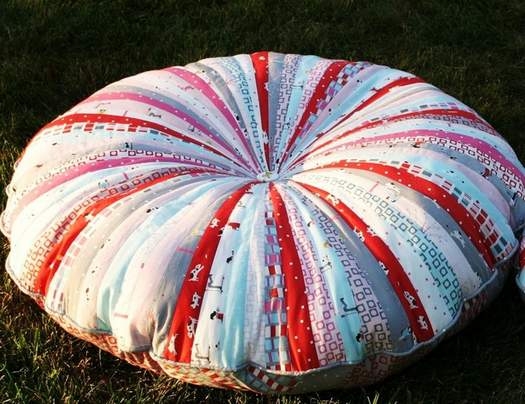
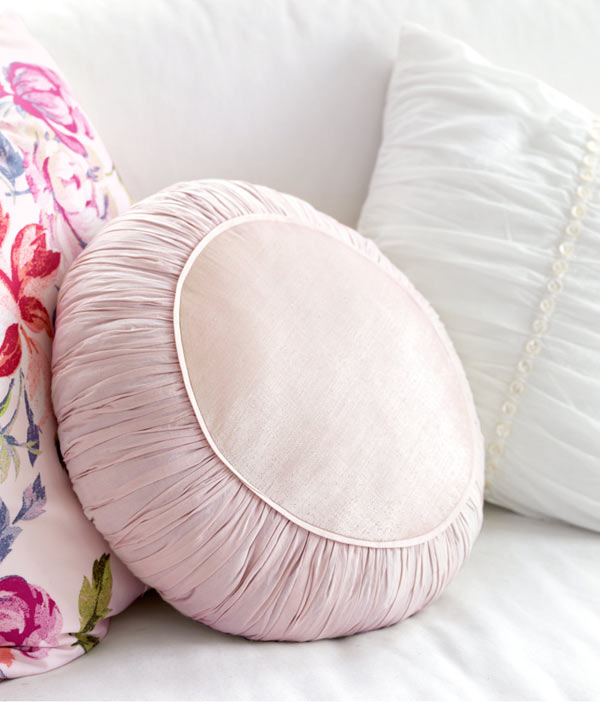
Pillowcases for round sofa cushions
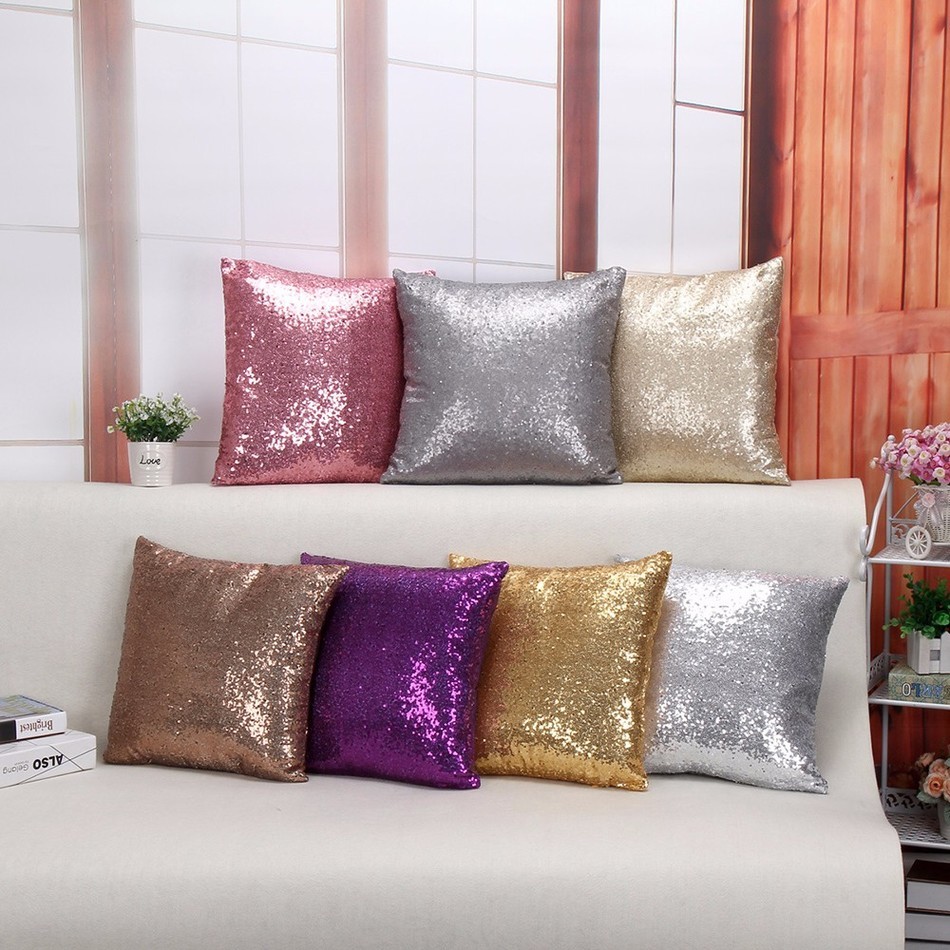
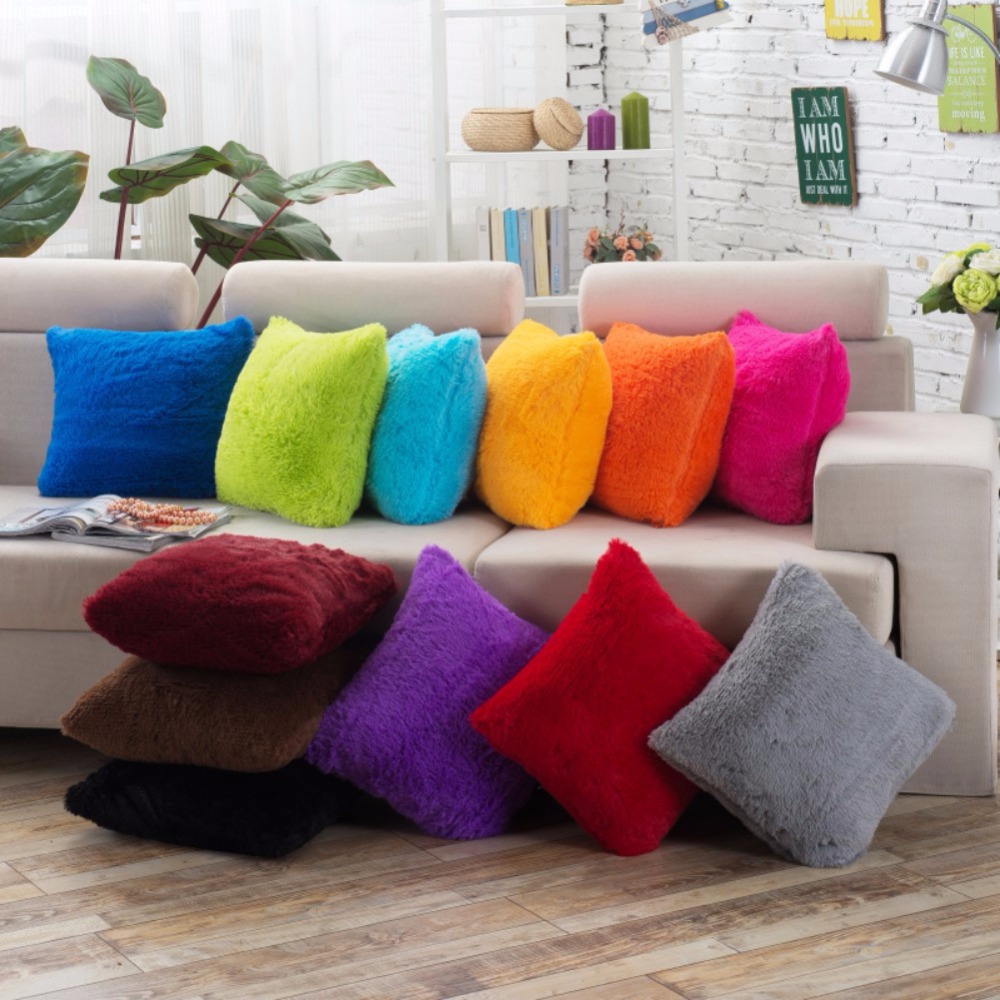
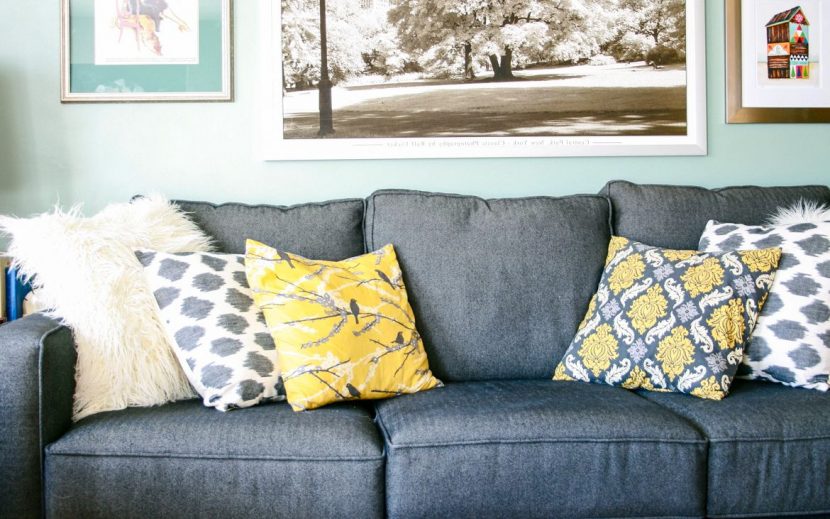
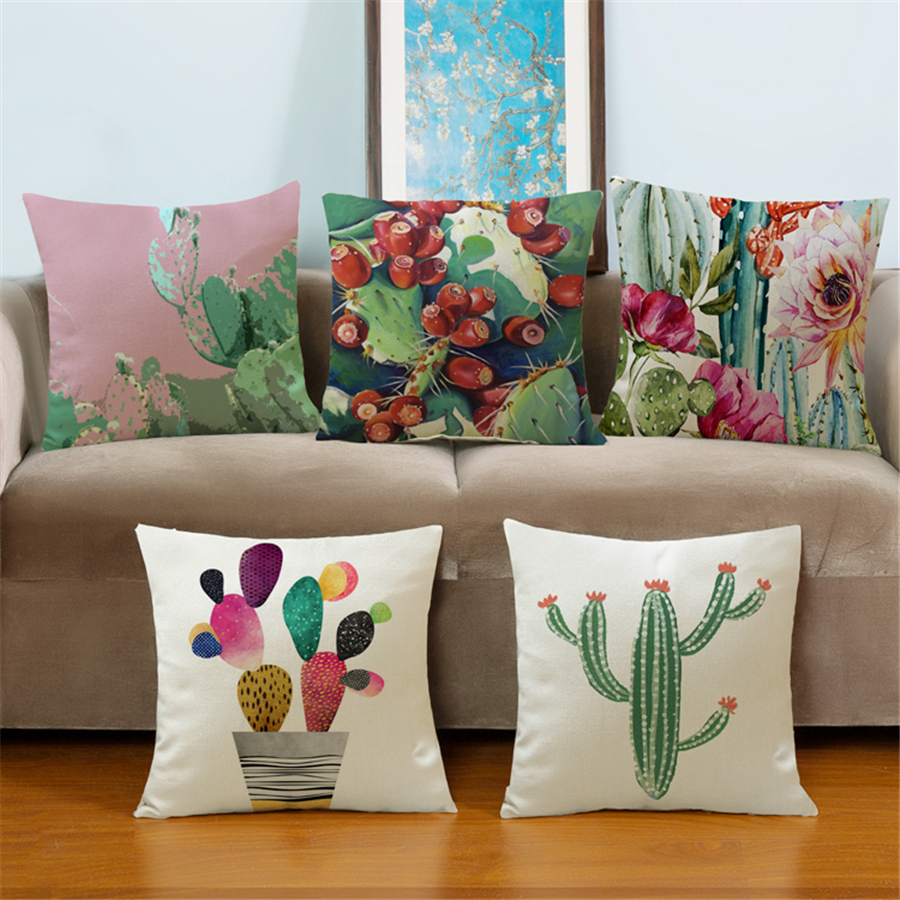
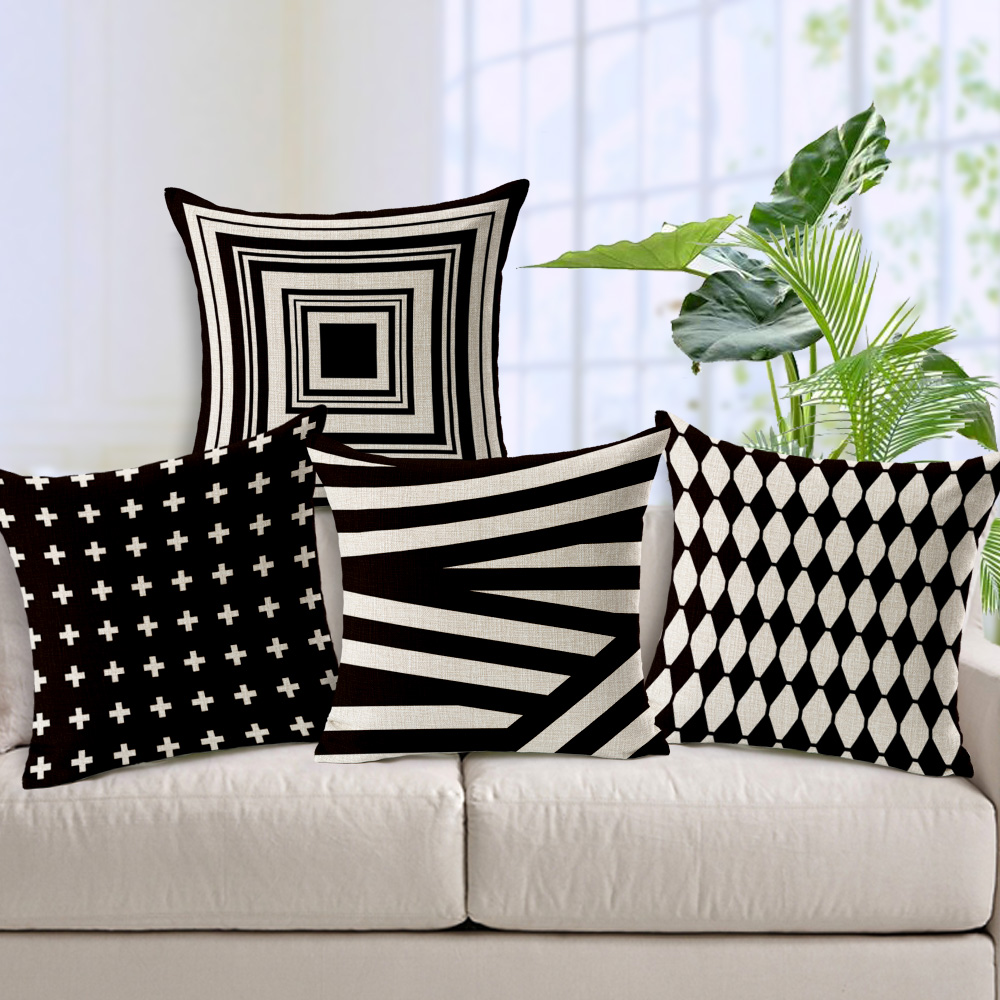
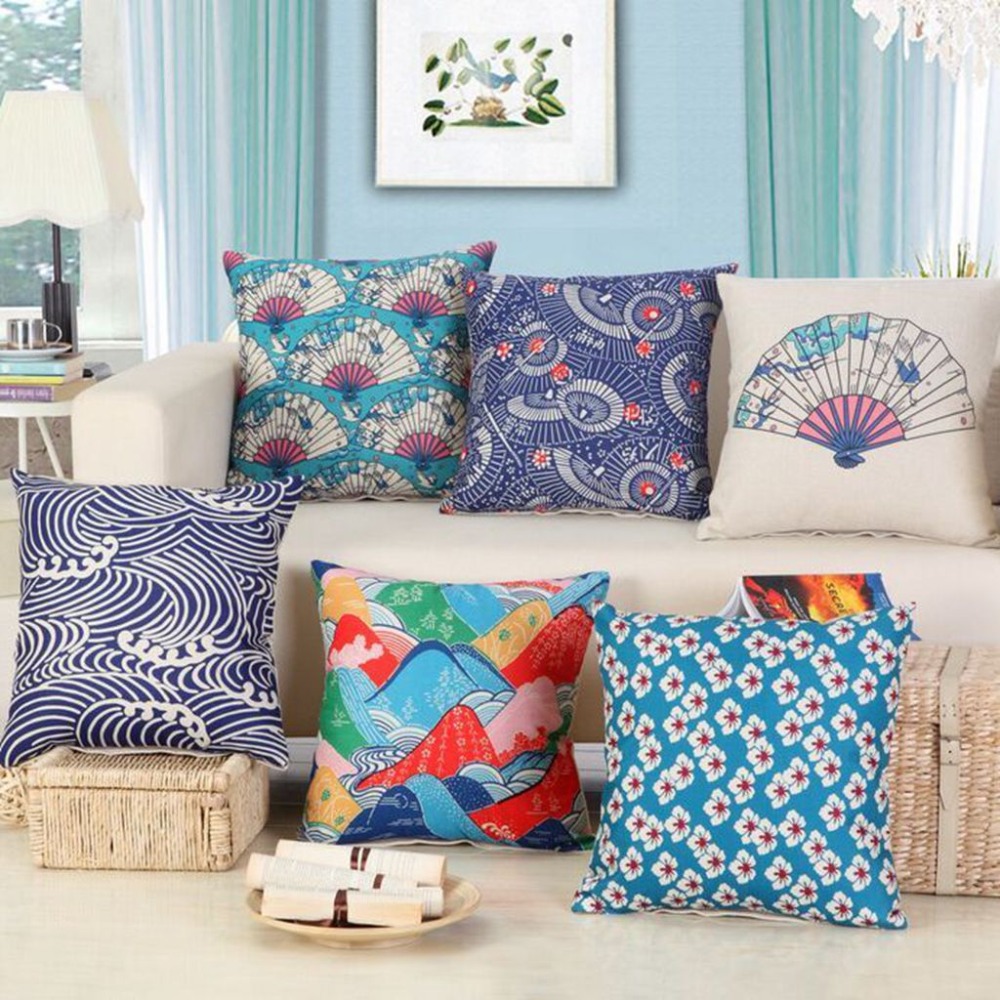
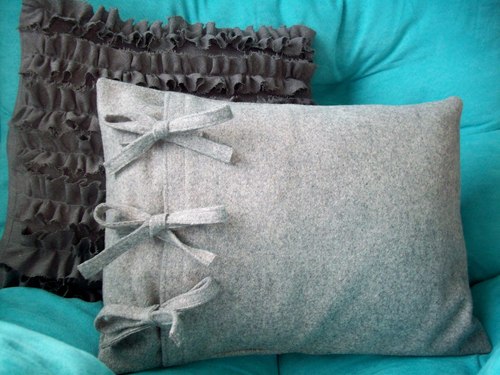
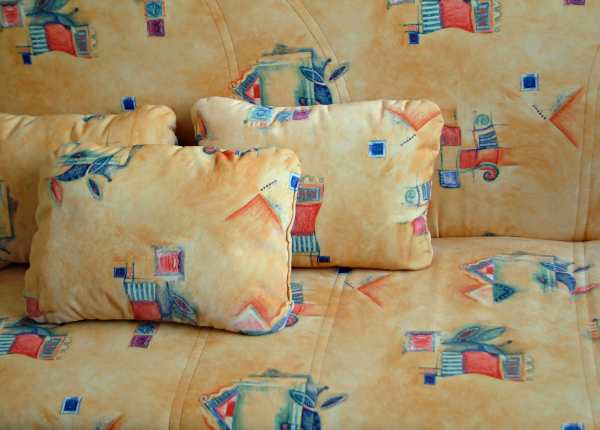
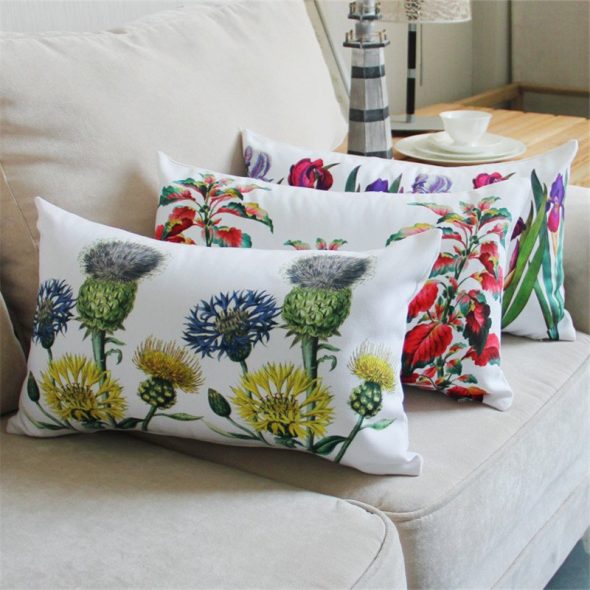
In addition to pillows that are used for sleeping, there are often decorative sofa pillows in the apartment. They come in a variety of shapes: round, square, flower-shaped, etc.
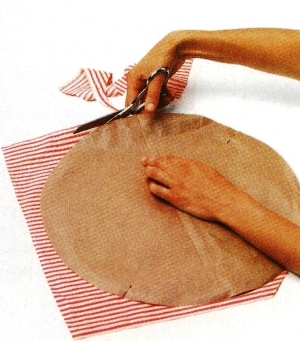
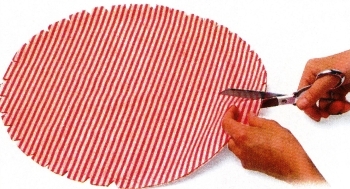
It is no more difficult to sew a cover for a round pillow than for a square one. You need a pattern for it. To make such a pillowcase, measure the diameter of the pillow, add about 1.5 cm for seam allowance. The pattern is pinned to the fabric, and part of the front side of the cover is cut out.
A line for the zipper is drawn across the pattern. Then, for the back part, the pattern is cut into two parts. A line for the zipper is drawn along the fabric. The pattern parts are moved apart, the parts are cut out taking into account seam allowances, including on the straight edge.
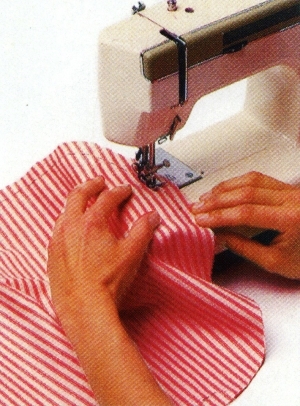
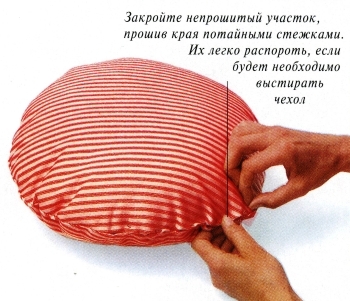
The back seam is pinned and stitched, leaving an opening for the zipper. Then the pillowcase is finished in the same way as for a square pillow.

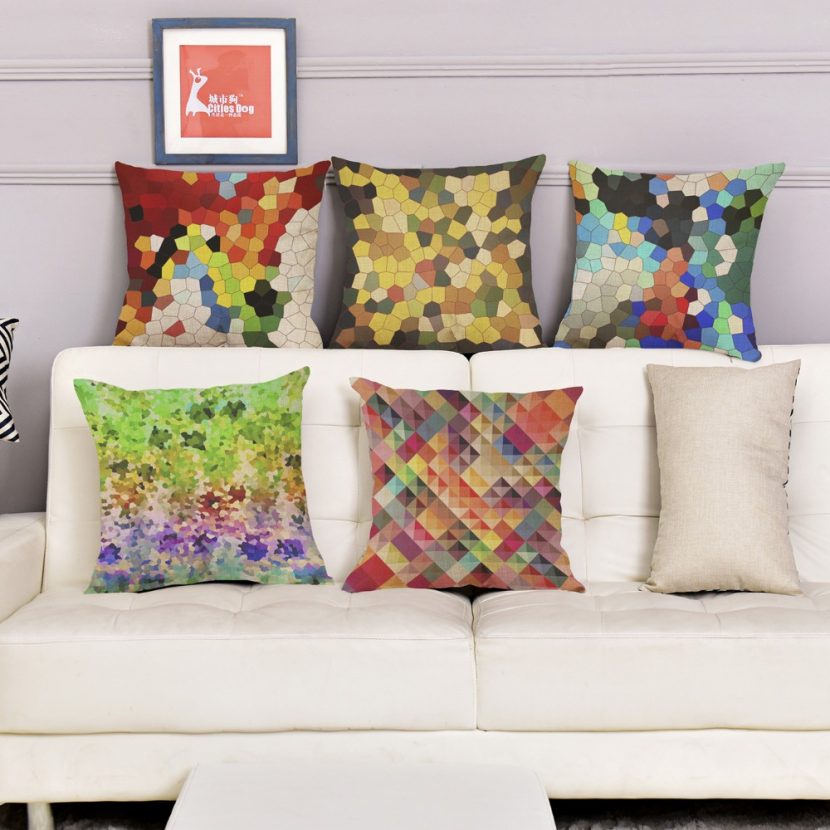
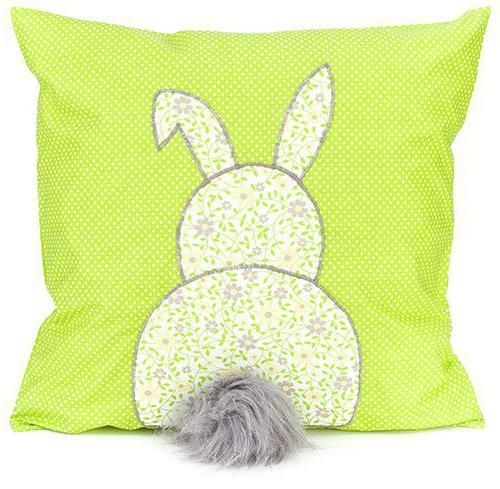
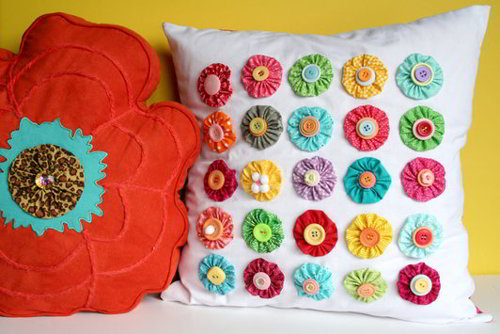
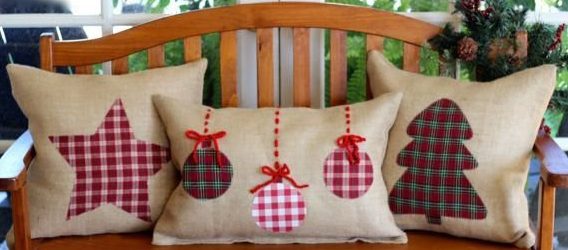
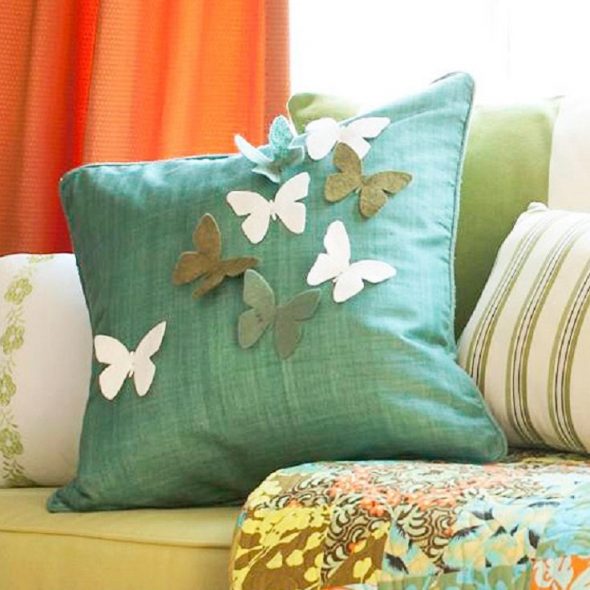
Decorating
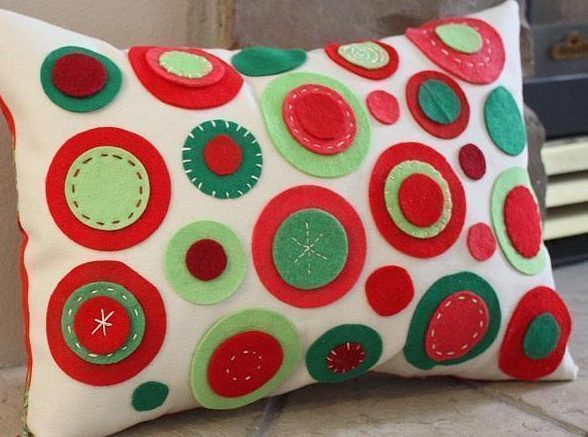
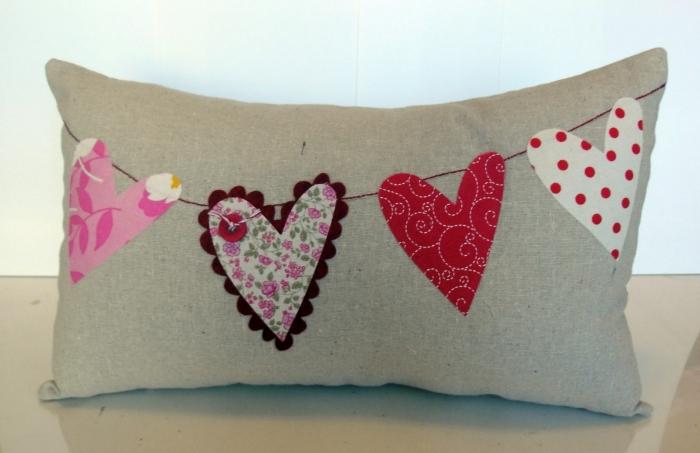
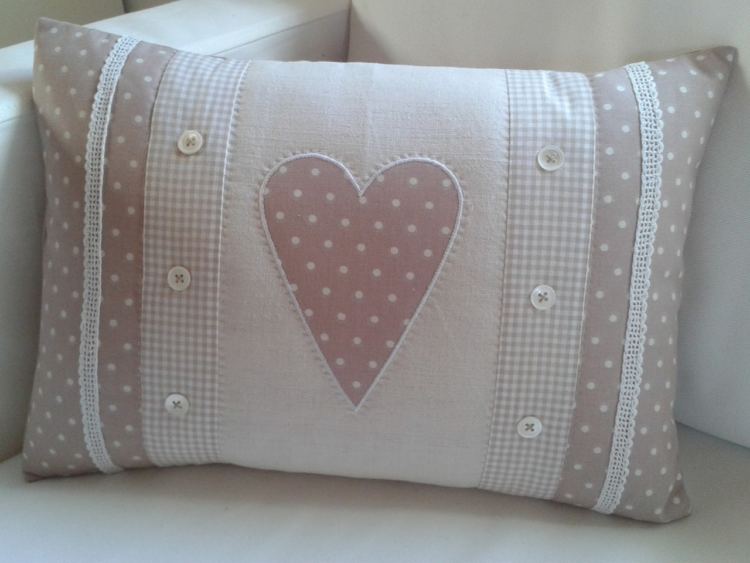
There are many ways to decorate pillowcases. The simplest are considered to be decorating the product with appliques. They can be sewn on in advance, before the final sewing.
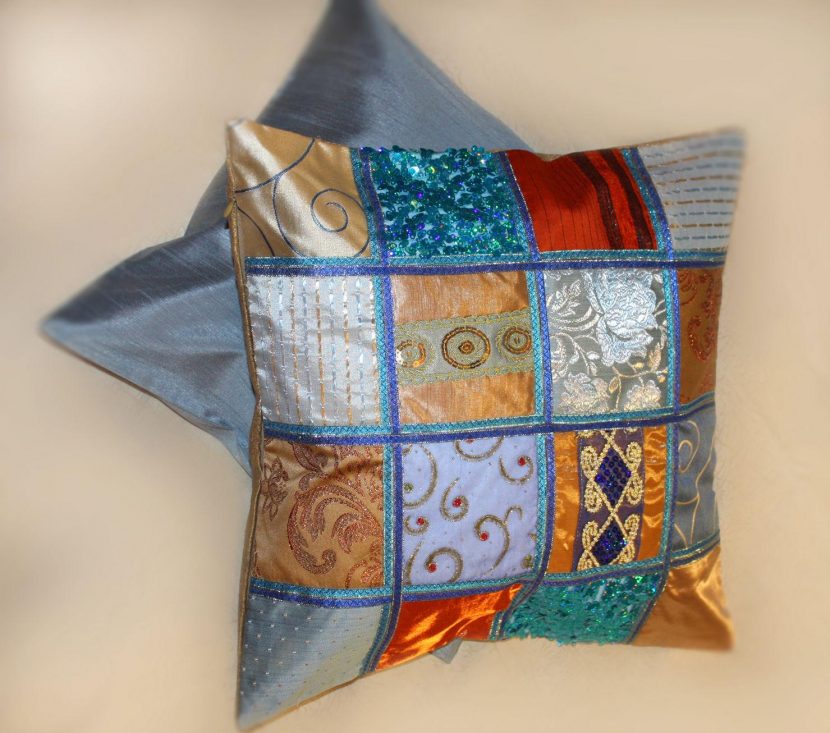
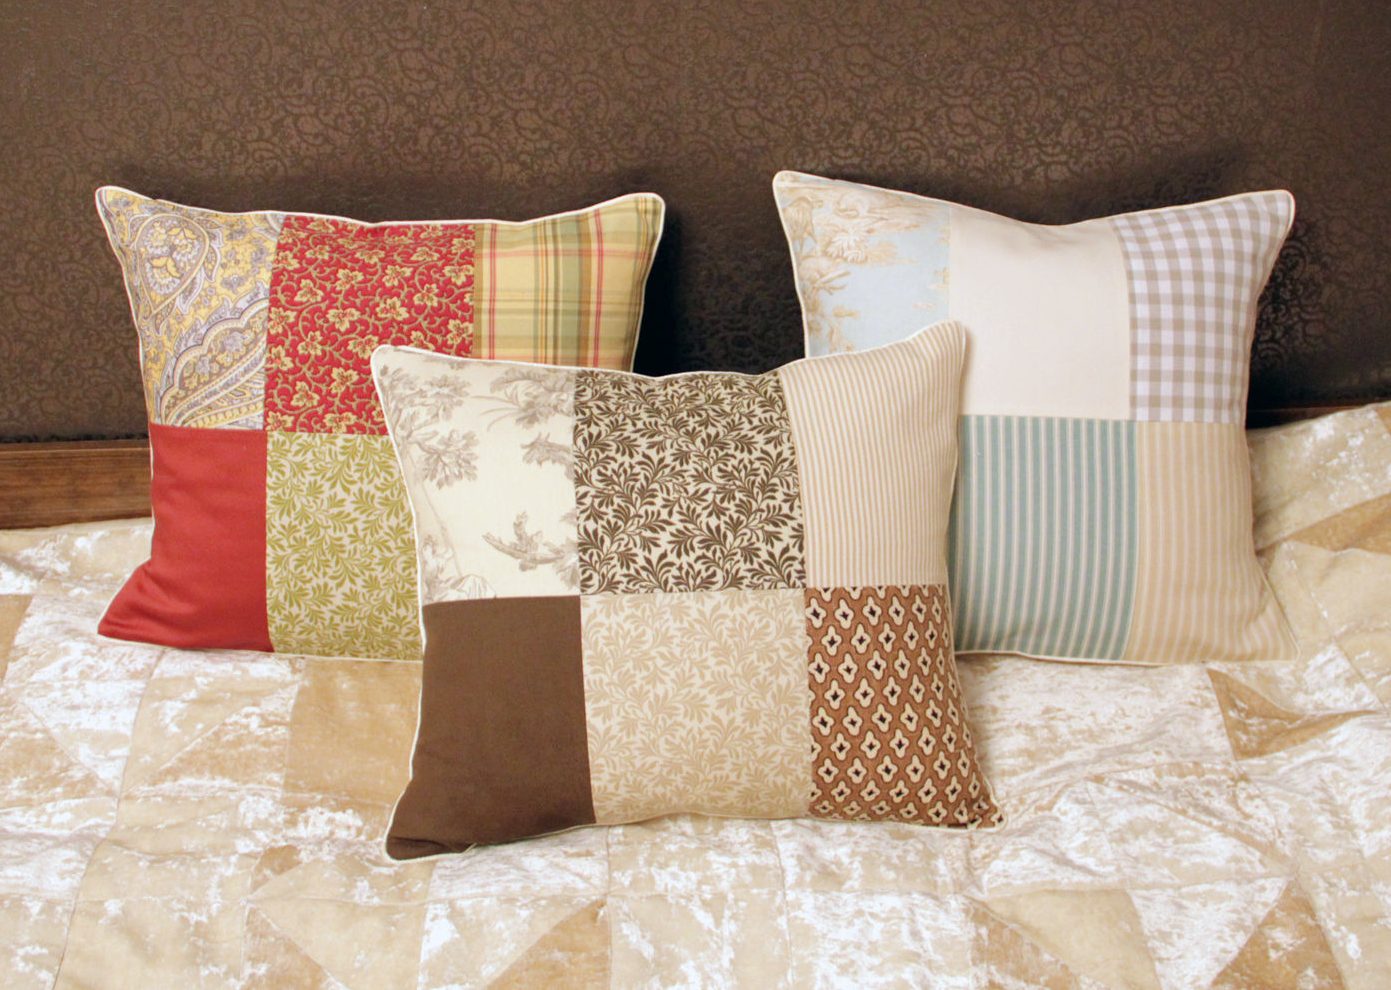
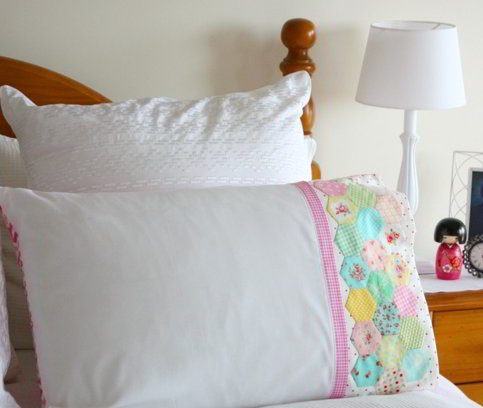
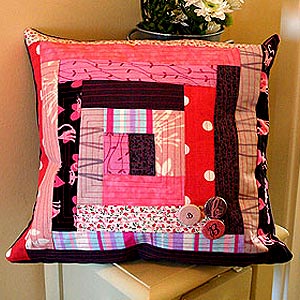
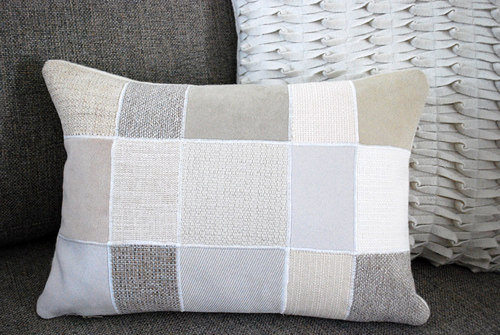
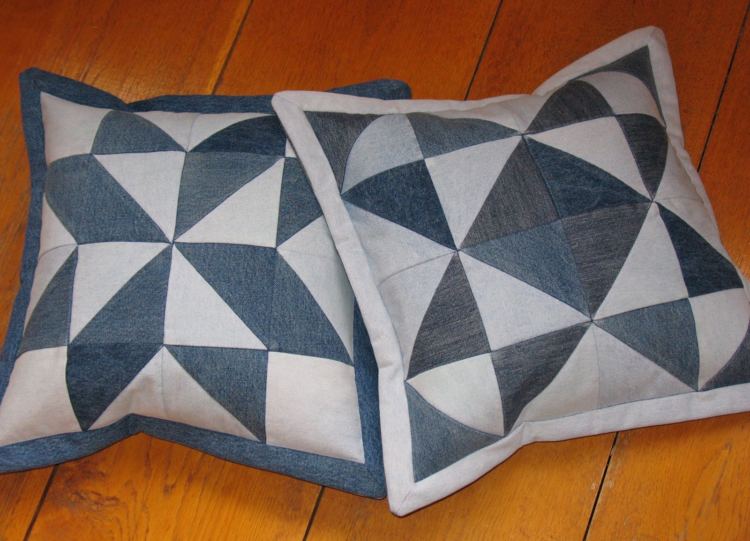
The same should be done when making covers using the patchwork technique. The scraps are cut out, placed on the fabric of the future pillowcase/paper pattern, and secured. They can then be sewn together even by hand. It depends on the manner of the patchwork fabric. When the scraps are sewn together, the fabric is ready, the fabric is sewn together in the manner described.
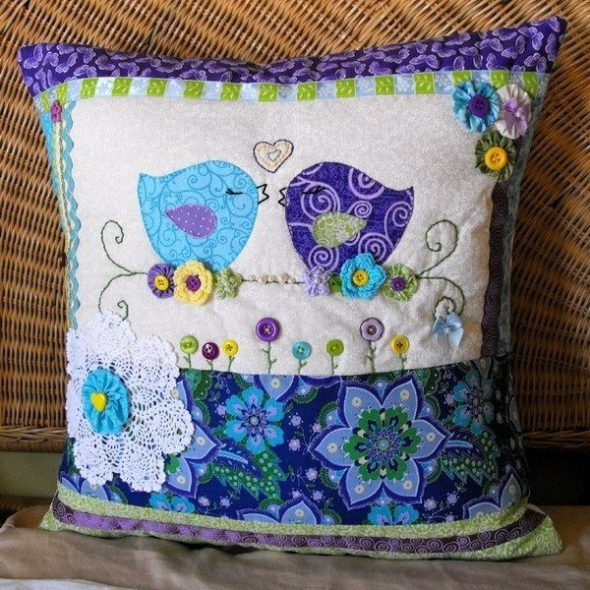
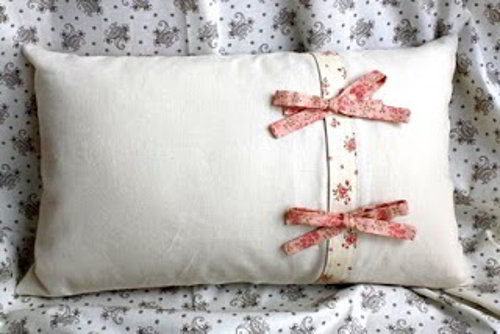
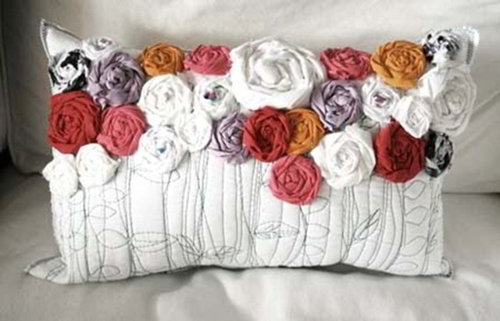
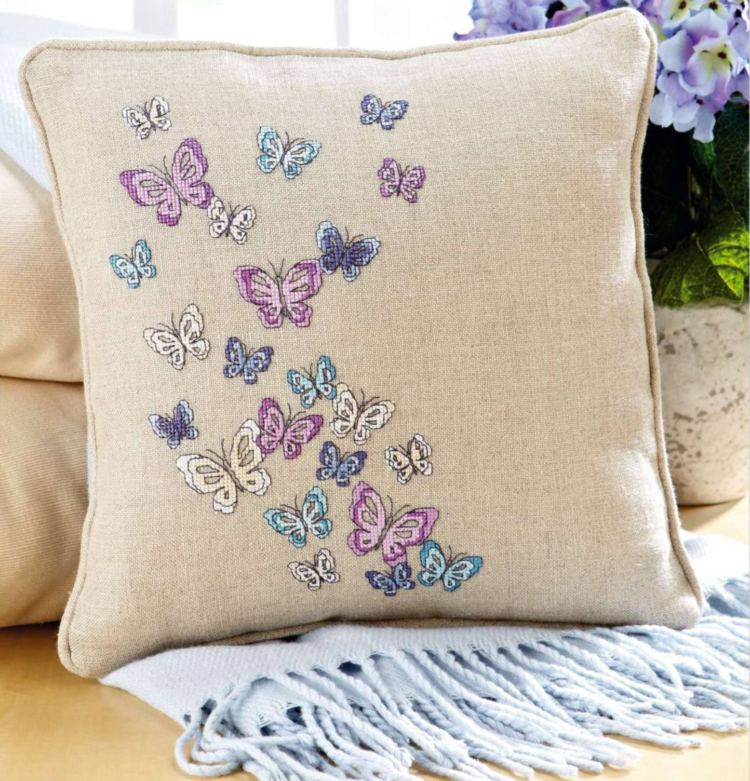
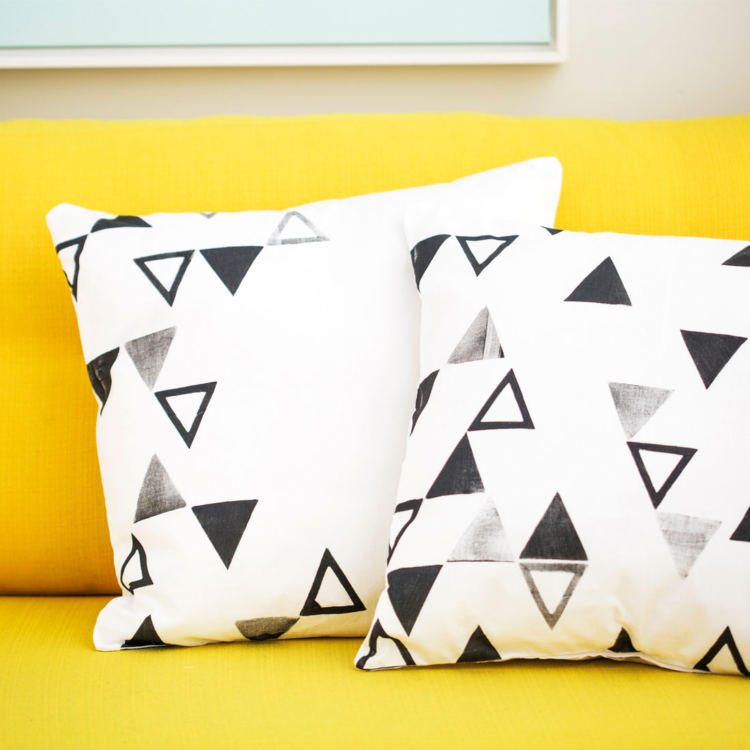
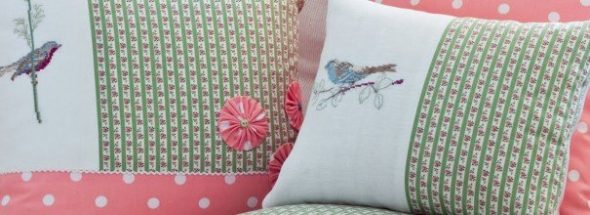
If the pillow is decorated with satin stitch/ribbon embroidery, this can be done when the entire piece is already sewn, marking the pattern on the outside.
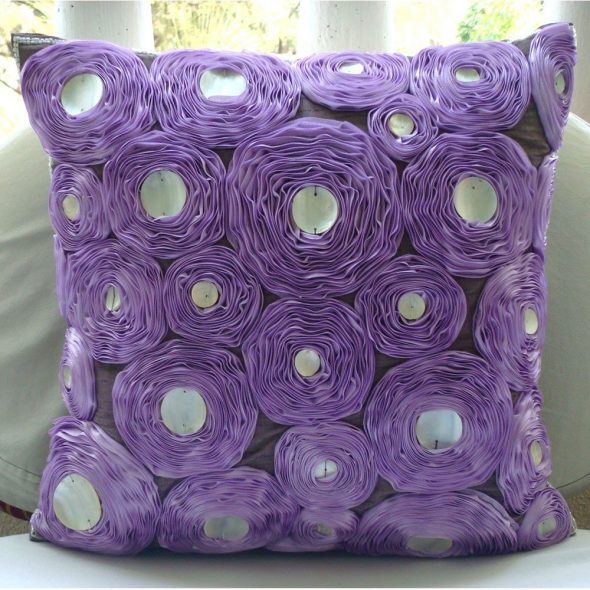
Such patterns on pillows look very cute, original and do not require much experience. The main thing is patience, because decorating is a very painstaking work that often takes a long time.
Video: How to sew a pillowcase with “EARS” – a simple and quick way.
https://www.youtube.com/watch?v=uBtigbIhkJQ