A potholder is such a simple, but necessary thing in any kitchen. Unlike a regular towel, it is thicker, does not burn, helps protect your hands from burns. If you try, it will also become an element of decor. Here are the coolest and most original potholder patterns that are easy and simple to make yourself.
Content
- To buy or not to buy potholders?
- Key Features of Cutting and Sewing
- Selection of materials and preparation
- Internal filling
- DIY Fabric Potholders (Step by Step, Detailed)
- How to sew a square potholder for the kitchen with your own hands
- Conclusion
- VIDEO: Sewing a potholder for the kitchen with your own hands.
- 50 photos of original potholders in patchwork technique:
To buy or not to buy potholders?
If you want, you can find store-bought fabric potholders, although they are no longer so popular. They have been replaced by various silicone things with their own drawbacks. But another issue is quality. Store-bought potholders rarely please with an original shape or design. Often they are made of thin synthetics with filler. Such a thing does not last long. It is even more offensive when it shrinks during washing or stains other things.
You can knit or sew potholders with your own hands. The second option is more convenient, as it does not take much time, does not require knitting needles, hooks and yarn. Several cute patches can be found in any home, as well as a needle and thread. There are no questions about ideas either, here are the most interesting options.
Key Features of Cutting and Sewing
The potholder can be made in any size and type, but it does not always result in easy-to-use accessories. Therefore, simple patterns are often used. You need to be more careful with the decor. Beads, buttons, appliques made of satin or other flammable materials are not the best solution. This should be taken into account when choosing a model.
Key points.
- If the fabric is fraying, it will need to be processed. In the classic version, an overlock is used for this purpose. You can go over it manually with a needle using an overcast stitch. It is even easier to process the seams with tape or hide them inside.
- Regardless of the pattern, it is necessary to leave an allowance of about one centimeter for stitching and reliability.
- Potholders are usually hung on a hook, so you should immediately take care of the loop and the place of attachment.
- You shouldn't use felt-tip pens or pens for the pattern, they don't always wash out and often show up on the other side.
The last point is the most important: you need to determine the size. If the hand is large, for example, a man often works in the kitchen, then the pattern will have to be slightly enlarged. To do this, add 1-2 cm on all sides.
Selection of materials and preparation
You can use any thick fabrics for sewing potholders. It is good if they consist of natural or at least semi-synthetic fibers. Linen and cotton perfectly withstand high temperatures, protect hands. New materials need to be washed, as they can shrink, fade. It is recommended to do this immediately in the washing machine. The accessory will be mercilessly exploited, get dirty, hardly any housewife will care for it manually.
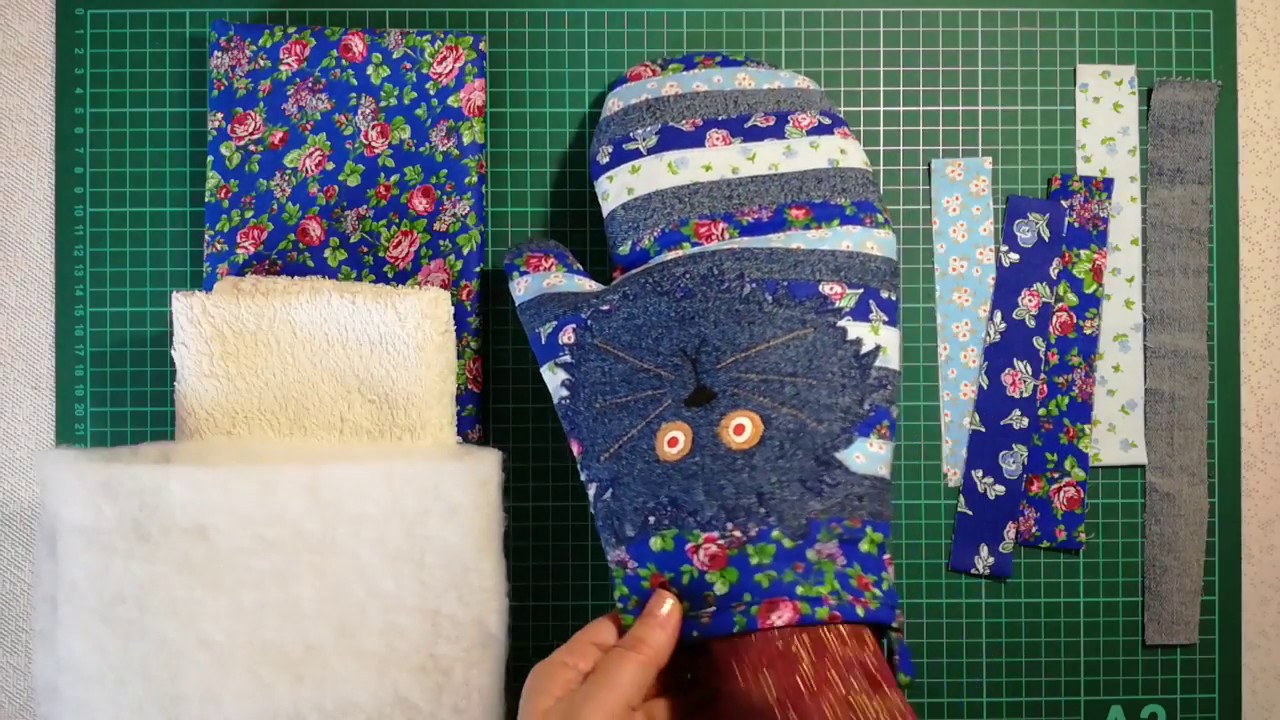
By the way, a great material for a potholder is denim. You don't have to run to the store for it. Old pants and skirts are great for making a new thing.
What else you will need:
- sewing needle;
- threads;
- ruler or measuring tape;
- scissors;
- pencil or a piece of soap;
- pins.
As for color solutions, here you can show all your imagination, come up with cool combinations or sew potholders to match the interior.
Internal filling
It is necessary to immediately decide what the kitchen accessory is made for. If you need a thin potholder, which is used to remove the lid, move the frying pan or saucepan, then sometimes two layers of material are enough. For dense things, which are used to take baking sheets out of the oven, you will need a filler. Usually this is a thin synthetic padding, although it does not have positive properties, it does not retain temperature well. Wadding, drape or one or two more layers of fabric will do.
By the way, felt is very popular now. The material is easy to work with, does not require an overlock, is dense, holds high temperatures well and is great for potholders. It can also be used as a filler.
DIY Fabric Potholders (Step by Step, Detailed)
In order not to be distracted by anything, you should immediately prepare all the necessary materials and tools. If you have a sewing machine, the process of making potholders will be noticeably simpler and will take less time. But you can easily cope without it.
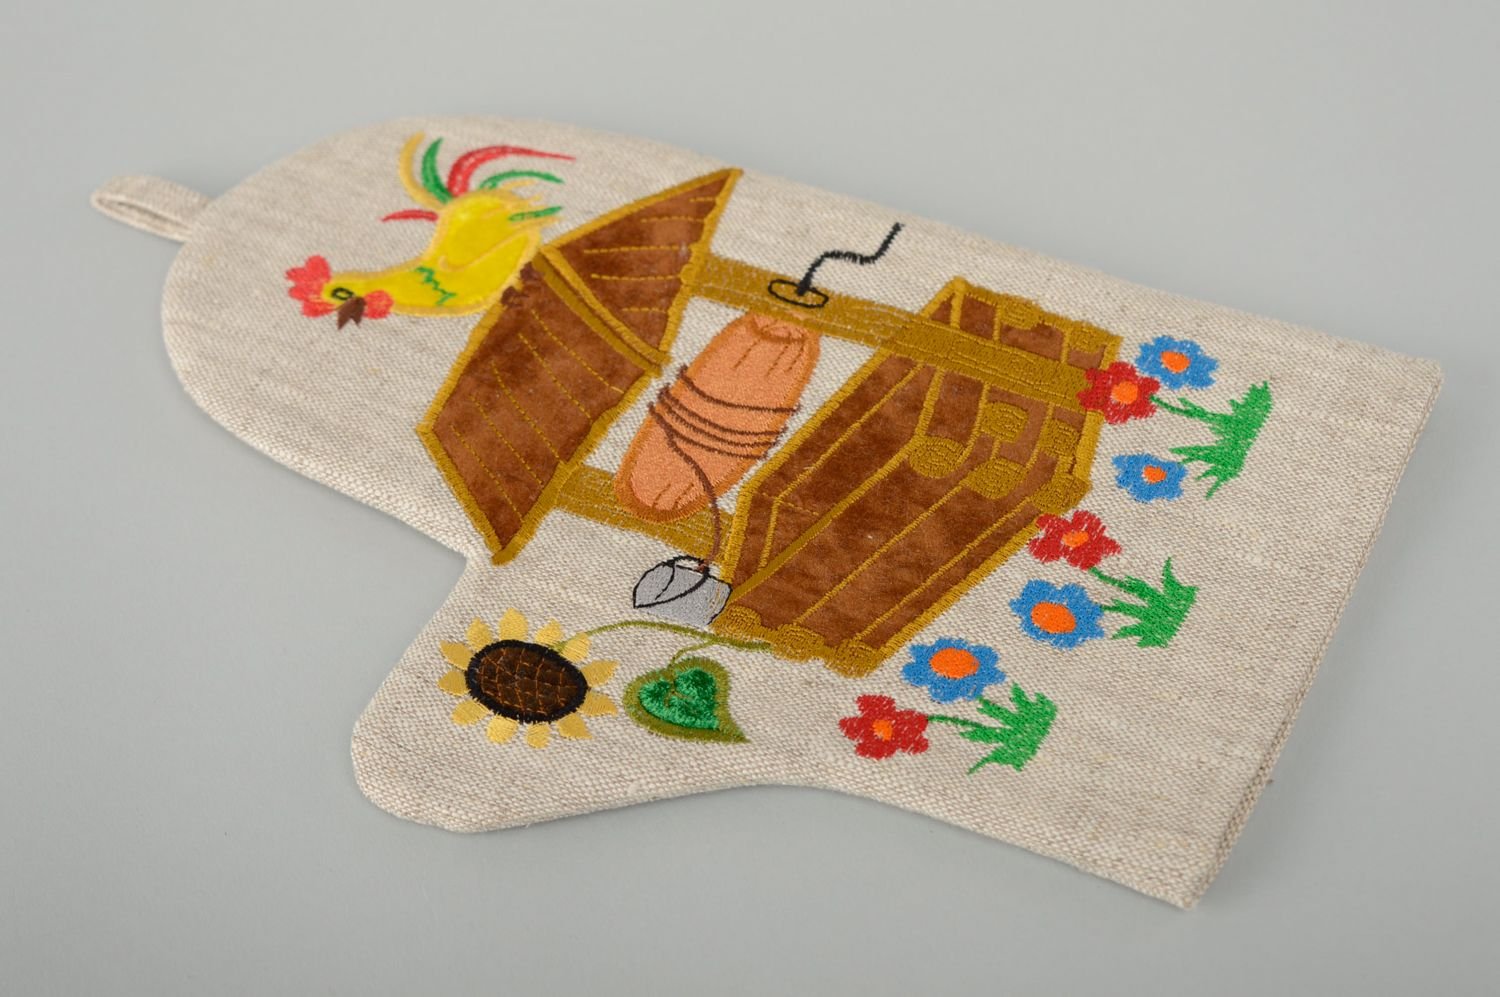
Potholder "Mitten"
A classic potholder that is very convenient to use and never goes out of fashion. Thanks to the finger and closed shape, it is almost impossible to burn yourself.
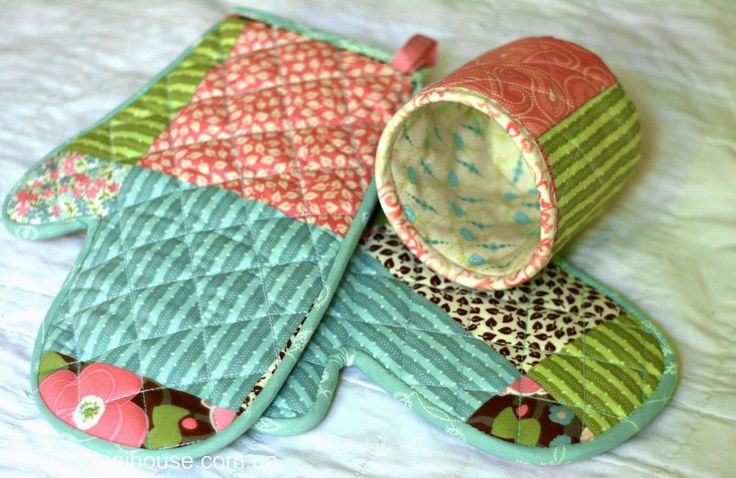
What you need for the potholder:
- textile;
- interlining;
- filler;
- tools.
Step by step production
- The pattern can be printed or made yourself in full size. To do this, simply trace the arm with an overlap of 2.5-3 cm. One of them will go to the edges. Two centimeters are required for freedom of fit.
- Transfer the pattern to the material. You need to make four identical pieces. Outline and cut.
- Cut out two mittens from the adhesive interlining. Make two blanks from the filler in a similar way.
- Fold the pieces in the following way: fabric blank with the wrong side up, interlining, filling, material again with the right side up.
- Quilt. Make the second part in the same way.
- Connect the two parts of the potholder, leaving a well for your hand. It should easily pass inside.
If desired, make a border from the braid.
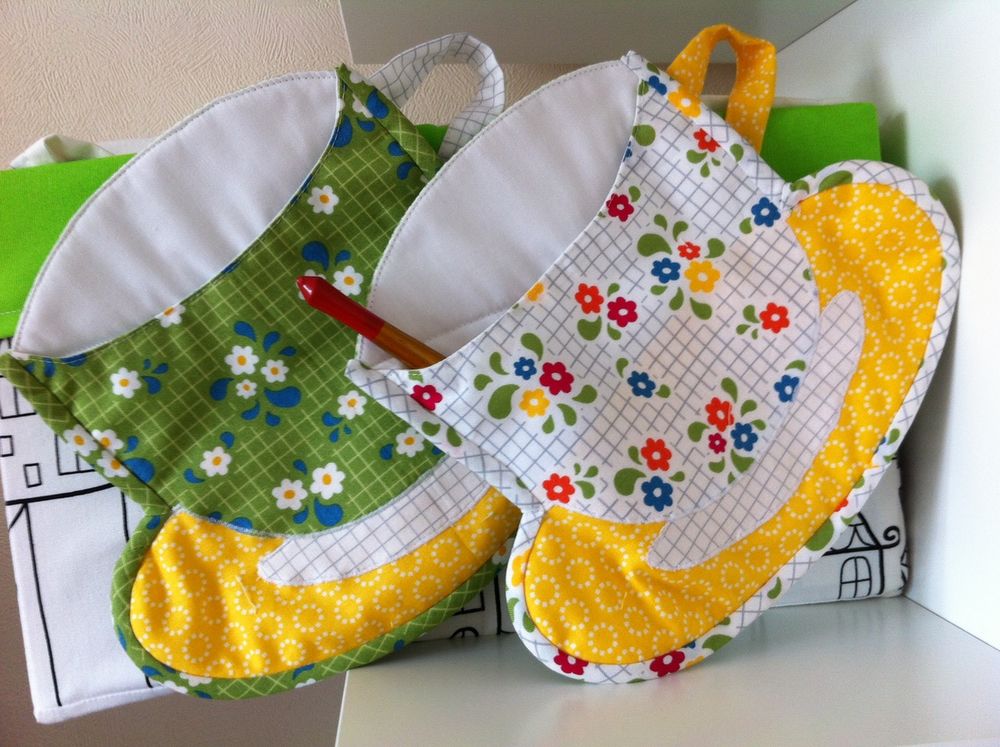
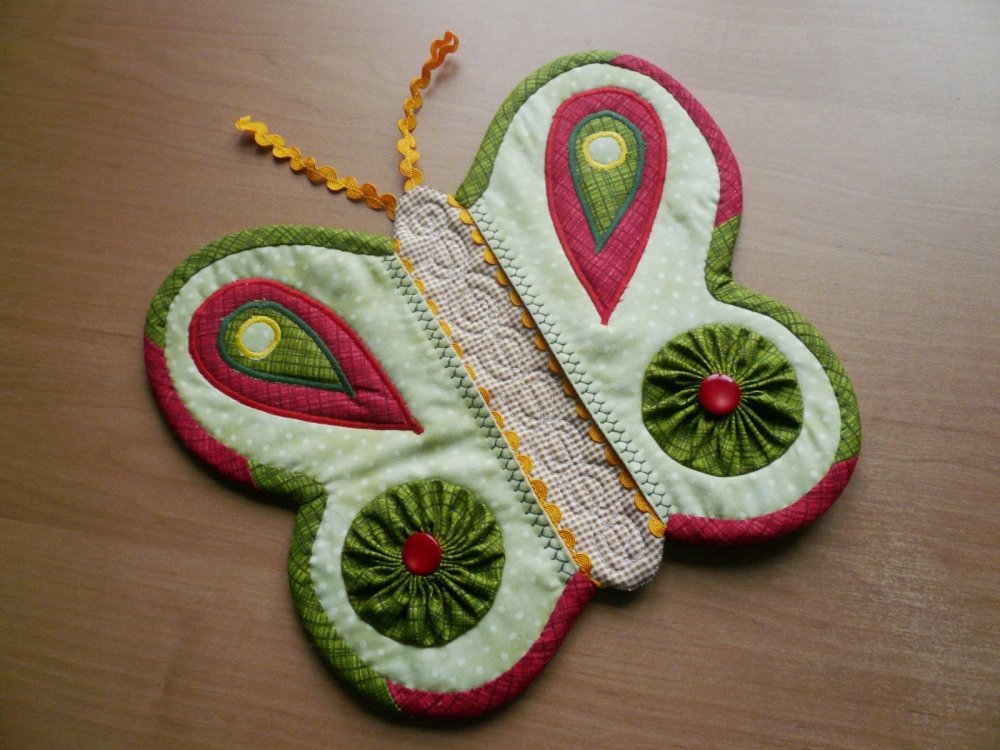
Potholder "Butterfly"
An unusual-looking, but comfortable and durable butterfly-shaped potholder will decorate any kitchen. At the same time, it is quite easy to sew, especially if you have a template.
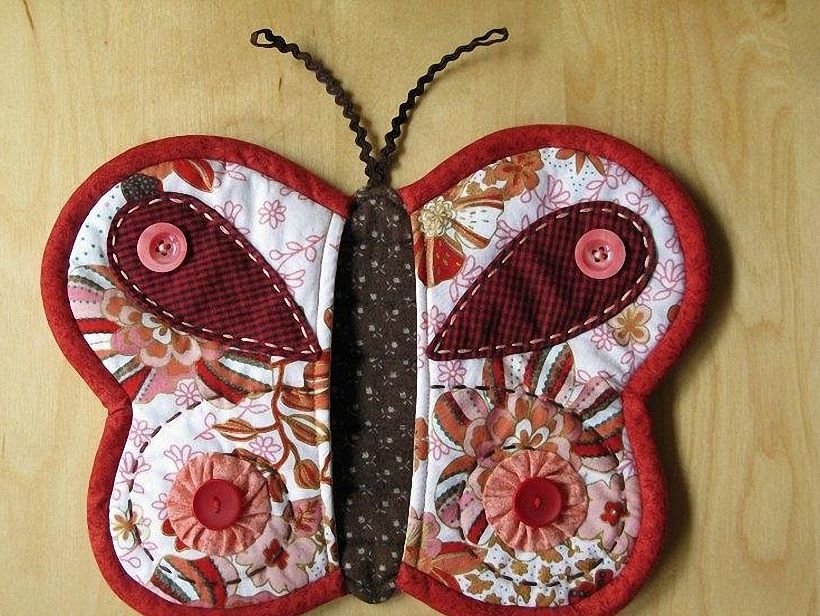
What you need for the potholder:
- base material;
- tools;
- filler;
- braid;
- interlining.
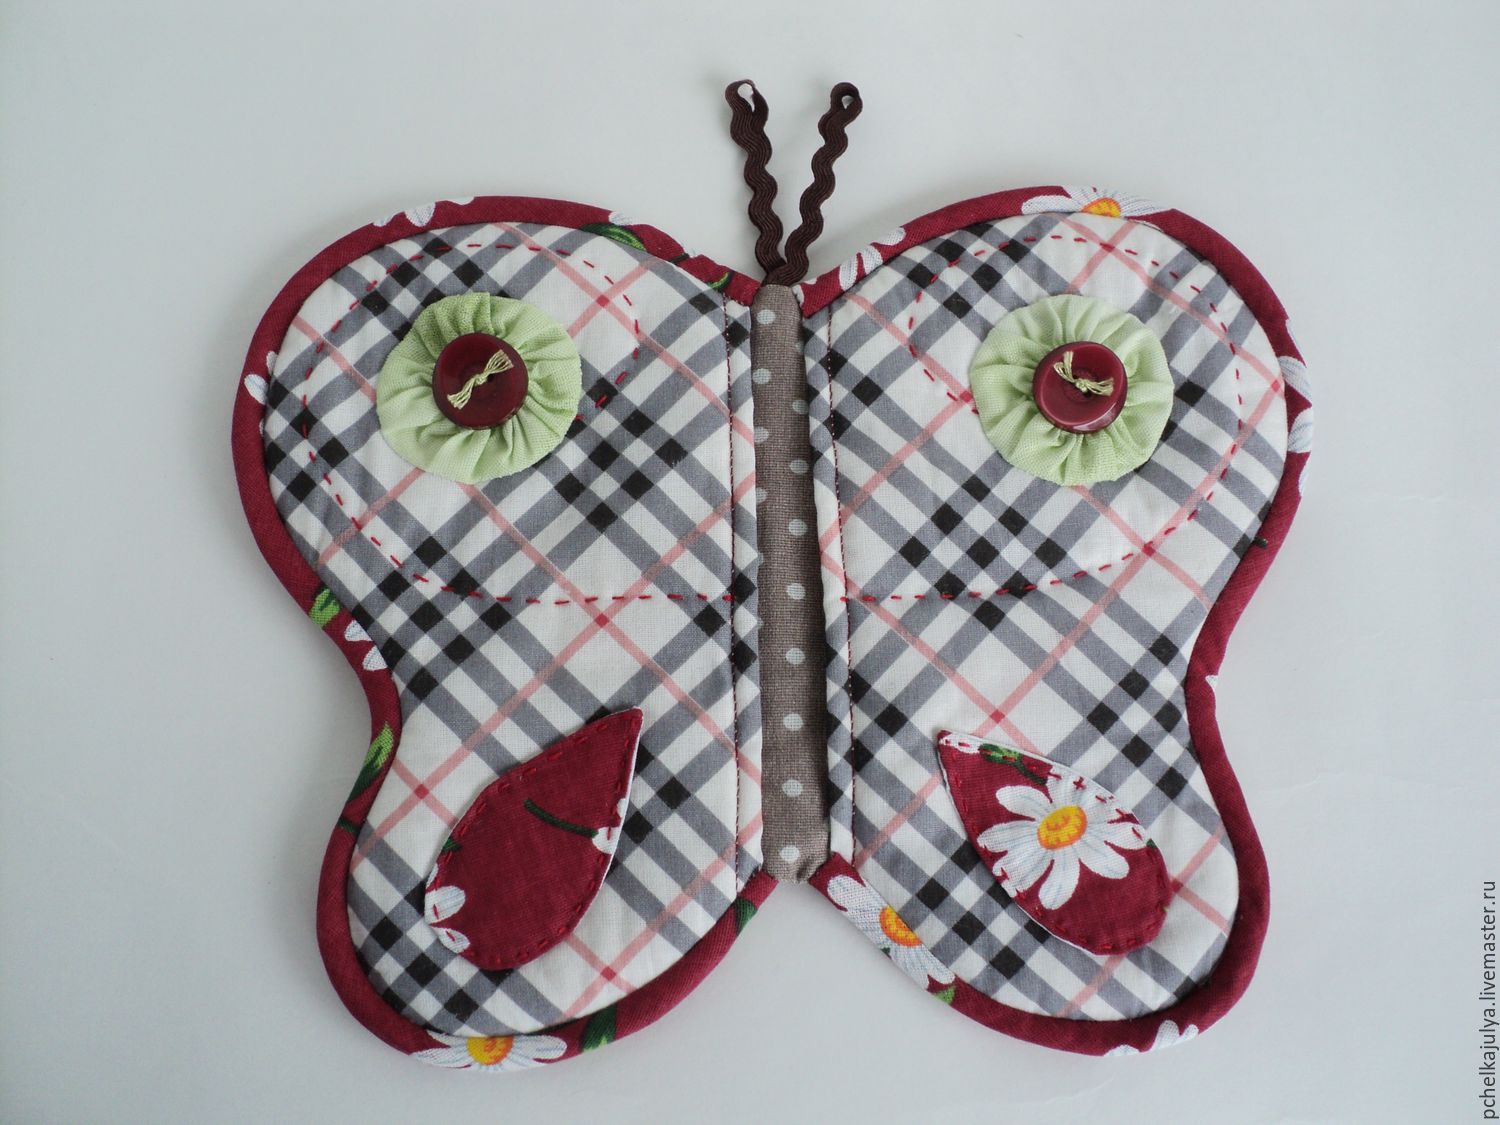
Step by step production
- Print on paper or simply draw and cut out the pattern. Transfer to the material. You need one piece for the front and back sides.
- Make a pattern on interlining and filling, cut out.
- If desired, sew decorative elements onto the front side of the potholder. This is done immediately, before sewing the main layers.
- Fold the butterfly in the following way: main piece with the wrong side up, interlining, filling, second piece of the butterfly with the right side up.
- Pin the potholder in several places and secure it.
- Sew around the perimeter, finish with tape, insert a loop.
Helpful advice! If you don't have a sewing machine, it's easier to make one-piece patterns for the butterfly, which don't require sewing on small parts.
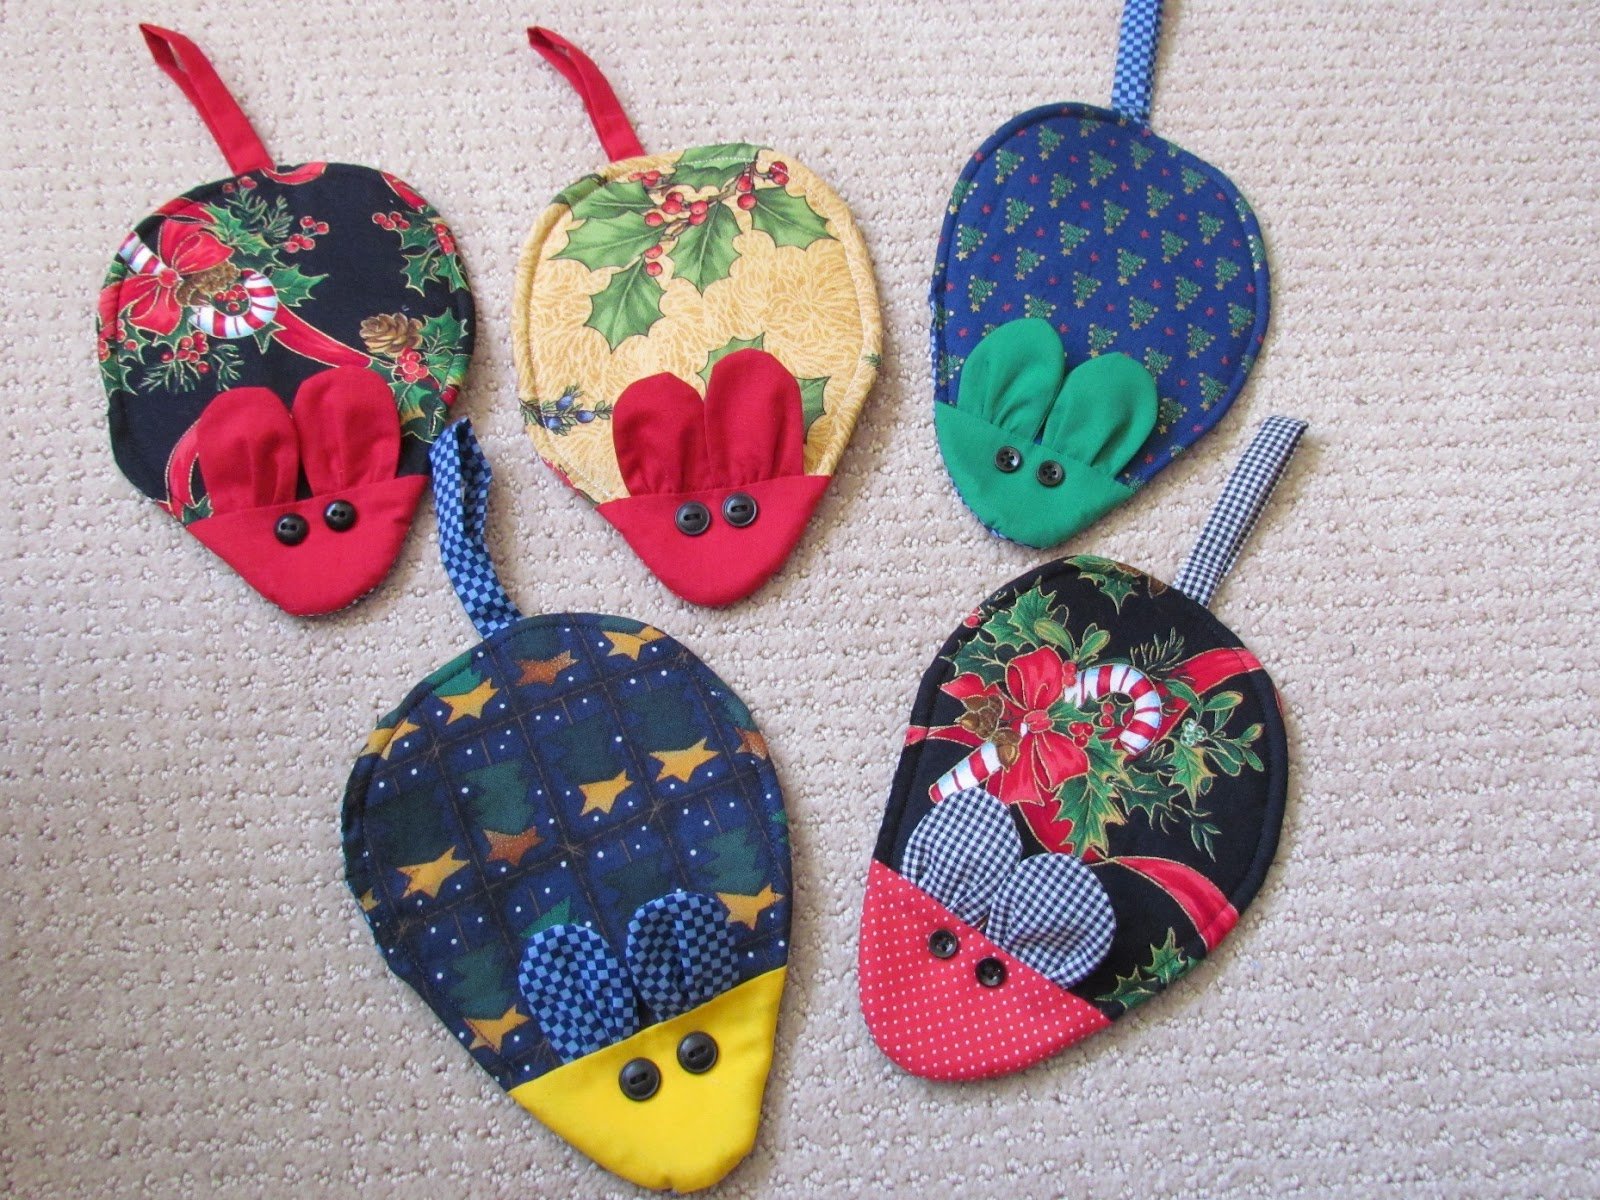
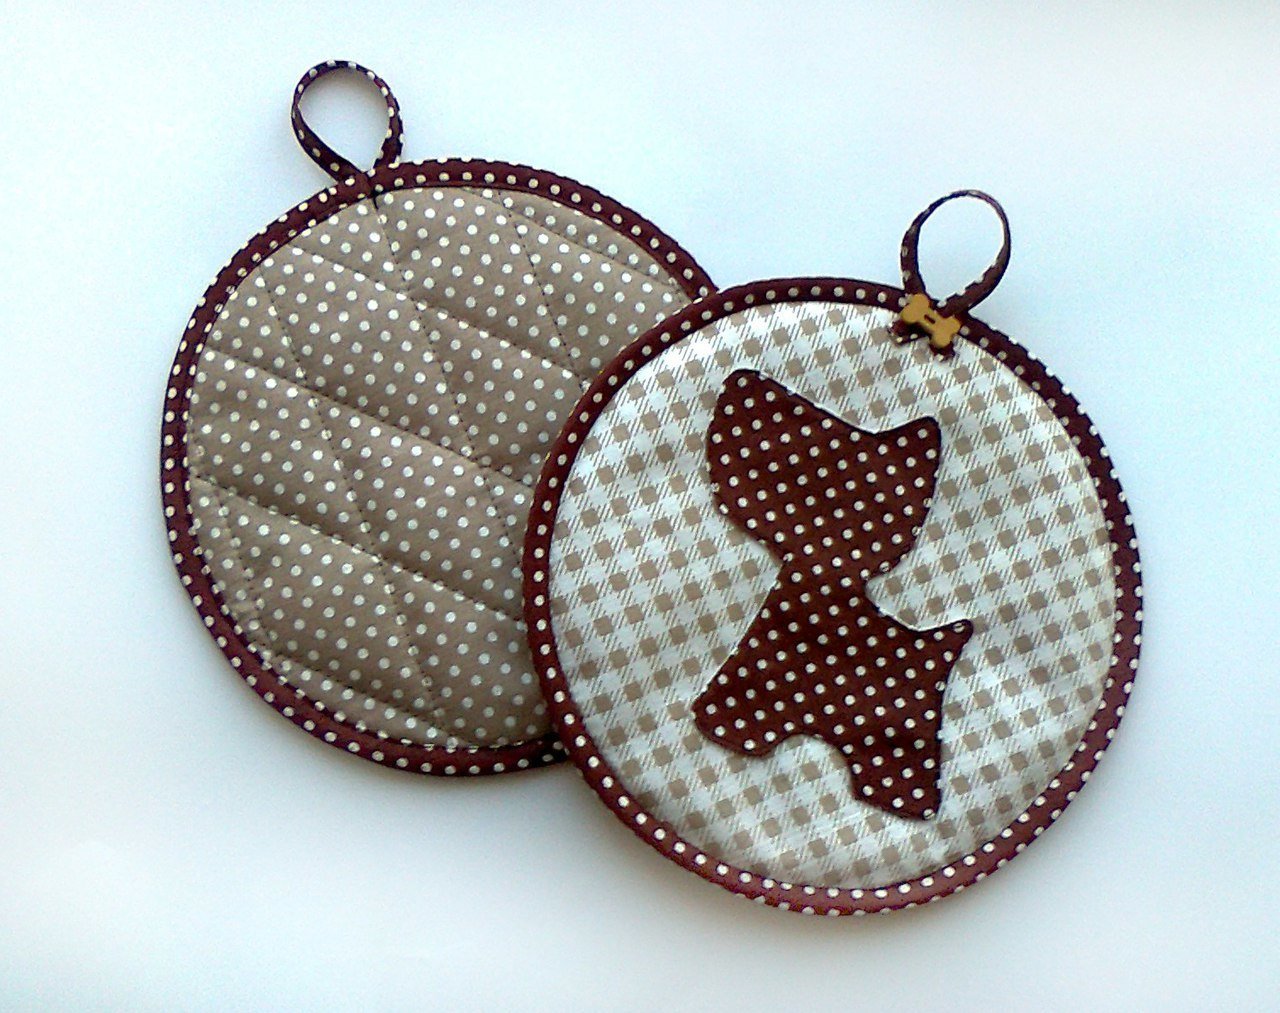
Potholder "Mouse"
No housewife will be against such mice in the kitchen. Beautiful and bright potholders will immediately attract attention, and are very easy to sew.
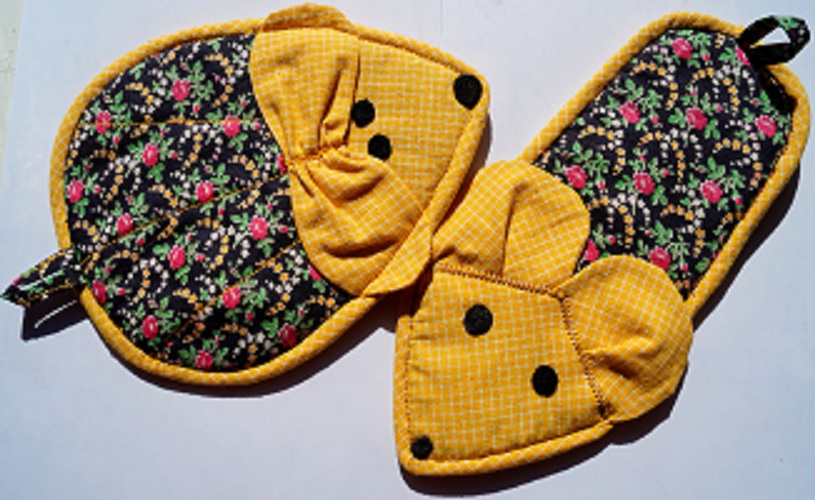
What you need for the potholder:
- thick fabric;
- filler;
- beads;
- threads;
- tools.
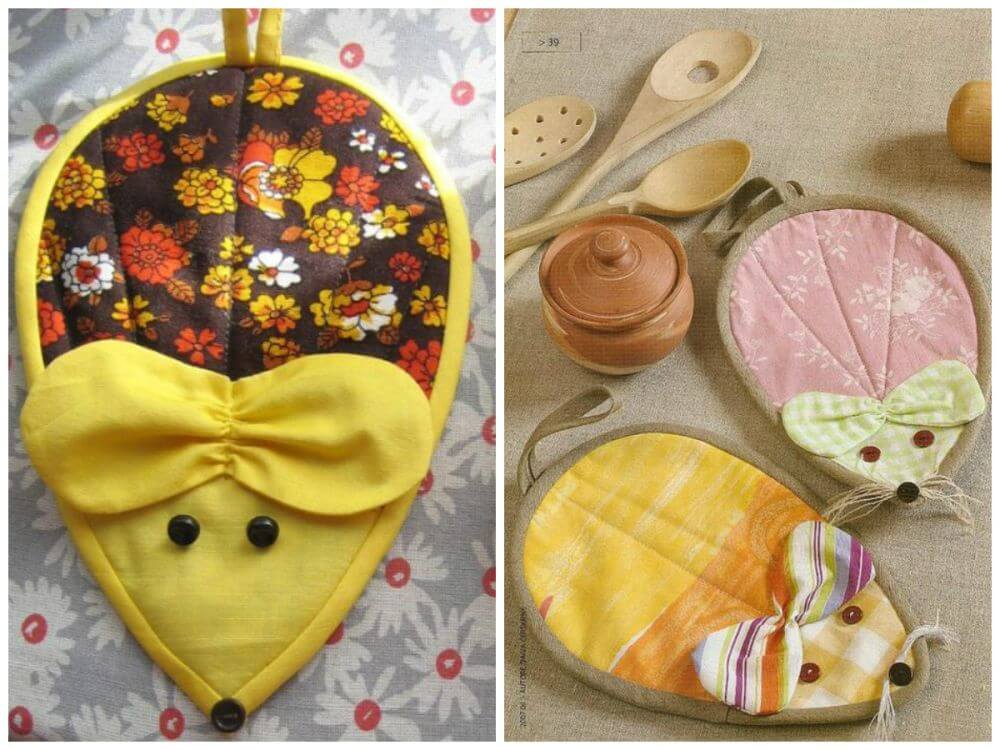
Step by step production
- Cut out the mouse and bow parts using the patterns. You will need two pieces of material and one piece of filler.
- Make a bow right away and sew it to the mouse's face. Decorate the muzzle with eyes, if desired, make whiskers from threads, and underneath them a nose from a button or a larger bead.
- Fold the layers of the potholder, join them with a rough basting stitch. Prepare the loop.
- Sew on the tape, finish the potholder.
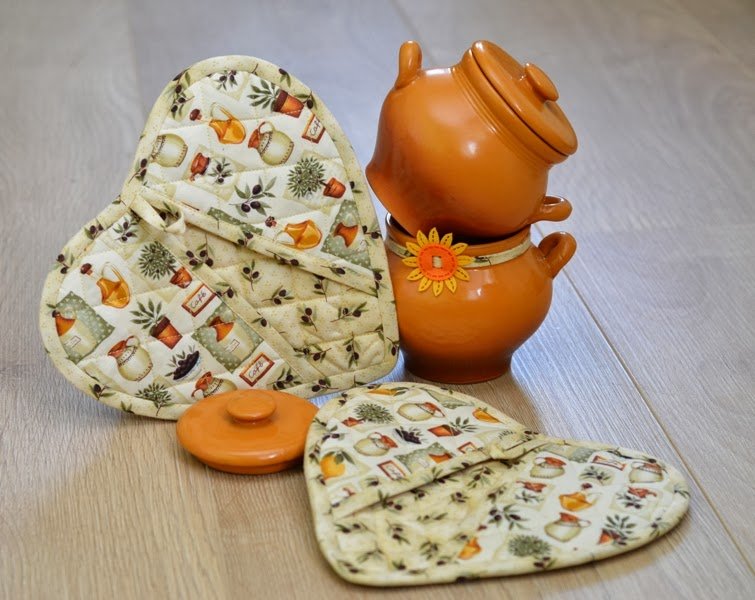
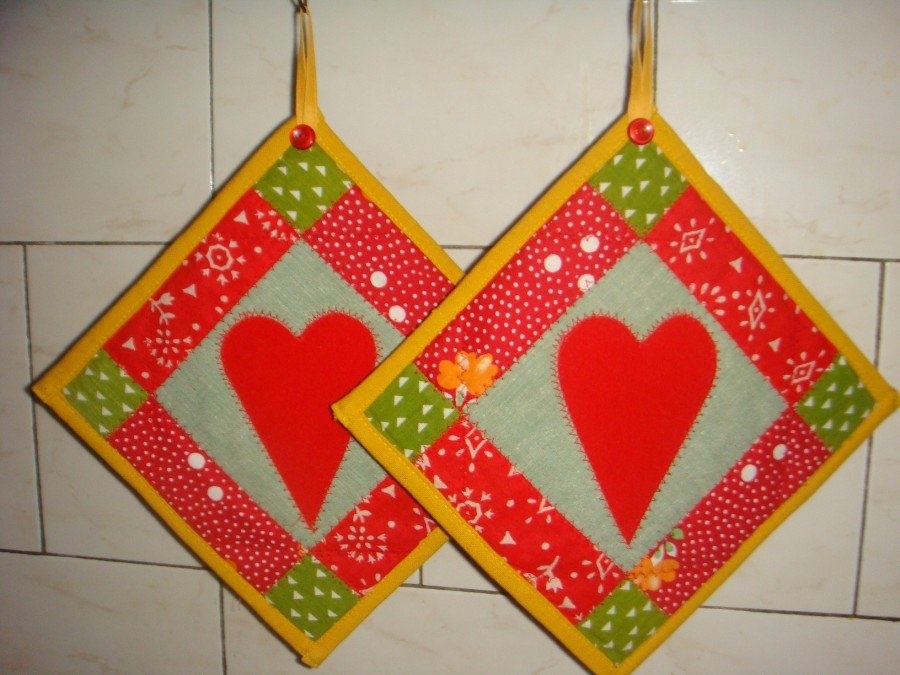
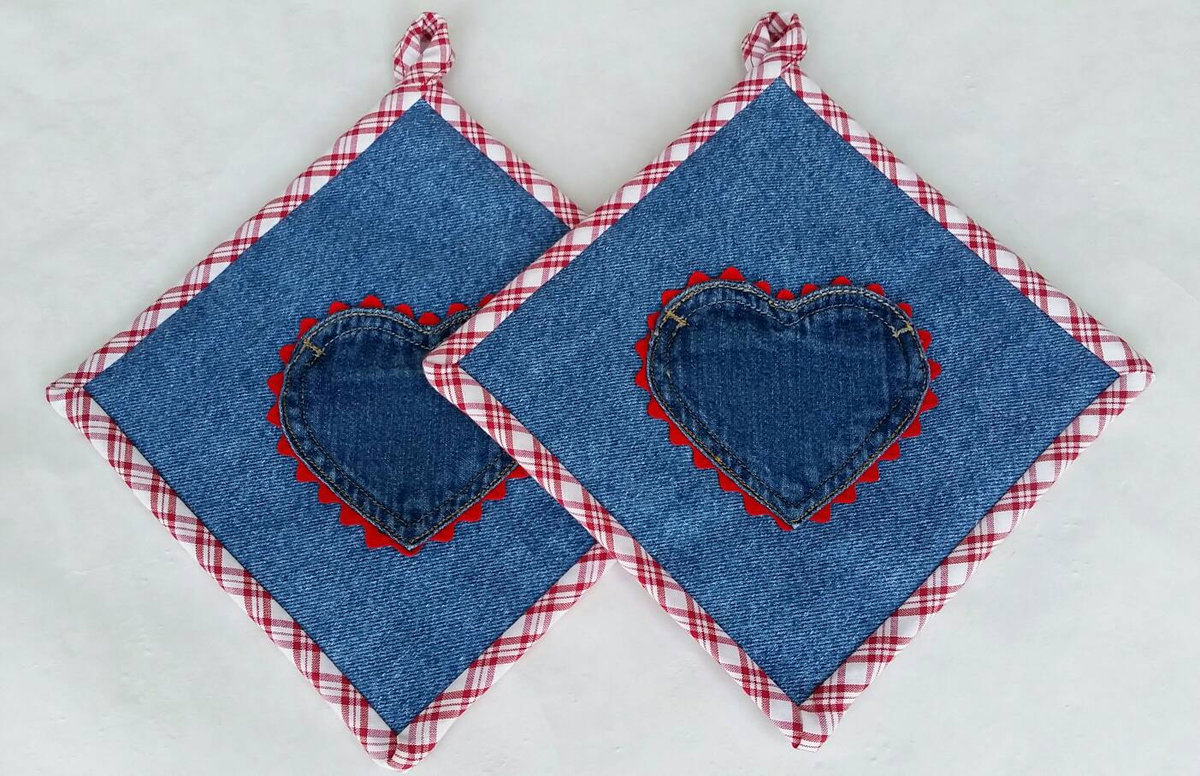
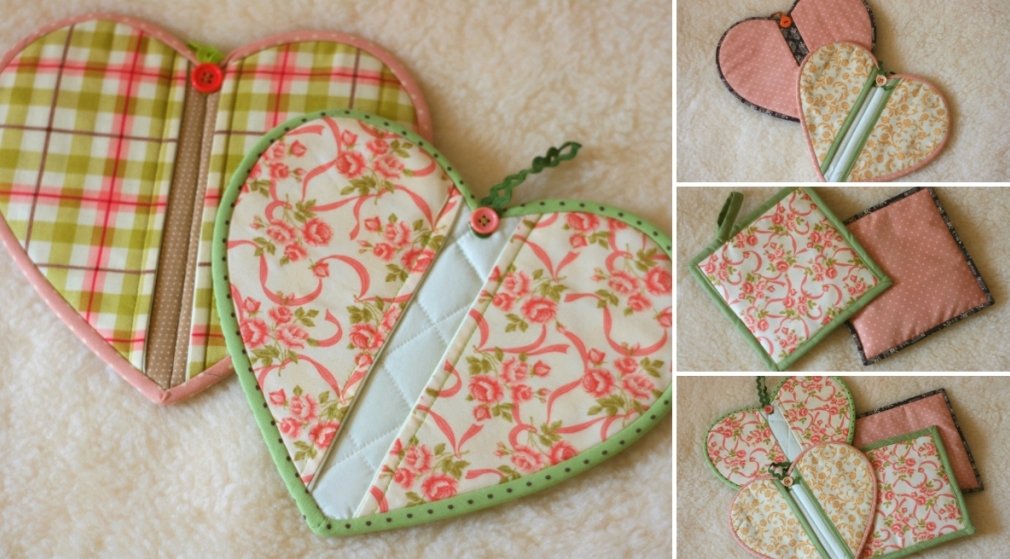
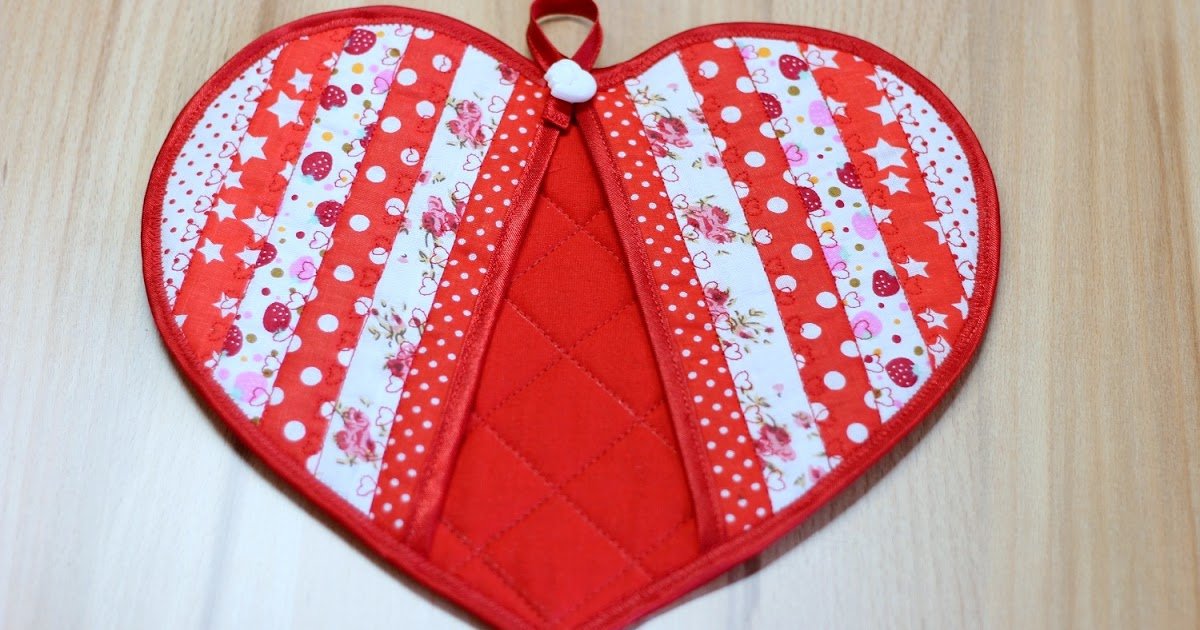
Heart shaped potholder
Themed potholders can be given for Valentine's Day. But it is not necessary. Hearts will find a place in any kitchen, they are very quick and easy to sew.
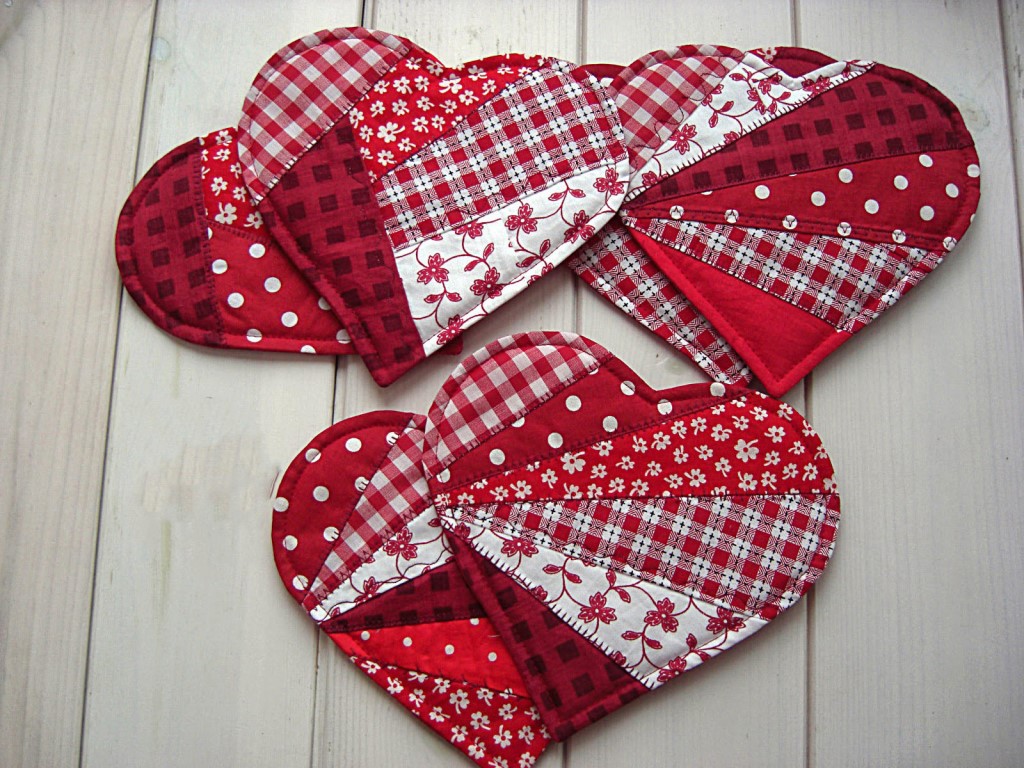
What you need for the potholder:
- 2 pieces of fabric;
- filler;
- braid;
- tools.
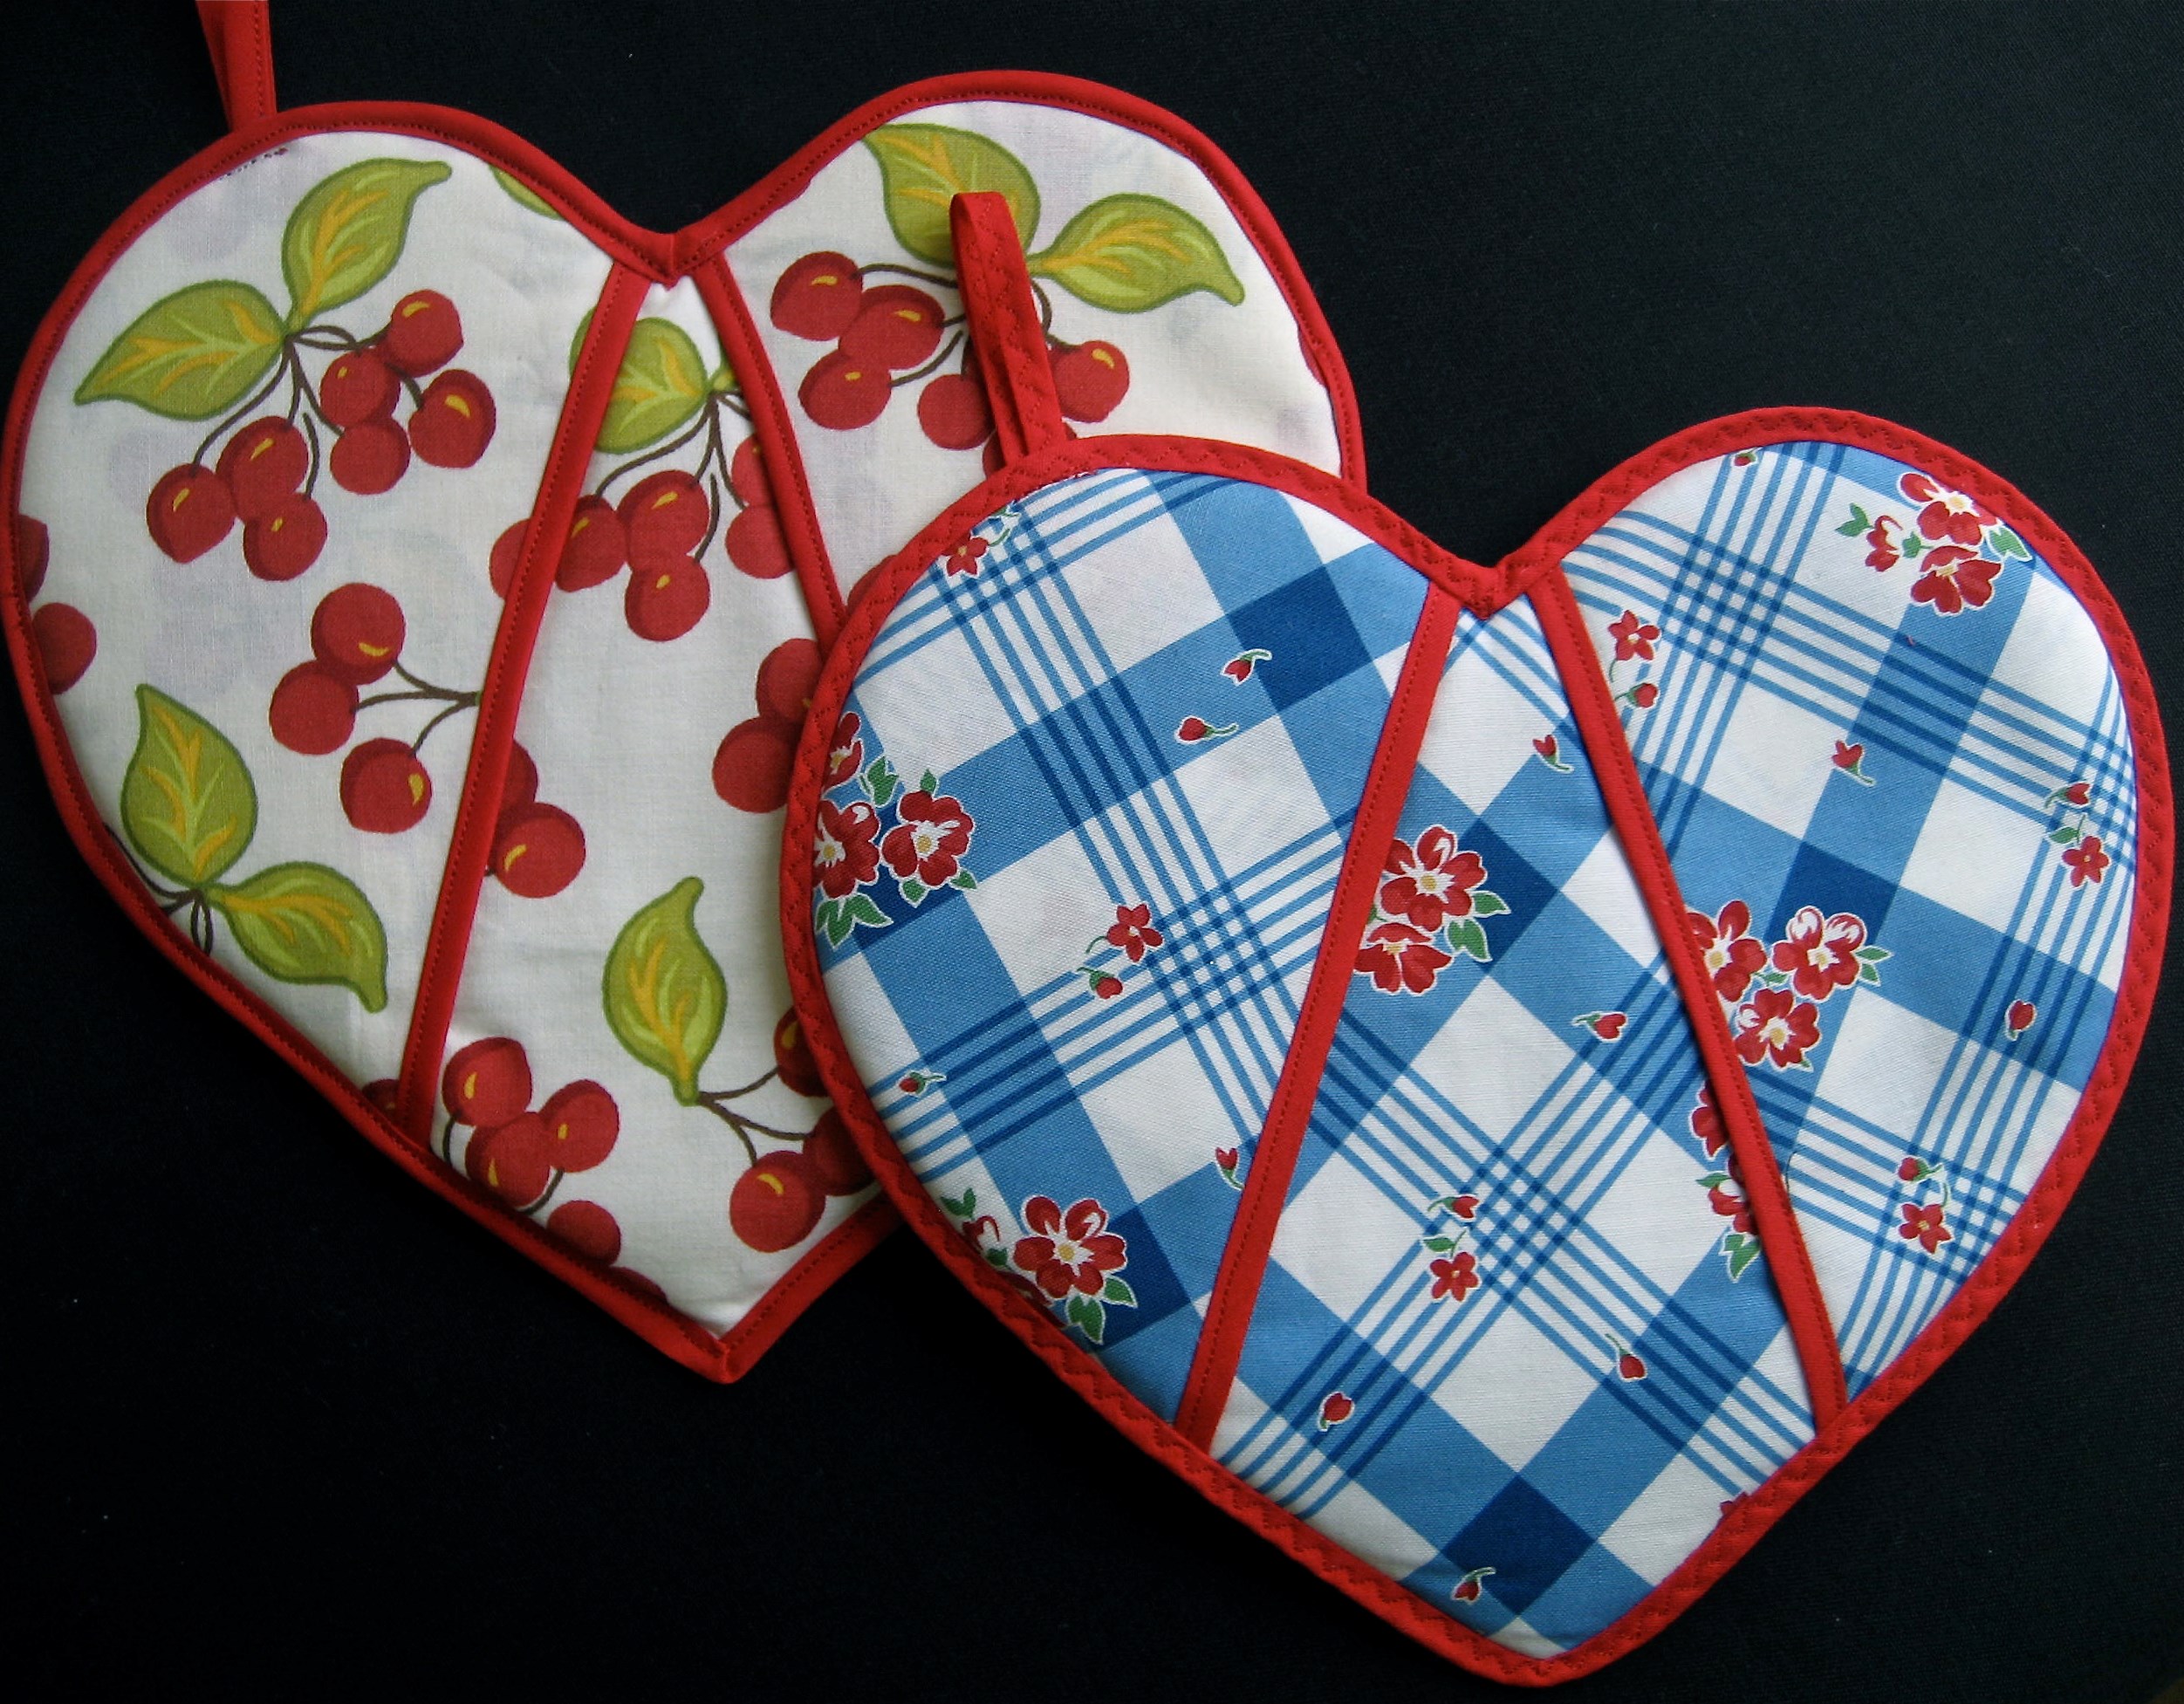
Step by step production
- The potholder can be made in the shape of any heart: round, with pointed halves, elongated, with a blunt or sharp tip. Print the template or draw it on paper, cut it out.
- Transfer the template onto the material and make two pieces.
- Cut out a heart of similar size from the filling.
- Place all three pieces on top of each other with the right sides of the fabric facing out. Fasten with a basting stitch.
- Sew tape along the edges, hide the ends.
- Make a loop from a ribbon or lace. Sew it anywhere. The place of connection can be decorated with a button or a bead.
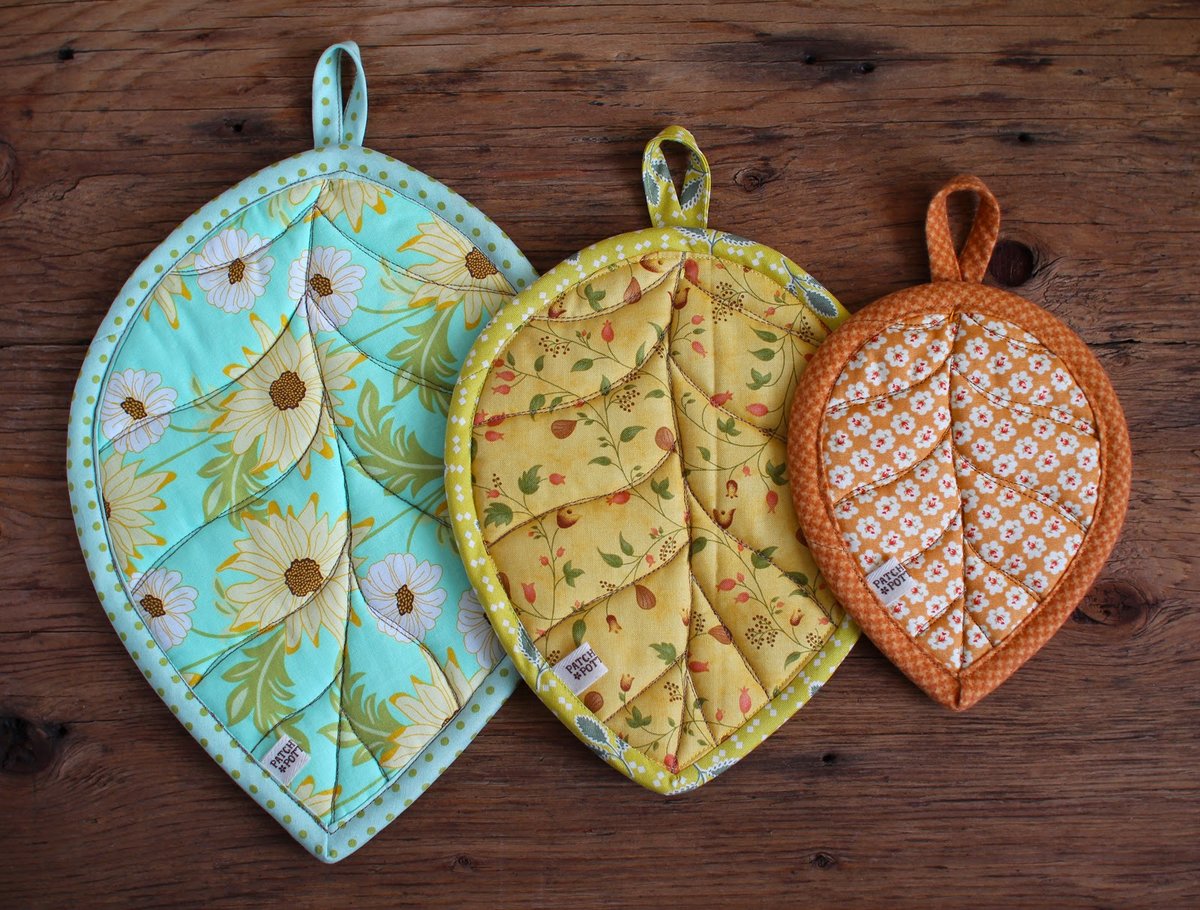
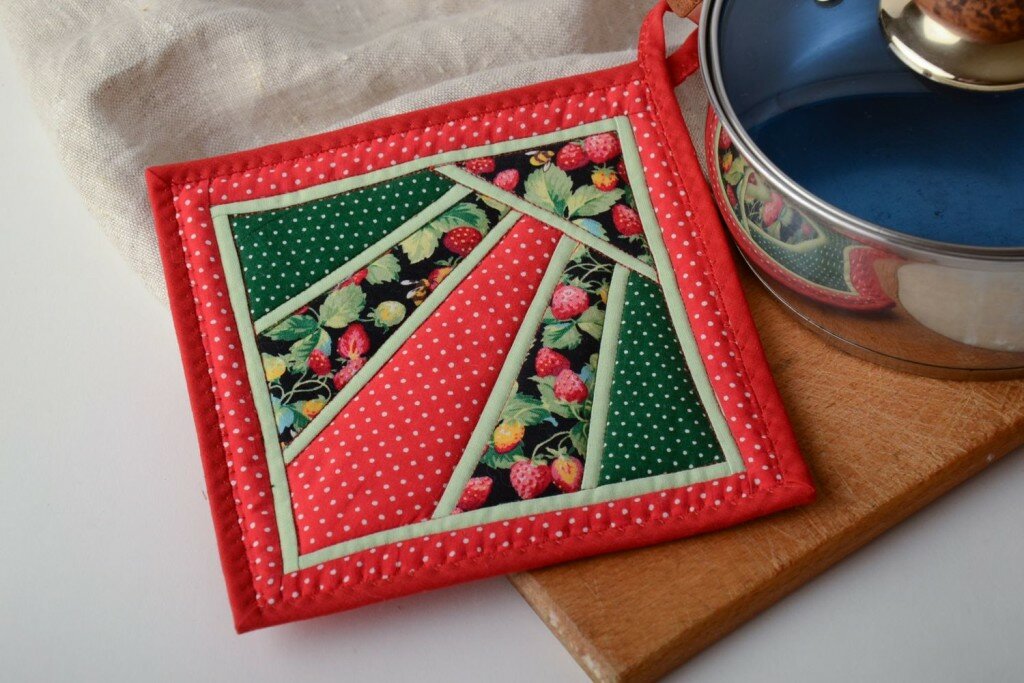
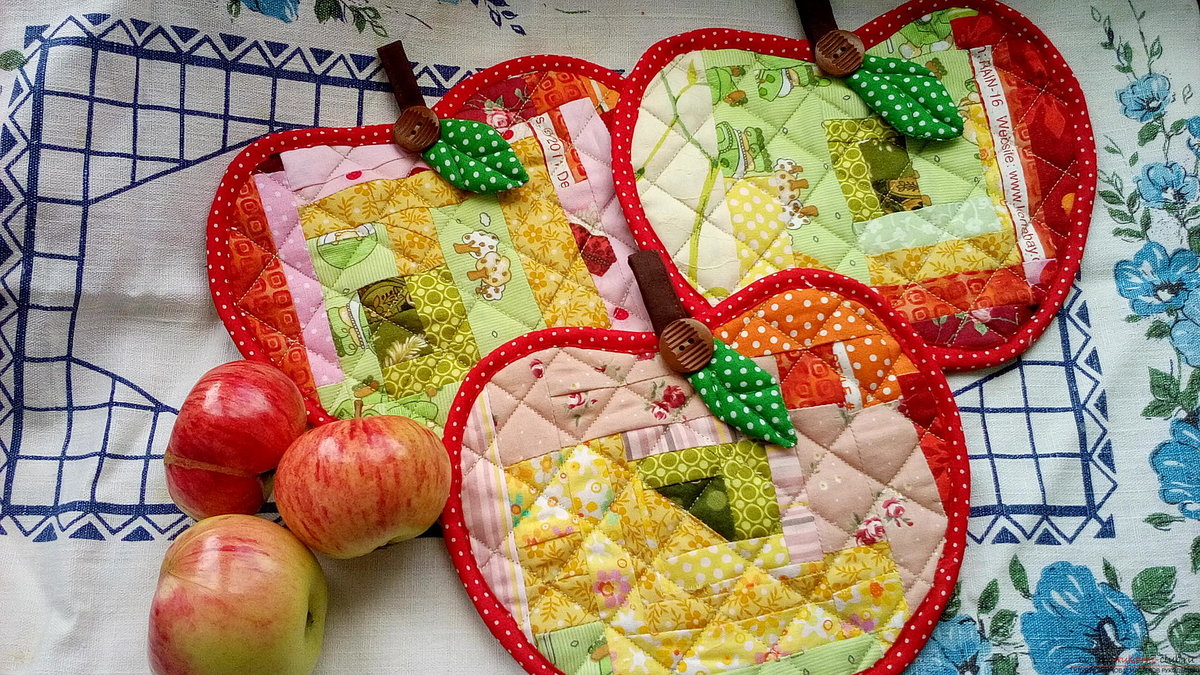
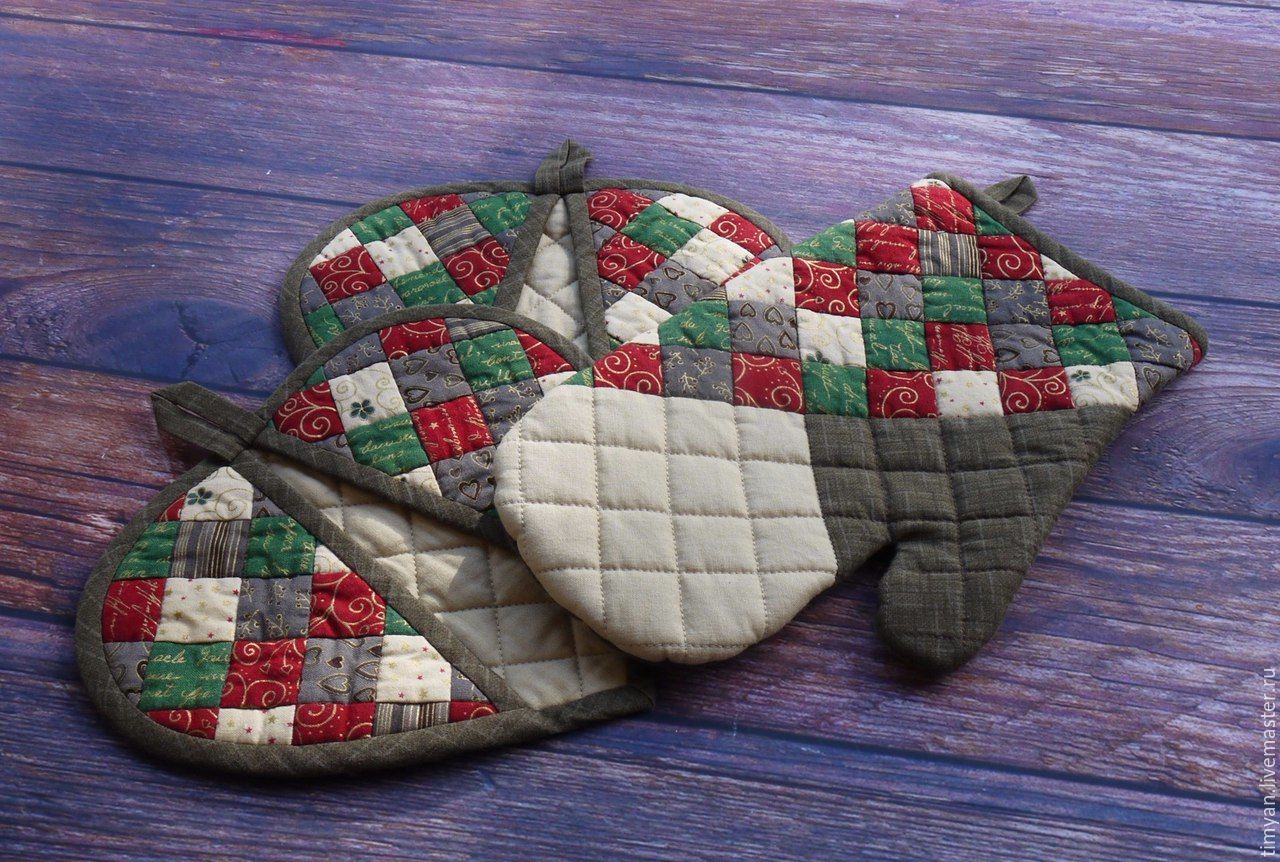
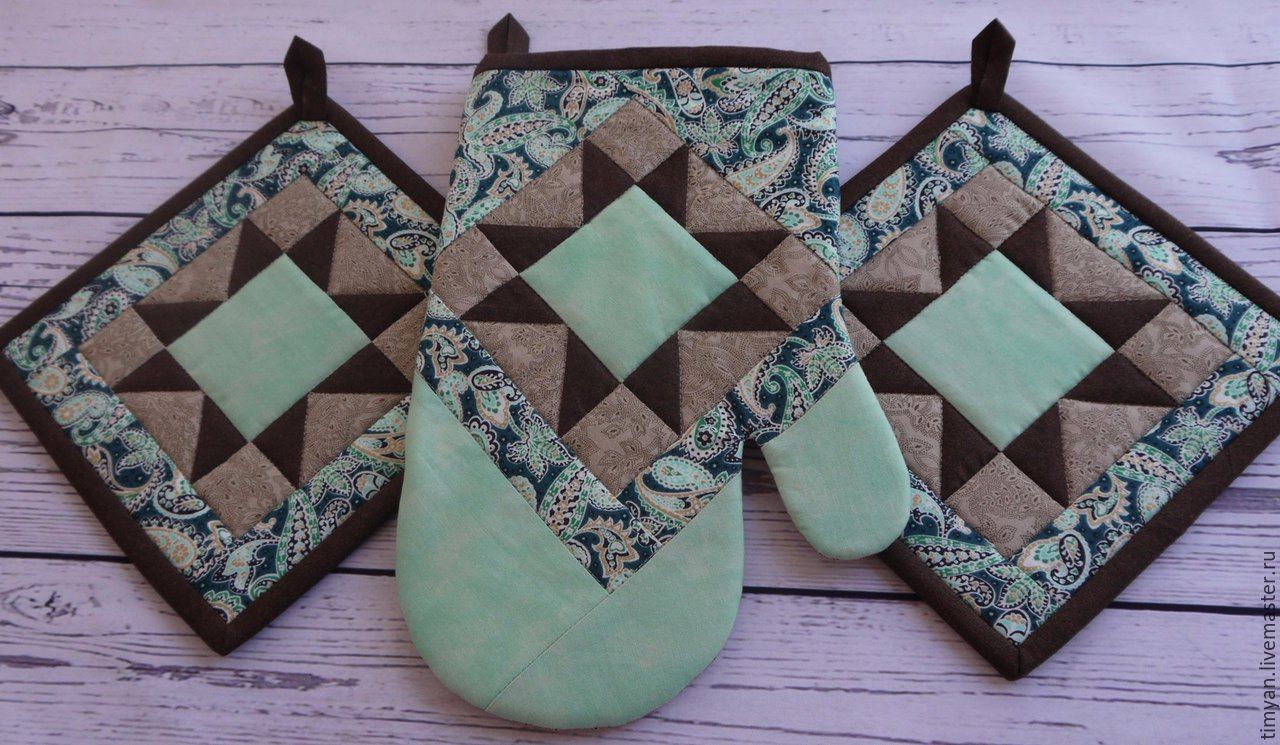
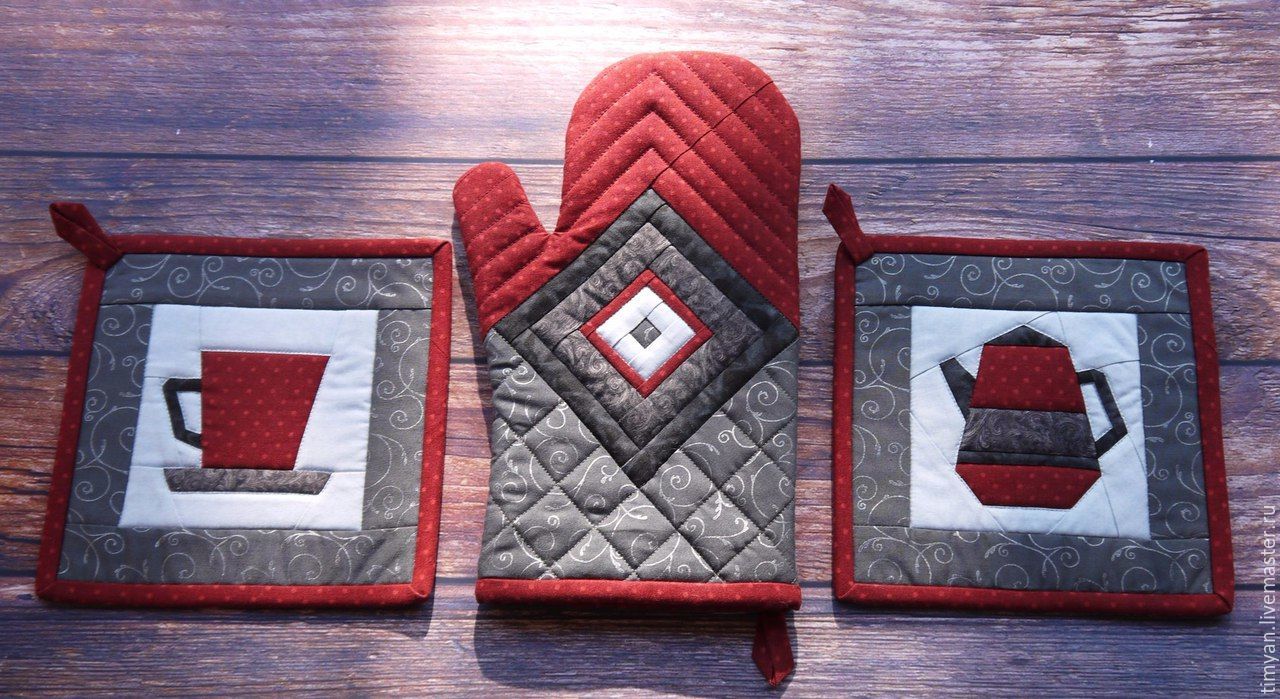
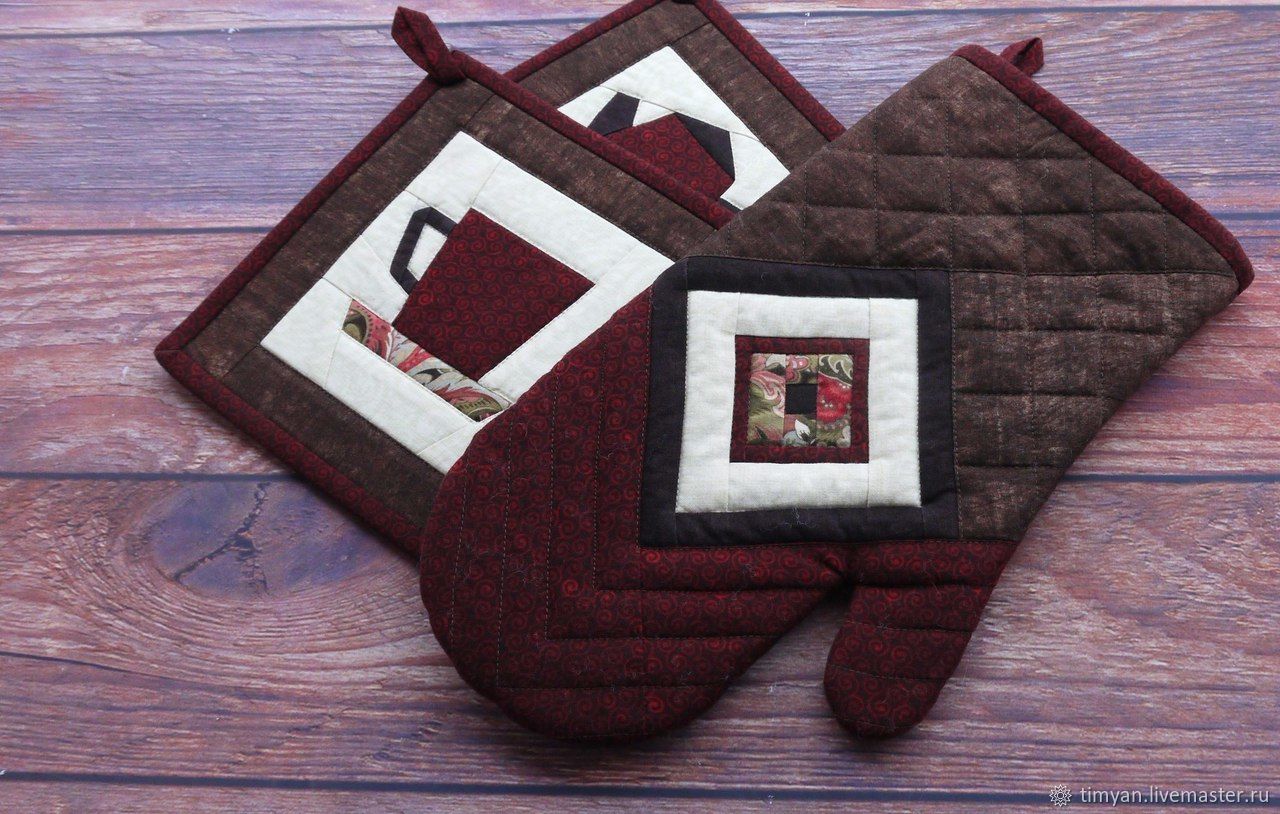
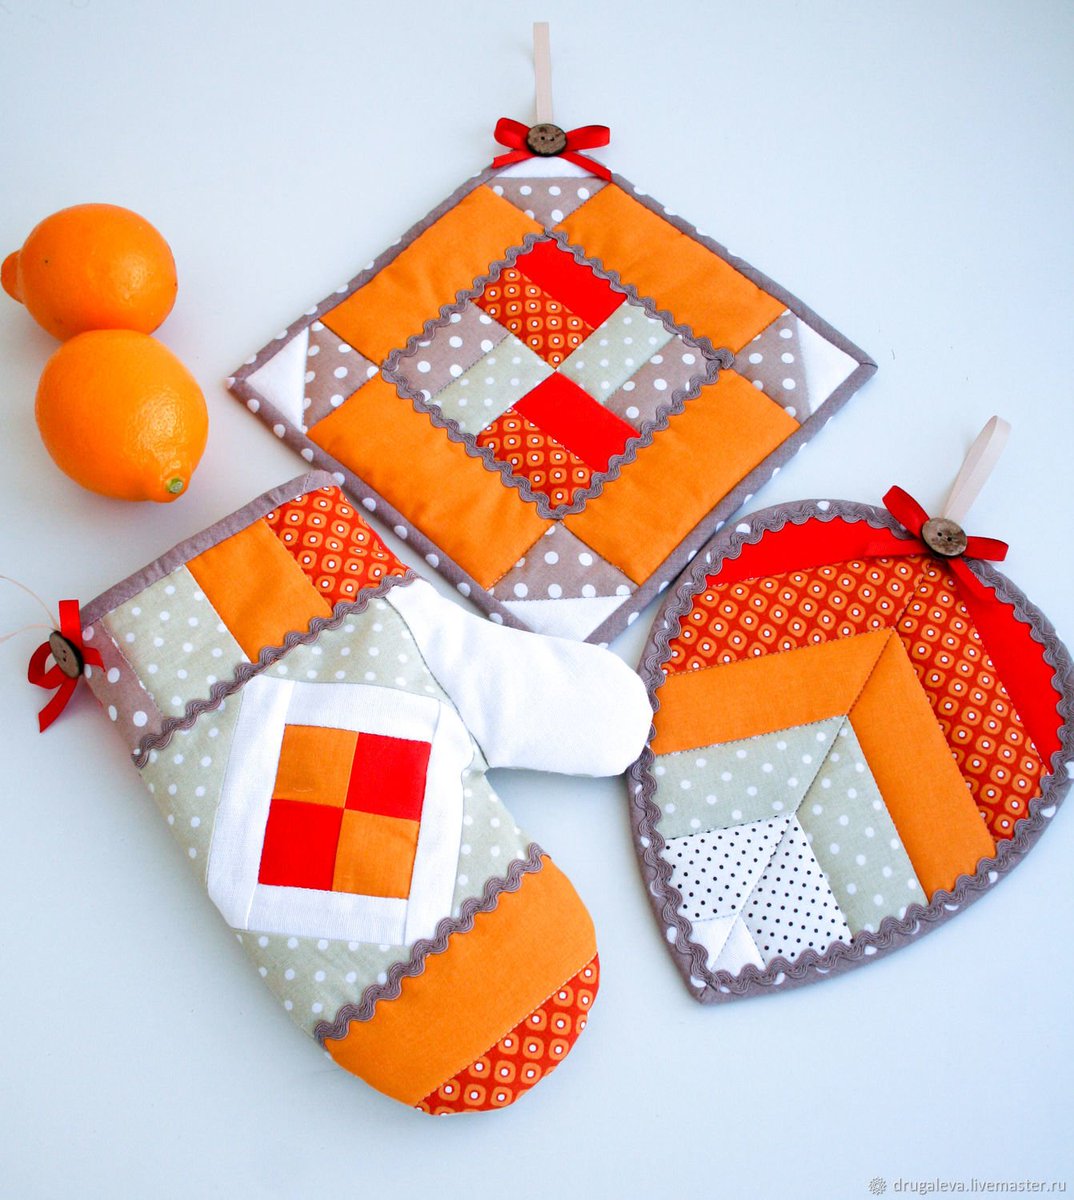
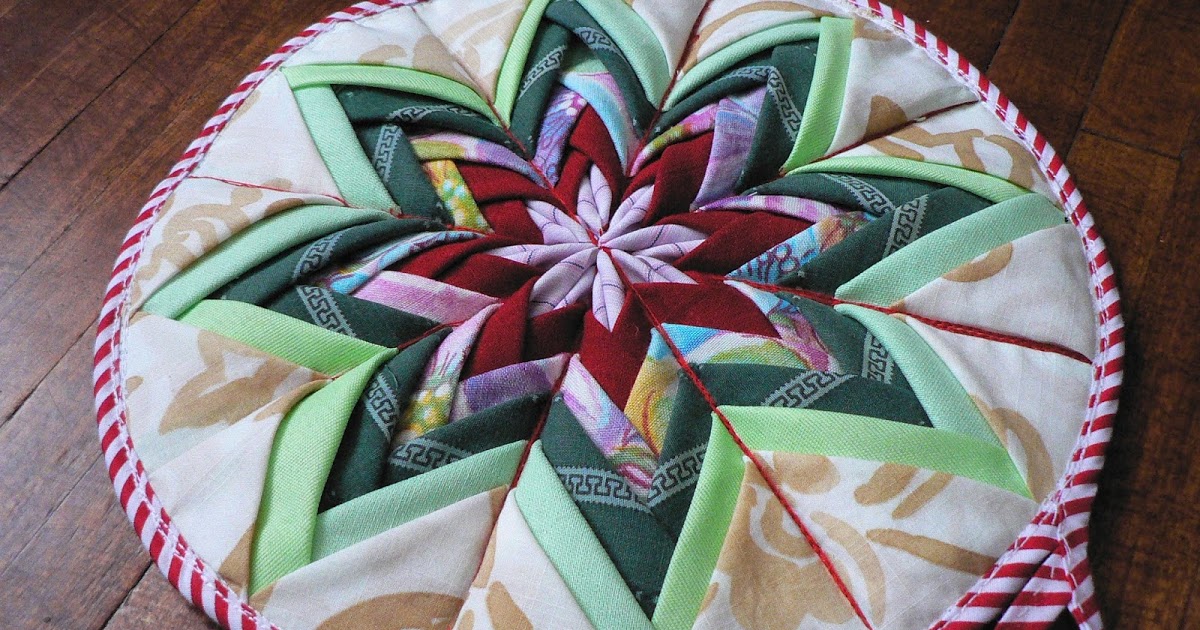
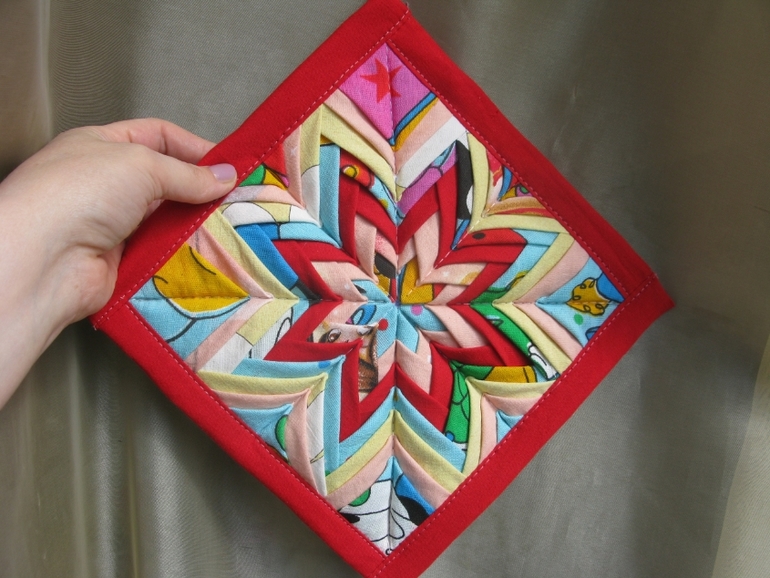
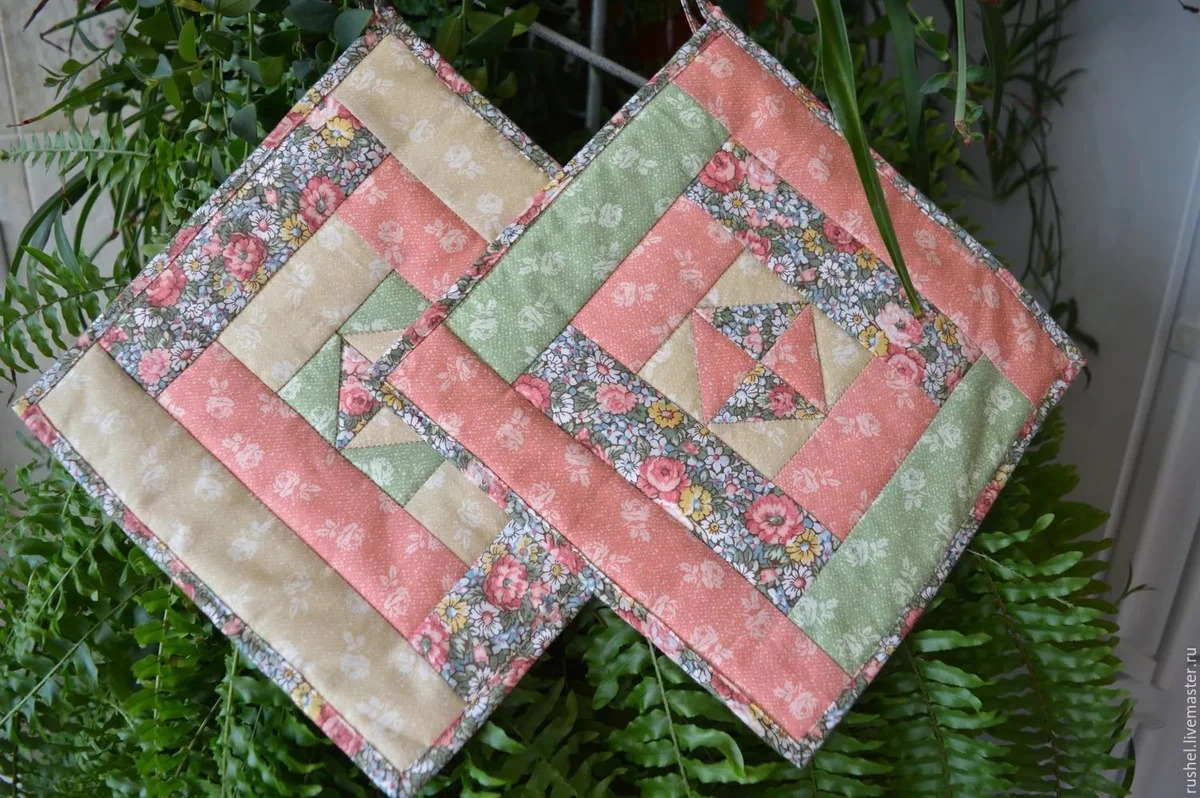
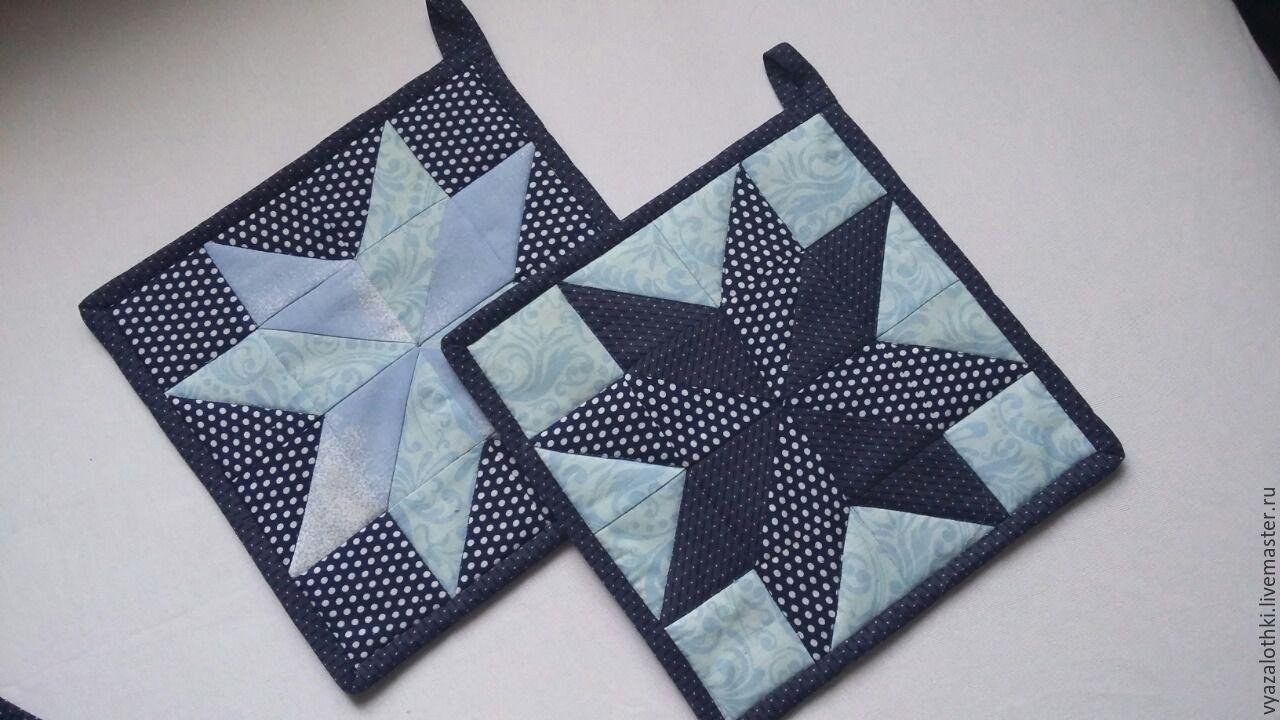
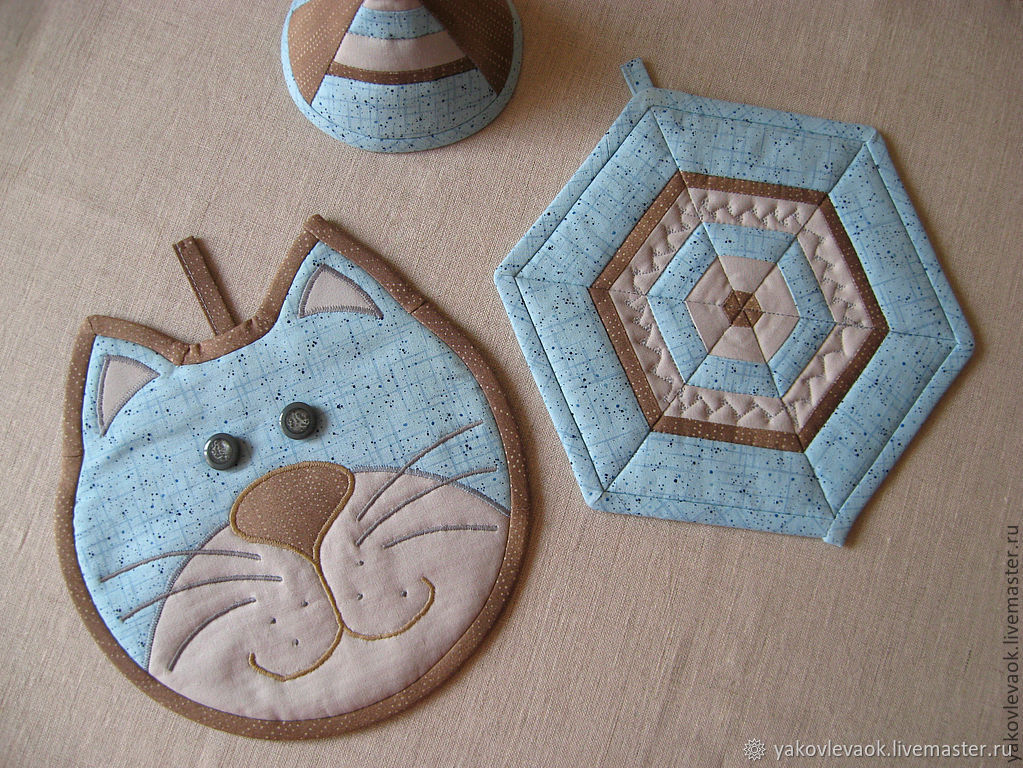
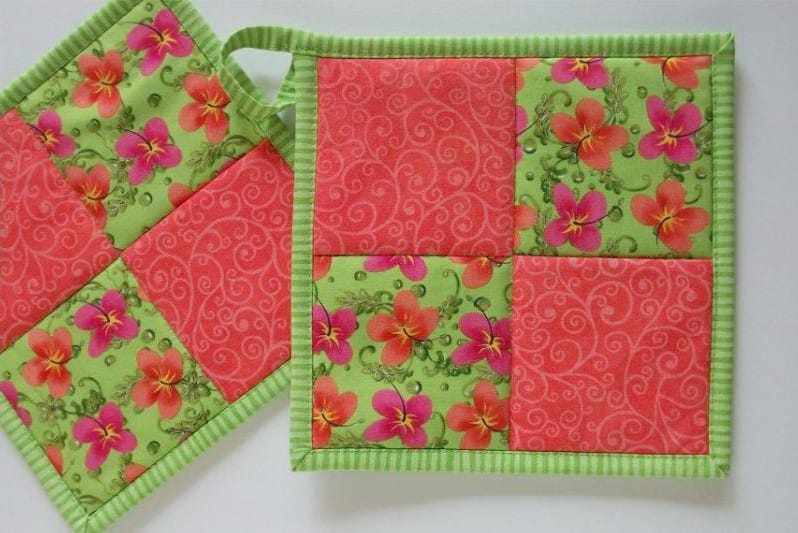
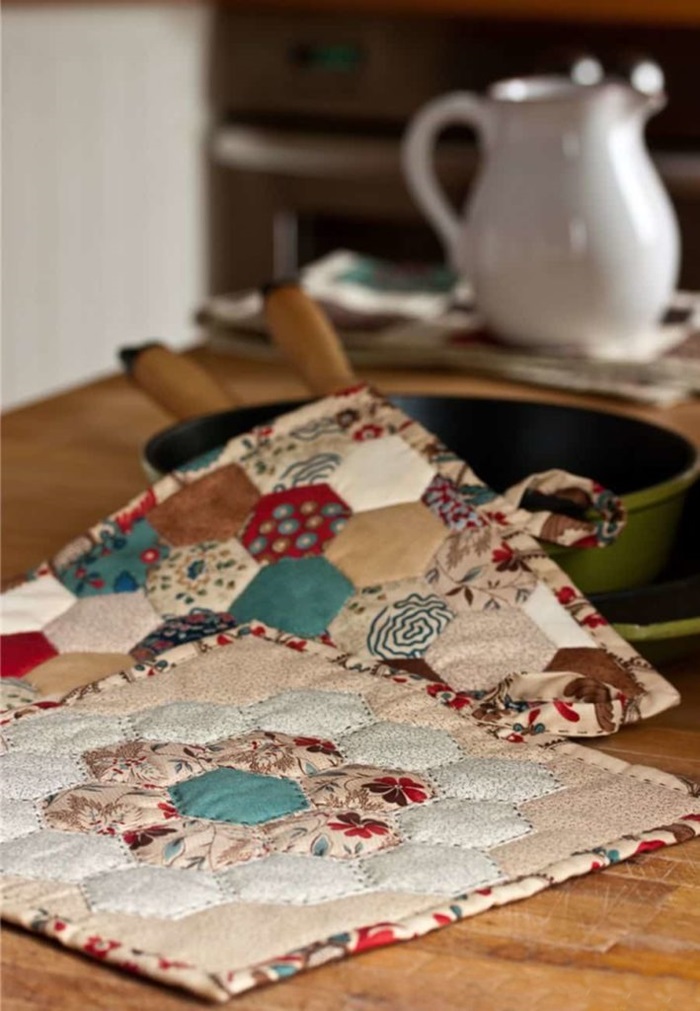
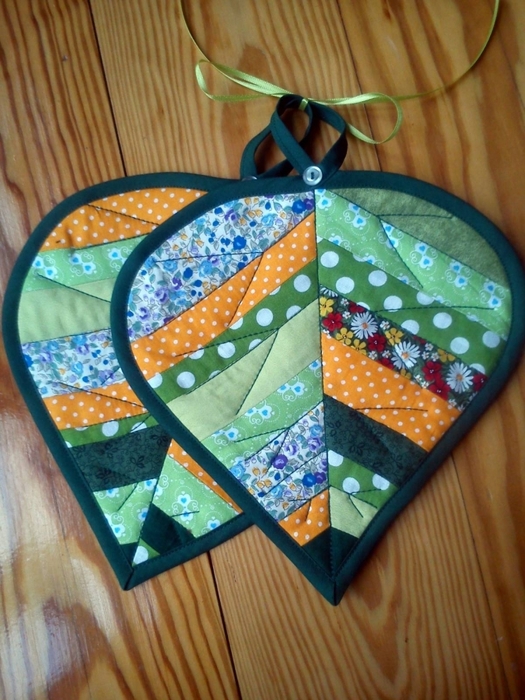
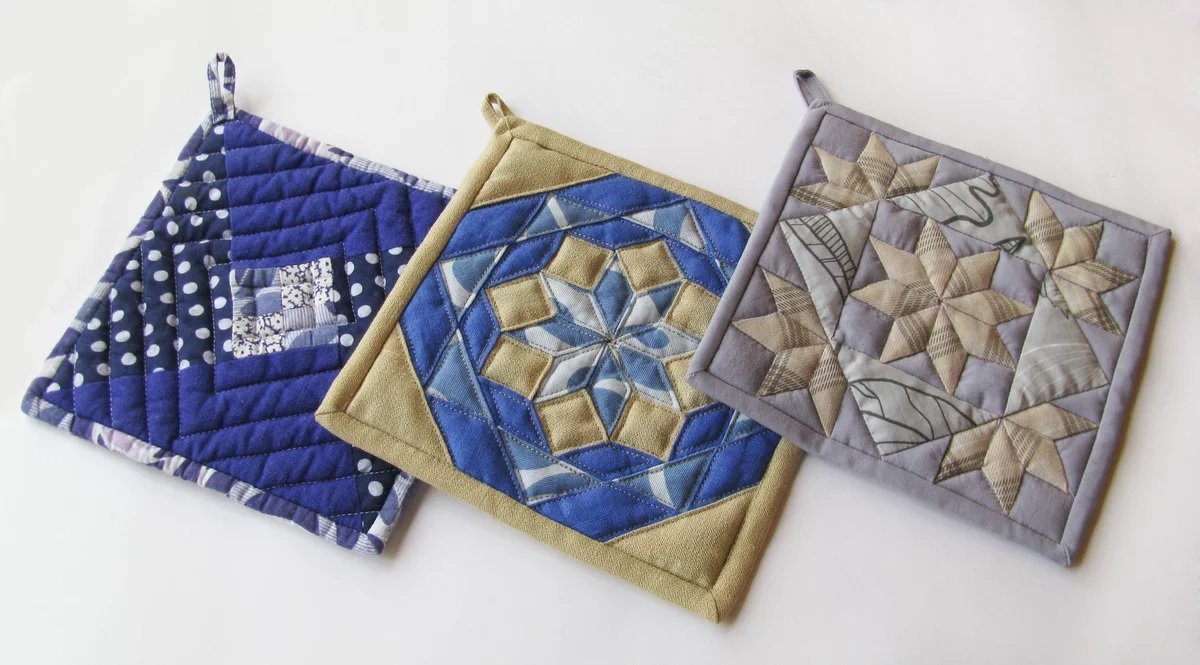
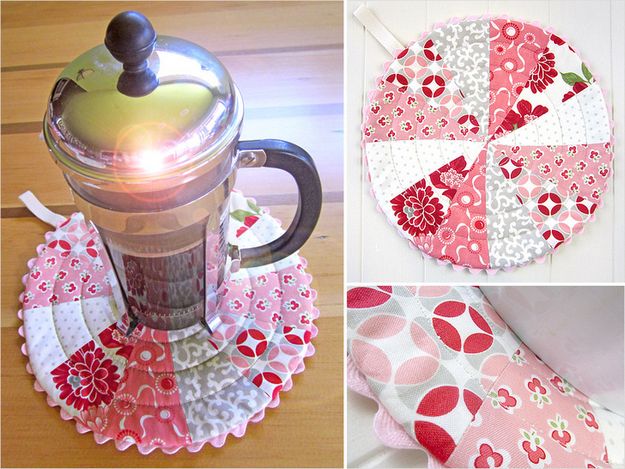
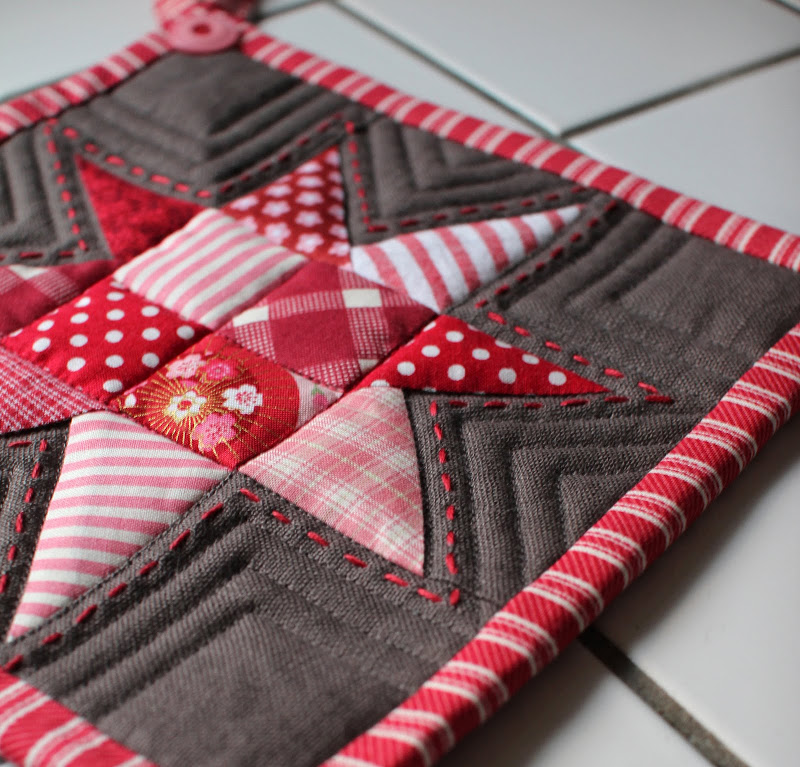
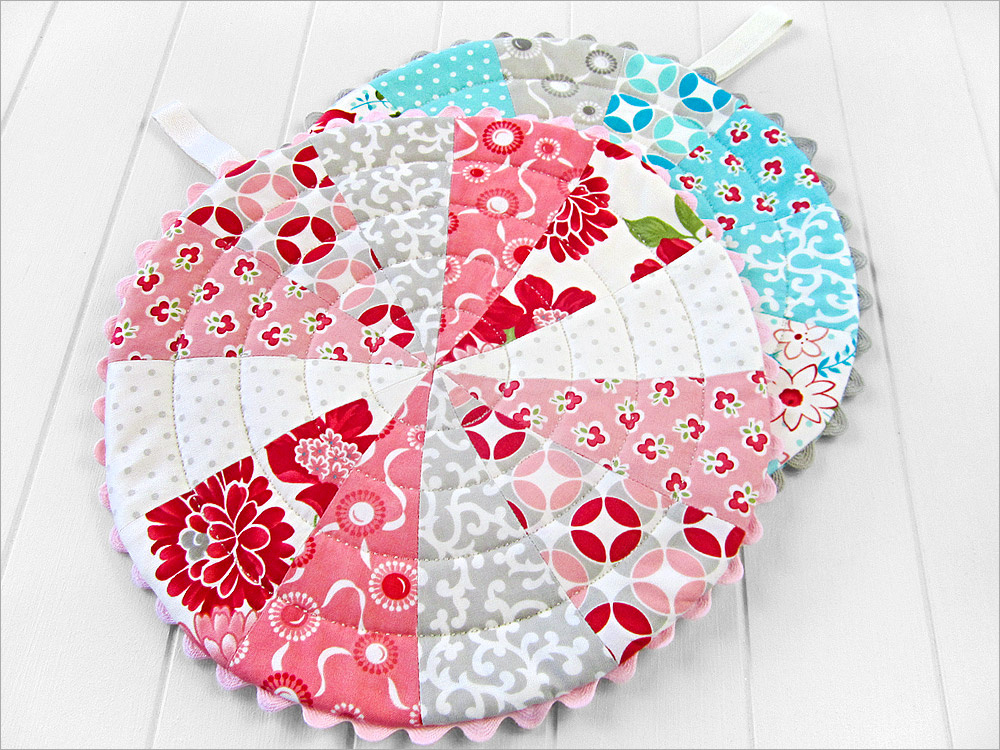
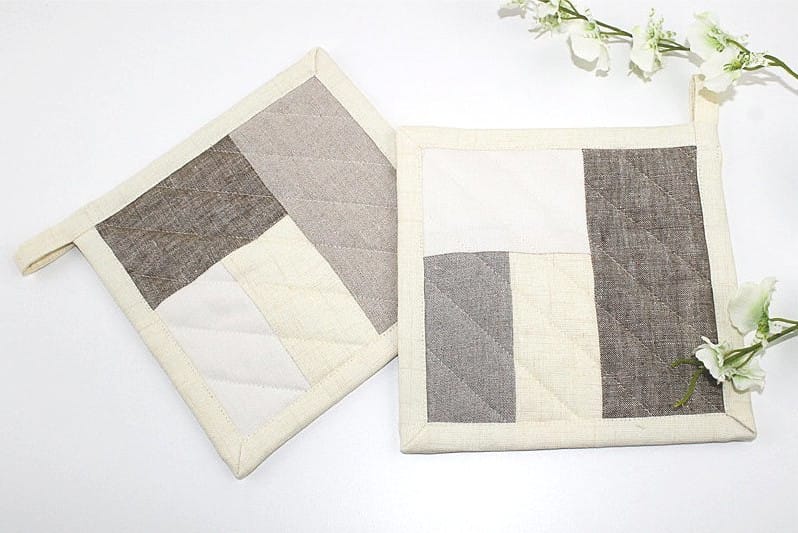
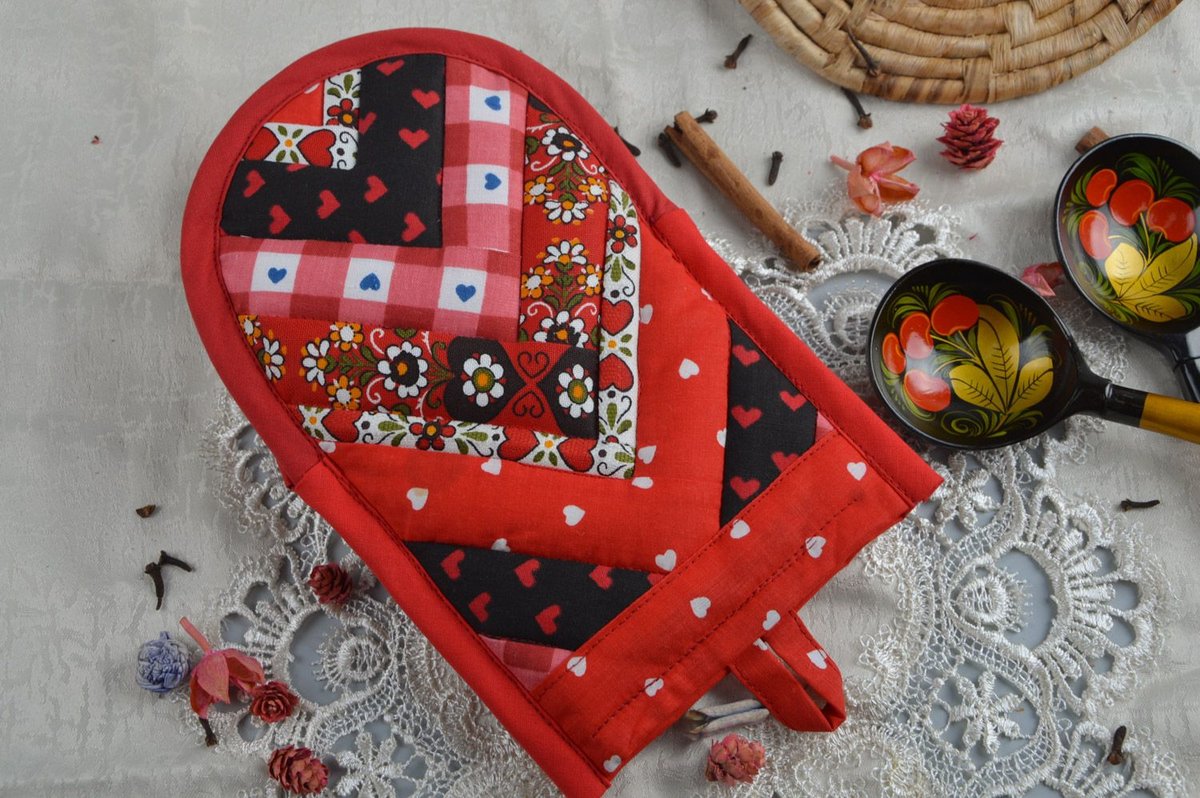
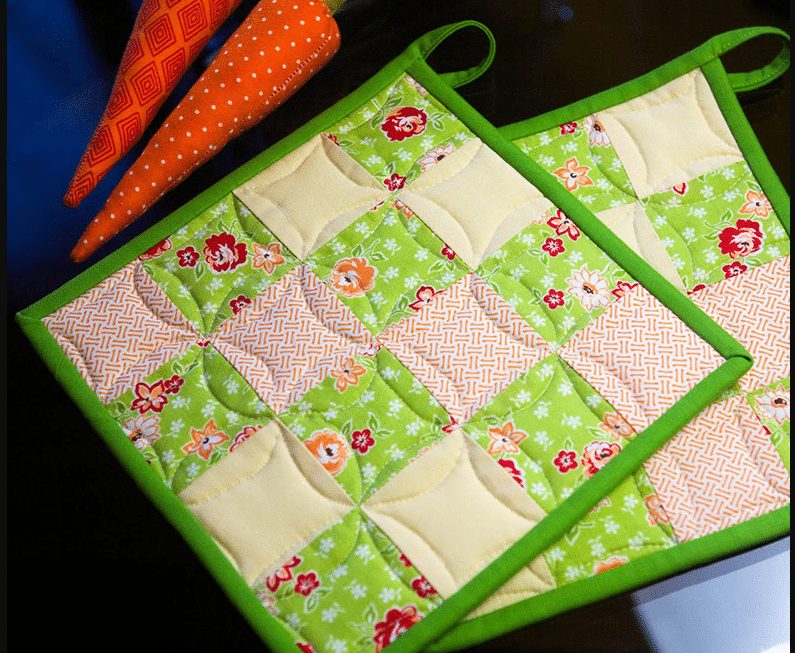
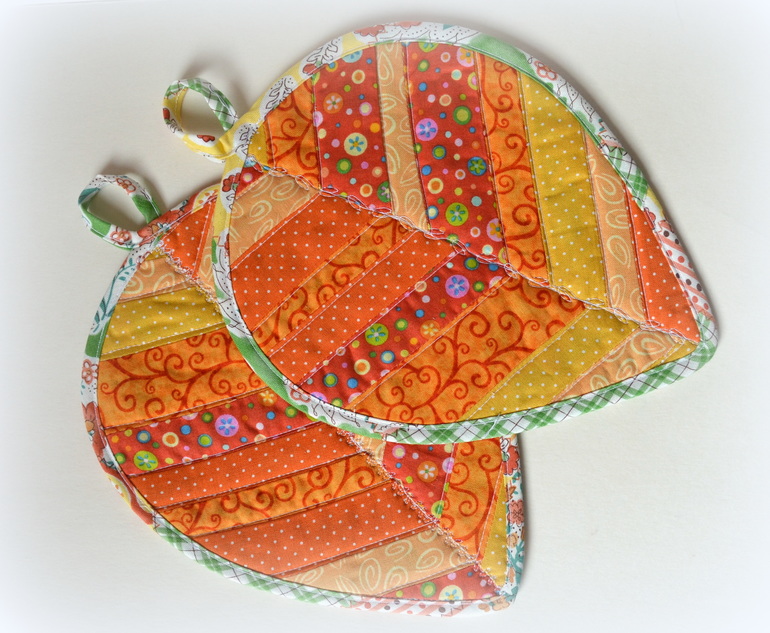
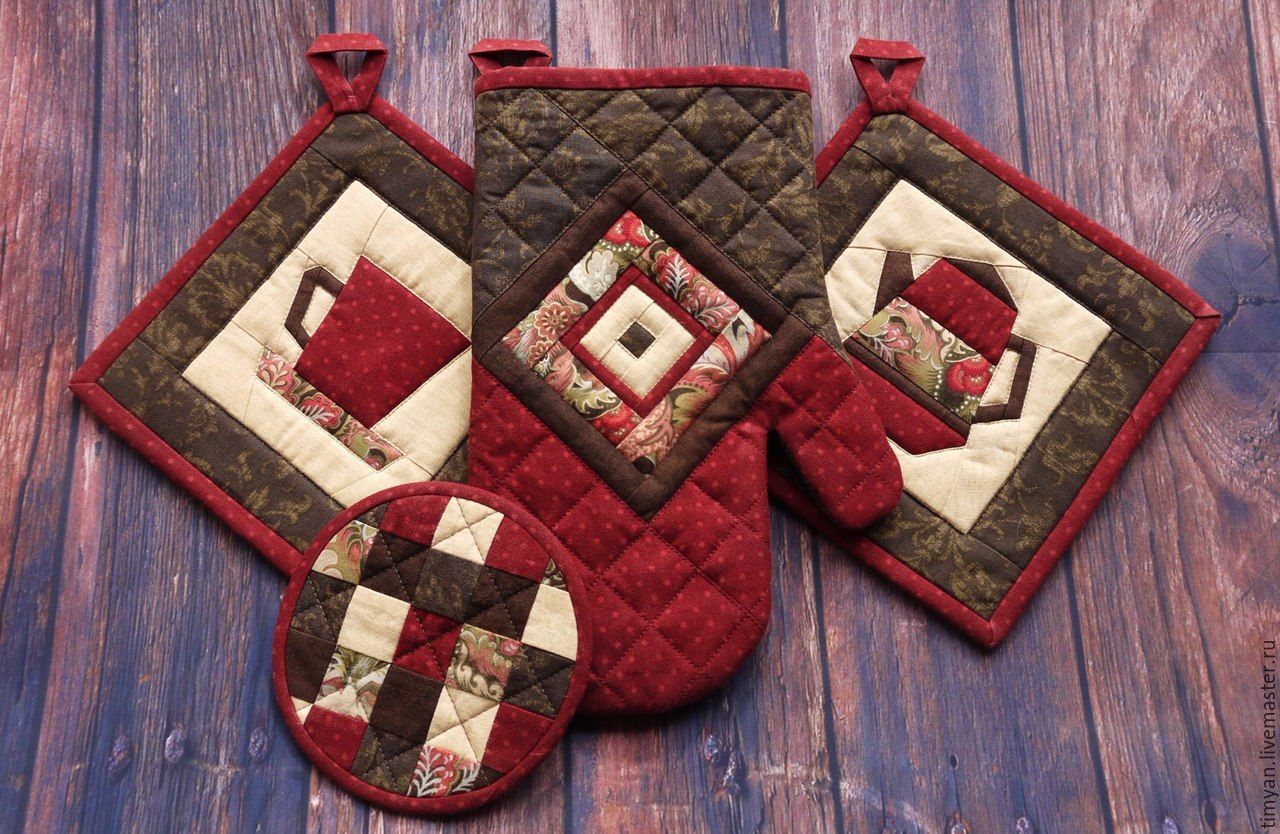
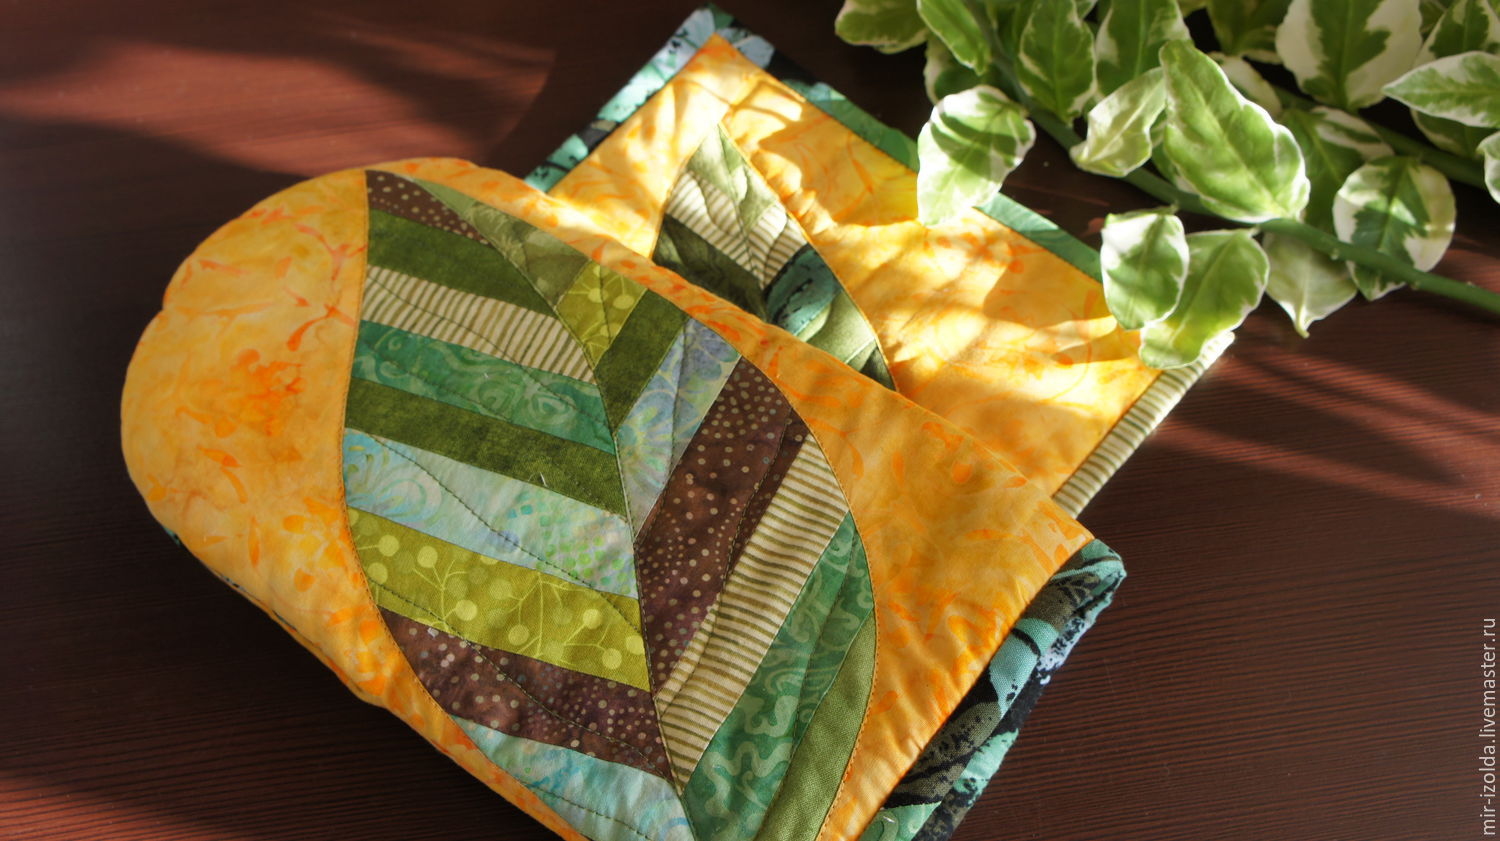
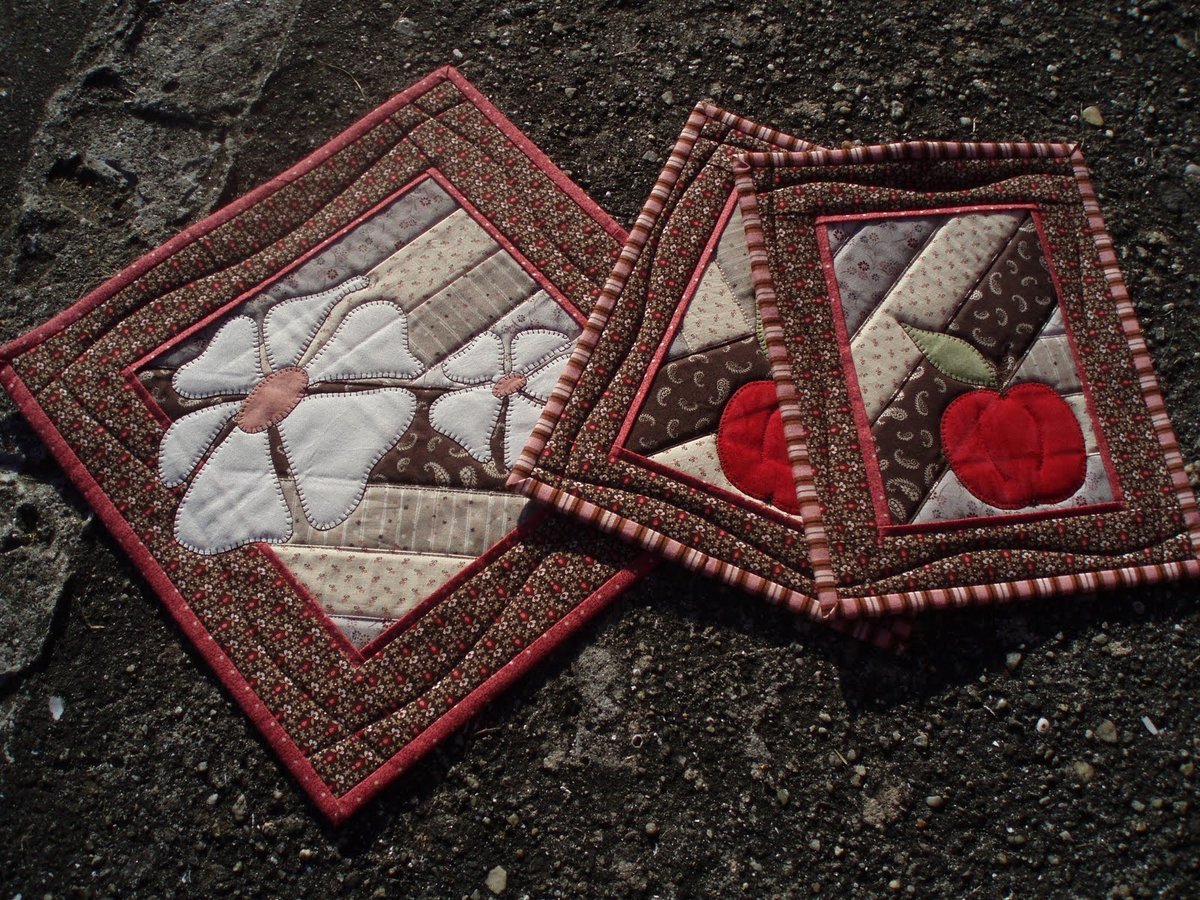
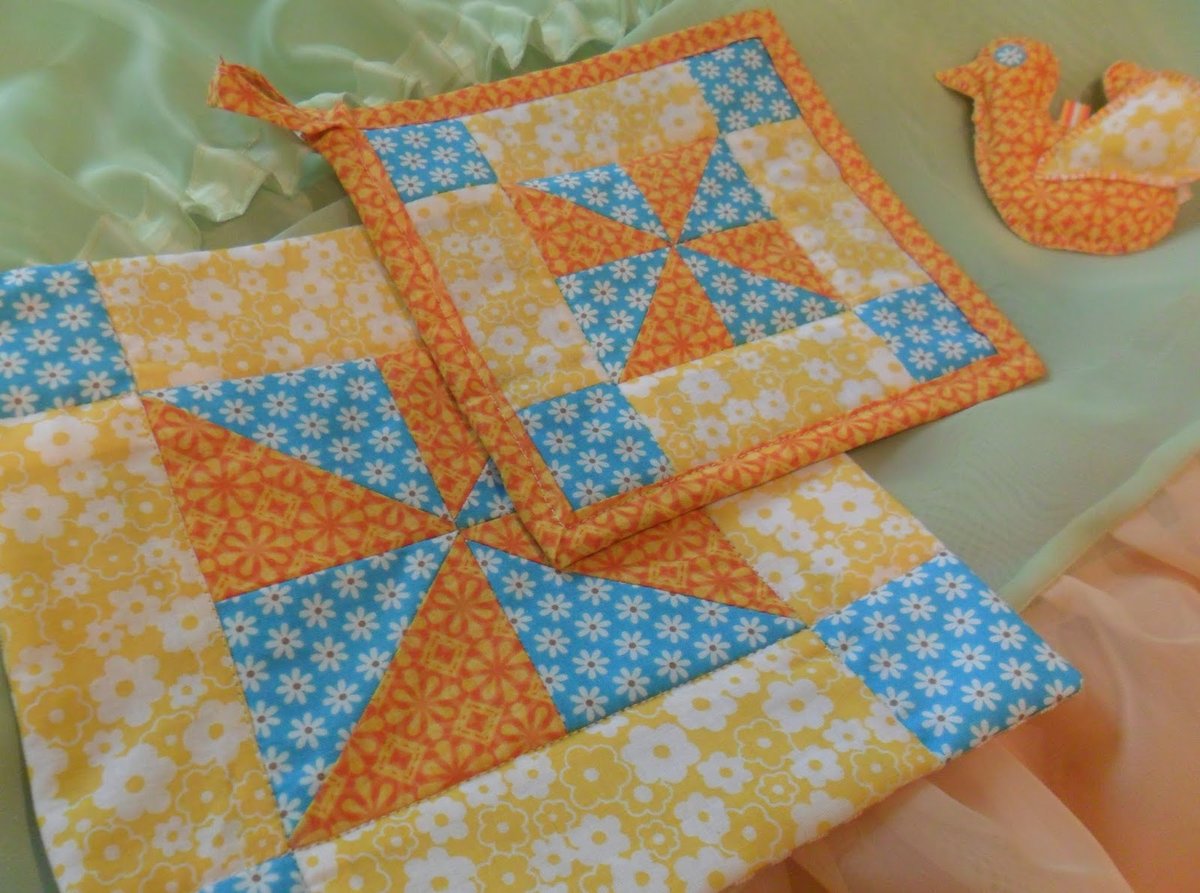
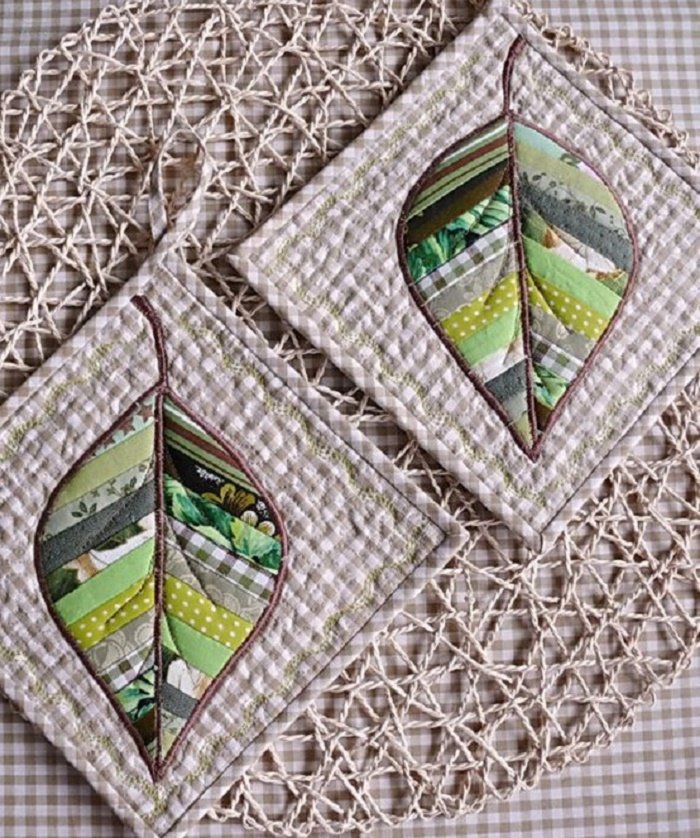
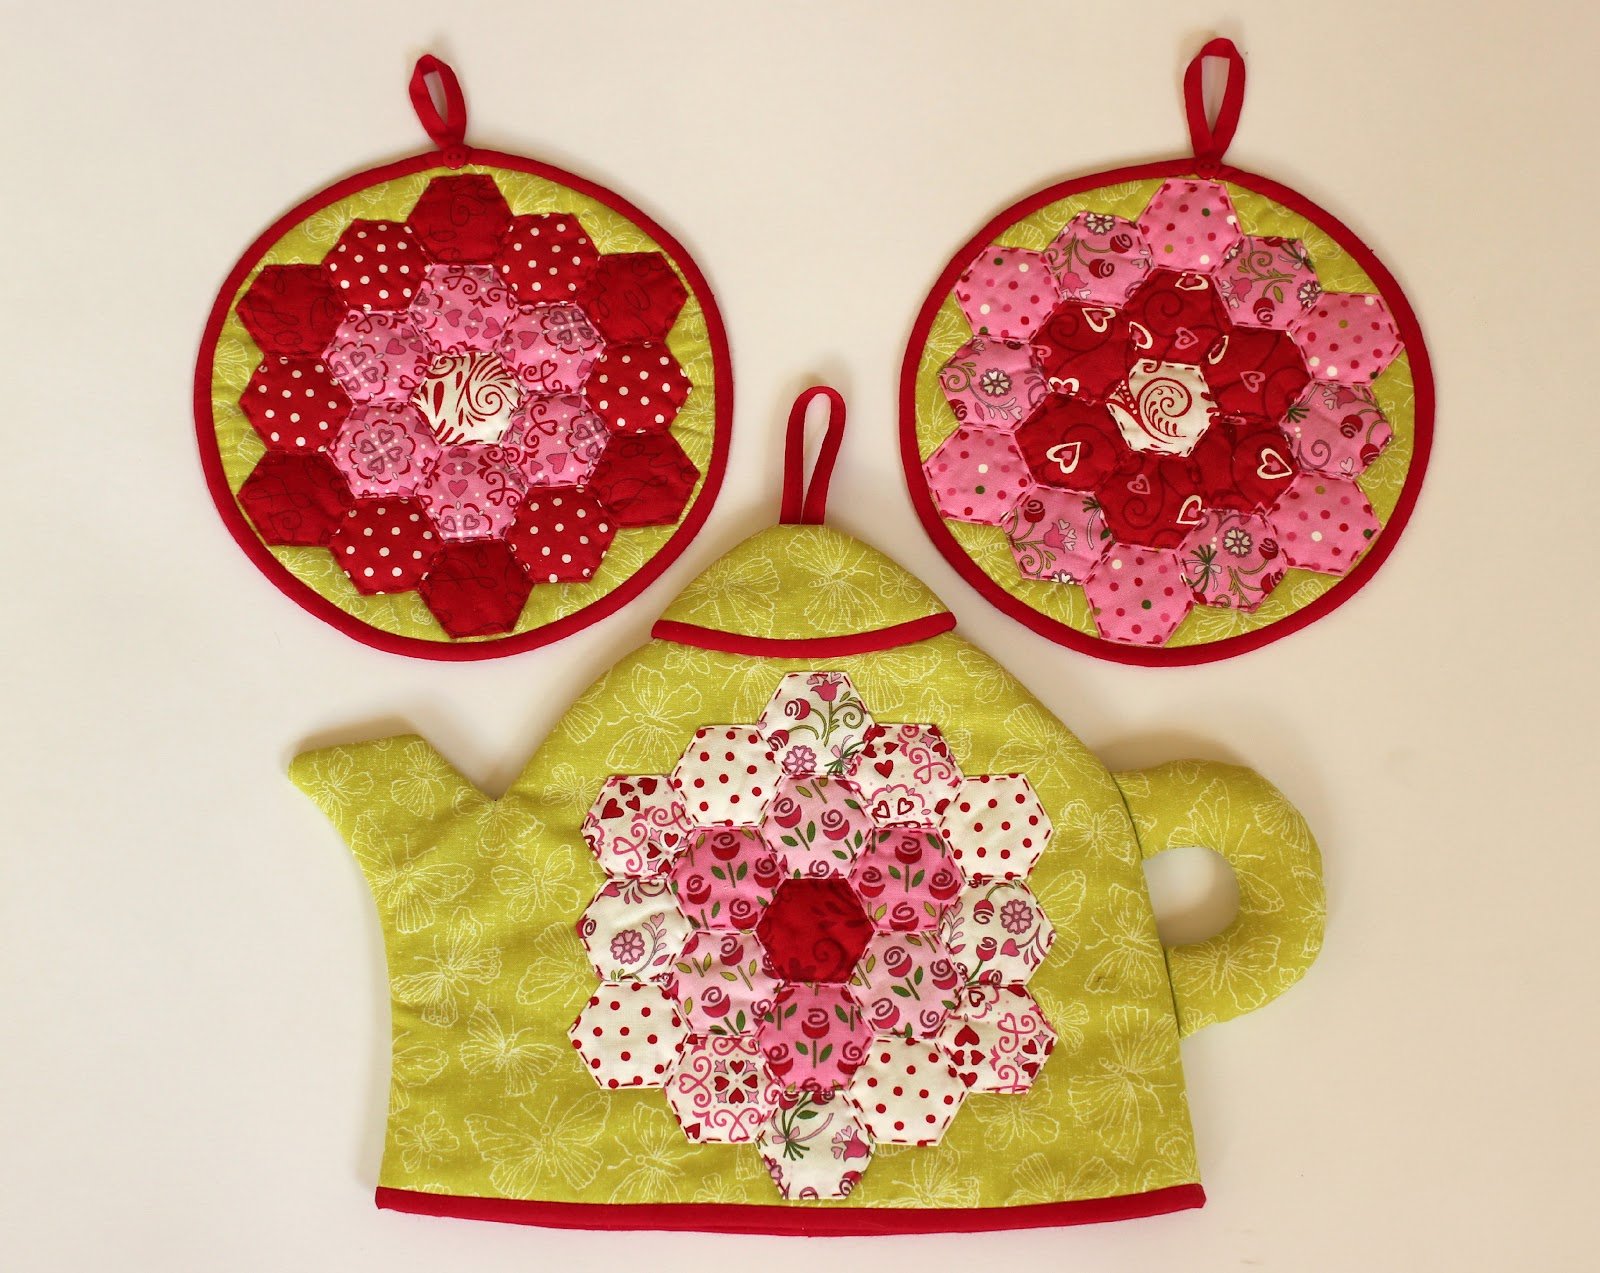
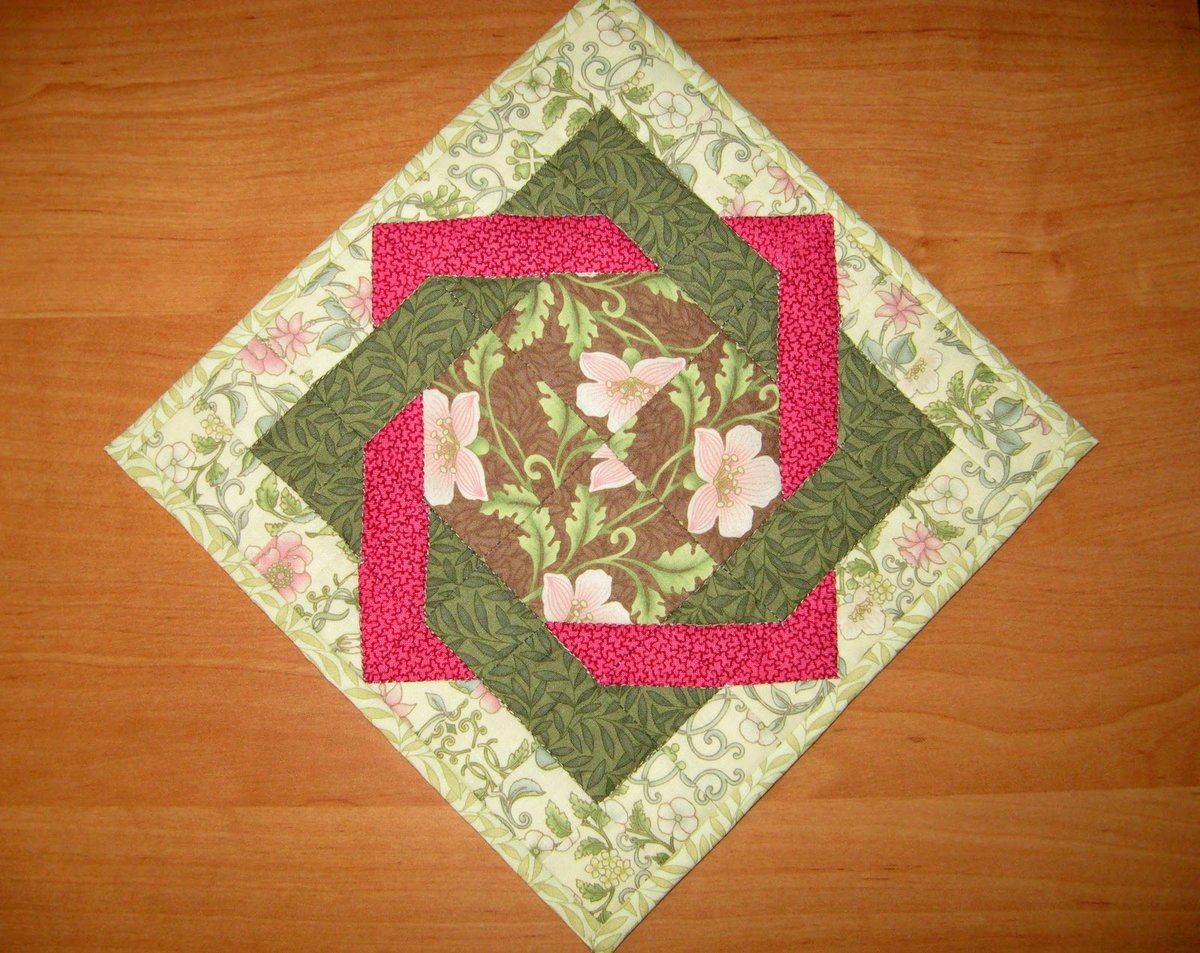
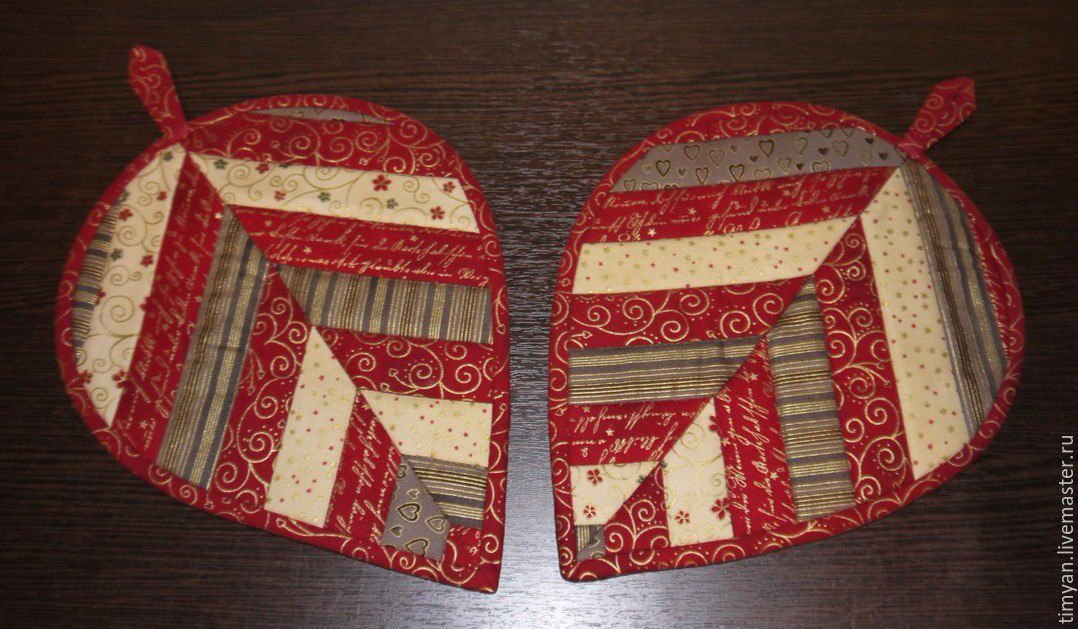
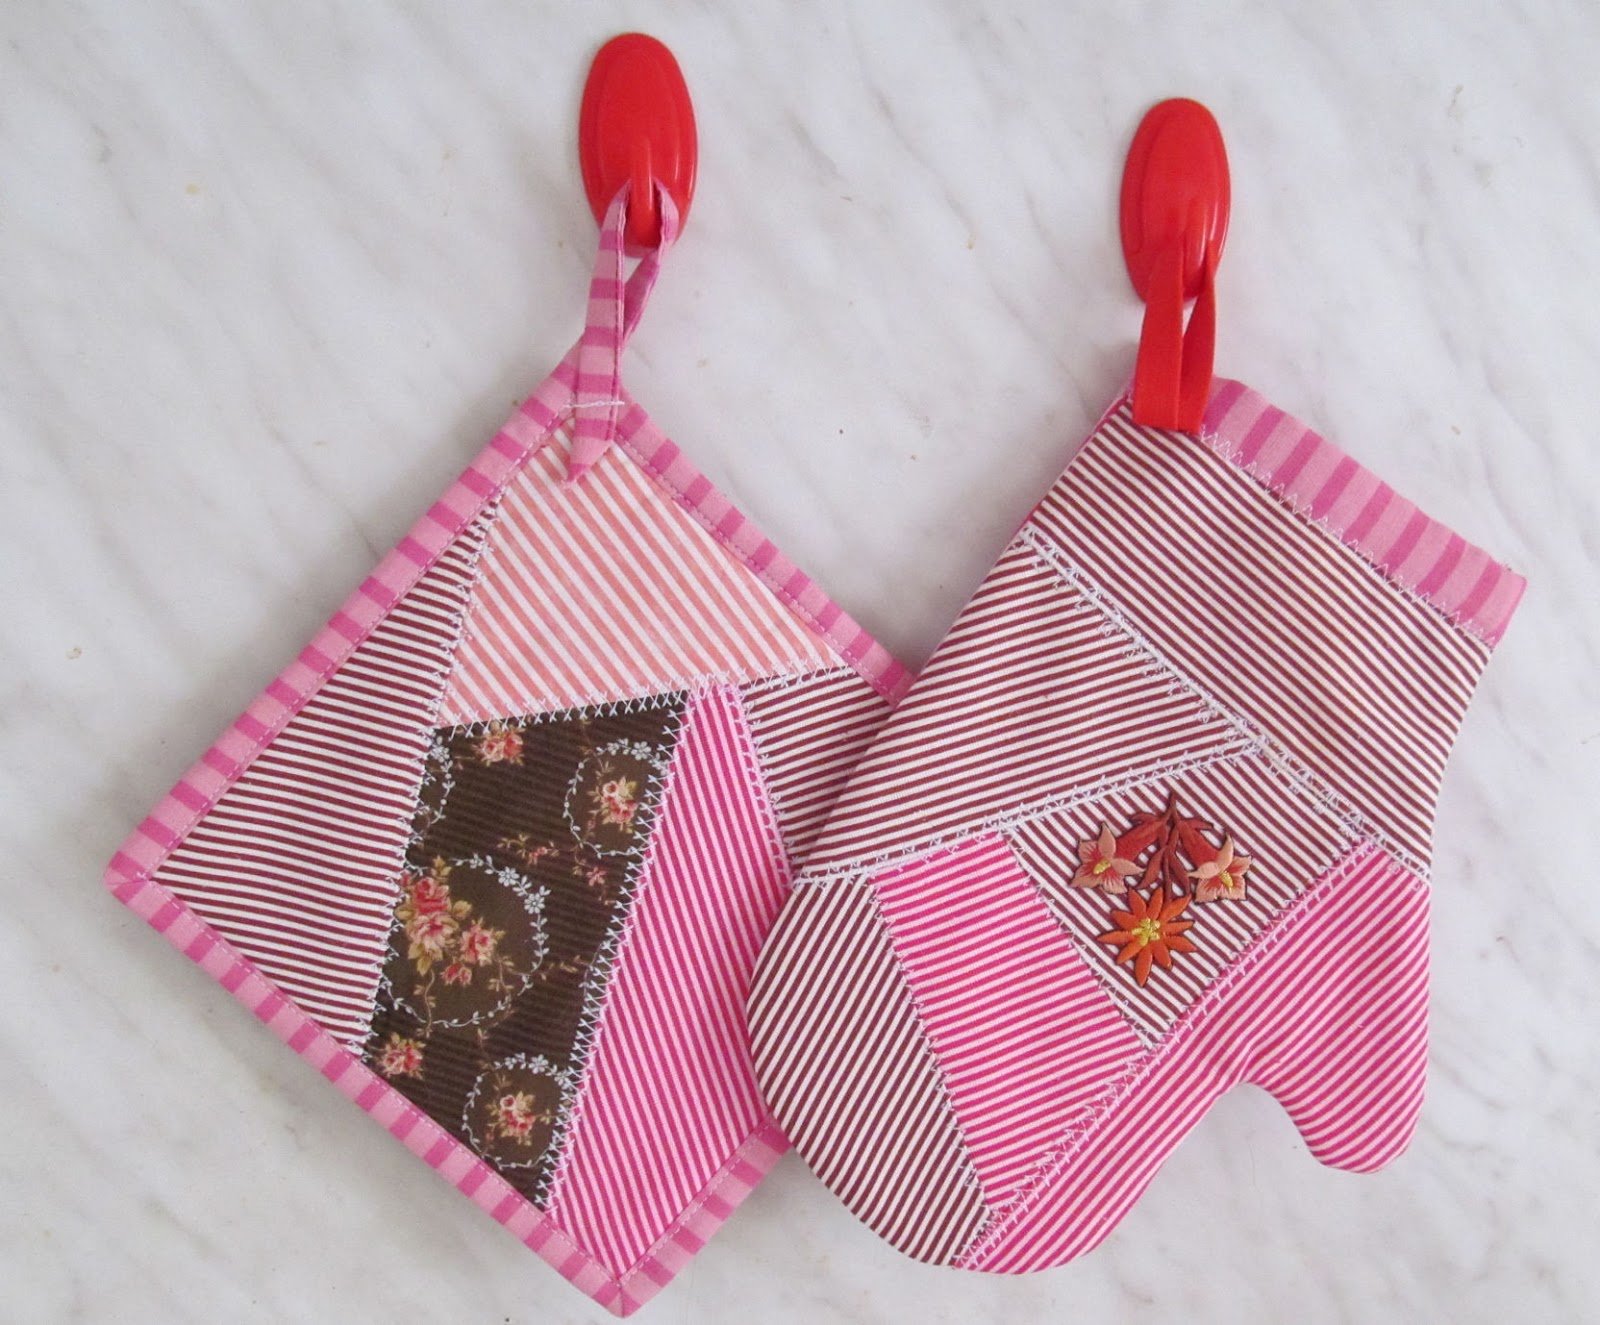
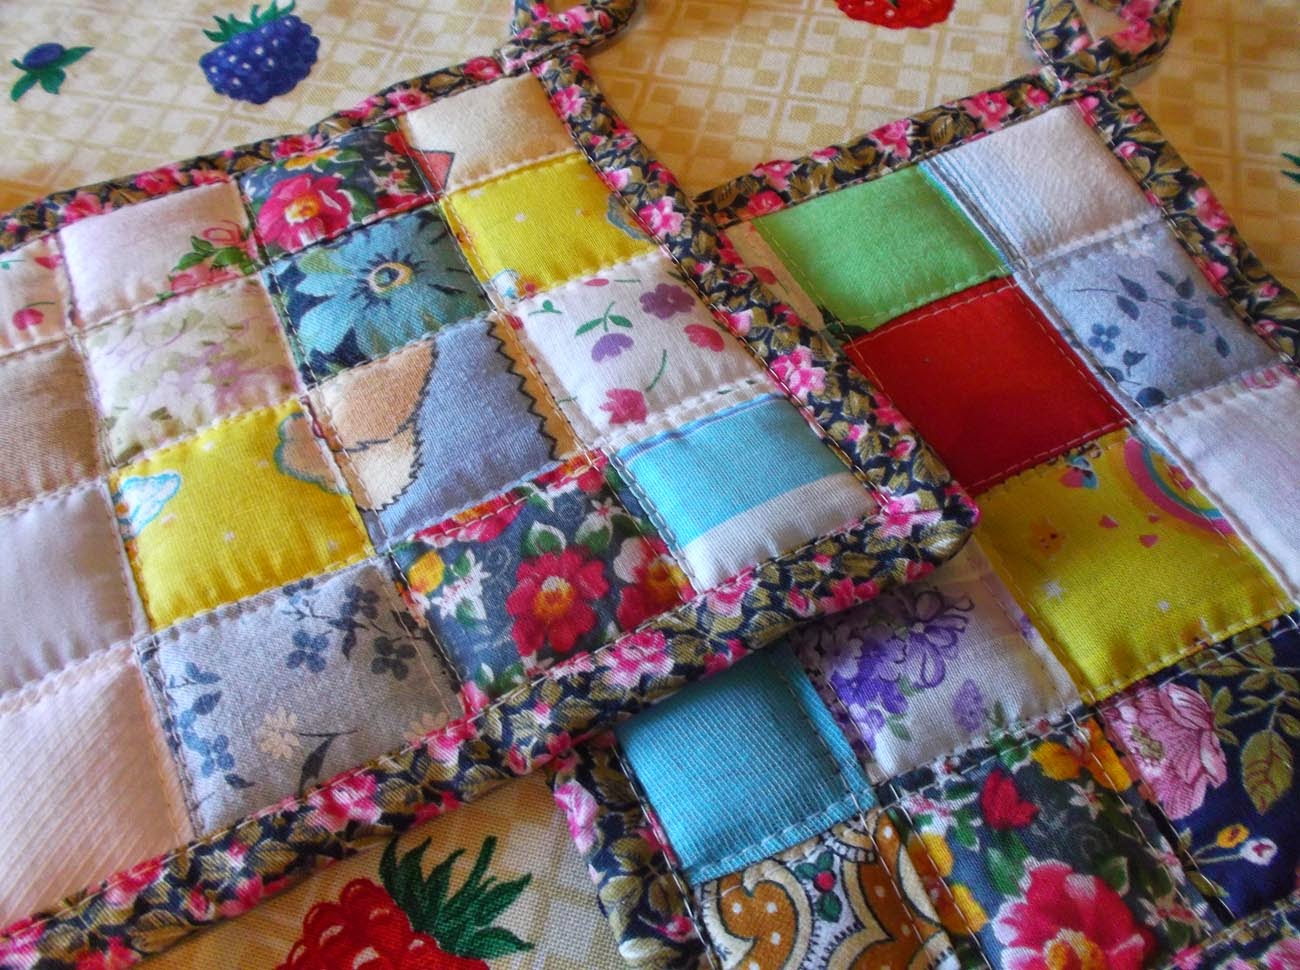
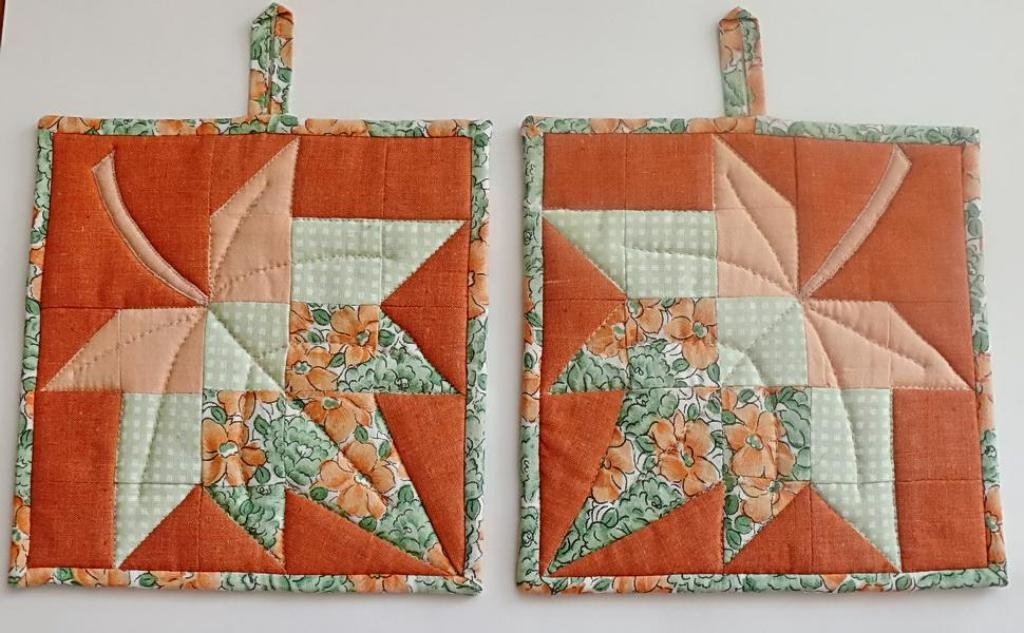
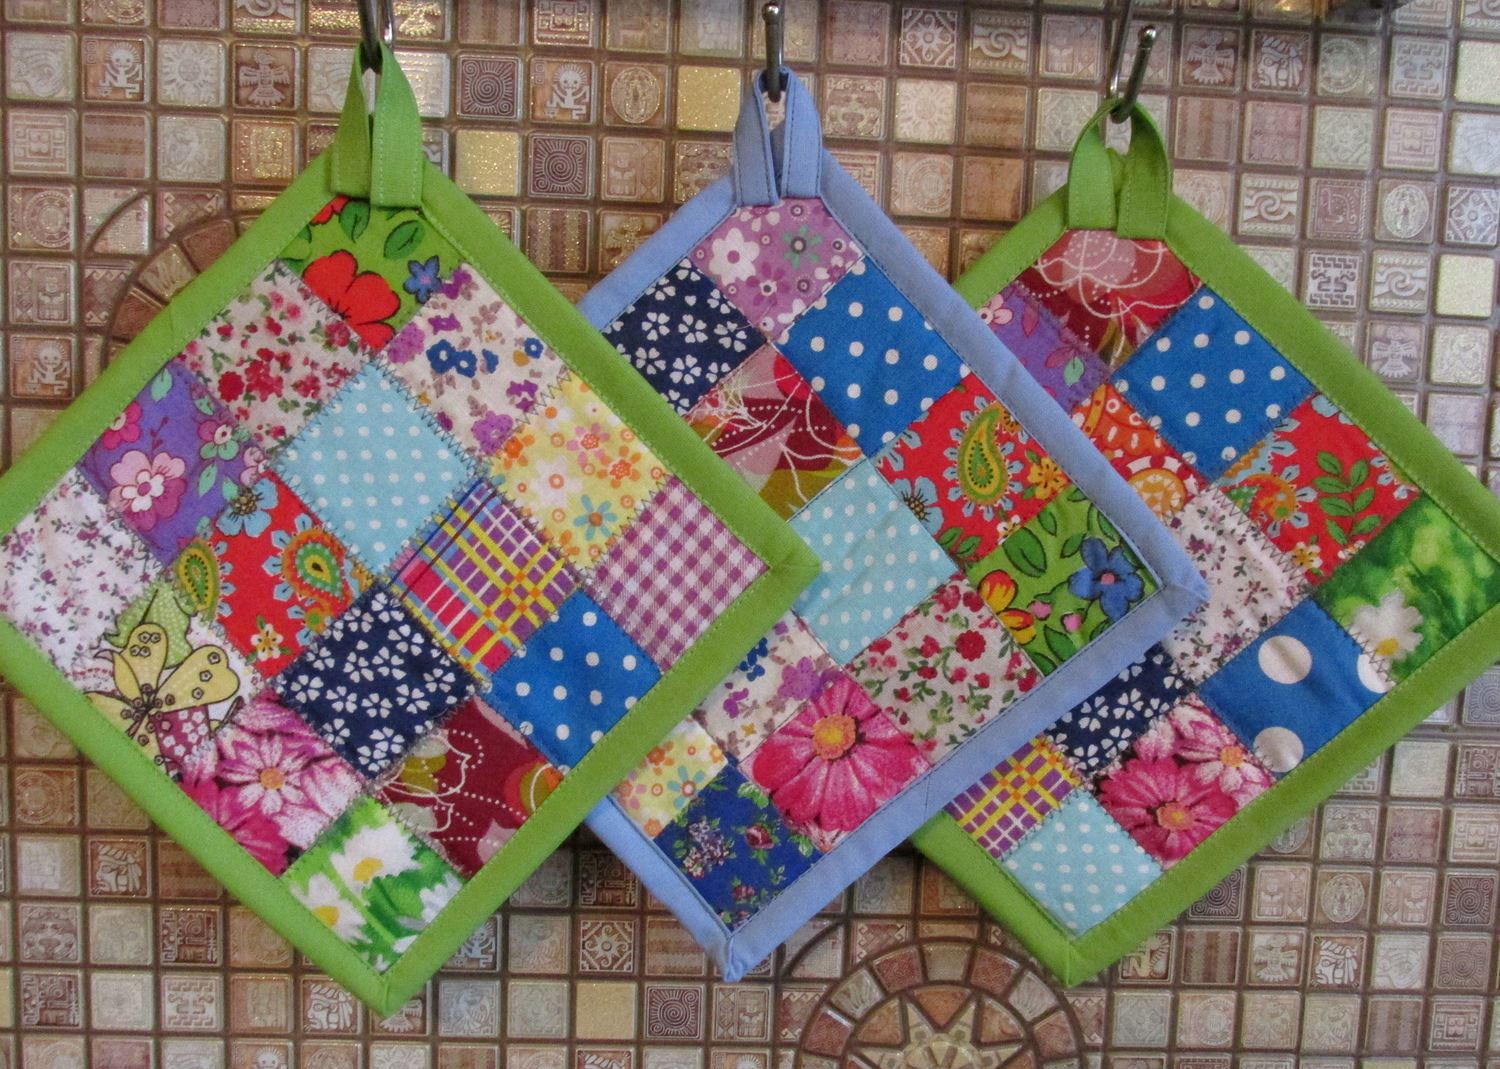
Patchwork Potholders
Patchwork is a difficult but very interesting technique. Potholders in this style look intricate, you can play with color combinations and shapes.
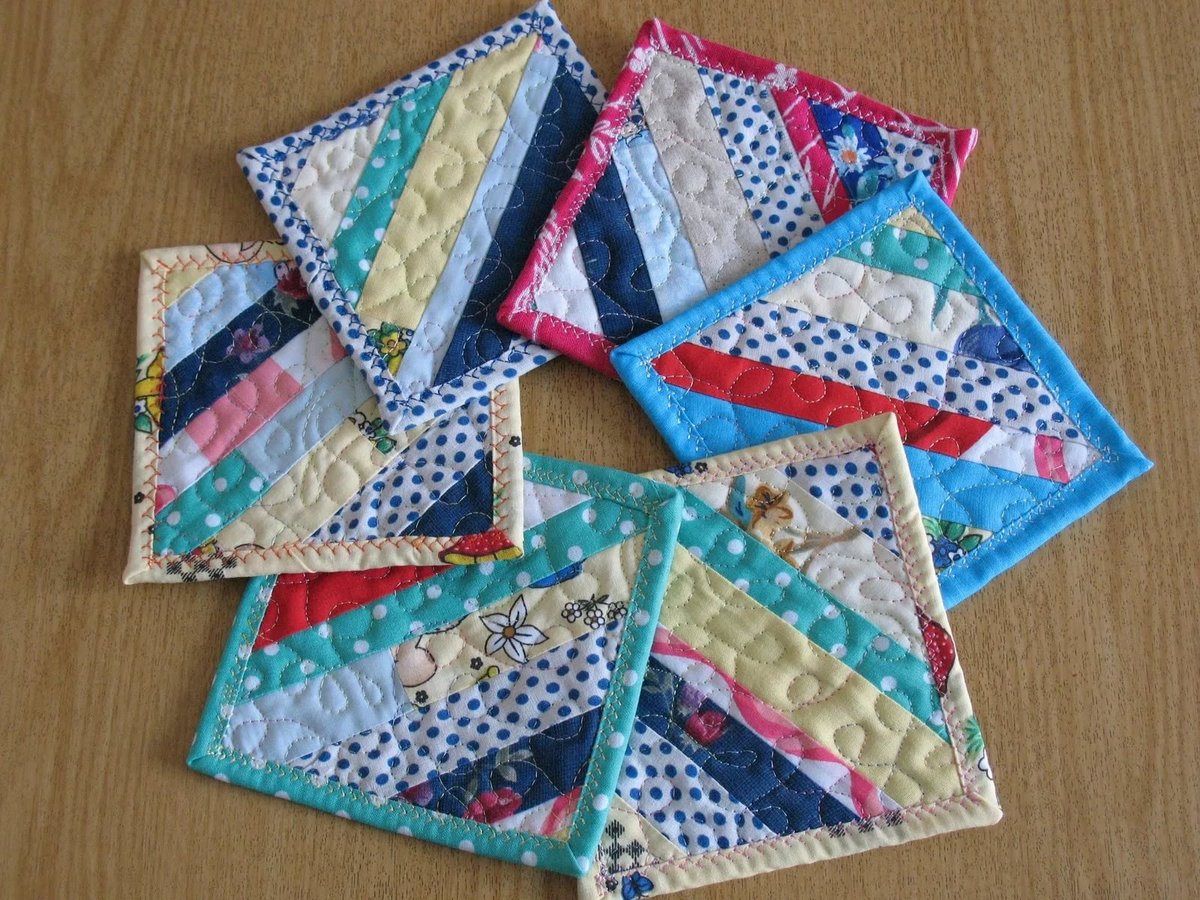
What you need for the potholder:
- scraps of fabric;
- filler;
- braid for loop;
- tools.
Step by step production
- Decide on the shape of the potholder. Beginners should not start with mittens or intricate animals. It is better to use geometric figures as a basis.
- Cut strips or squares from the scraps and fold them to get the desired shape and size of the potholder.
- Sew small patches together. Make two identical parts.
- Fold in the following way: fabric pieces with the right sides facing inward, with a layer of filling on top.
- Sew the potholder around the perimeter, leaving an opening for turning.
- Carefully turn the potholder inside out, straighten out the filling, you can additionally quilt, but along the seams between the patches.
- Insert the loop and sew up the previously left hole along with it.
But they look very cute even without this, especially when combining materials with different prints.
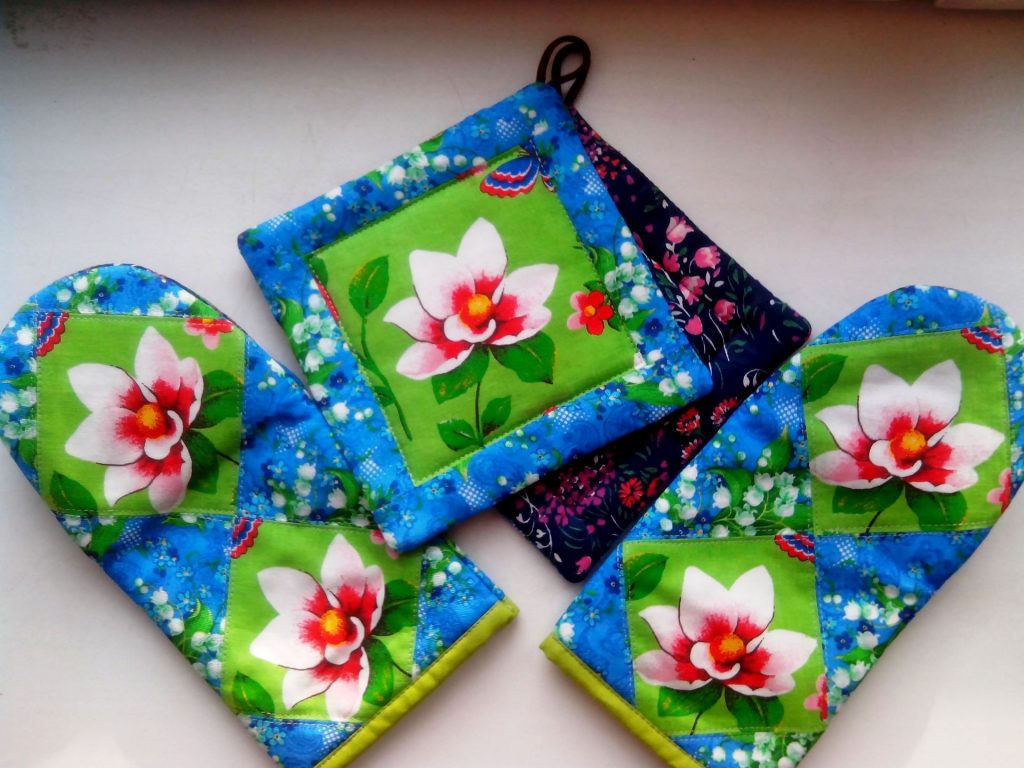
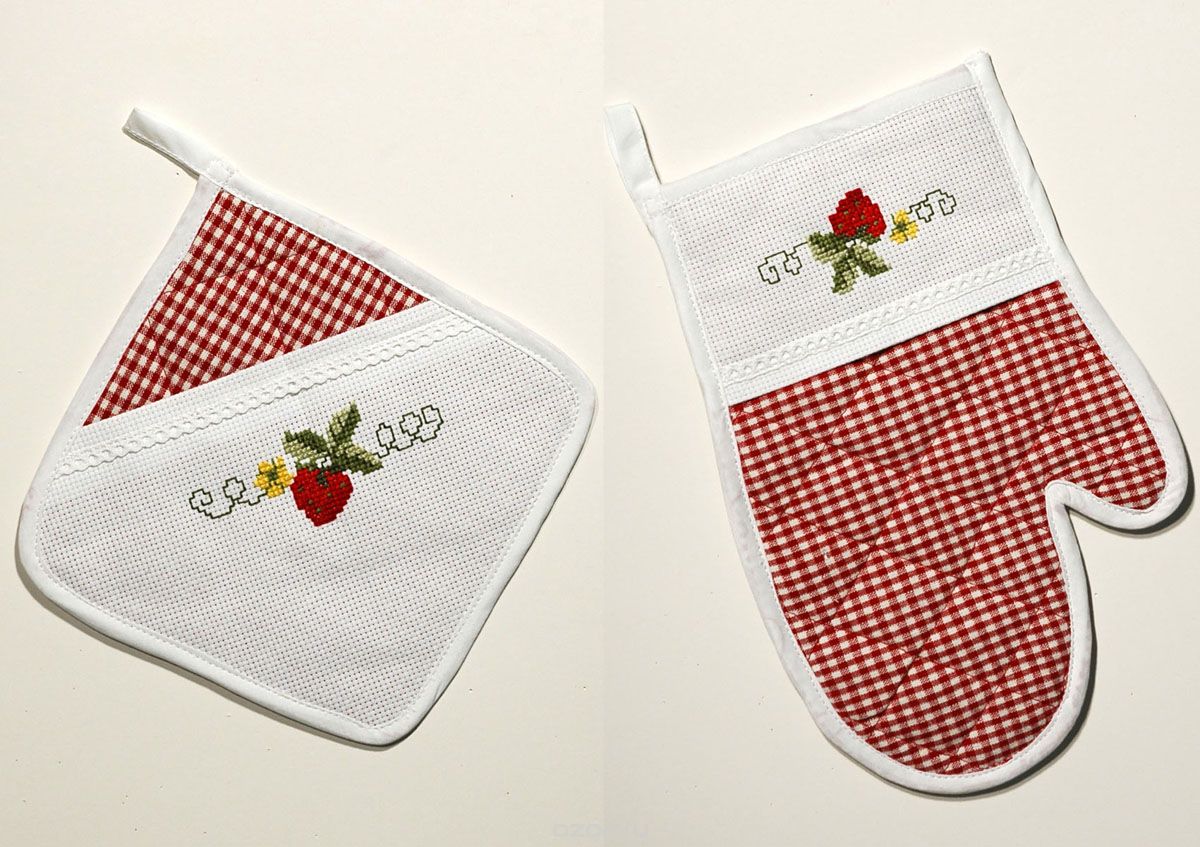
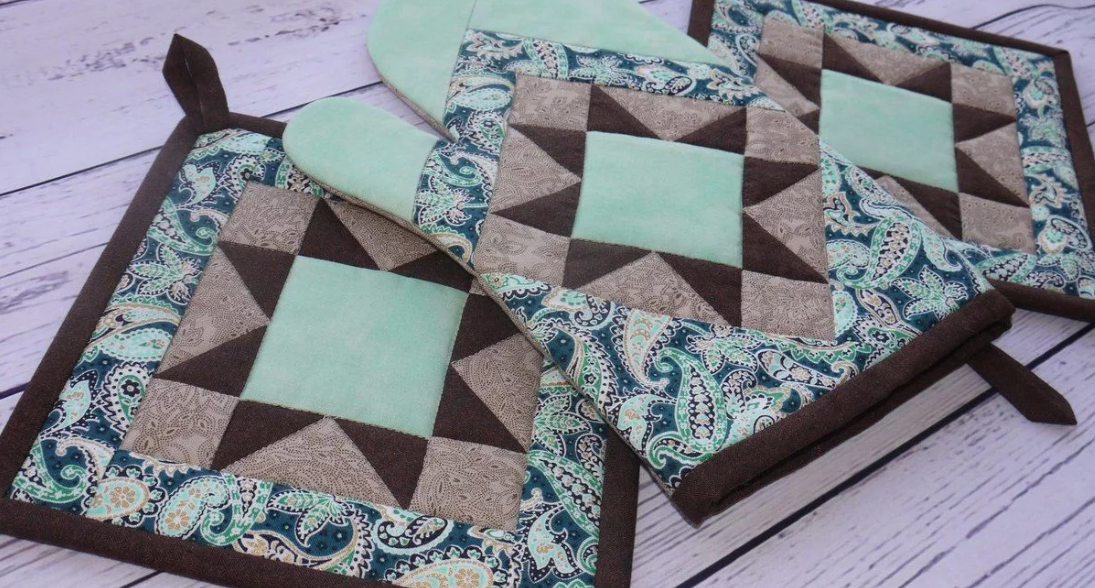
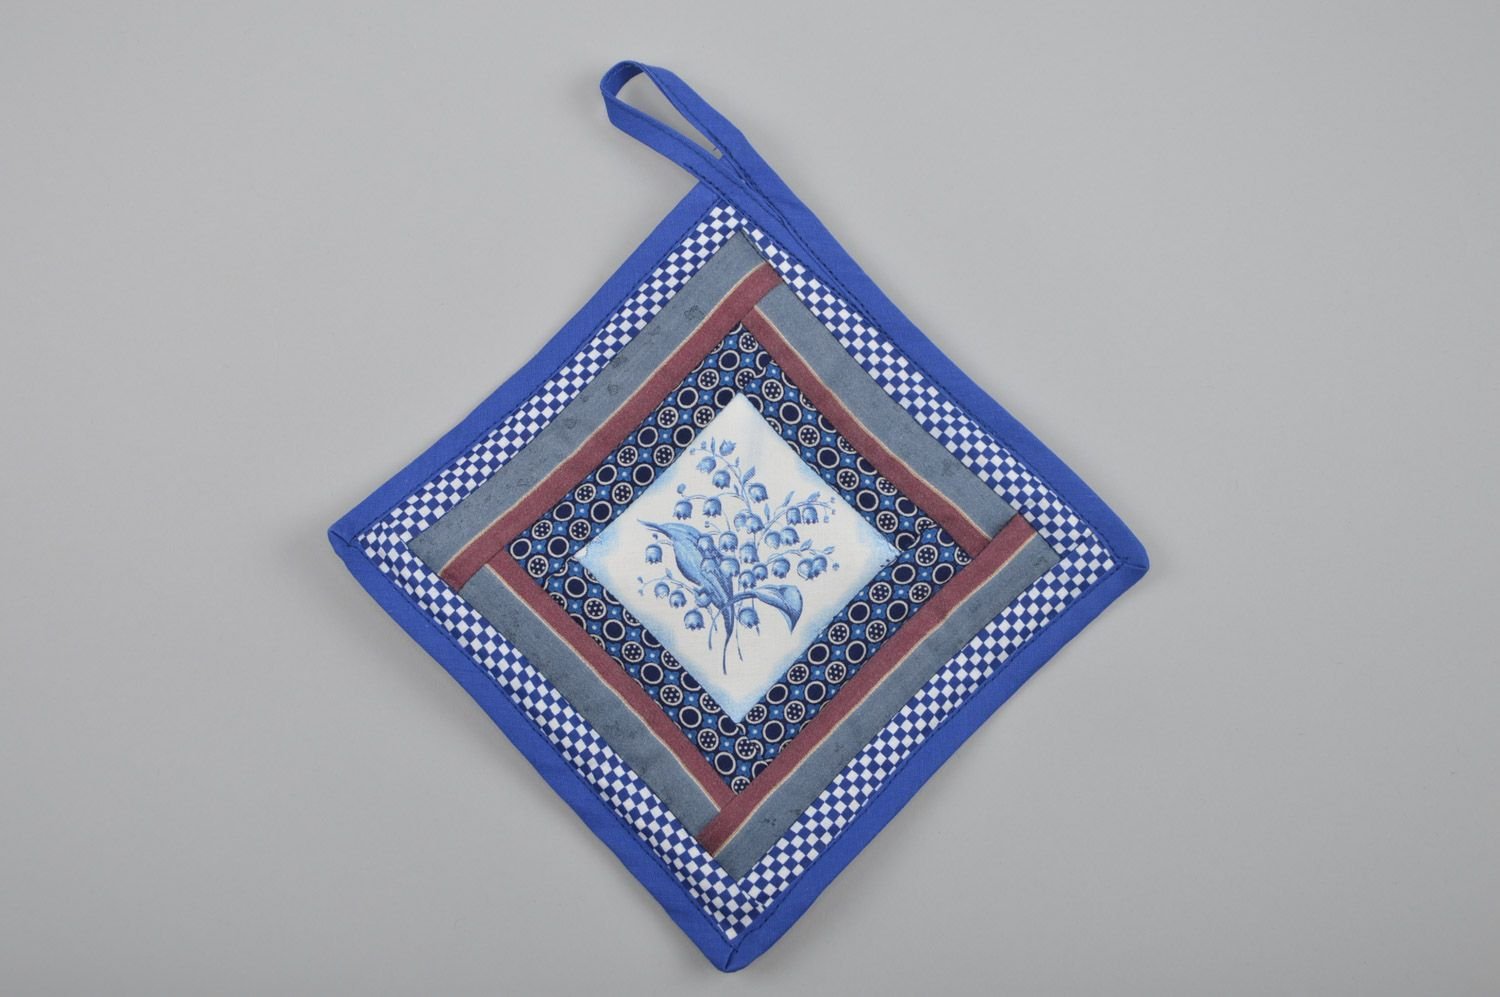
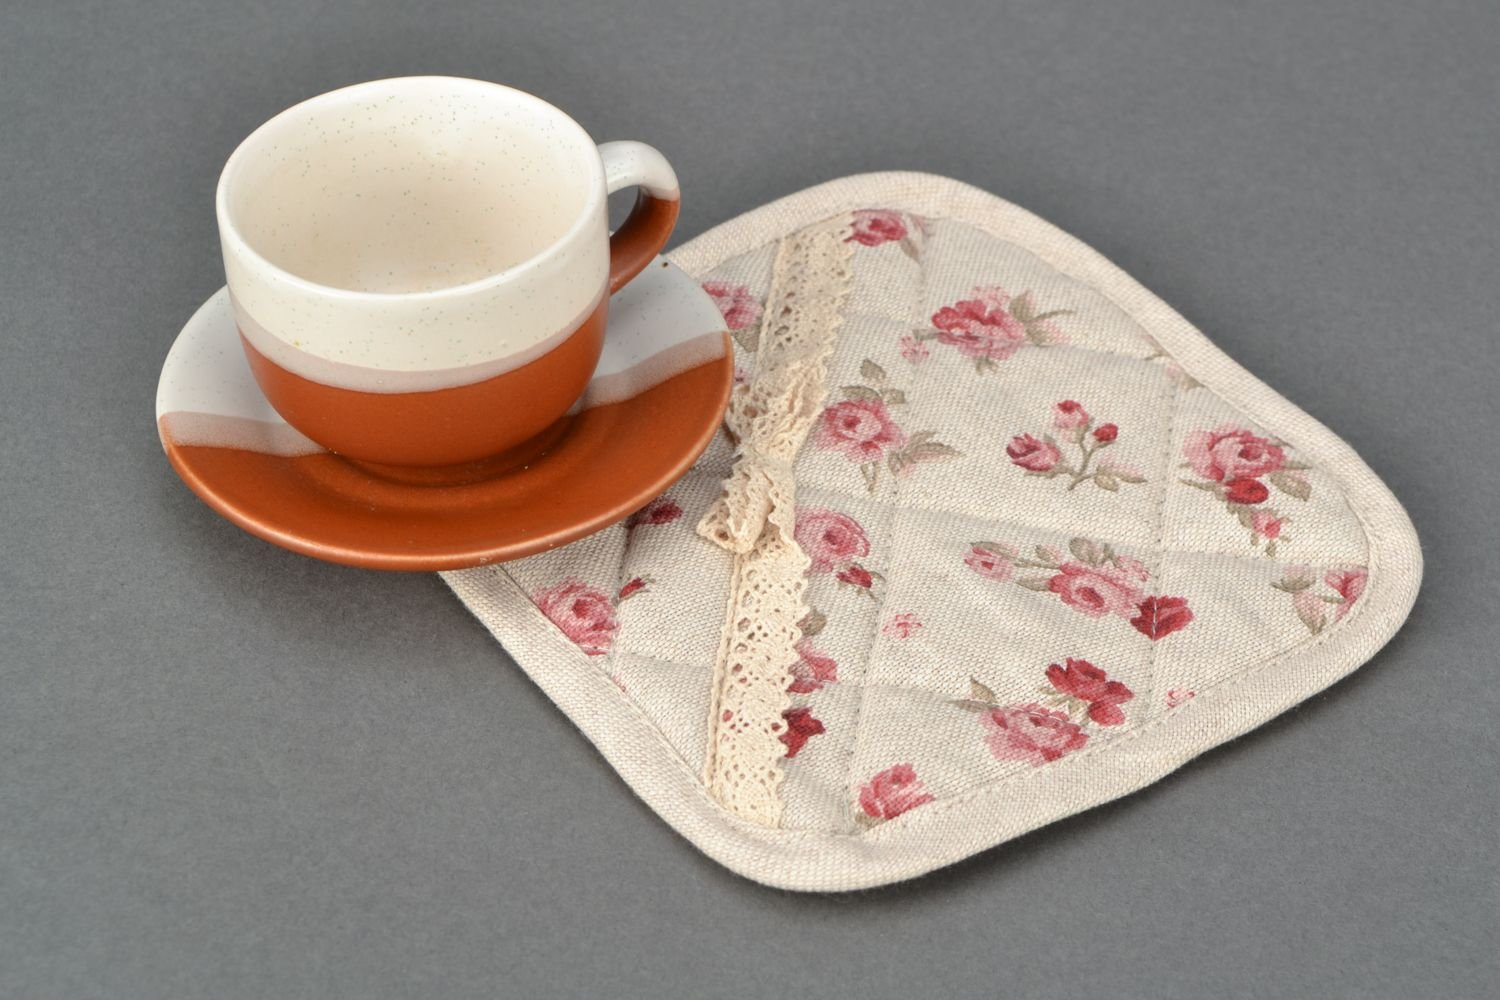
How to sew a square potholder for the kitchen with your own hands
The simplest, but also the most popular are square potholders. They are easy to use and easy to sew. In addition, they can be a great pair for a mitten or a heart, a butterfly or a mouse. The manufacturing technology given here is also suitable for a rectangular or diamond shape. You just need to slightly increase the size on one side or change the location of the loop, sew it into the corner.
What you need to make it:
- fabric for both sides;
- filler;
- tools;
- ribbon or cord for the loop.
Step by step making of potholder
- Pattern. Draw a square with sides of 20 cm on a sheet of paper (you can use a newspaper). If desired, fold it twice, round the corners.
- Transfer the paper onto the material and filler folded in two layers, outline, and make seam allowances of at least 0.5 cm on all sides.
- Cut out two pieces of fabric, fold them face-to-face. Cover with stuffing on top. Make sure the edges match.
- Stitch or needle stitch all the pieces together, leaving an overlap. Leave a small pocket.
- Turn the potholder right side out, straighten the filling inside. Sew up the opening, don't forget to insert the loop.
- If desired, make several lines across the fabric to securely fix the filler, trim the edge with tape, and decorate with appliqués.
Helpful advice! You shouldn't use voluminous ruffles for the edge of the potholder, especially if they are made of satin or other silk fabric that is easily flammable.
Conclusion
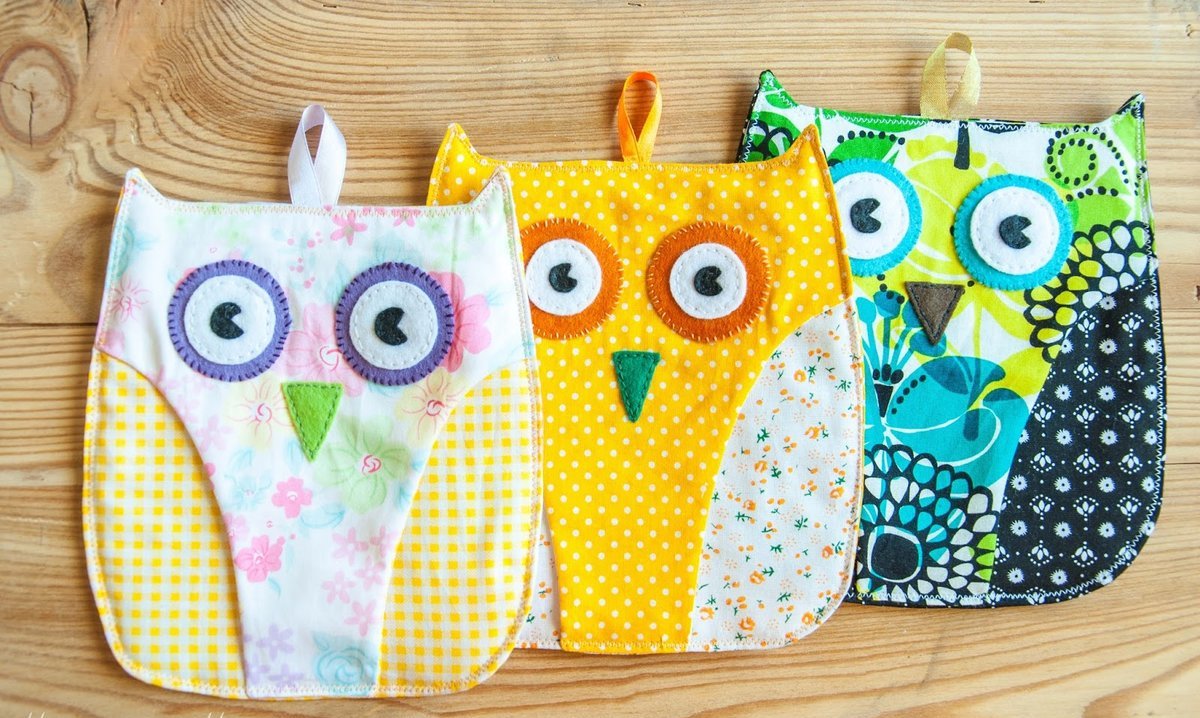
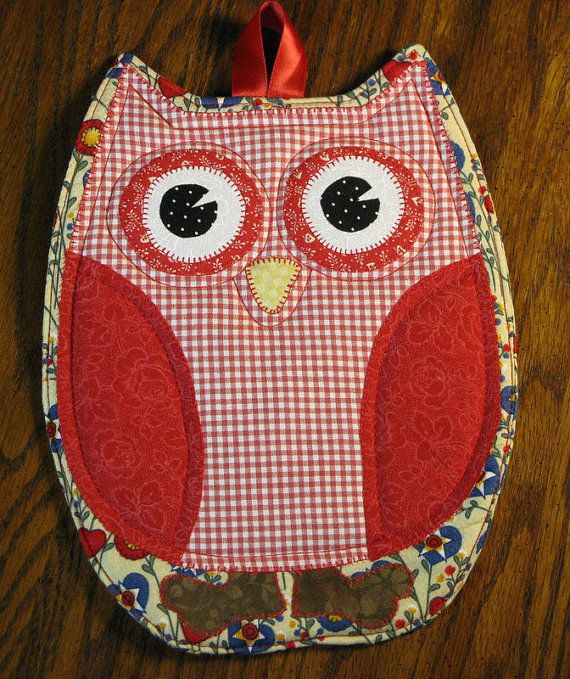
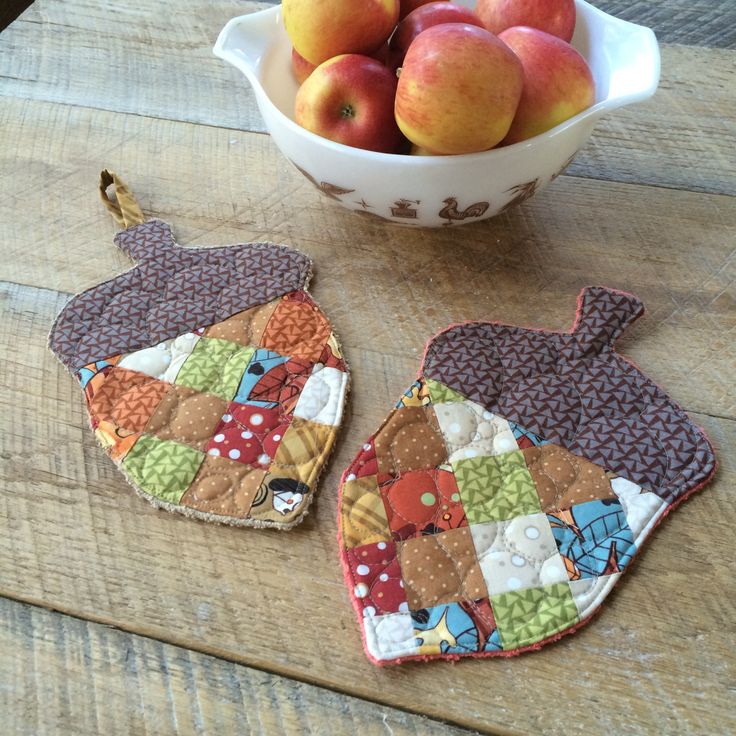
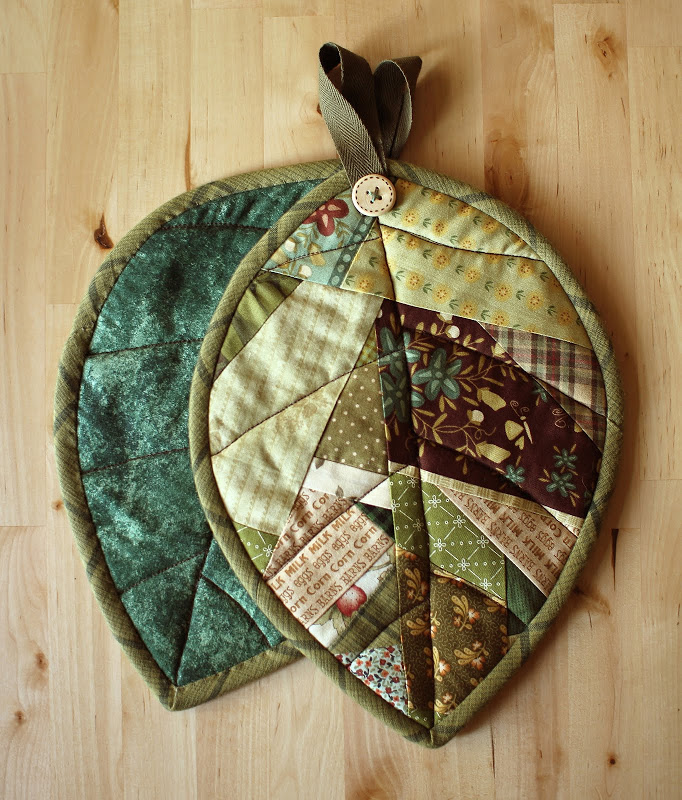
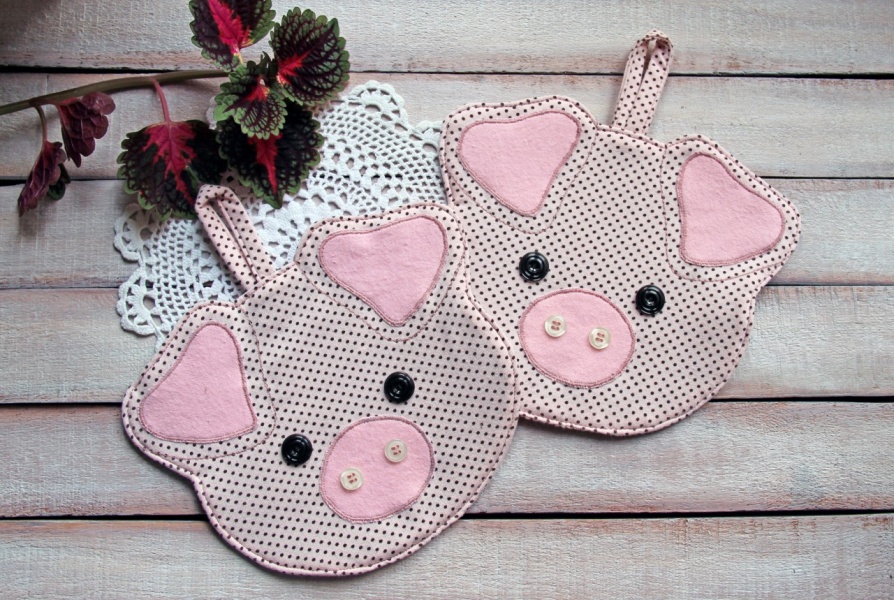
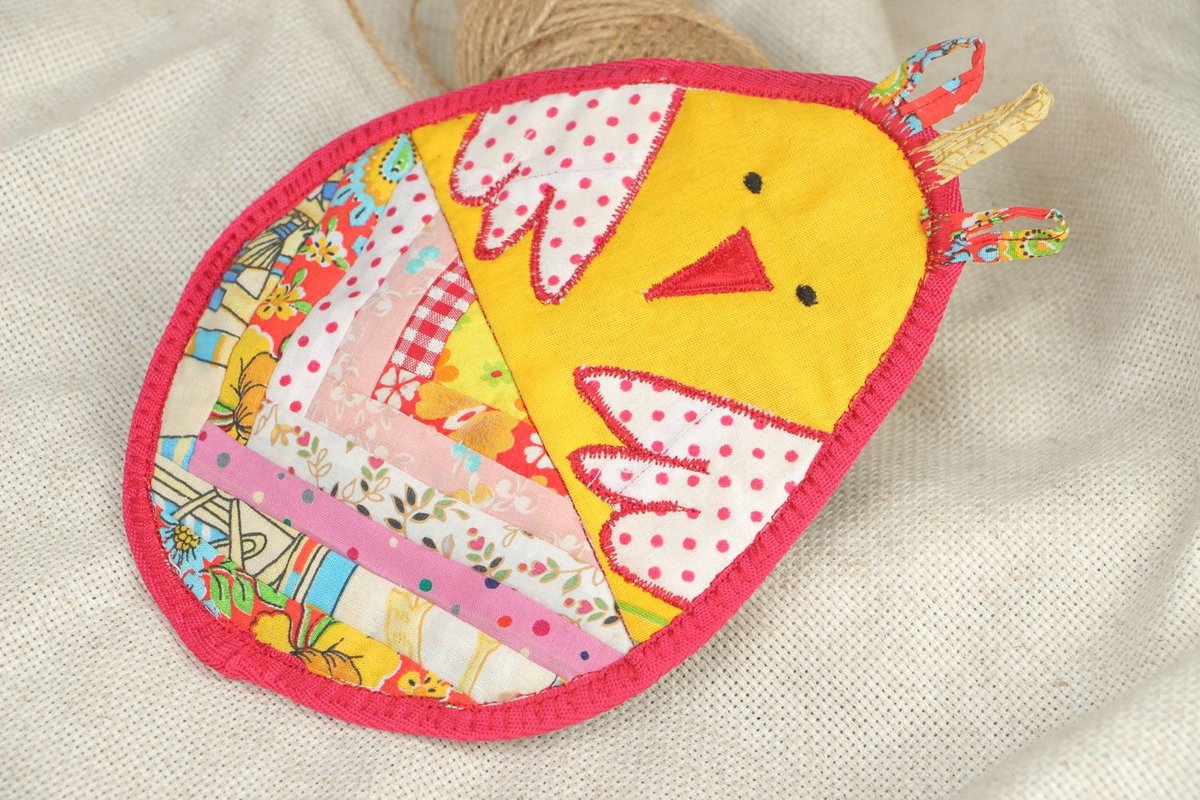
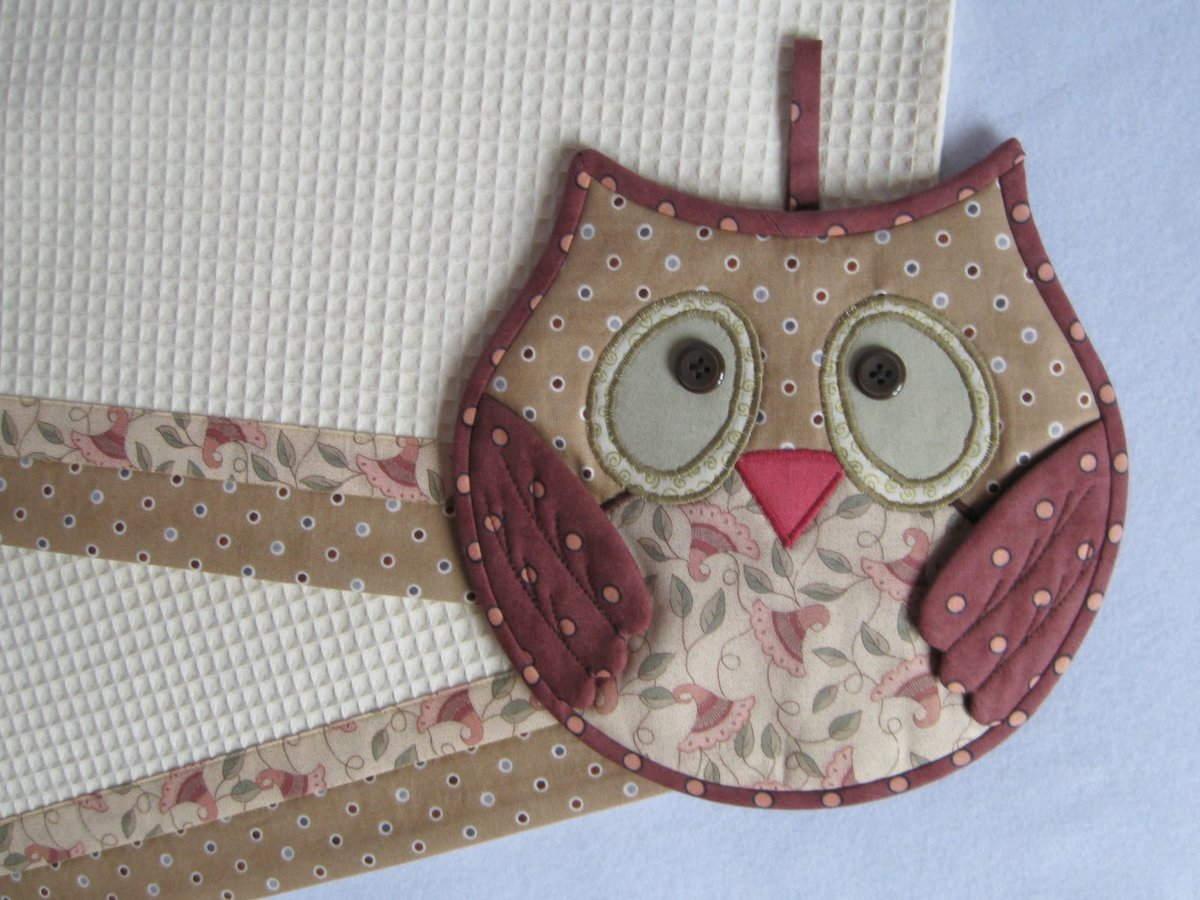
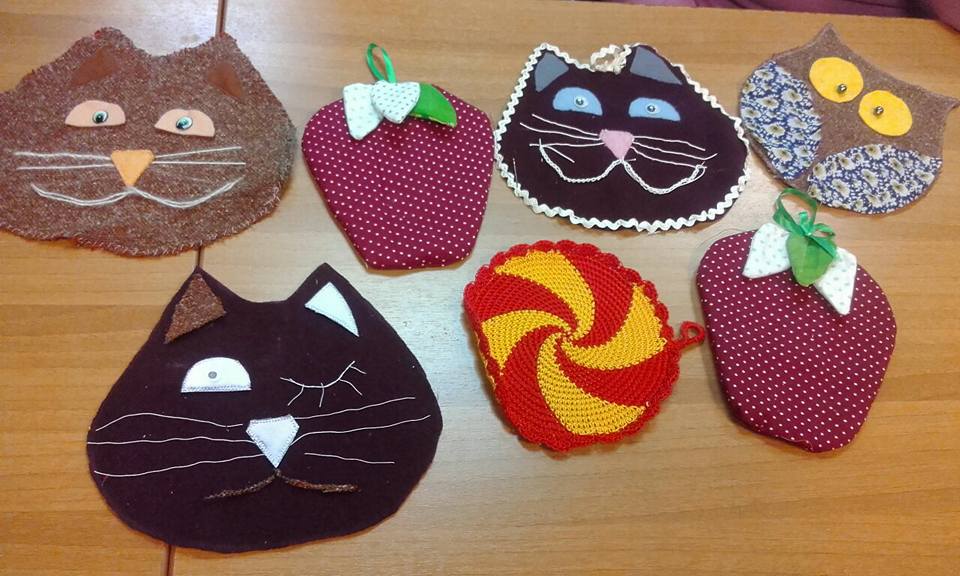
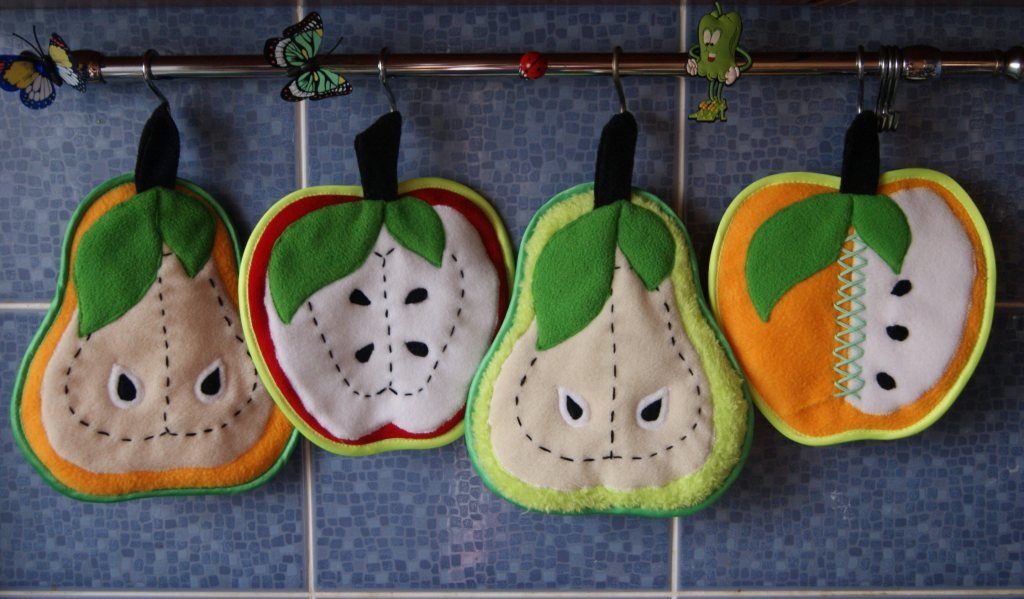
It is not necessary to sew exactly these potholders. All these examples can be used as a basis, choose other shapes. All geometric shapes will do for this kitchen accessory. Maybe make a set of vegetables or fruits? Or a set of the sun and a cloud? The moon with a star is also a great couple. They look no worse than autumn leaves, chickens, foxes or the now popular owls.
You can turn on all your imagination and plunge into the world of creativity. Pleasant leisure will please you with the birth of a cute little thing for your kitchen or a wonderful gift for a friend, relatives.
VIDEO: Sewing a potholder for the kitchen with your own hands.
50 photos of original potholders in patchwork technique:


Hello! I decided to sew the most ordinary potholder - a square one. I cut it out, quilted the layers, cut out the bias tape. Well, that's all there is to it, but when we sewed the tape on it turned out just awful! Please tell me how to sew it neatly. Firstly, the machine loops on thick places, secondly, so that there are no wrinkles at the corners, I decided to sew each side with a separate tape and this upset me, because it only turned out worse.