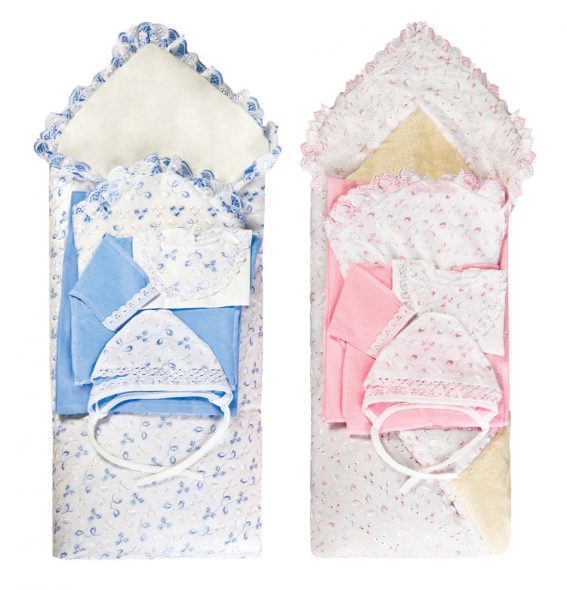
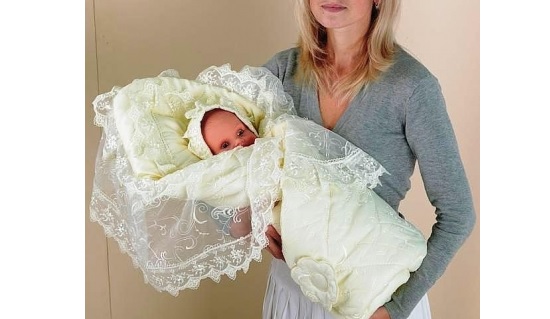
Discharge from the maternity hospital is a festive event that requires special care. The baby's appearance and comfort require attention. Bodysuits, socks, undershirts, shirts... The baby needs all of this, and it can vary depending on the season. However, the most stable attribute is the blanket.
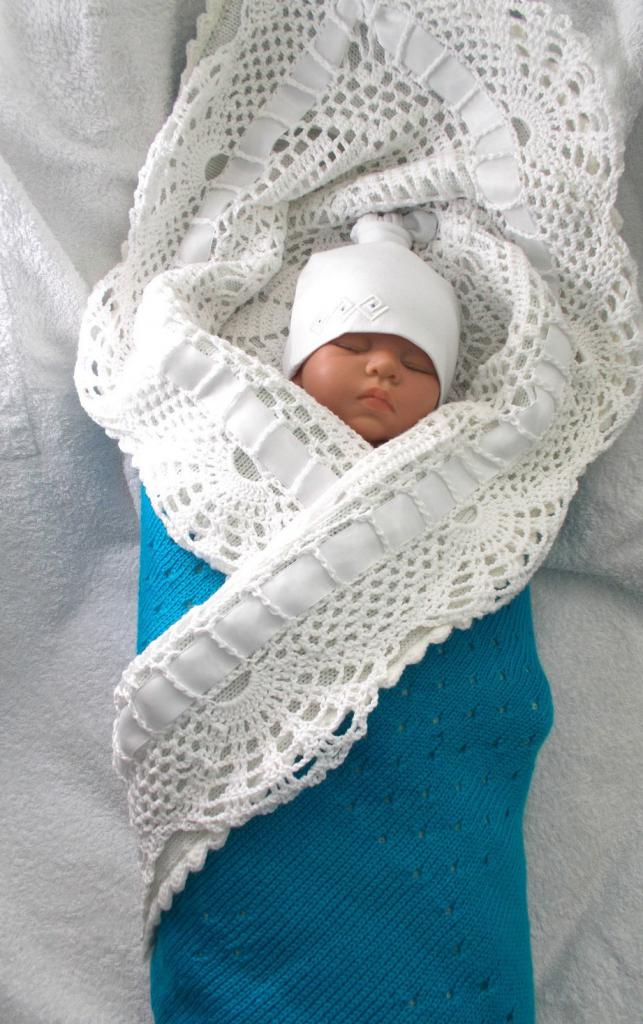
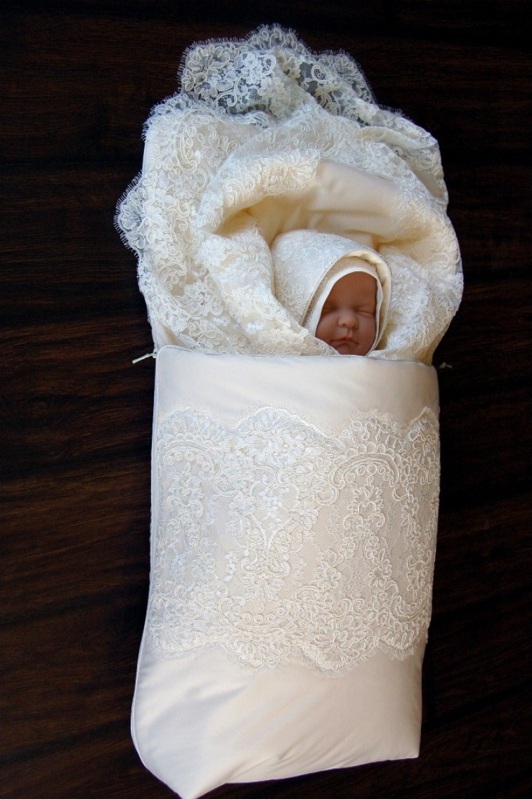
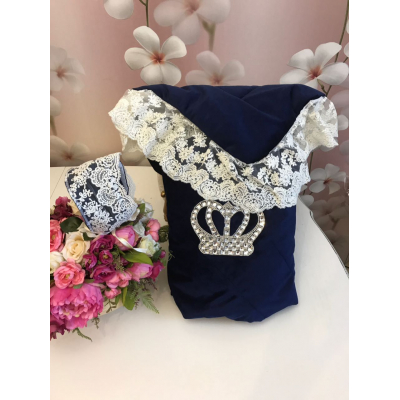
In winter months, a warm blanket will protect a small body from cold wind and keep it warm. In summer, it should not be thick, so that the baby does not sweat. At high temperatures, its role is protection from wind, insects and dust. And the decor of the blanket will look beautiful in photographs, especially if it consists of lace.
Therefore, you need to approach the choice of an envelope for discharge with special care. And it is best to sew it yourself.
Content
- DIY Baby Blanket for Discharge
- Cutting and step-by-step instructions for sewing with your own hands
- Calculation of the amount of materials
- With ties or zippers
- Summer and winter options
- Zippers and ties
- DIY Transformer Blanket
- Step by step sewing
- Summary
- Video: Blanket-Envelope with a Bow for Discharge to the Maternity Hospital
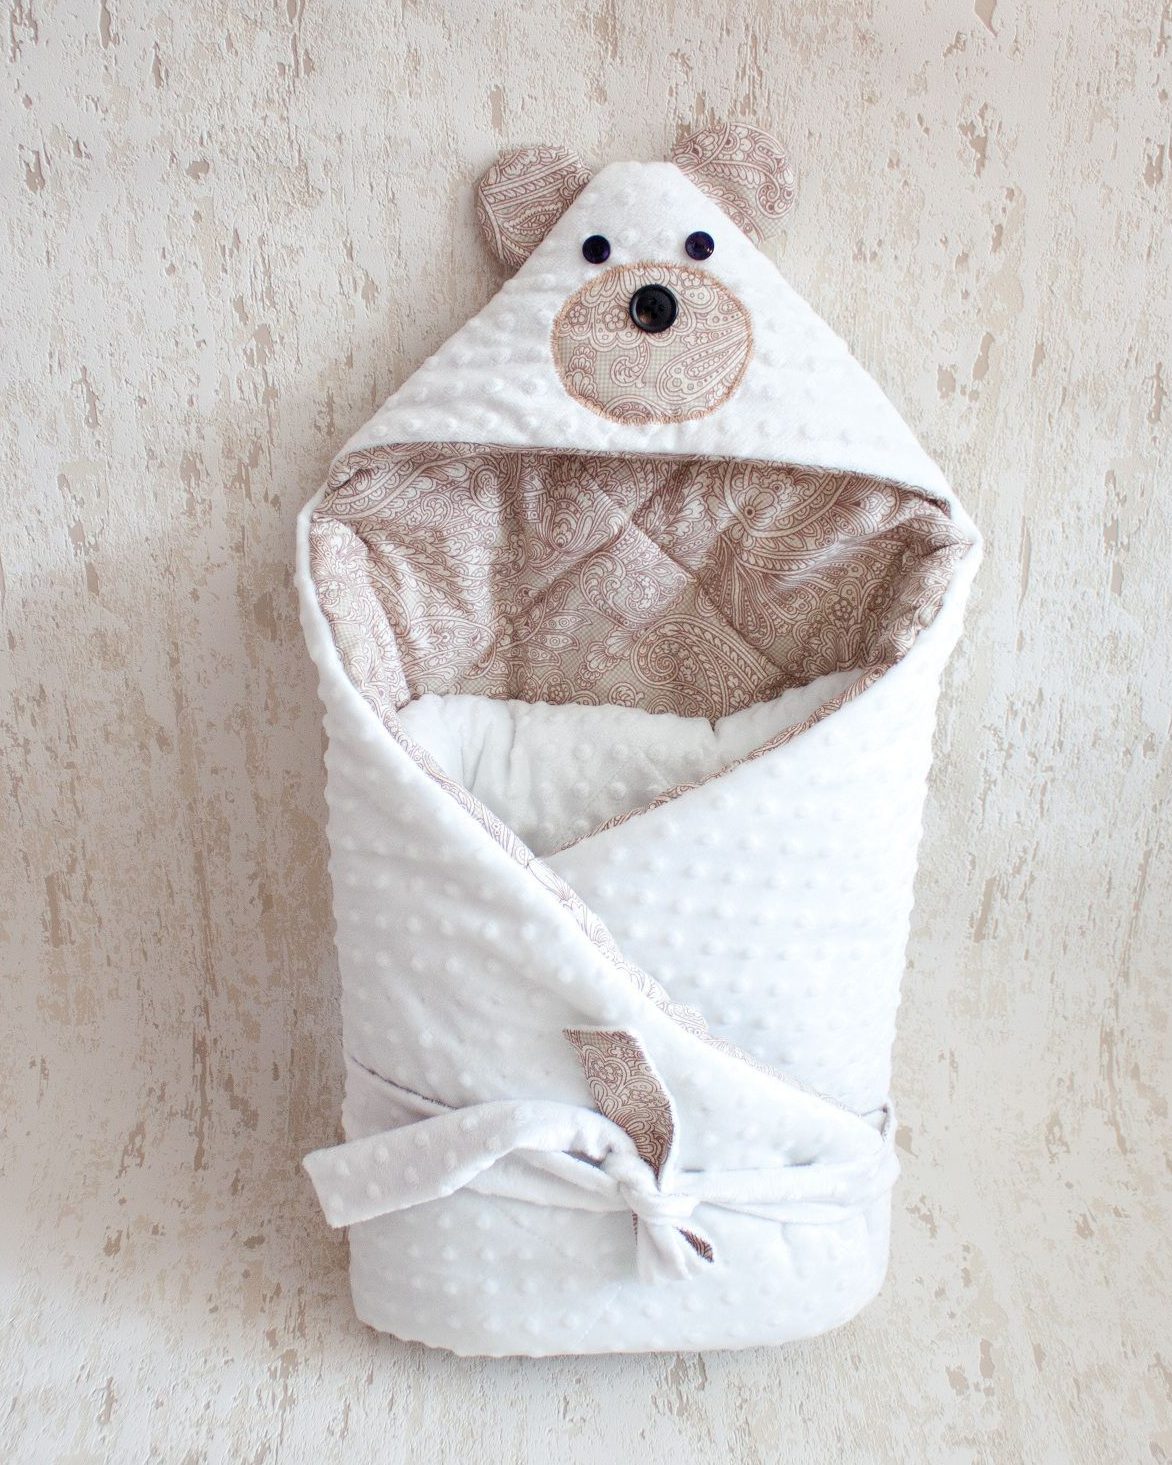
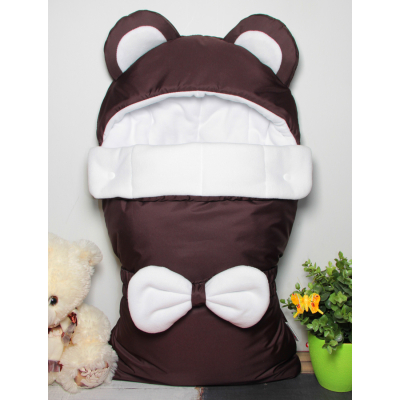
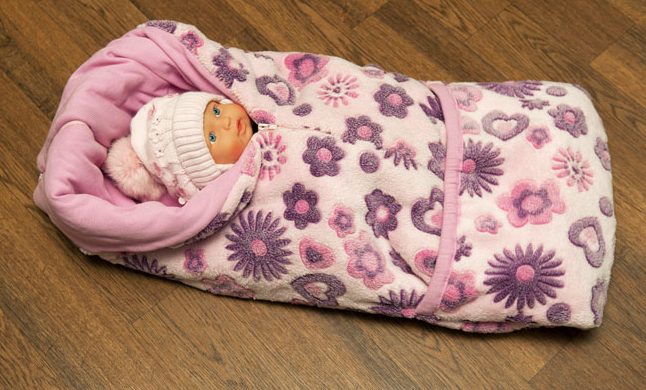
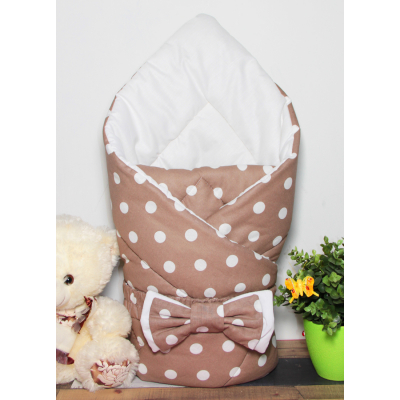
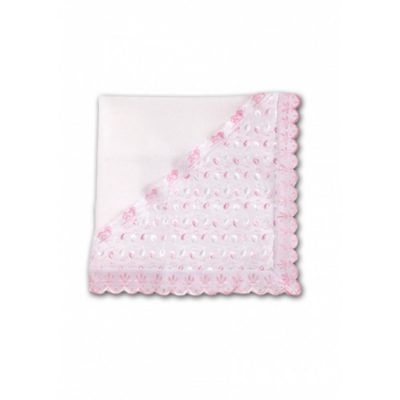
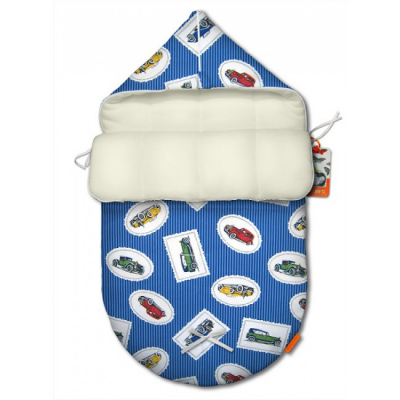
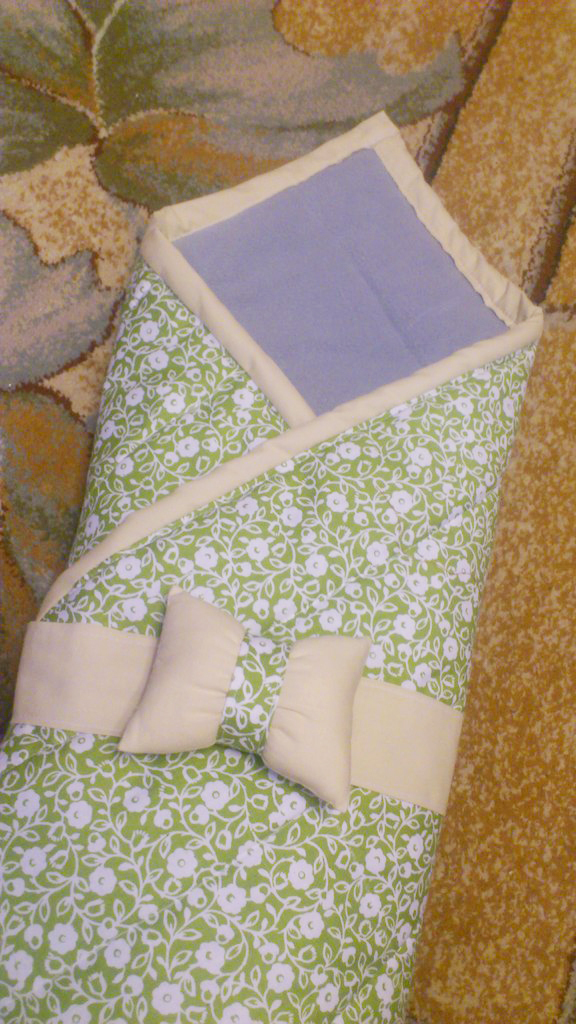
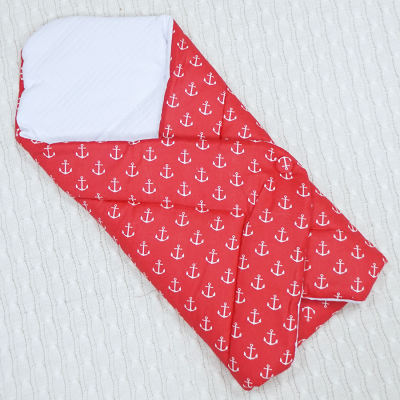
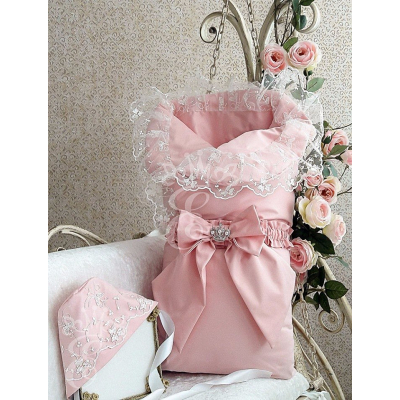
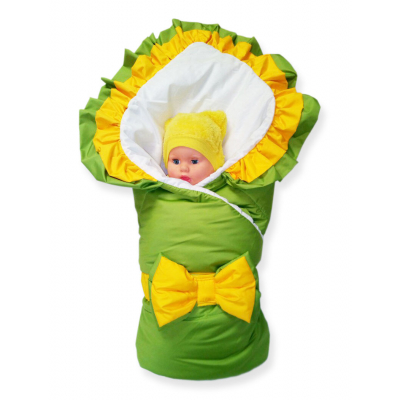
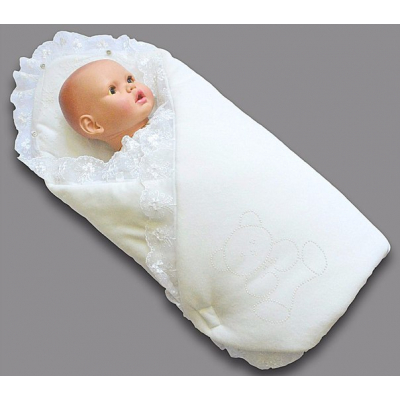
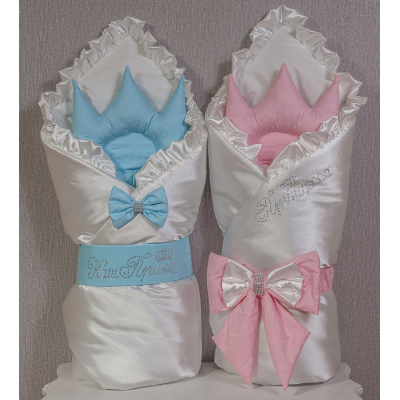
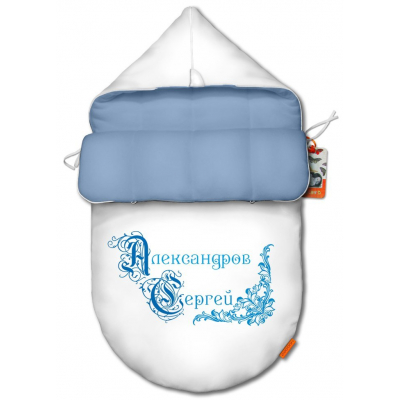
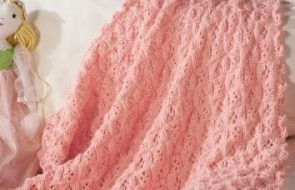
- 50 beautiful envelopes-blankets for newborns for discharge:
DIY Baby Blanket for Discharge
Sewing a baby blanket for discharge with your own hands is not as difficult as it may seem.
The main advantages of sewing yourself are:
- finding fabrics with suitable composition;
- independent choice of colors and patterns;
- the ability to adjust the size depending on the baby’s height and weight;
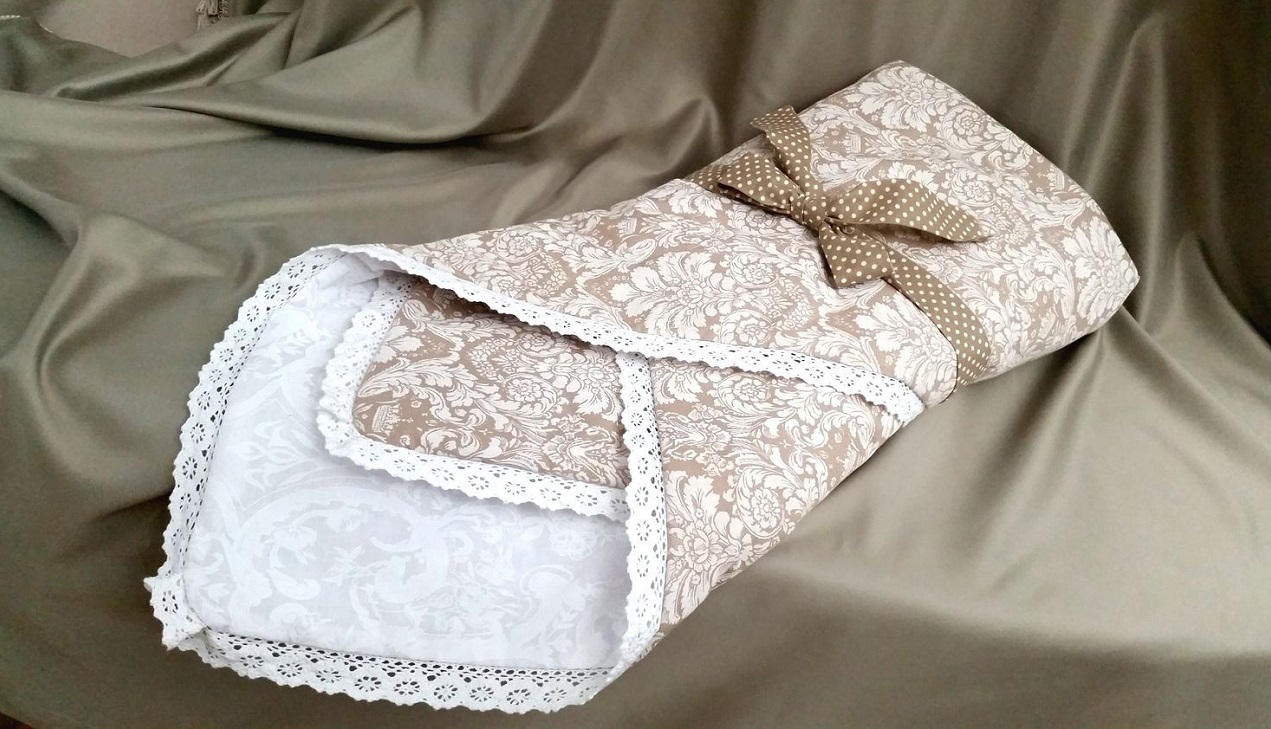
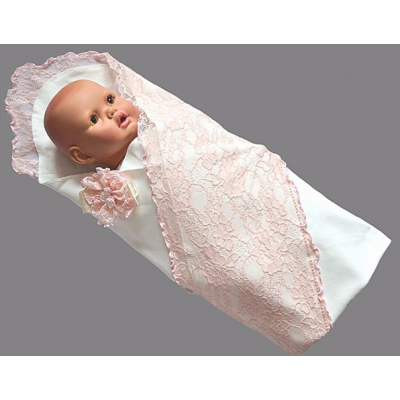
- sewing on details that create a unique appearance of the finished product. For example, lace.
Types of materials and fillers
You don't need any unusual fabrics or tools to sew it yourself. The main thing is that the product contains as many natural materials as possible, especially in those places where the fabric comes into contact with the newborn's skin.
It is also worth paying attention to decorative elements. There should not be too many of them, they should not be sharp or dangerous for the child. In the worst case, the baby will get hurt.
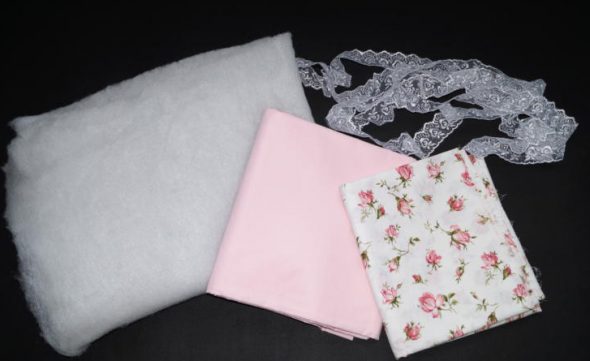
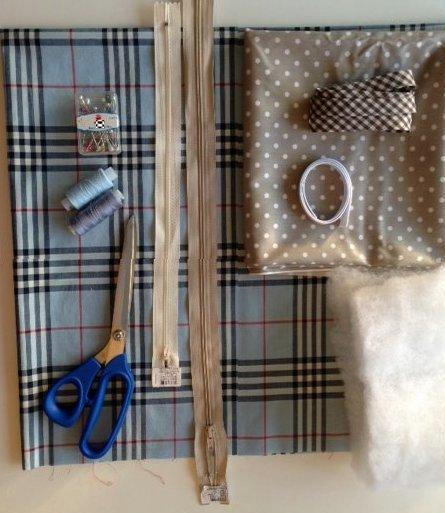
The general list of materials for sewing a blanket for a newborn consists of the following items.
- Two types of fabric that will be located on the inside and outside.
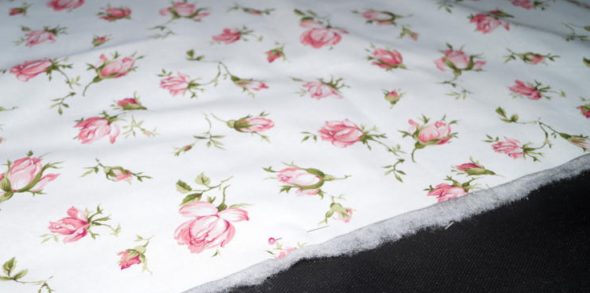
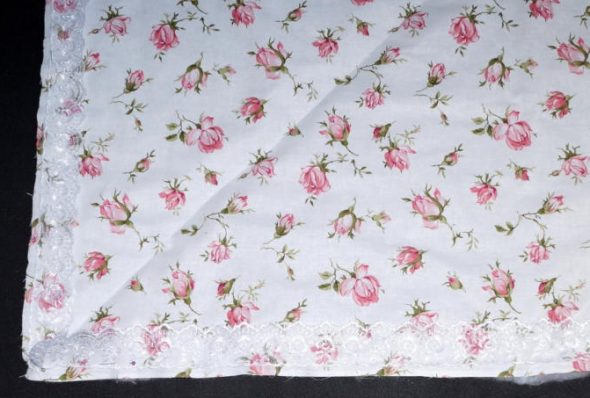
As mentioned earlier, in places where the fabric comes into contact with the baby's skin, the fabric should be natural to avoid allergies. The most suitable type is cotton fabric. Despite its ability to wrinkle, it is considered the most hypoallergenic material. The outer surface can be sewn from satin or silk, depending on the desired appearance. It is not forbidden to create both sides of the envelope from one fabric. Satin, cotton and poplin are perfect for this.
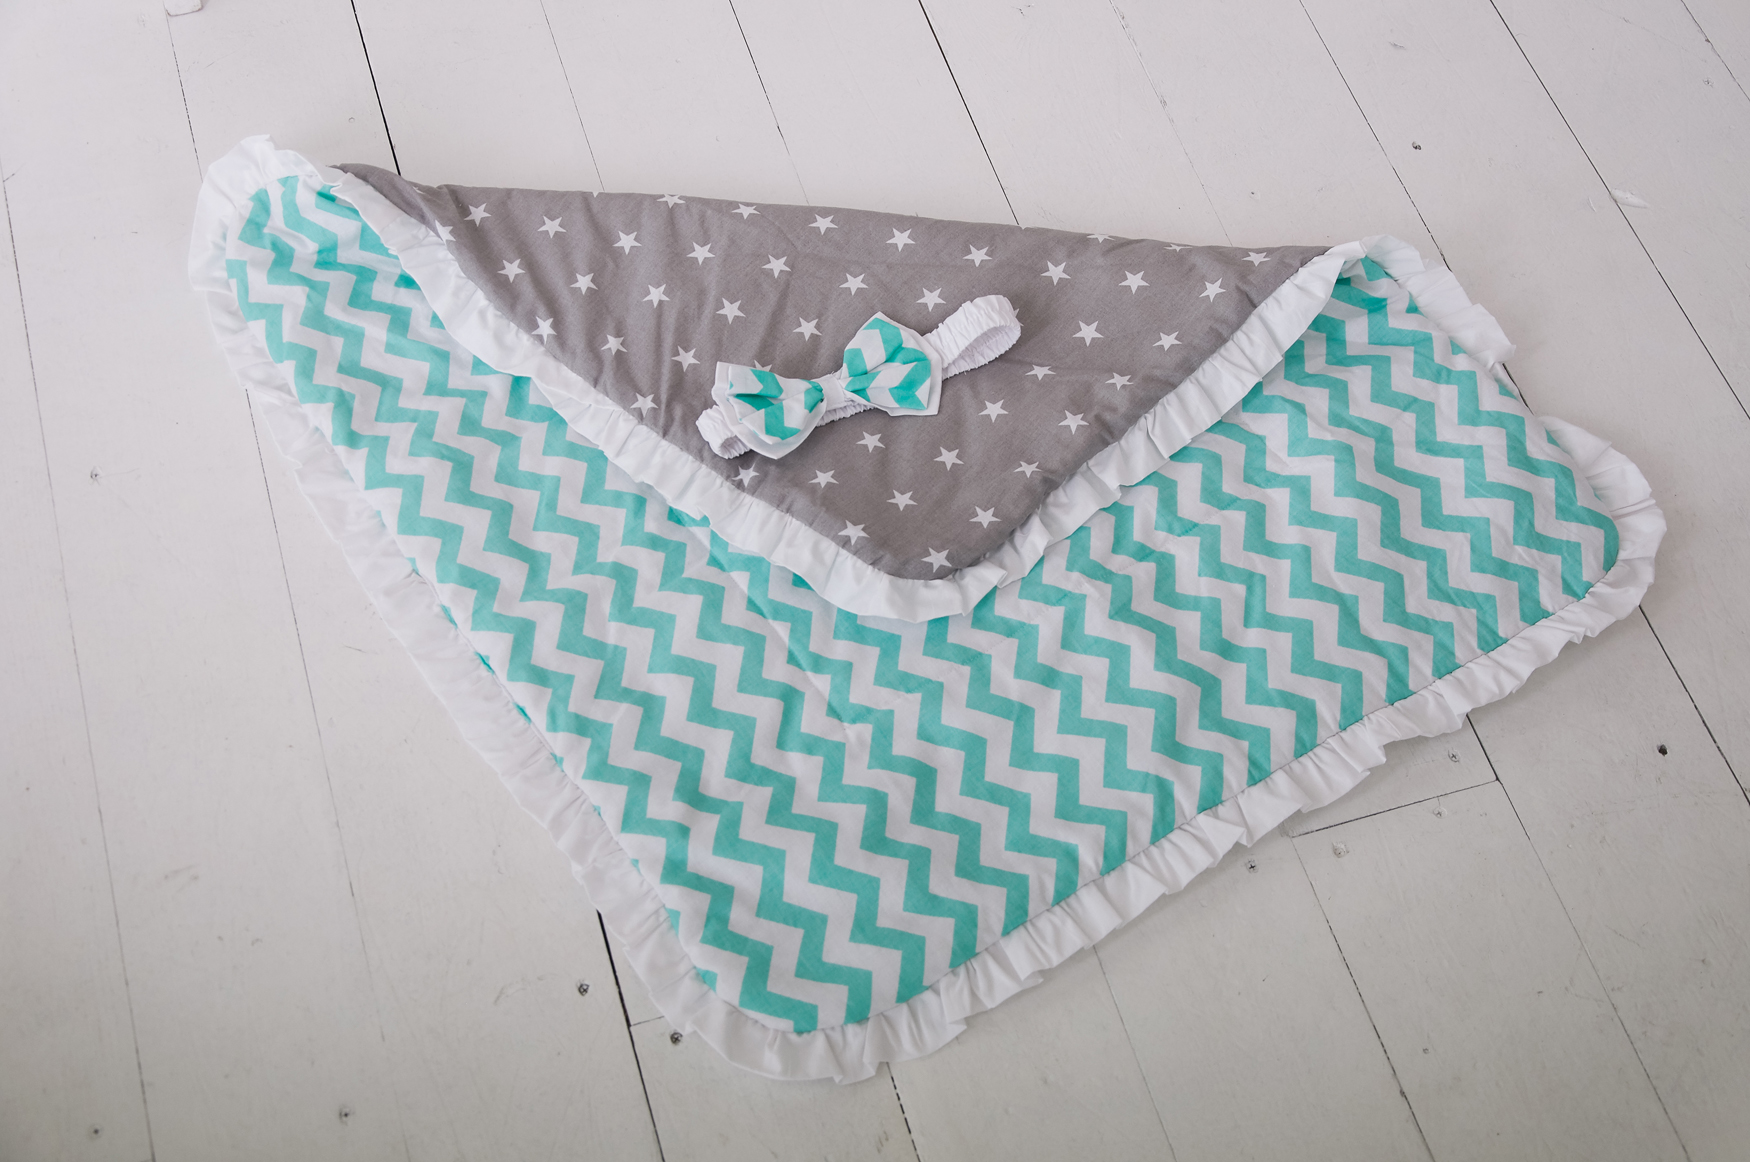
- Sewing elastic, as well as satin ribbons for decoration, sewn on the outside of the envelope.
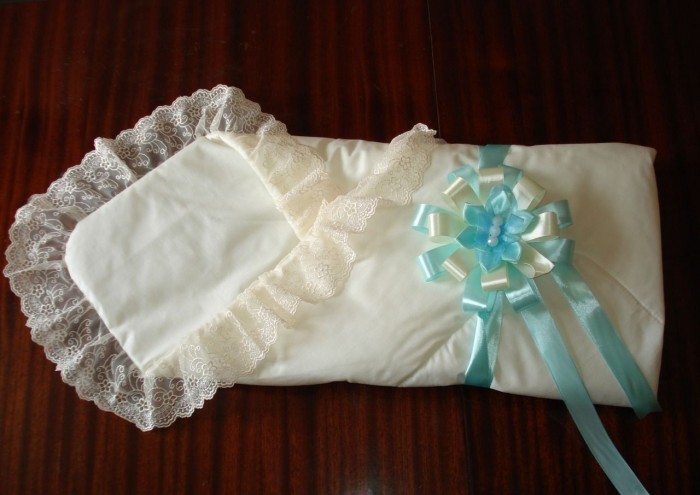
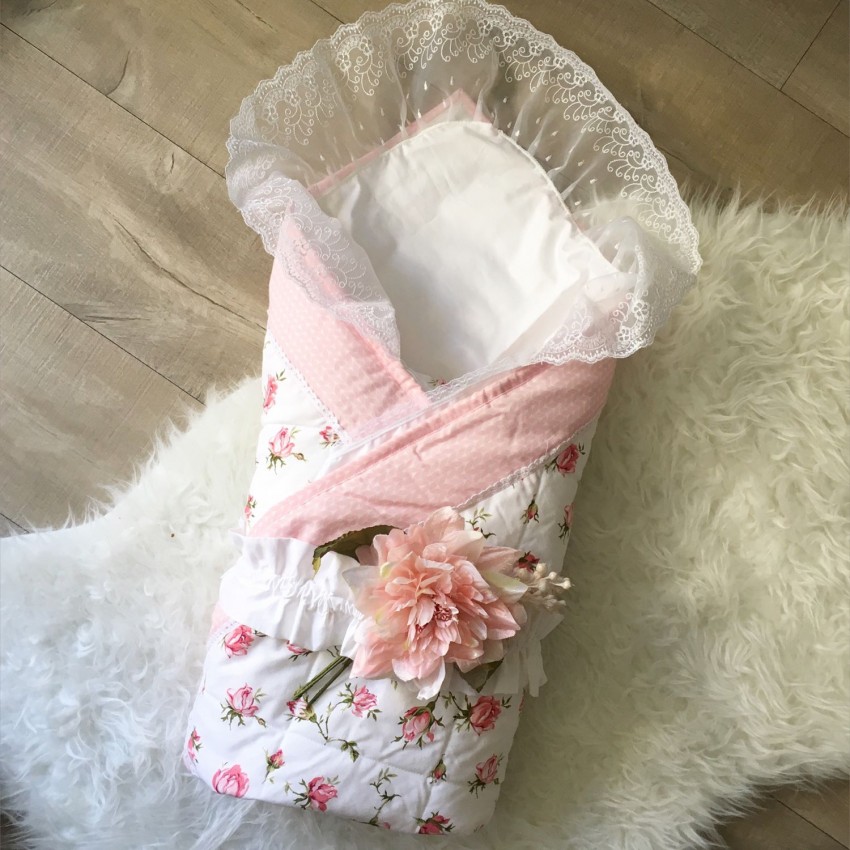
- Lace and frills.
If lace was chosen as decoration, it is better to use organza lace of several types: narrow (less than 80 cm) and wide (more than 1 m).
- Pins and needles for fixing fabrics.
- Scissors.
- Measuring tape.
- Sewing machine.
- Sintepon as a filler.
Cutting and step-by-step instructions for sewing with your own hands
Cutting out the pattern and sewing does not take much time. The main thing is to have good tools and prepare the materials in advance so as not to waste time looking for missing parts.
Step-by-step production of a blanket envelope for the discharge of a newborn
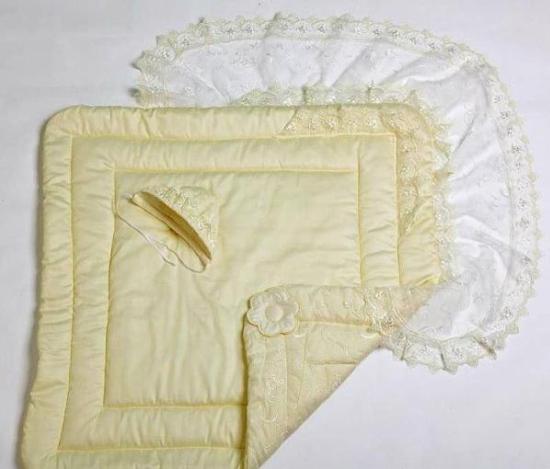
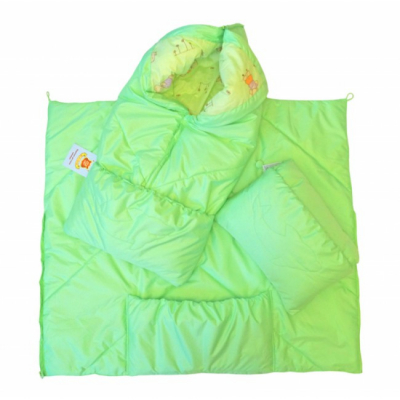
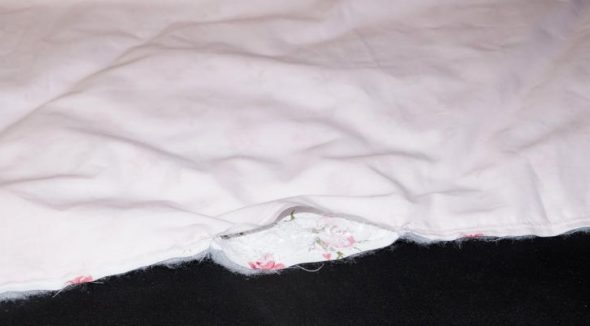
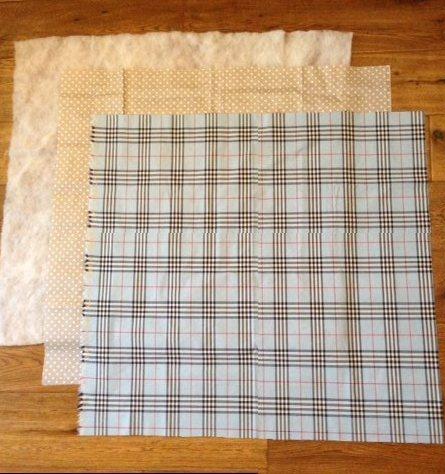
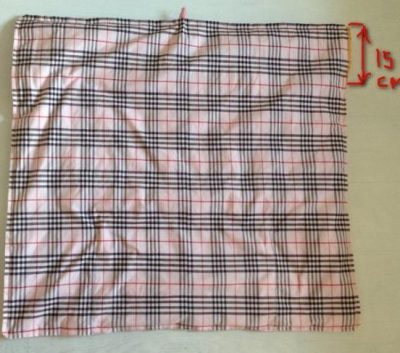
- Cut two identical squares from the outer and inner fabric, as well as from the synthetic padding. They should be 1 cm larger than the intended size of the blanket.

Materials for sewing an envelope - Place two squares of fabric material on the cut out synthetic padding square, placing them face to face.

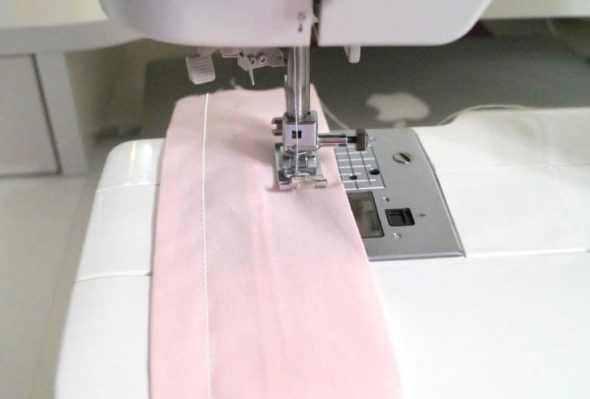
First, take a square of fabric for the front side of the envelope and synthetic padding and pin them together, stitch them on a machine in the form of some kind of design 
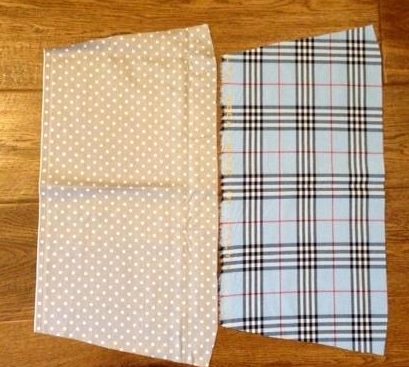
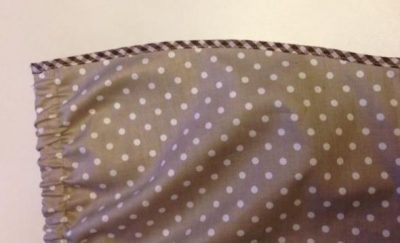
We sew lace to the edges of this square. - Sew the fabric on three sides, leaving one part of the edge unstitched. Use it to turn the blanket right side out.

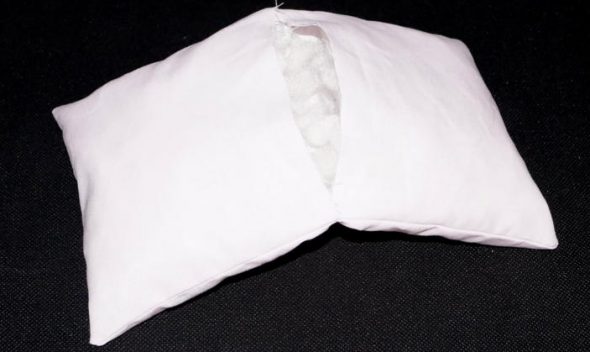
Place the second square of fabric and stitch along the entire edge, sewing all the layers together, leaving about 10 cm unsewn. - Insert the padding polyester square into the remaining window and sew the sides of the edge together with a blind stitch.

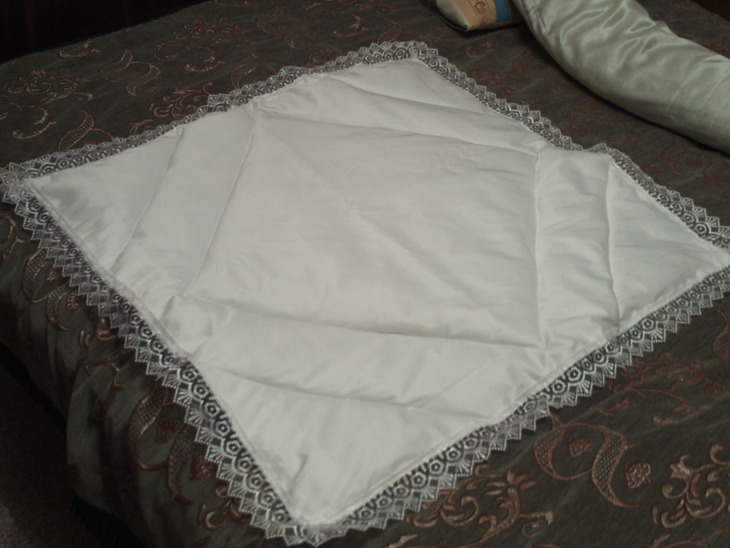
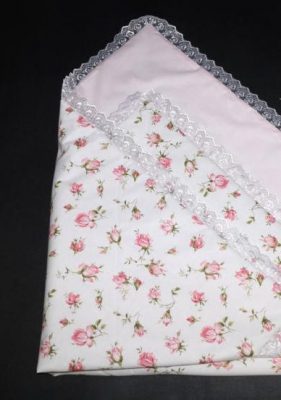
Turn it inside out, hand-sew the hole and you get a beautiful envelope for discharge - To preserve the product in its original form, extend its service life and give it additional strength, it is necessary to stitch the blanket diagonally with a small seam, thus creating the contours of diamonds.
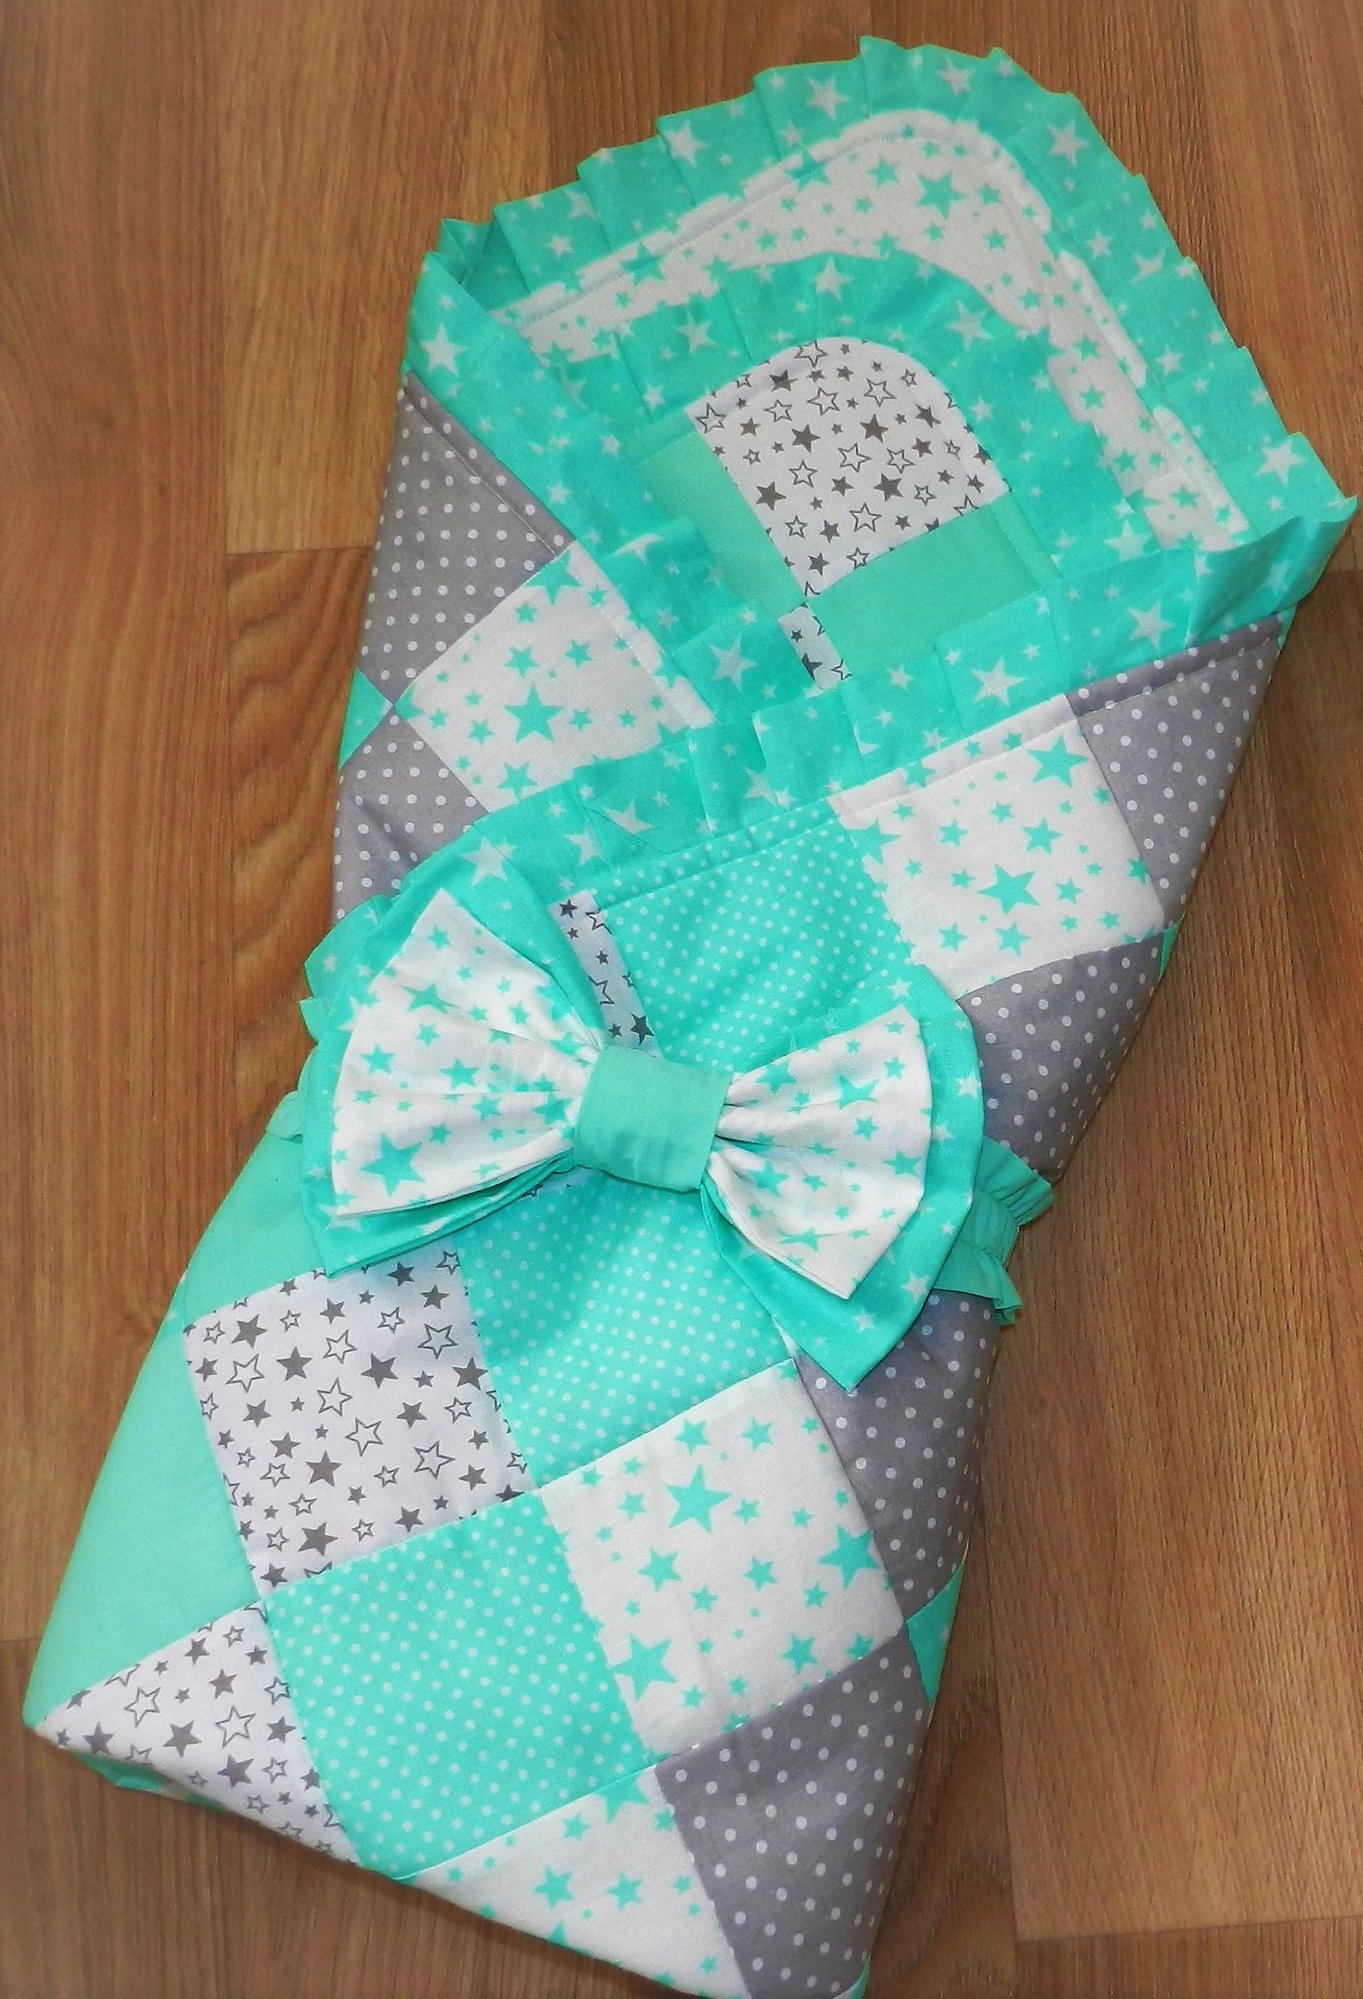
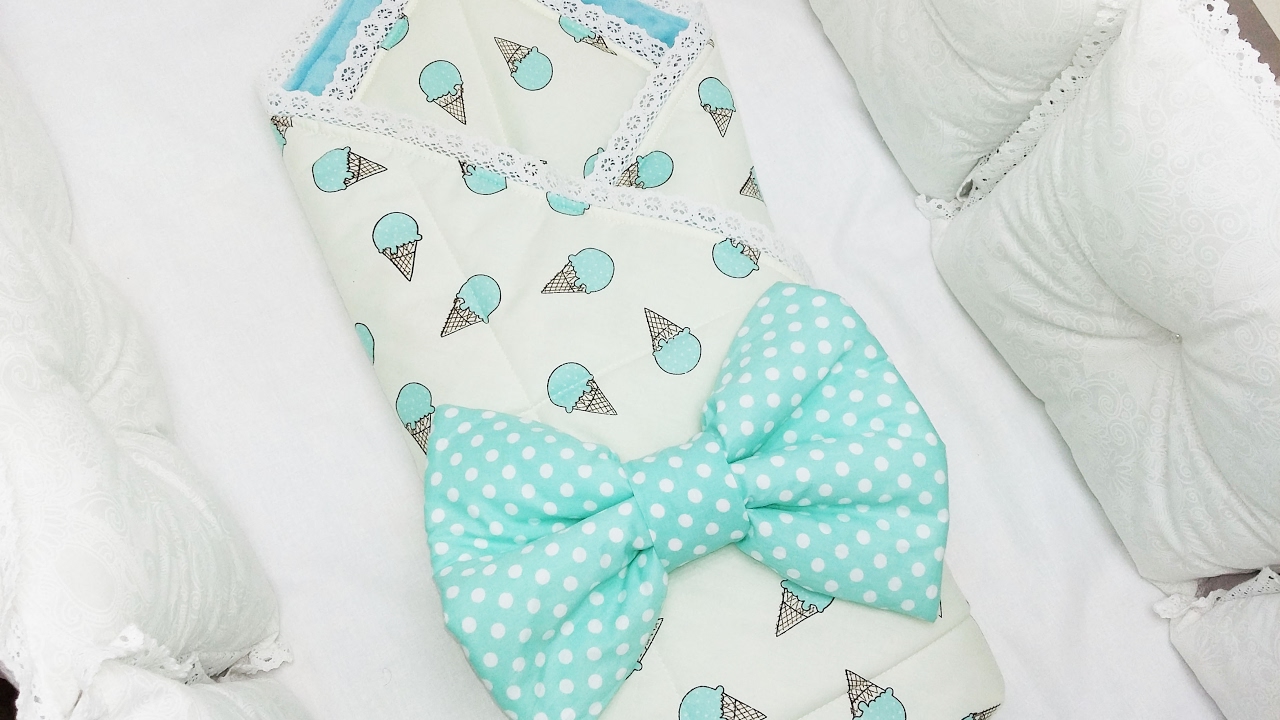
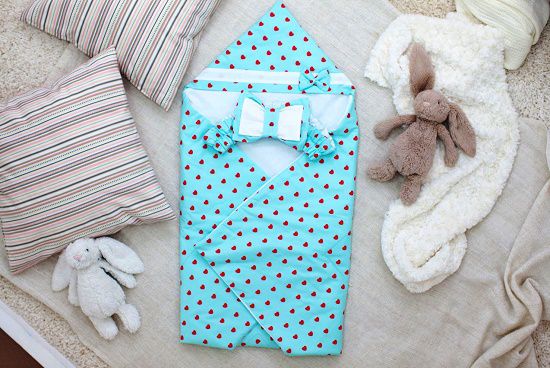
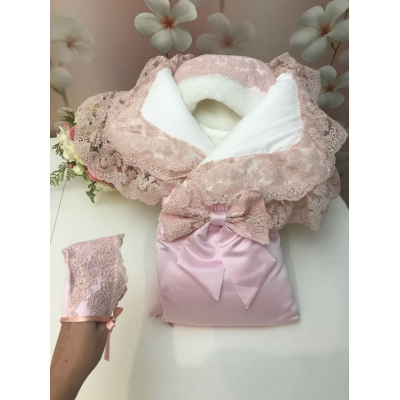
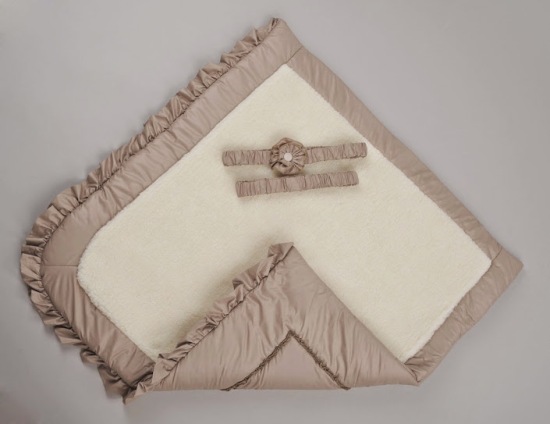
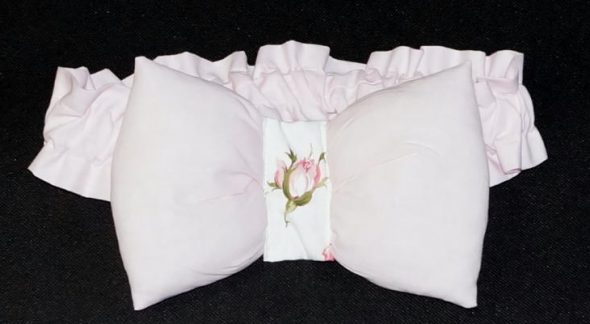
Sewing a bow to decorate a discharge envelope
- To create a ribbon from satin fabric, cut out two strips, the width of which should be 12 cm.
- Place the pieces face to face. Sew along the edges.

Sew a strip of fabric for the belt, turn it inside out, stitch 2 times in the center of this strip, insert an elastic band - Turn the strips right side out.

For the bow, take a wide strip of fabric, measure the middle and fold the edges towards it. 
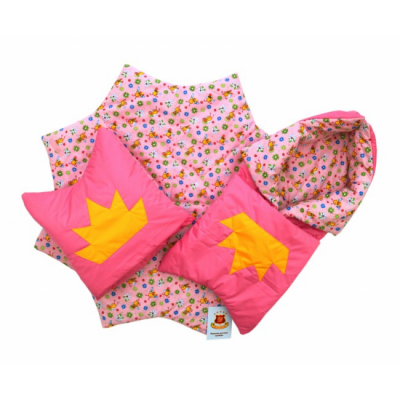
Sew from the top and bottom, turn inside out, fill with holofiber - To increase functionality, you need to insert an elastic band into the resulting ribbon and stitch it with a seam. For decoration, you can sew a large bow or a flower made of ribbons on top. Decor made of lace sewn to the upper side of the square looks beautiful.

Sew up the hole, cut a strip from a fabric of a different color to connect the elastic and the bow, sew into a ring

Calculation of the amount of materials
Each newborn has its own individual height and weight. Most often, the height does not exceed 55 cm, and the weight is 3,500 kg. Based on these parameters, you can create an approximate idea of the child in the discharge envelope.
Most likely, the process of sewing the blanket will take place before the birth, so it will not be possible to accurately guess the size of the child. You will have to resort to generally accepted sizes. Most often, a blanket for discharge with your own hands has the following parameters:
- sides 140×110;
- sides 120×80;
- sides 1z5×110;
- sides 140×110.
Of course, before sewing it is important to determine up to what age the blanket will be used.
It is worth noting that you will not always have to wrap your child in it. At an older age, about 1.5-2 years, you can cover your child with such a blanket, or cover his legs when sledding. In this case, you should not sew on lace decorations - they will tear. Therefore, it is so important to consider the belonging and methods of using the blanket for discharge.
The season in which the blanket will be used is also important. In cold seasons, a larger blanket is used – 140×110. In the summer months, smaller ones can be used – 100×80.
If you decide to sew a blanket "in reserve", then you should not sew it too large. The baby should not drown in the fabric. This is inconvenient and uncomfortable not only for the child, but also for the parents who will have to hold the bag.
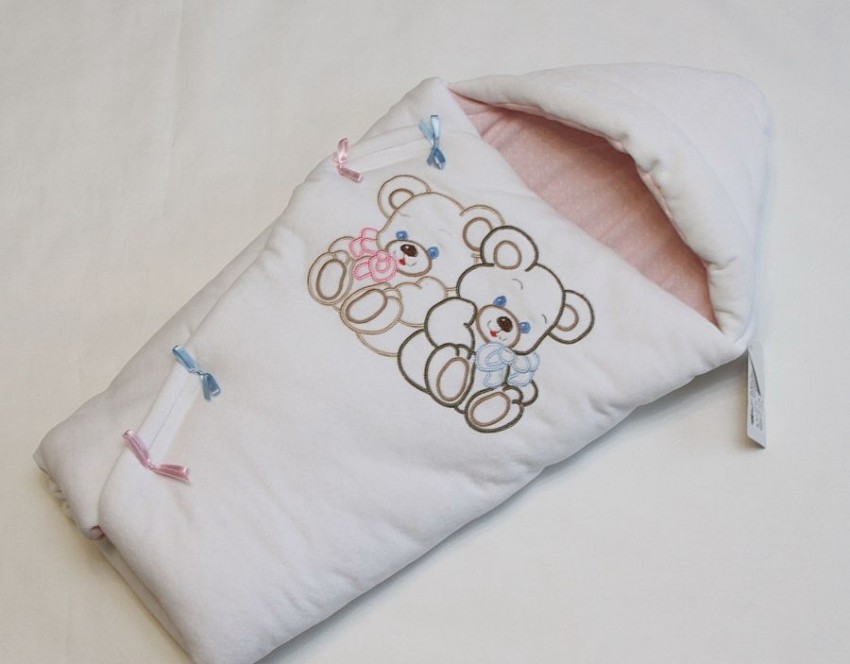
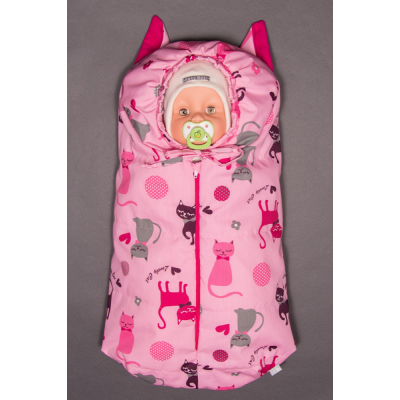
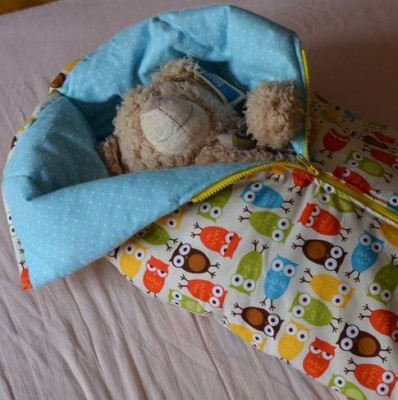
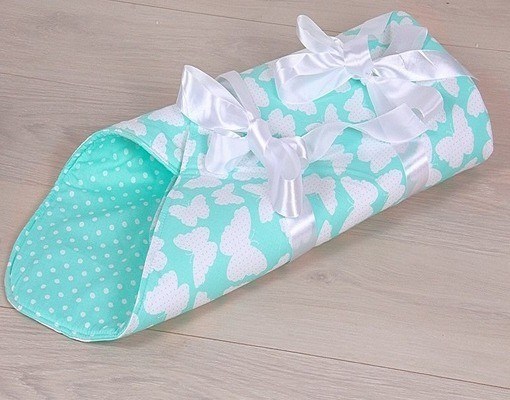
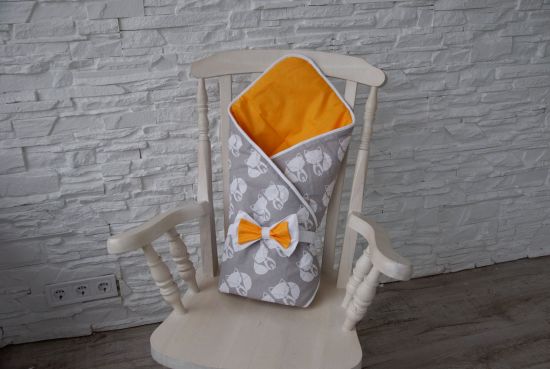
With ties or zippers
The third main question that parents have is: which blanket to choose? With a zipper or with ties? The time of year also plays a role here.
The zipper completely covers the baby's body, preventing wind from passing through the edges. However, if handled carelessly, the parts can damage the baby's delicate skin.
The ties are more suitable for the summer time, when a warm breeze does not cause colds. The ties will not harm the child, but it is important to ensure that the child's fingers do not get caught between the parts of the knots.
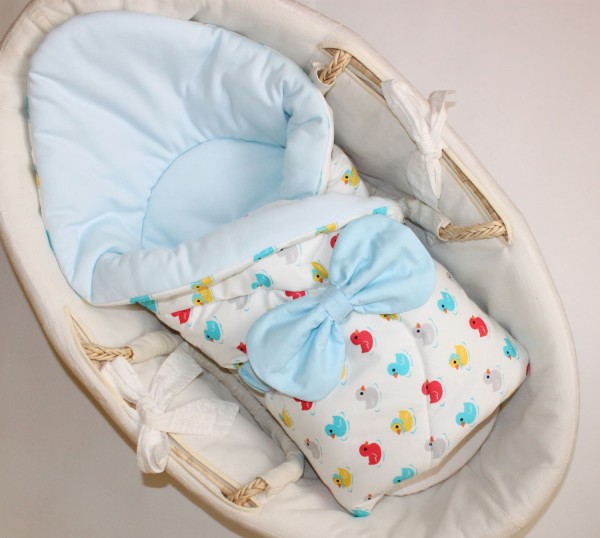
Summer and winter options
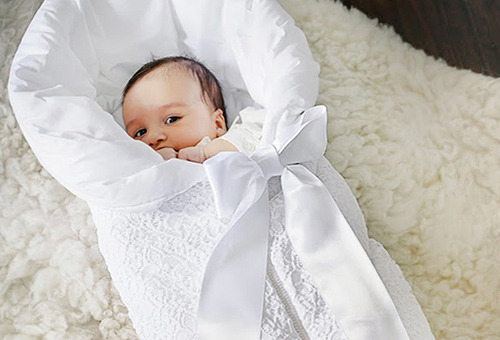
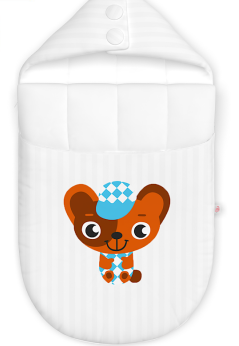
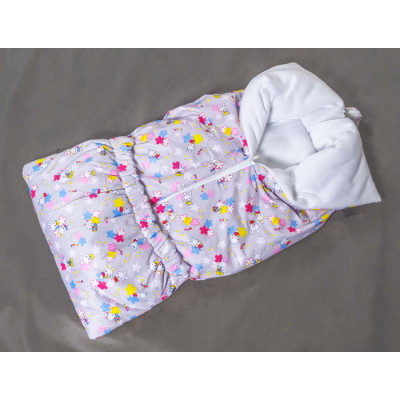
Summer and winter versions of the models differ, first of all, in the type of fabric. In summer, it is preferable to use cotton, silk, satin. You can not insert a padding polyester between the layers of fabric, so as not to cause excessive sweating in the baby. The edges of the product are sewn on 4 sides at once.
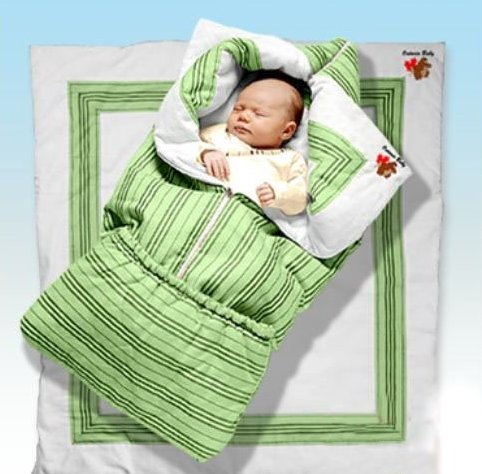
In winter, the envelope needs to be properly insulated. Not only a layer of synthetic padding or cotton wool is good, but also the option of sewing with a fleece fabric (additional insulation) on the inside of the envelope. In this case, you should take into account the warmth of the envelope when dressing the child. Otherwise, the child may overheat, and then catch a cold or start whining because he is too hot. Winter options are sewn with a smaller seam.
Zippers and ties
Models with zippers do not allow air to pass through, but tightly connect the fabric, thereby retaining heat.
In summer, it is more effective to use ties. They will allow the envelope to be blown through, ventilated, preventing the baby's skin from sweating. It is worth noting that in this case, the parts should be tightly sewn to the fabric so that they do not tear at the most important moment.
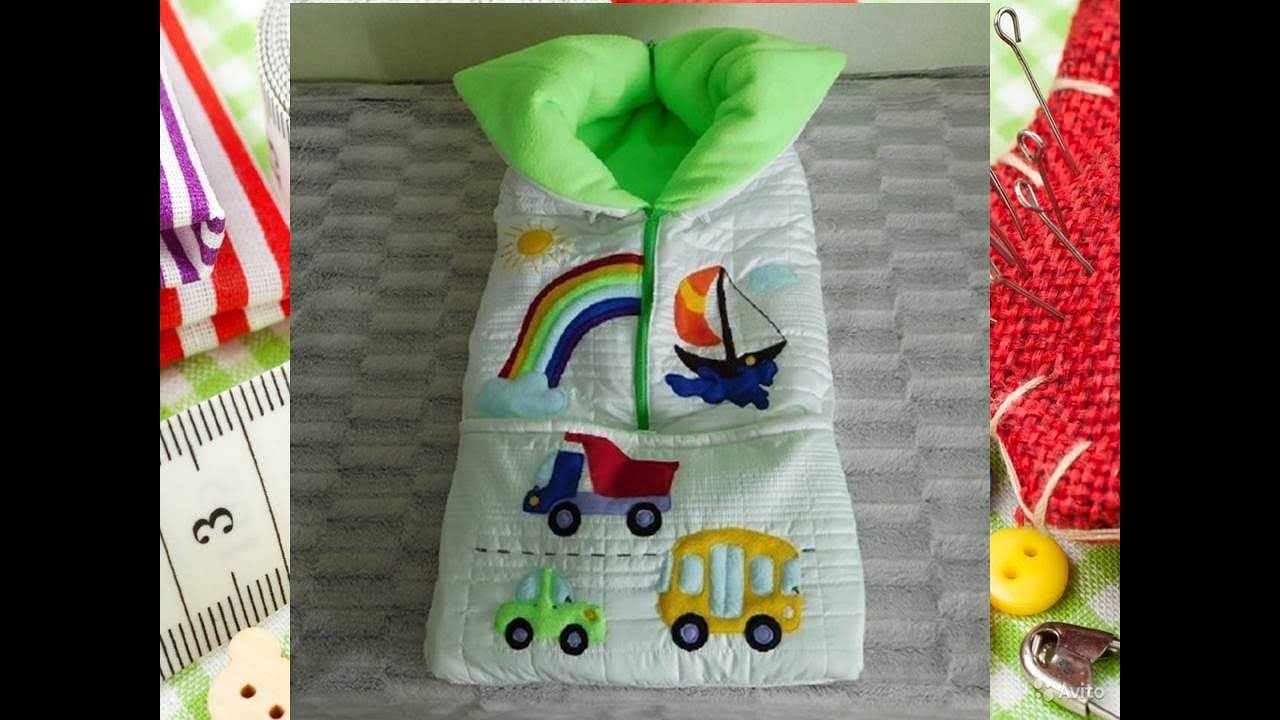
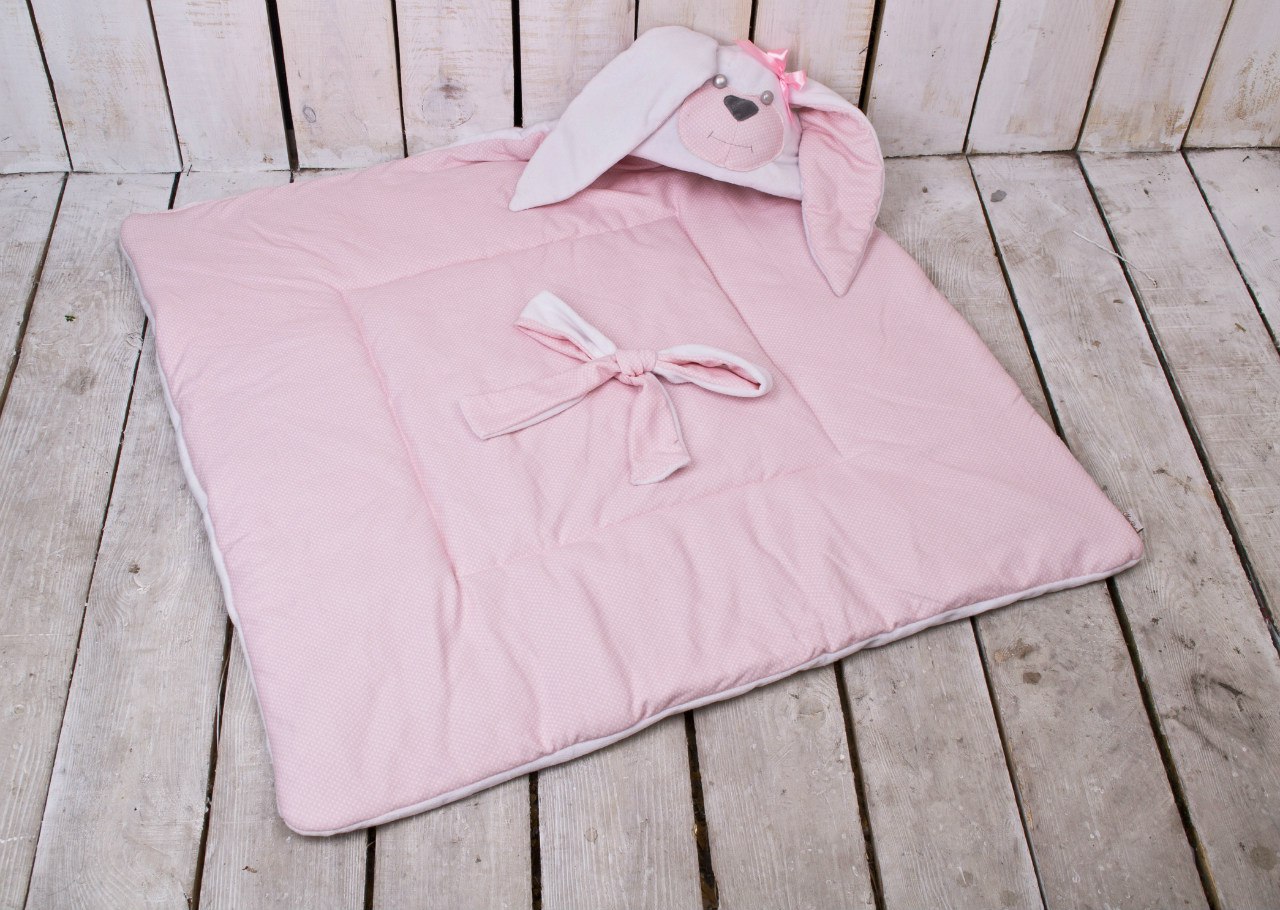
DIY Transformer Blanket
Nowadays, a transforming blanket is gaining popularity. It can serve as a discharge envelope and cover the baby's body from the wind. Despite the complicated name, sewing these models does not require large monetary or time expenditures. The main thing is to strictly follow the technology and sew the product step by step.
To sew a transforming blanket you will need the following parts:
- Fabrics for the outer side and the inner side. Size – 1.1 m.
- Synthetic padding fabric. If the blanket model is sewn for winter time, then it is allowed to make several layers of synthetic padding.
- Sewing elastic.
- Zipper or ribbons for tying on both sides.
- Bias binding. Size – 60 cm.
- Scissors.
- Pins and needles.
- Lace.
- Chalk or soap.
Step by step sewing
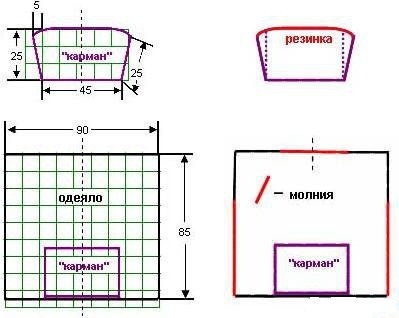
- From the fabrics for the inner and outer sides, as well as from the synthetic padding, you need to cut out a piece of fabric measuring 90 by 85 cm in the shape of a trapezoid.

We cut out the prepared fabric, not forgetting to leave allowances for the seams - Sew the cut out square pieces on three sides, leaving one side free. The padding polyester will be inserted into it.
- Cut a 45 x 65 cm rectangle out of fabric, sew the pieces along three sides, and then sew elastic along the edge.

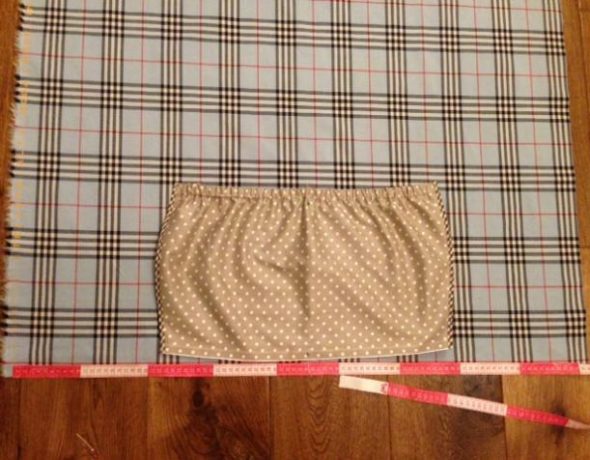
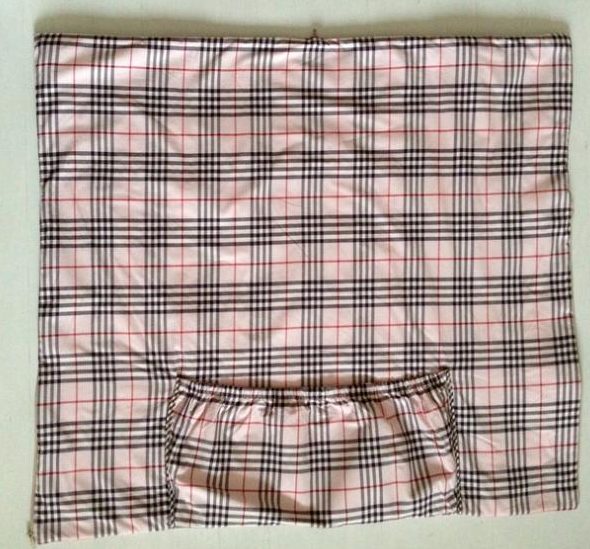
We cut out two pieces for our pocket. 
Sew the pieces together, stitch the elastic and attach the bias tape to both sides of the pocket. 
We sew a double-sided folding pocket to the front of the blanket for subsequent fixation of the baby in the envelope - Sew the pocket to the main piece at the top center, right side out.

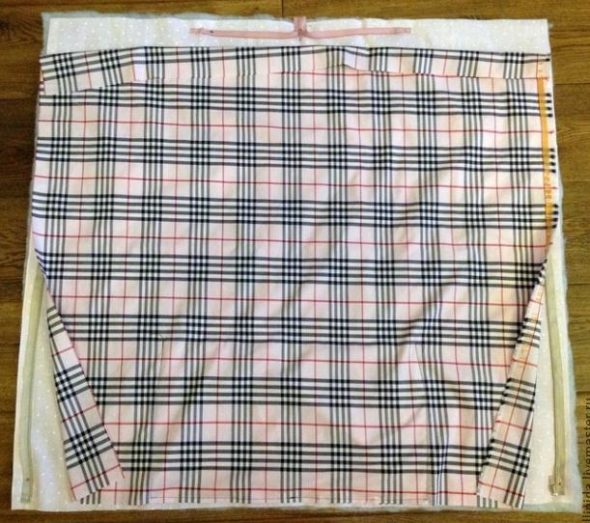
We put the fabrics face to face, the padding polyester at the bottom, our zippers will be located between the fabrics - Insert the padding polyester into the remaining pocket. Sew the part of the product with a blind stitch.

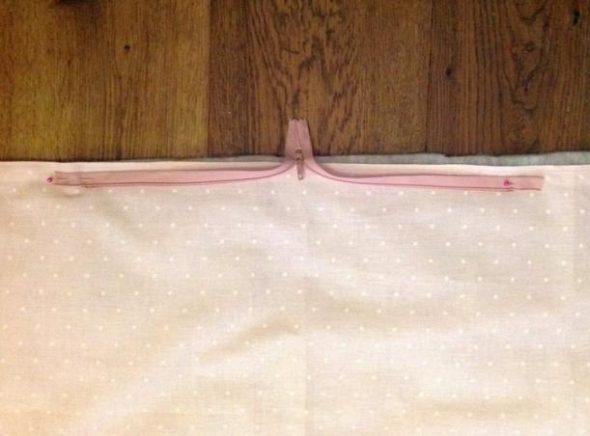
We sew a non-separable or hidden zipper exactly in the middle of the top seam of the blanket to form a hood. 
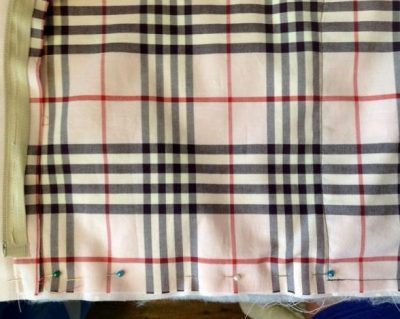
We pin, baste, check and sew the side zippers of the envelope on the machine - For decoration, you can sew lace, ribbons, and other details to the front side.

We fasten the parts of the envelope with pins, sew them together, turn our envelope inside out through the hole in the right side, and check - The transforming blanket is ready.

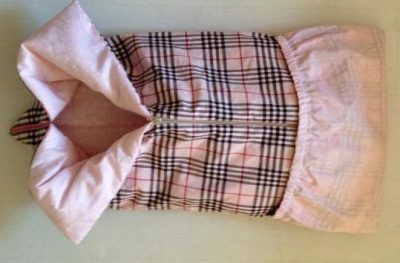
The finished blanket unfolded 
Envelope-transformer, fastened with a zipper
Summary
Nowadays, children's stores offer a wide range of blankets for discharge, decorated with lace, ribbons and other decorative details. However, it is best if you sew the blanket yourself. This way, you will not only save money, but also know the materials from which the product was made, i.e. you will control all stages of creation.
Rest assured that your homemade newborn blanket will last a long time and leave good memories in your children's minds.
Video: Blanket-Envelope with a Bow for Discharge to the Maternity Hospital
50 beautiful envelopes-blankets for newborns for discharge: