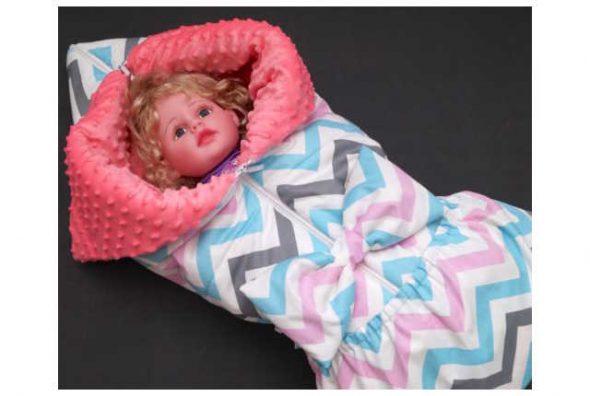
When expecting a baby, people buy a lot of things. Often, this list includes a transforming blanket – a convenient invention for parents and a child, combining an envelope and a blanket. When choosing, future parents have different questions. We will answer all these difficult and not so difficult questions in this article.
Content
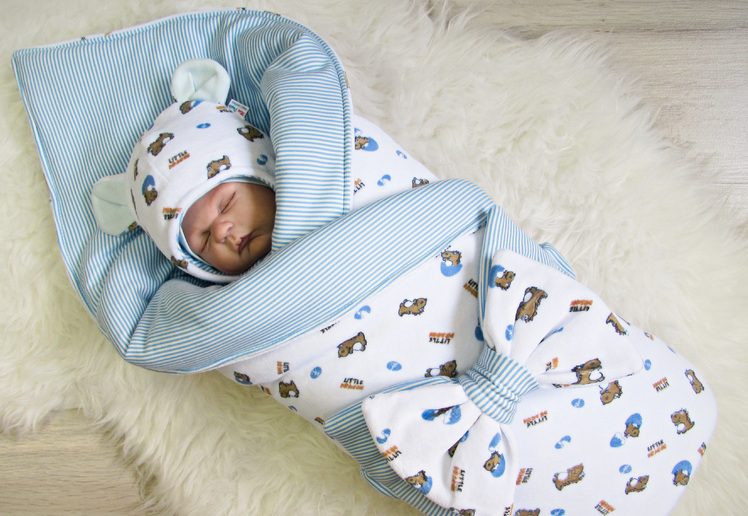
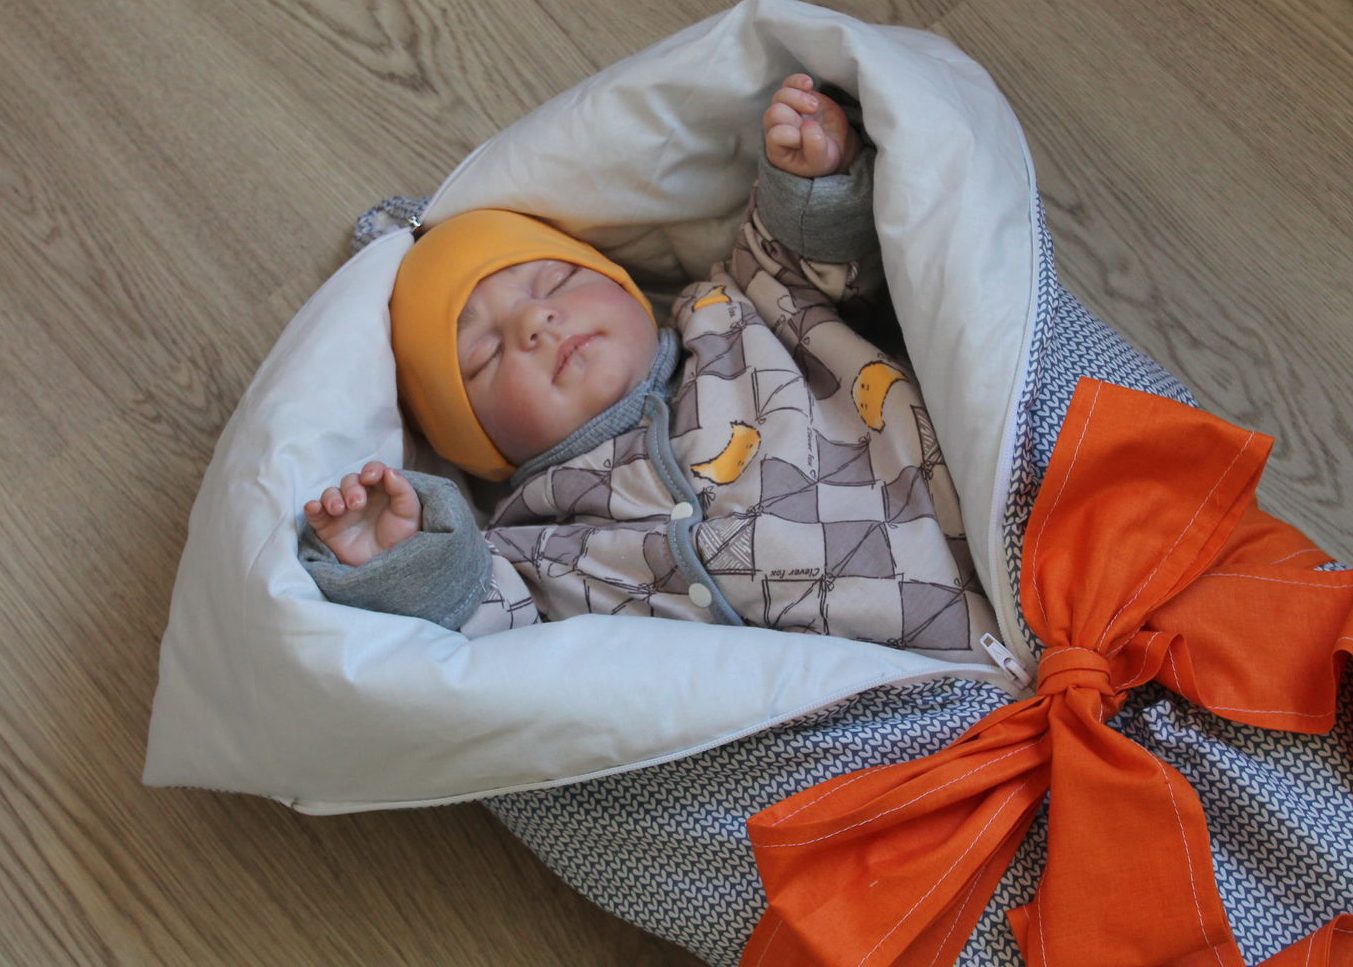
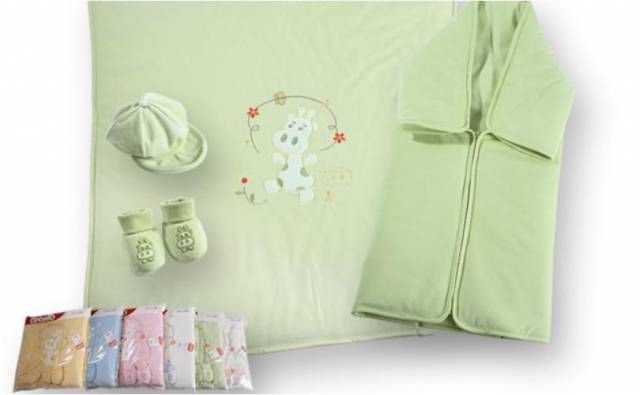
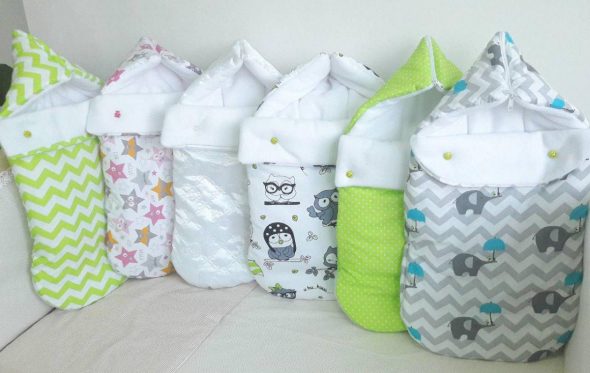
Envelope for newborns
This blanket is a universal thing. It can also be used as a maternity hospital discharge envelope. How to choose the ideal option?
Transformer blankets can be classified by season.
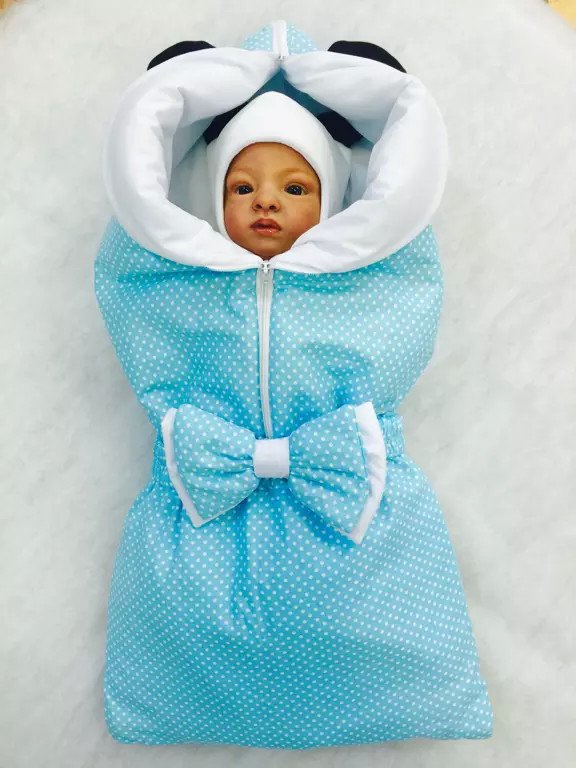
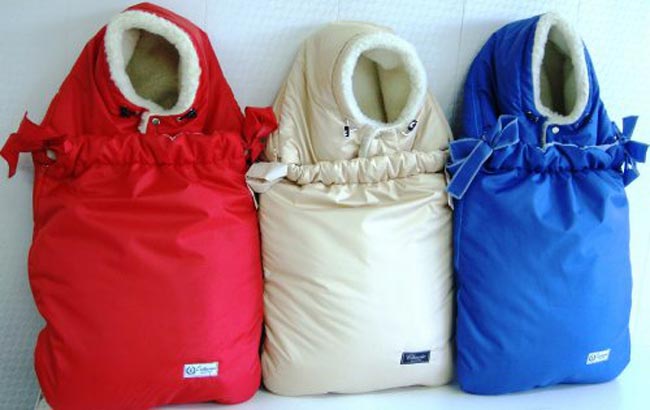
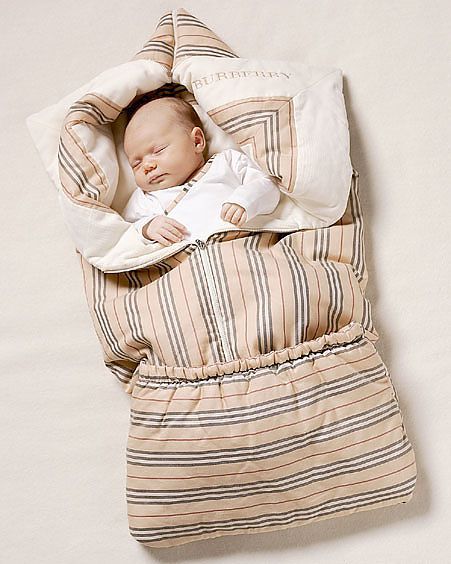
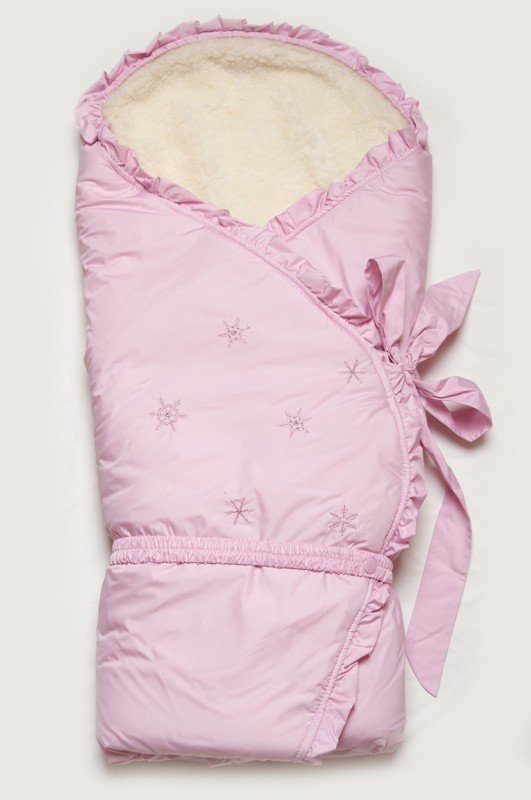
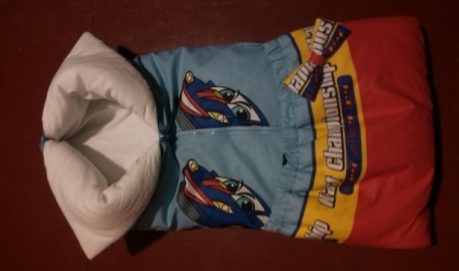
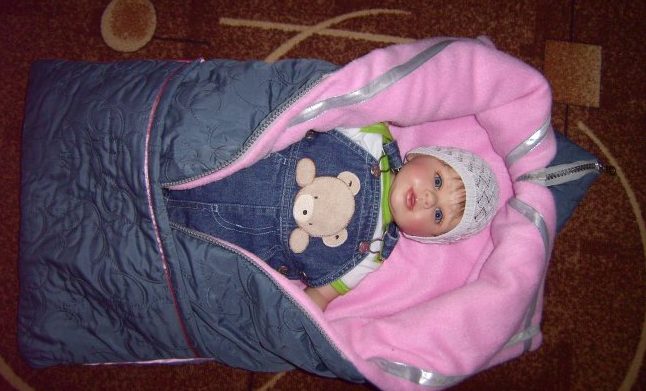
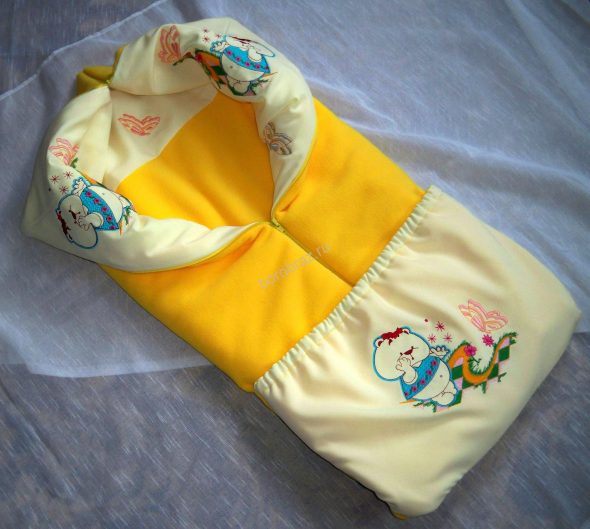
- Winter. A warm option, designed for temperatures from -7 to -25 degrees. When buying, do not chase maximum insulation, count on a temperature of minus 7-15 degrees. If the frost is stronger, long walks are not recommended. And in case of severe cold, you can always warm the child with an additional blanket. The baby should not be hot.

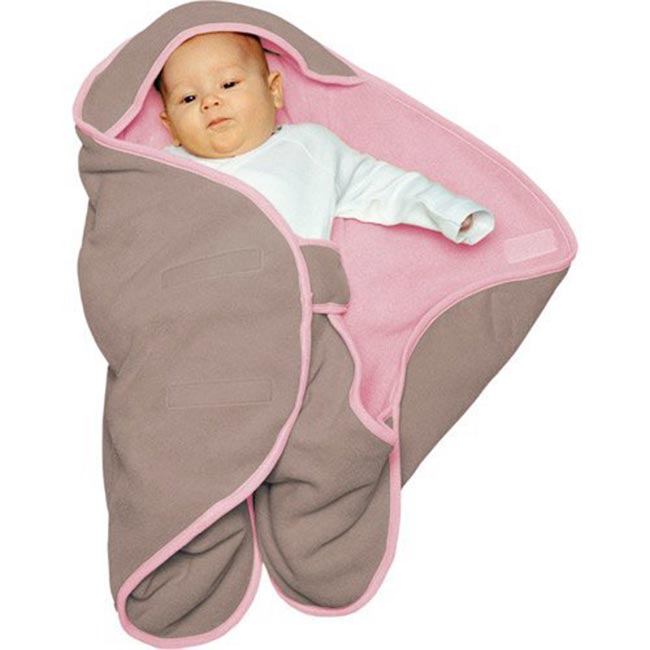
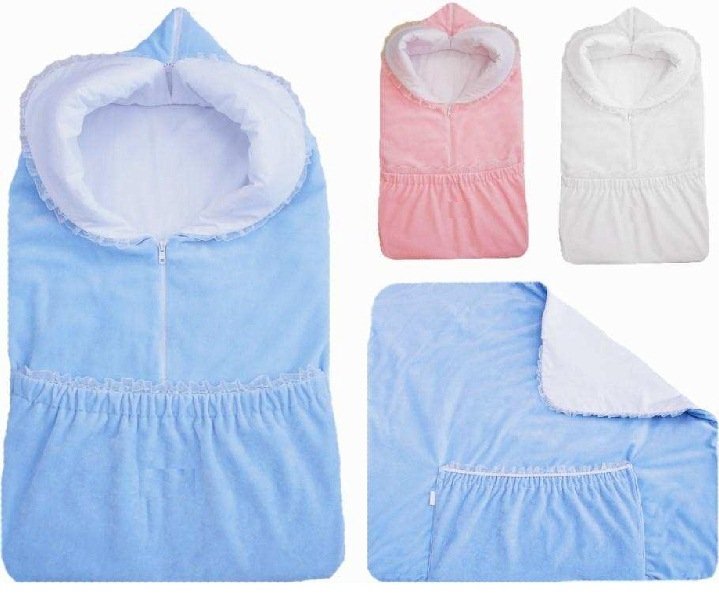
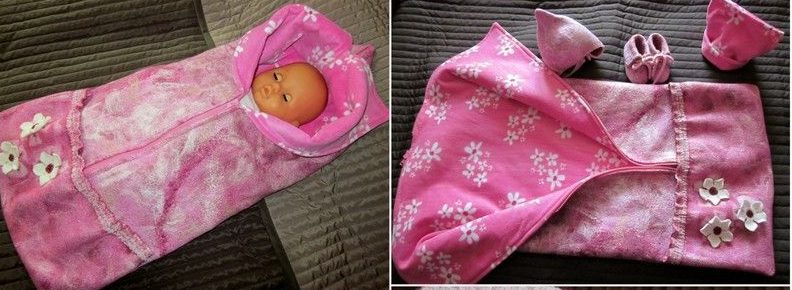
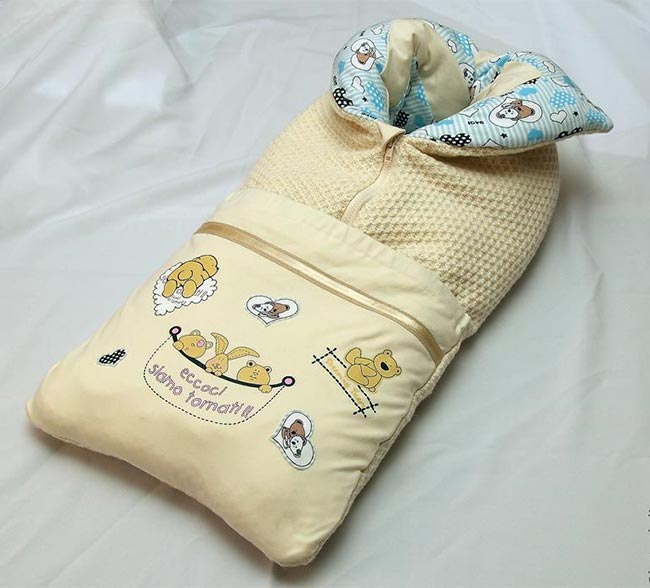
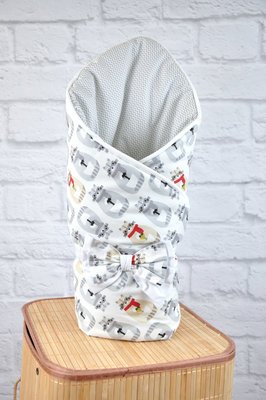
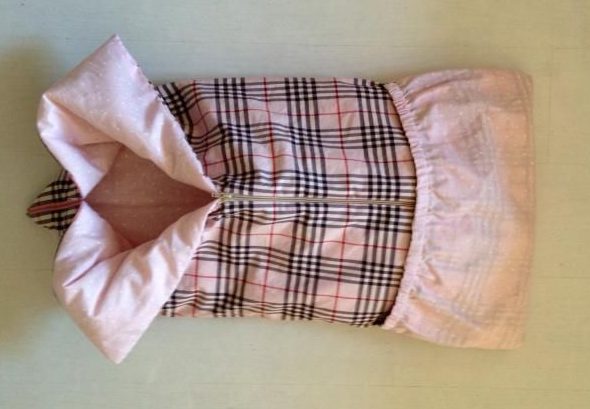
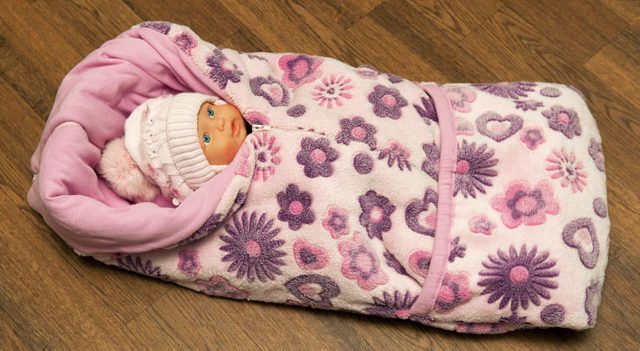
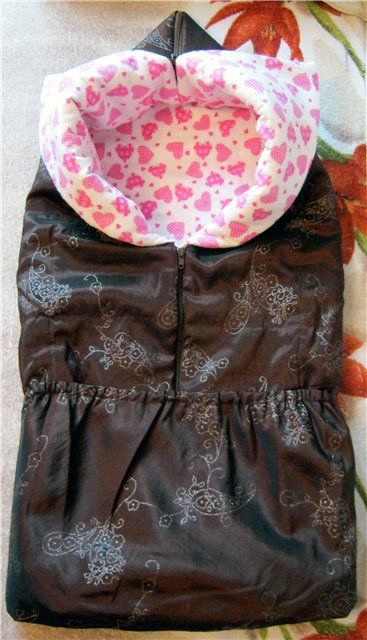
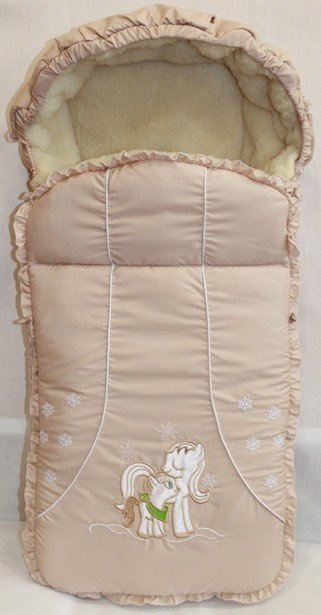
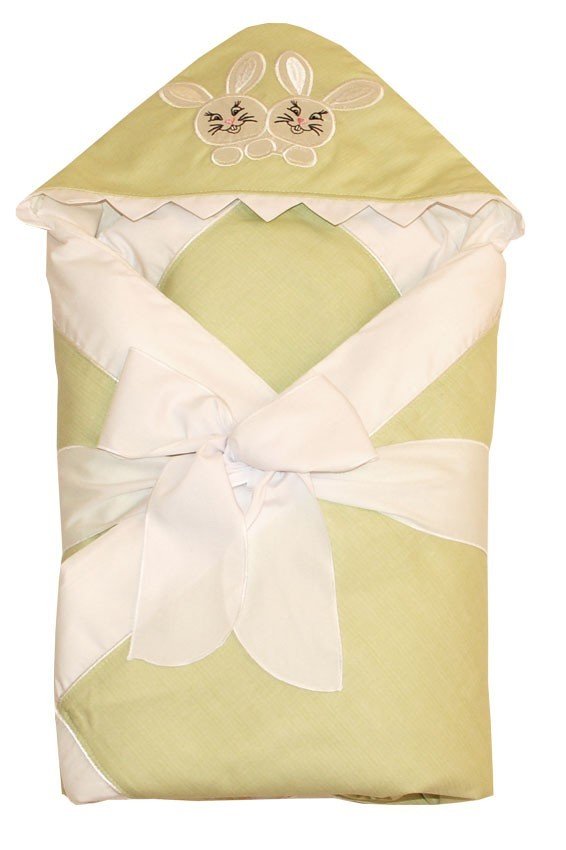
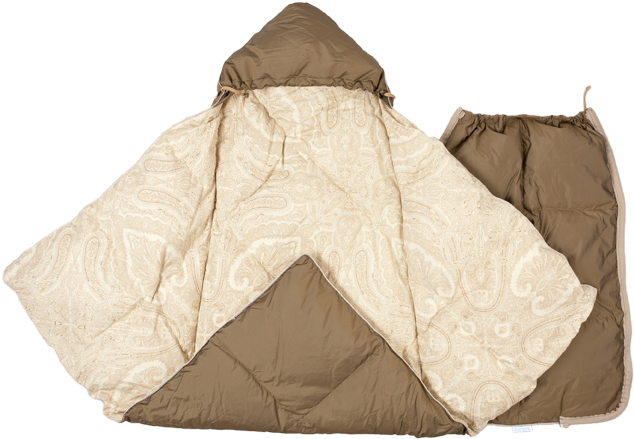
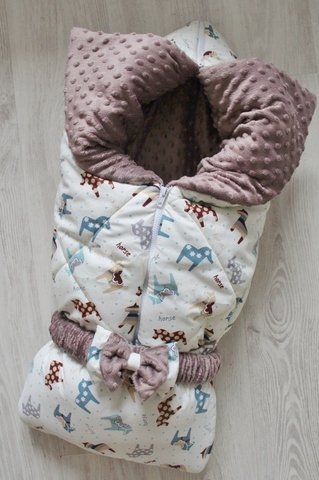
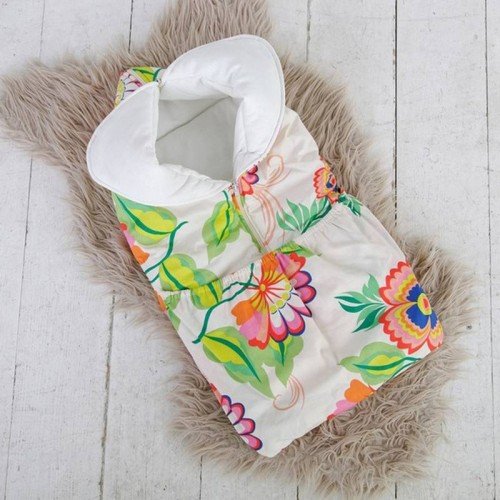
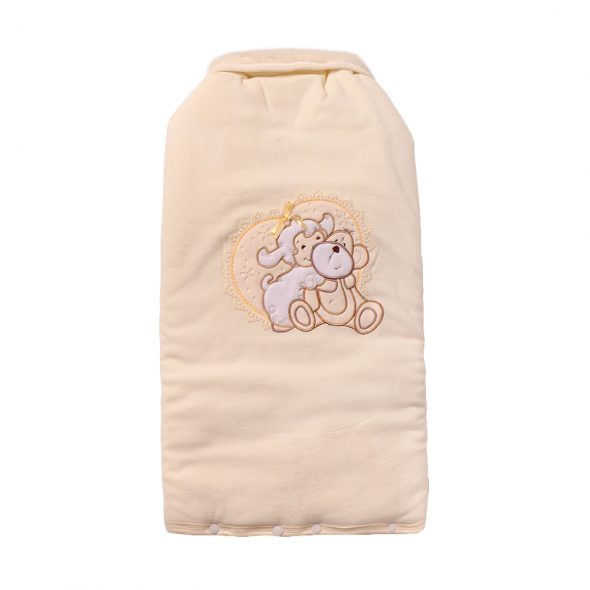
Winter blanket-envelope transformer for discharge - Spring-autumn or demi-season. Designed for temperatures from -5 to +10 degrees. When choosing, pay attention to the waterproofness of the outer material and the presence of a hood.

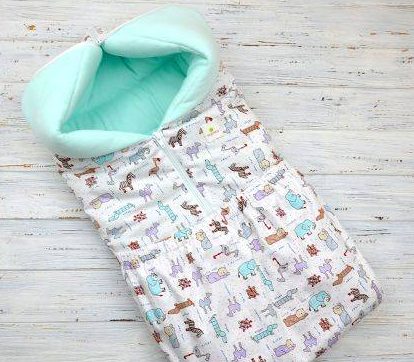
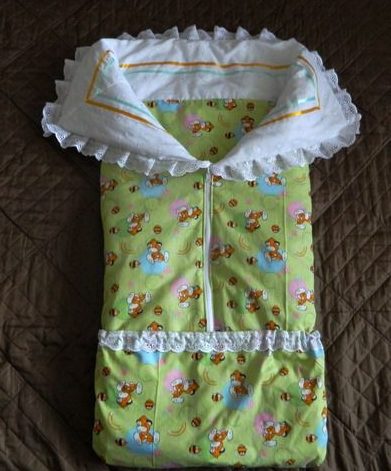
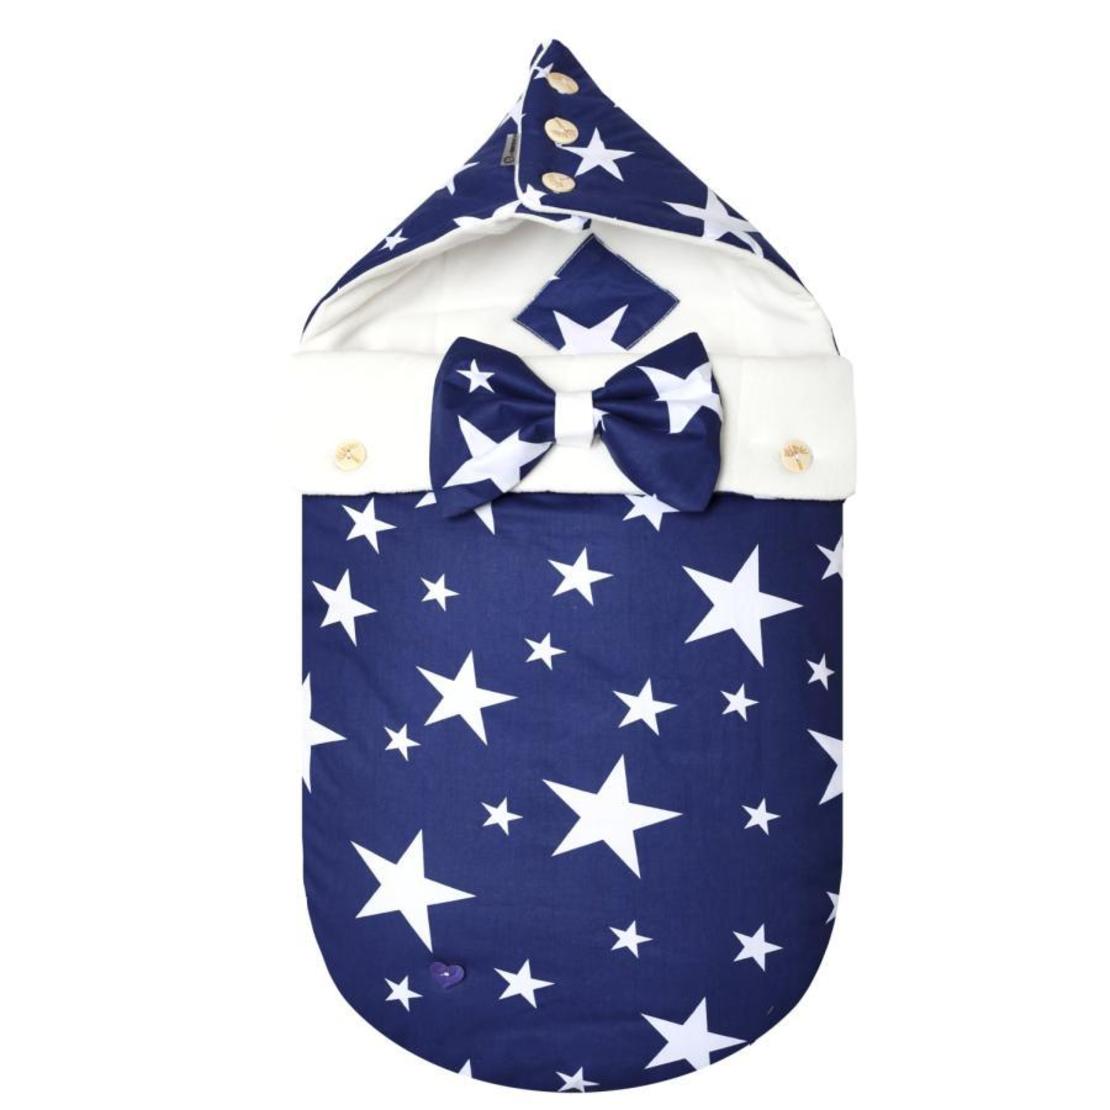
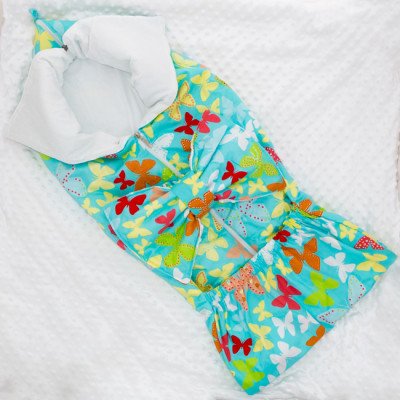
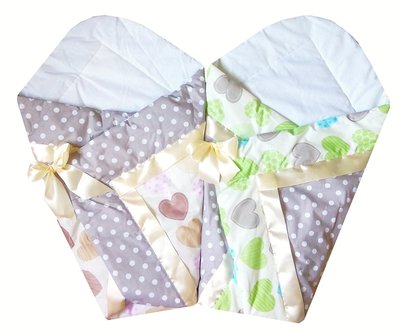
Demi-season blanket envelope with hearts for a newborn - Summer. A regular transformer blanket without insulation.

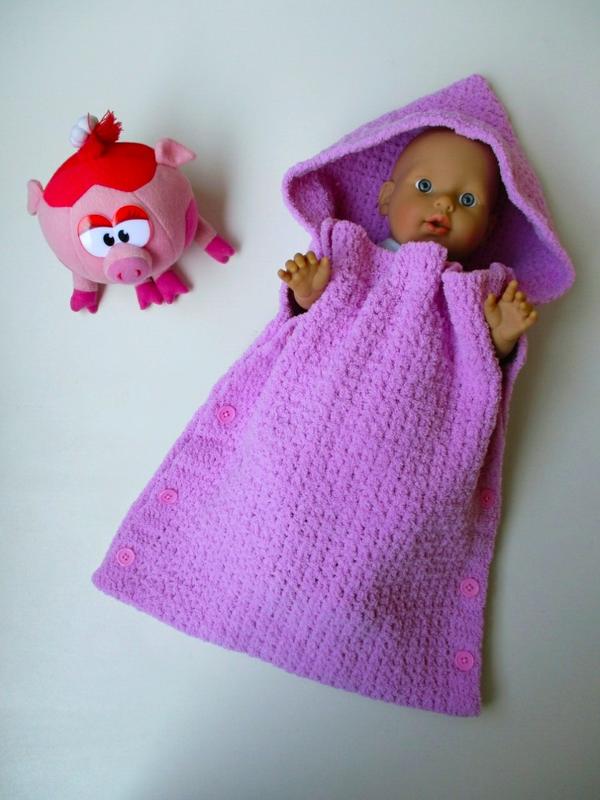
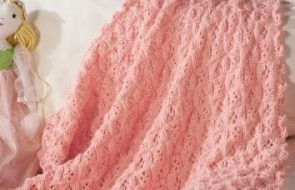
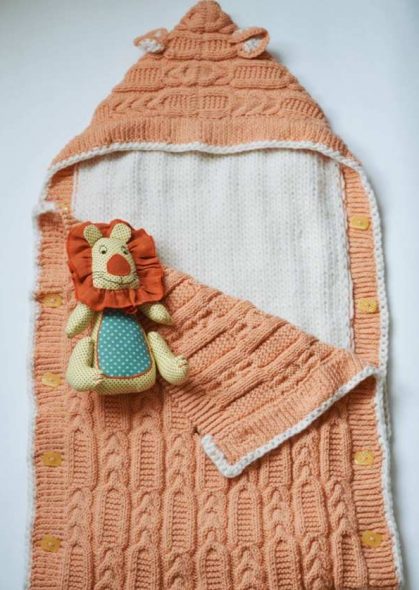
Knitted summer blanket-envelope for your baby
By size.
- 80 by 80 centimeters. For babies up to 3 months and up to 60-65 centimeters tall.
- 90 by 90 centimeters. Well suited for slightly older children. Up to a height of 75 centimeters.
Approximate algorithm for choosing a blanket for a newborn
- Determine the season. You can use a transformable blanket until your baby reaches eight months. Calculate what seasons will be at this time based on the date of birth. If the baby lives through several seasons, you can find or sew a blanket with a changeable lining yourself, similar to an insulated duvet cover, where you can put different linings depending on the weather.
- Don't forget about the weather in your region. Don't look blindly at the season.
- Determine the size.
- Choose hypoallergenic materials that are easy to wash and dry quickly.
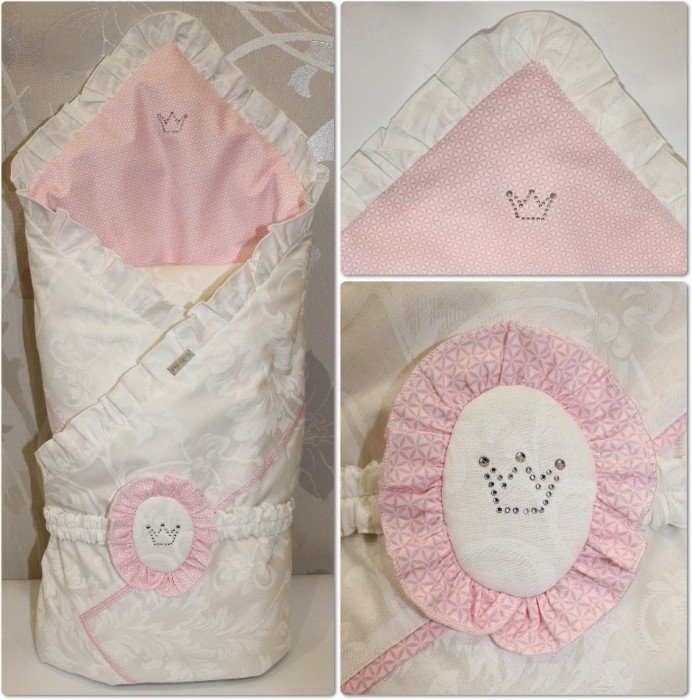
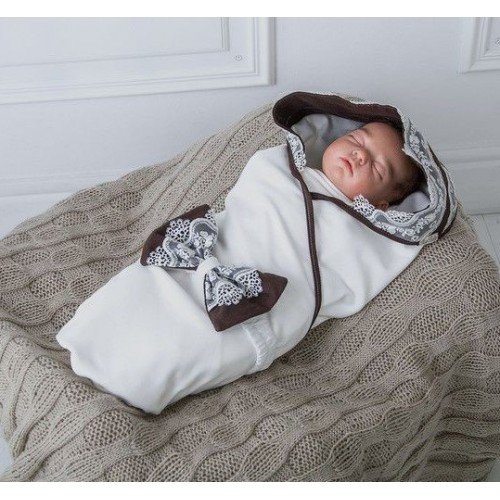
- When you first pick up your baby from the hospital, you want to choose a beautiful envelope. Don't be fooled by frills and bows that don't come off the blanket - it will be difficult to keep all this beauty clean. Instead, pay attention to ribbons and brooches. They look no less elegant and are easy to remove.
Materials
An important issue for choosing a high-quality and comfortable envelope is its material. Different materials are needed for insulation, the inner and outer sides. Important qualities for the inner side are softness, hypoallergenicity, durability, ease of cleaning, hygiene. Therefore, cotton fabrics are often used - satin, calico, flannel, knitwear. For the outer side, they choose heat-retaining hygroscopic fabrics that are difficult to stain and easy to care for - plush, fleece, velvet, wool, raincoat fabric. As insulation, the choice falls on materials with high air permeability, good heat retention, hypoallergenic and do not require dry cleaning - holofiber, fluff, silicone, synthetic padding, sometimes wool.
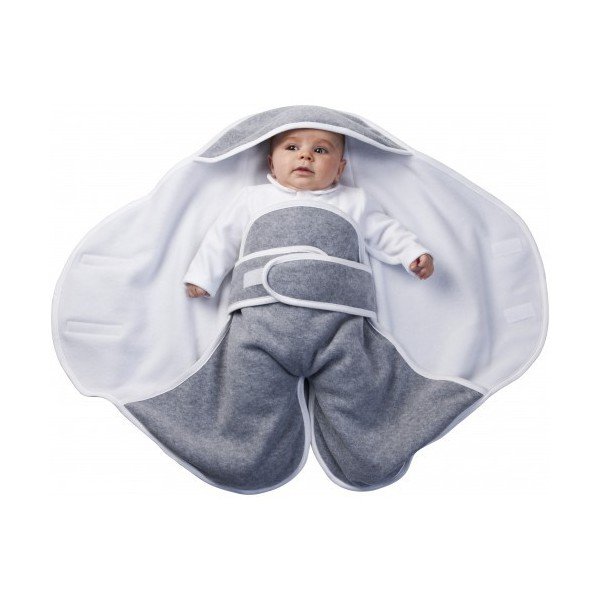
Fastenings and transformation mechanisms
There are several most common options for turning a blanket into an envelope.
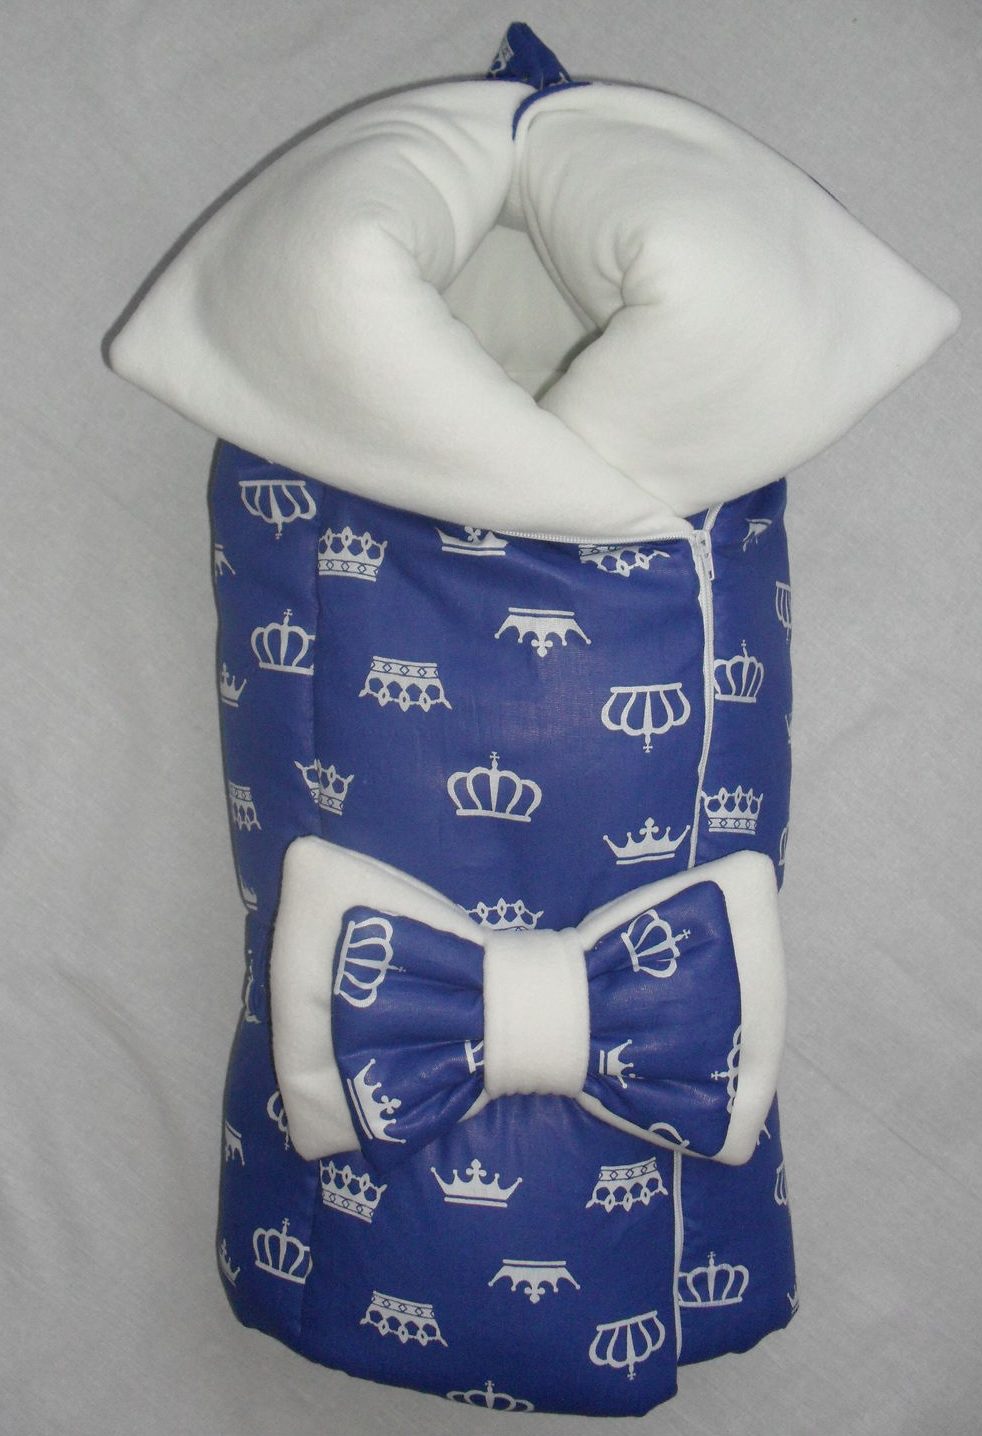
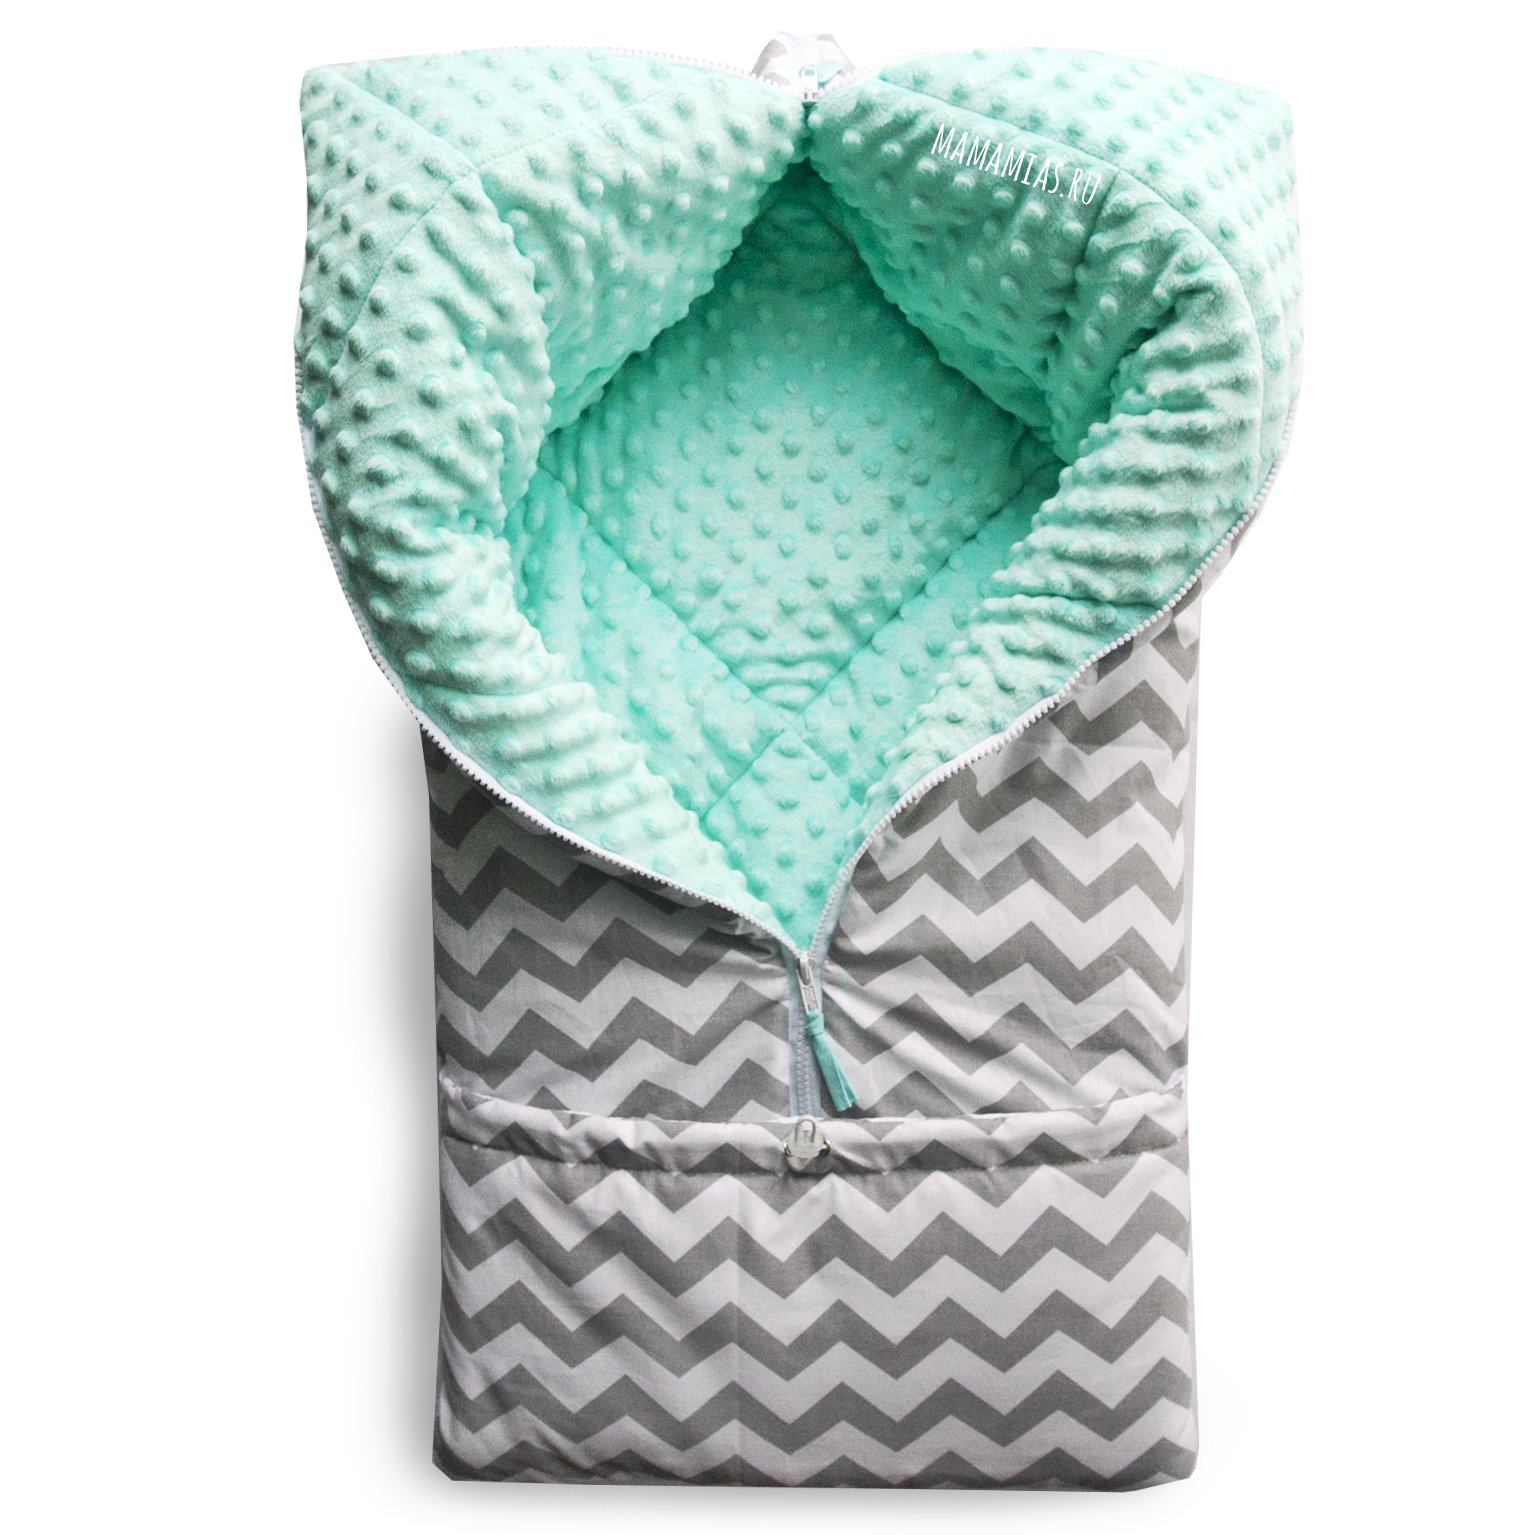
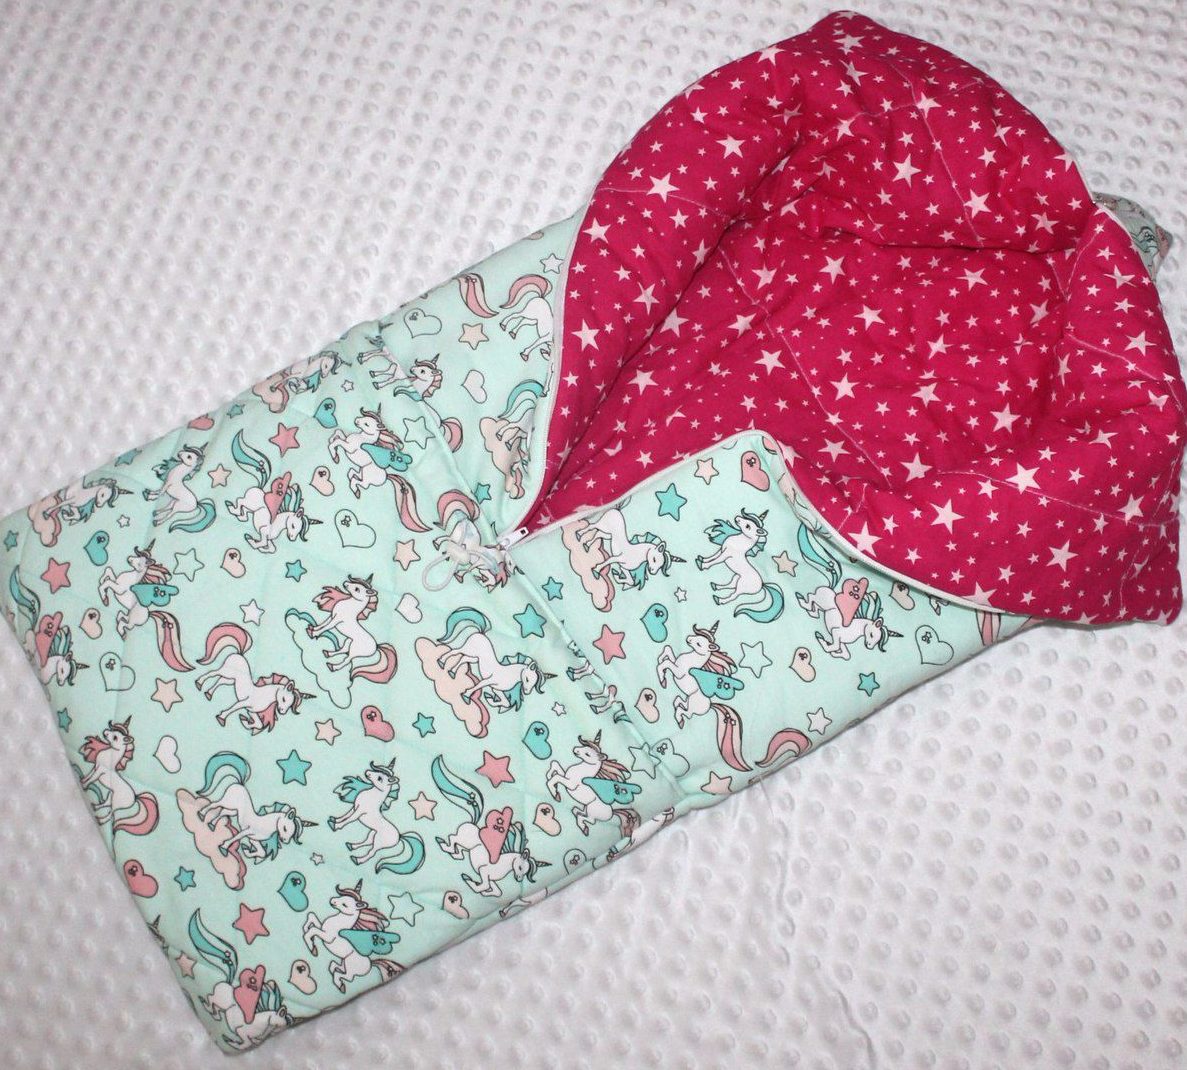
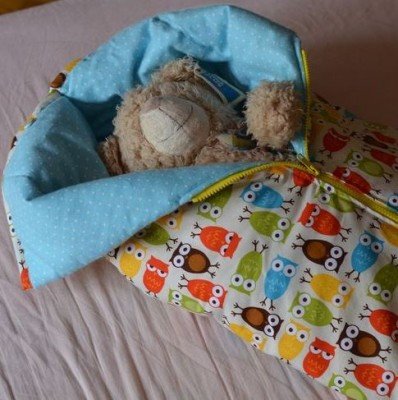
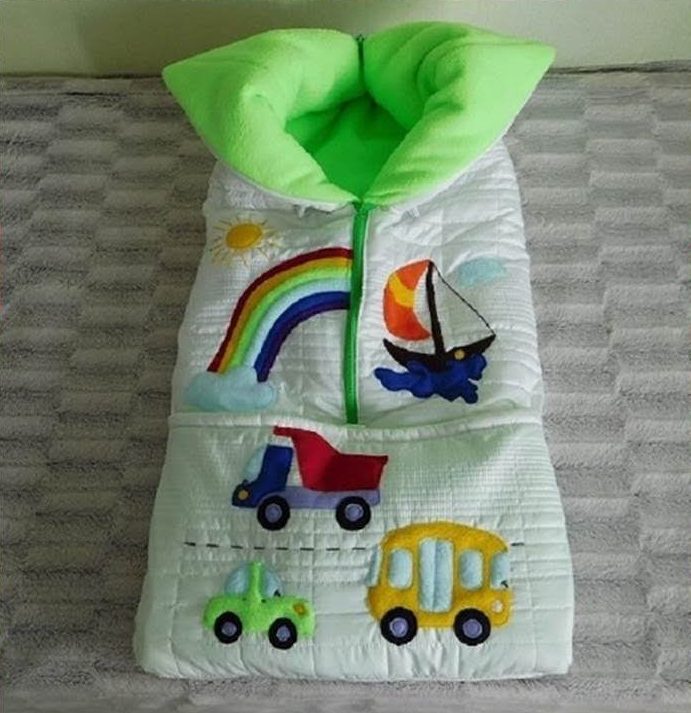
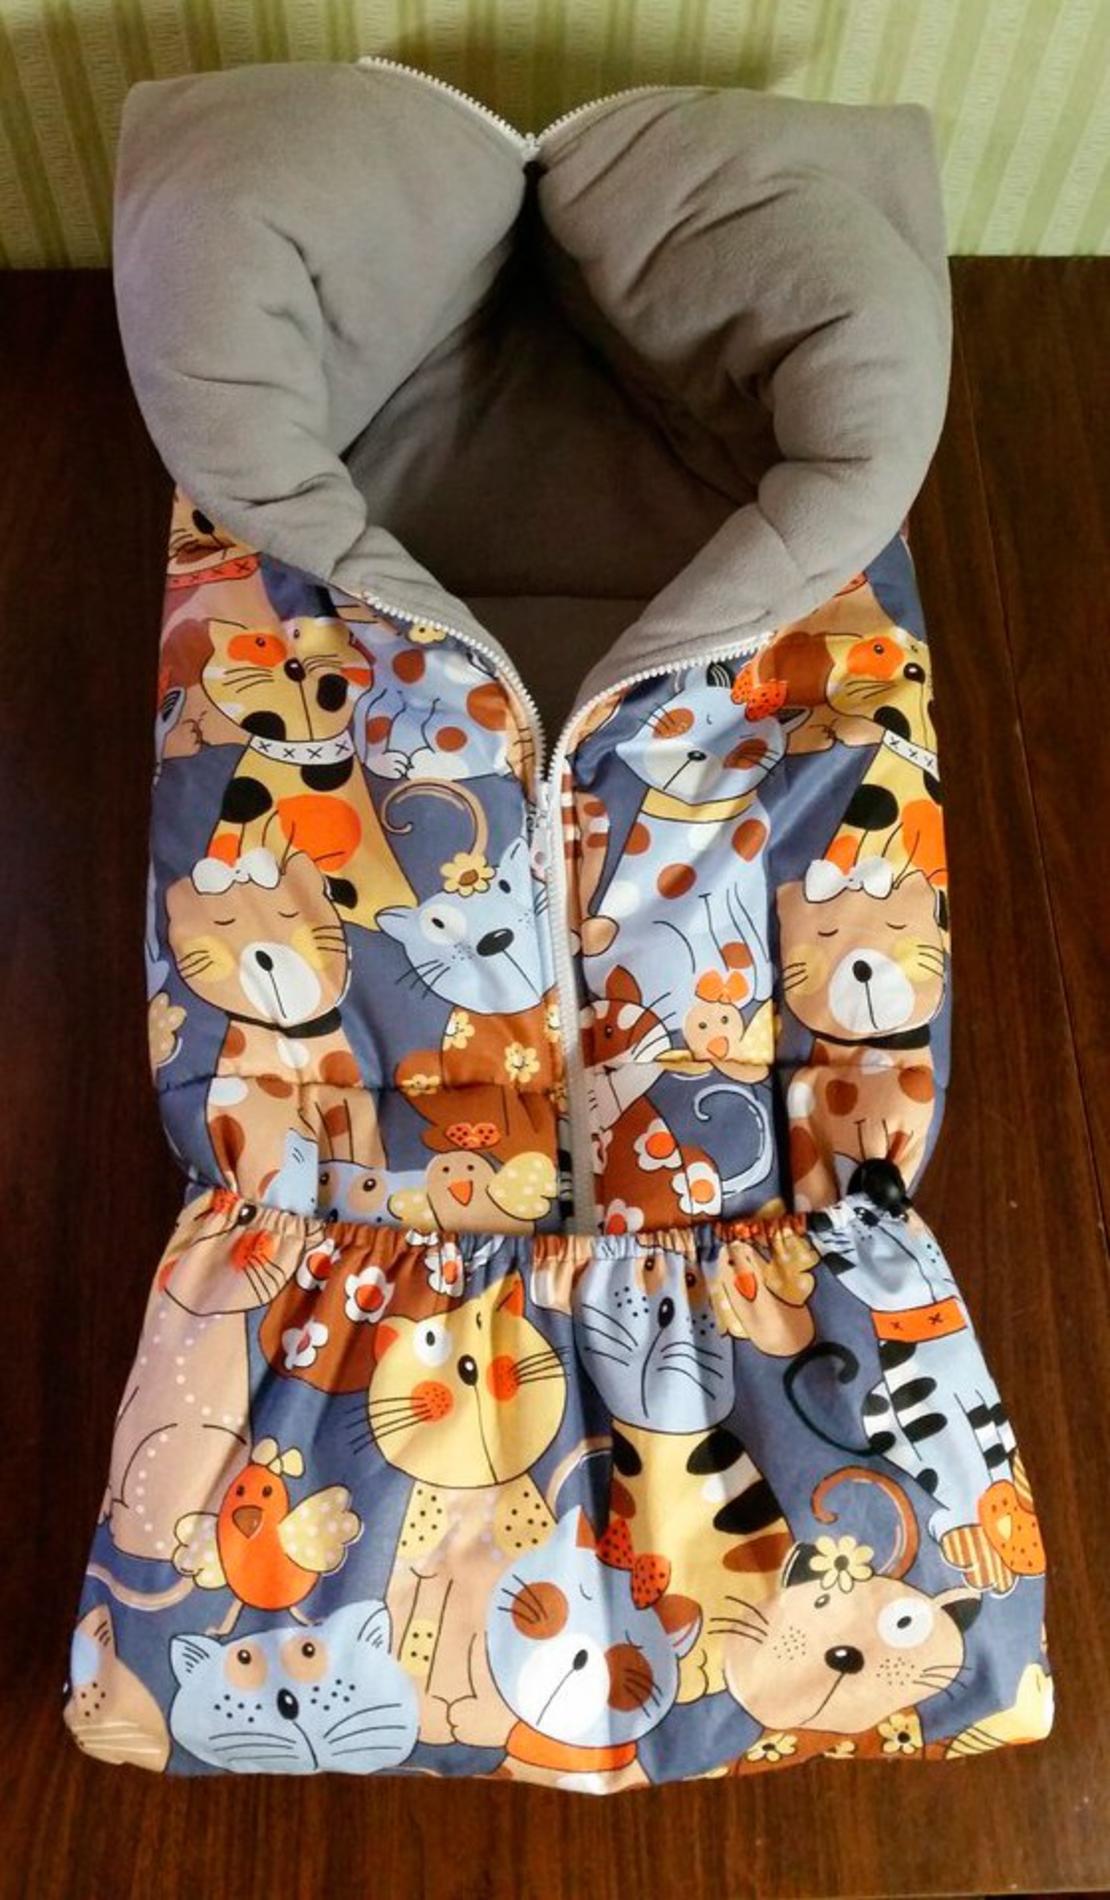
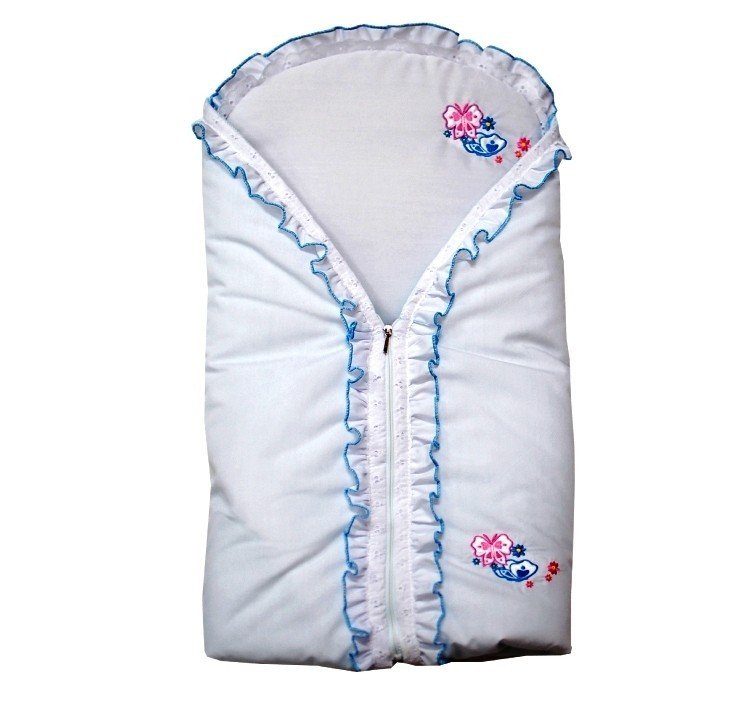
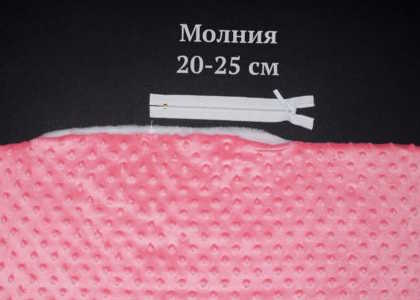
- Lightning. The fastest transformation option, but the baby can get hurt on hard parts. In case of breakage, it is difficult to replace.
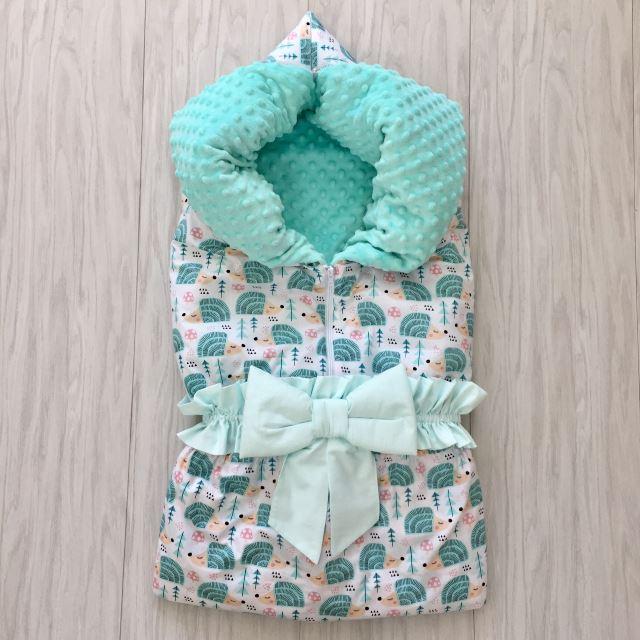
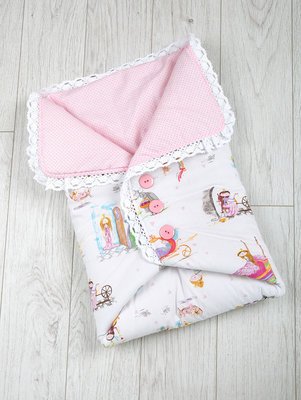
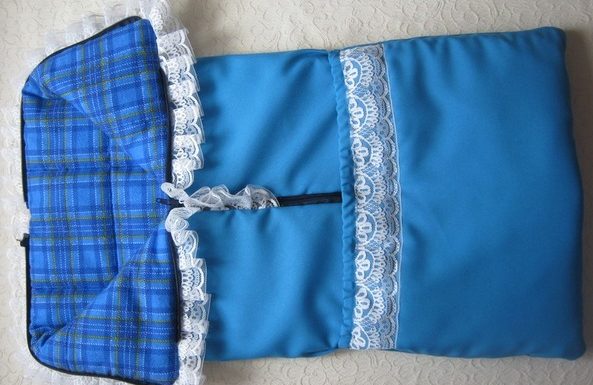
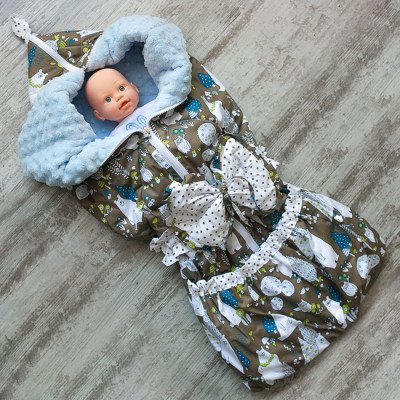
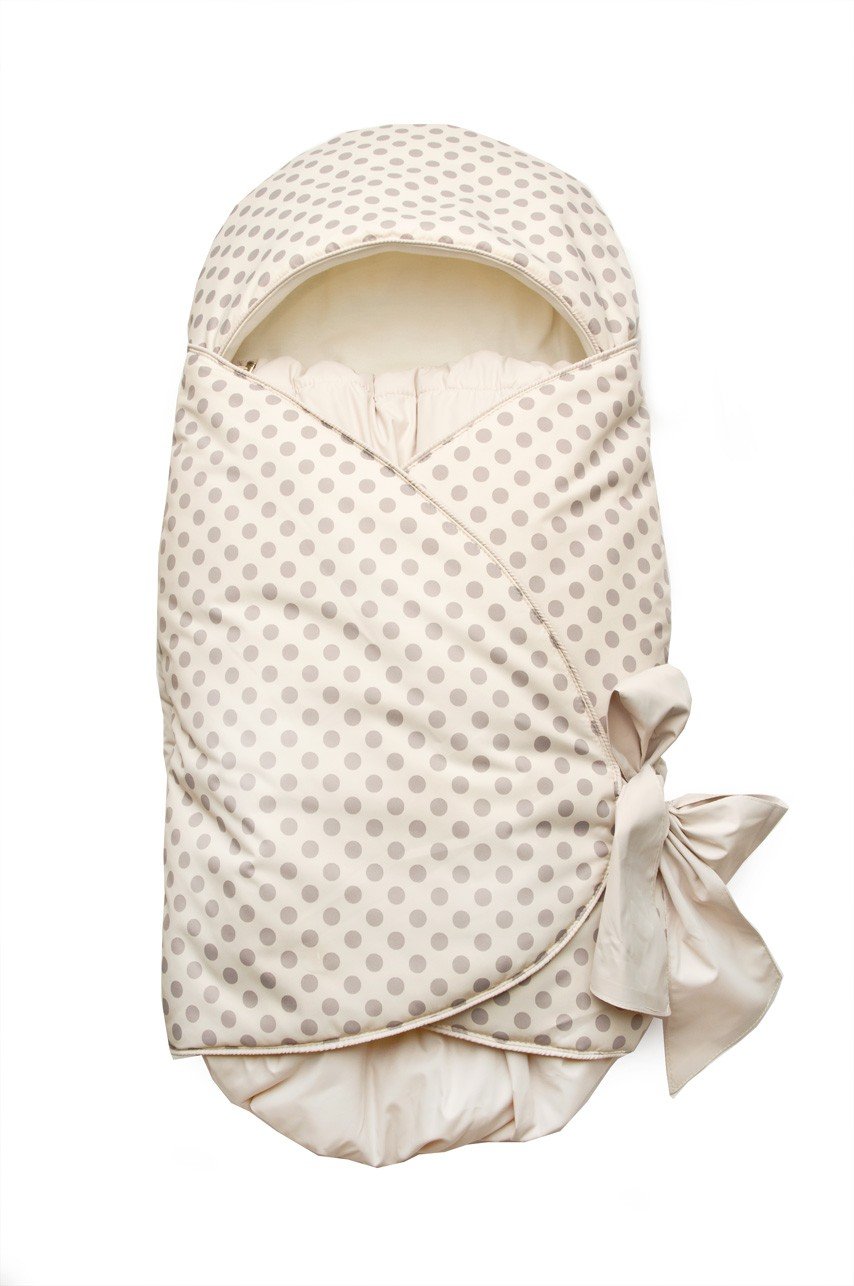
Summer transformable envelope with zipper for newborns - Tapes. An aesthetic but long-lasting method. You can adjust the fixation and easily replace the tapes.

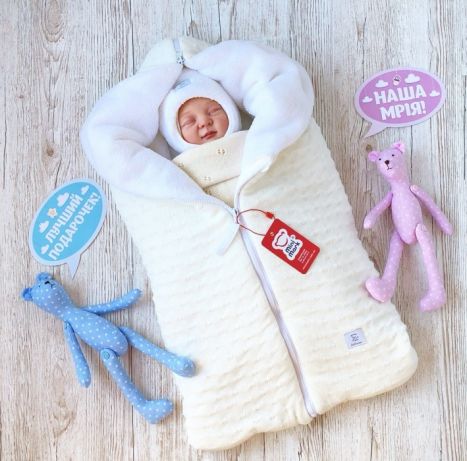
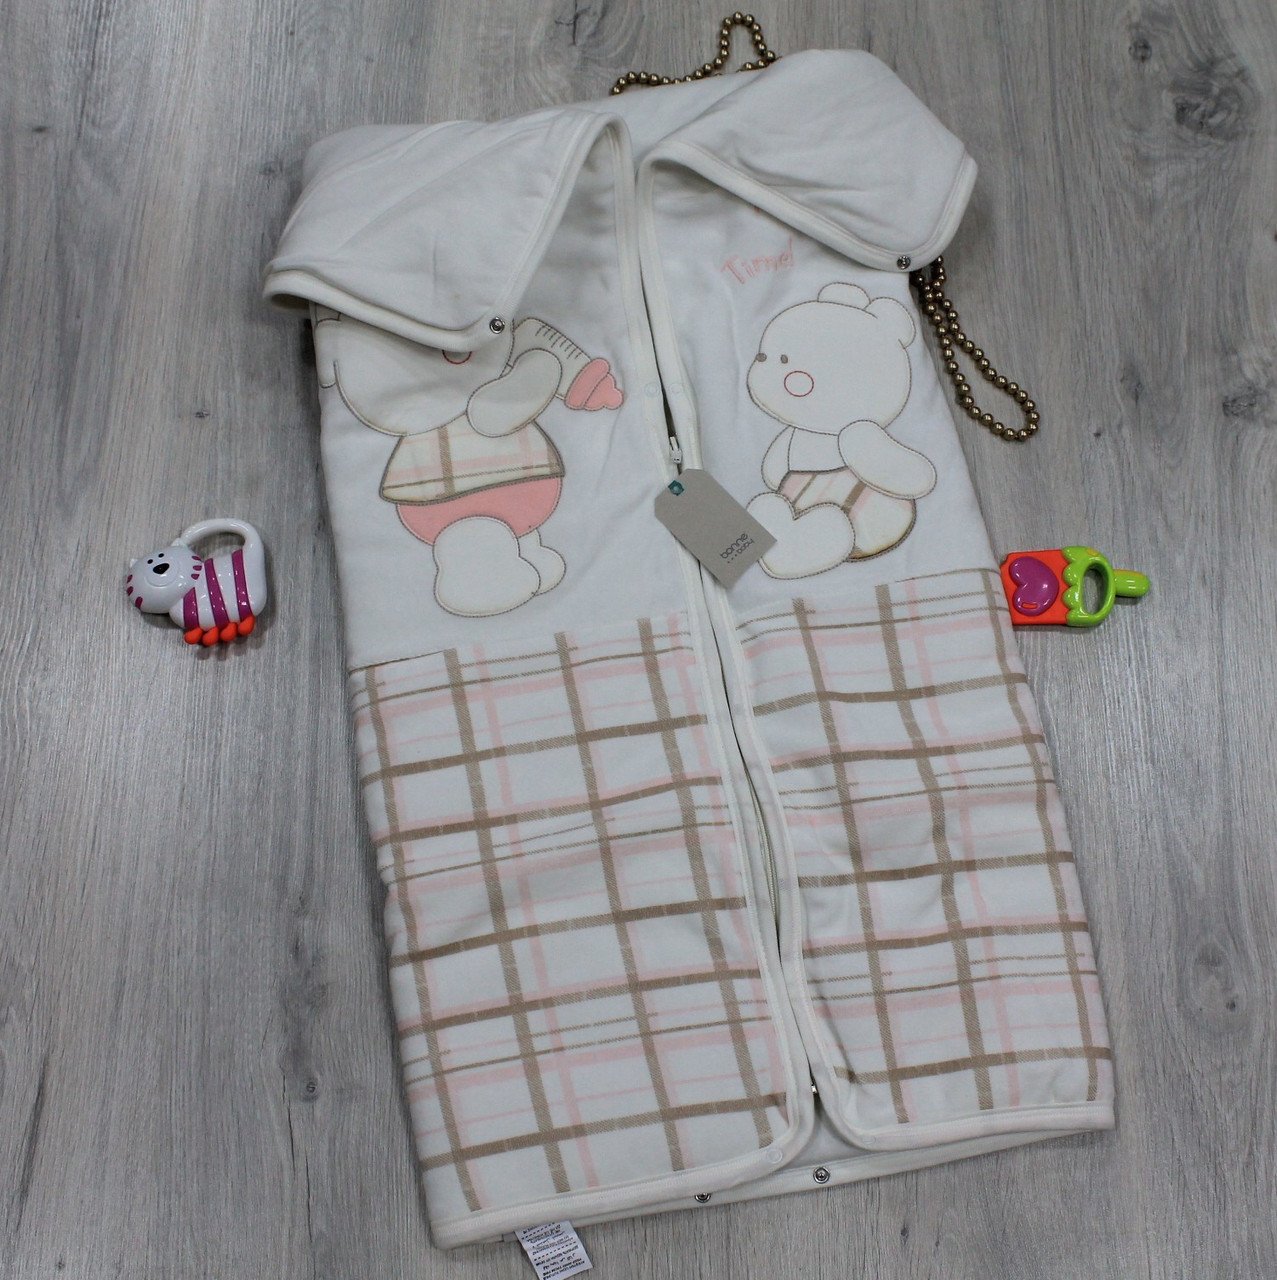
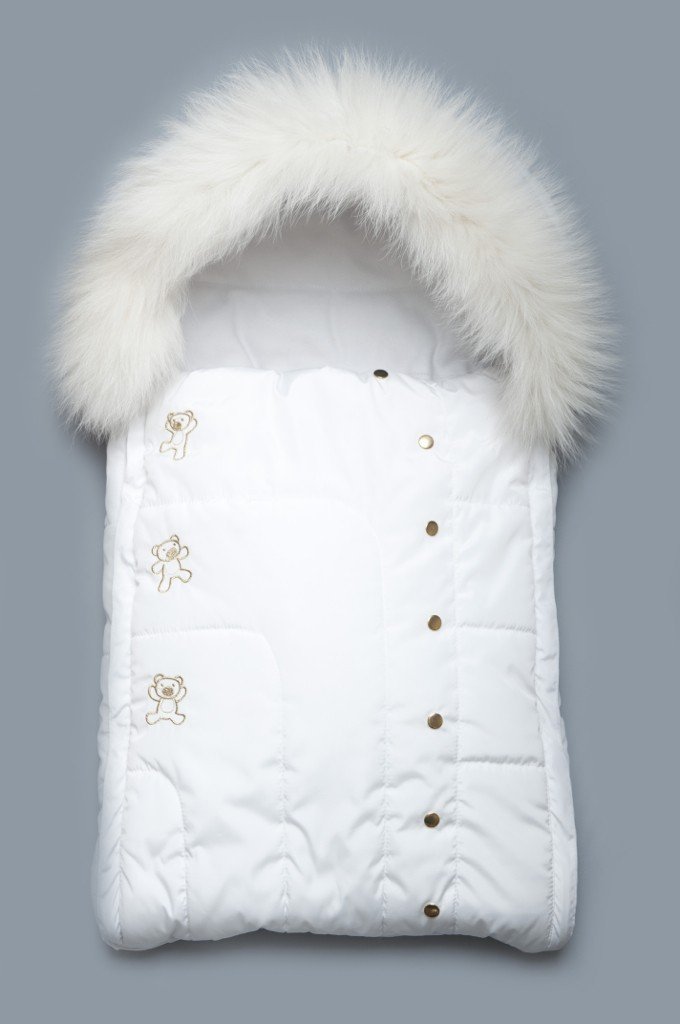
Silk Blanket Envelope Spring Summer with Ribbons - Buttons, snaps. Takes an average amount of time, has solid parts. At the same time, they are reliable and easy to change.

Knitted envelope for newborn with buttons Fur blanket-envelope with buttons beige color

The choice of mechanism for the envelope depends on many factors - the age and activity of the child, the amount of free time of the parents and the neatness of the baby.
DIY Transformer Blanket
Sewing a multi-tasking envelope for a baby is not a difficult task, it is enough to have basic sewing skills and a sewing machine to give your child a unique blanket. Sewing algorithm for a transforming blanket with a zipper.
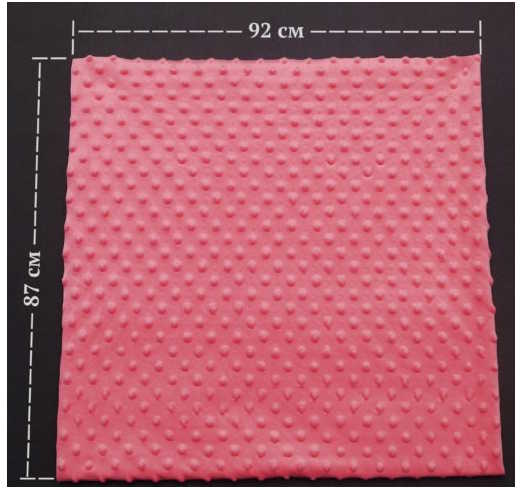
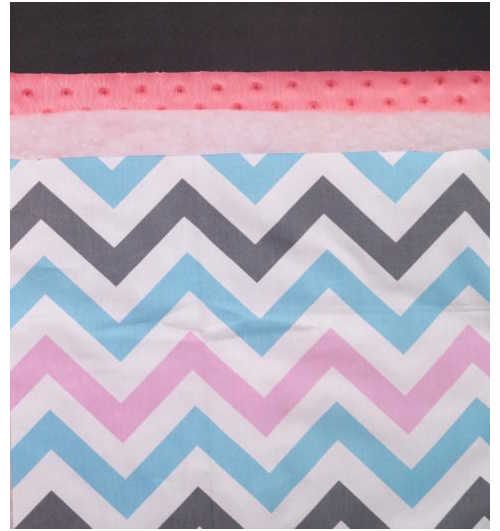
- Check that you have everything you need to sew it yourself: fabric for the top and inner layers, insulation, 40-50 cm elastic, 55 and 25 cm zippers, scissors, threads, pins.

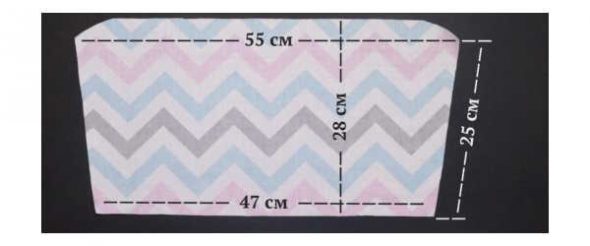
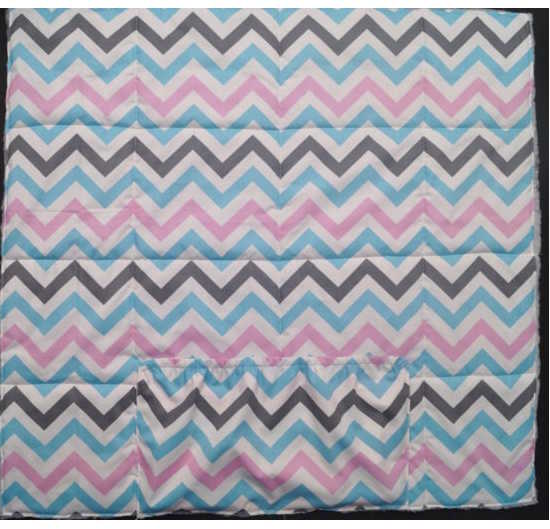
Fabric and fittings for envelope - Make patterns. They can be made directly on the fabric – there is nothing complicated about it. Mark rectangles 90 by 85 centimeters. The pocket pattern is a little more difficult to make. On the outer and inner fabric, draw a trapezoid with beveled corners. The bottom line is 45 cm, the top line is 50, with 2.5 cm on each side slightly beveled downwards. The height of the trapezoid is 25 cm.

Making patterns for fabric 
We cut out such details from outer and inner fabrics and insulation - Cut out the pieces. Three equal pieces for the envelope – outer layer, inner layer, insulation. Two equal pieces for the pocket – outer and inner layer.
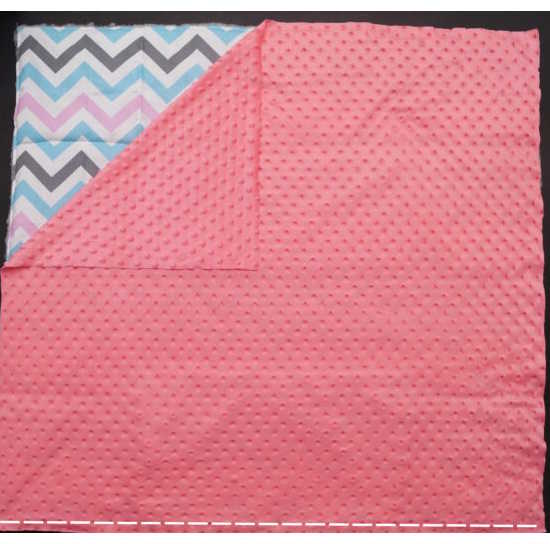
- Place the outer layer with the wrong side facing the insulation, pin and stitch several times, including along the edges.

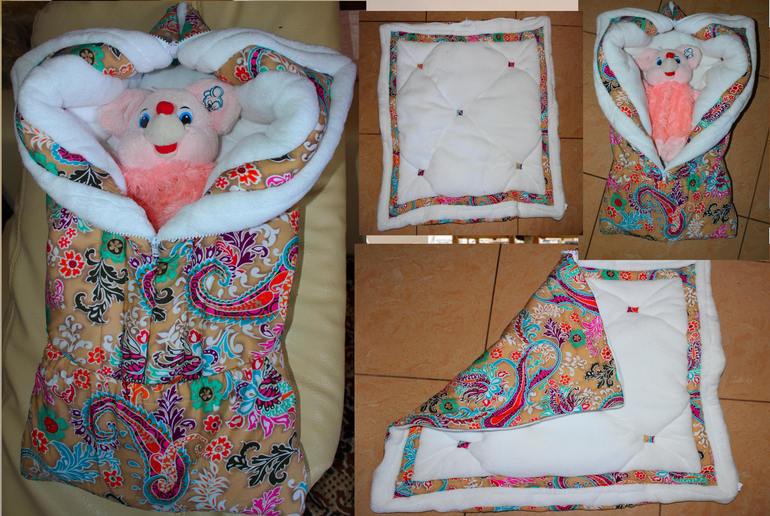
We quilt cotton fabric with insulation - Place the pocket pieces right sides together, sew them along the long edge, turn them inside out and iron.

For the pocket on the legs, cut out 2 pieces 
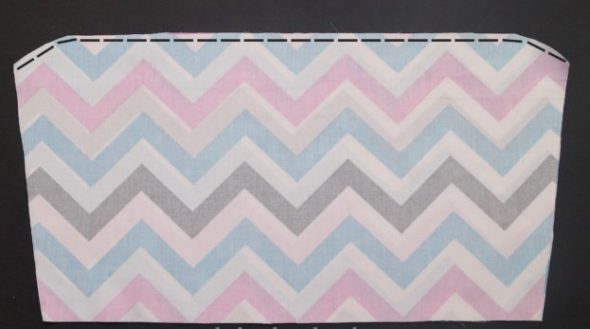
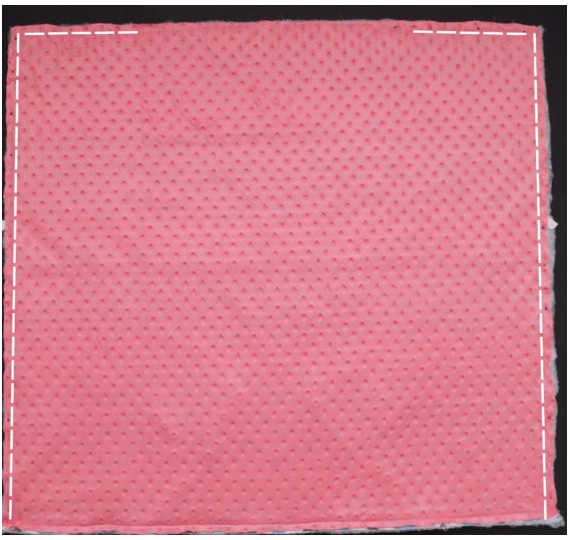
From the wrong side, sew both parts together from the top - Step back from the resulting seam a distance of a couple of millimeters greater than the width of the elastic band and stitch, creating a drawstring.

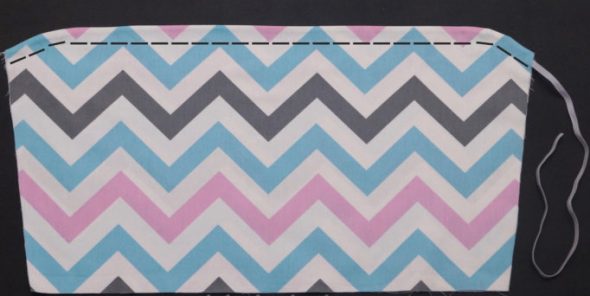
Turn it inside out, iron it and stitch on top where it is marked with dotted lines, insert the elastic - Insert the elastic into the drawstring, gather the fabric so that the trapezoid turns into a square, secure the elastic on the sides, leaving one and a half centimeters on each edge.
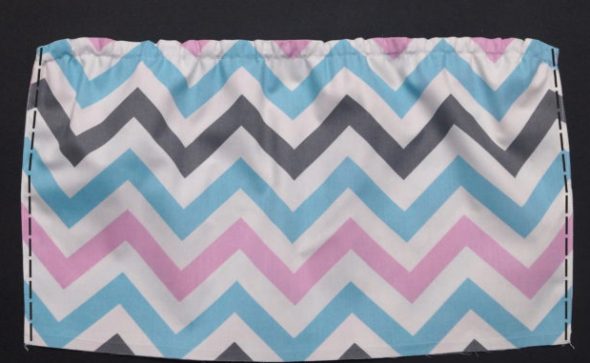
- Sew the pocket on the sides, folding the edge inward, and securing the elastic at the same time. Cut off the excess ends.

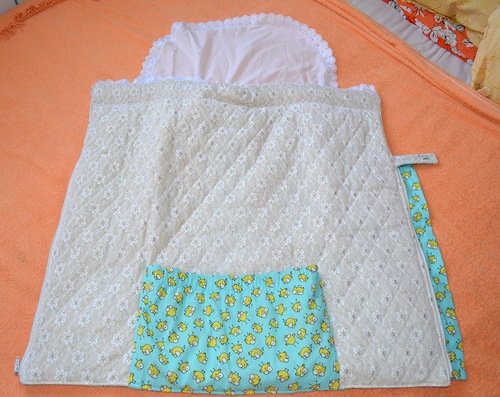
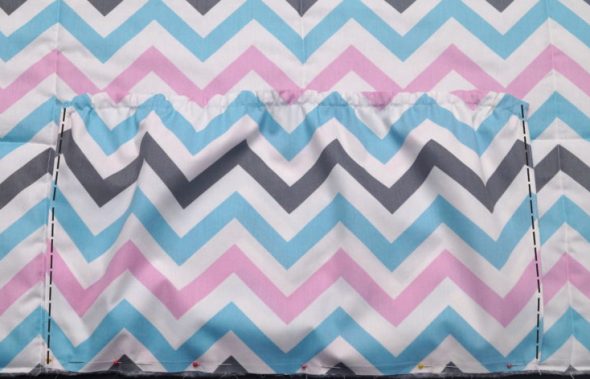
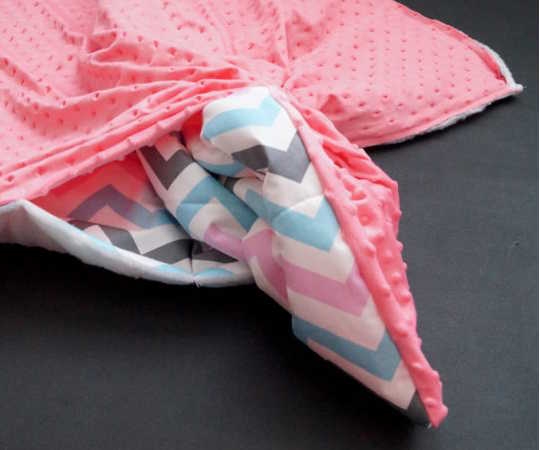
We fix the elastic on both sides and stitch along the sides, folding the edges inward. - Sew a pocket to the bottom edge of the previously sewn outer layer and insulation in the middle, stitching along the bottom and side edges of the pocket. Sew the side edges along a straight line, even if they seem rounded.

Sew the resulting product to the cotton side of the future blanket from the bottom in the middle 
Leg pocket on the future blanket - With the receiving piece face up and pocket side down, place the inner layer on top, wrong side up. Pin and sew together along the bottom edge.

Place the plush piece on the blanket so that the right sides of the fabric are facing each other and stitch from the bottom. - Sew the sides of the separable zipper 50-55 cm on both sides. Starting from the bottom edge. First sew the zippers to the outer layer, then apply the inner layer, pin and sew on the machine. Sew the top edge on the machine as well, leaving a hole exactly in the middle the size of a small zipper when open.

Sew in a 50-55 cm long zipper on the sides from below 
Cover with a layer of plush and stitch along the sides and top, leaving a small opening for a small zipper. - Turn the blanket inside out through this hole.

Turn the blanket right side out through this hole. - Sew a small zipper. First to the outer layer, then to the inner layer, tucking the edges inward.

Sew a small zipper to the top of the envelope

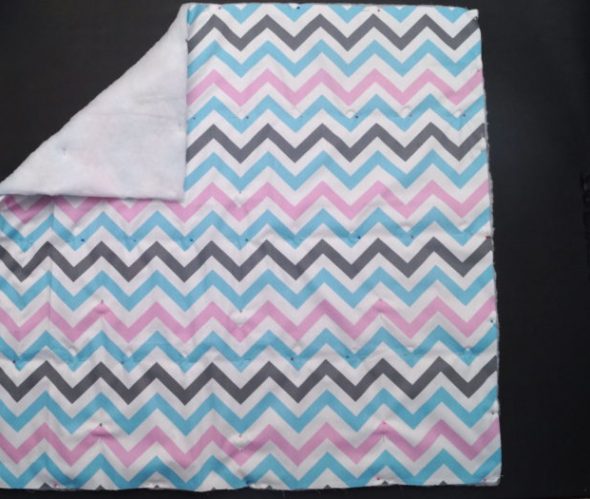

Your transforming blanket is ready!
What can be said about the transforming blanket in conclusion? It is easy to make, convenient to use. By choosing it correctly, you will provide your child with a happy infancy.
Video: DIY envelope (transformer blanket) for a newborn's discharge. Master class.
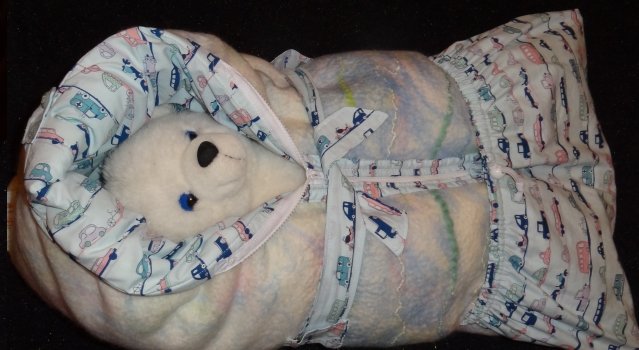
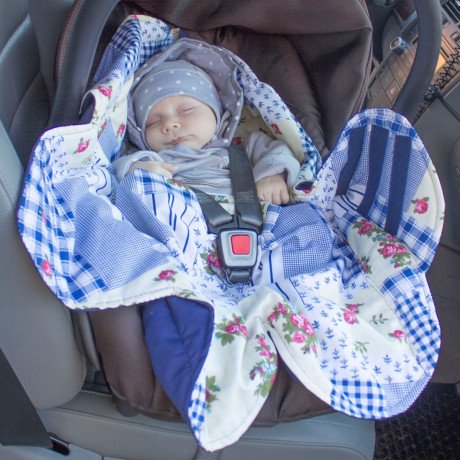
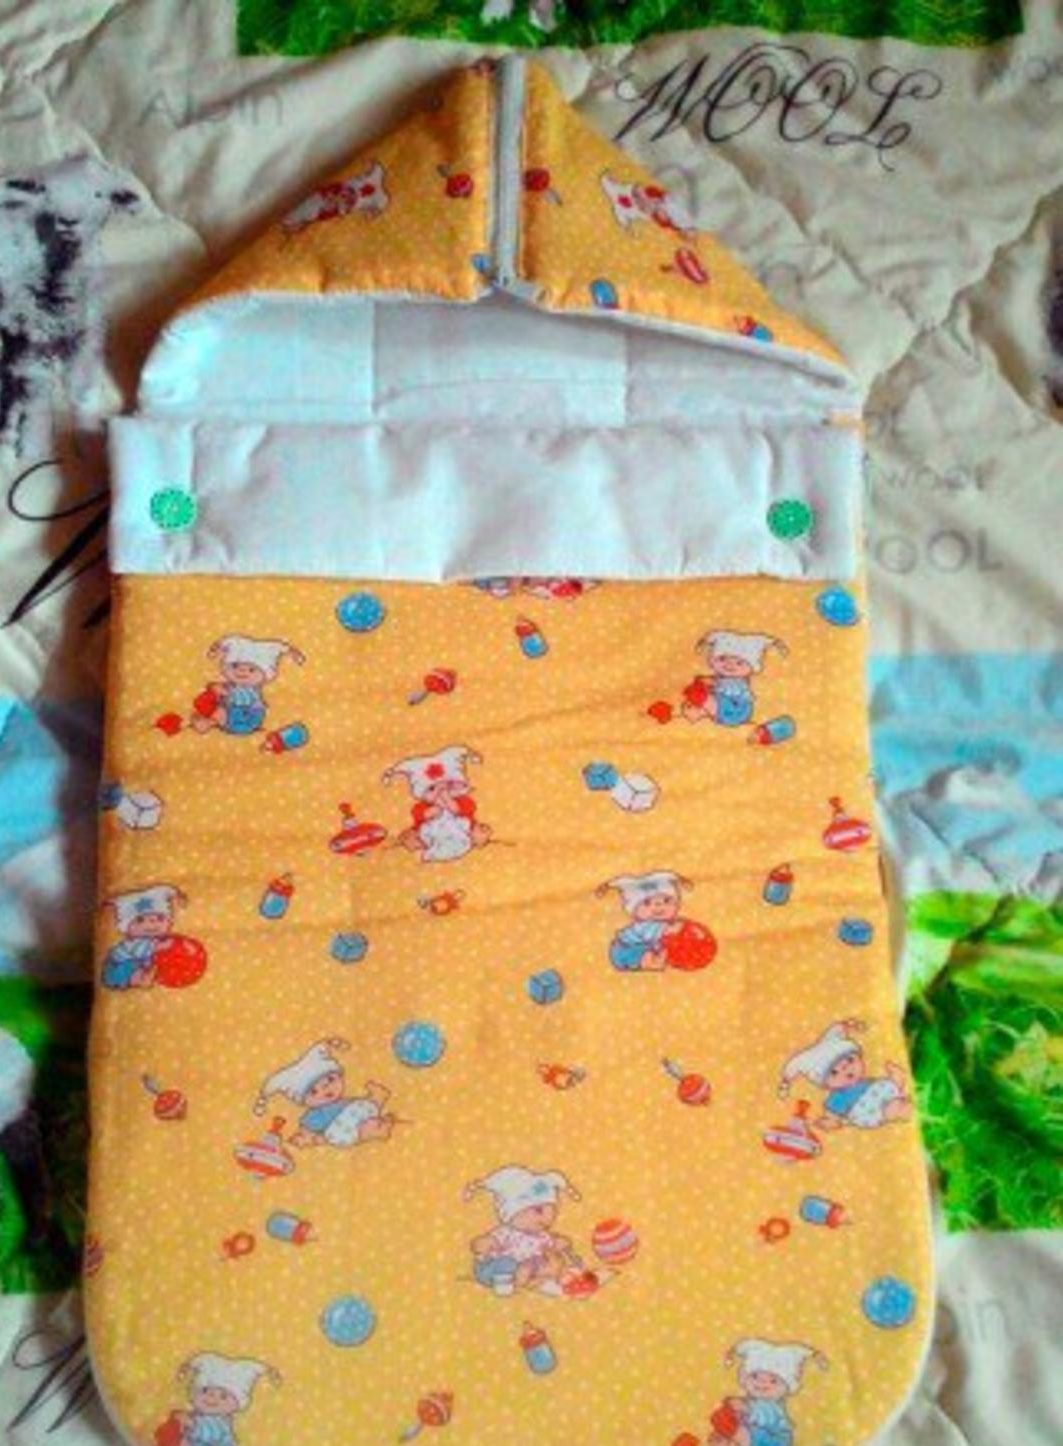
Photo selection of beautiful transformable envelopes for babies: