Knitting on ten loops, using a face loop, is a very interesting type of needlework. Using this method, you can create a beautiful and practical blanket from the remains of knitting threads. Working using the face loop method is not at all difficult.
Content
Blanket 10 loops: description
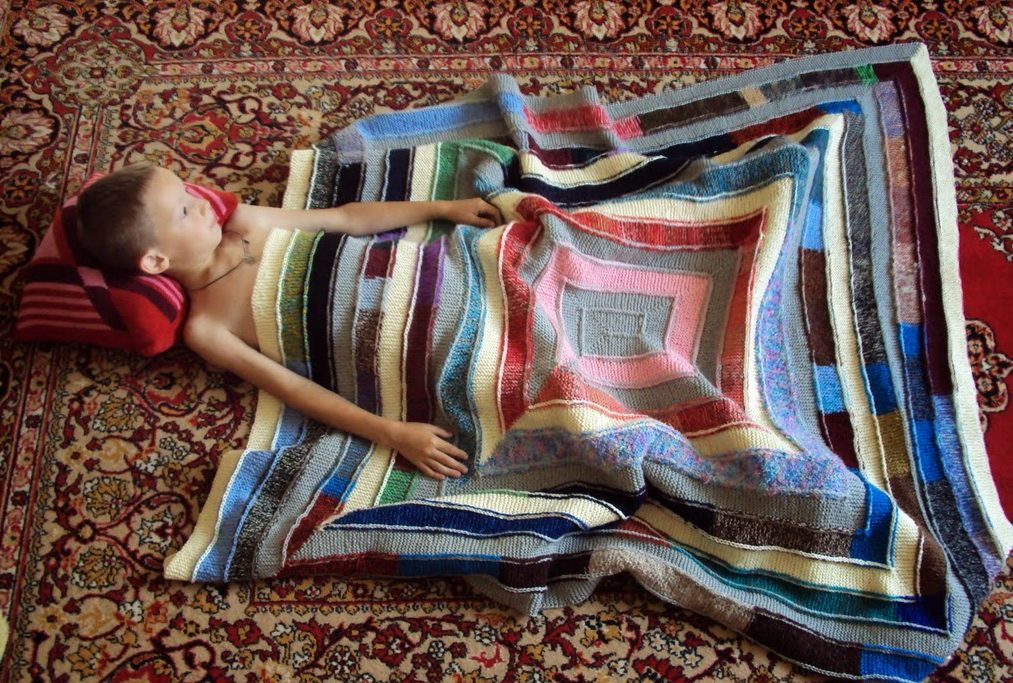
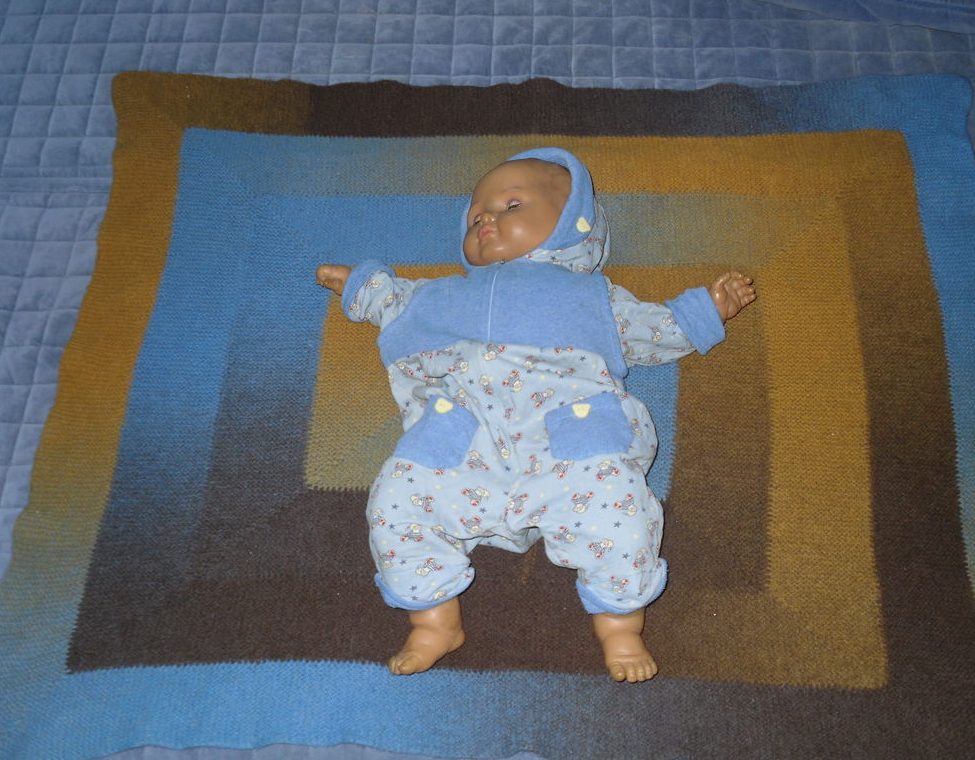
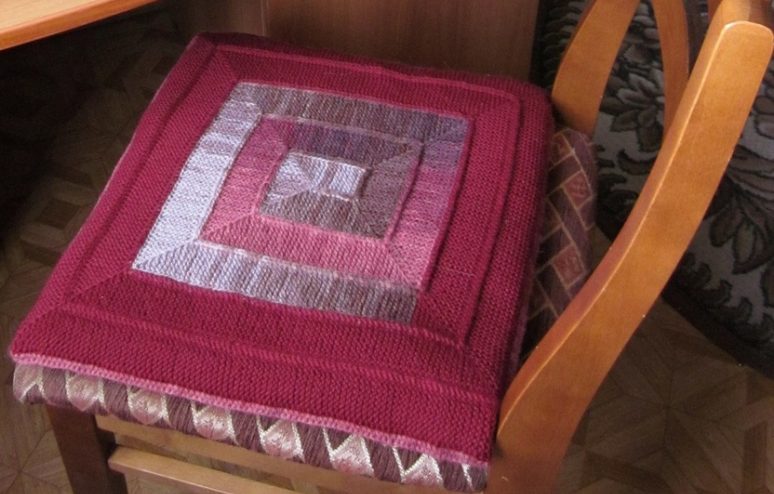
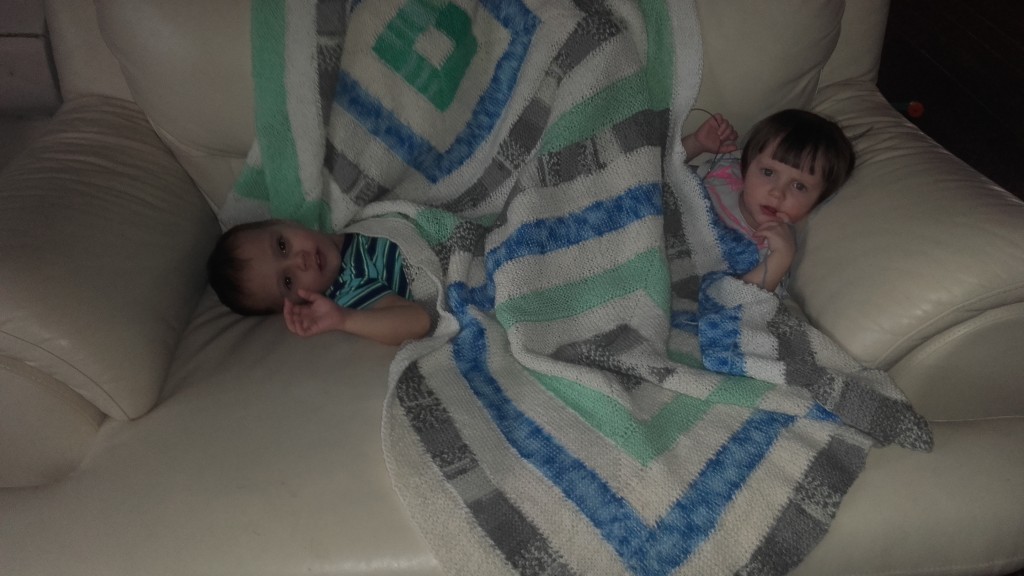
The product can be of any size. You can knit a bedspread, a warm blanket, a small chair cover, or a knitted tablecloth.
The colors can also be very diverse. The most popular options are:
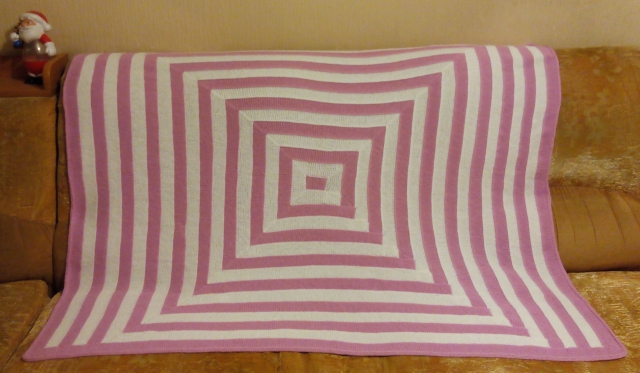
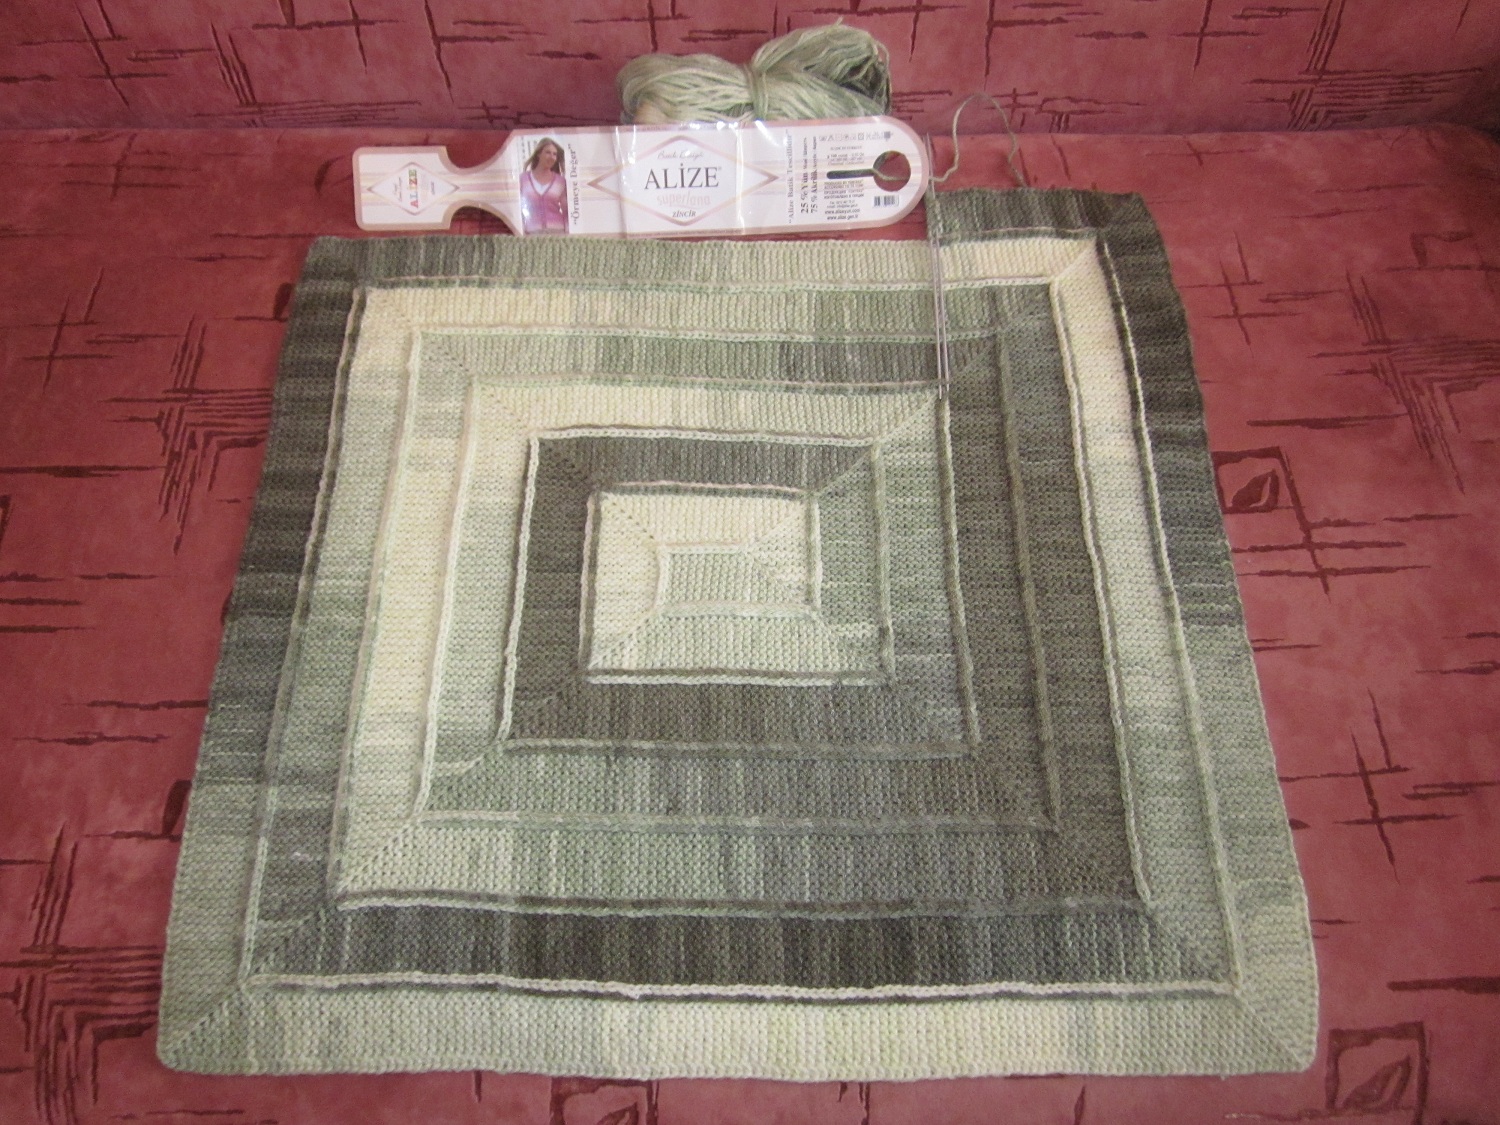
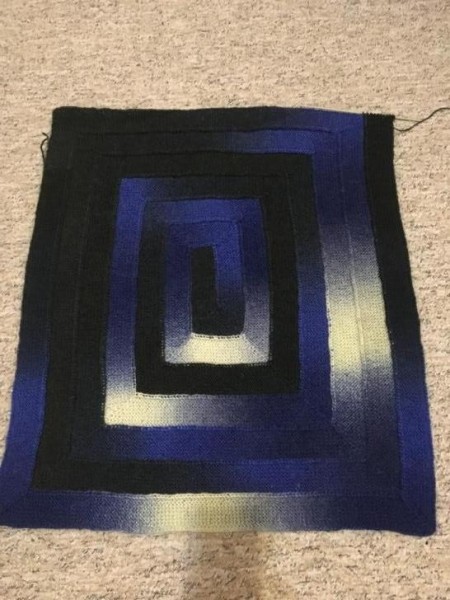
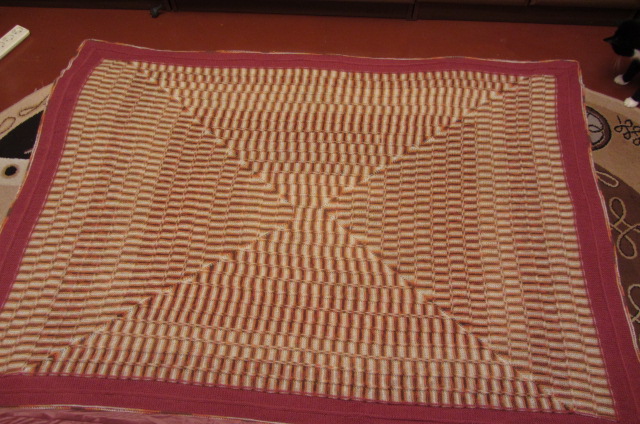
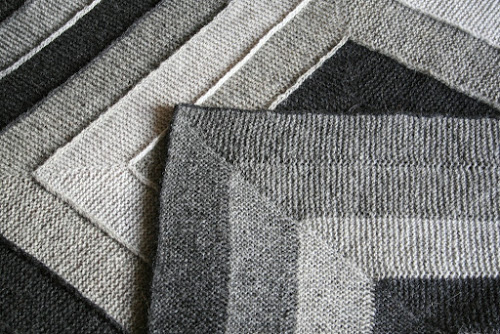
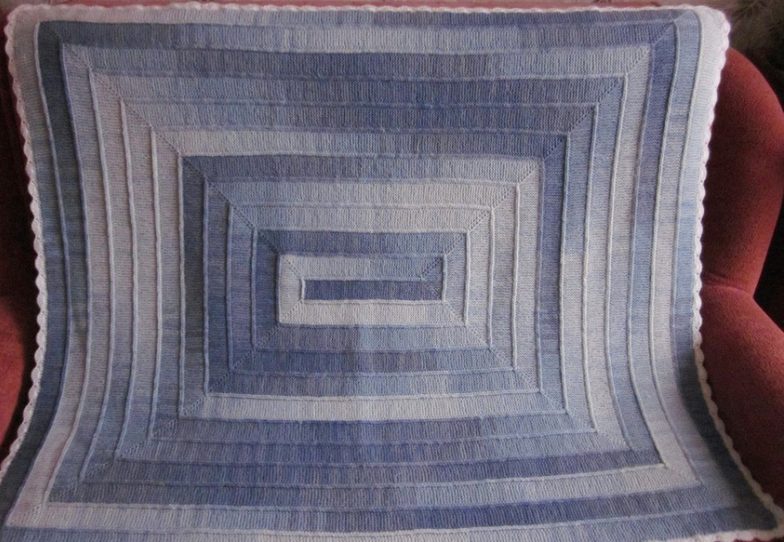
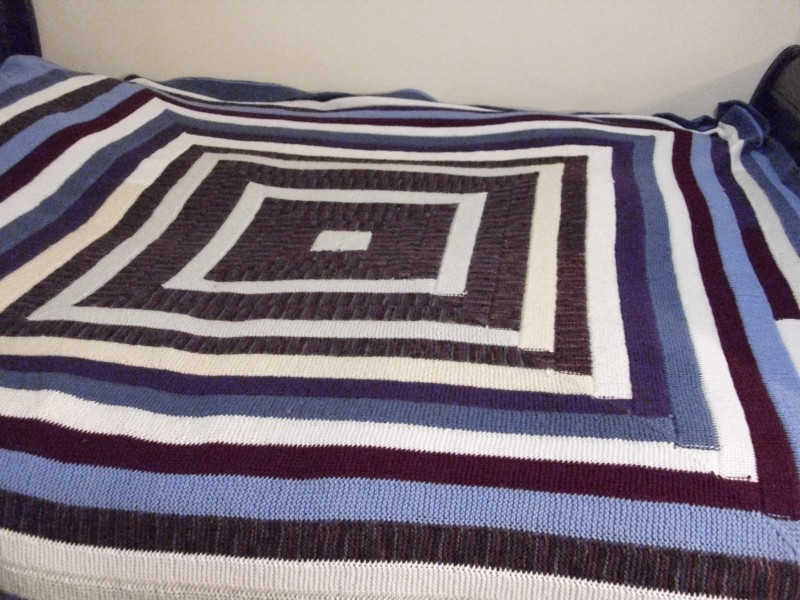
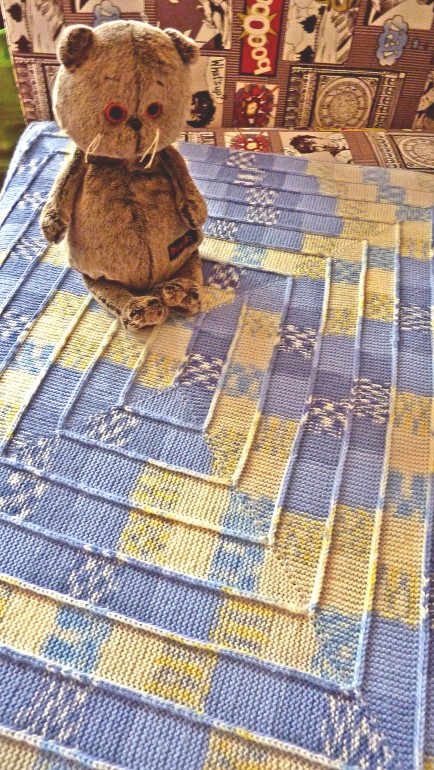
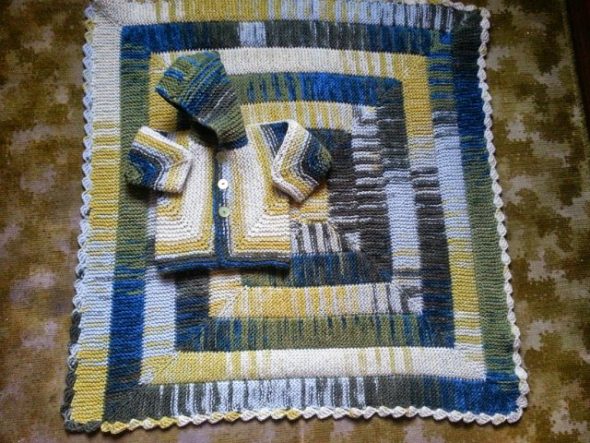
- two-color,

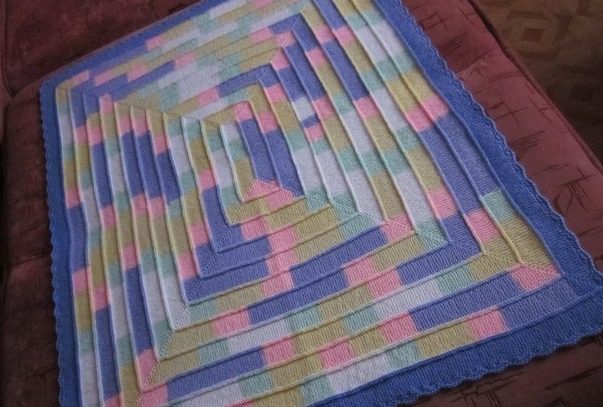
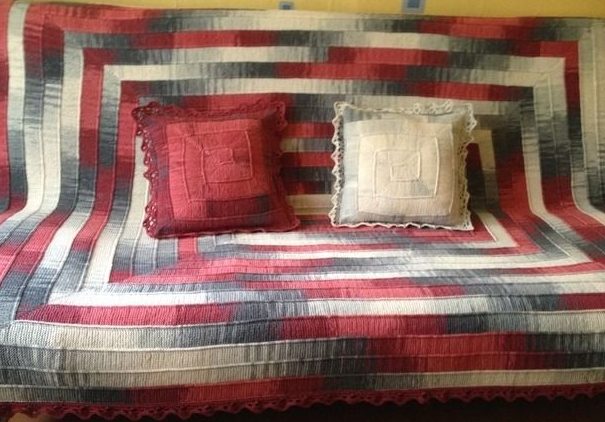
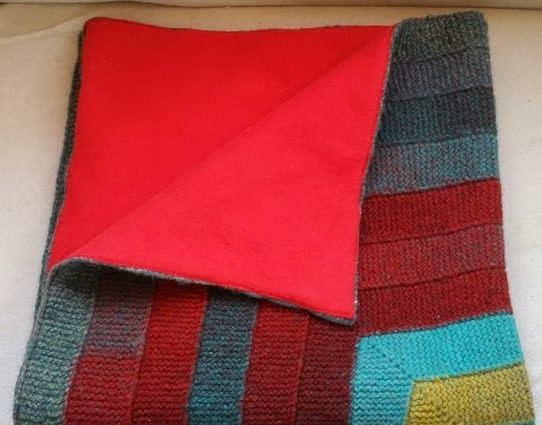
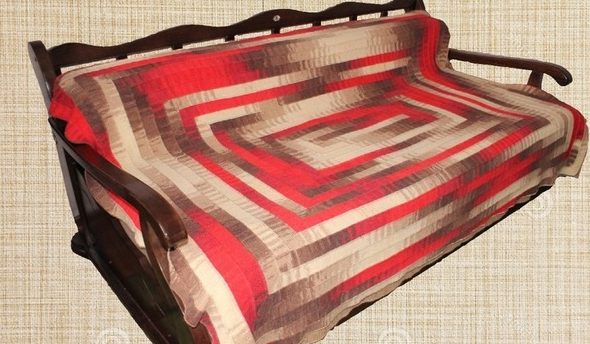
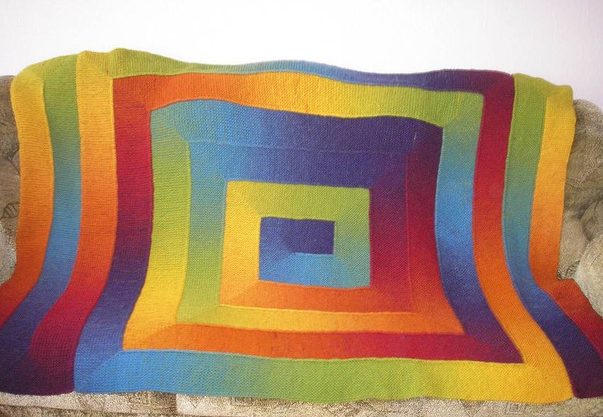
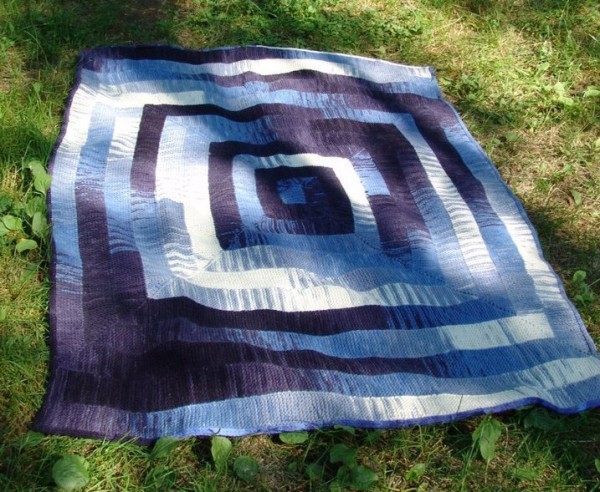
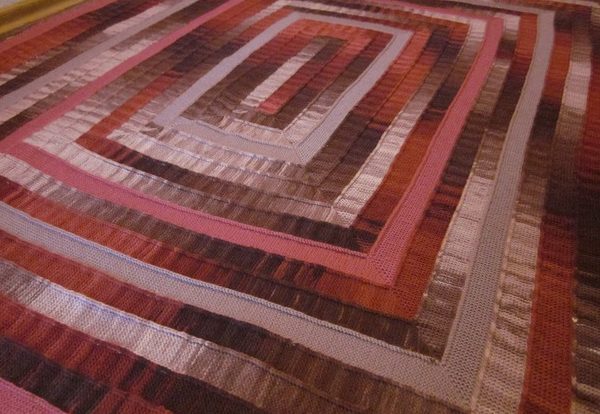
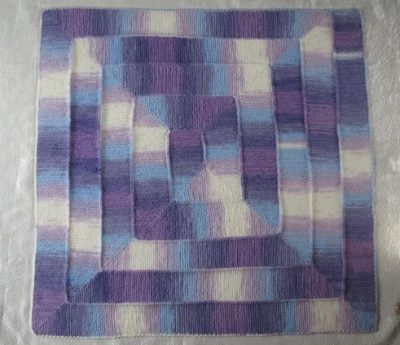
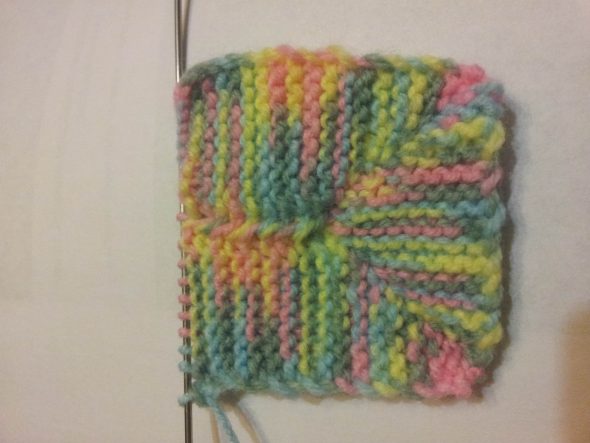
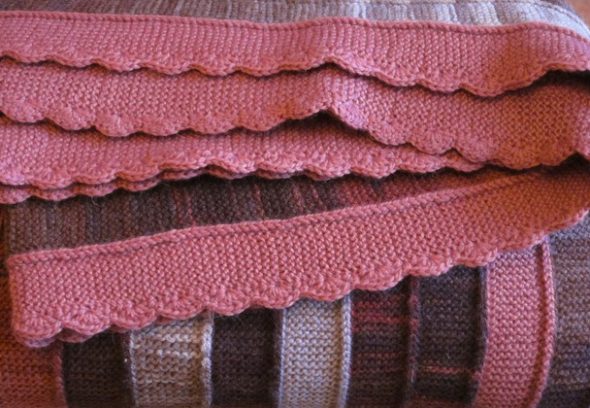
Two-color square blanket “10 loops” - multi-colored with iridescent colors,

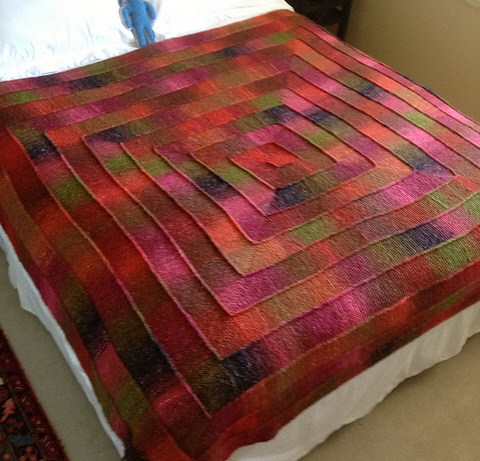
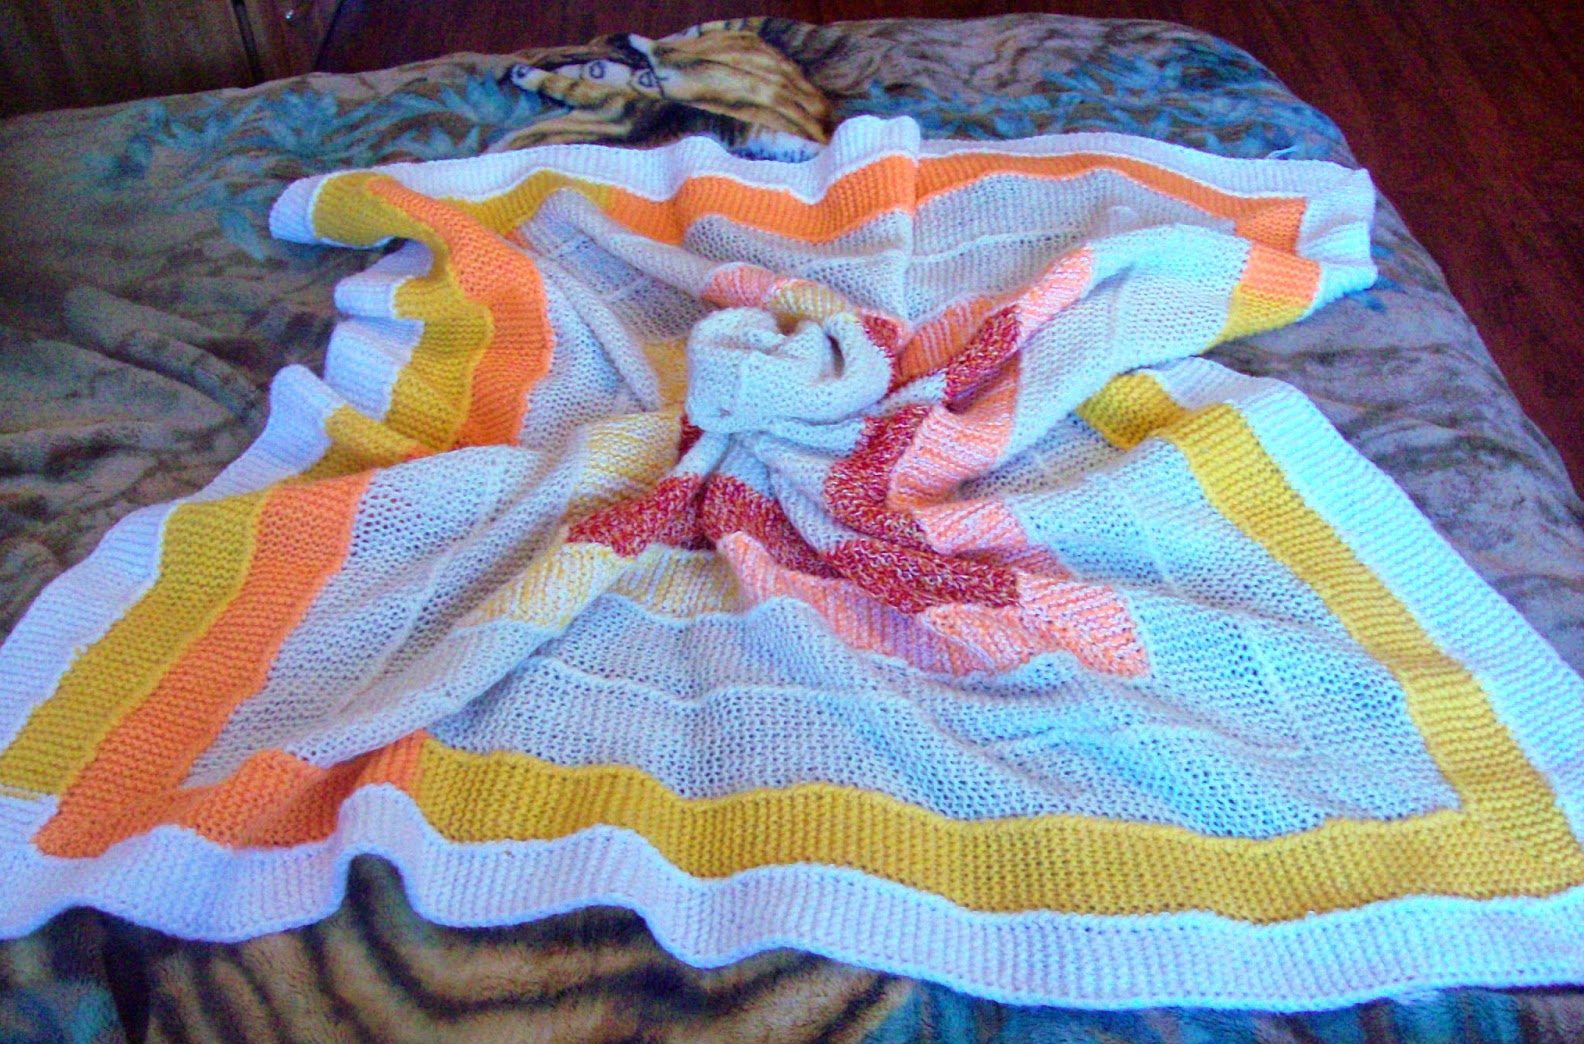
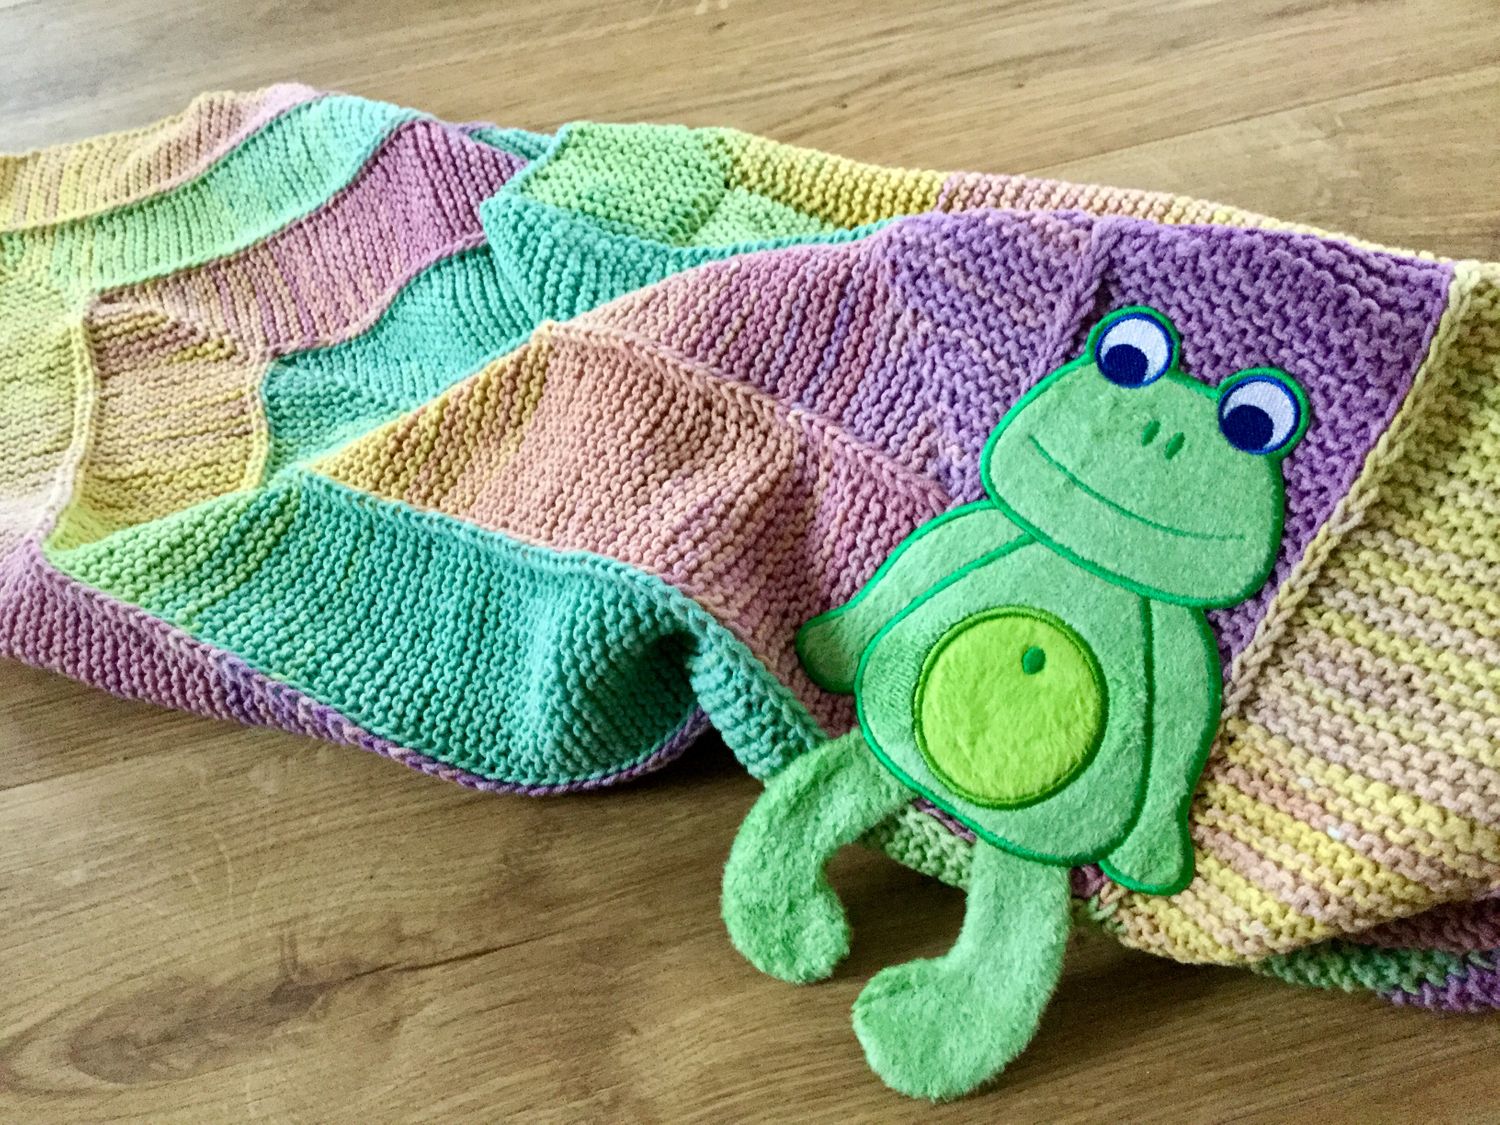
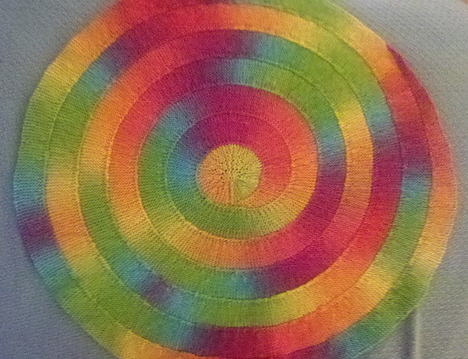
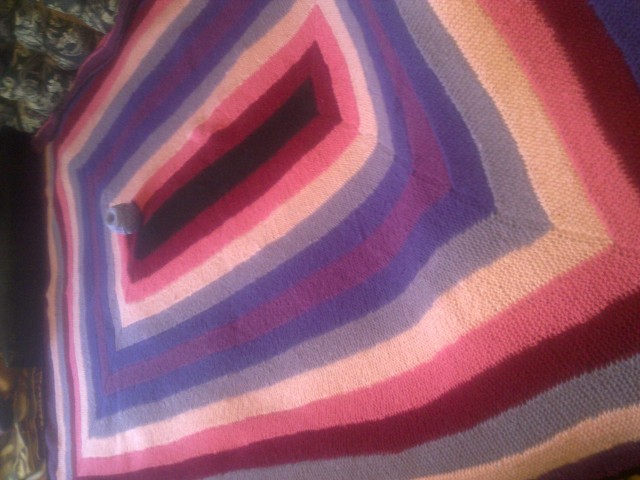
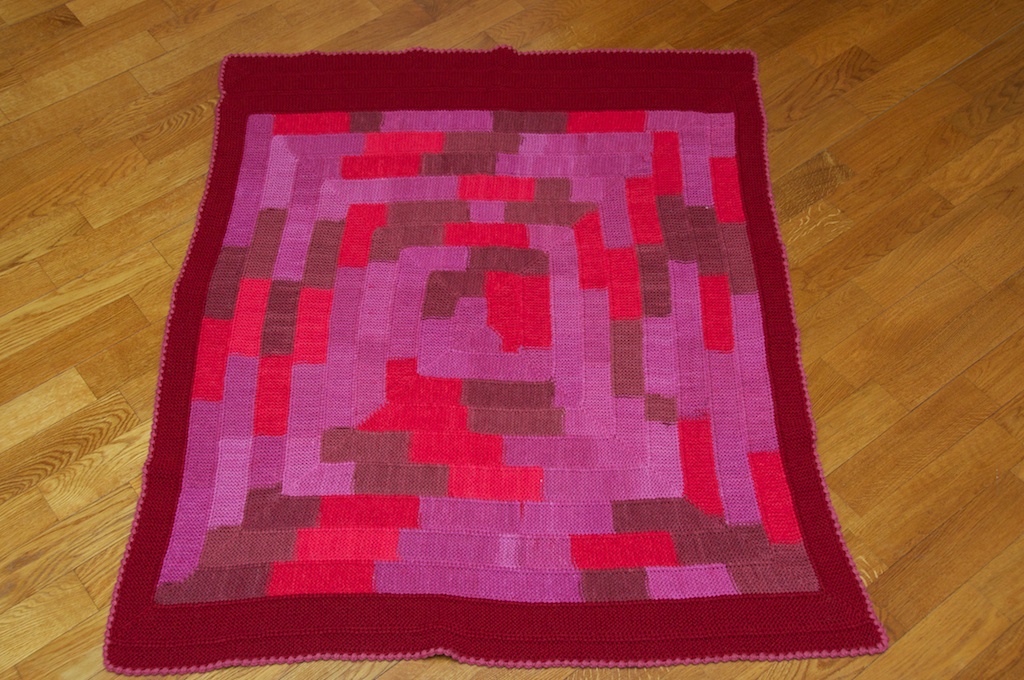
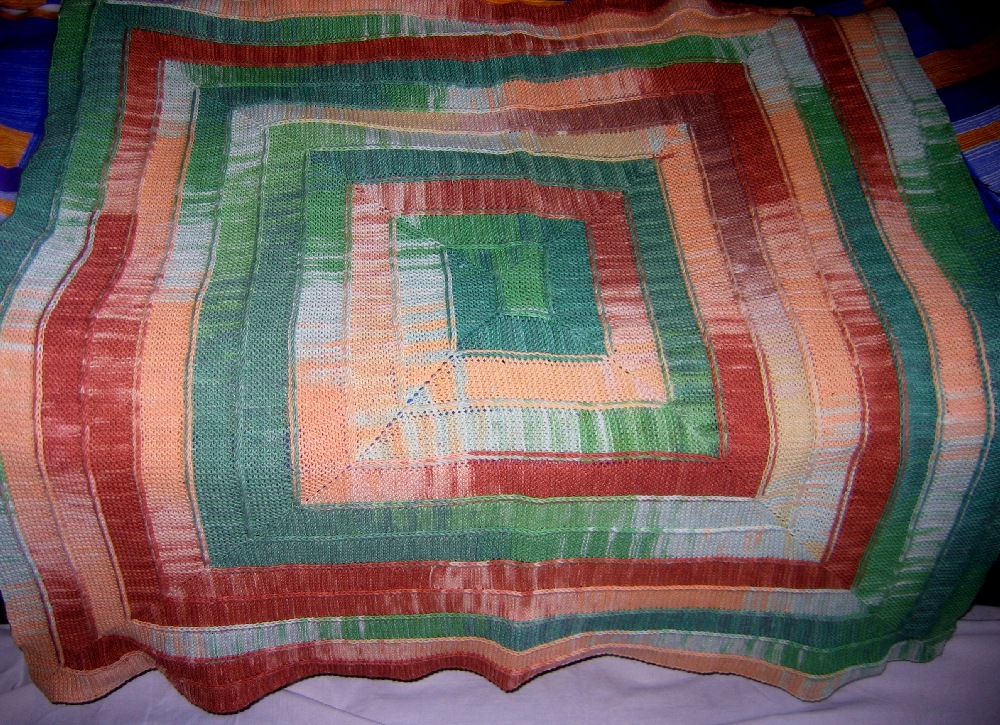
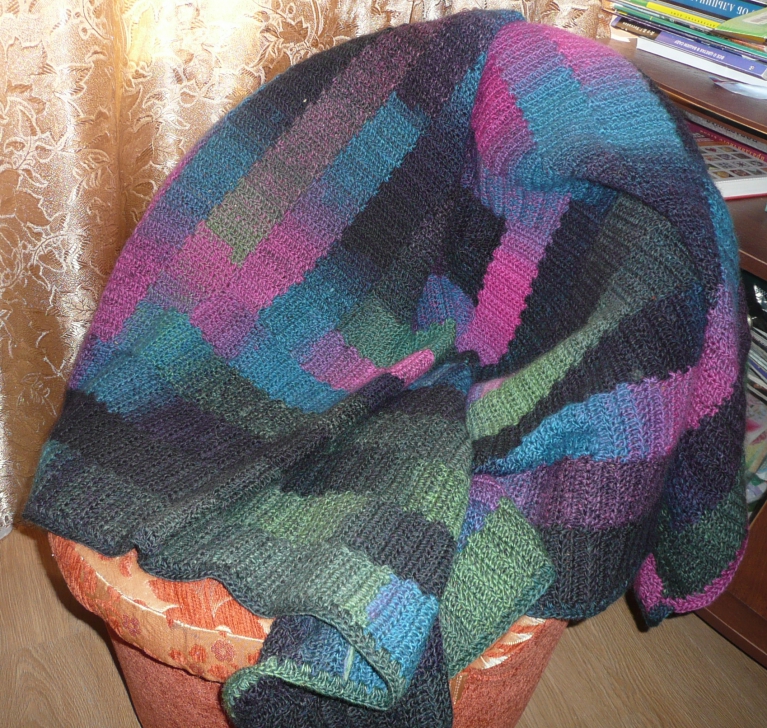
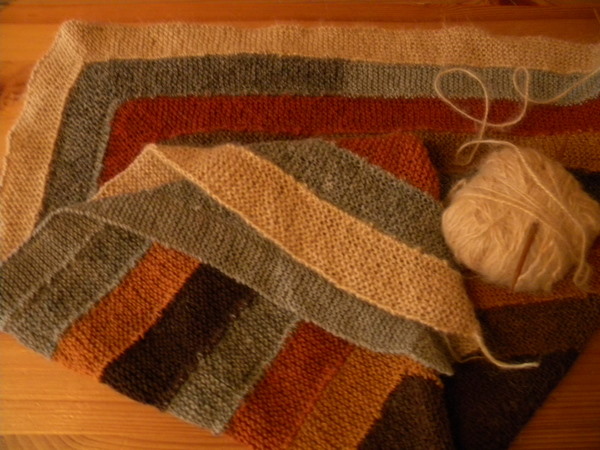
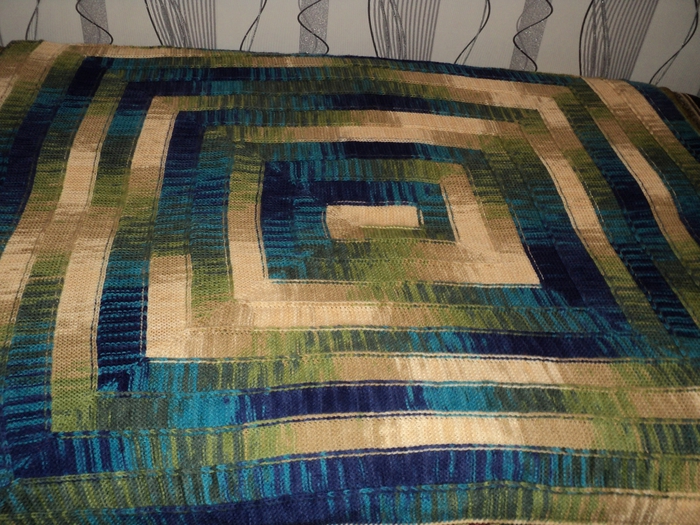
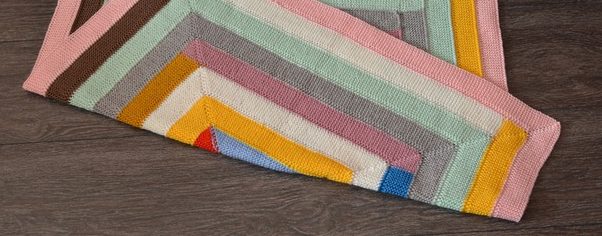
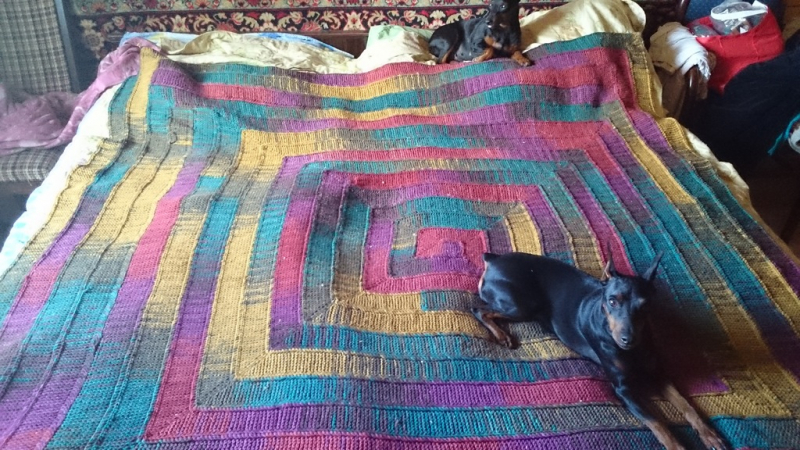
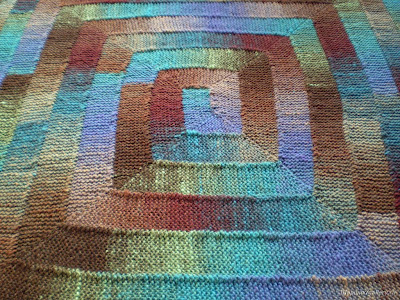
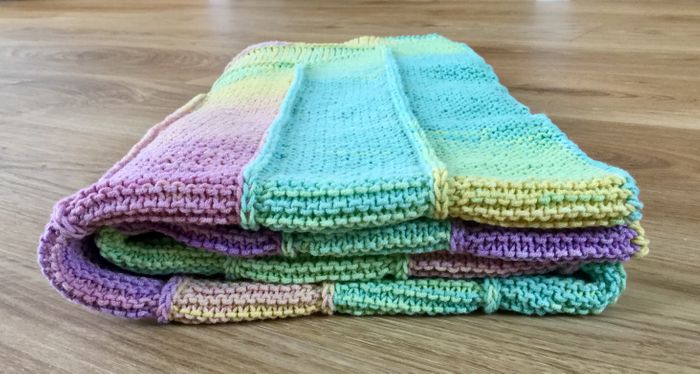
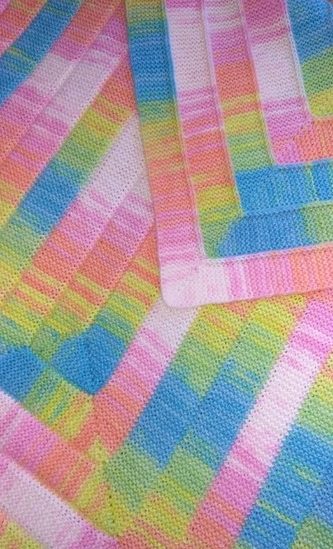
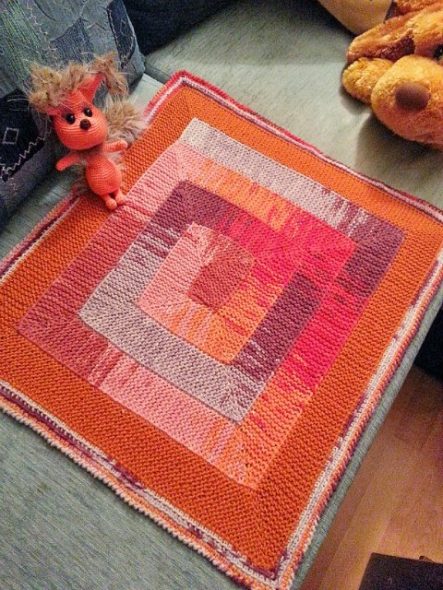
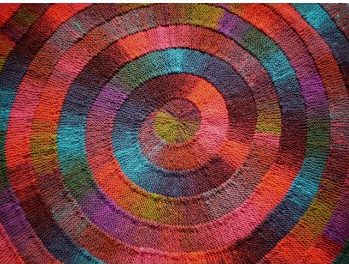
A gorgeous multi-colored blanket with iridescent colors looks very beautiful - multi-colored without iridescence.

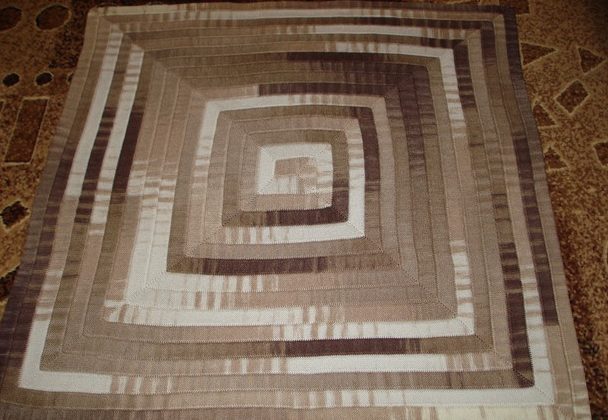
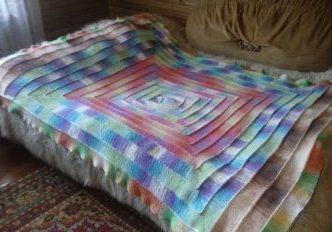
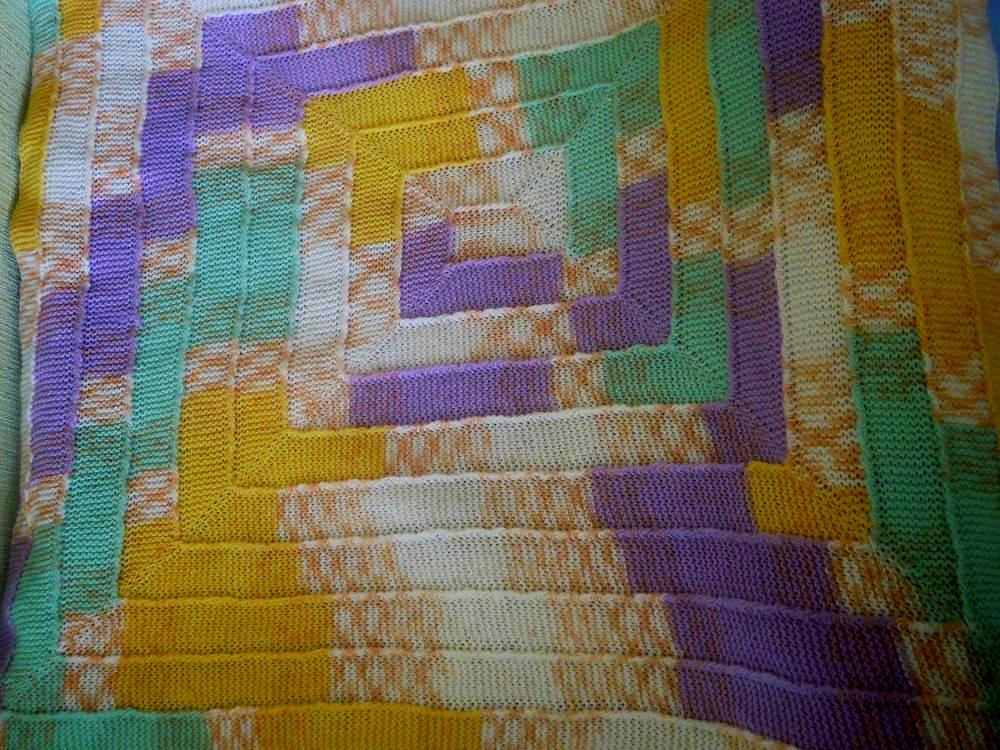
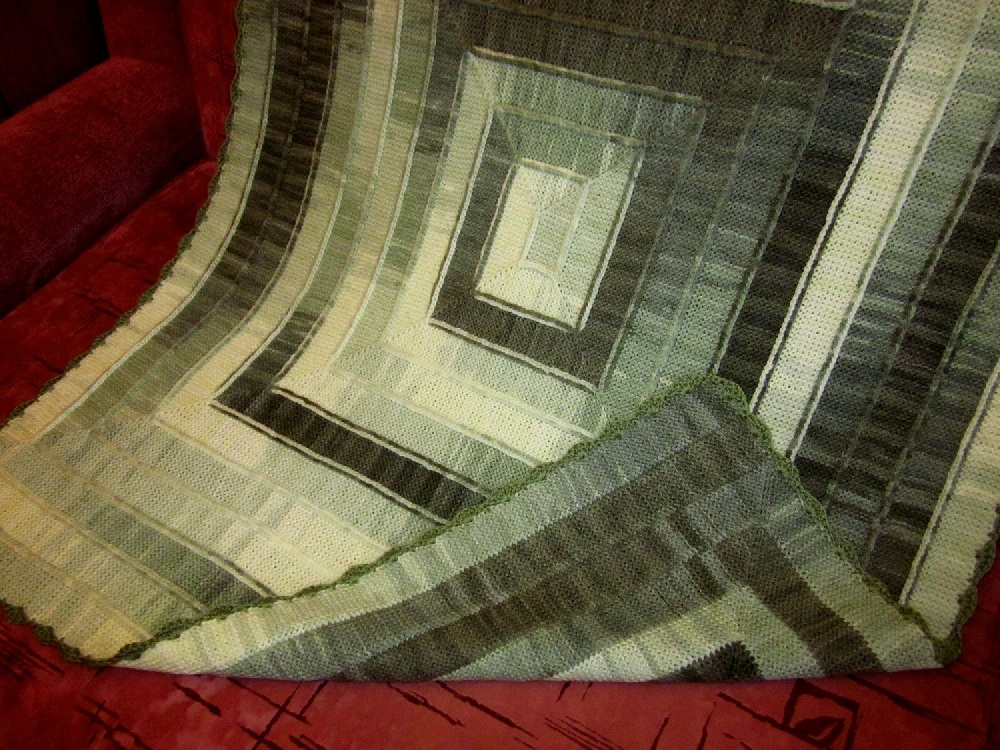
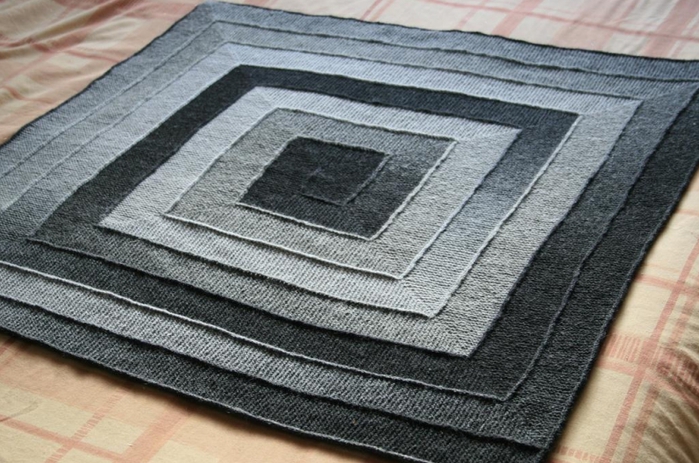
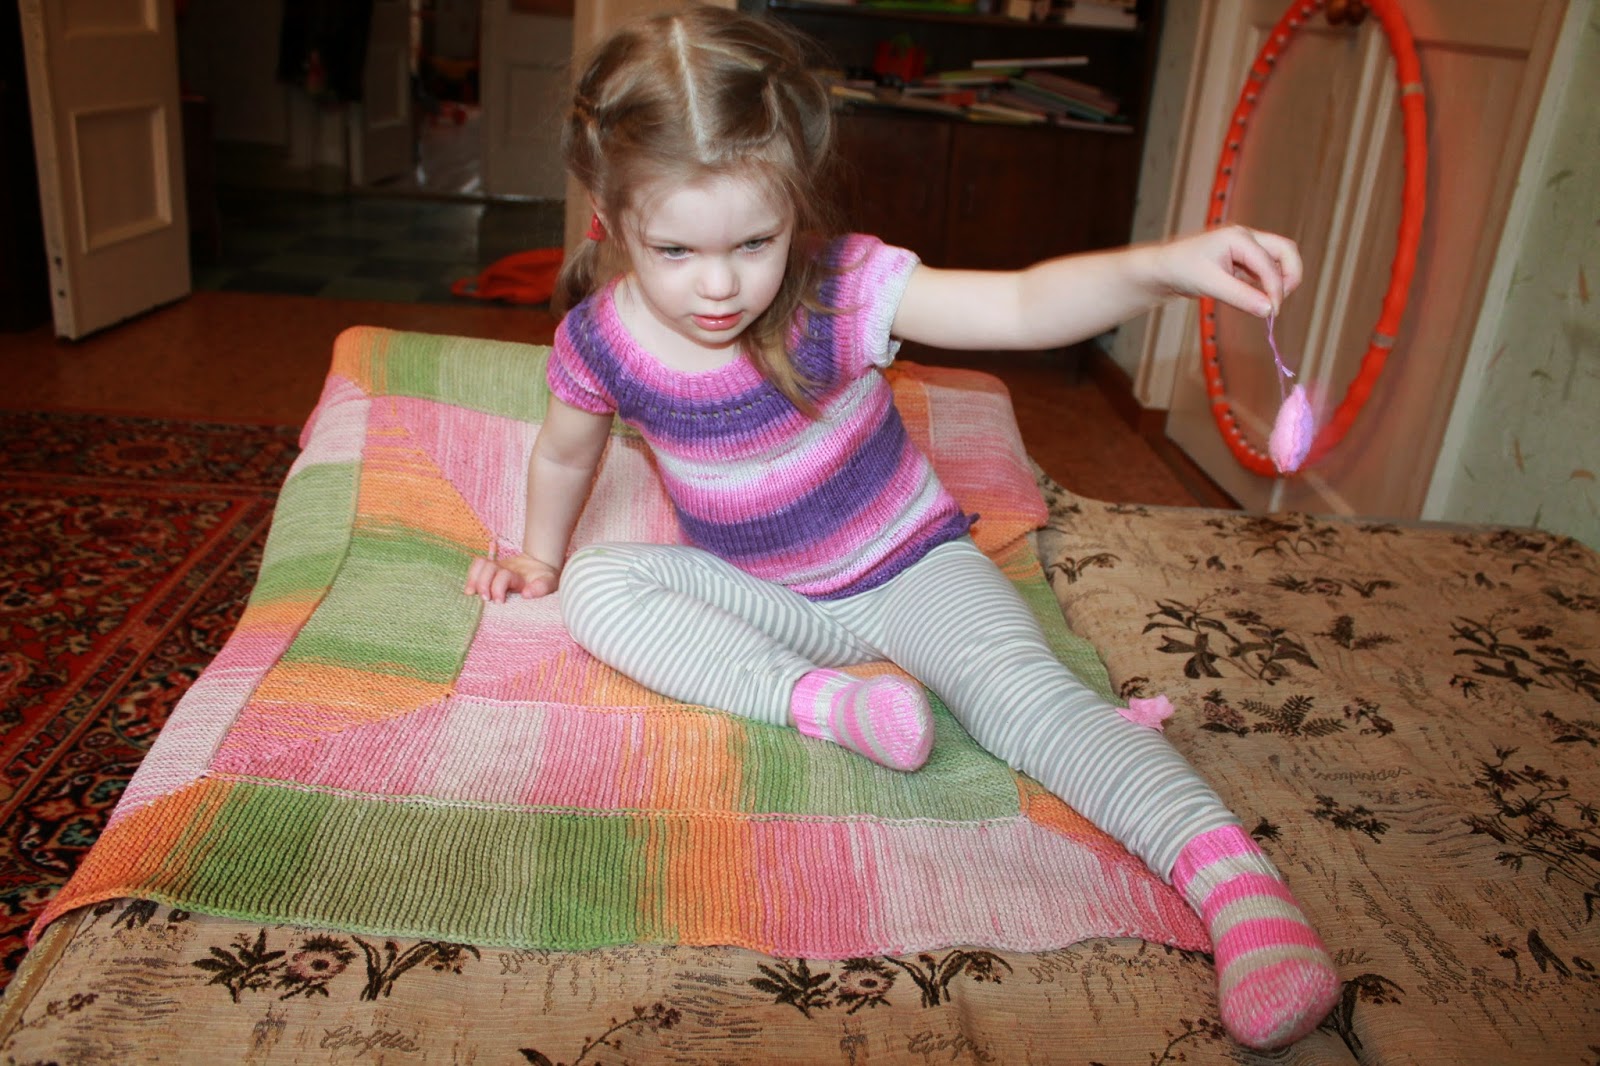
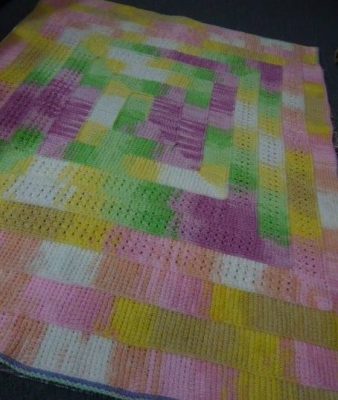
Square multi-colored blanket “10 loops” without overflows
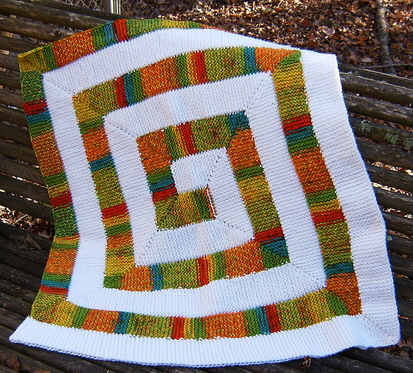
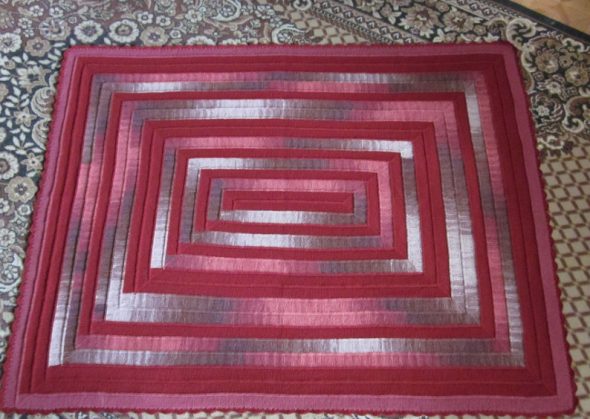
The choice of color scheme depends on the personal preferences of the needlewoman and the availability of knitting threads. The most sophisticated option is a multi-colored blanket with iridescent colors. It will fit perfectly into any interior, will look absolutely not old-fashioned and will add charm and coziness to any room.
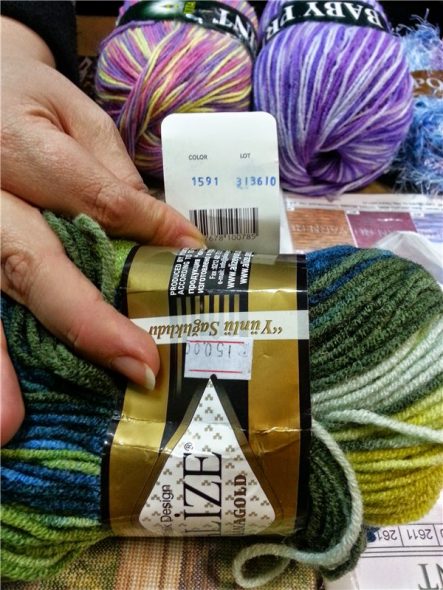
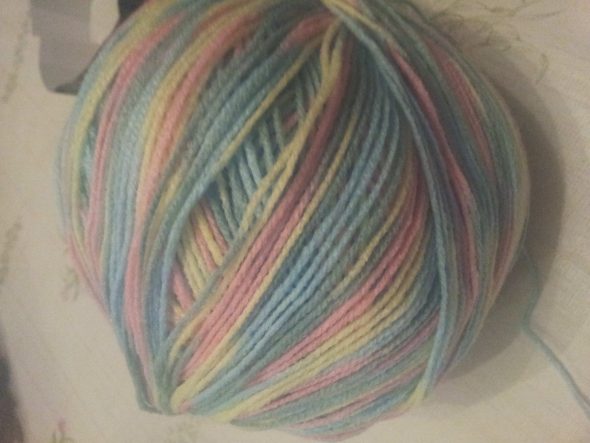
And the right choice of color will allow you to make the most of the leftover multi-colored knitting threads you have lying around the house.
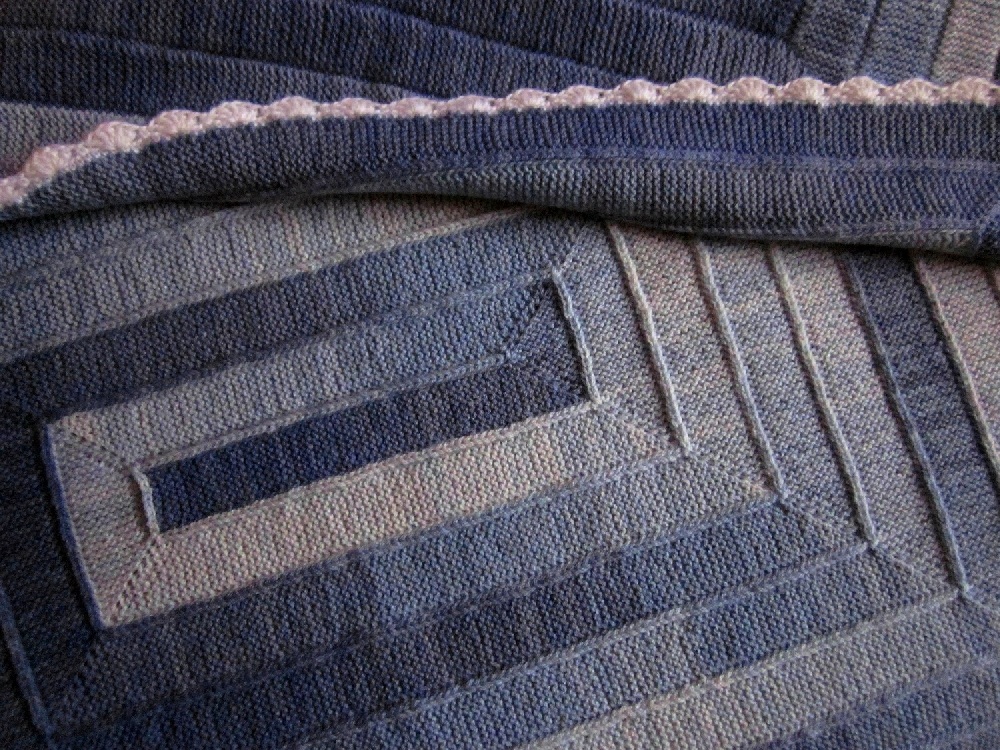
Work schemes
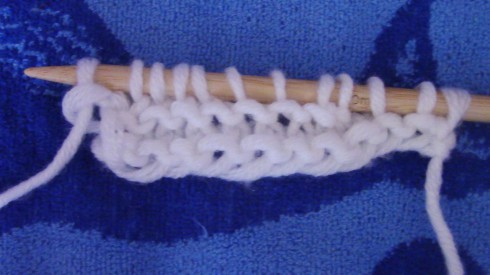
You need to knit such a blanket using one of the simple methods - garter stitch on ten loops.
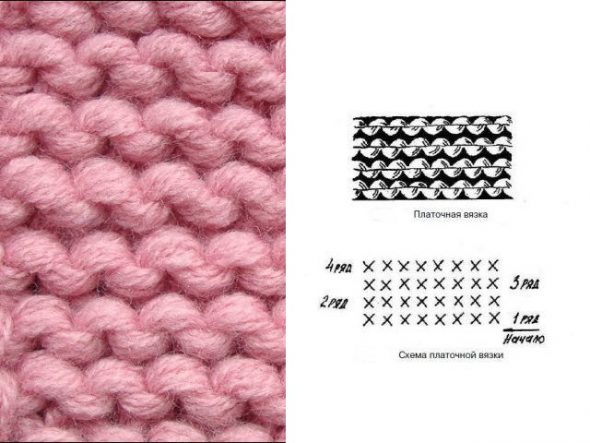
In this case, the first front loop must be constantly removed, and the tenth can be made by any convenient method, but so that the side braid slices are formed from the edge. This is necessary for easier fastening of the strips to each other.
The initial band should be knitted by creating loops with a braid - both on the face and on the back side. If the blanket is conceived as a square, the front loop should be created on 9 knitting grooves.
In order to knit a rectangular blanket, the wedges of the side braid should be made longer. For example, for a 200x150 needlework, the initial ribbon should be 50 centimeters long during the work process.
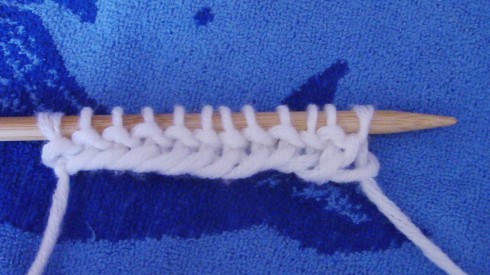
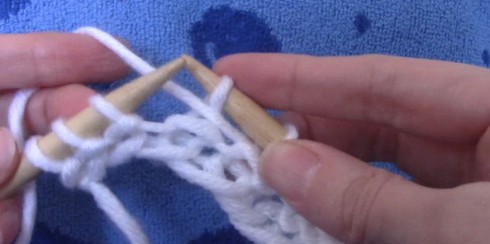
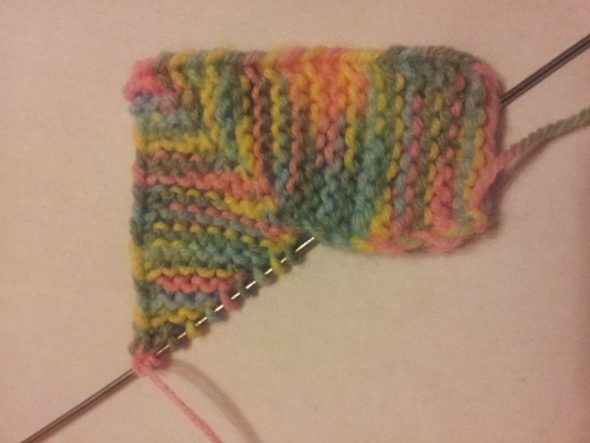
The knitting process
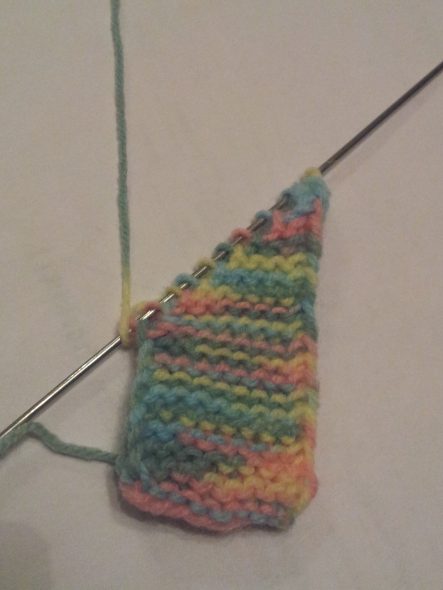
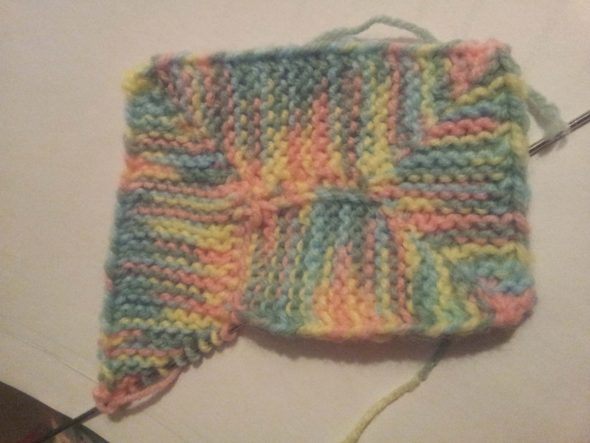
The crucial moment of the whole process is the first corner. It is necessary to take into account the shift by 1 loop, and knit the corner so that there are no holes between the adjacent loops. In order not to get confused, the corner can be knitted by 9 loops from left to right, then the same number in the opposite direction.
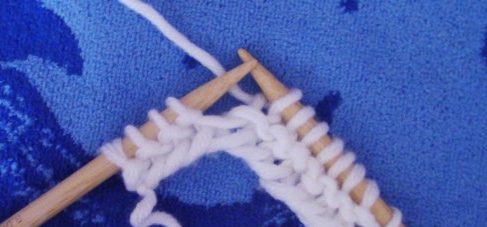
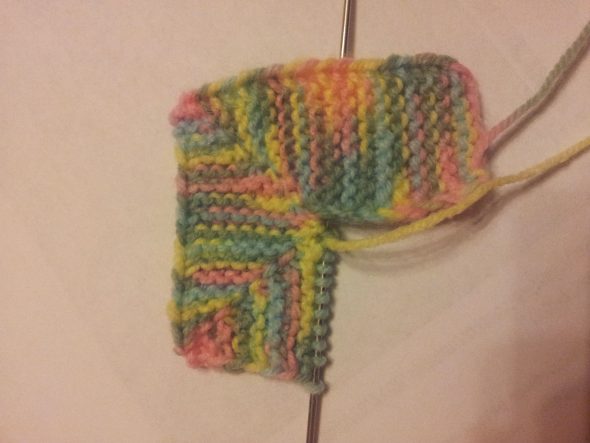
Next, we need to work on the second corner. In the process, we do not forget about the offset and that the first loop of the braid must be removed.
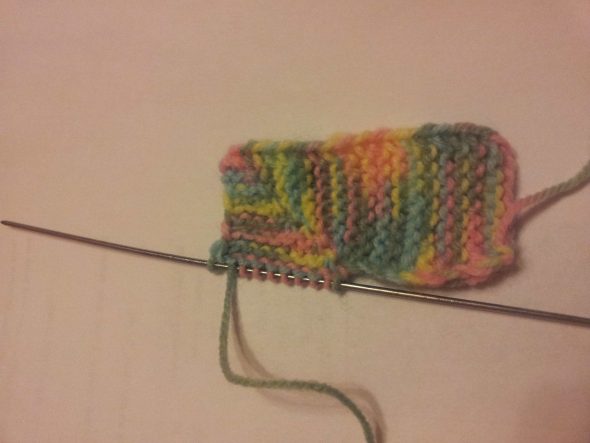
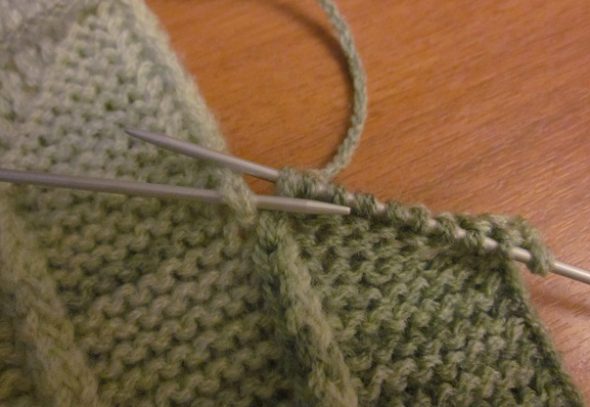
When the two corners are ready, it is time for the ribbon. It must be tied, simultaneously attaching the braids of the main fabric. To do this, pull the front loop through the previously removed loop number ten.
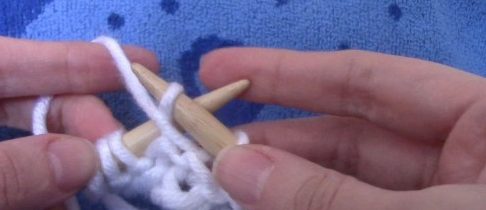
What if you crochet?
We crochet either only under the back part of the braid, or under both of its lobes. In the first case, a thin knitting scar is obtained, in the second case, the scar will be dense, well-marked, voluminous.
When knitting under the back part, the back side is less voluminous and more pleasant to the touch. However, the bipartite scar will look much neater. Which method to choose is a personal matter for each needlewoman.
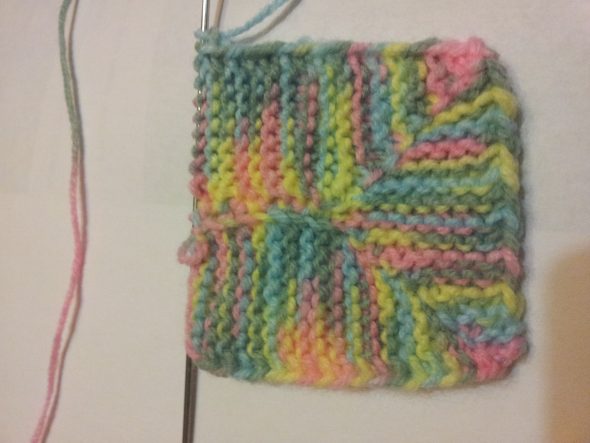
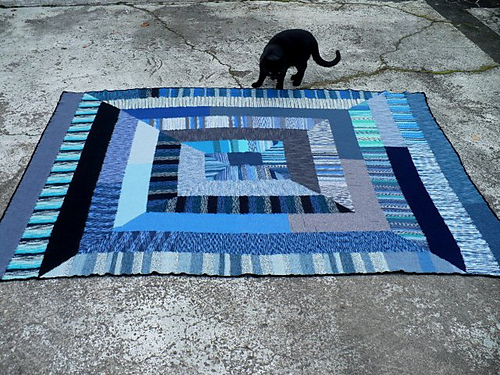
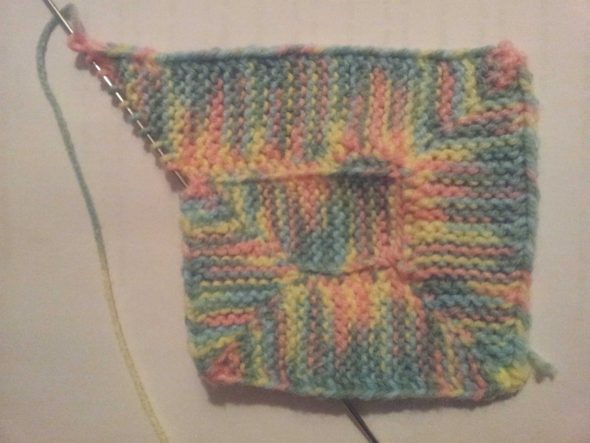
The rest of the work is done in a spiral, constantly measuring out the same ten loops. It is rational to stick to one direction - traditionally such a blanket is knitted counterclockwise. In this case, the product turns out very neat, and, what is important for inexperienced needlewomen - it is easy to unravel correctly if a mistake is made during the knitting process.
Some errors
What mistakes are often made when using the 10-loop method? The first is incorrectly counting the loops themselves. A common mistake is not removing the first loop when finishing a row. Then you have to unravel the yarn and start over.
Mistakes are also made when knitting a corner. Loose rows spoil the whole thing - the blanket not only loses its functions as a warm thing, but also significantly worsens its appearance. In order to prevent stretching, it is necessary to use knitting with shortened rows - it turns out dense, and it is easier to make corners with such knitting.
This type of handicraft is a wonderful pastime for any housewife and an excellent method for producing practical, comfortable, stylish and warm products.
Video: Blanket on 10 loops, master class
50 blankets “10 loops” – square and rectangular, children’s and adult options: