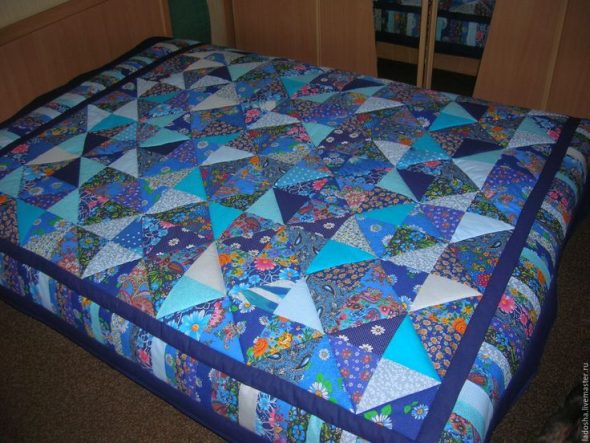
Previously, almost every home had a blanket or bedspread made from multi-colored scraps of fabric. Now such products are popular again. Patchwork bedspreads decorate modern interiors decorated in country, Provence, and minimalist styles. Ready-made samples of such artistic textiles are quite expensive. You can make a patchwork blanket with your own hands. The result will be a fashionable, stylish, exclusive item made using the patchwork technique, which will cost several times less than one bought in a store.
Content
- What materials will be needed for production?
- How to sew a patchwork blanket with your own hands. Step-by-step instructions
- How to sew a patchwork blanket for a newborn with your own hands
- How to sew a patchwork blanket from triangles
- DIY Patchwork Quilt Using the Ladder Technique
- Video: How to sew a patchwork blanket with your own hands. Master class
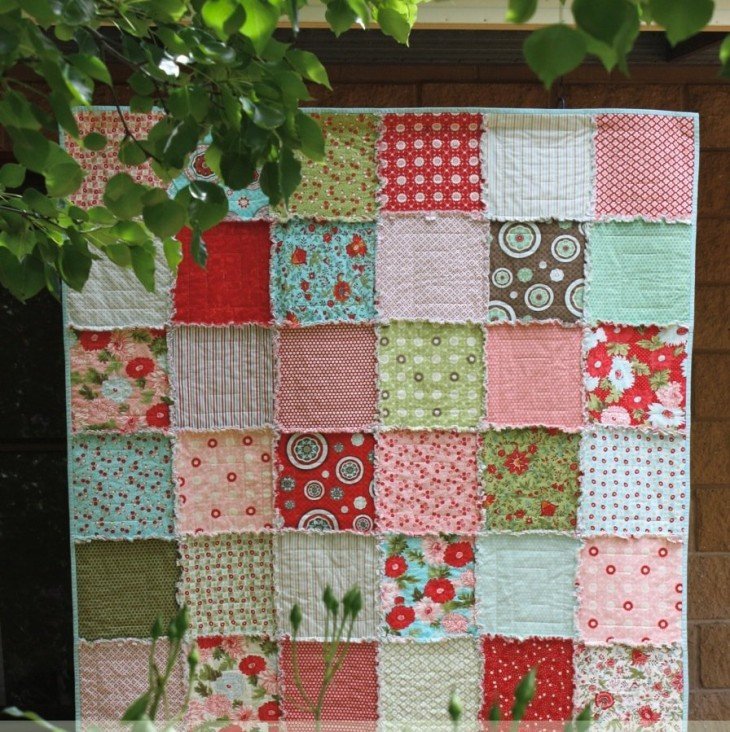
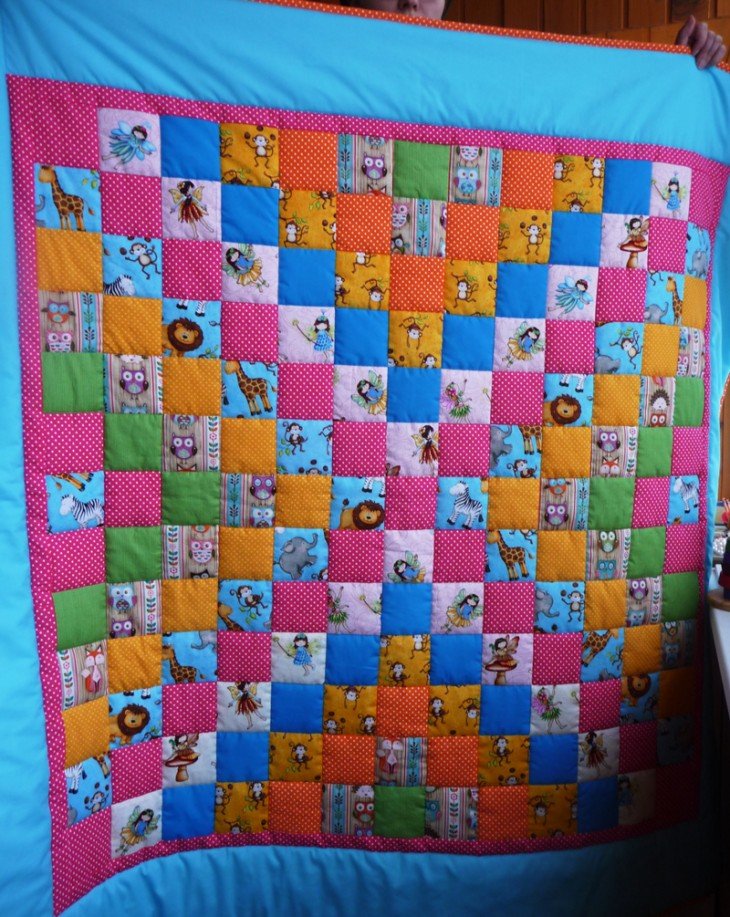
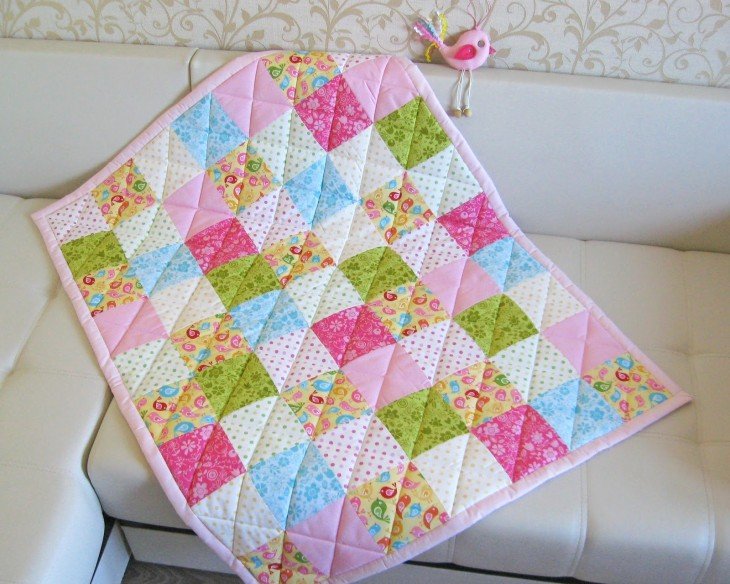
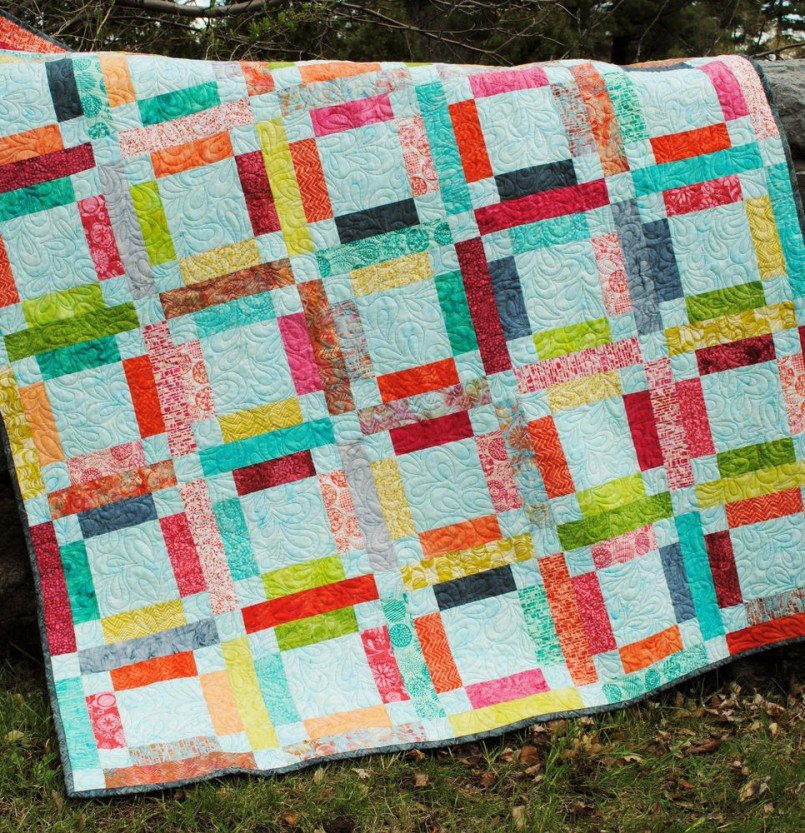
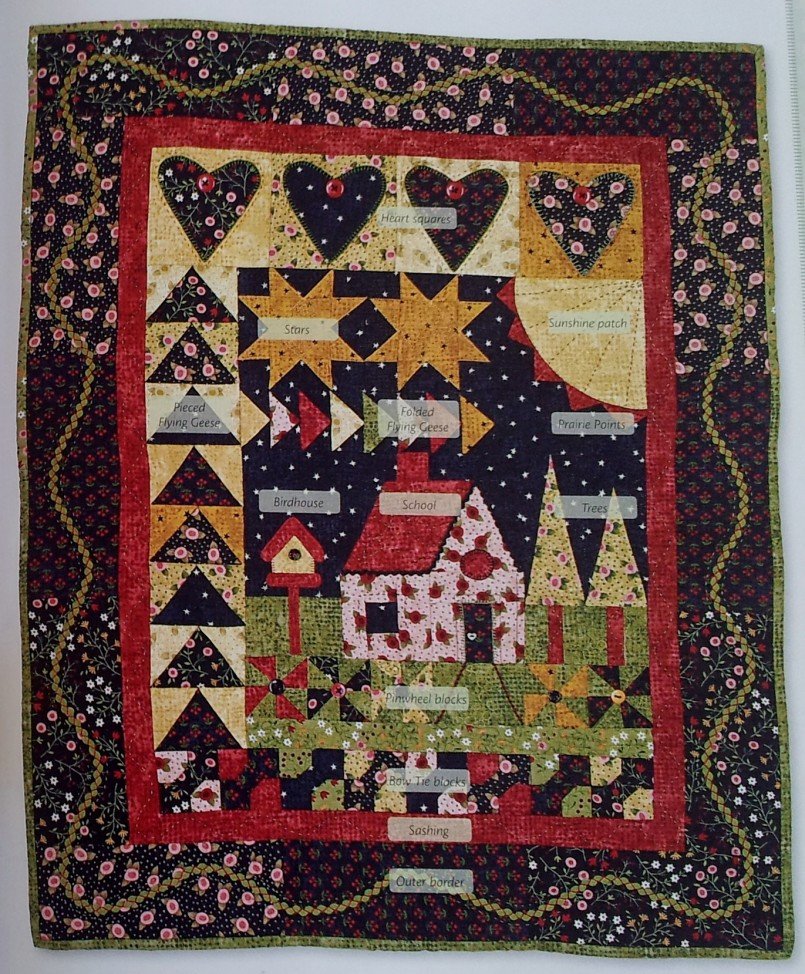
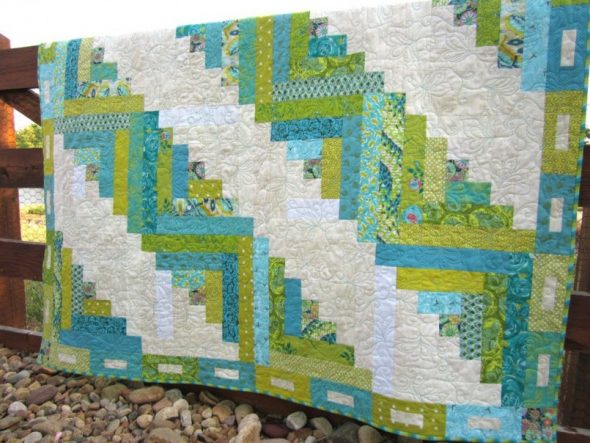
- Photo gallery of beautiful patchwork quilts made by hand:
What materials will be needed for production?
The future product will consist of three layers:
- face;
- insulation;
- bottom lining.
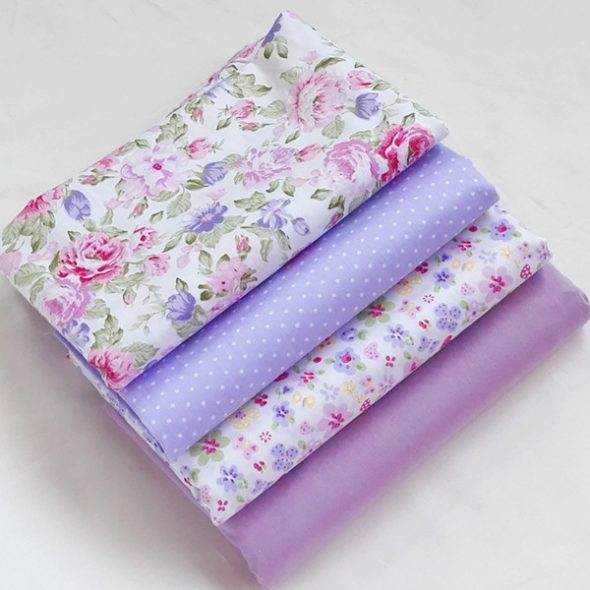
First, you need to select fabrics for the front side. These can be pieces of satin, chintz, silk, linen, drape, satin, calico, knitwear.
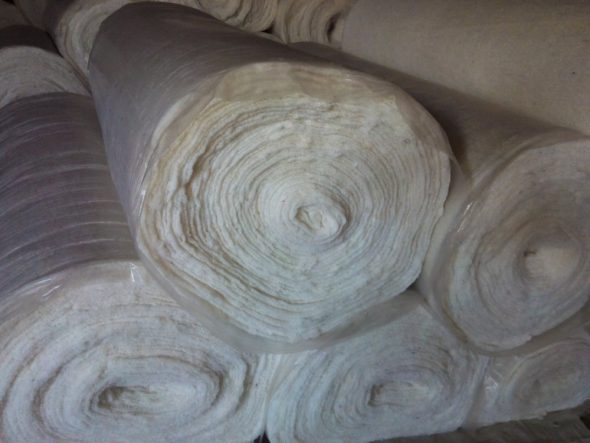
Denim fragments are also suitable, which combine well with calico or cotton. Scraps can be made from unnecessary things or you can buy blanks for patchwork sewing in specialized stores. Synthetic padding, batting, holofiber are used as synthetic insulation.
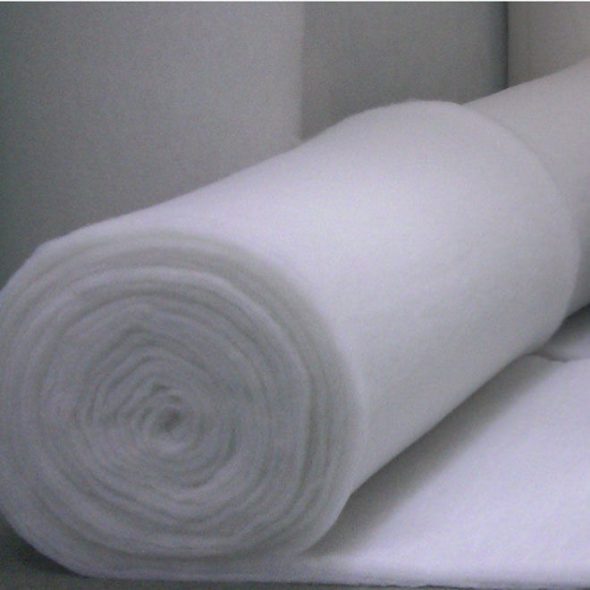
The natural filler can be wool or cotton.
If you want to make a patchwork quilt with your own hands, and not a blanket, then you will not need insulation. Any thick fabric will do for the backing.
The amount of material depends on the size of the product.
You will also need:
- threads No. 45 or No. 50;
- regular threads;
- cardboard or plastic templates;
- sewing machine;
- iron;
- needles, pins;
- scissors, chalk, tape measure.
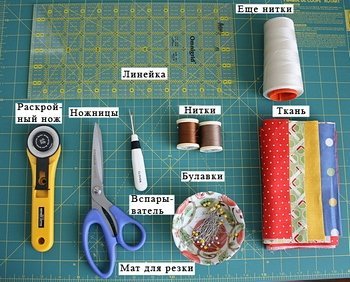
The color of the threads is selected to be contrasting or to match the product. Regular threads will be used for basting. Templates are made based on the shape of each individual piece of fabric.
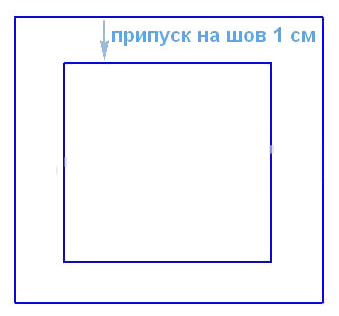
It can be a square, a rhombus, a triangle, a circle, a hexagon, a rectangle. Each element should have a seam allowance of 0.5 – 1 cm.
How to sew a patchwork blanket with your own hands. Step-by-step instructions
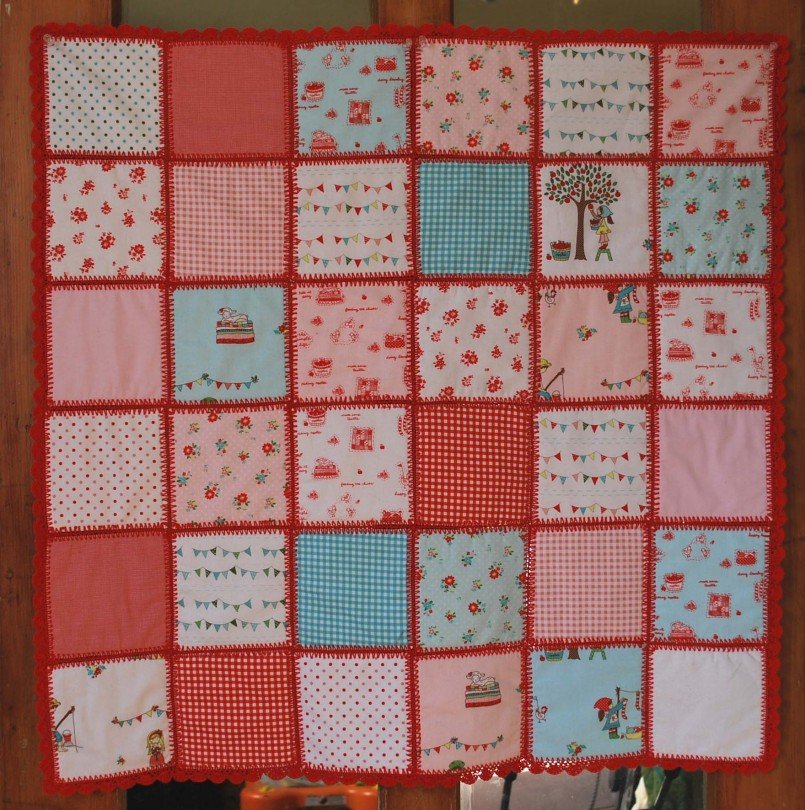
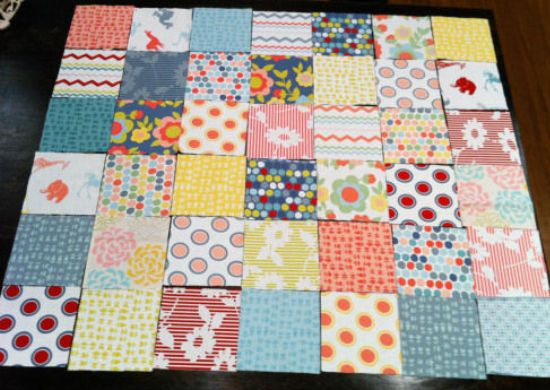
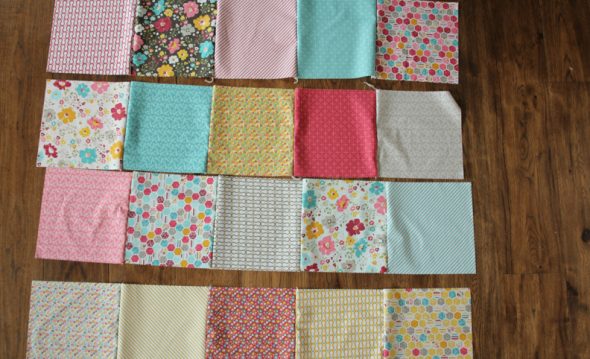
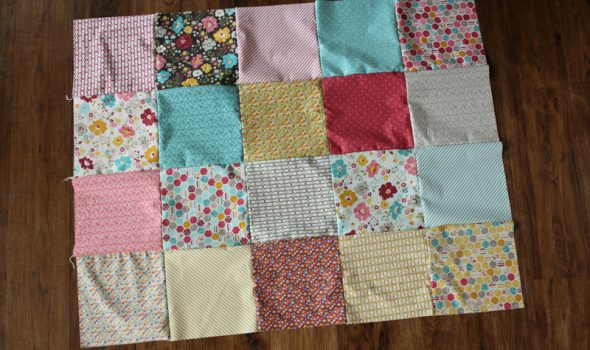
First of all, the appearance of the product and the color combinations of the elements are thought out. It is advisable to select colors so that the composition harmonizes with the overall interior design. The idea should be transferred to the sketch. For this, an ordinary notebook sheet in a cage is suitable, on which the future patchwork composition can be outlined with colored pencils. The simplest scheme of the front side consists of squares of the same size, connected to each other. More complex schemes can be invented independently, found on the Internet or purchased in a specialized store, along with a set for needlework.
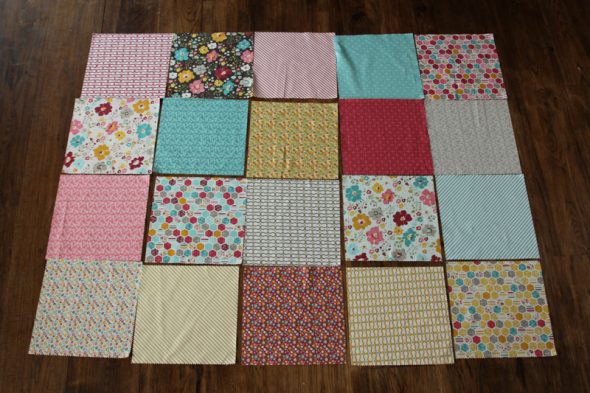
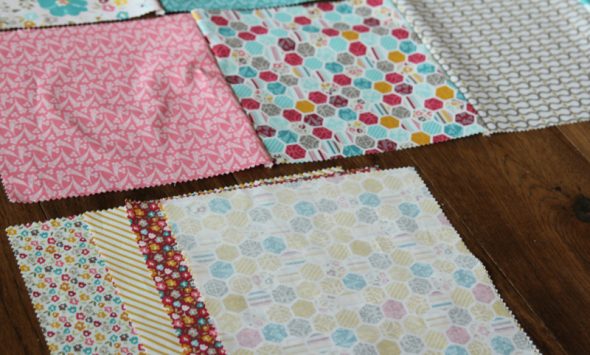
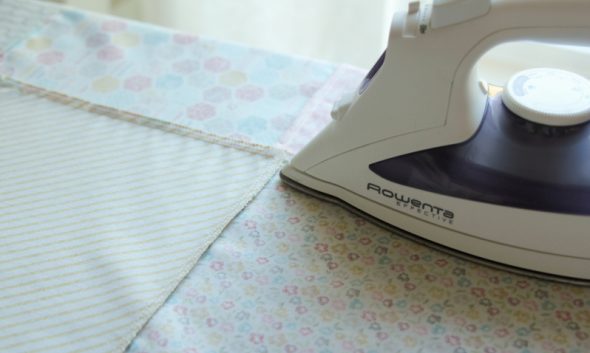
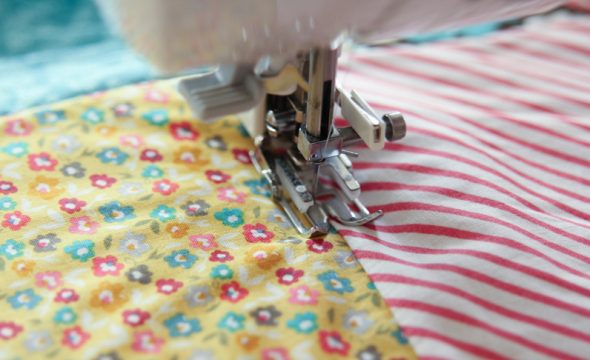
Next, separate elements are made, which will subsequently be connected to each other. The fabrics must be pre-washed and ironed well. Using templates, the required number of parts is cut out. Each piece must be carefully ironed.
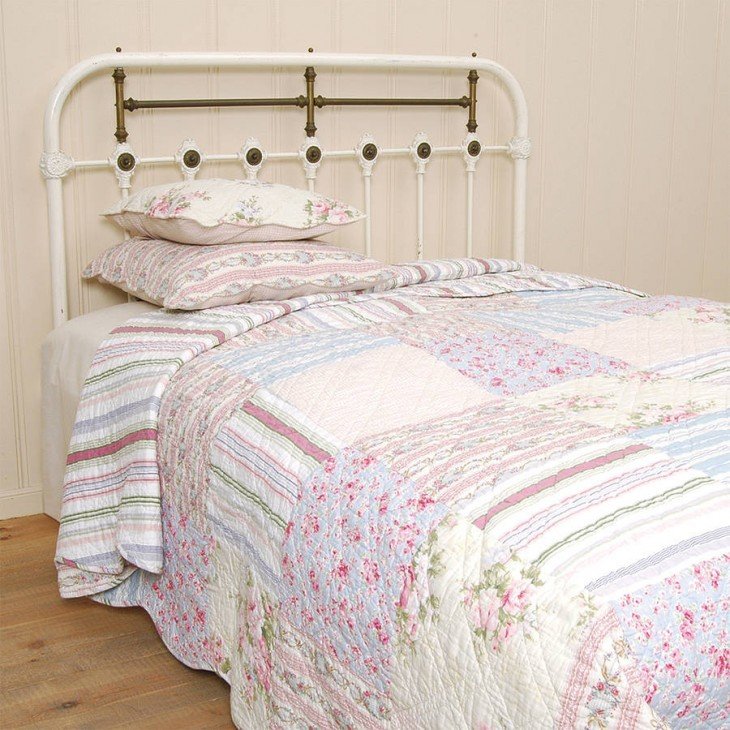
The simplest way to patchwork is to join the pieces into strips, which are then sewn together.
The method of sewing with stripes is the simplest, popular with beginners and professional craftsmen. As a result, you get a solid front side.
After this, the lining is cut out, which will be the same size as the top layer of the product.
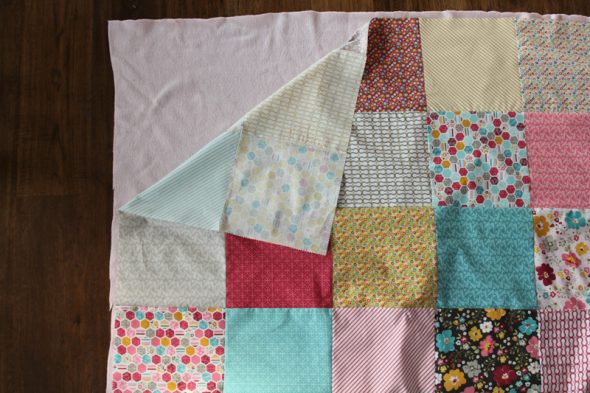
Next, spread the lining fabric on a flat, hard base, with the wrong side up. It wouldn't hurt to secure the material to a table or floor with tape. The insulation is placed on top and leveled. It is important that the filler is 5 cm smaller at the edges than the rest of the product. The patchwork surface of the blanket is placed on top. After that, all three layers are connected with pins.
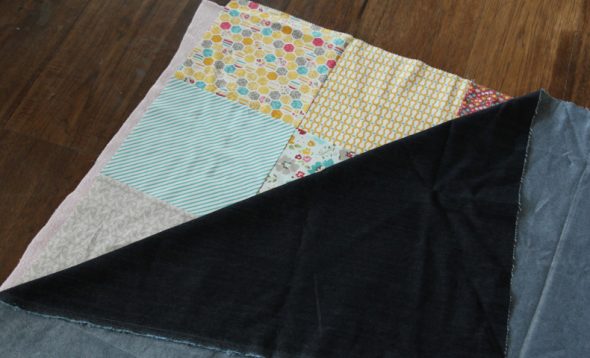
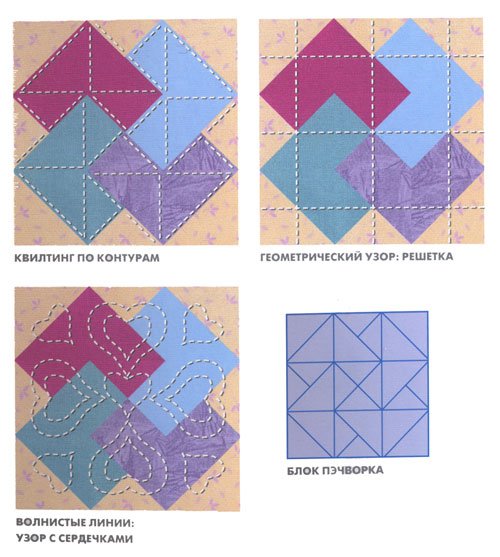
The bonded layers should be quilted correctly. If you do this work with a sewing machine, you need to install a special foot for embroidery. Then you should start from the center of the canvas diagonally to the edges. Instead of a regular stitch, a figured outline is often used.
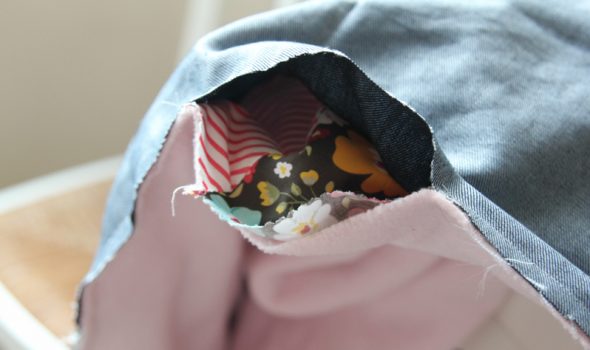
If the quilting is done by hand, you need to start with processing the edges of the blanket. The edges are framed with a border of fabric or ribbon. For edging, use material 8 cm - 10 cm wide, the length should be slightly longer than the edge of the product. The fabric or ribbon is folded lengthwise and ironed. Then the border is sewn along the edges of the back and front sides of the patchwork blanket.
How to sew a patchwork blanket for a newborn with your own hands
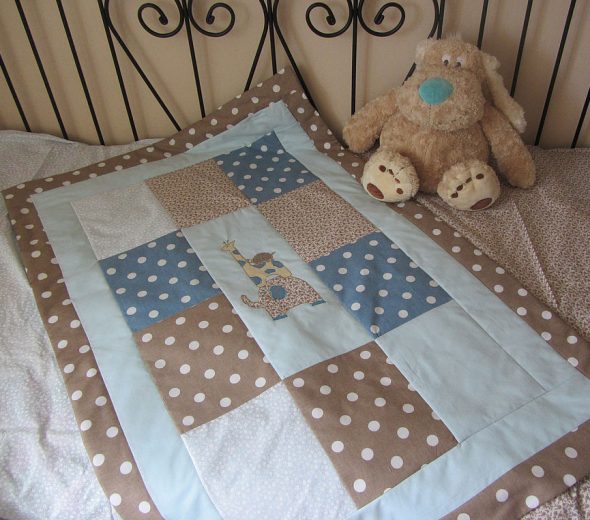
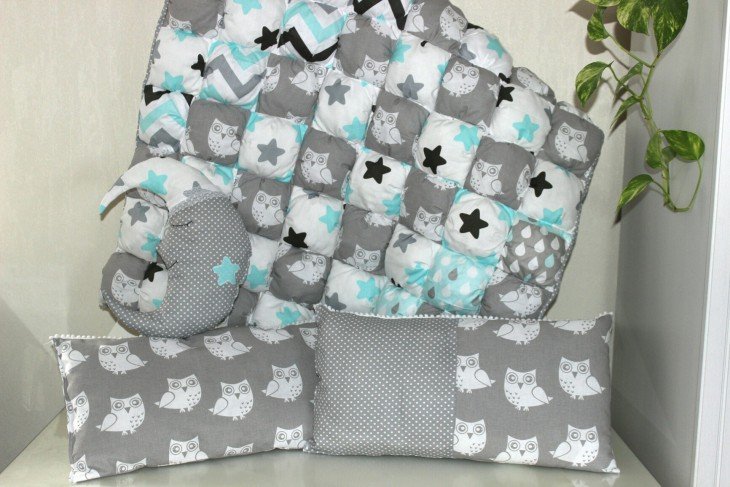
You can create an interesting, cute thing for your baby with your own hands. To do this, it is better to choose square patches with thematic or plot drawings, alternating them with plain details. If it is not possible to choose fabrics with such images, then you can create a blanket with cute appliques or embroidery. For example, by combining multi-colored squares into one piece of fabric, and sew children's appliques in the form of a house, pyramid, sun, heart or other options onto some of the patches. The blanket can be additionally decorated with embroidery. For a baby blanket, it is better to use natural filler instead of synthetic.
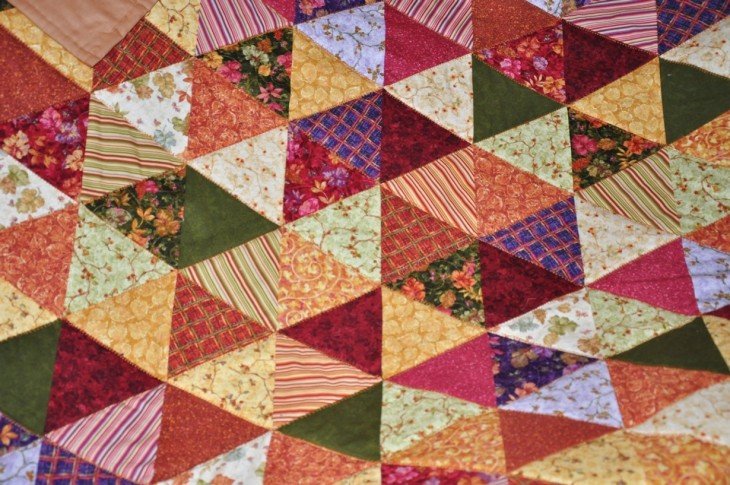
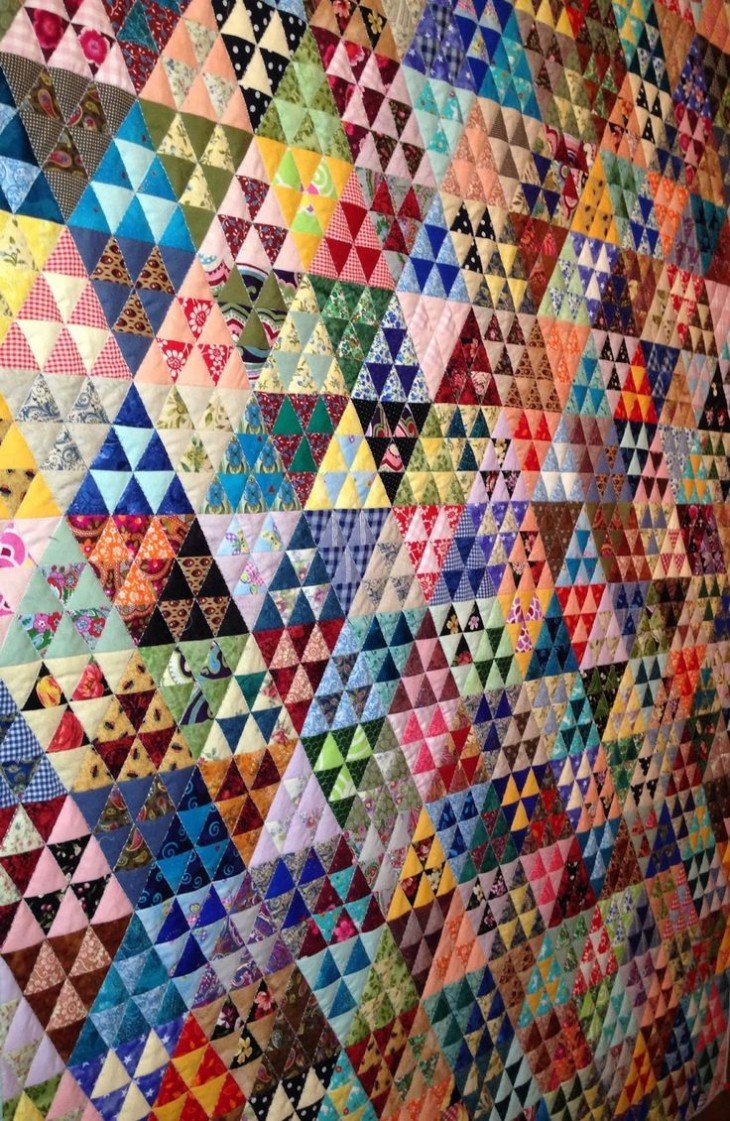
How to sew a patchwork blanket from triangles
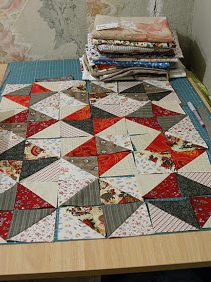
For beginners, it will be easiest to form patches in the form of regular equilateral triangles of the same size. From such parts, the front side of the product can be easily decorated with interesting geometric compositions and ornaments. From triangles, you can form stars, flowers, waves, and many different patterns. Triangular patches will be perfectly combined with square and diamond-shaped ones. When creating a template for future parts, it is important not to forget to provide for indents along the edges for seams of 0.5 cm - 1 cm in width. The pattern of the future patchwork composition can be found in magazines, on the Internet, or you can come up with it yourself.
DIY Patchwork Quilt Using the Ladder Technique
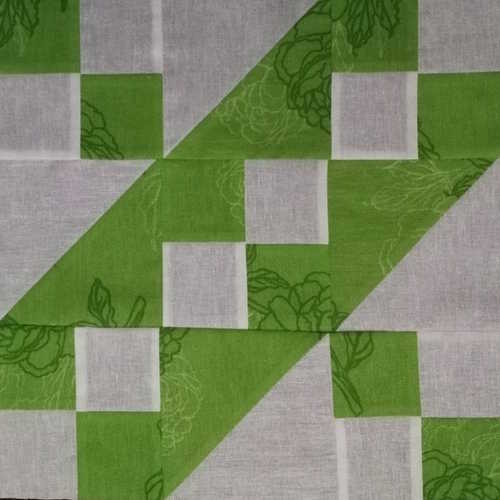
In conclusion, we suggest you familiarize yourself with an interesting patchwork technique for beginners, “Jacob’s Ladder.” It is easy to master, and the finished product will look beautiful, stylish and interesting. The essence of the technique is to form identical square blocks, which are called “Jacob’s Ladder,” consisting of a certain set of parts. Then all the finished blocks should be connected in a certain order.
For one block you will need 5 parts 2:2. They look like four identical squares of two colors connected in a checkerboard pattern. You also need to make 4 squares consisting of two triangles. To make the parts you need to take two plain fabrics, for example, red and white.
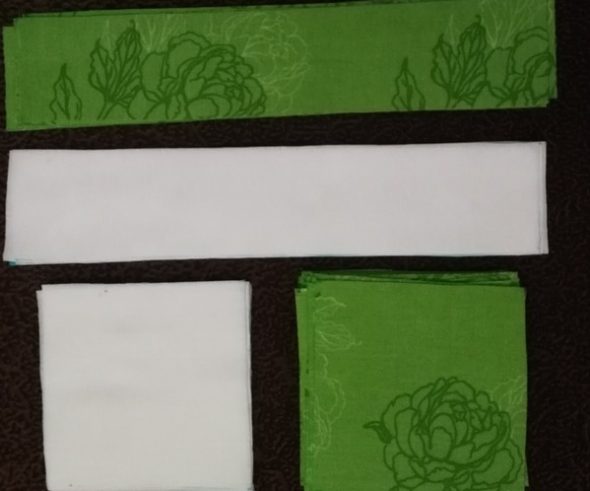
Next, we will start making the 2:2 parts. For this, we will need two strips of fabric, white and red, 7 cm wide. They should be folded face to face, well aligned at the edges. On one side, the edges of the pieces are sewn together, the seam is made at a distance of 6 mm from the edge. After this, you need to unfold the sewn pieces and iron the seam. You will get a two-color wide ribbon of two strips, 2 of these ribbons are needed. They need to be folded face to face so that the red stripe lies on the white one, align the edges. Next, the folded ribbons are cut across into strips 7 cm wide. The result is a pair of strips that, without unfolding, need to be sewn together along the longitudinal edge. For the seam, we retreat by 6 mm. After this, we unfold the sewn elements, iron the seams. As a result, we get finished parts that look like four squares located in a checkerboard pattern.
To make squares from two triangles, you will need a white and a red square of fabric with sides measuring 13.5 cm. On the white square, on the back side, draw a diagonal from one corner to the other. Then place the white square face to face on the red one and secure with pins. Along the drawn diagonal, you need to make seams on both sides, stepping back from the drawn line by 6 mm. After stitching the square, you need to cut it along the drawn line. Unfold the resulting piece and iron along the seams.
Now you can assemble the square block "Jacob's Ladder" using a simple template scheme. Five 2:2 pieces are laid out as follows: one in the very center, two at the upper and lower corners of the square block. Between them we place the remaining 4 pieces, consisting of two triangles. All the elements are connected to each other in rows, you will get three strips, which remain to be sewn together. Finally, we iron the seams and the first block is ready. The number of such blocks is determined based on the size of the future blanket in the "Ladder" technique. By connecting individual elements into one pattern, you will get a stunningly beautiful designer item.

Video: How to sew a patchwork blanket with your own hands. Master class
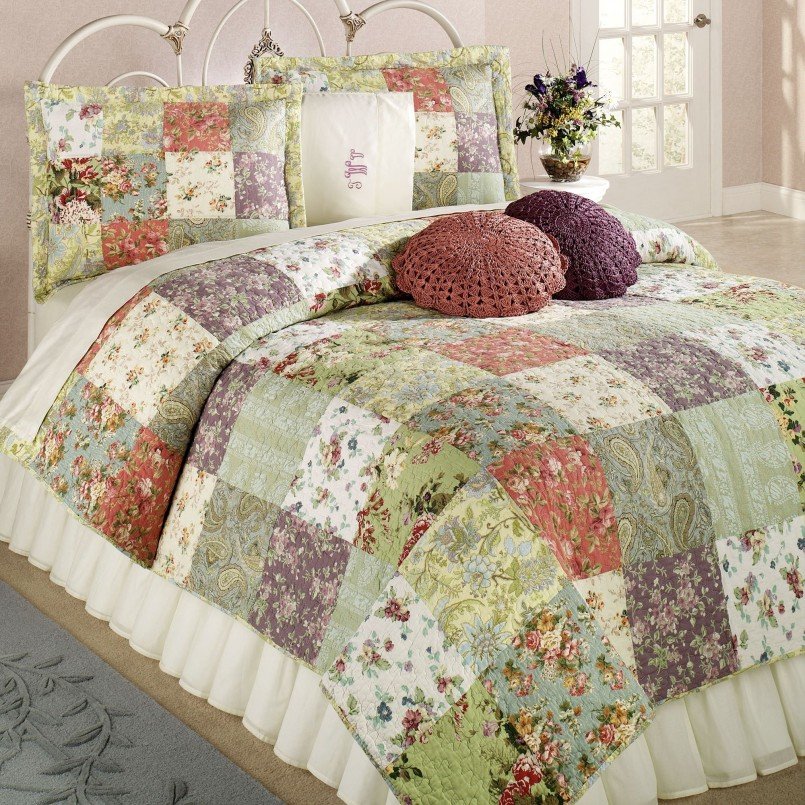
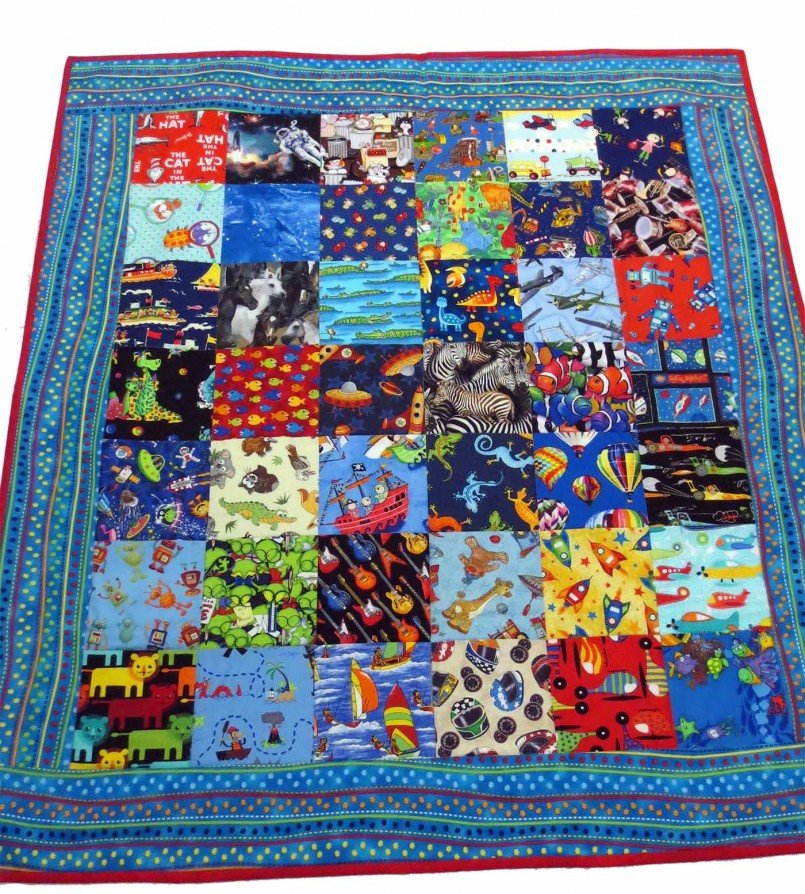
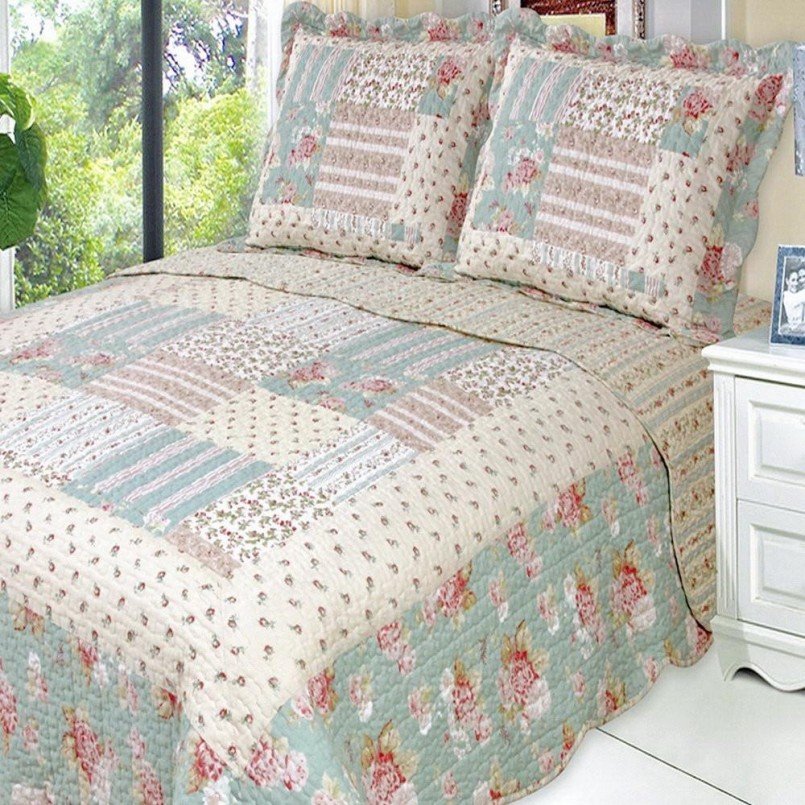
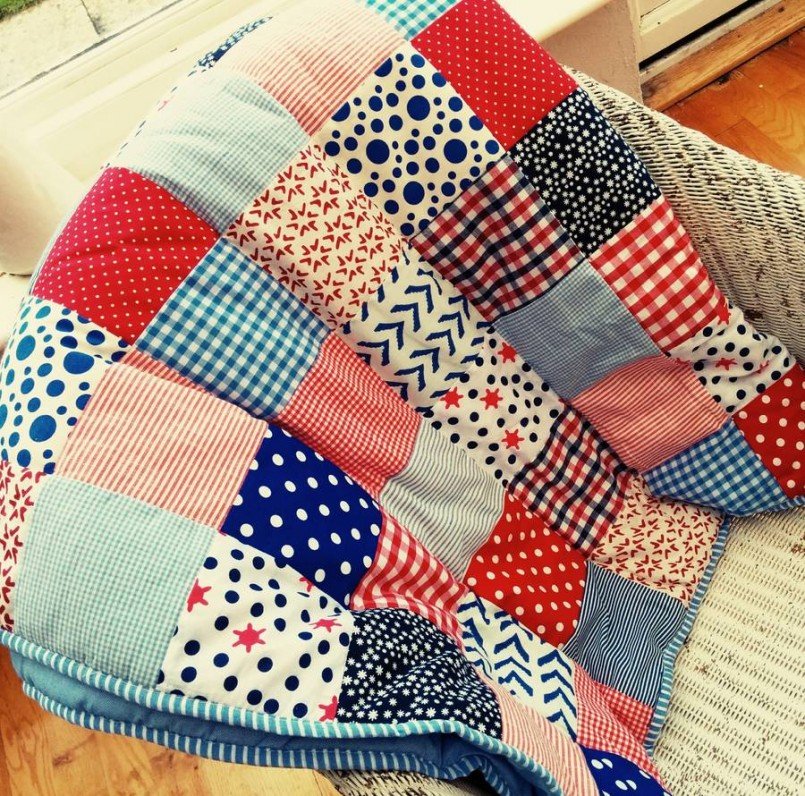
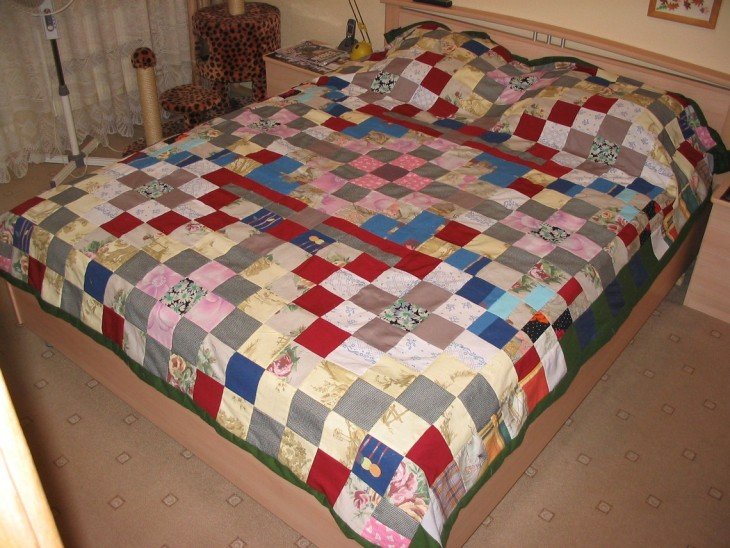
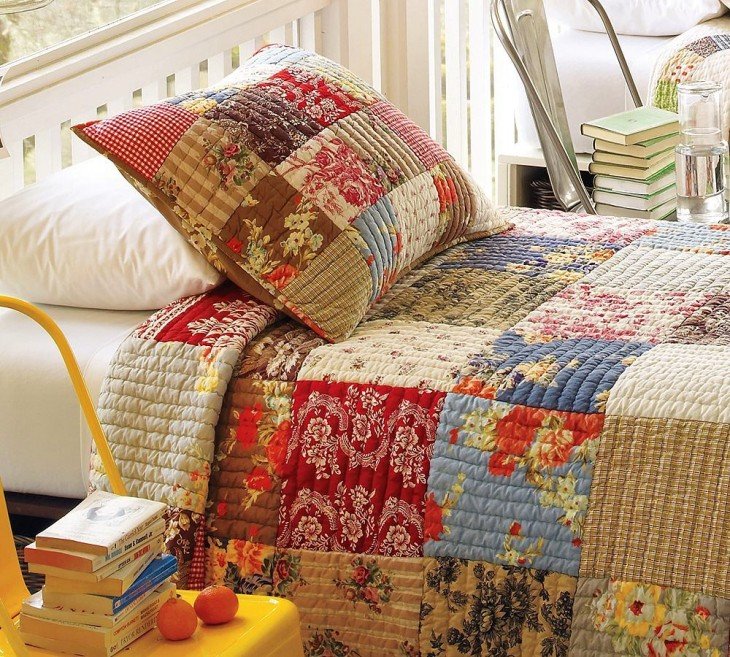
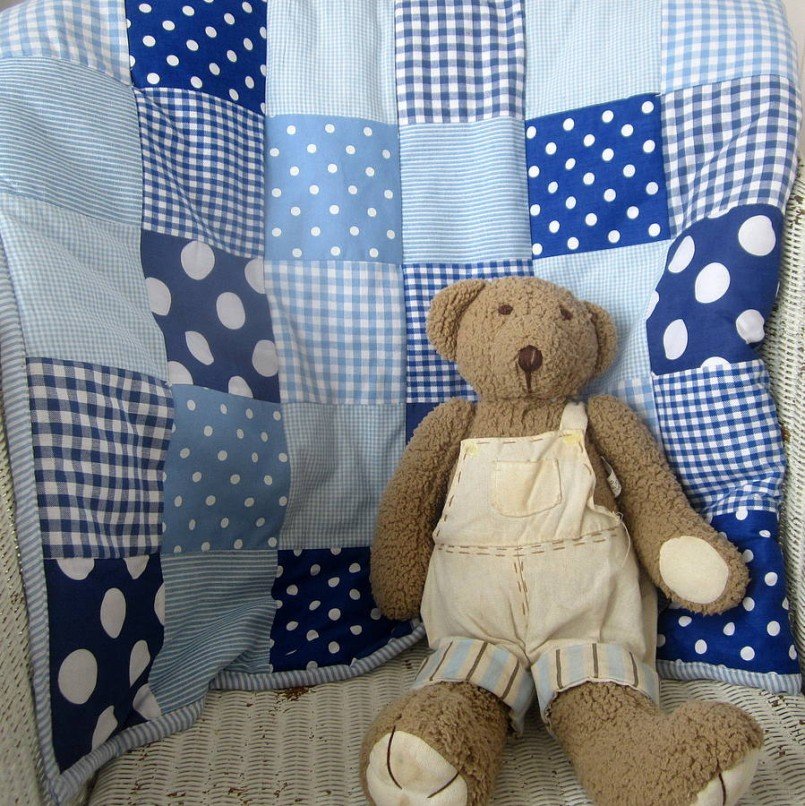
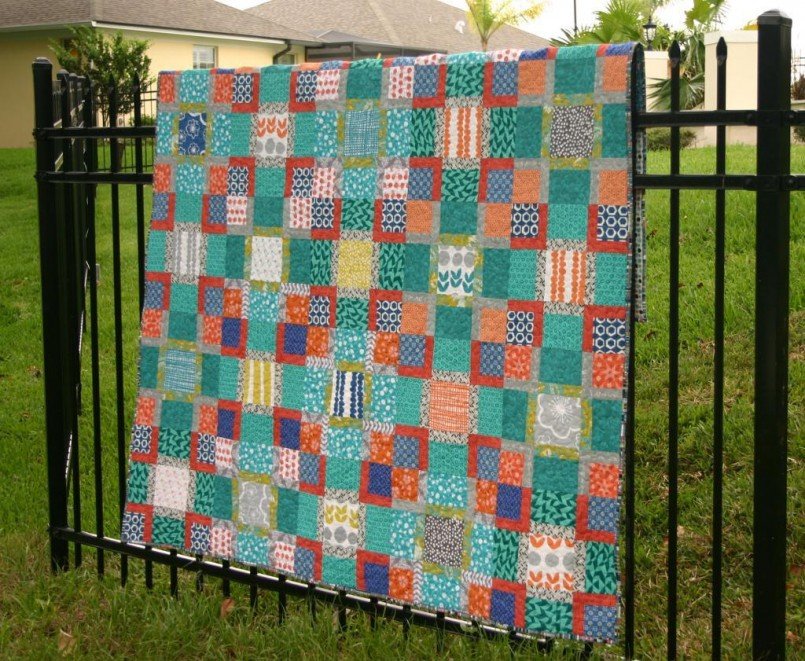
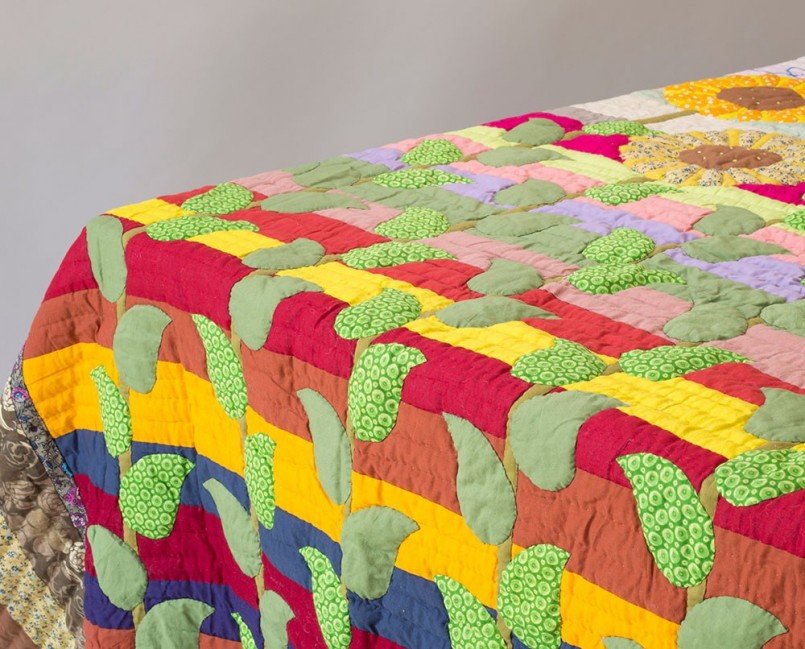
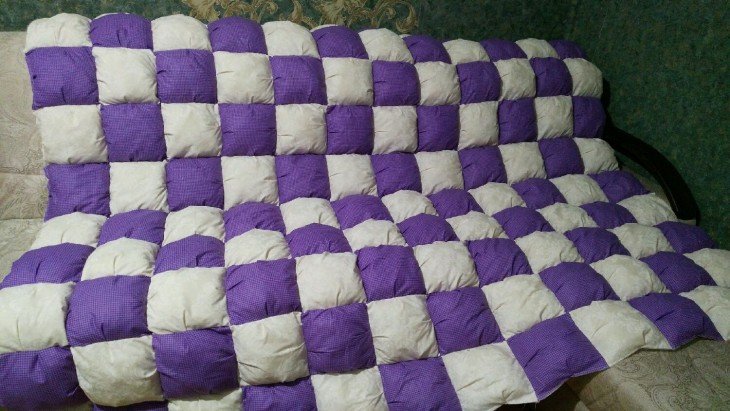
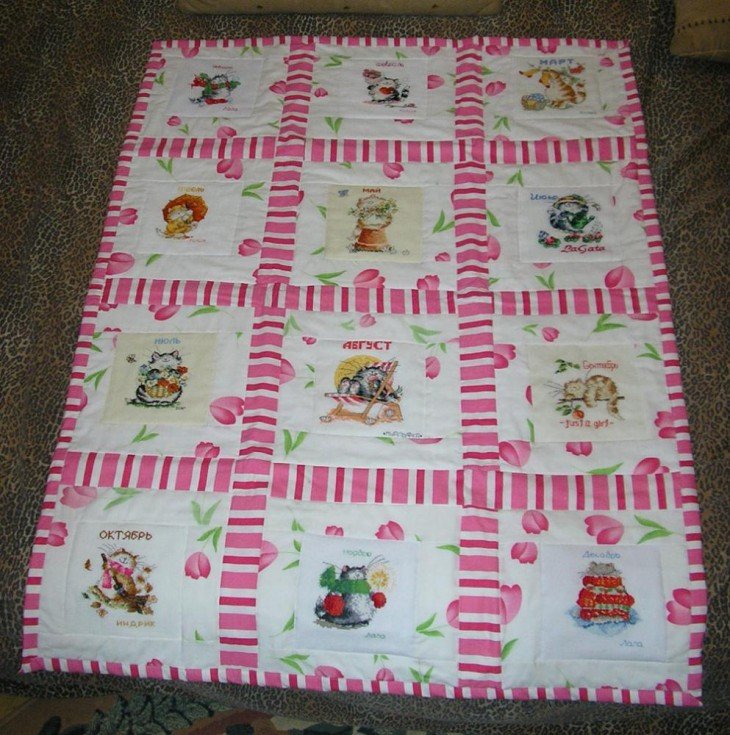
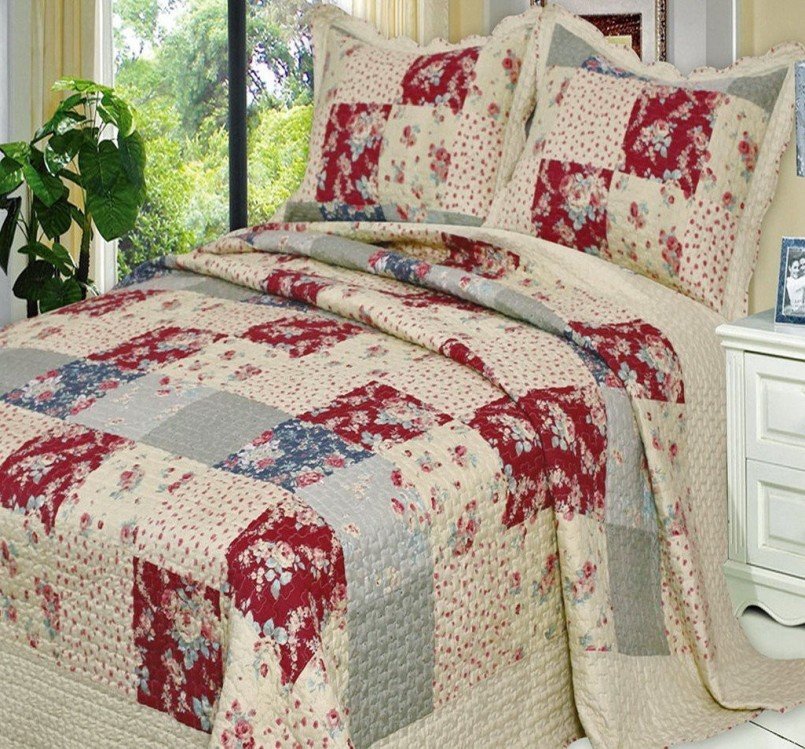
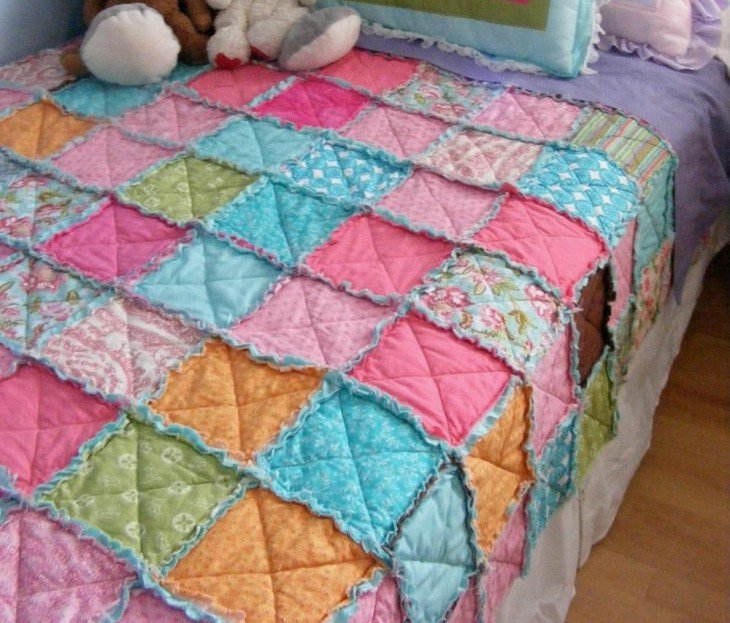
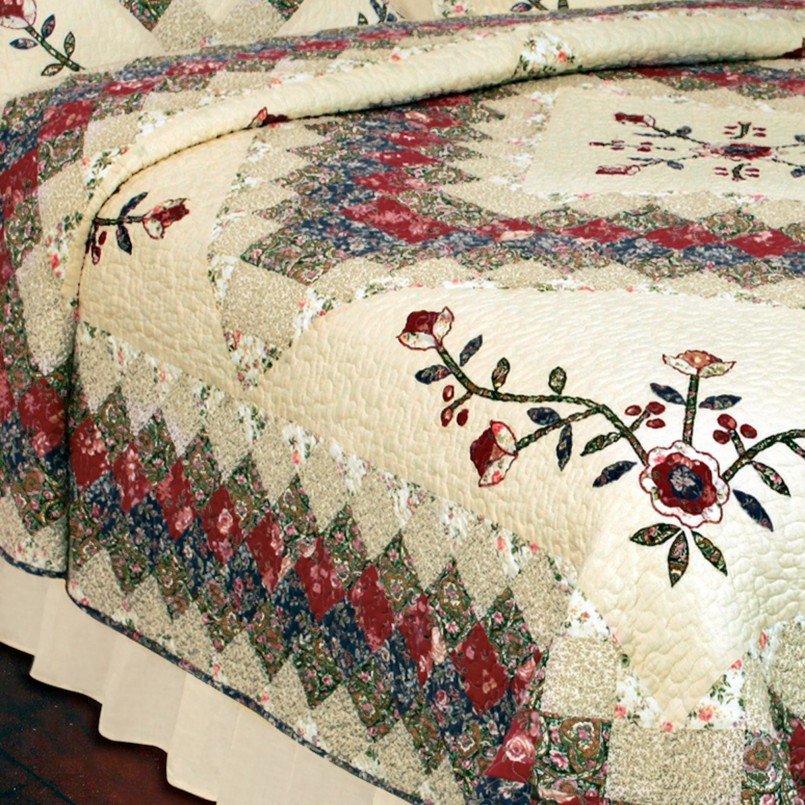
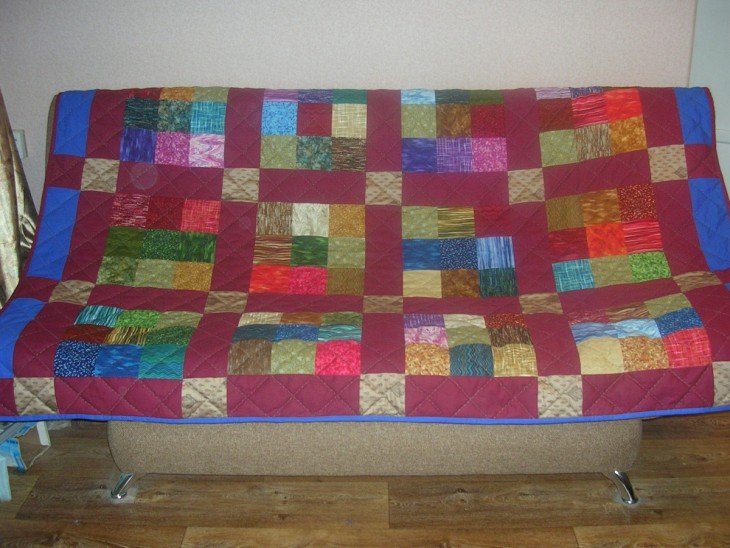
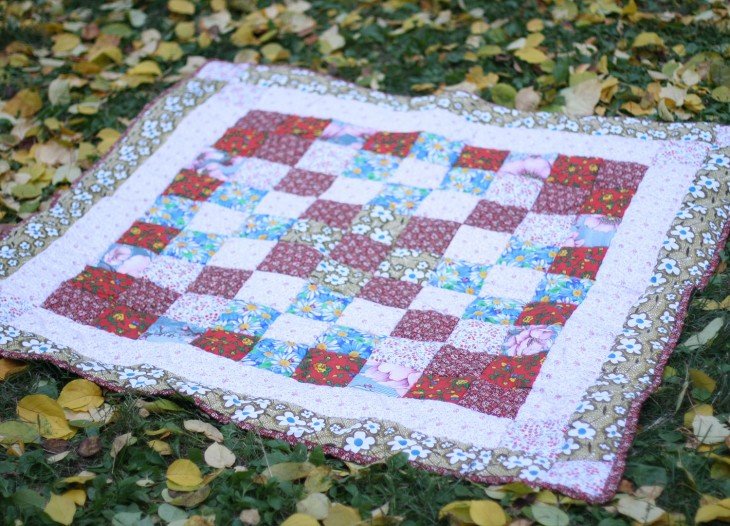
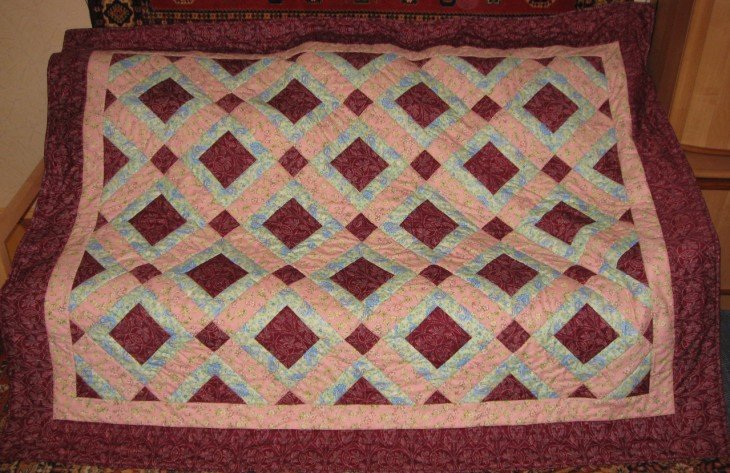
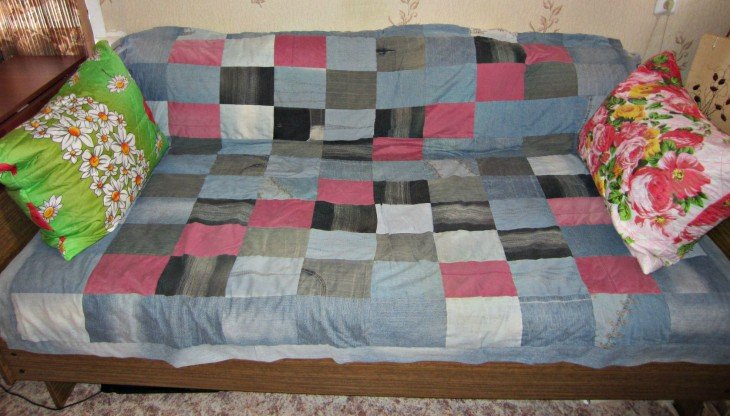
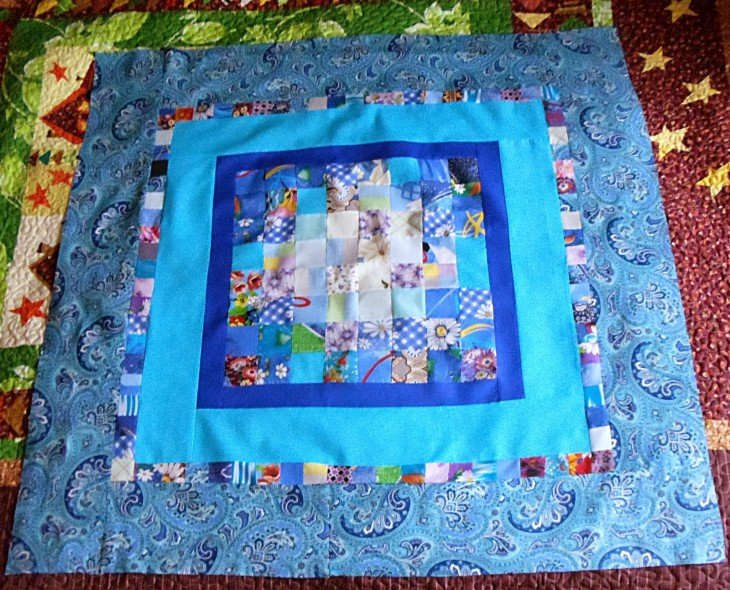
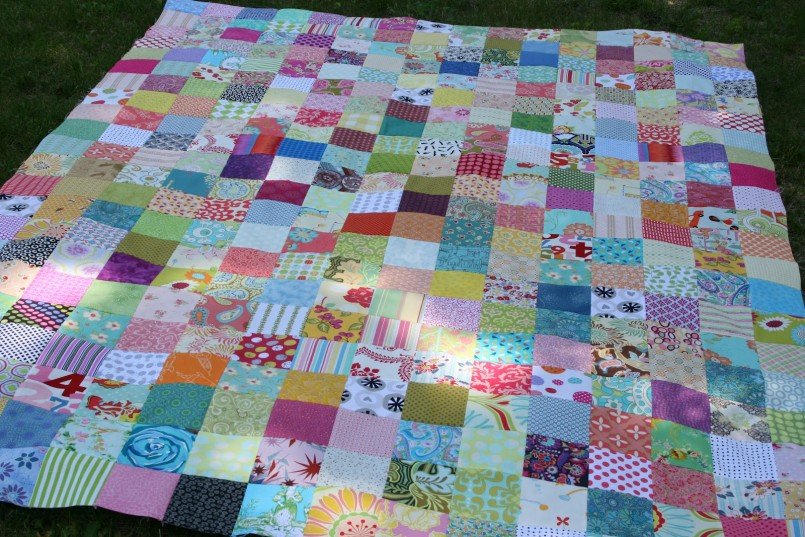
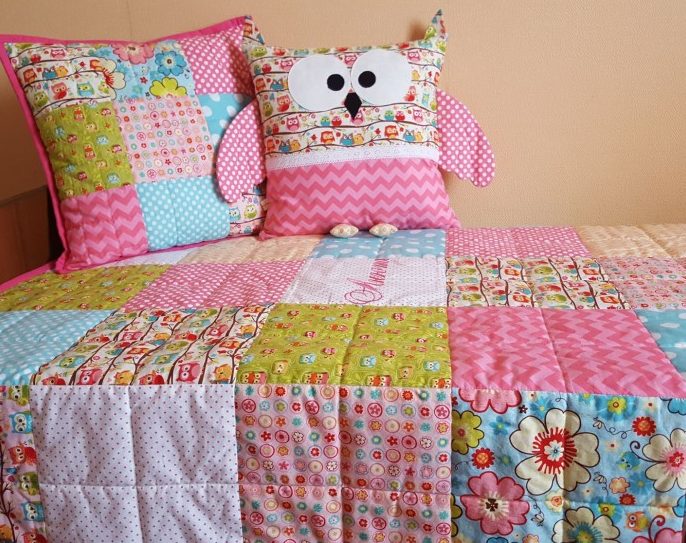
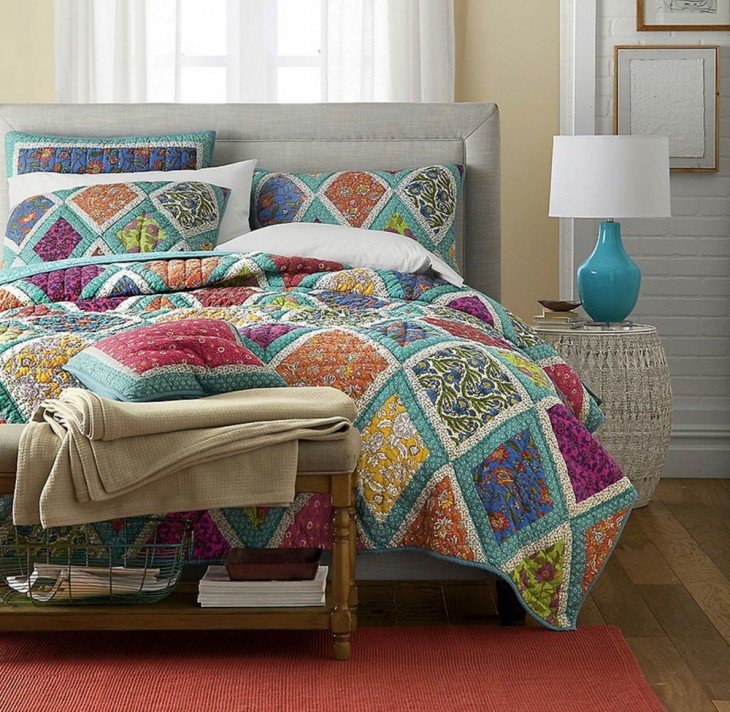
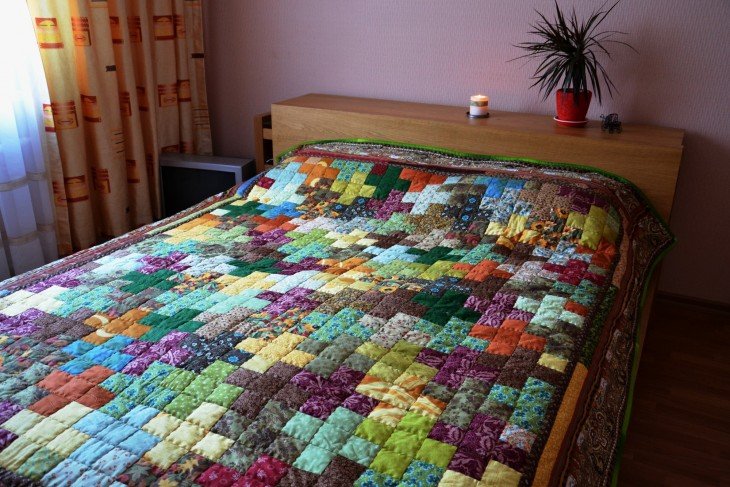
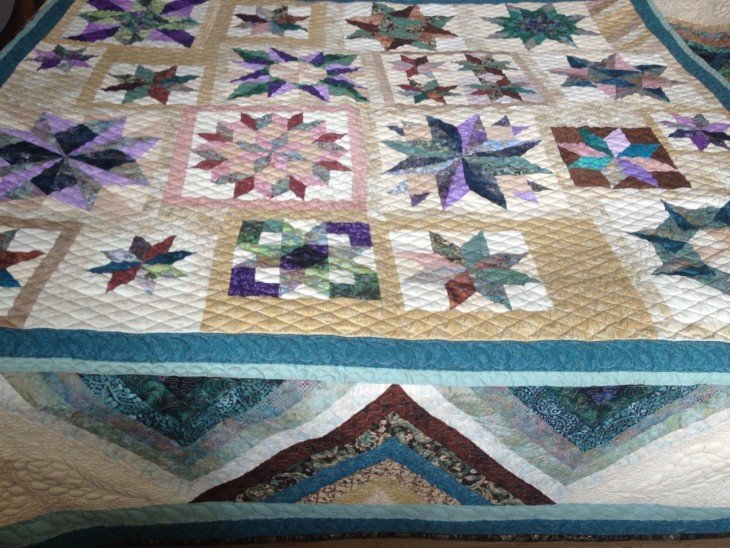
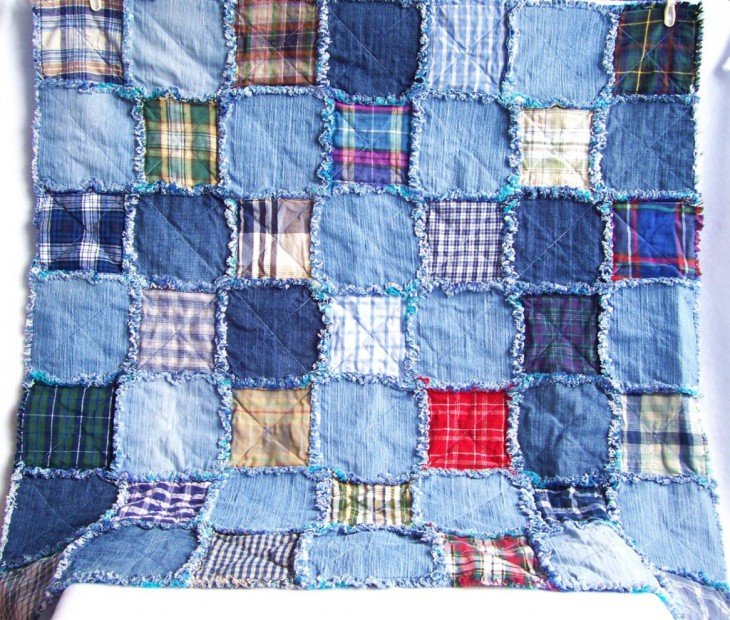
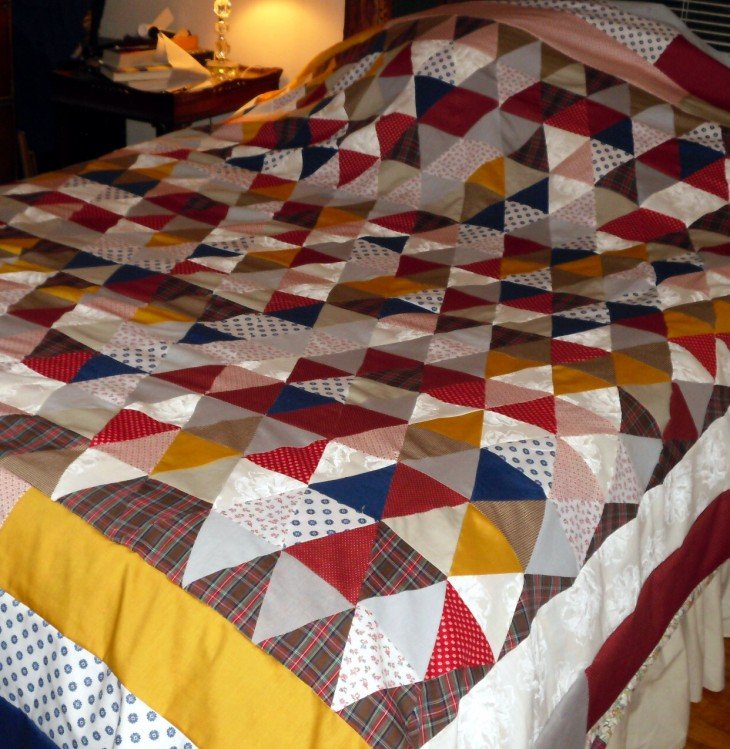
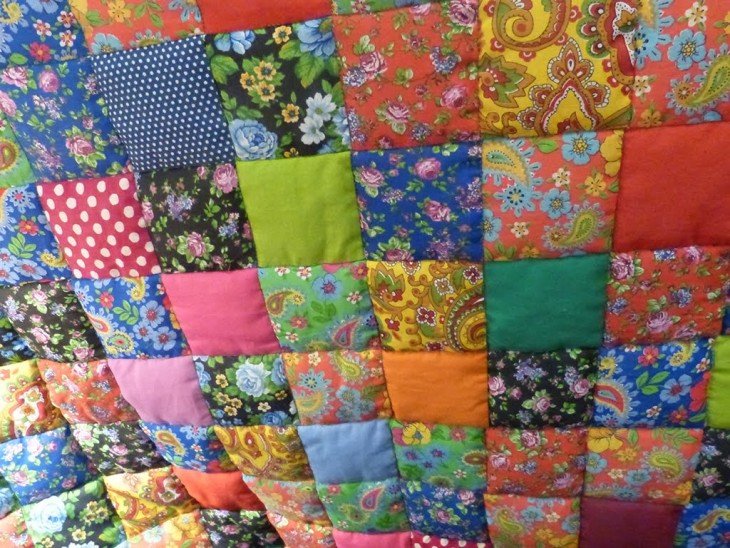
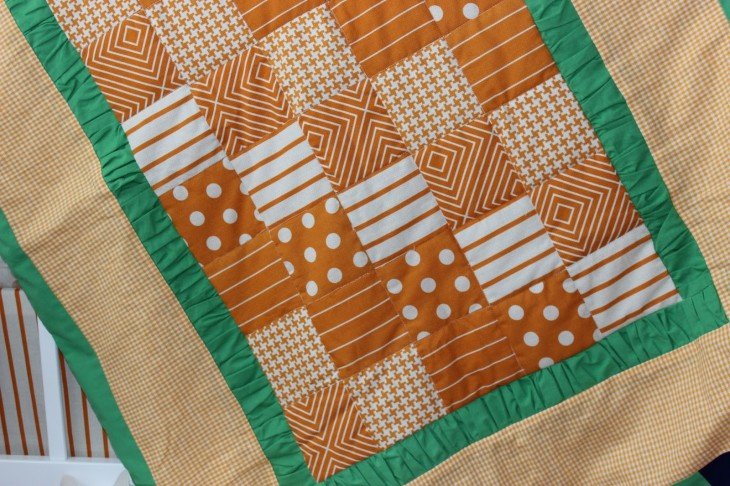
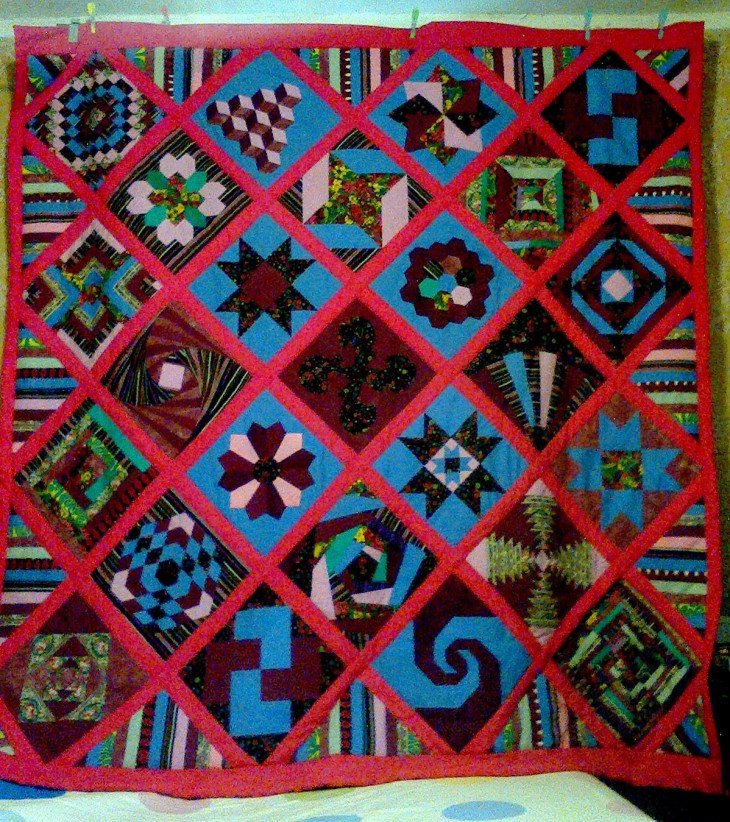
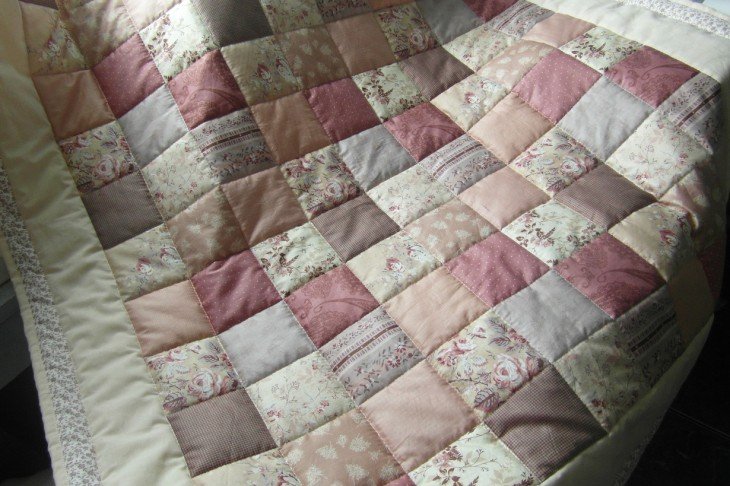
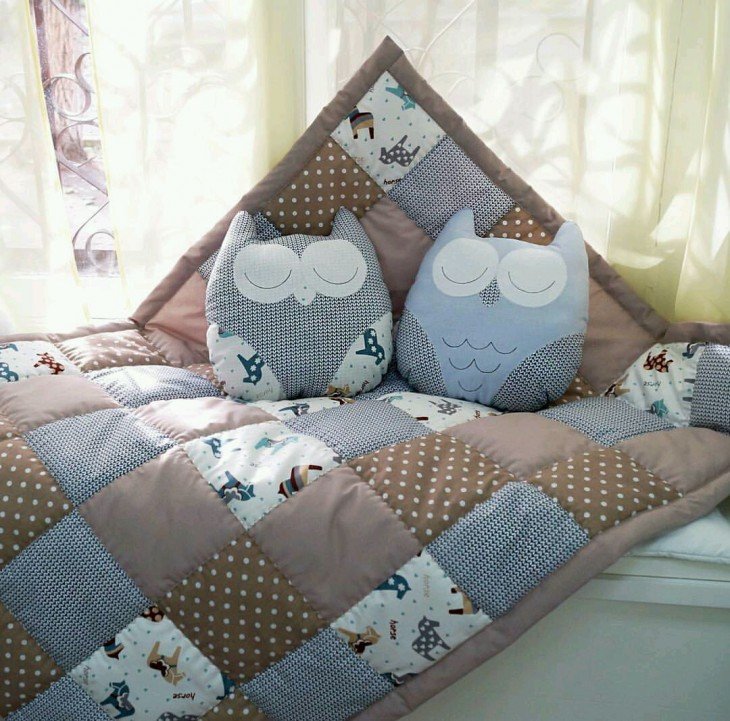
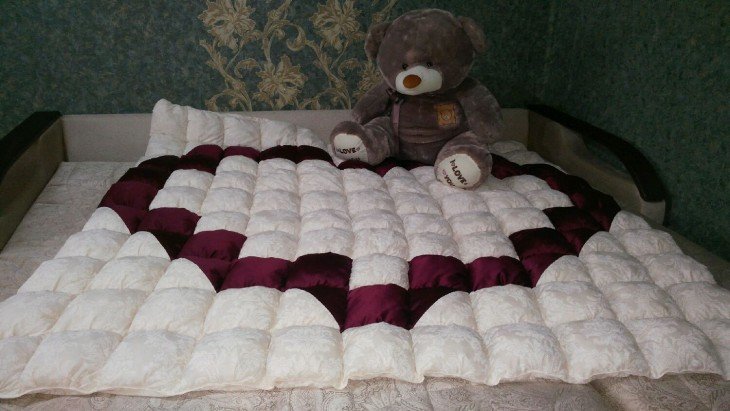
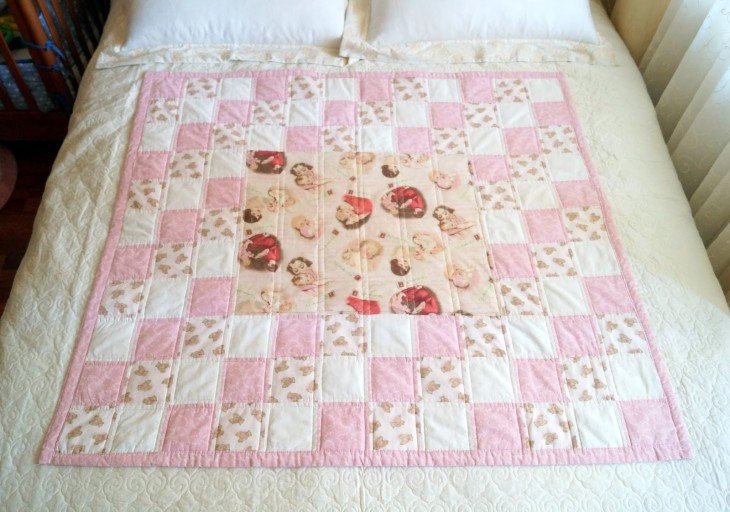
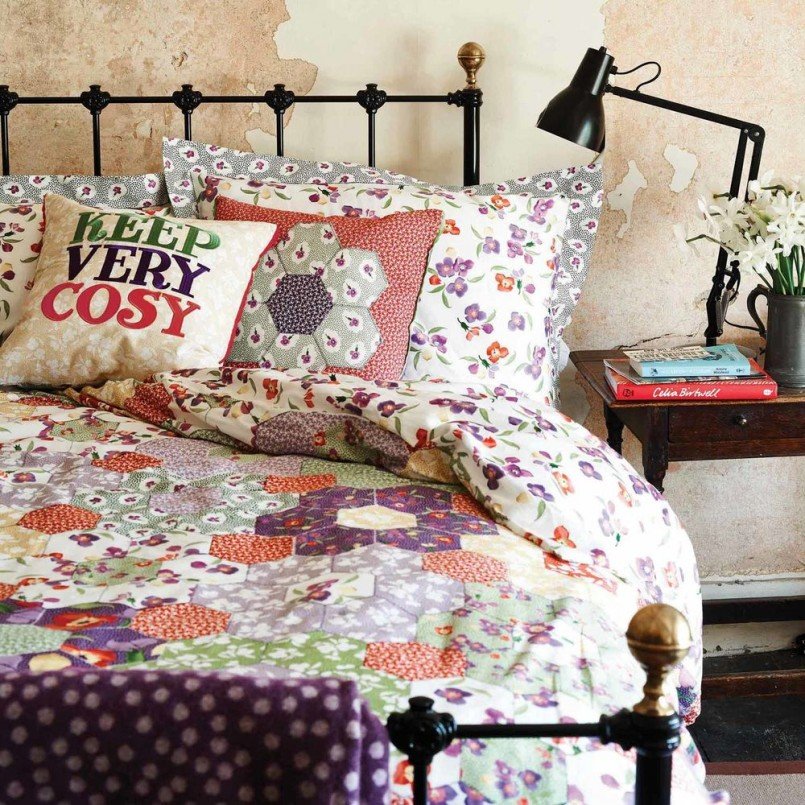
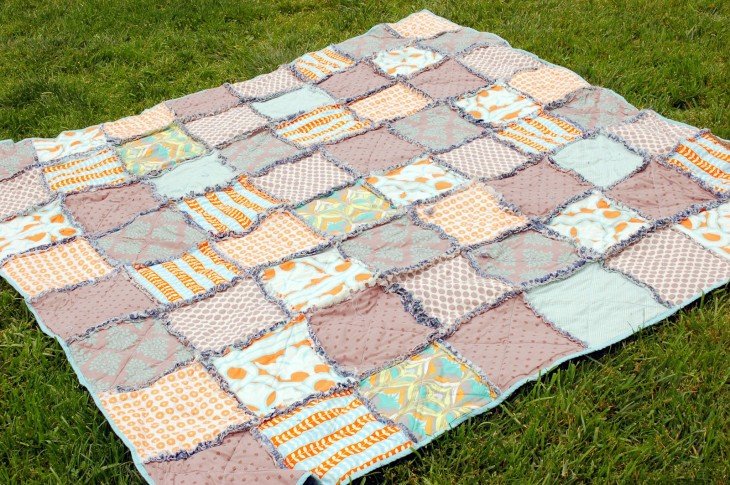
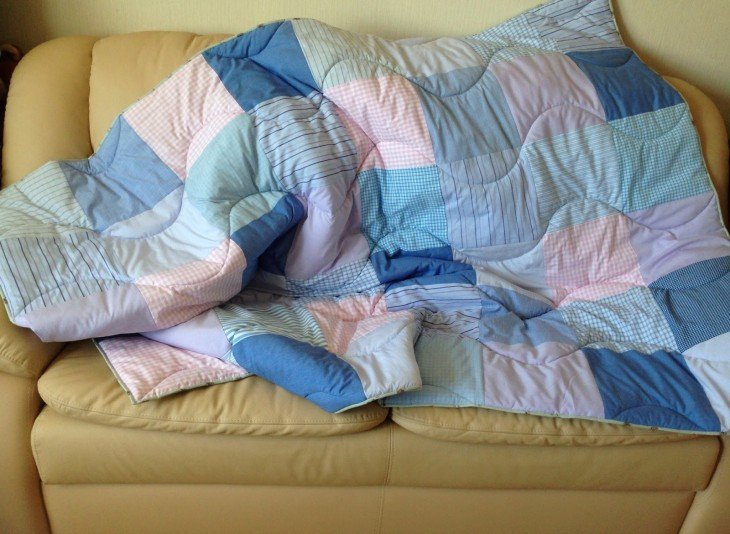
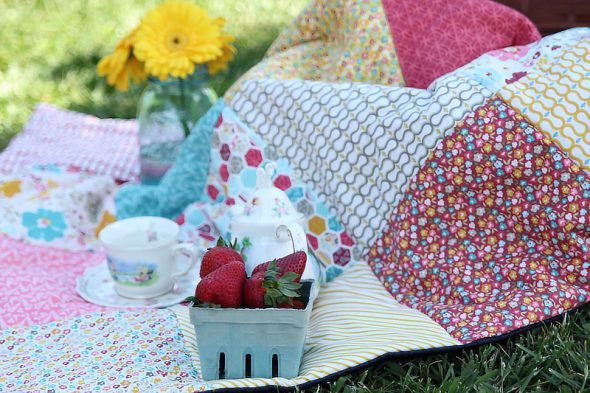
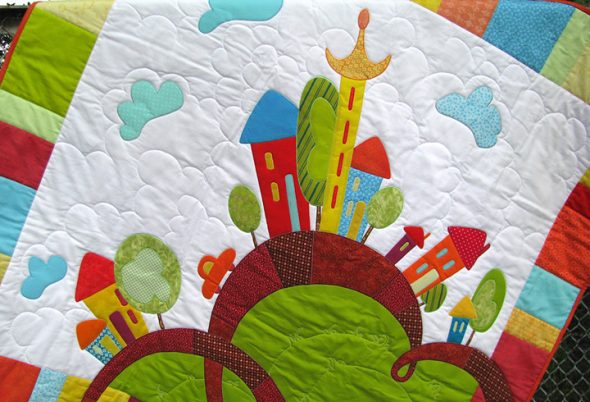
Photo gallery of beautiful patchwork quilts made by hand: