When furnishing a child's room, parents try to use as many cute things as possible. Their list includes a blanket that not only looks cozy, but also warms the baby in the cold.
Content
- What is a bonbon blanket
- How to sew a bonbon blanket with your own hands with step-by-step instructions
- Preparing for the work process
- How to sew an adult bonbon blanket with your own hands
- How to sew a children's rug using the "bonbon" technique
- How to sew a baby blanket using the bonbon technique
- How to sew sides for a playpen using the "bonbon" technique
- How to sew bumpers for a baby crib using the "bonbon" technique
- Bonbon Quilt
- How to sew a bedspread using the bonbon technique
- How to sew pillows or chair pads using the bonbon technique
- Summary
- Video: DIY Bombon Blanket Sewing Master Class (Tipwam Mat)
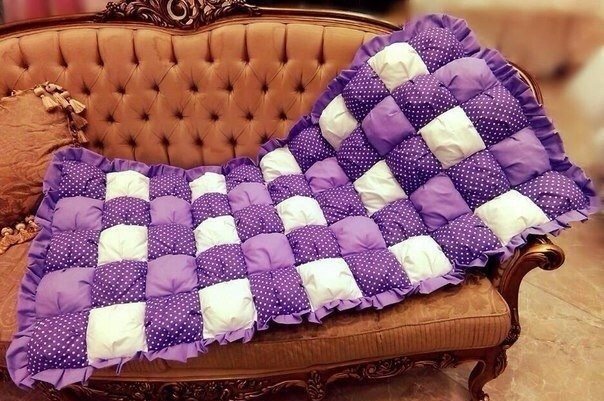
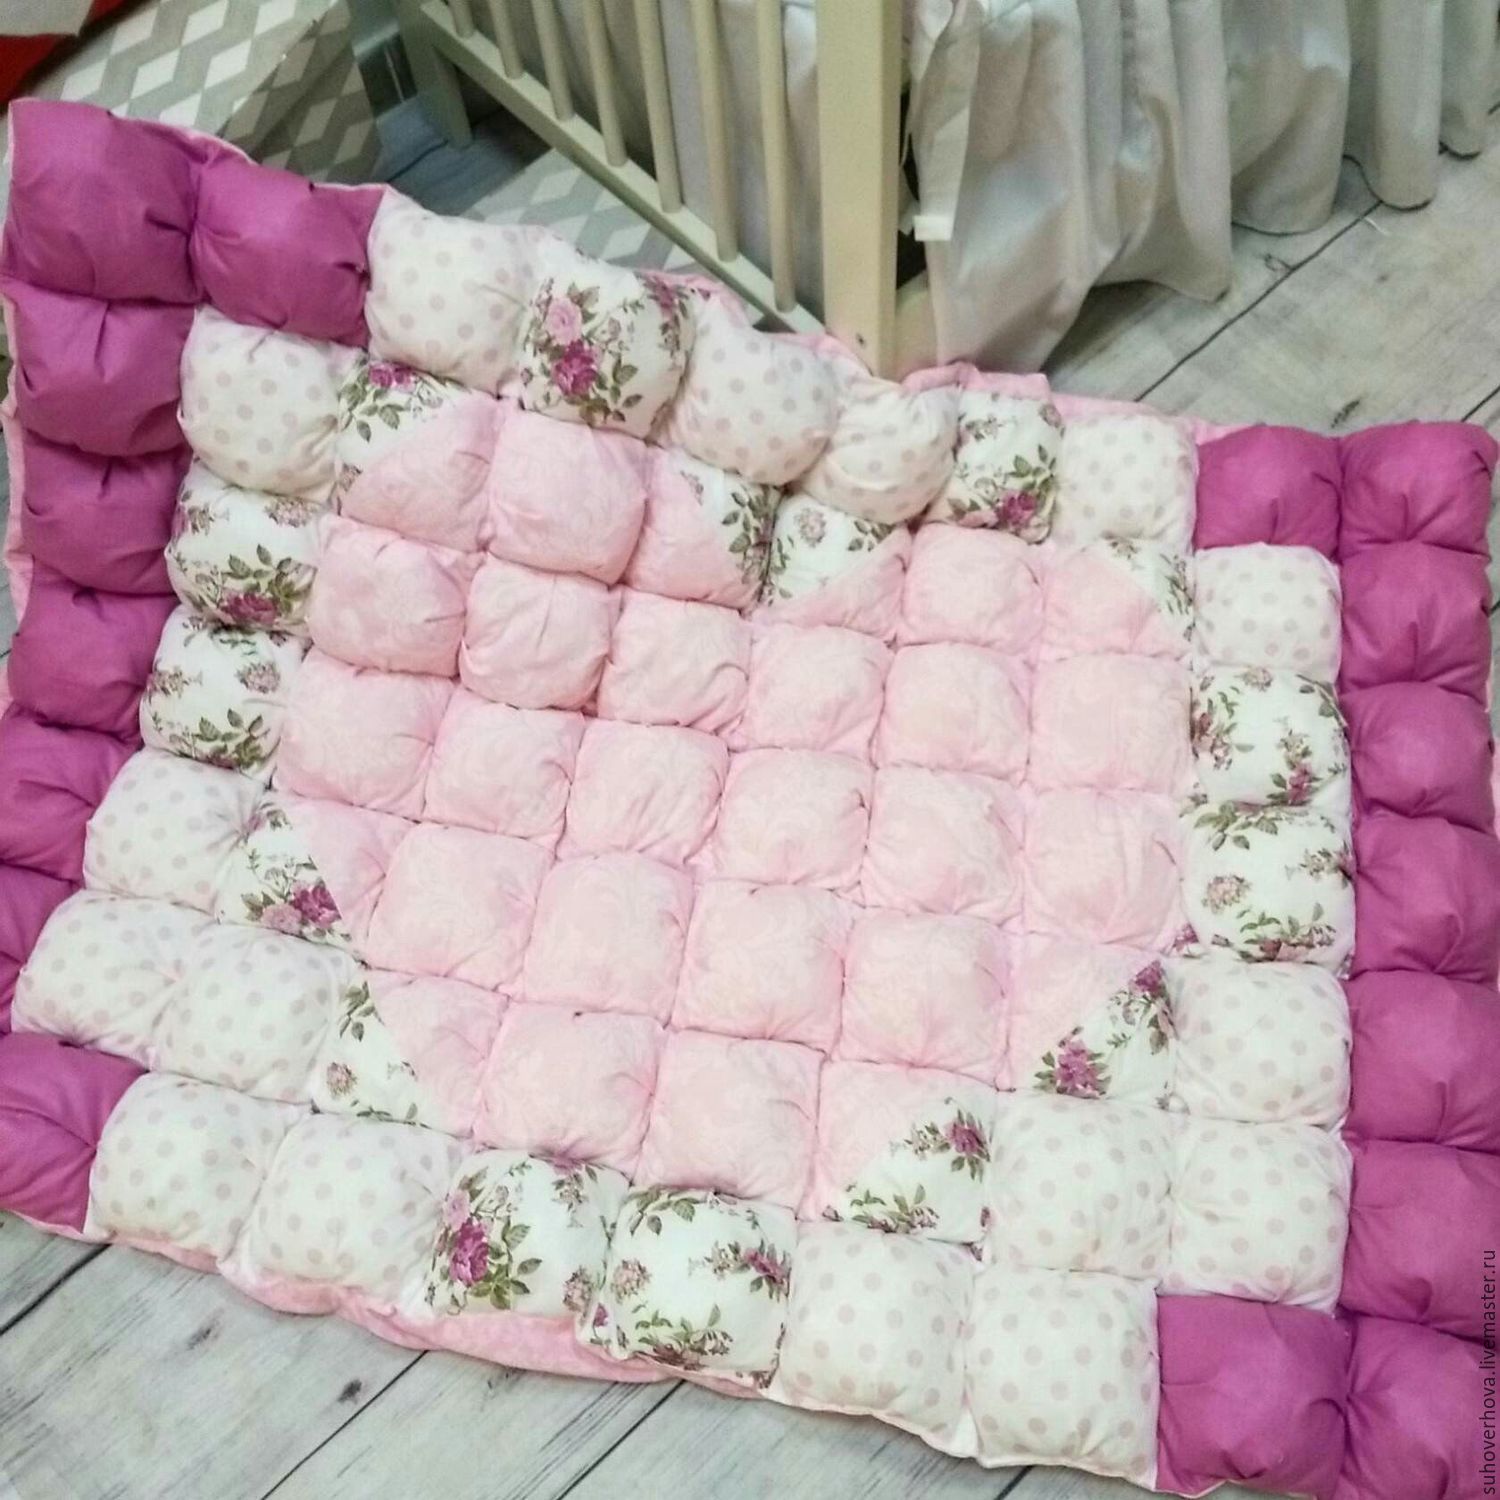
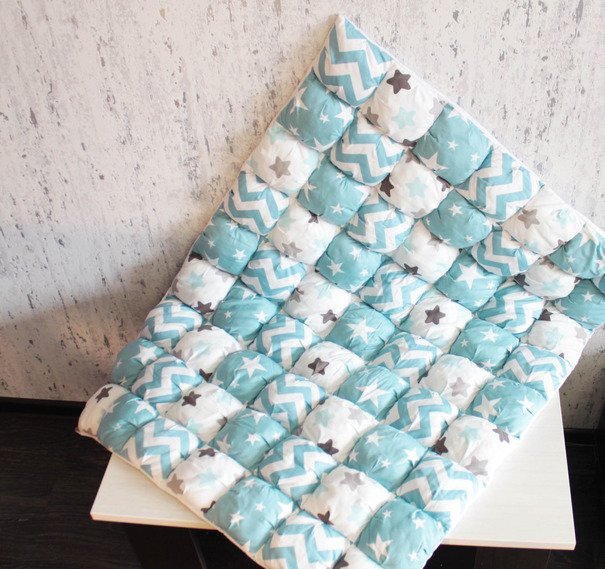
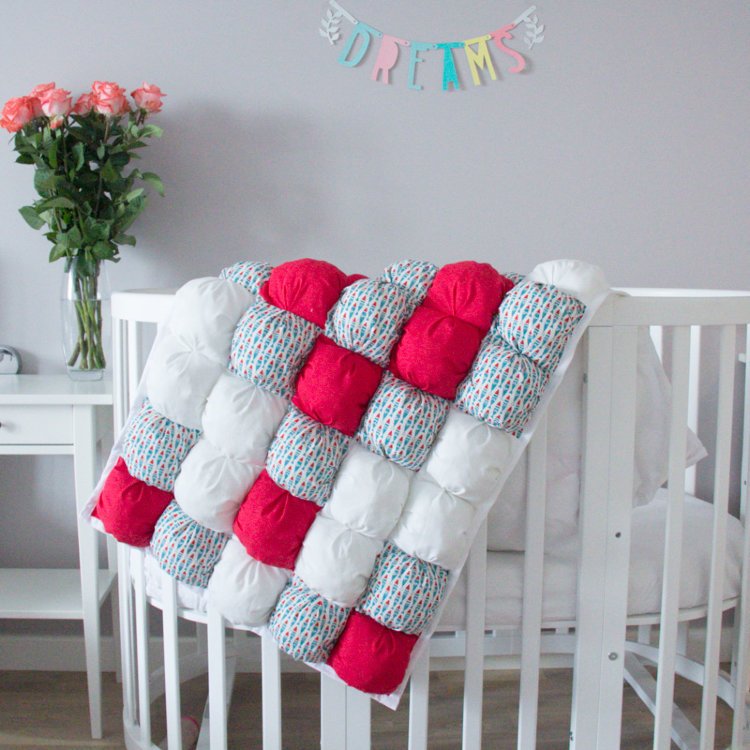
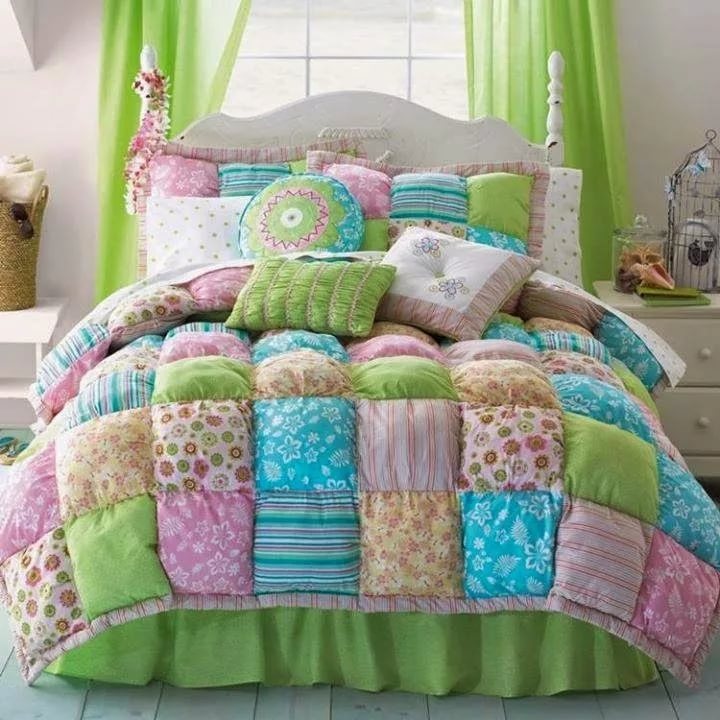
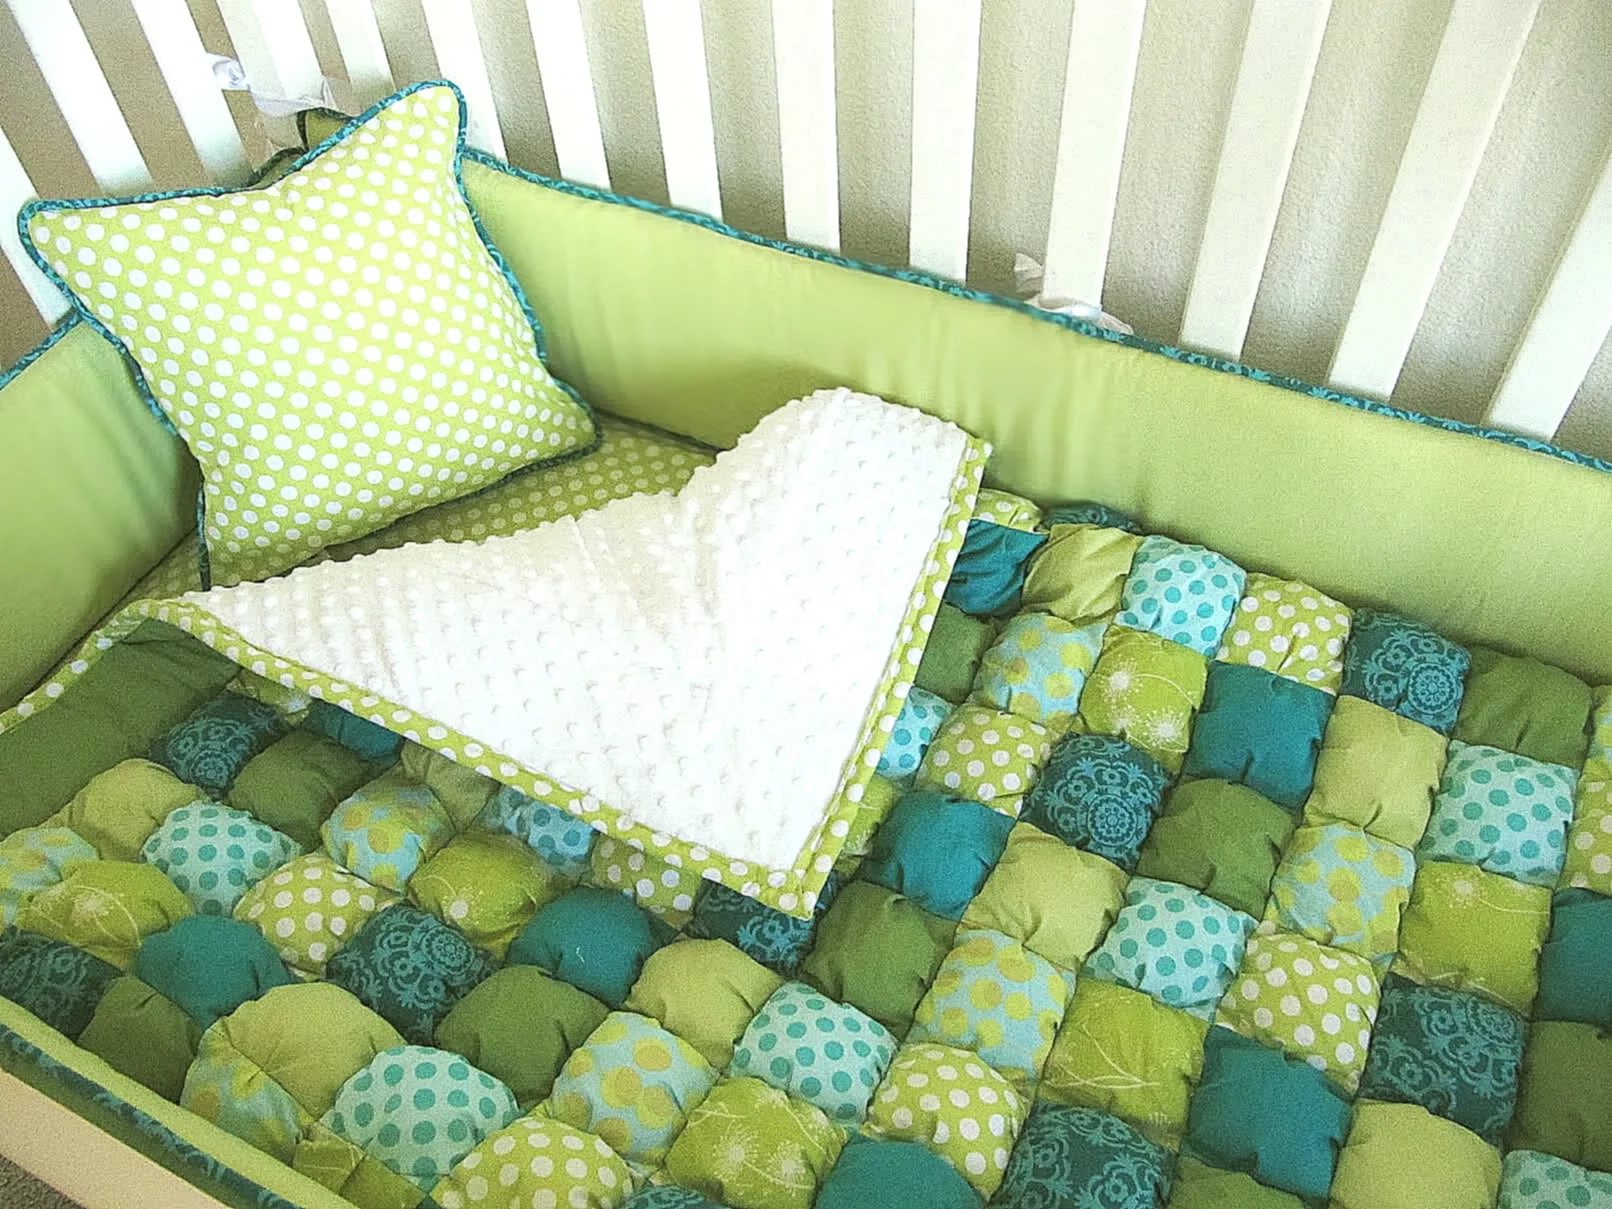
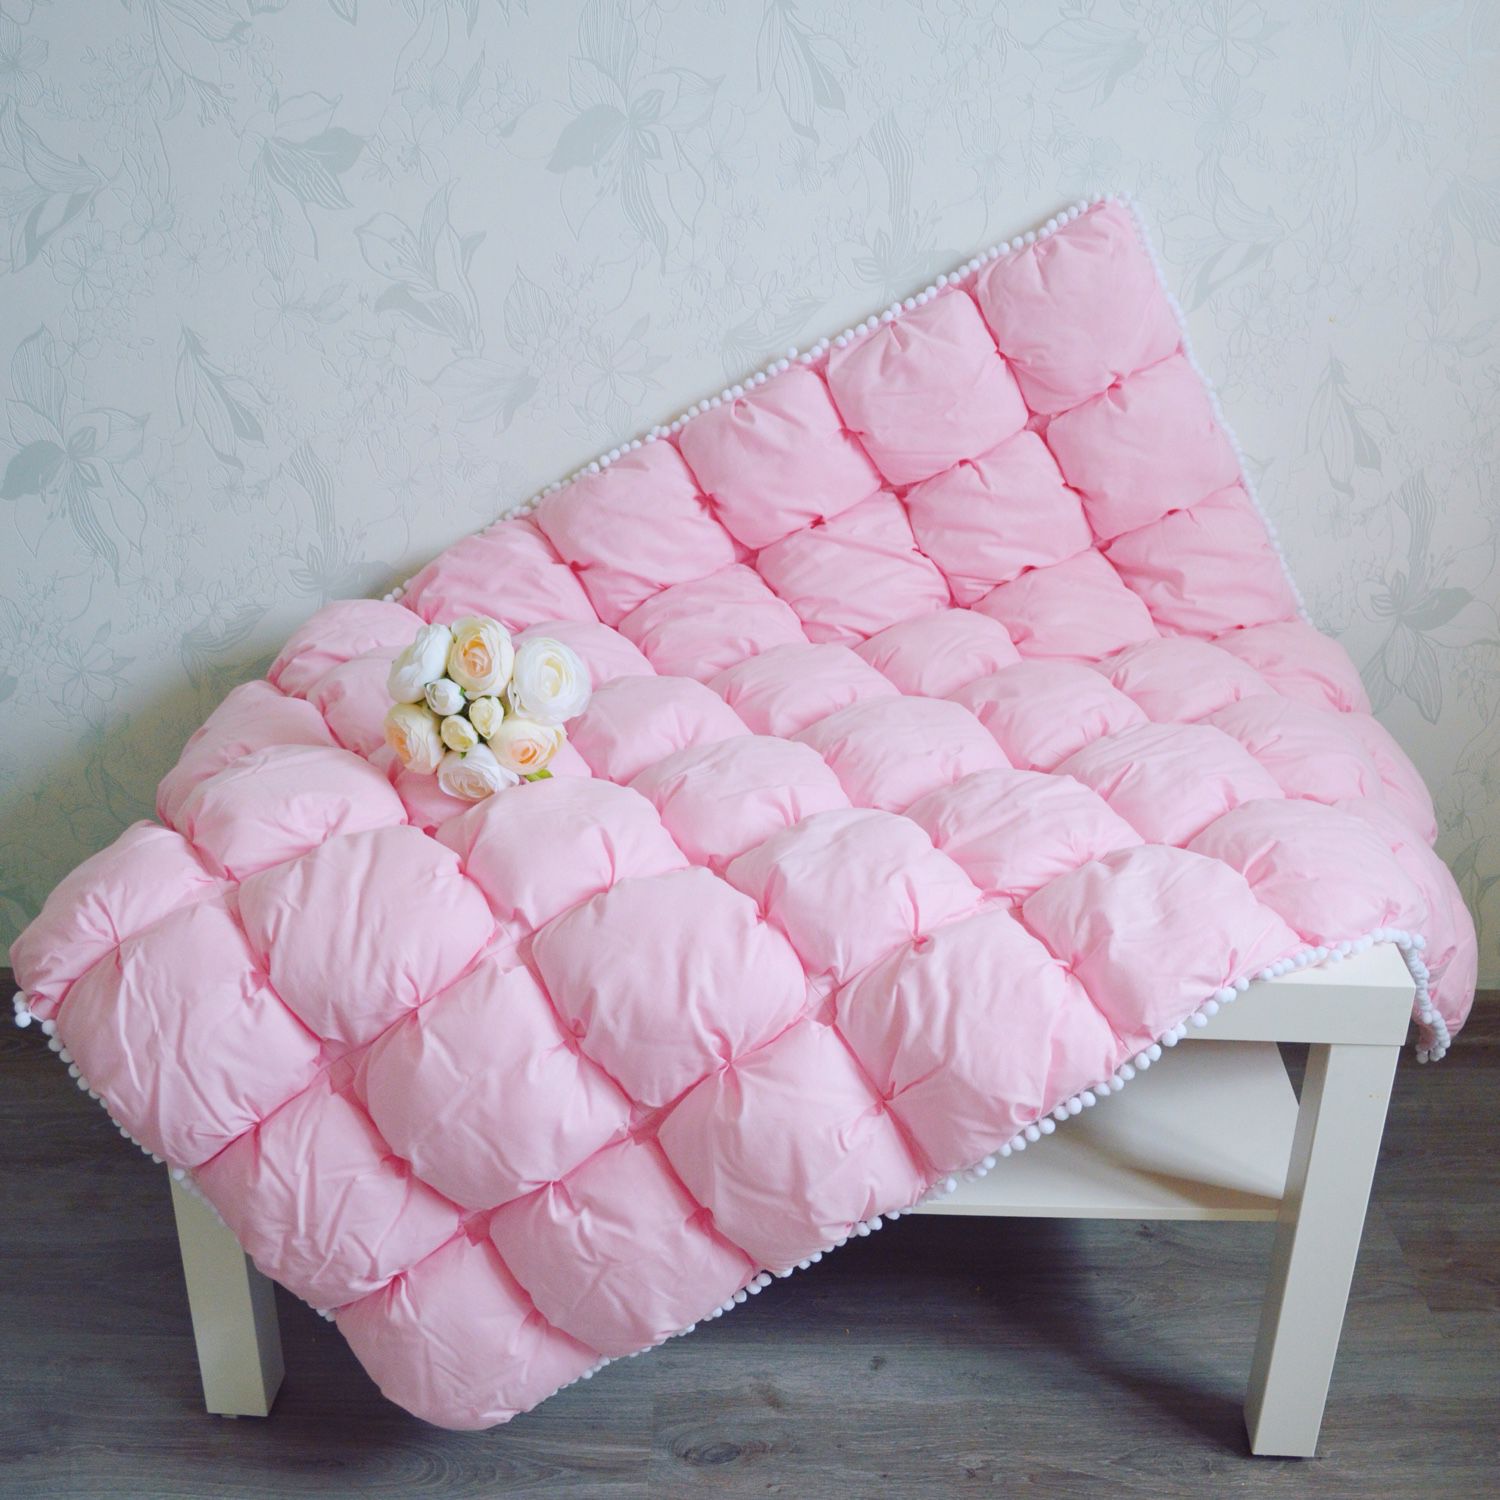
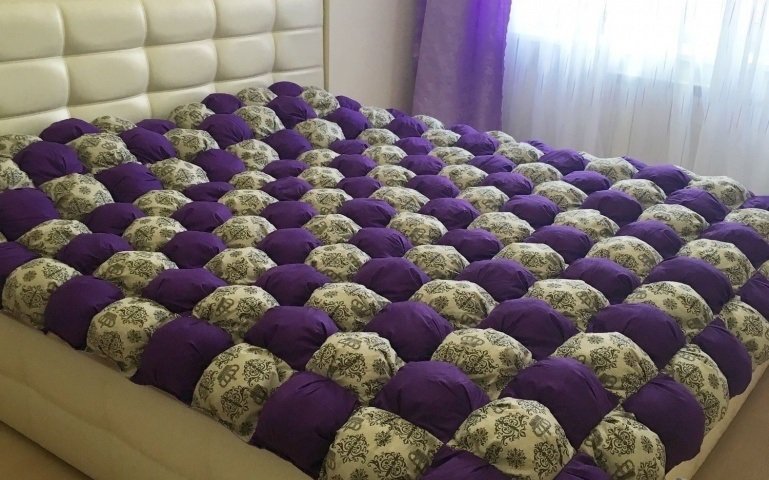
- 50 beautiful adult and children's bonbon blankets:
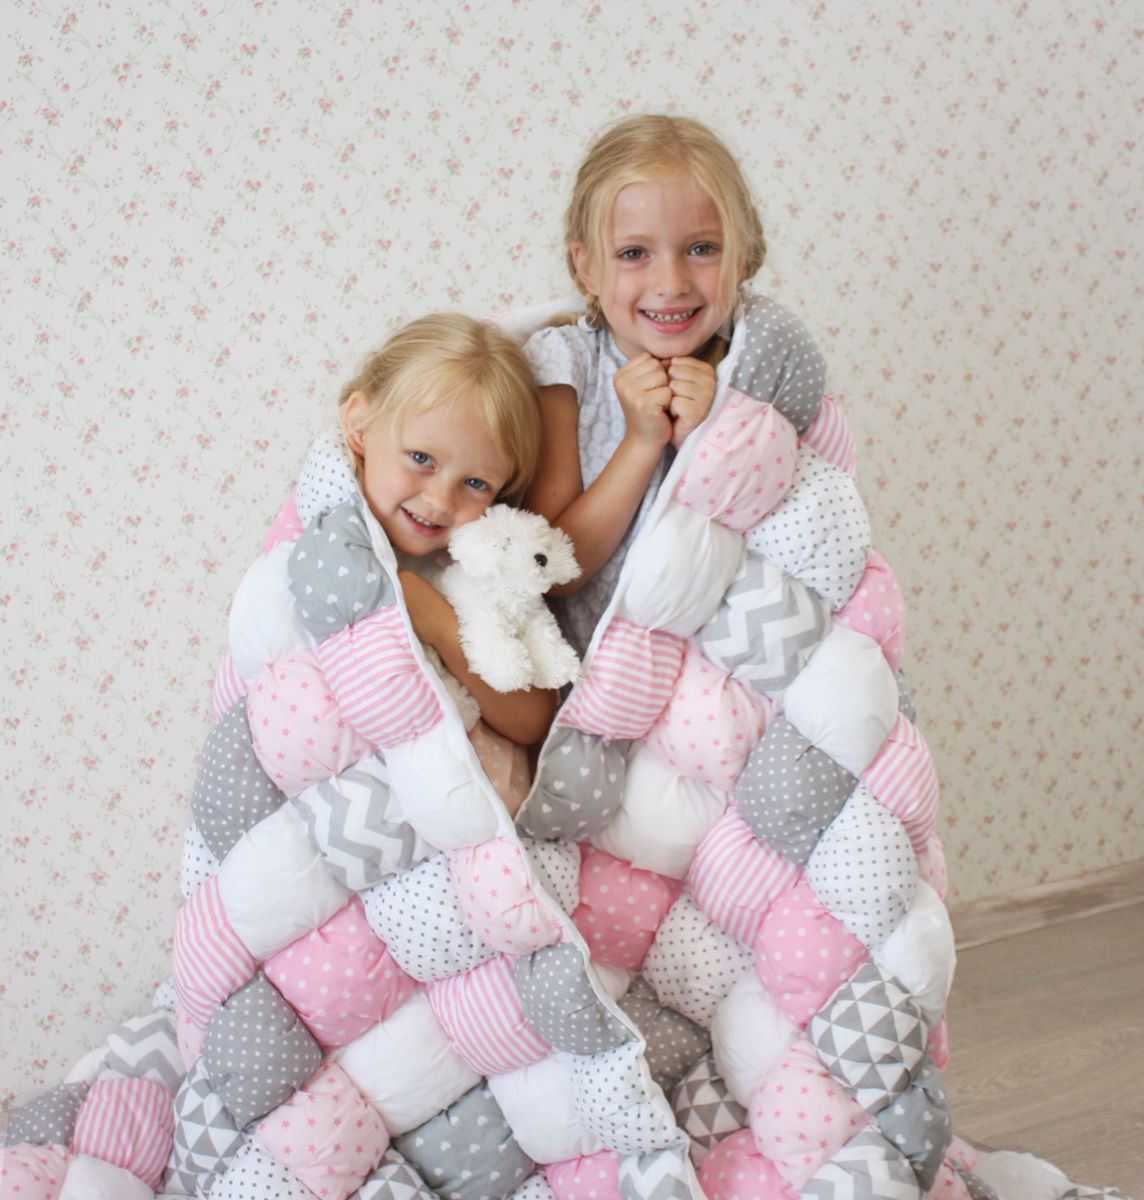
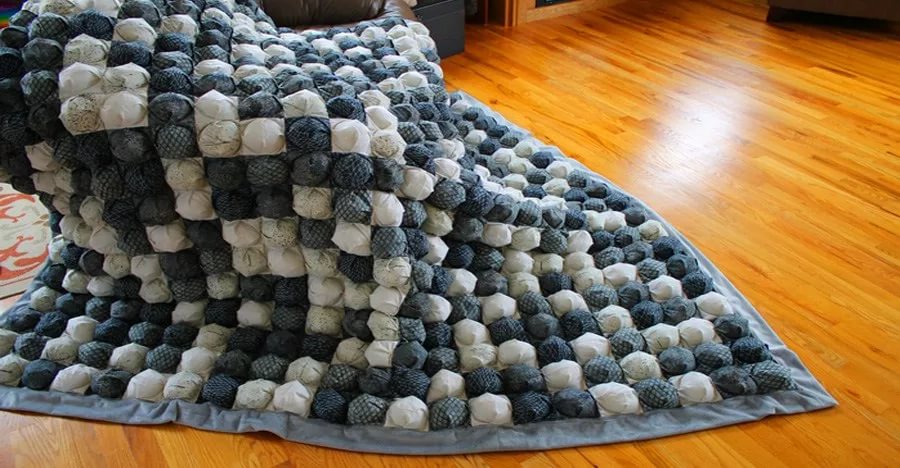
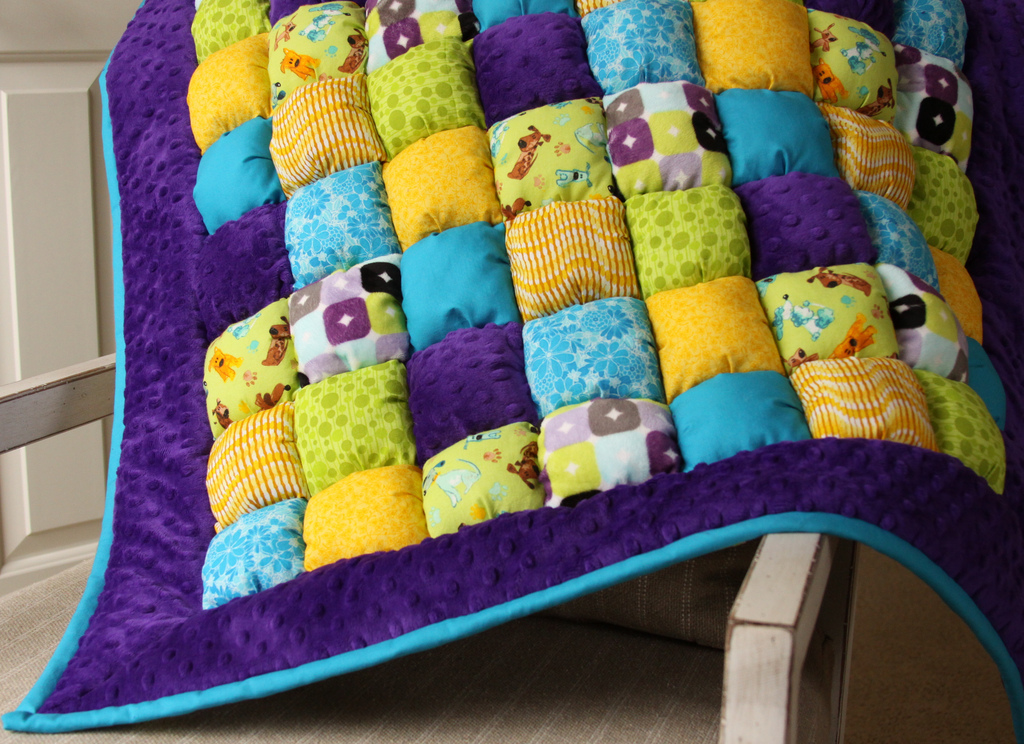
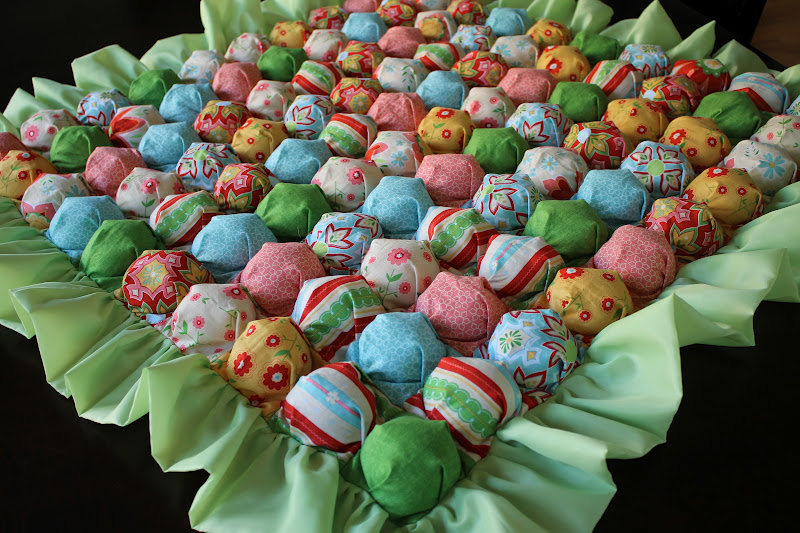
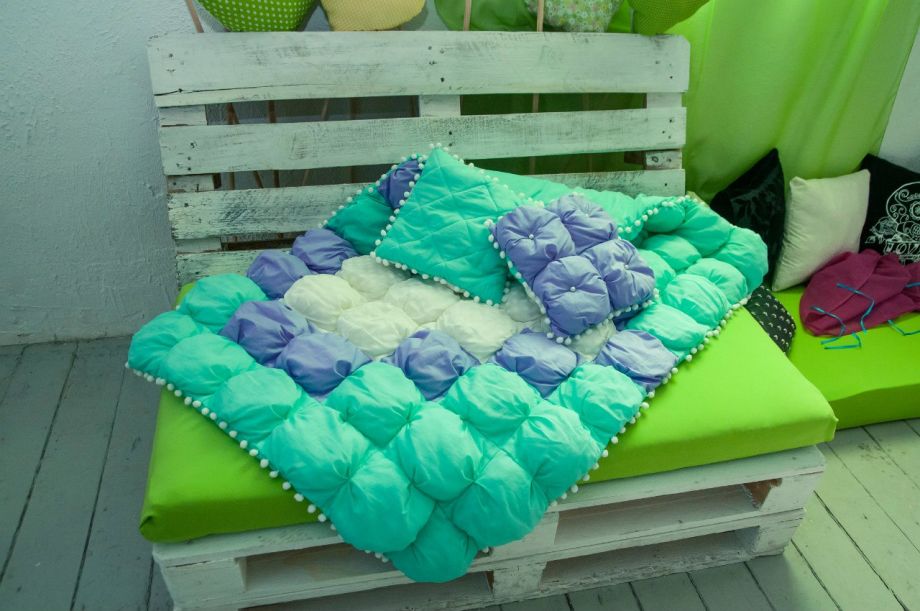
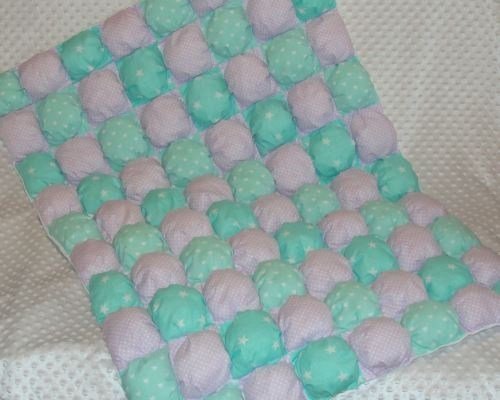
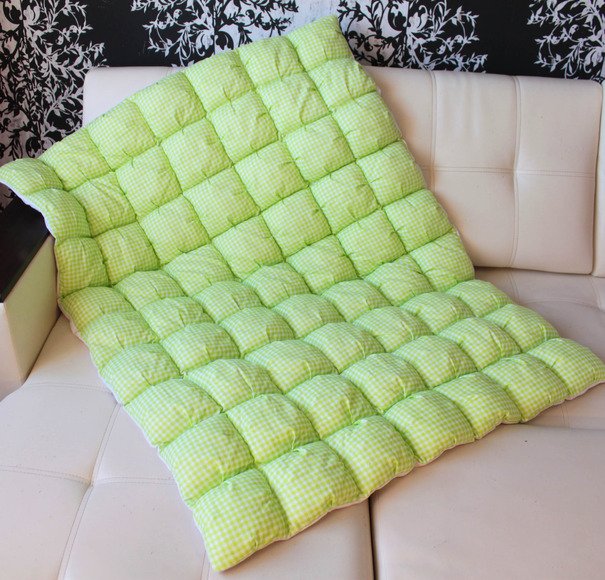
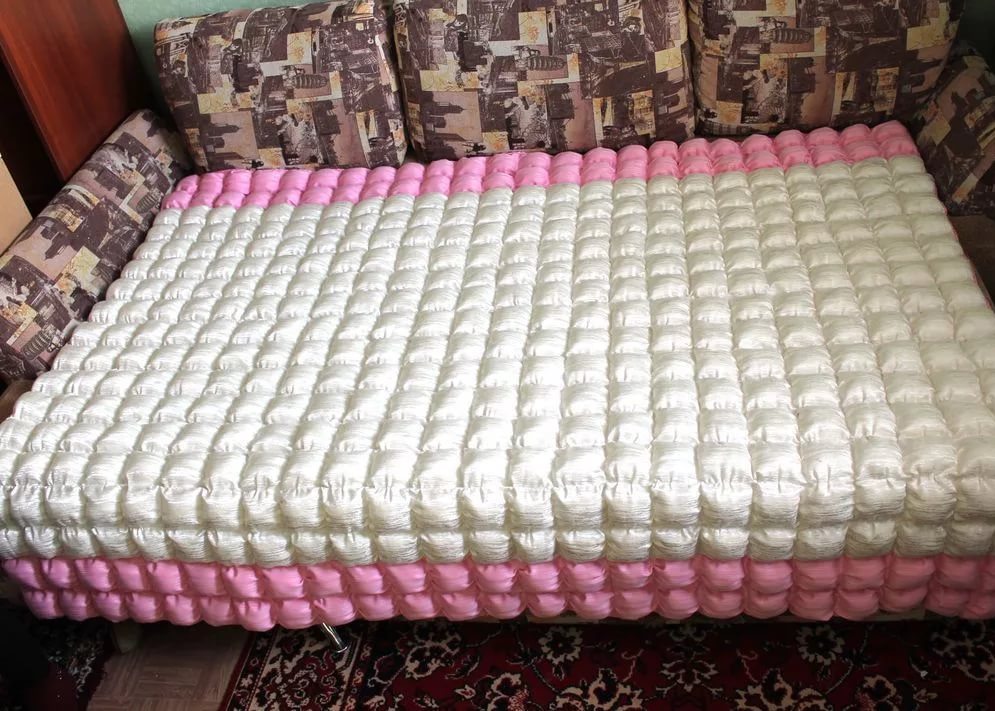
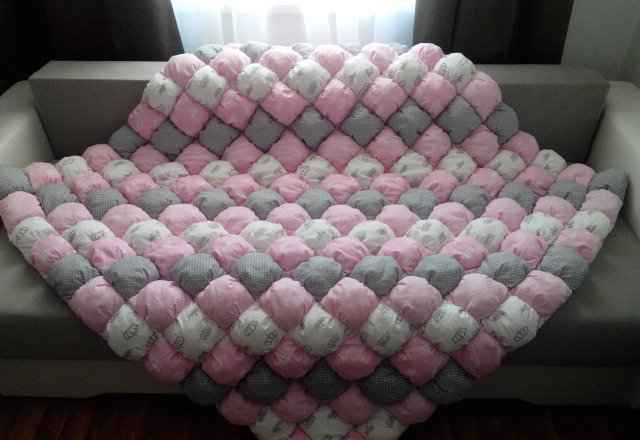
What is a bonbon blanket
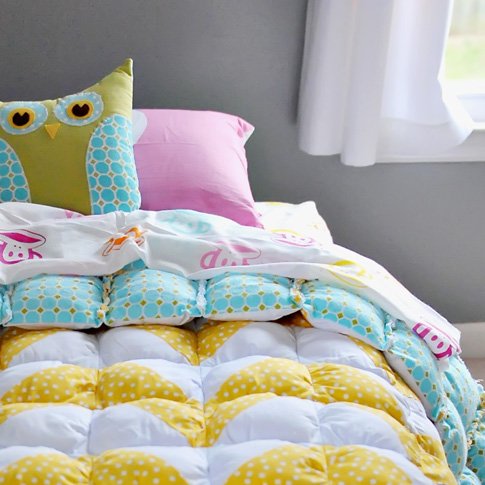
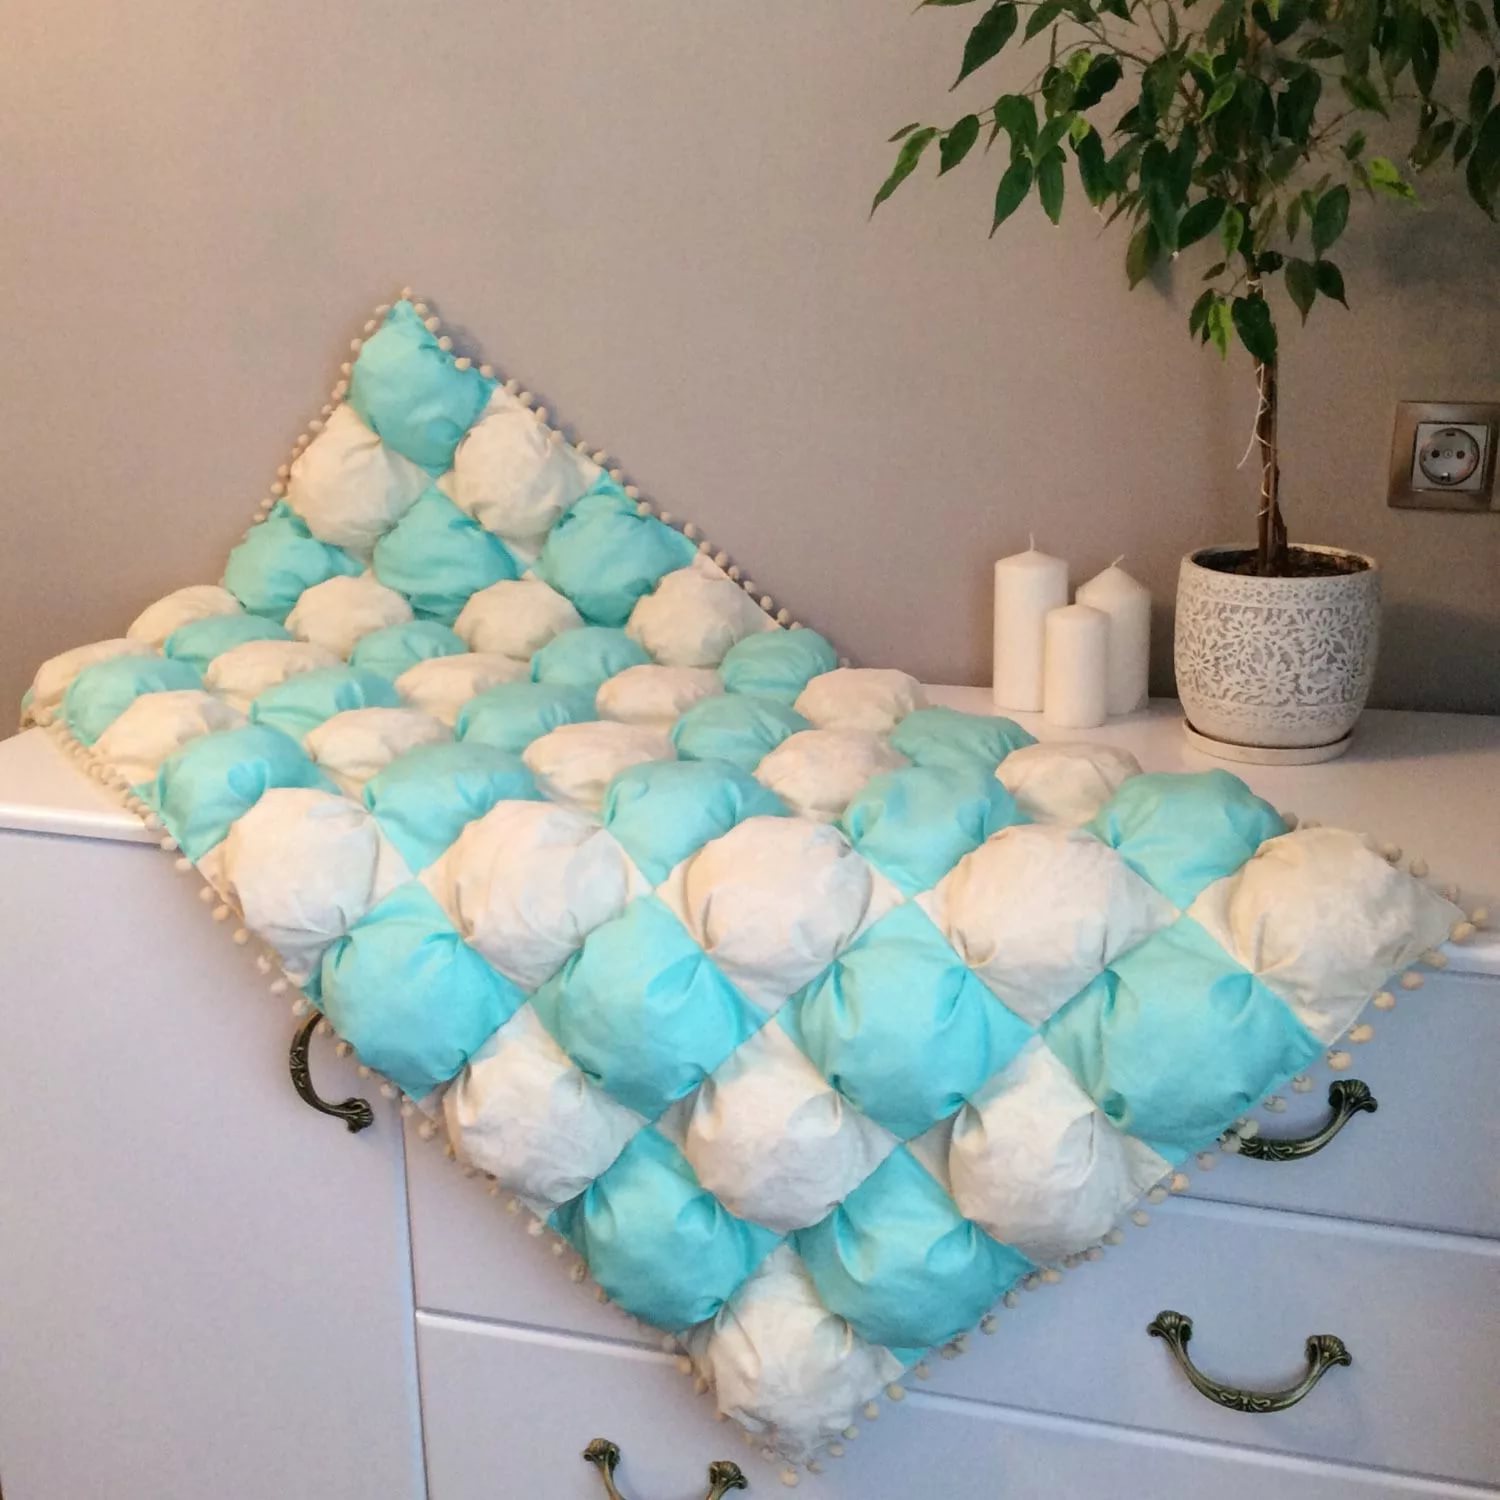
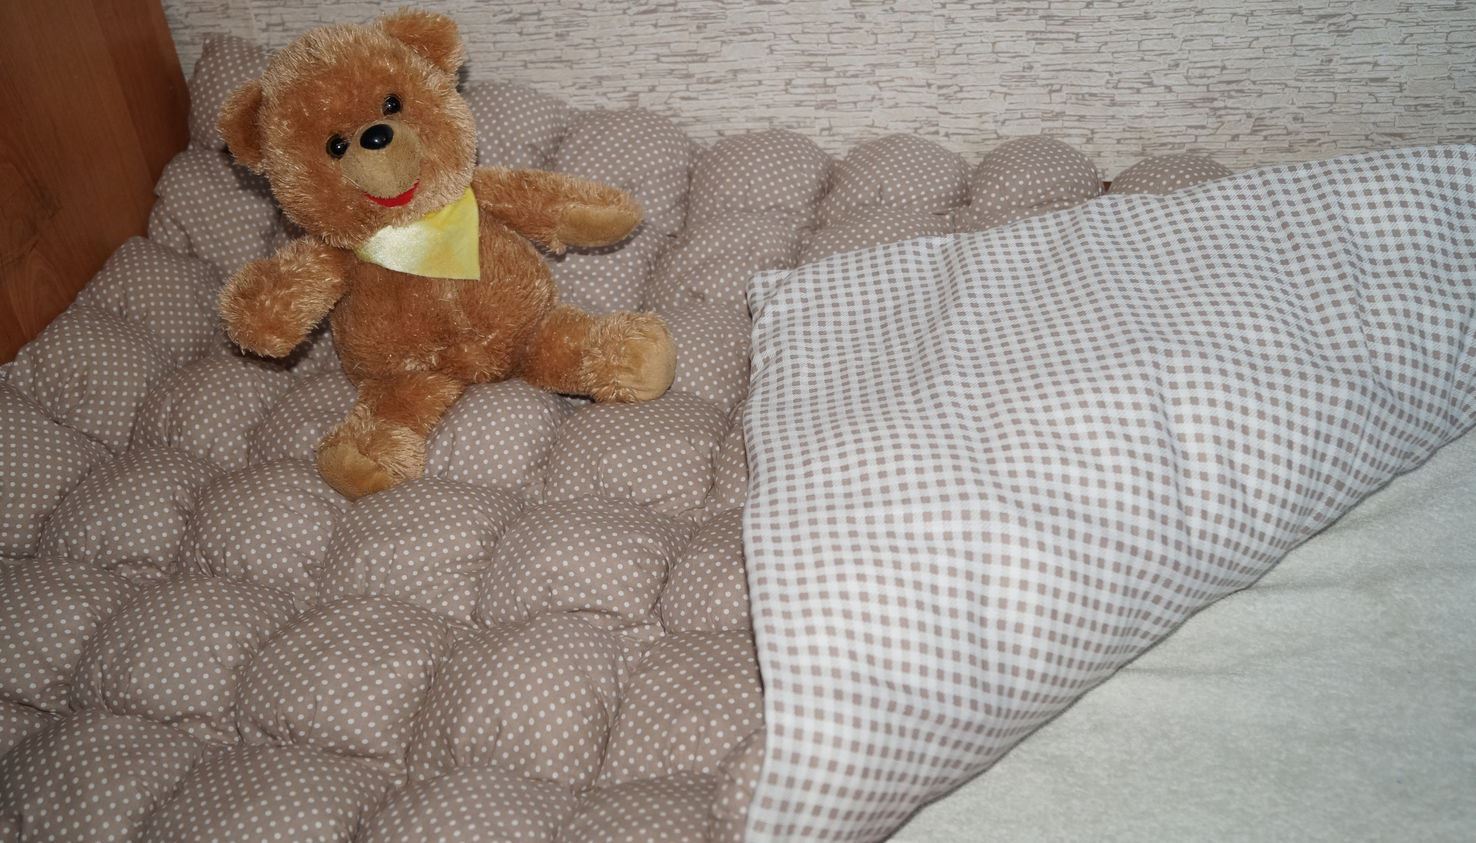
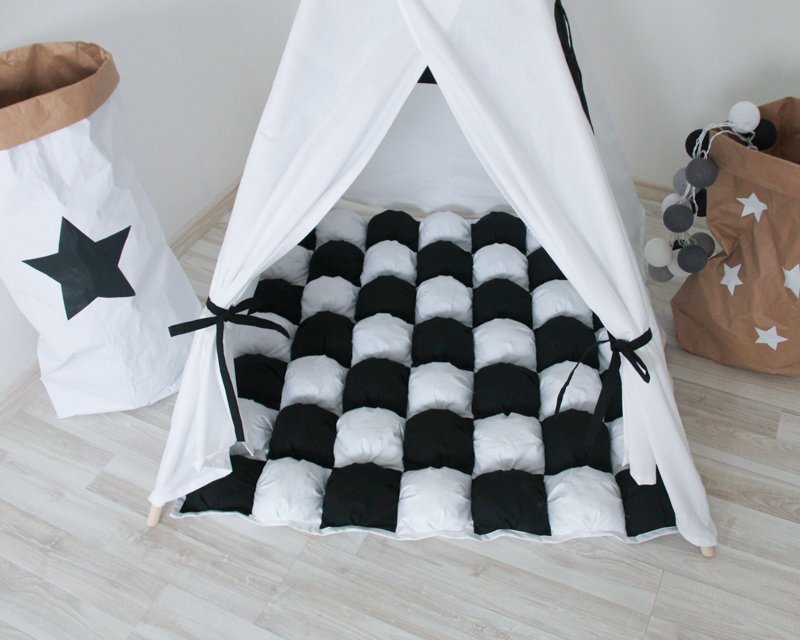
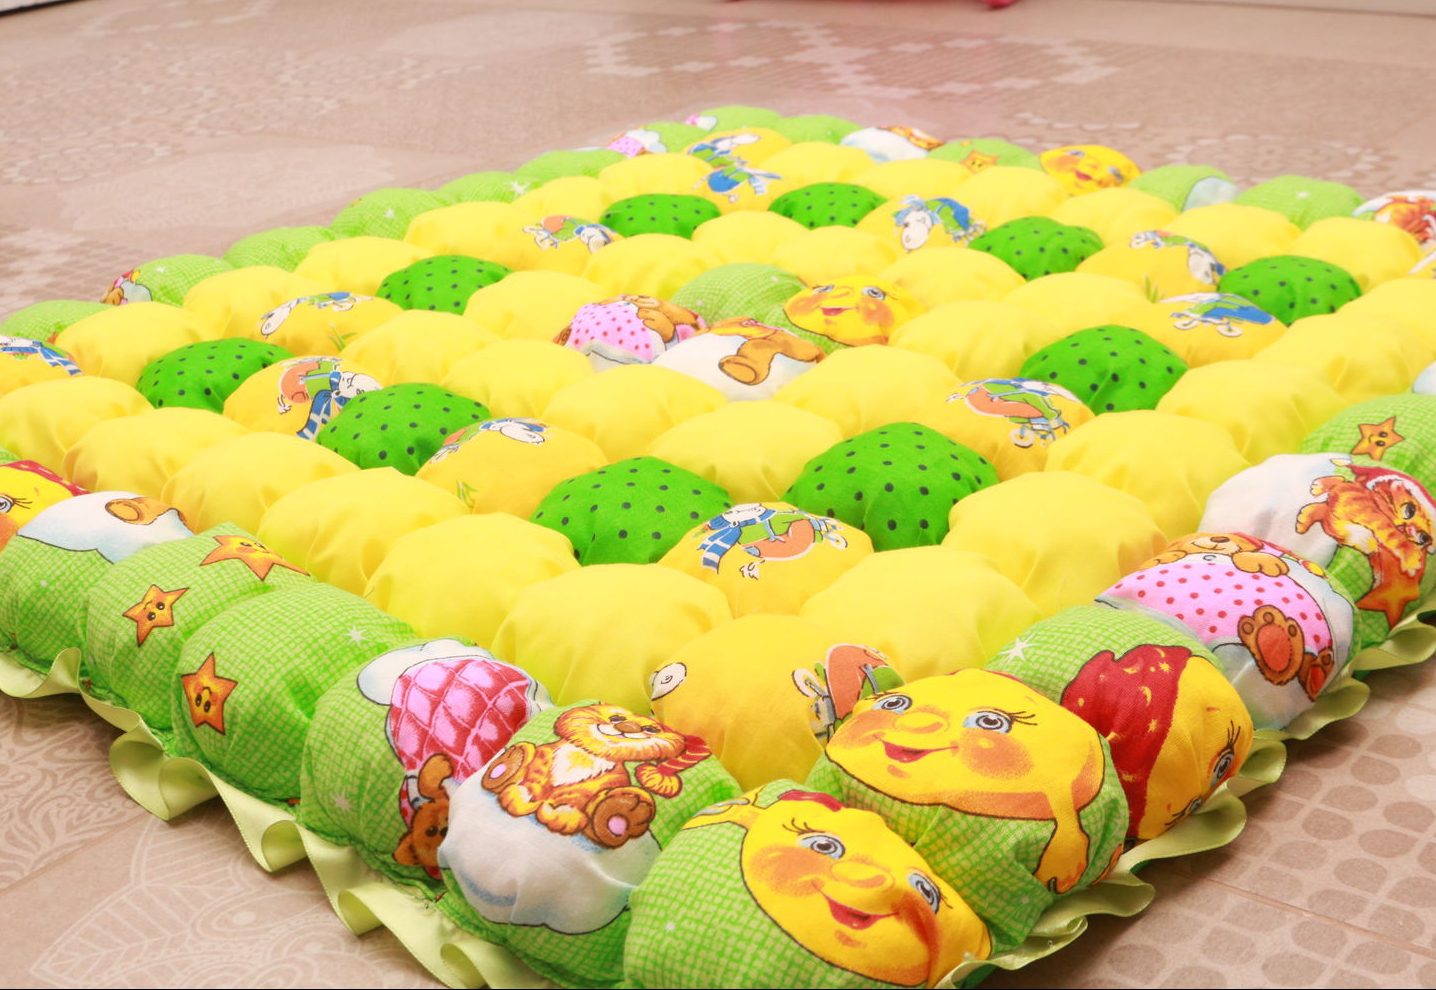
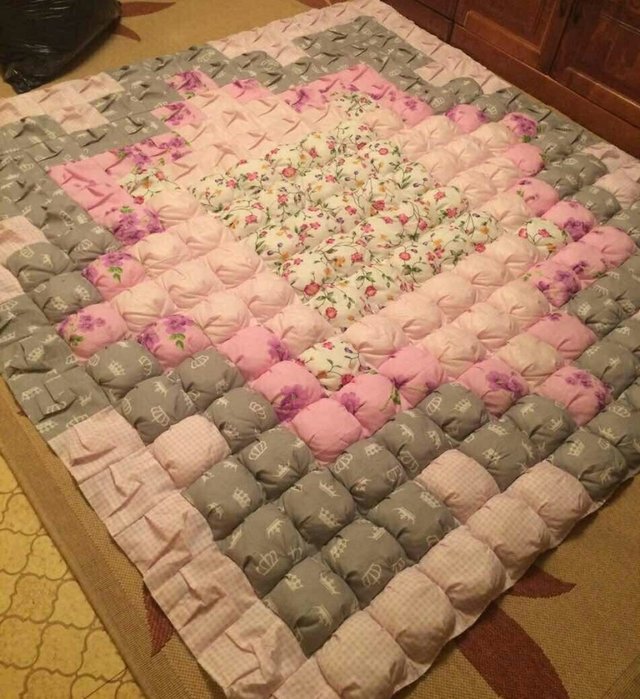
This is a fabric product made using the technique of stuffed patches. It is a canvas consisting of a large number of padding polyester squares. Not only blankets are made in this way, but also pillows, crib decorations, and children's slippers.
Let's figure out how to sew a bonbon blanket and what materials to use for the filling.
How to sew a bonbon blanket with your own hands with step-by-step instructions
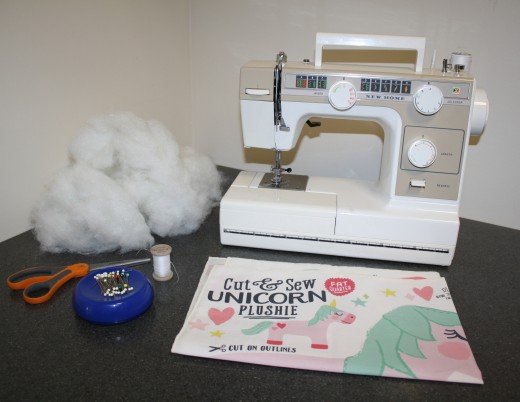
To sew a bonbon blanket with your own hands you will need:
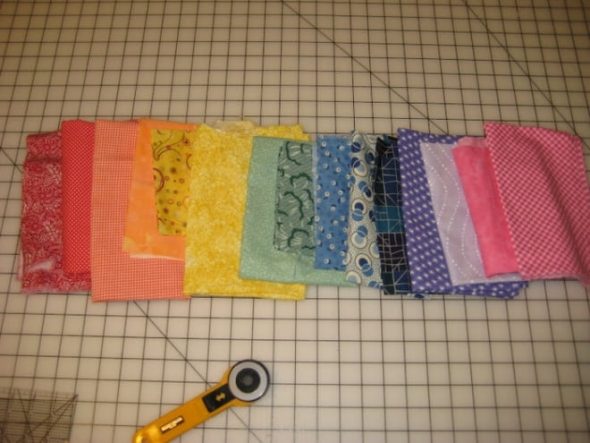
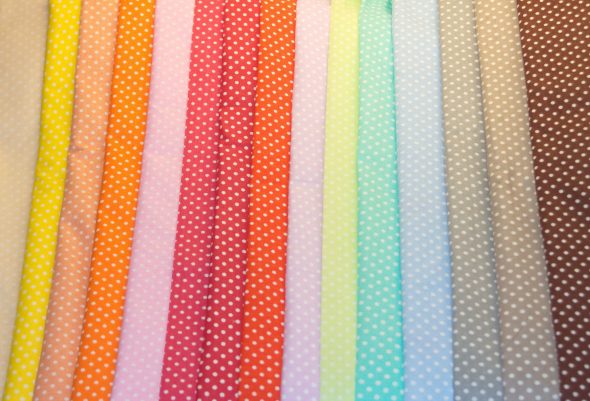
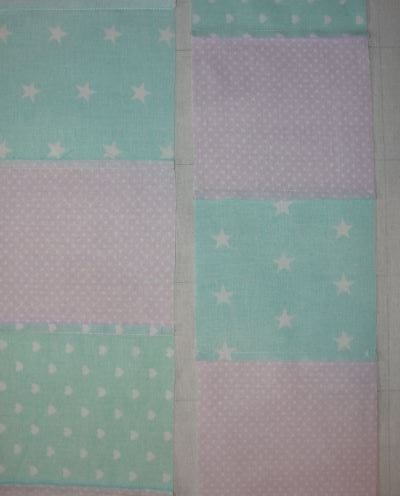
- scraps or trimmings of brightly colored fabrics;

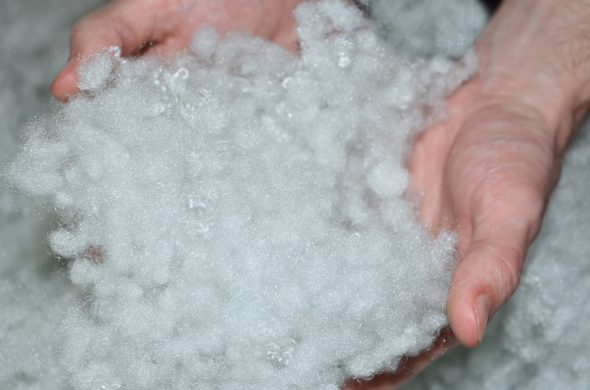
Scraps of fabric in the form of squares of the same size - material for stuffing the "pillows", it is best to use synthetic padding;

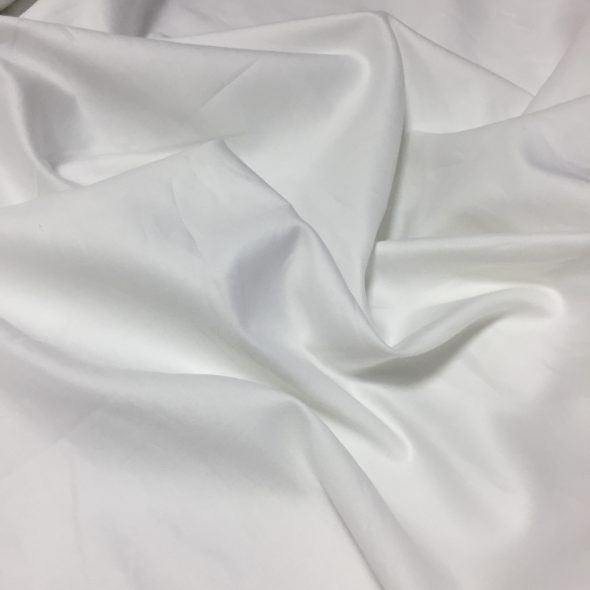
Light and airy filling for a blanket - fabric intended for the base, it is preferable to use thick calico;

Plain fabric for the base of the blanket - material for the inner side in contact with the body;

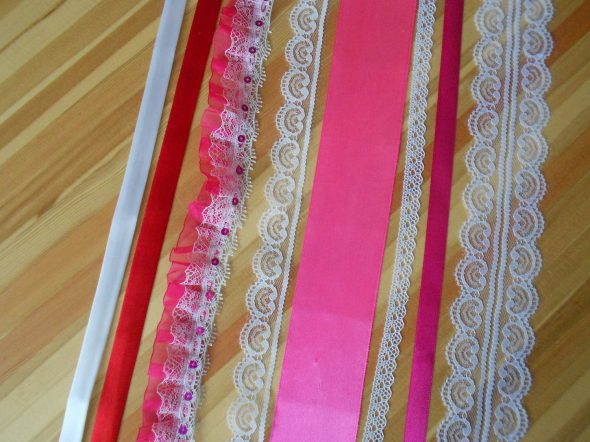
Natural cotton fabric is suitable for the inner side. - decorative items: ribbons, lace;

Ribbons and lace for decoration - sewing equipment: scissors, sewing machine, iron, thread, pencil, paper, chalk or soap, pins for securing fabric.

Tools and materials for sewing a blanket
Preparing for the work process
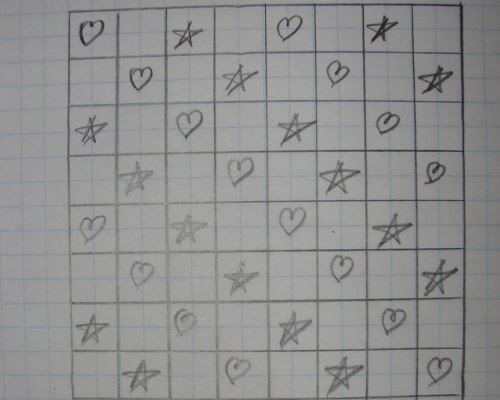
- Before you start creating, first draw a plan of the entire canvas on paper, including the pattern design.

We draw a diagram of the future blanket and indicate which square of fabric should be located in which place - It is worth paying attention to the fact that the fabric used for the base can be of any color, since it will be hidden by the sewn-on pads.
- Determine the size of the blanket in advance. The size of the pillow for an adult product is 11*11 cm, for a child – 6*6. Calculate how many pillows you will need.
It is important that all fabrics are washed and ironed before starting work, otherwise the product will not look neat.
Work process
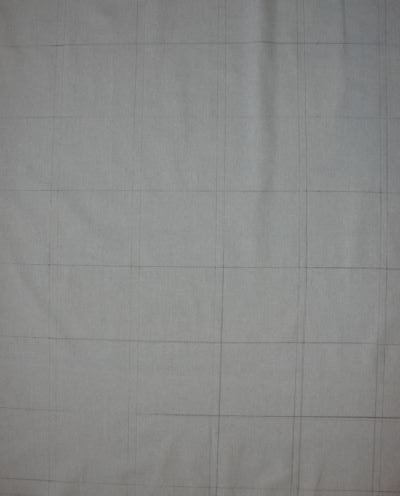
- To make a blanket using the "pillow" technique, take the base fabric, make a drawing, leaving 5 cm for allowance on 4 sides.
- Draw the resulting inner rectangle of the product base into squares of the established size. The distance between the rows is 1 cm.
We divide the fabric that we have chosen for the base into squares, taking into account that between the squares we should leave 1 cm for seams and allowances - Draw the fabric to cut out the squares. Remember that you need to add another 6 cm to the established size for allowance and folds.
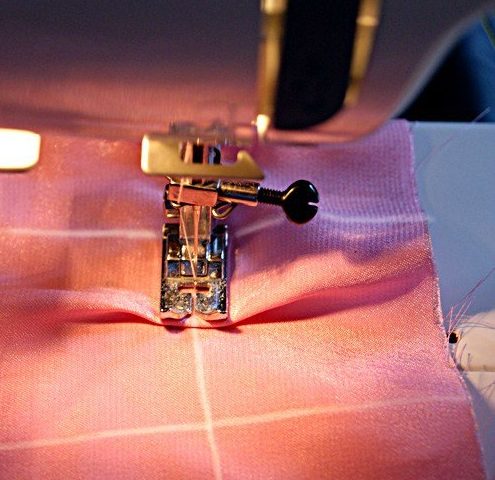
- Sew all the squares together to form a ribbon. Then iron all the seams to the right side.
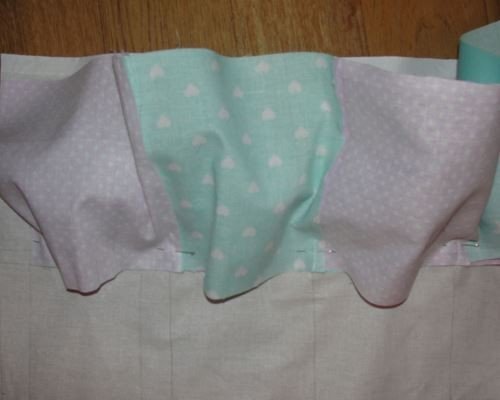
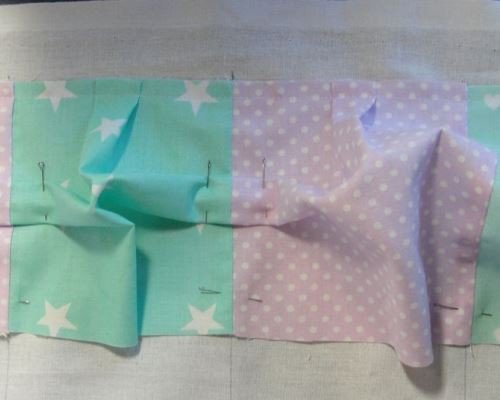
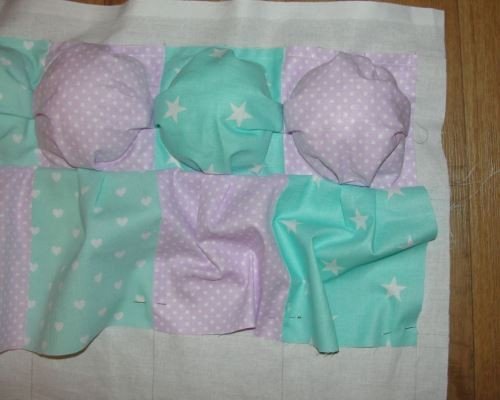
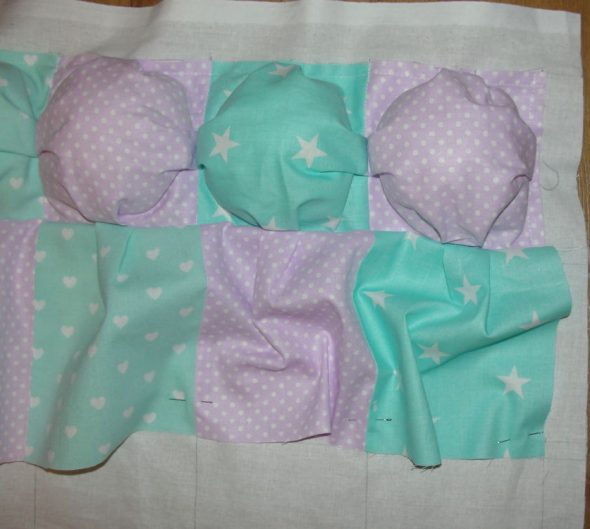
Using a sewing machine, we sew all the squares together into one strip. - Place the resulting tape with the outer side to the "front" of the base material, adjust it to the line, and stitch it on the machine. After that, lay the vertical folds, pin them. Then stitch all the vertical seams. As a result, you should get "pockets".
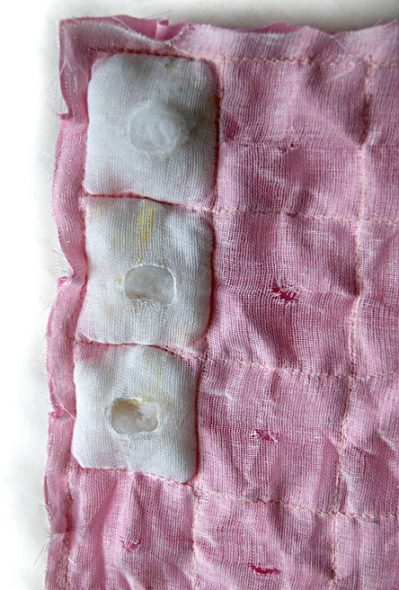
We take one sewn strip of different squares and pin it with invisible pins to the base, and then form folds First we sew the top of the squares, and then the side seams. Sew the side seams strictly along the seam between the squares - The resulting pocket openings need to be filled with padding - synthetic padding, and then stitched. Continue according to the same pattern further.
We stuff the squares of the first sewn strip with filler, and then sew the lower part of this strip to the base:
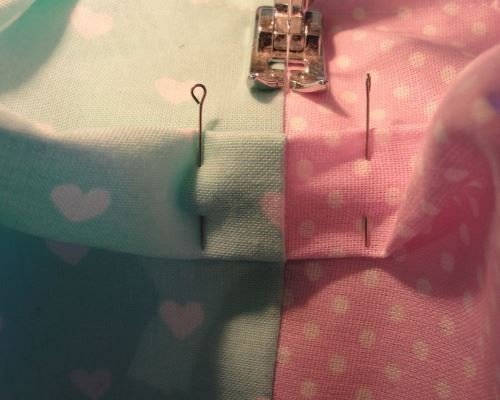
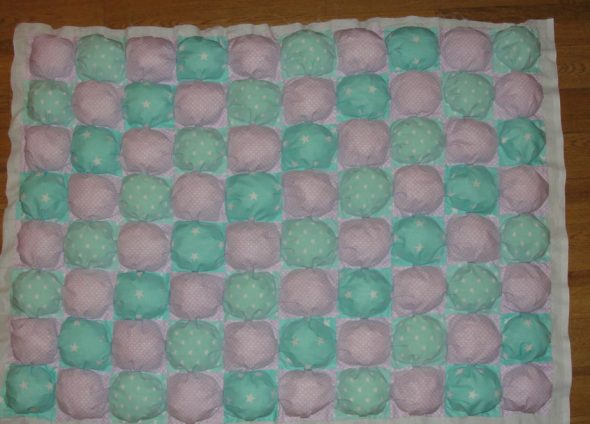
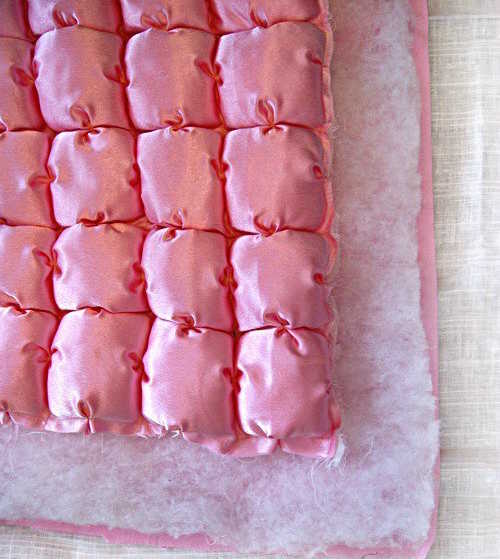
Once all the squares are sewn, fold the right sides and linings together. Sew along the outline of the pads. Leave 25 cm to turn it inside out. Then stitch to the end using the blind stitch method.
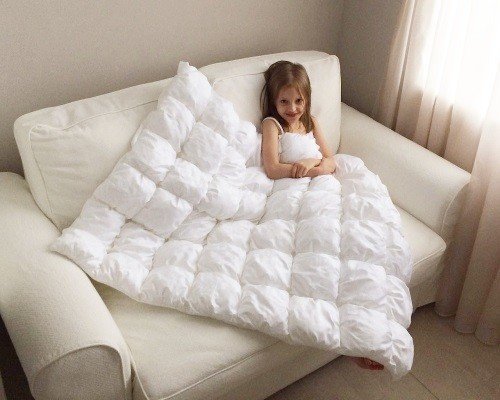
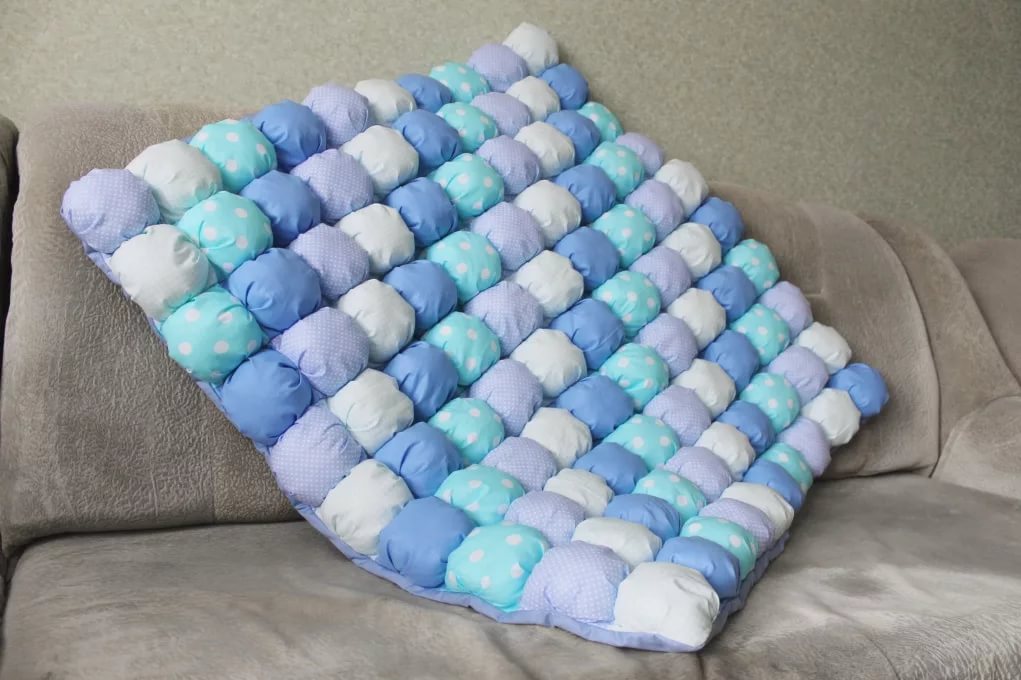
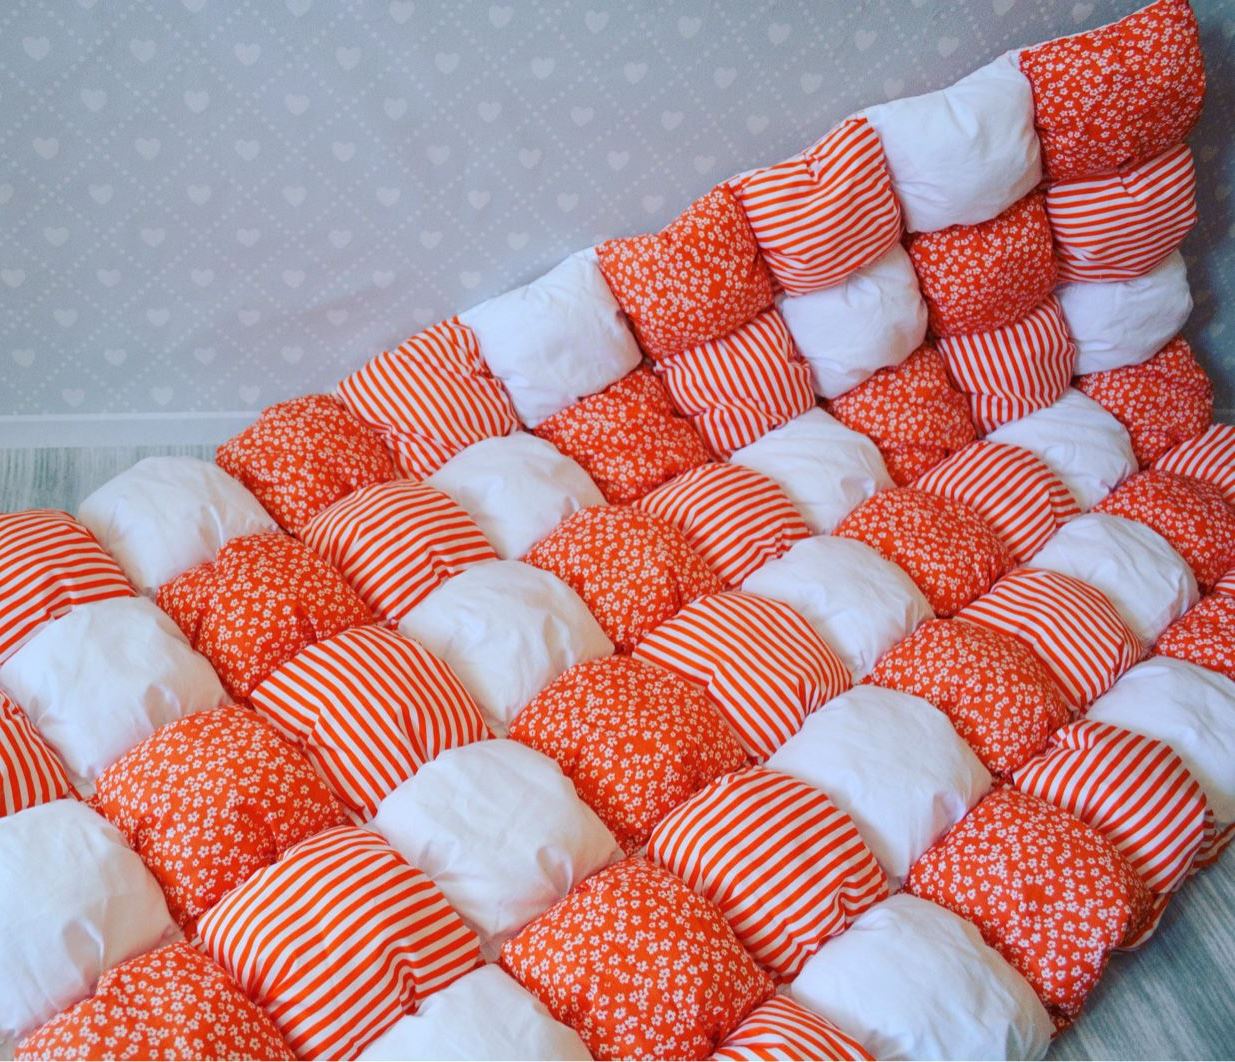
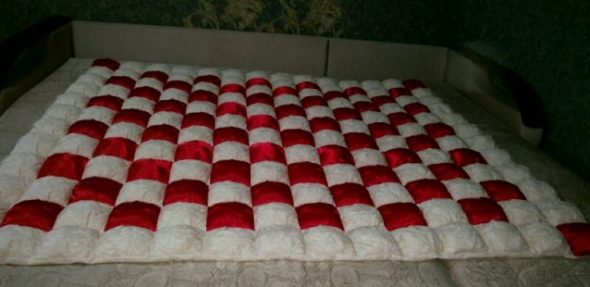
How to sew an adult bonbon blanket with your own hands
Sewing an adult blanket using this technique is no different from making a child's copy. For convenience and to speed up the process, you can increase the size of the parts and, accordingly, the amount of padding polyester. The sequence will remain the same.
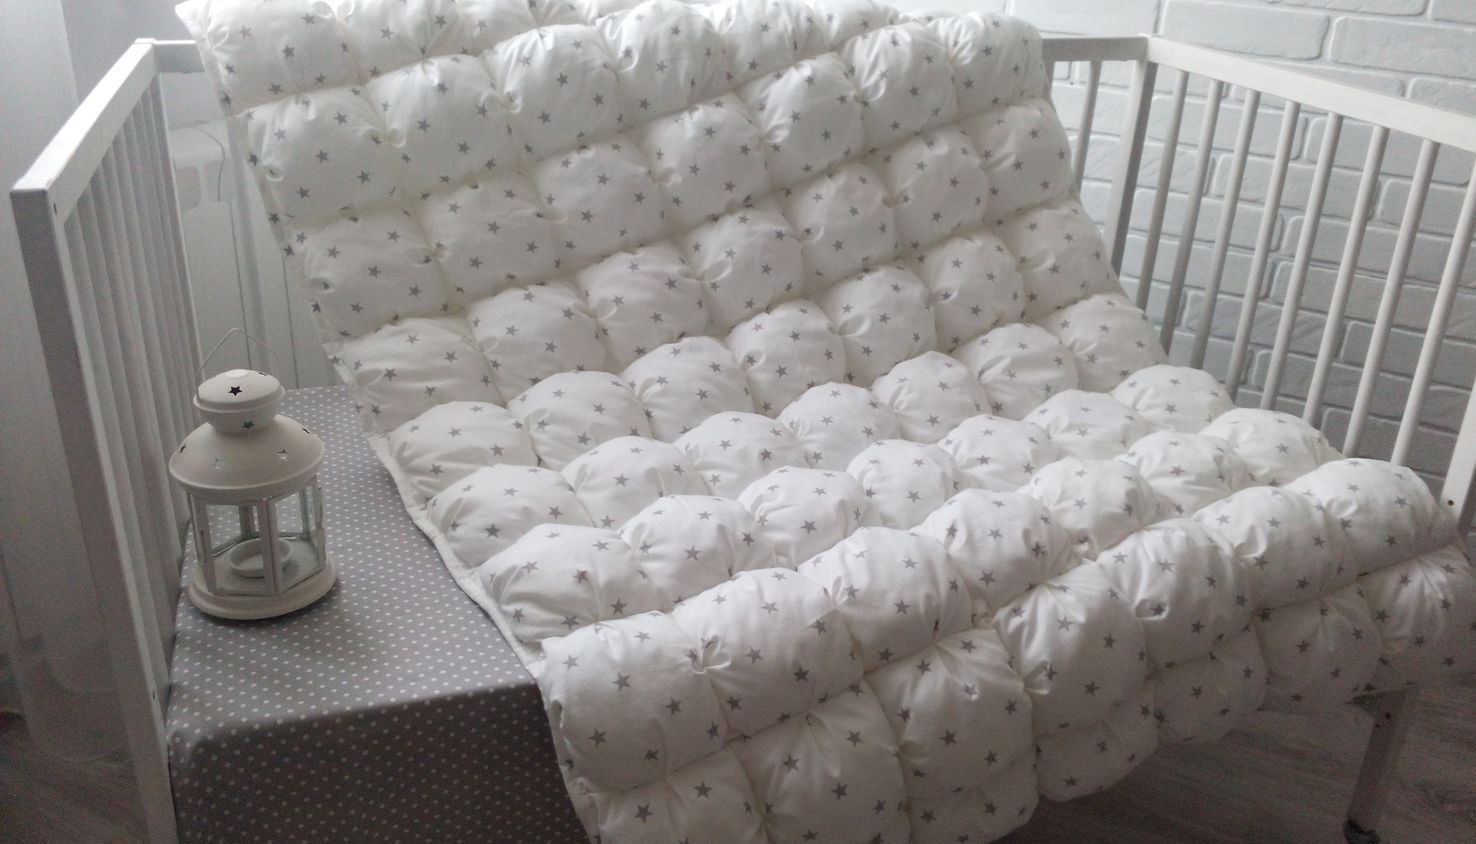
How to sew a children's rug using the "bonbon" technique
To create a children's rug, the same technique is used as for a blanket.
However, to increase the service life, a thick lining is sewn to the back of the blanket. It will protect the product from abrasion. In addition, it is advisable to use water-repellent materials for a carpet in this technique. They will not allow the synthetic padding to get wet or rot.
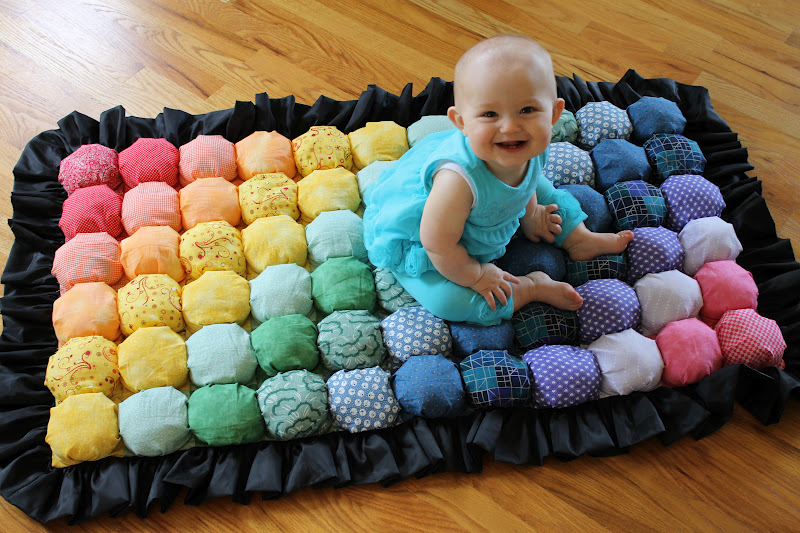
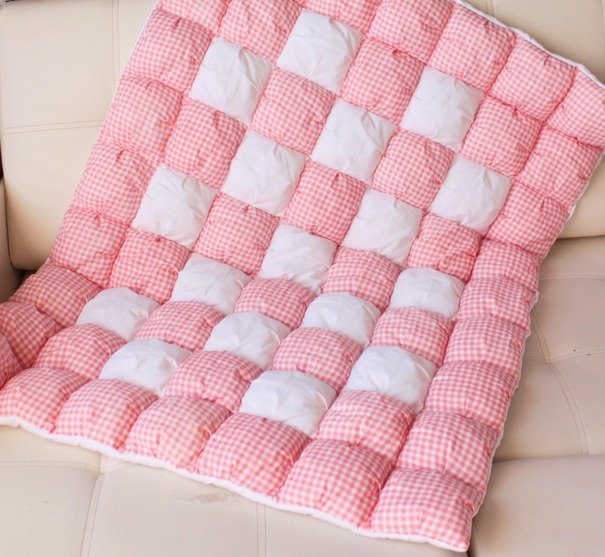
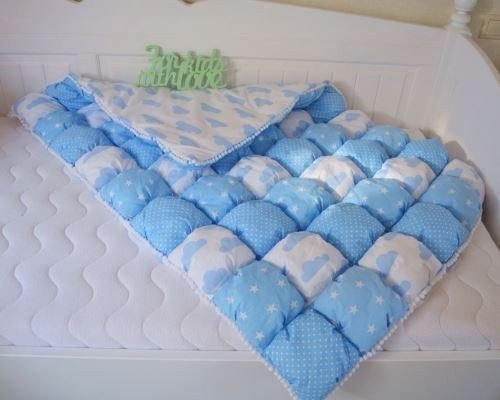
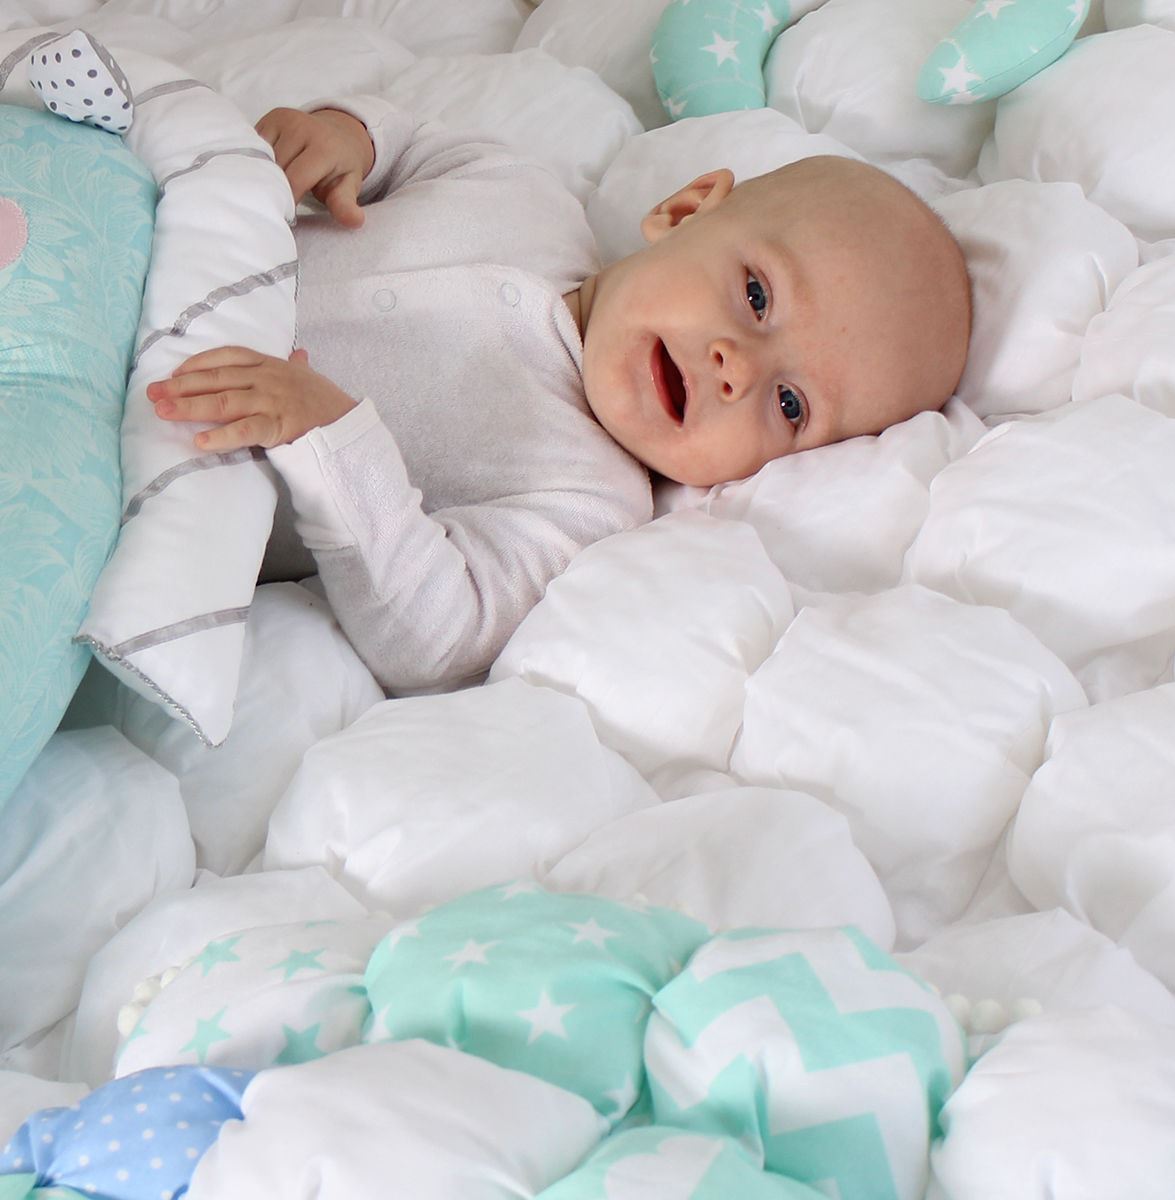
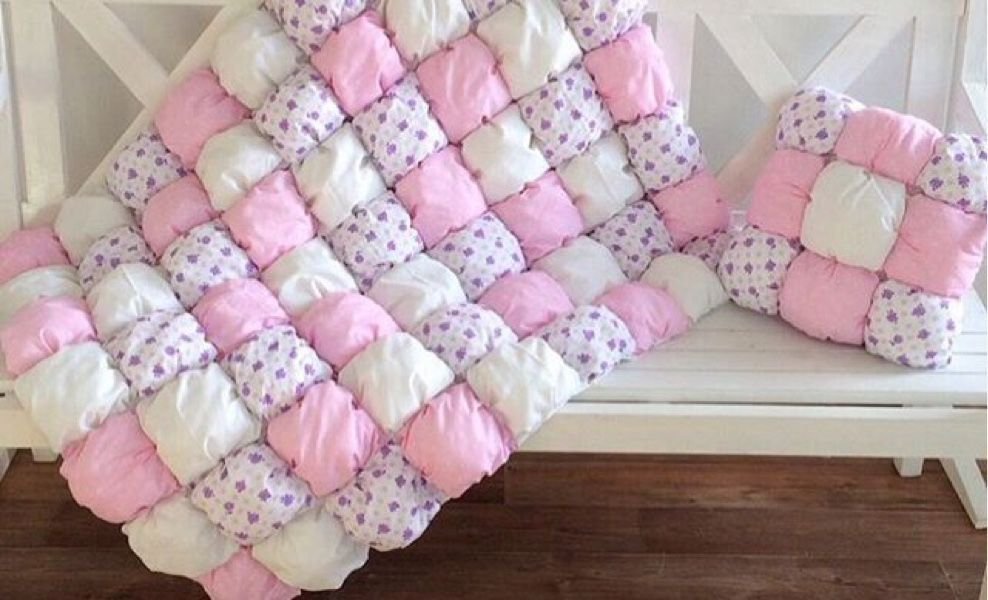
How to sew a baby blanket using the bonbon technique
To make a baby blanket, you can use a simpler method.
- Draw the pattern of the pillows on paper and calculate the size and number of pillows in advance.
- When cutting out, cut out one large square and one small one (from the lining fabric). Then pin them together, placing the large one so that it is the same size as the small one.
- Stitch the pillow, turn it inside out, stuff it with stuffing. Sew it to the end.
- The final step is to sew all the pads together to form a large piece.
Small baby blanket using bonbon technique
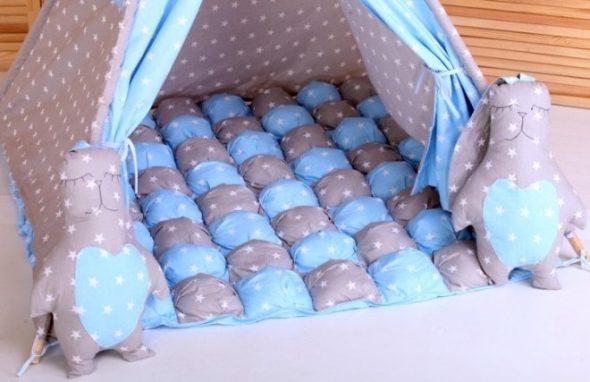
How to sew sides for a playpen using the "bonbon" technique
For this, it is best to use the first method, where there is a solid lining.
When cutting, it is necessary to precisely monitor the size of the squares and their location, as well as adjust their shape depending on the curvature of the furniture.
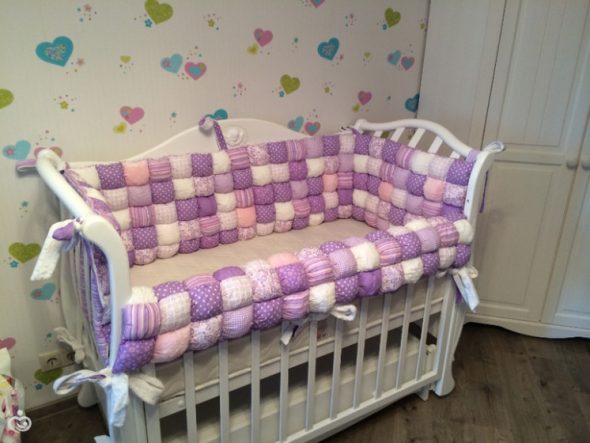
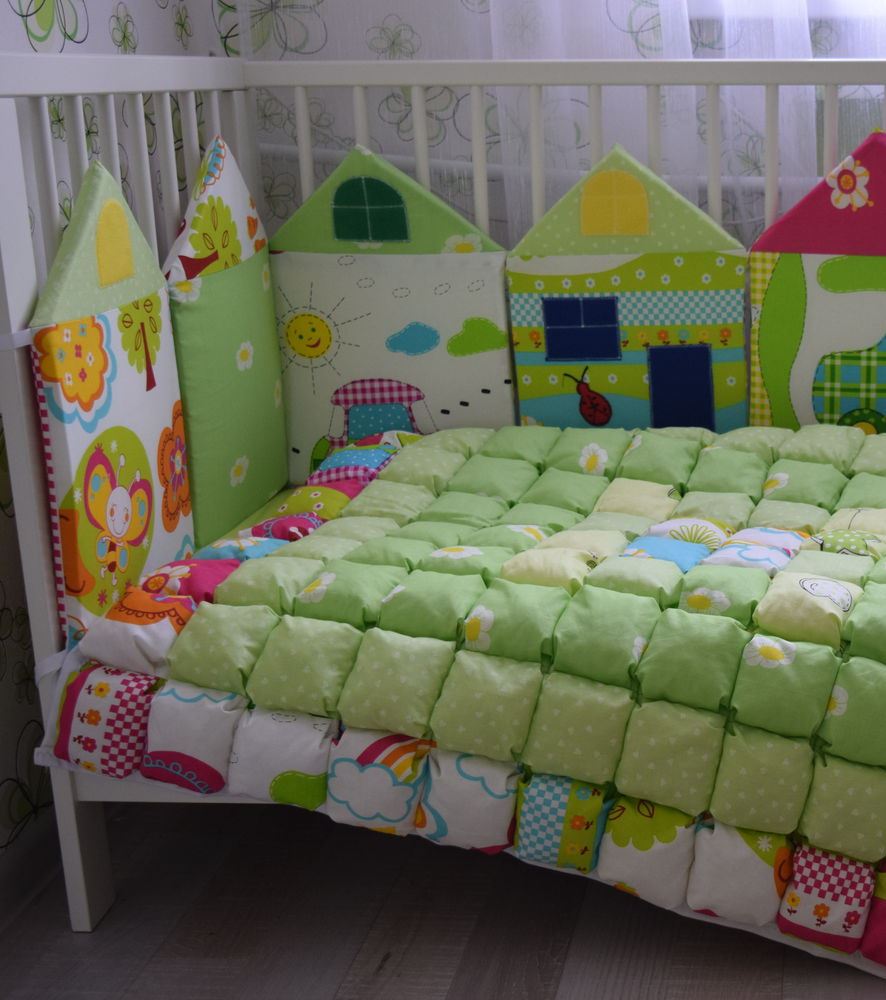
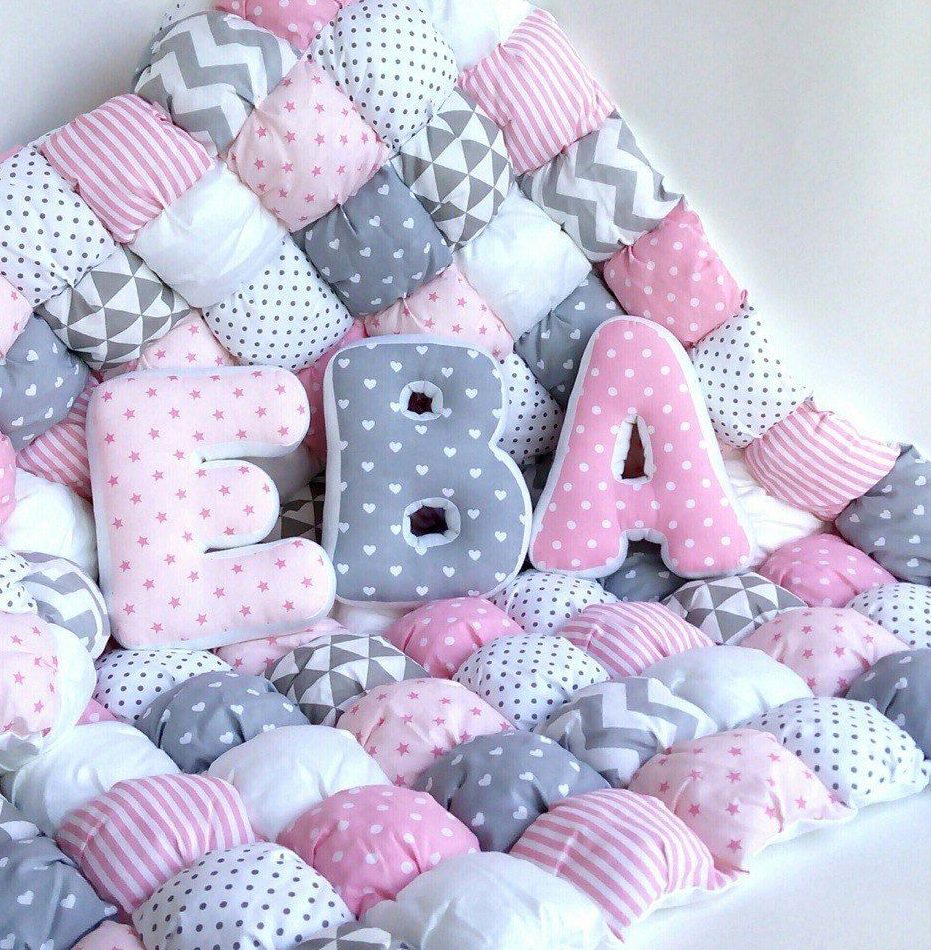
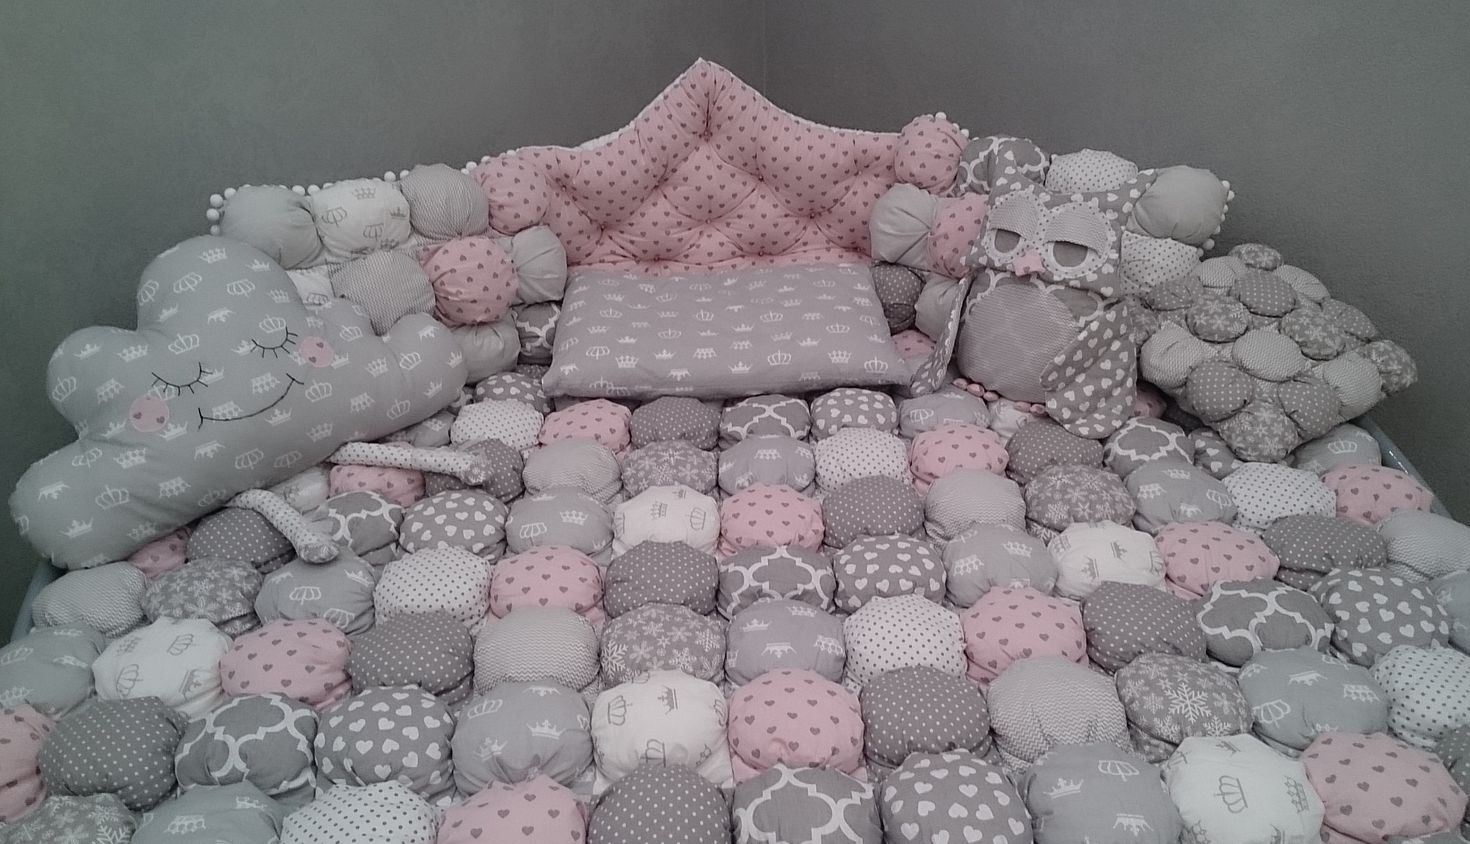
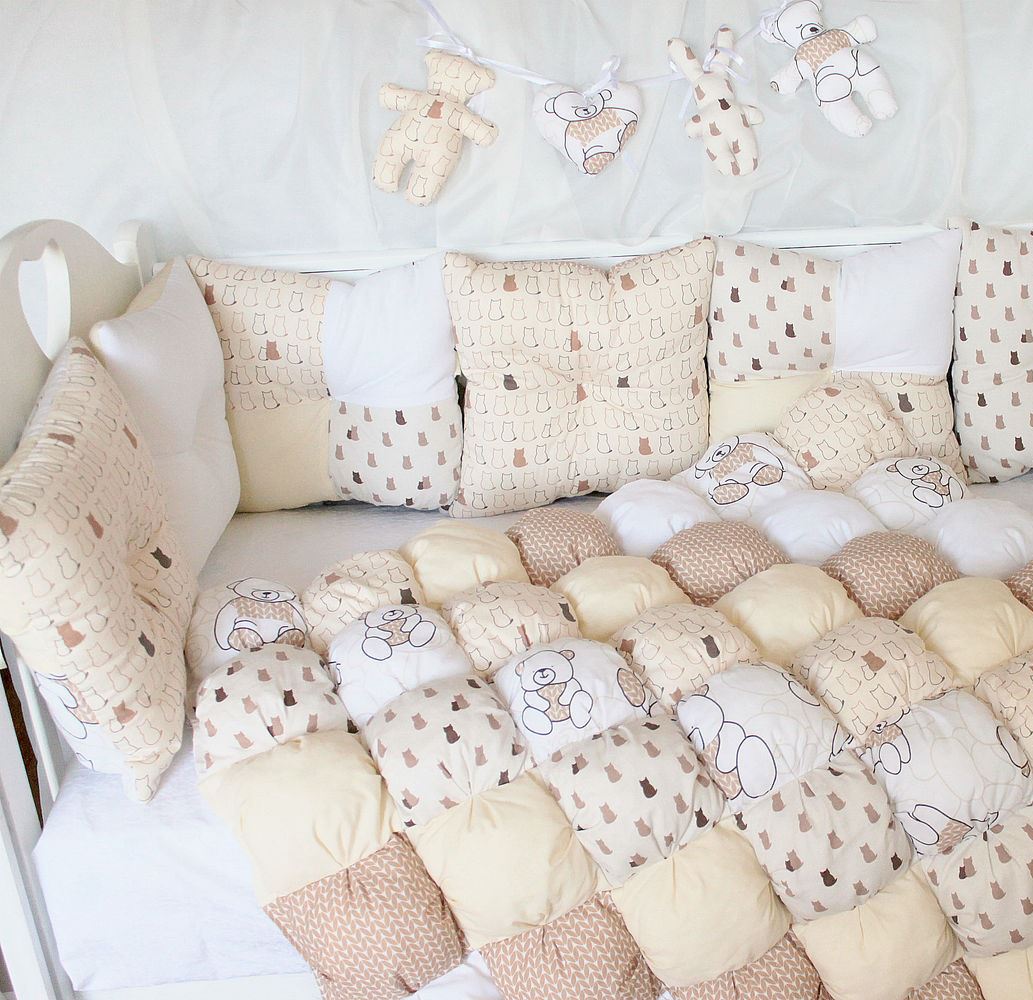
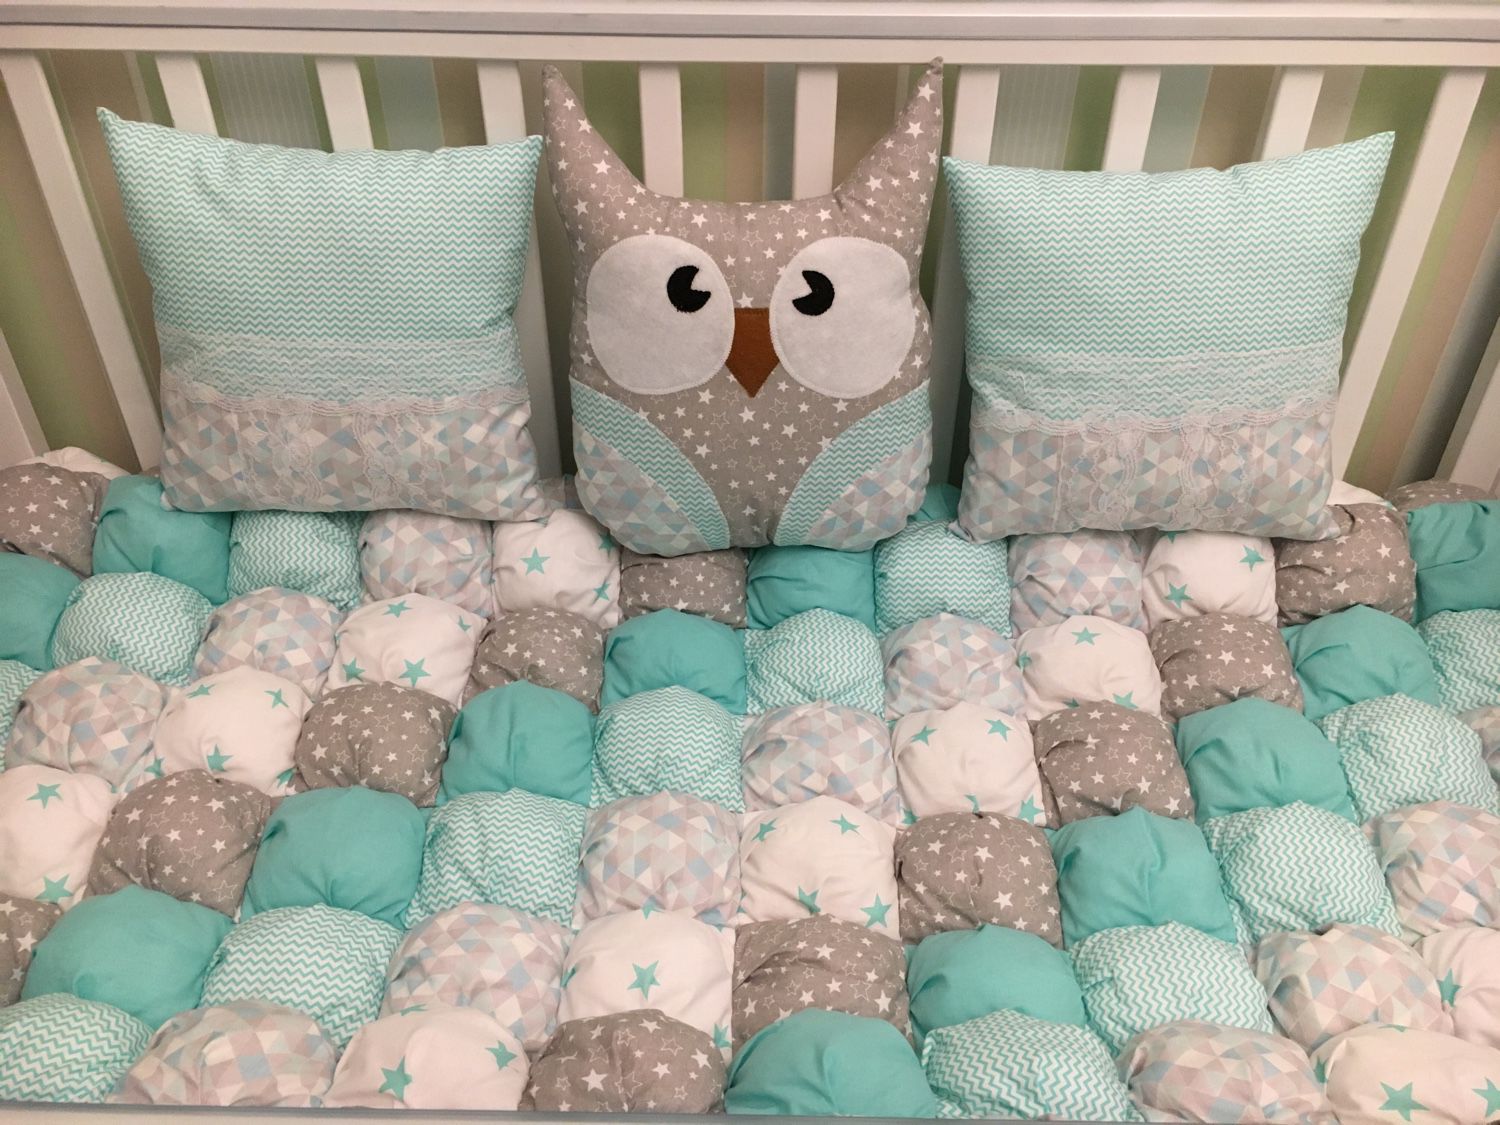
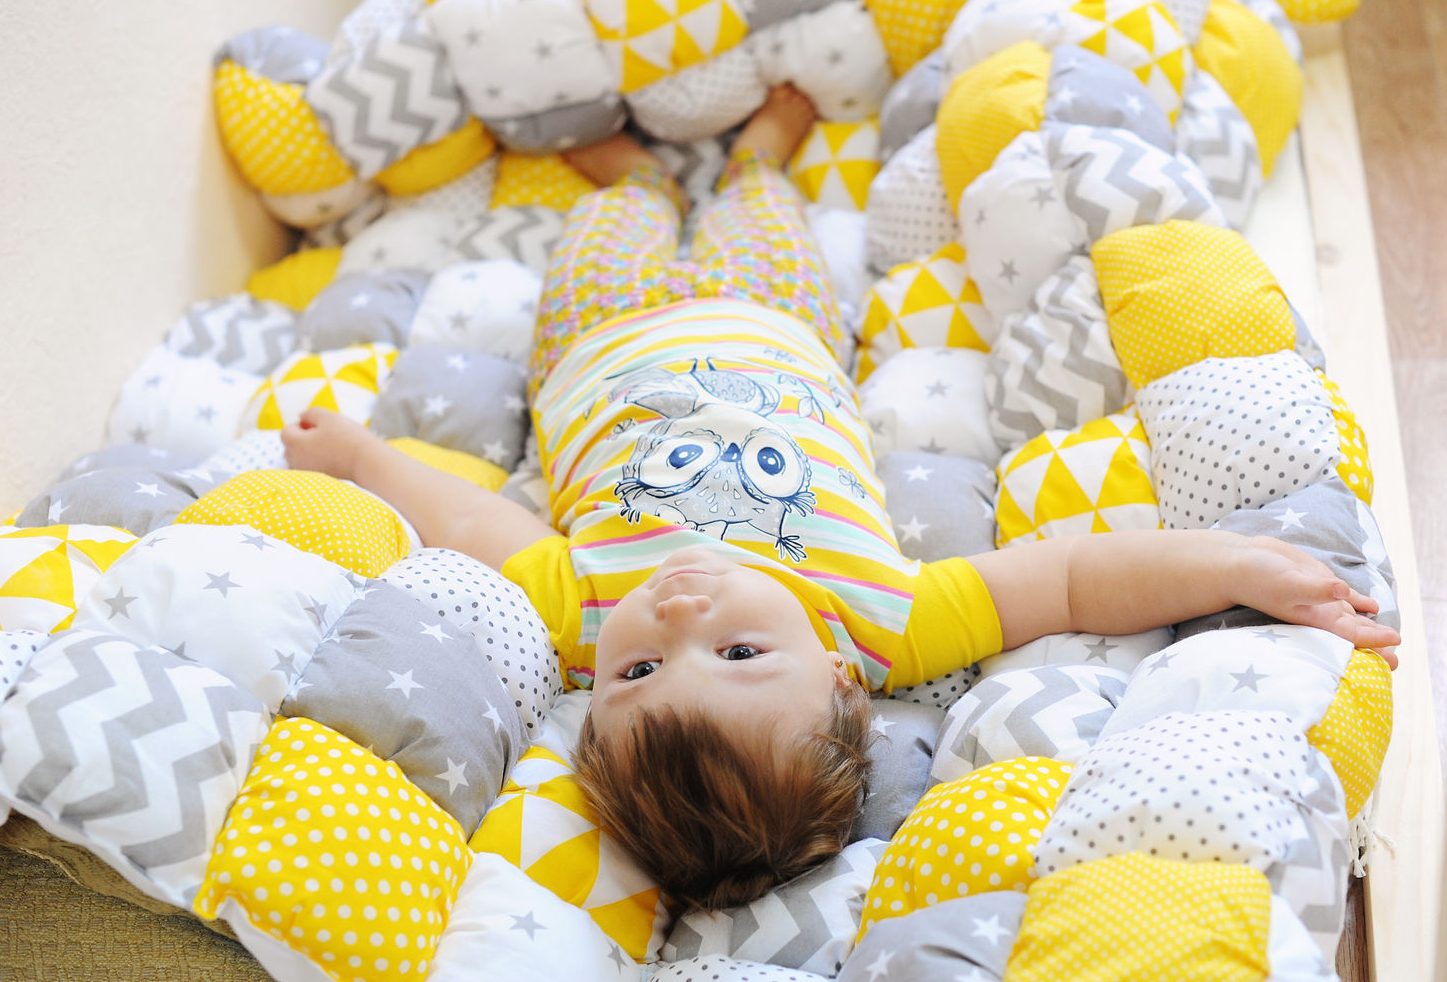
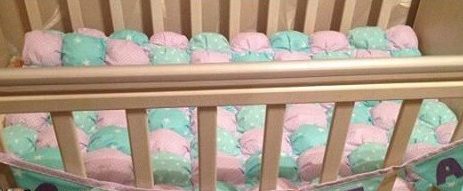
How to sew bumpers for a baby crib using the "bonbon" technique
To make the bumpers, "break" the general fabric into small pieces so that they can be easily changed if necessary. Another feature is that you need to sew ribbons to the pillows for easy tying to the bed frame. Watch the colors. They should not be contrasting, too bright - this will excite the baby.
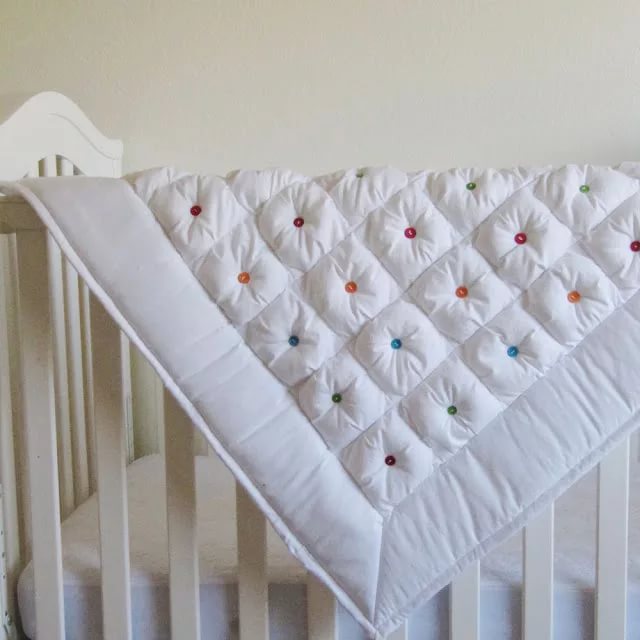
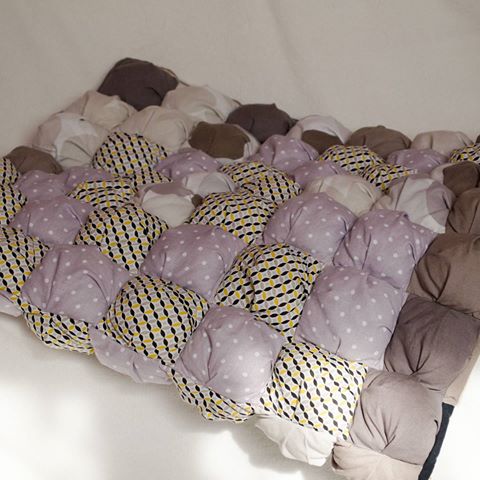
Bonbon Quilt
There is another way to create a blanket in this style. It does not require cutting out squares separately. It is worth considering that when produced in this way, the entire fabric will be one color.
Stage of work
- On the outside of the fabric, draw rectangles with equal sides.
- Machine stitch each resulting side. Note that on each drawn rectangle, make folds on all four sides. For convenience, pin the pads with pins.

We draw rectangles or squares on the fabric, then stitch along the lines and make a fold in the middle - Sew the gauze to the inside. Make holes in it, through which the filler - sintepon - is pushed.

We cut out a base for our cubes from thin fabric or gauze and sew our fabric onto the gauze. 
We stuff squares through the holes in the gauze and make them voluminous - Stuff it, sew on the lining fabric.

We cut out the synthetic padding and the bottom part of the blanket, lay everything out with the wrong side to the wrong side 
We fold it over, make a manual edging, and then secure everything with a machine stitch. 
Finished blanket in bonbon technique with a pillow in the same color


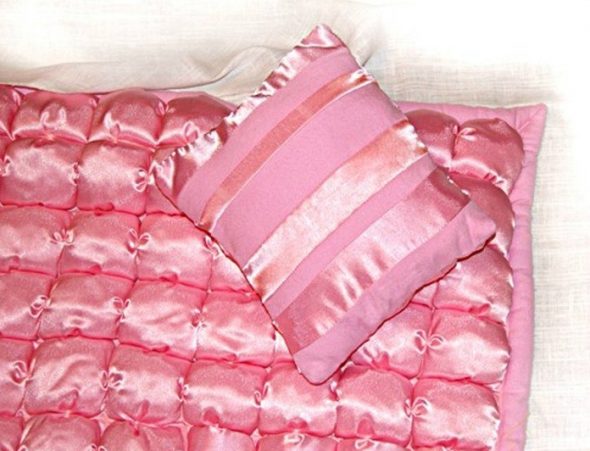
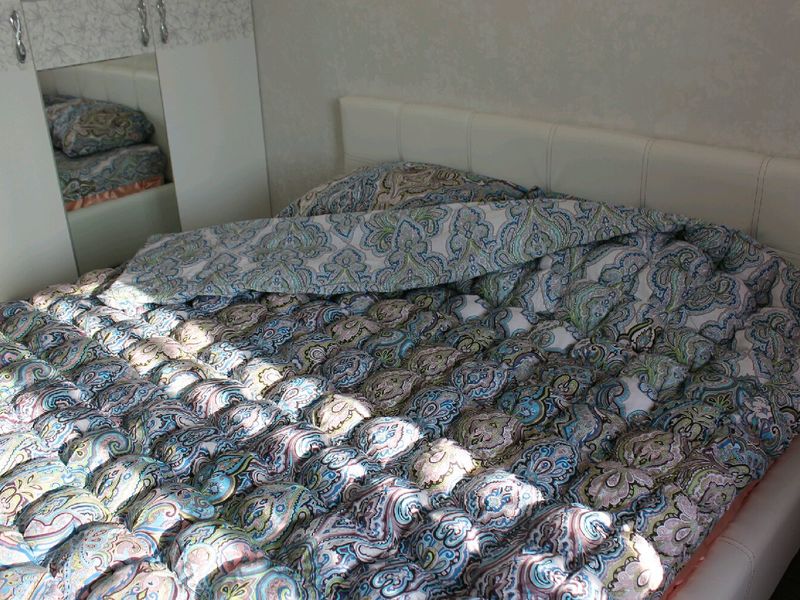
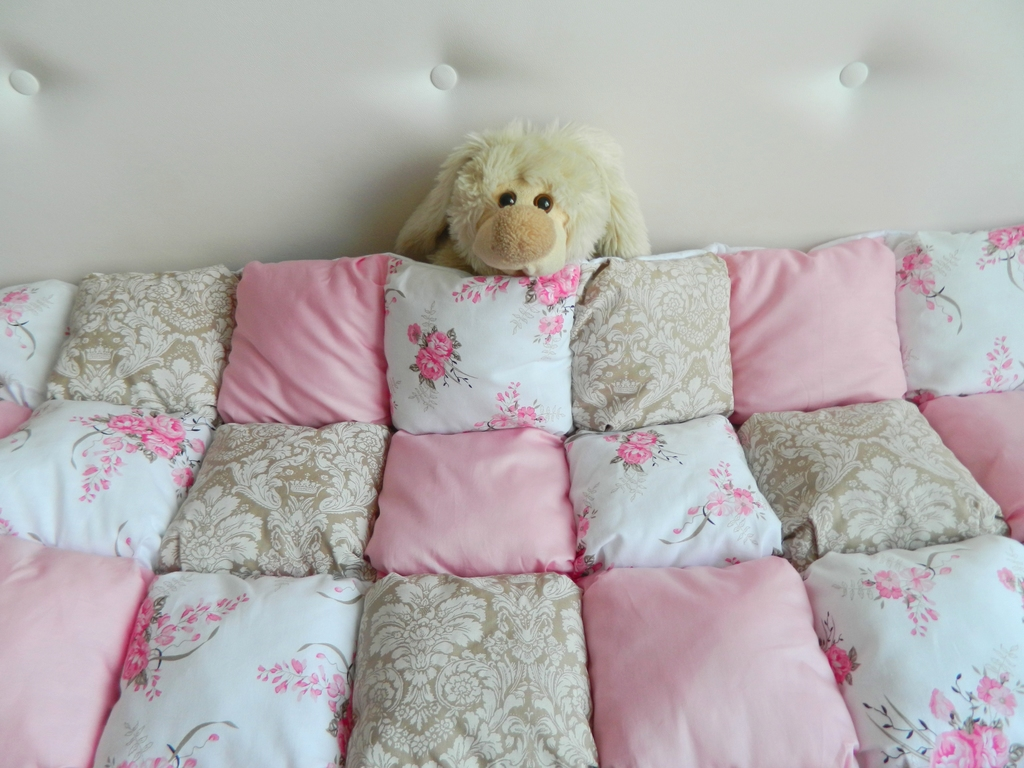
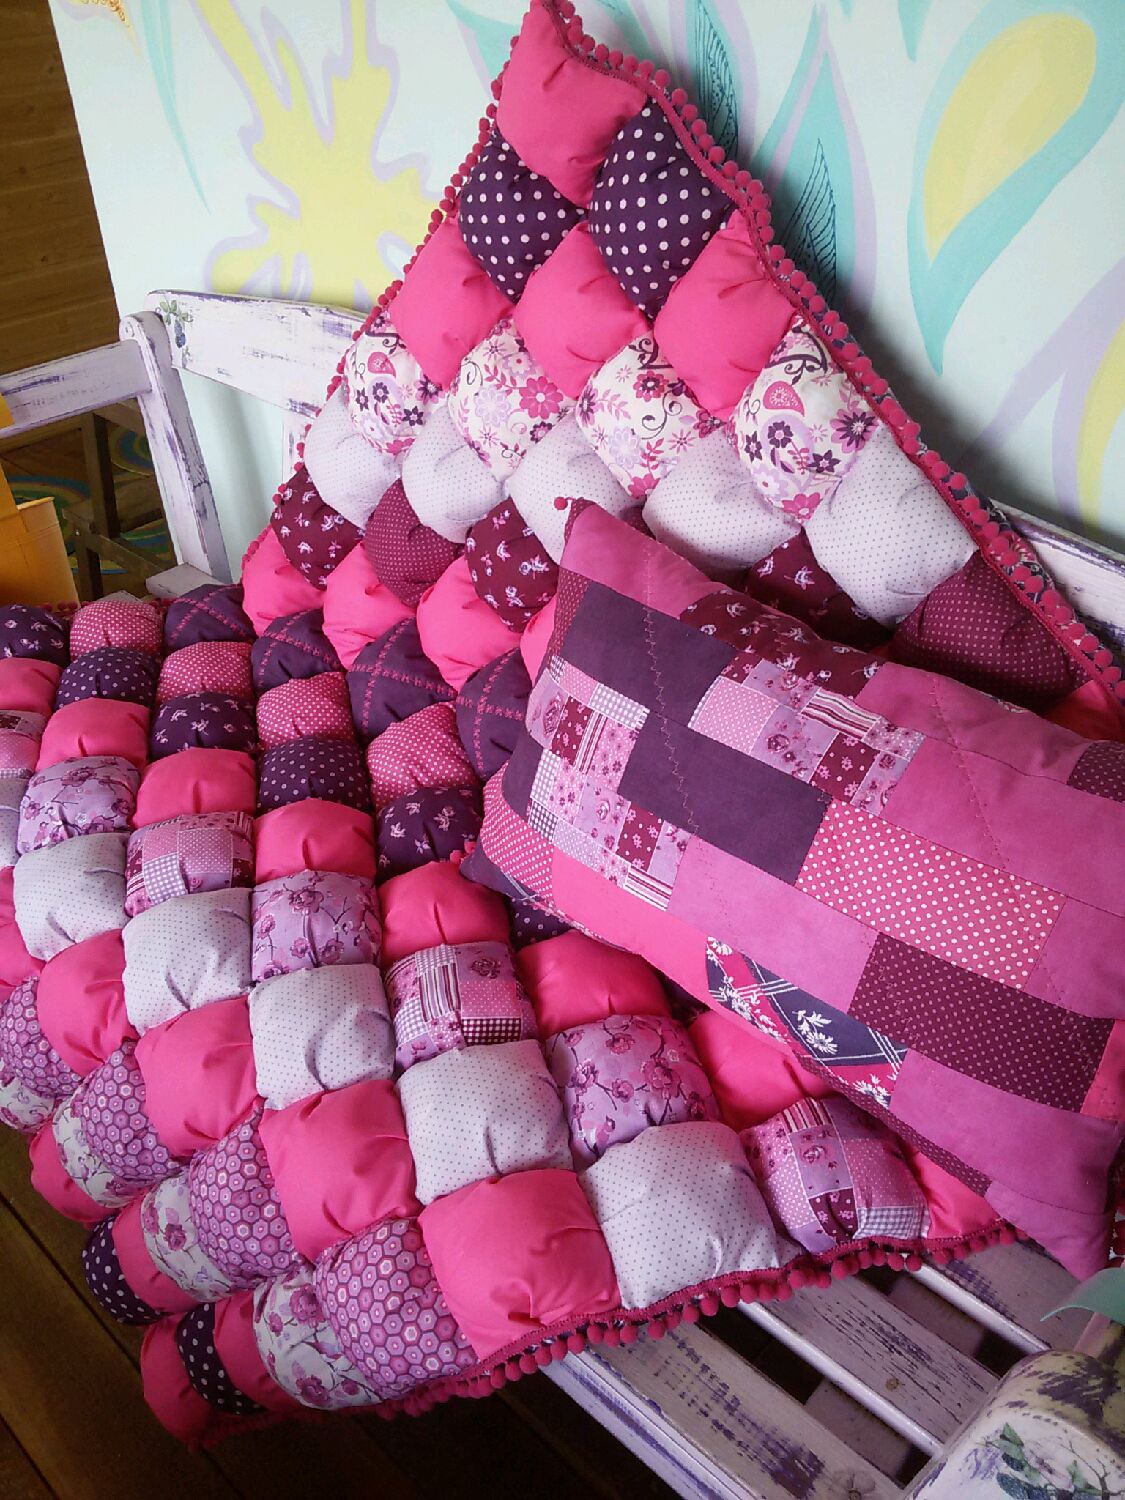
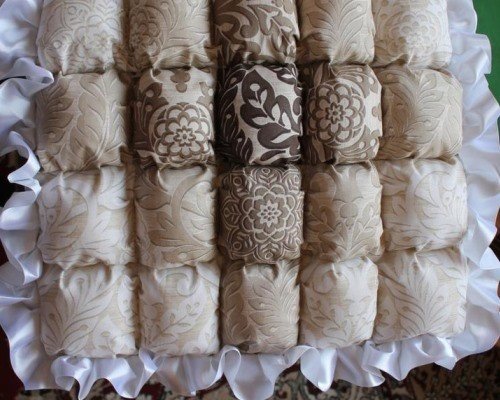
How to sew a bedspread using the bonbon technique
Before you start the process of creating a bedspread, first draw a drawing of the pillows. Mark out the sides to make them longer.
It is best not to use white colors, but to use warmer shades. For example, the color combination "coffee with milk" - this will give the room coziness.
Try to use soft fabrics that are pleasant to the body, but easy to wash when dirty, and do not attract dust.
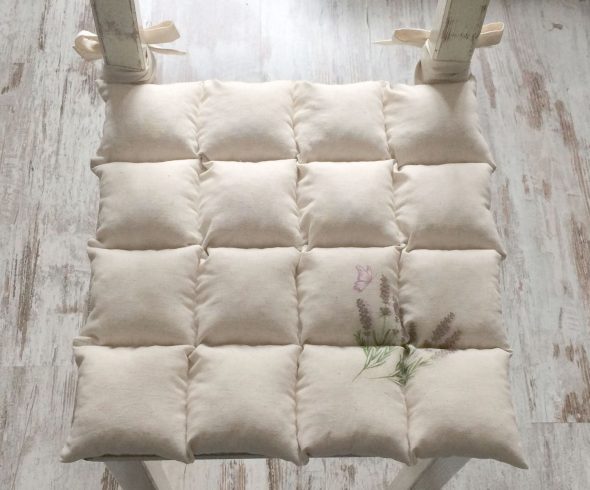
How to sew pillows or chair pads using the bonbon technique
When creating cushions and chair pads, use any of the three methods described above. The only thing to consider is that you should put less padding in the "squares" than you would put in a blanket, otherwise it will be uncomfortable to sit. In addition, you should pay attention to the fabric. It is desirable that it repels moisture and dirt.
Summary
"Bonbon" is a unique technique for producing things for the home. Such items are sewn quickly, but look beautiful, funny, and add coziness to the apartment.
The peculiarity is that these things are soft, pleasant to the body. They are able not only to decorate the apartment, but also to warm. What else is needed for home textiles?
Video: DIY Bombon Blanket Sewing Master Class (Tipwam Mat)
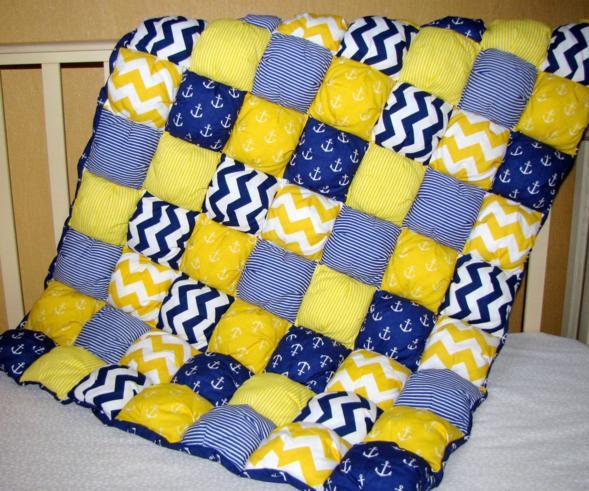
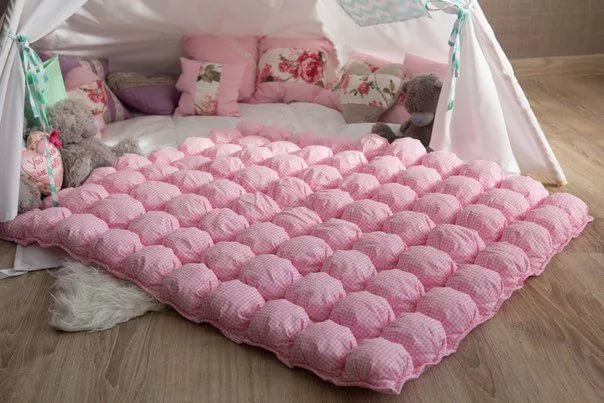
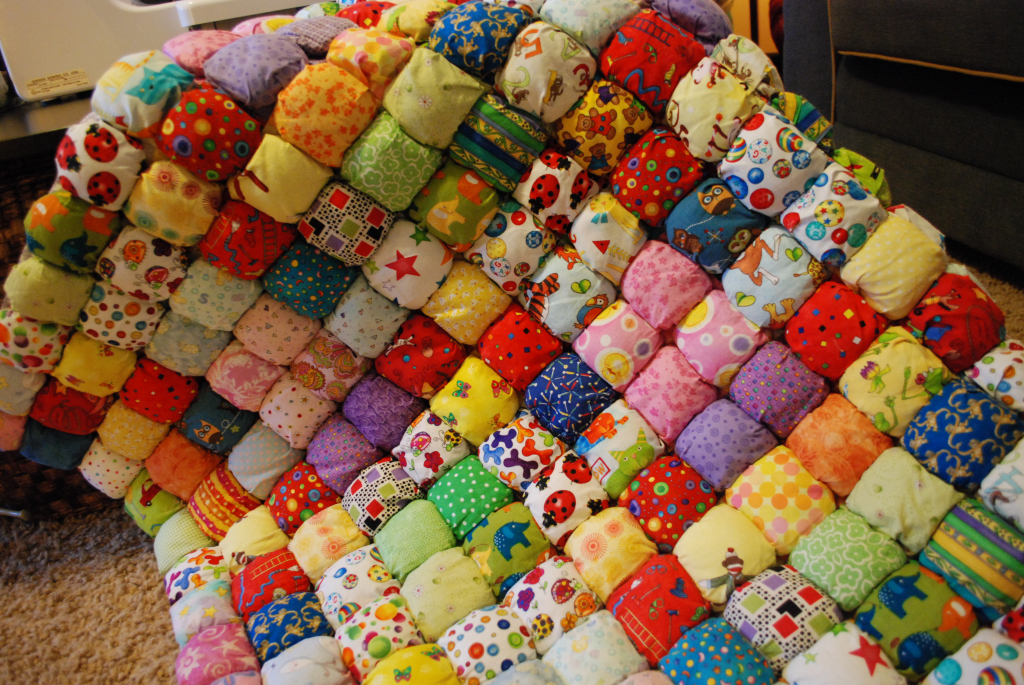
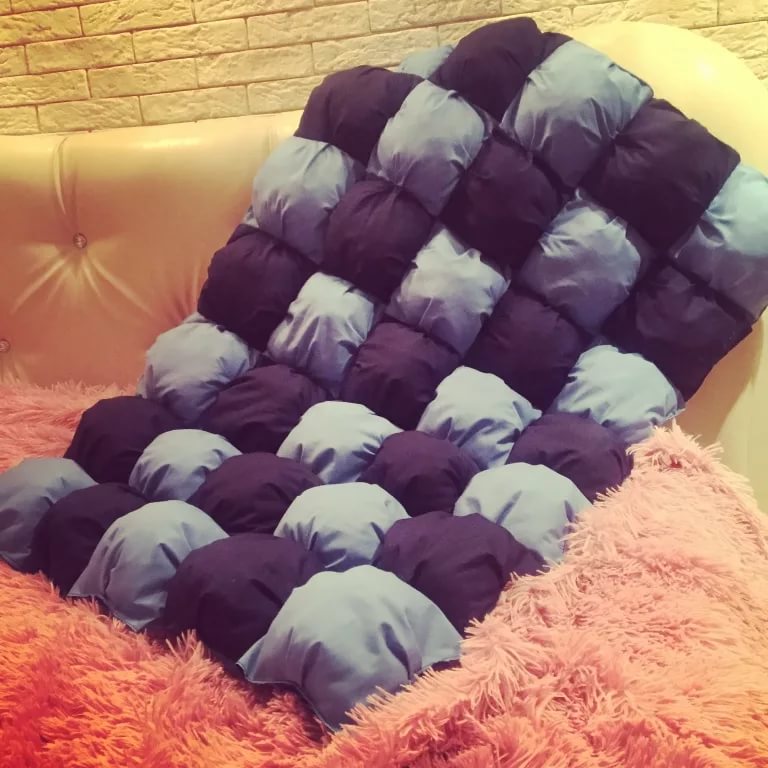
50 beautiful adult and children's bonbon blankets: