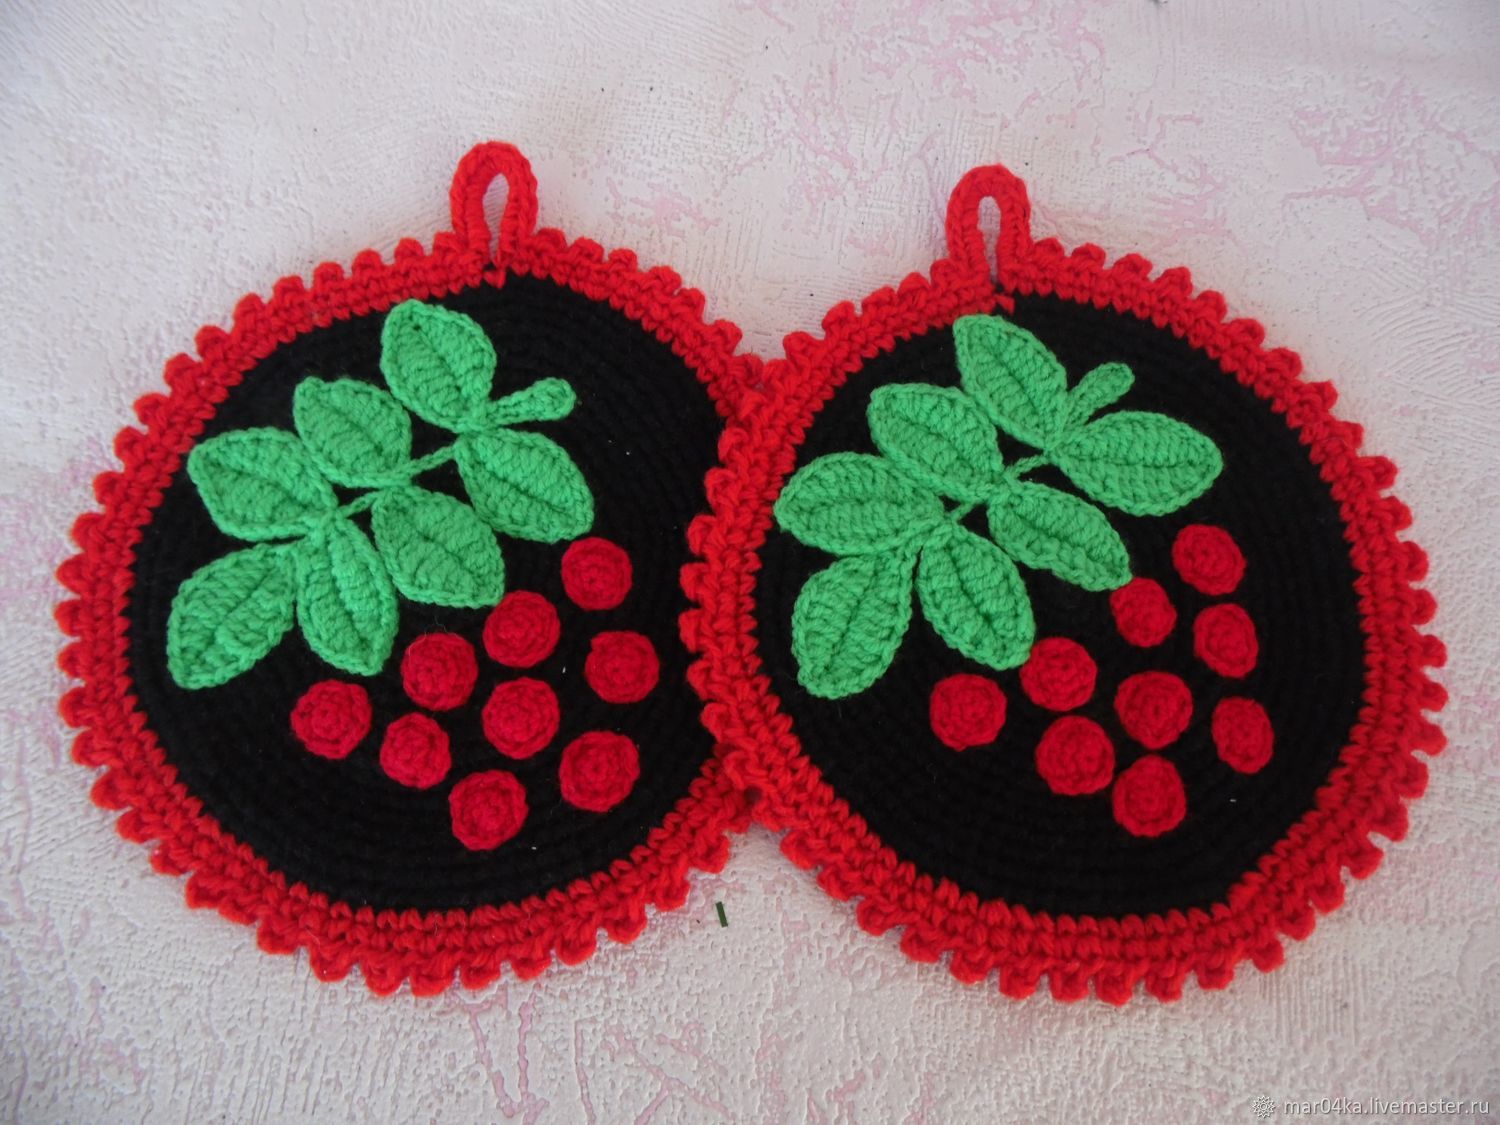
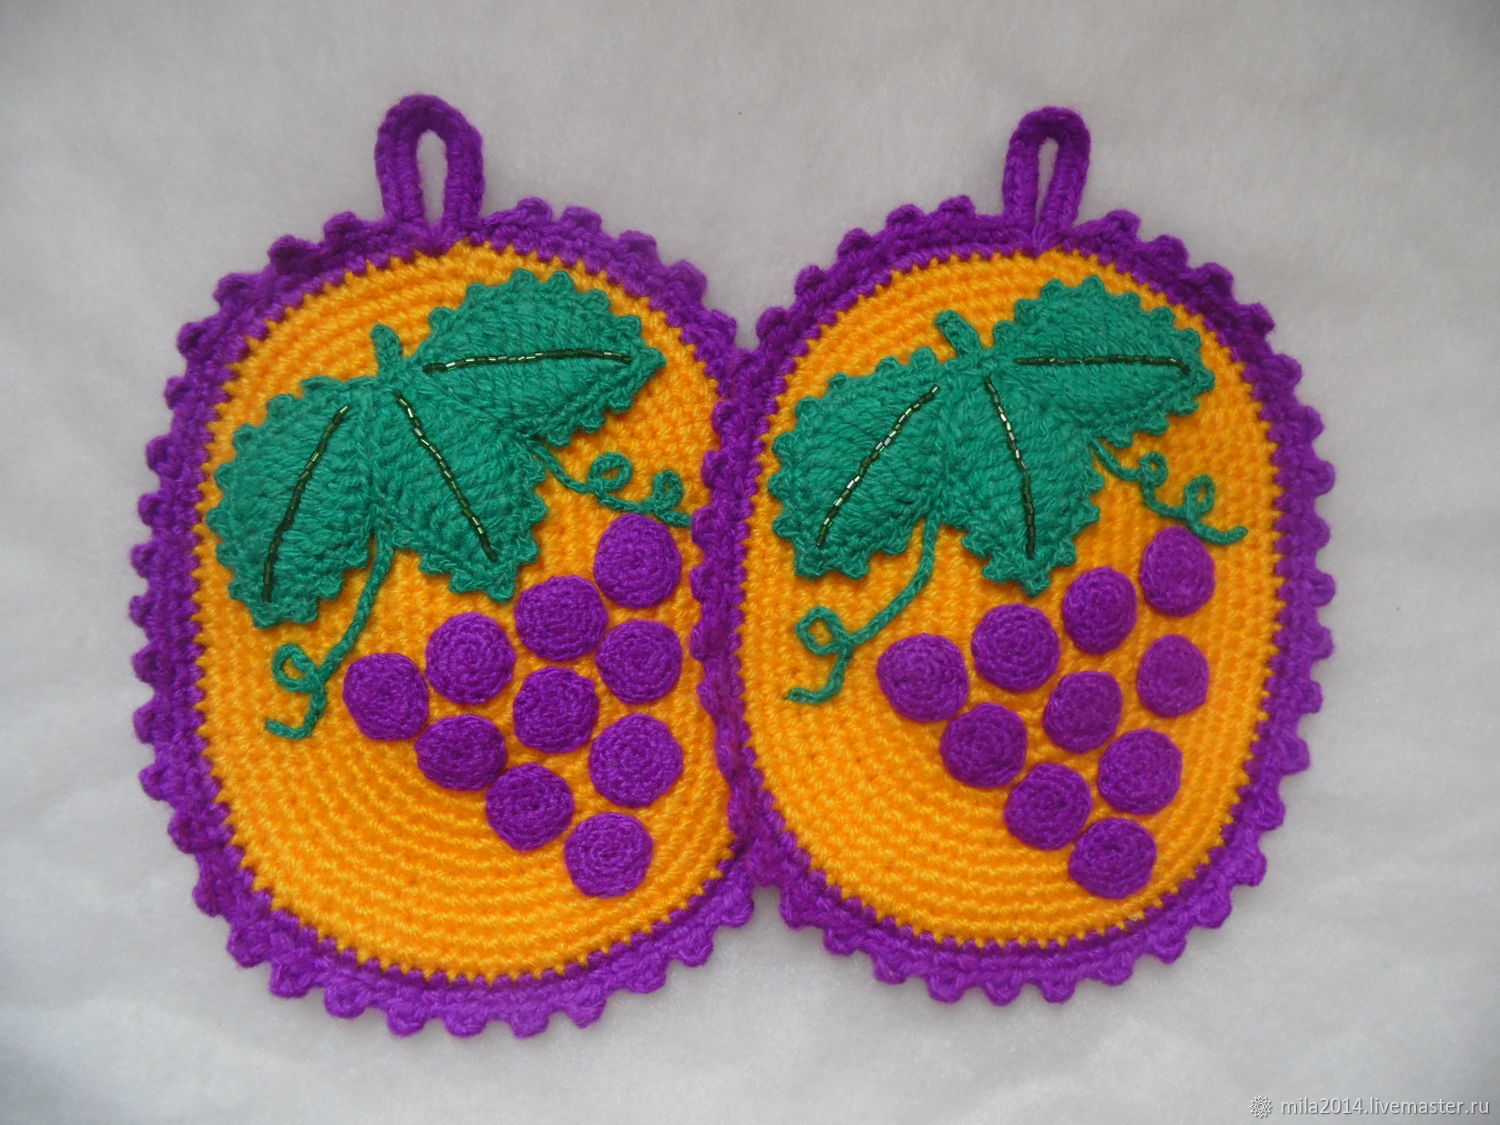
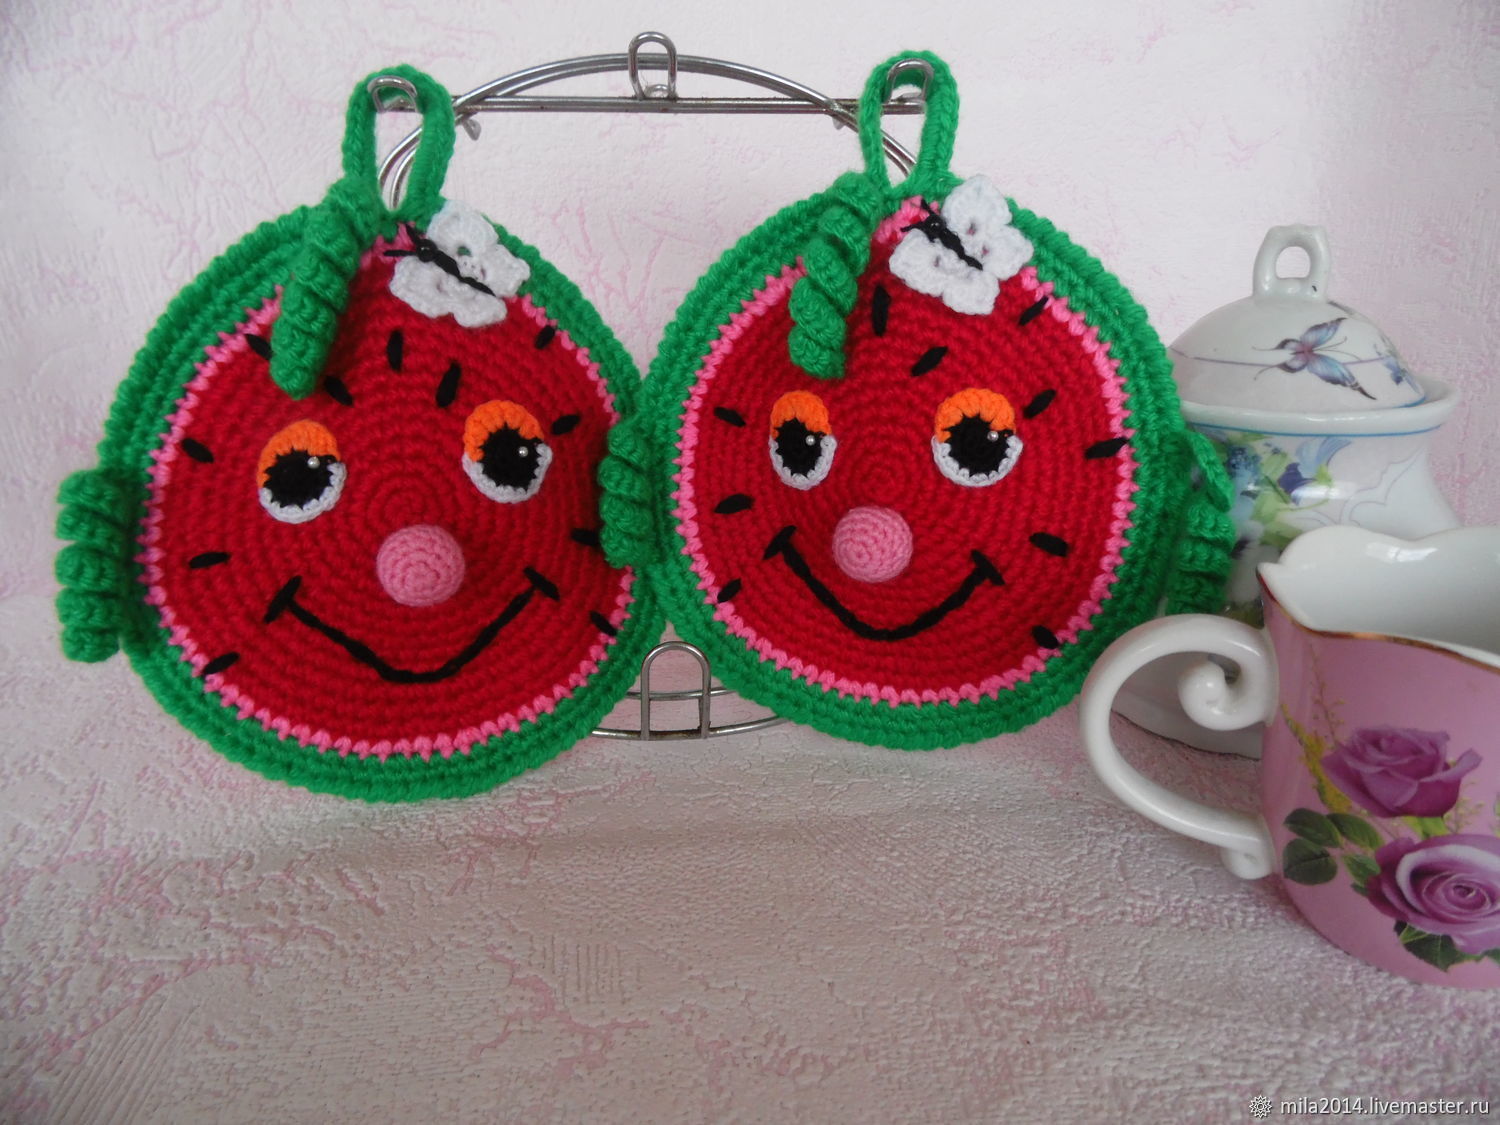
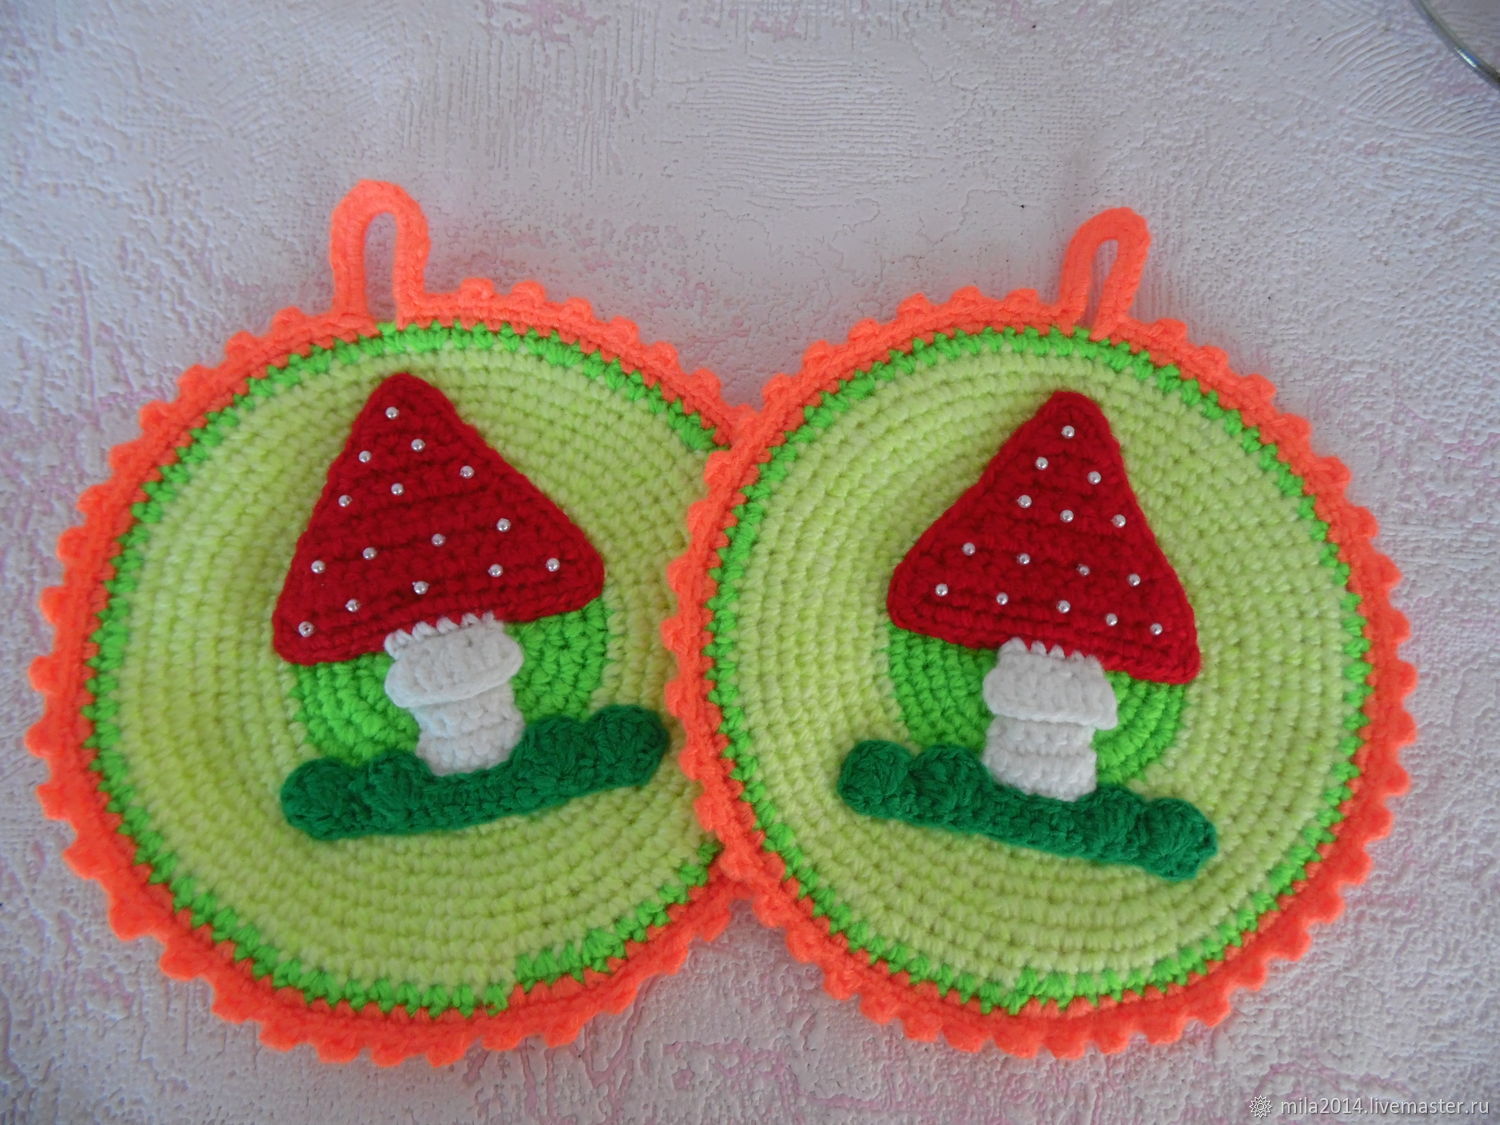
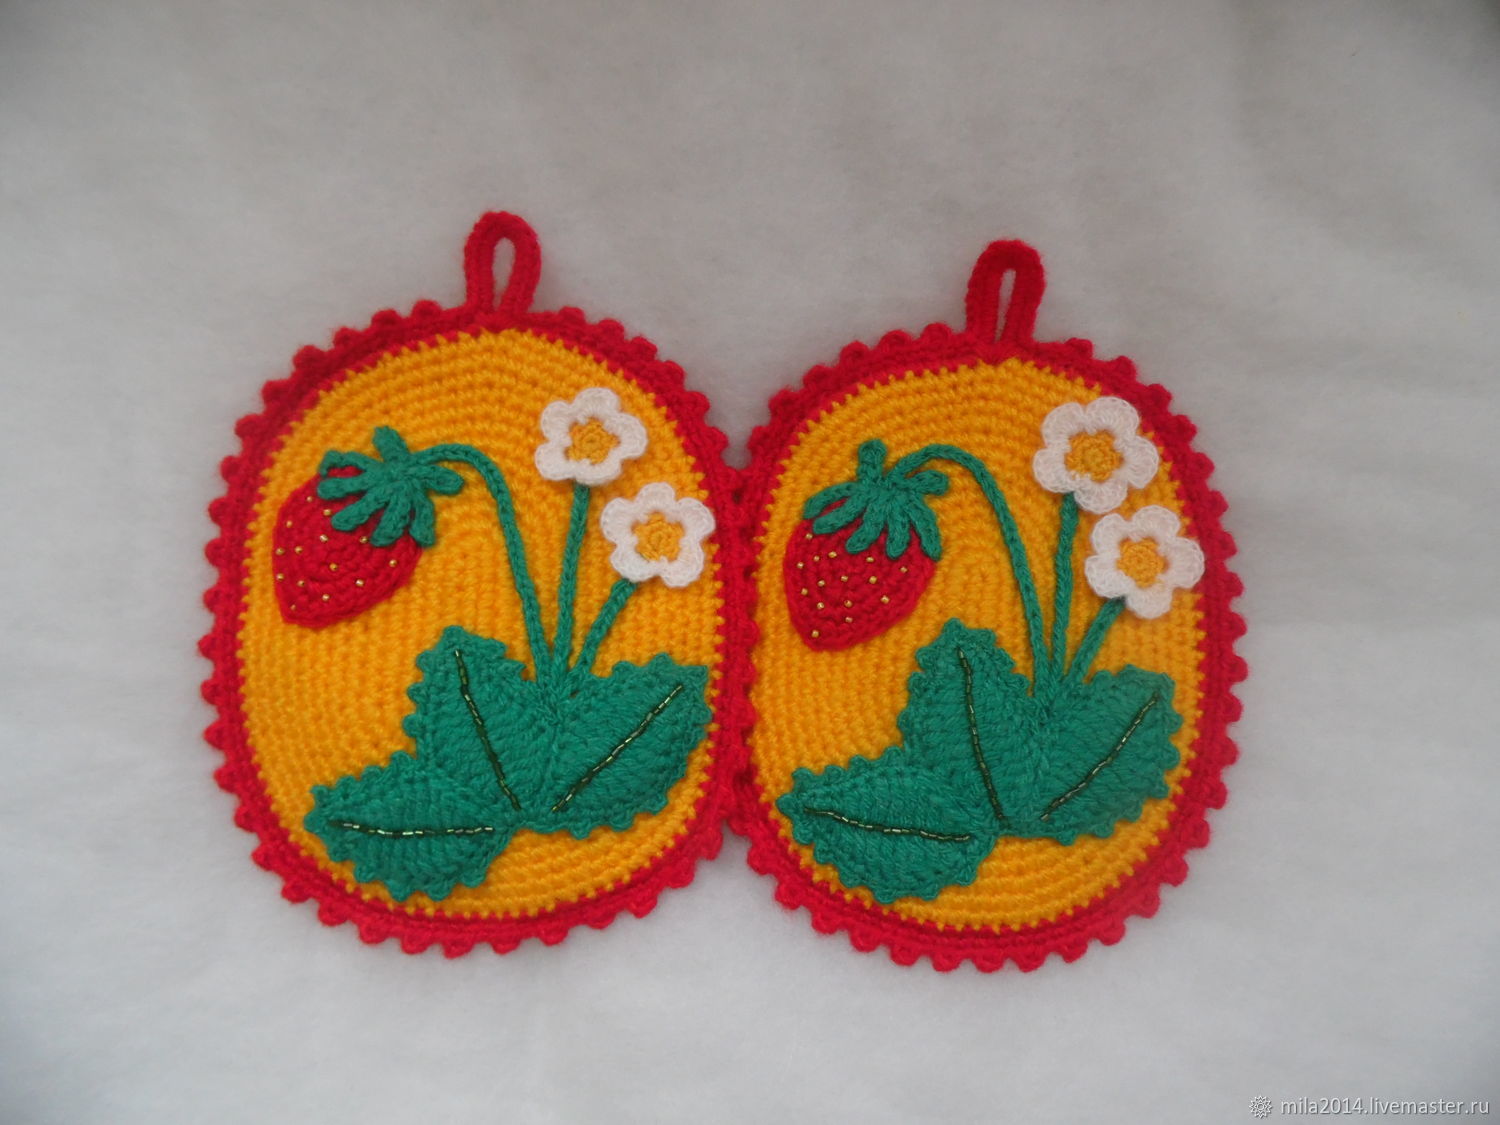
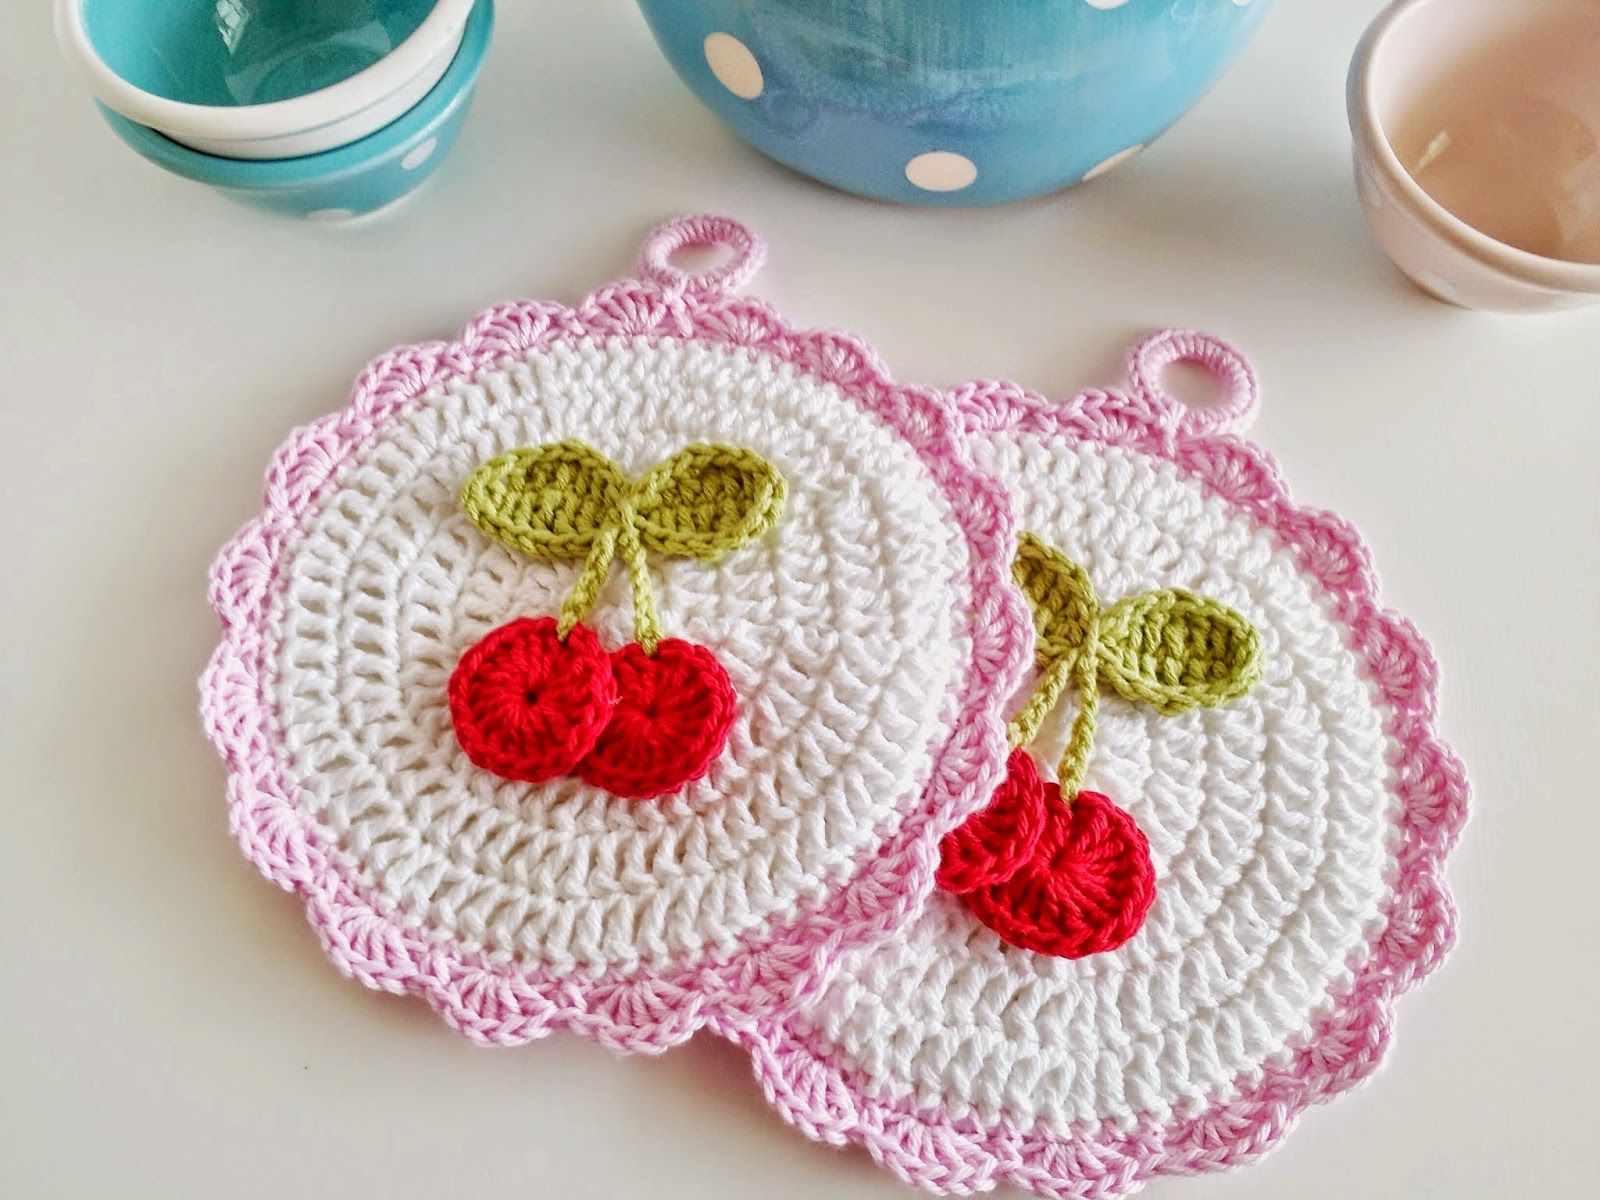
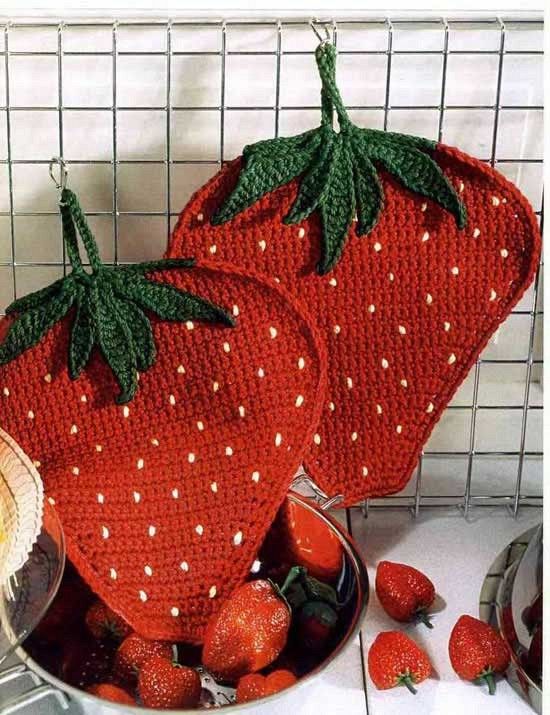
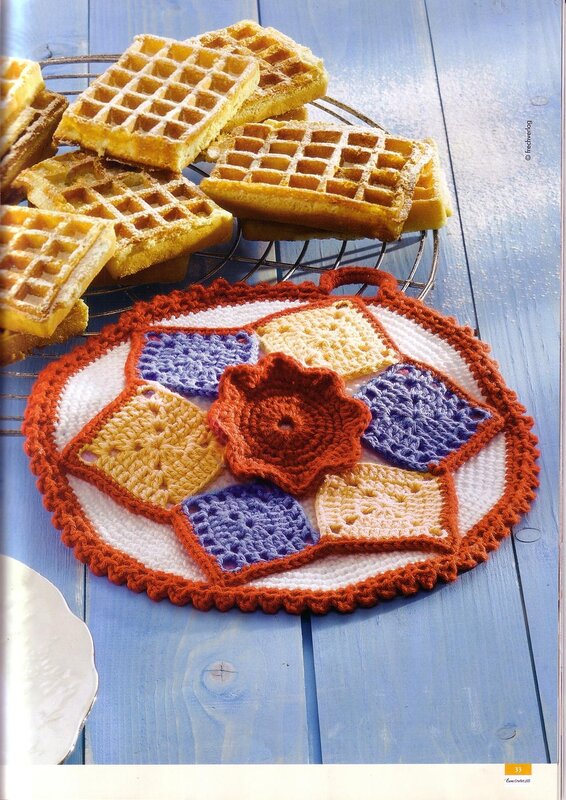
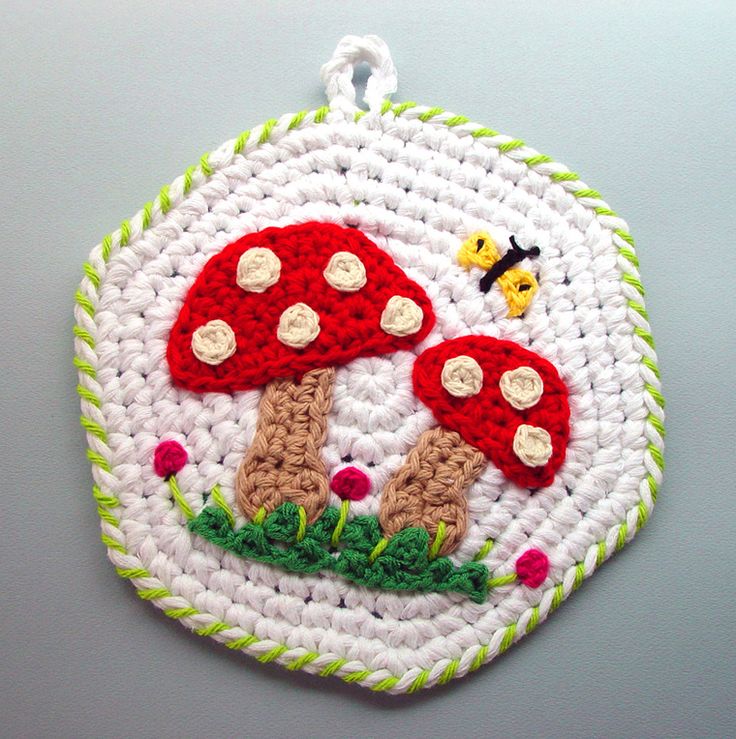
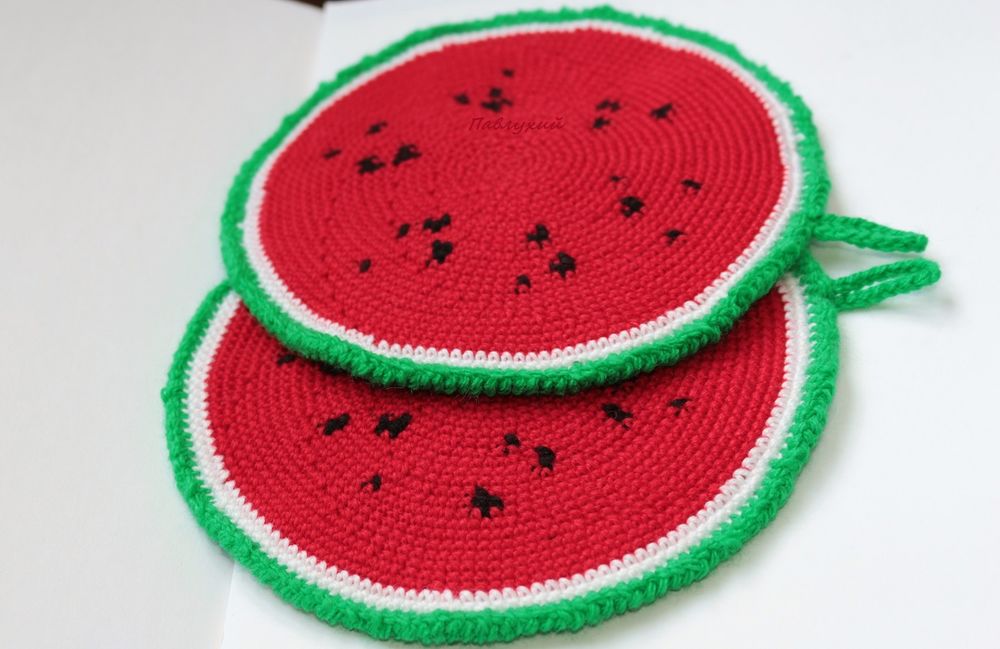
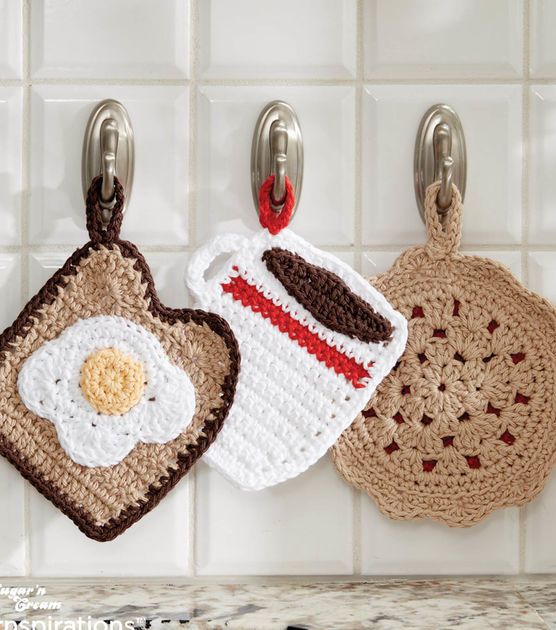
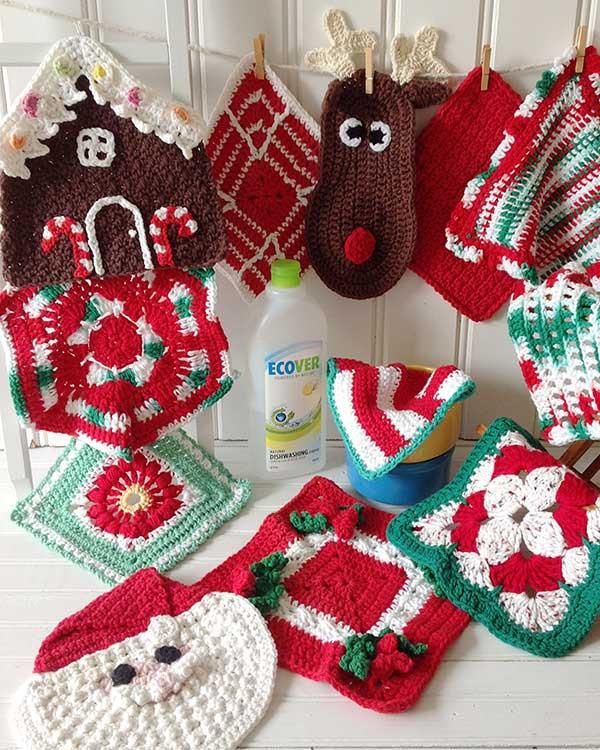
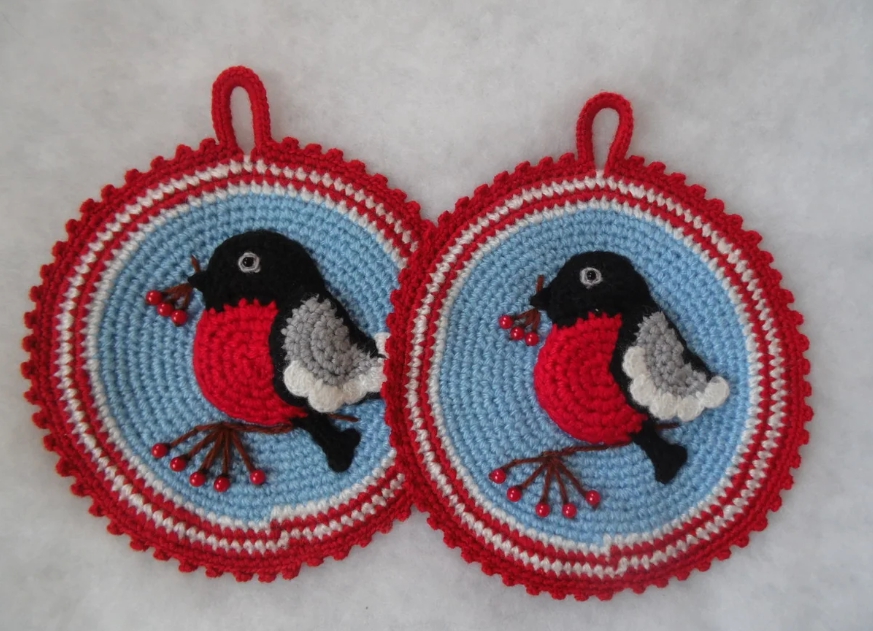
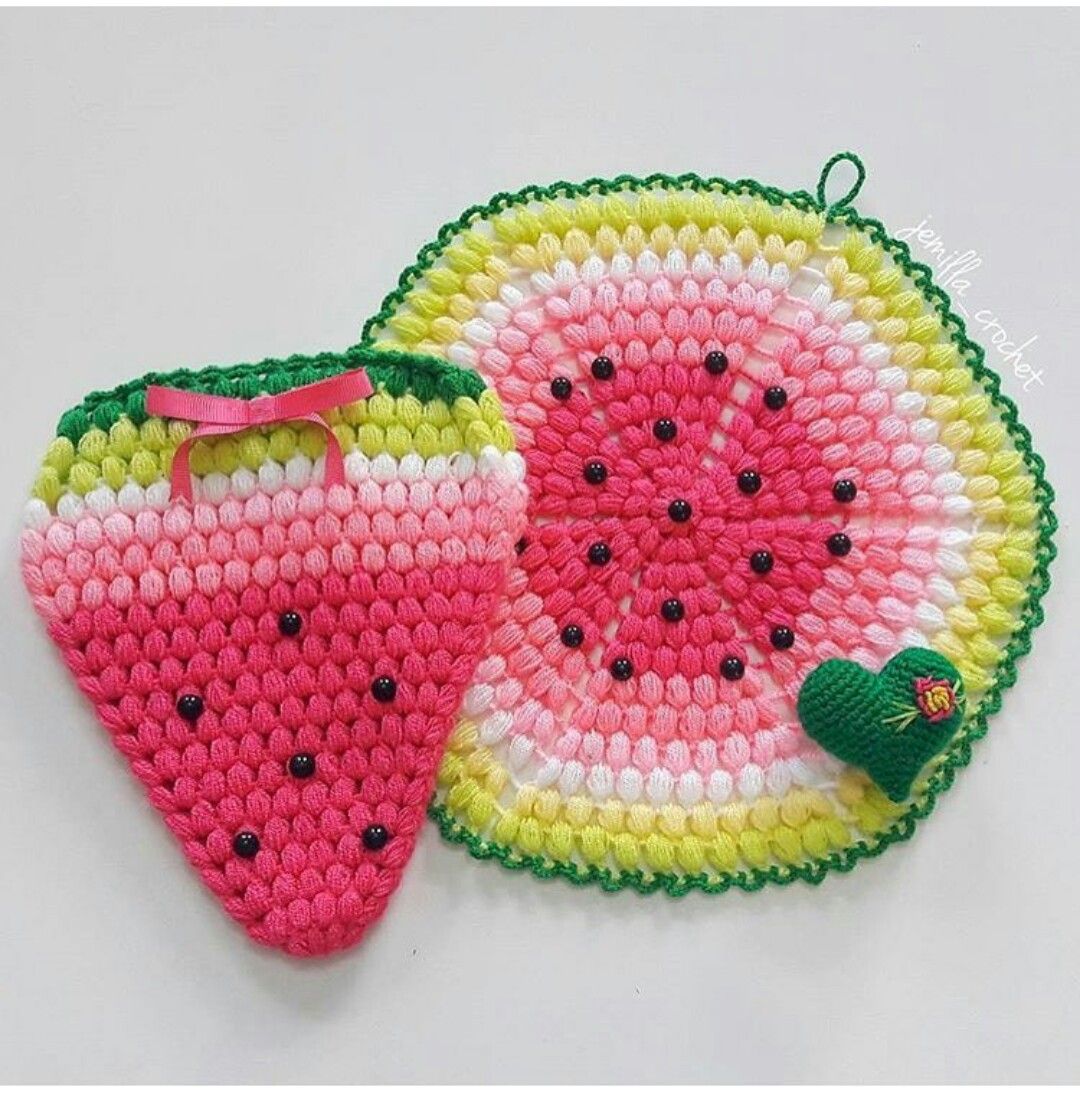
Sometimes, even a small detail is enough to add a touch of originality to your kitchen design. For example, an accent such as a bright and expressive potholder in the kitchen will definitely attract attention and cause admiration for the handicraft.
Content
Materials and tools for knitting a potholder
Since the purpose of a potholder is not only aesthetic beauty, but also to protect hands from burns, the choice of materials for its manufacture should be approached in a special way.
Important! Do not choose viscose or silk yarn under any circumstances. They will not prevent burns.
Cotton, acrylic and wool are best suited for these purposes. But they cannot be combined so as not to lose the shape of the product during use.
When choosing thick yarn, you should avoid any thickening in its structure, since creating patterns with such a thread will make it impossible to use it when working with hot surfaces.
Knitting potholders with a crochet hook: diagrams and description
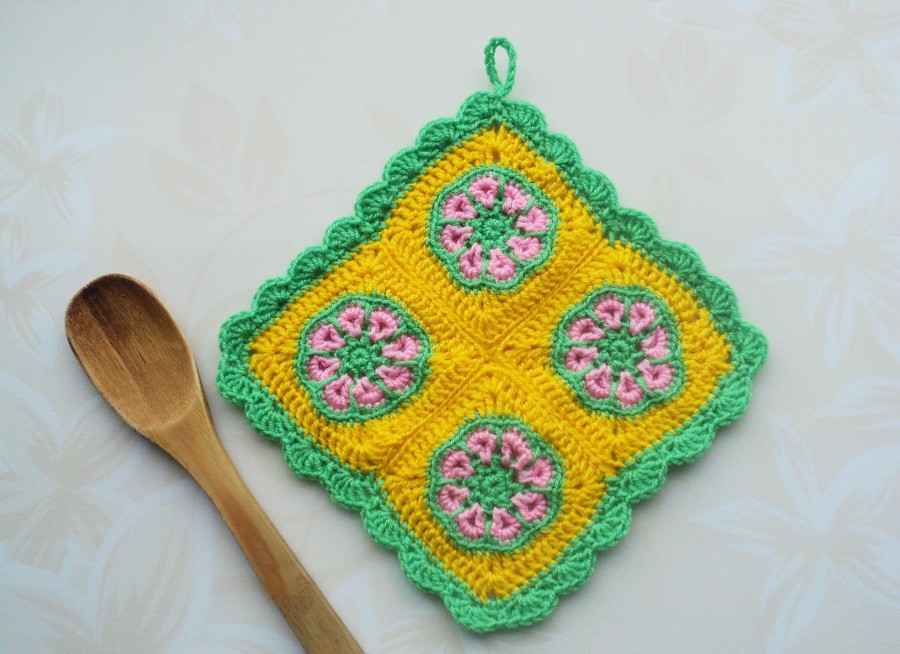
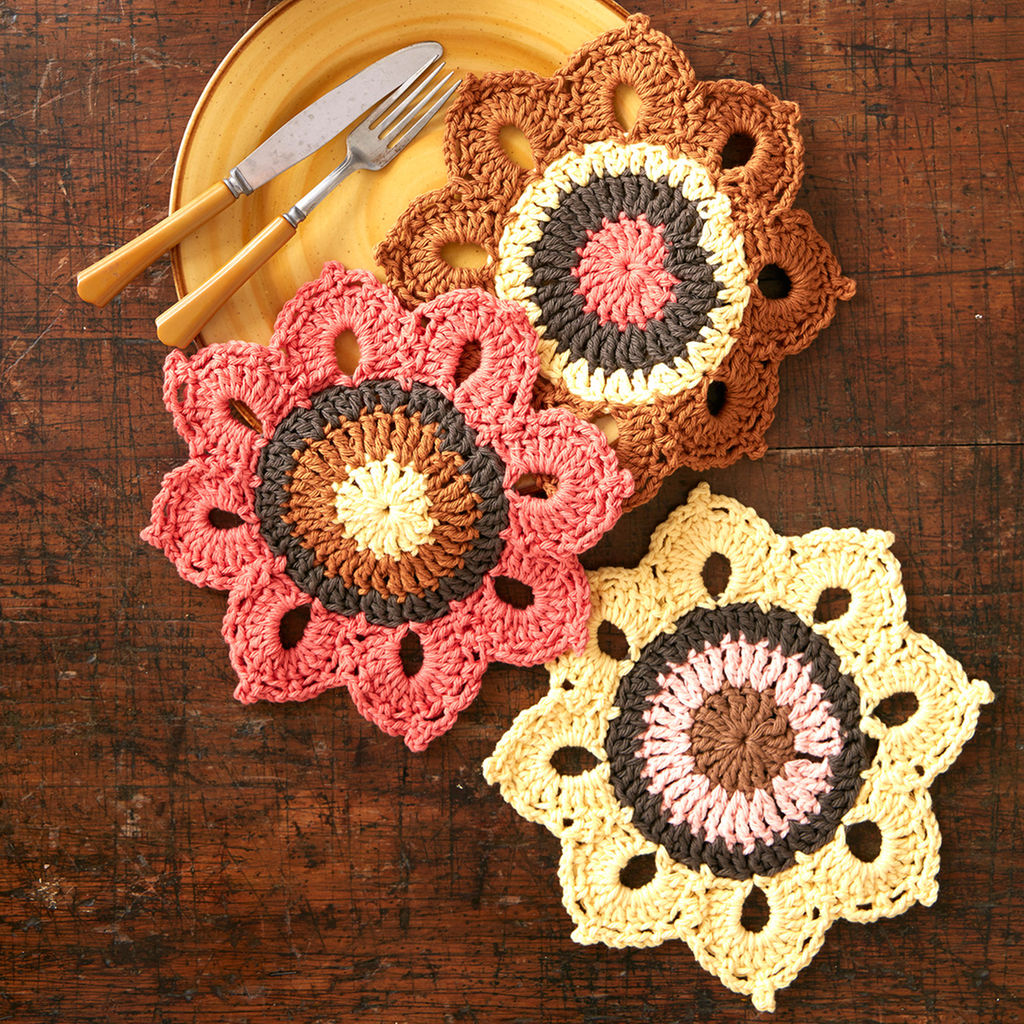
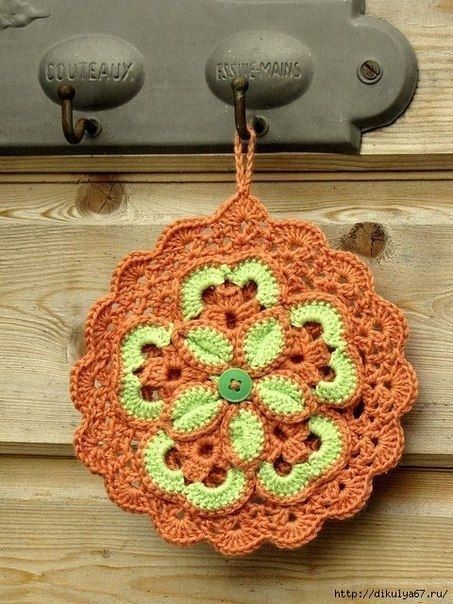
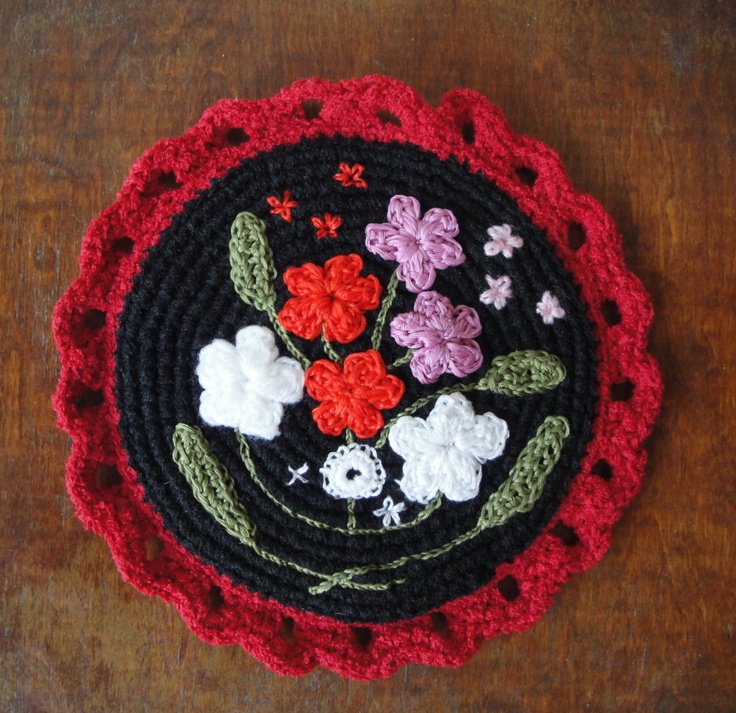
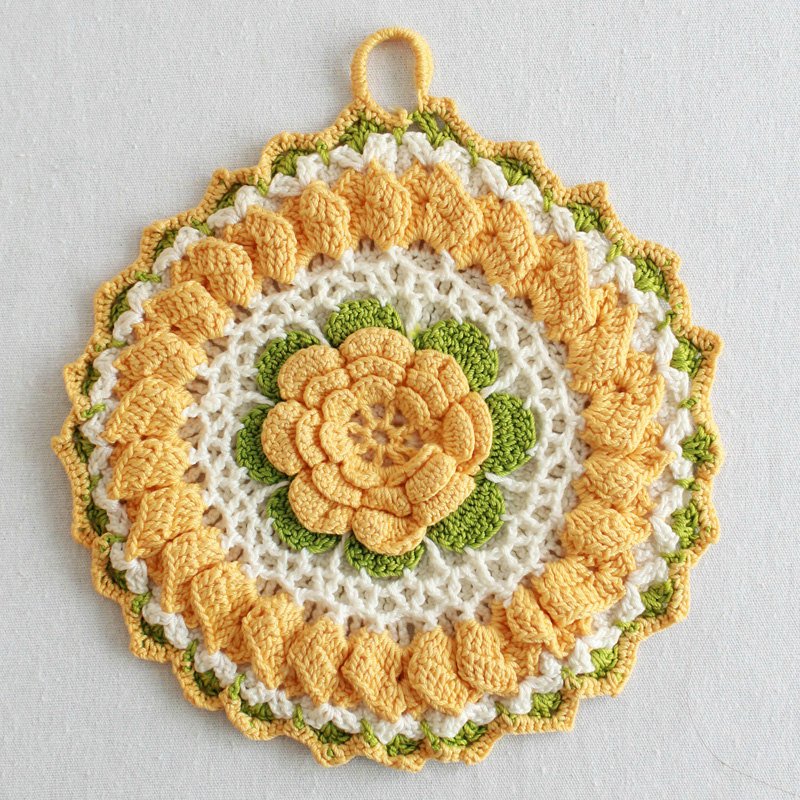
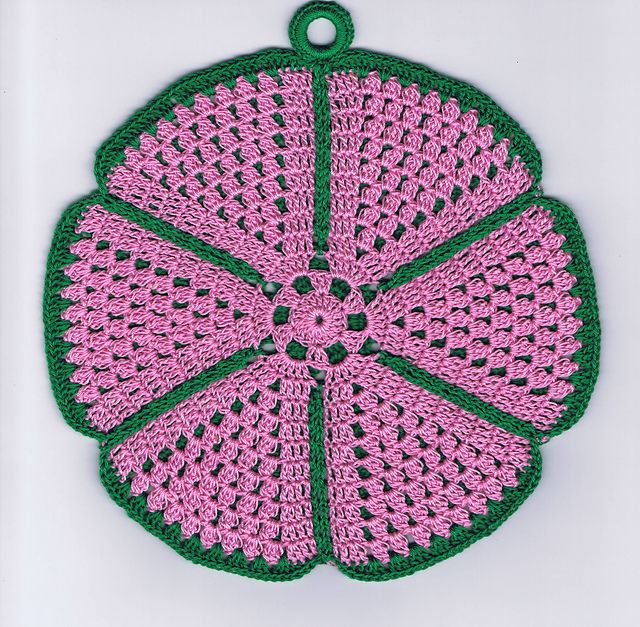
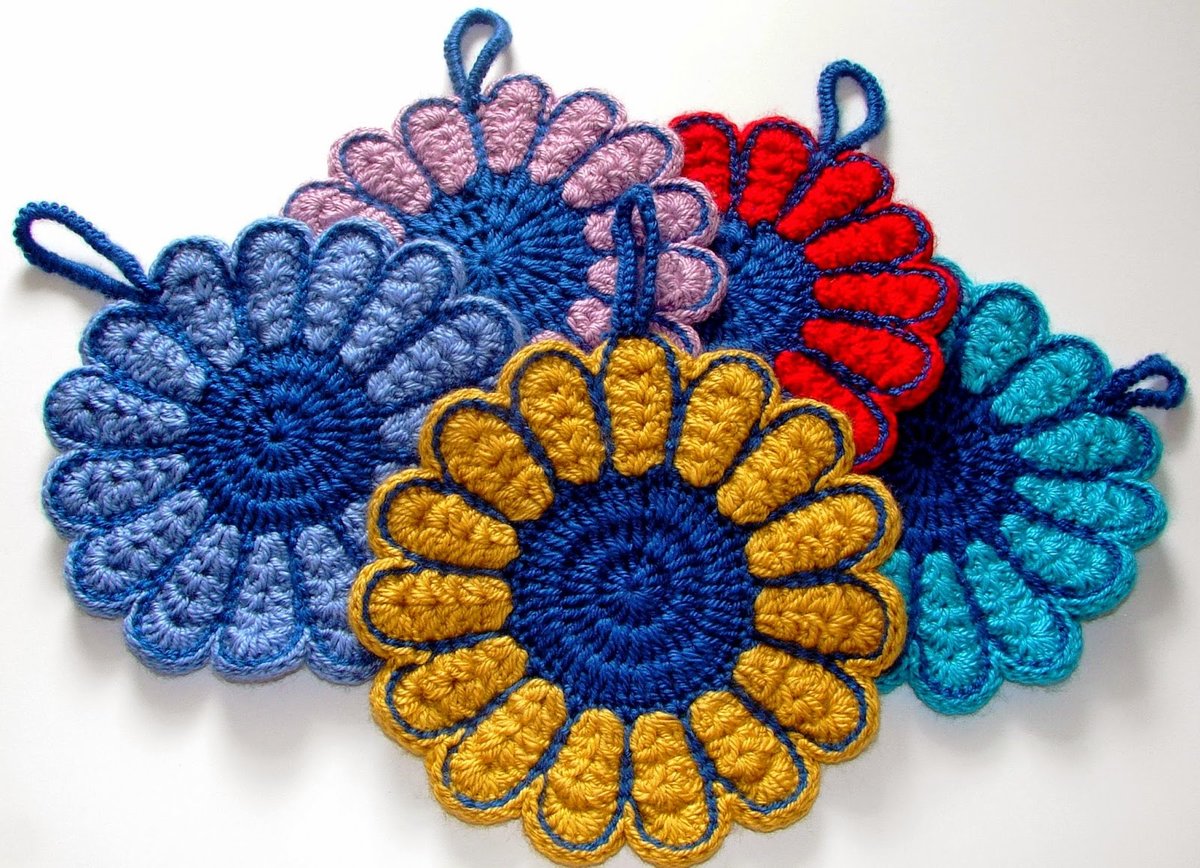
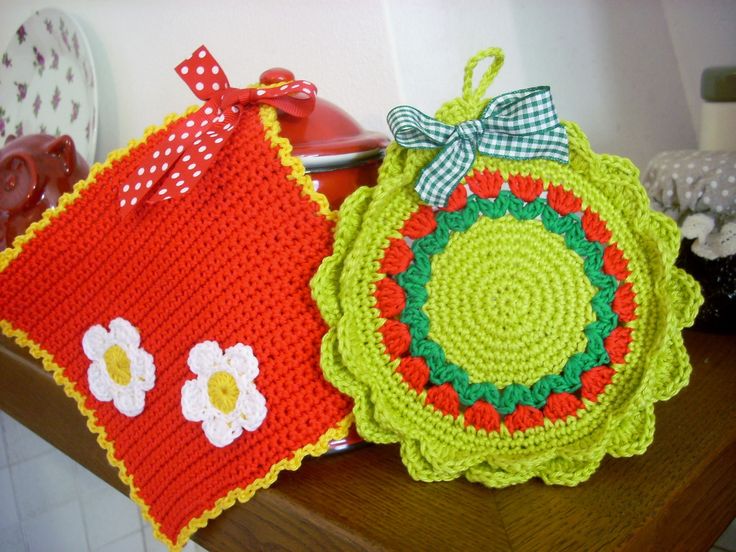
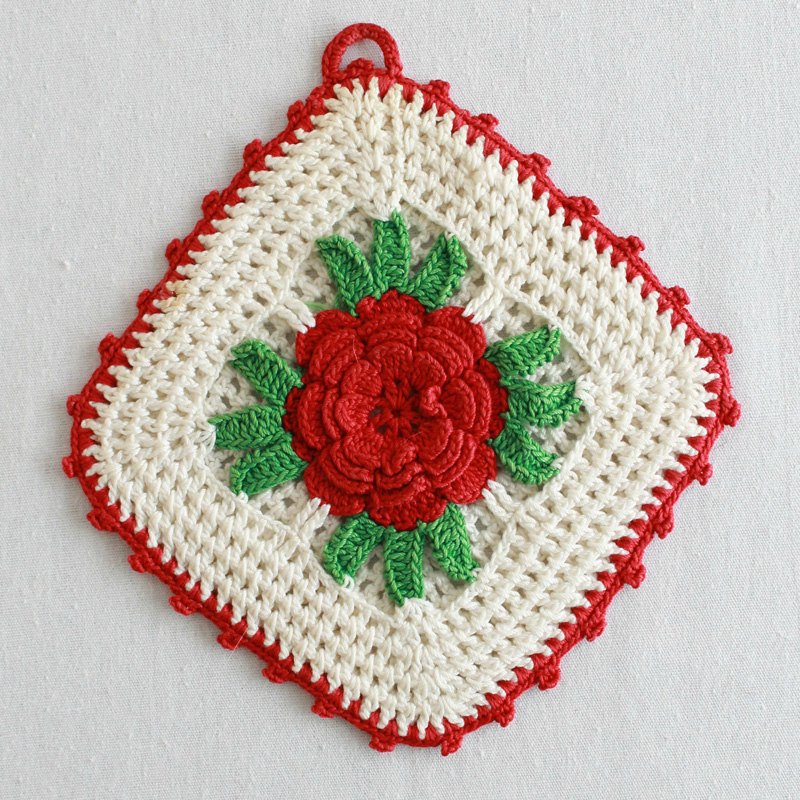
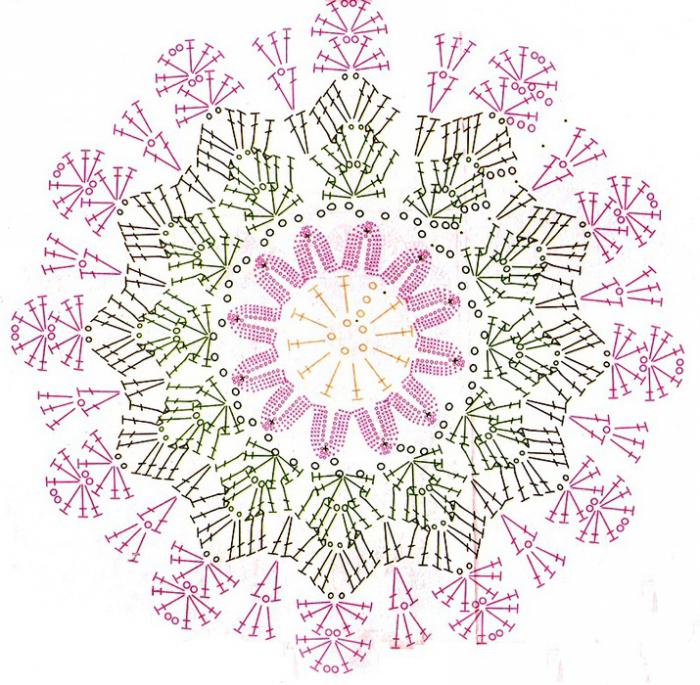
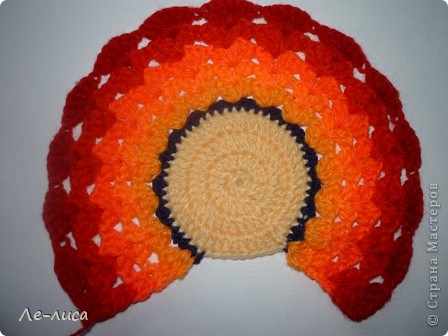
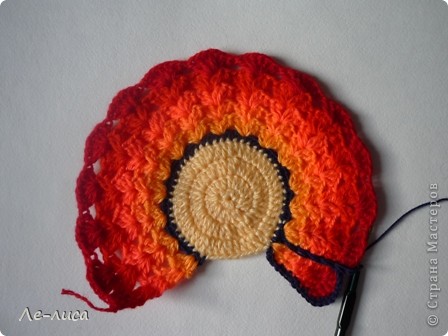
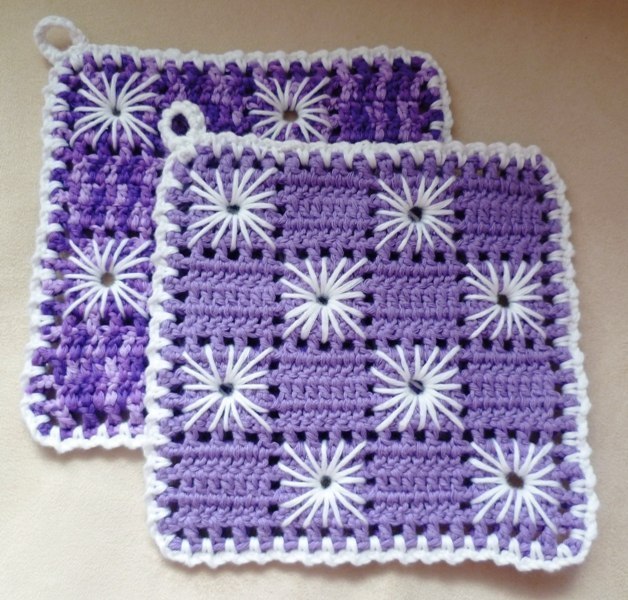
Flower
By choosing floral elements and experimenting with color solutions in their design, you can always create a unique item that will harmoniously match the kitchen interior. You should choose no more than two contrasting colors.
Additional information! In order to preserve the shape and color of the product, it is enough to periodically wash it in cool water. Afterwards, it should be starched and ironed.
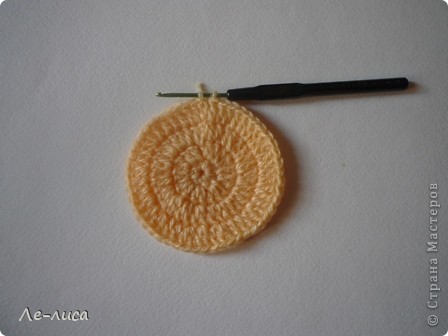
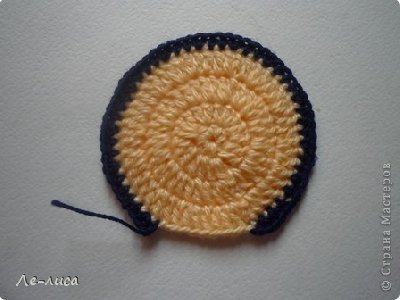
- The center should start with a dark color, closing 8 air loops into a ring.
- The second row consists of 18 st. s.n.
- In the third row, knit and connect another loop of 23 air loops onto 1 column of the second row. Having knitted further 1 dc, you get 9 additional loops with 1 such column between them.
- The next two rows are tied with the resulting loops. The top of each loop is added with three single crochets.
- The sixth and seventh change color but retain the previous order of operation.
- In the 10th I count 7 sc to wrap them into a petal and connect them to the eighth.

You can knit a potholder either with knitting needles or with a crochet hook. It all depends on the type of ornament and the thickness of the yarn.
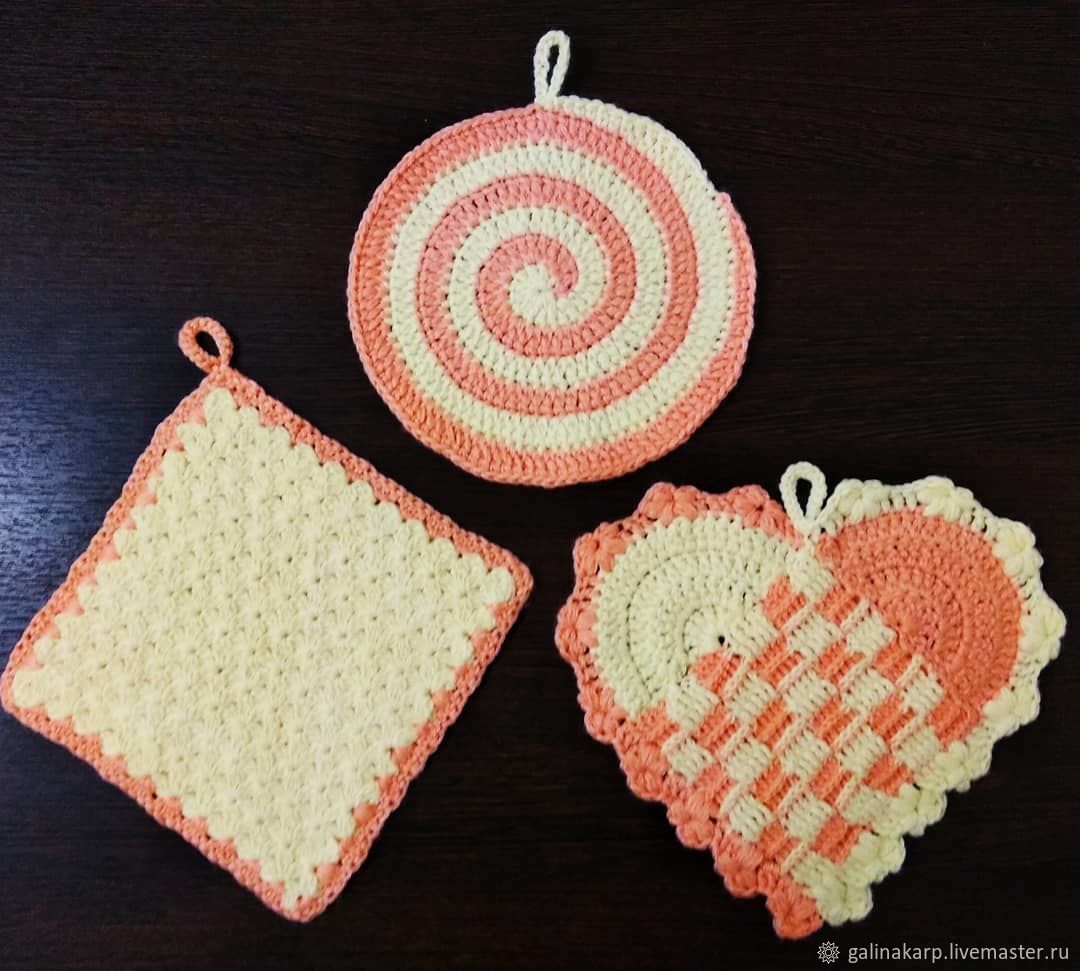
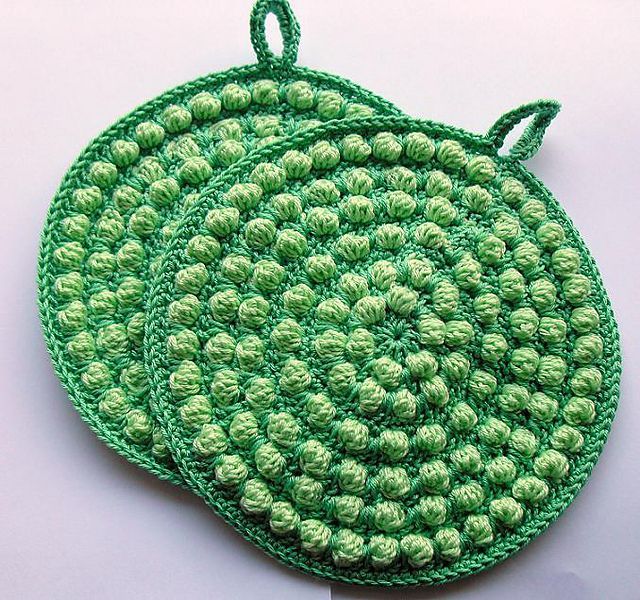
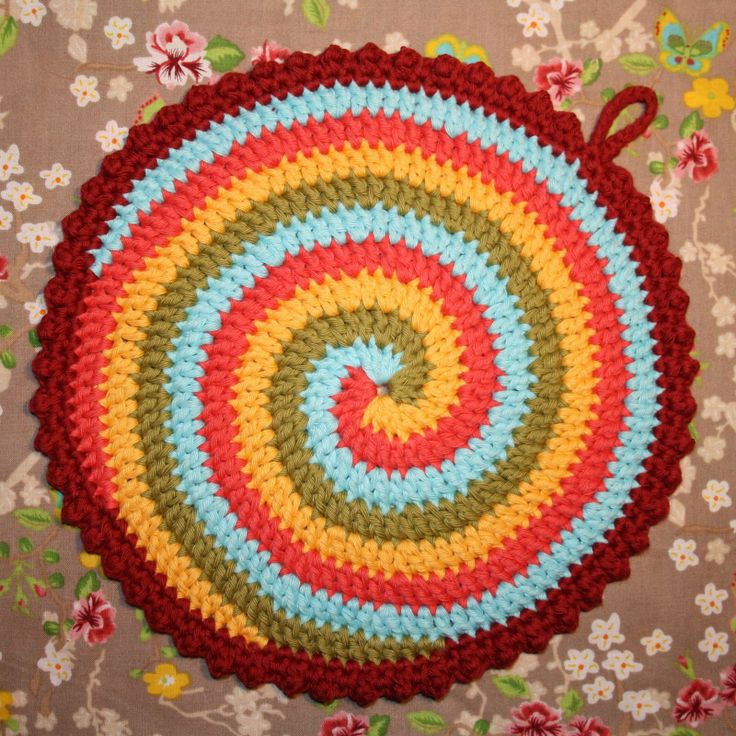
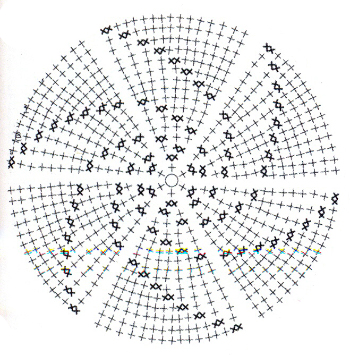
Spiral
The essence of making such a potholder is that several colors are used at once in a single circular row. The complexity of such weaving is only in the fact that while one color is used, the remaining loops remain open.
Important! To prevent loose loops from getting tangled or unraveling, it is worth securing them with a marker that can block them. Pins or paper clips can serve as such “markers”.
To make the potholder you will need 5 colors of cotton yarn weighing 100 g each, 4 markers and a #4 hook. The finished product will be 21 cm in diameter.
Let's accept the designations for colors in advance:
A – red;
B – brick;
B – orange;
G – yellow;
D – beige.
First, make an inner ring from the darkest color - 1 chain stitch, 1 dc, 1 p dc, 2 dc. After attaching a new thread, repeat the process again with each subsequent color.
In the first row, for each color, we make 2 dc from one loop and 1 dc in the next loop.
In the second we use the same number of loops, but repeat three times. Then everything is simple - only the second dc changes - +1 is added to it. So we do seven rows, in the last of which there will already be 2 dc from one loop and 6 dc in the next loop three times for each color.
In the eighth in the sequence of colors D, G, V, B, A we make 3 dc and 3 sc for rounding, after combining which we can cut the thread.
The product is ready after we also knit the back part and fasten them to the front part using color D.
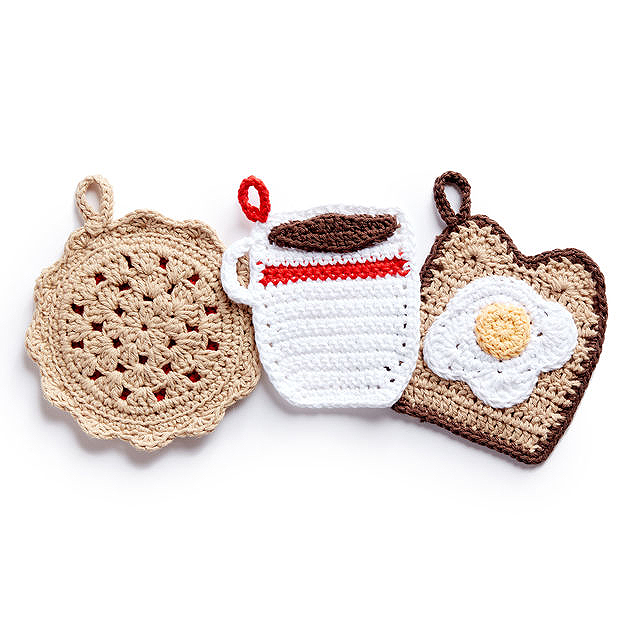
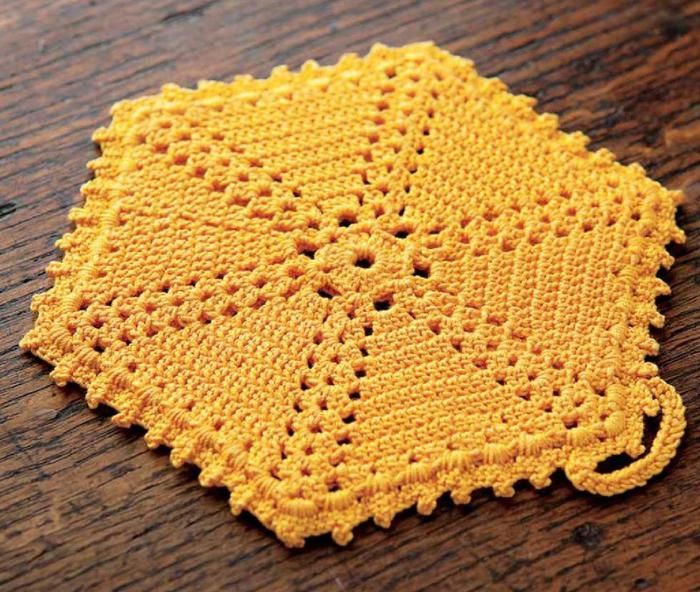
Hexagon
This potholder looks like homemade cookies. It is made using only double crochets and chain stitches.
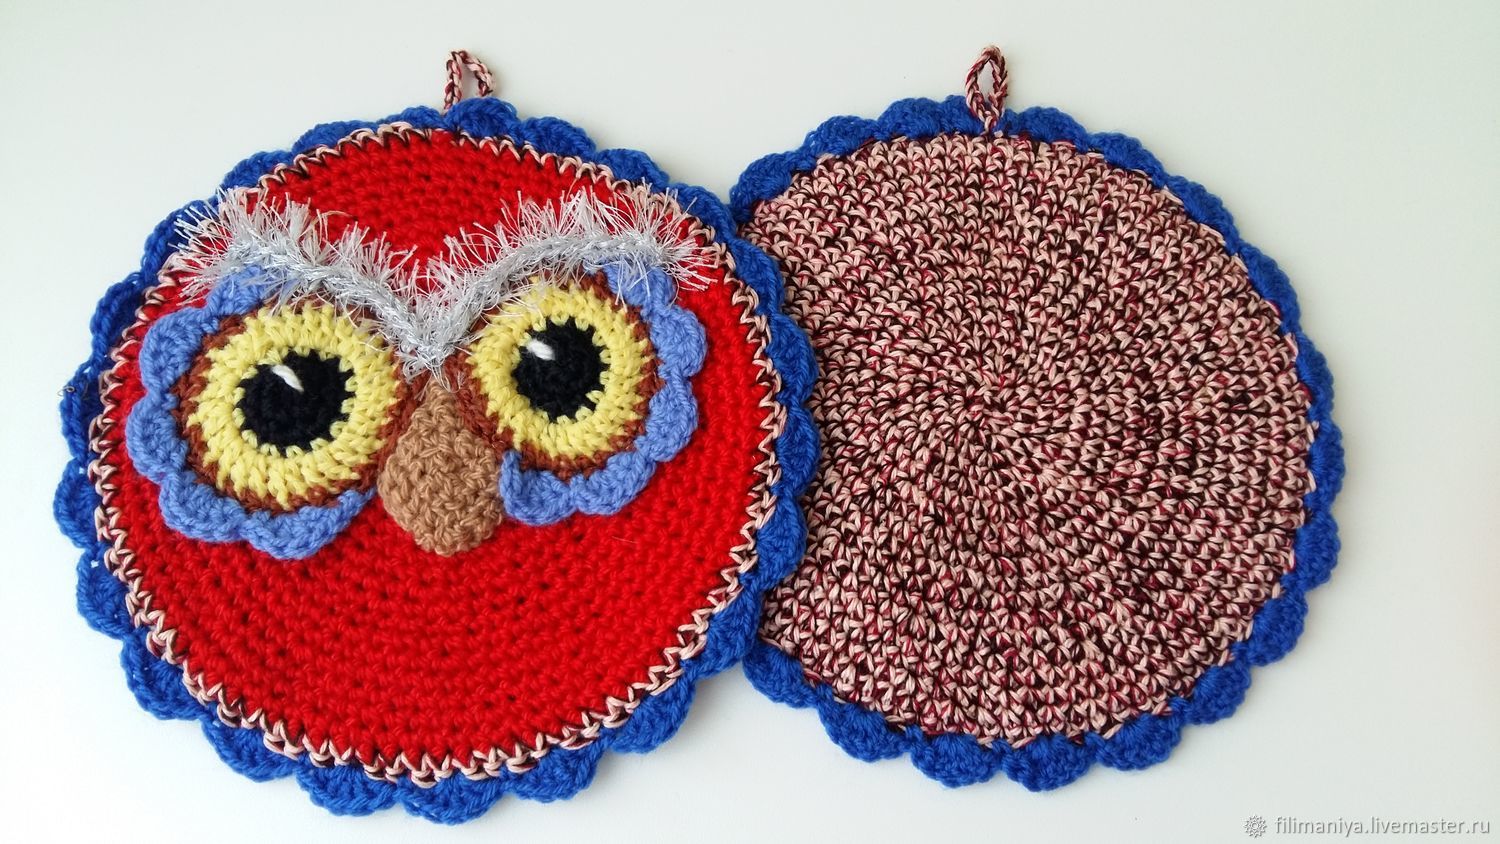
Bees
"Bees" in the kitchen can delight children who love to watch or help their parents in the cooking process.
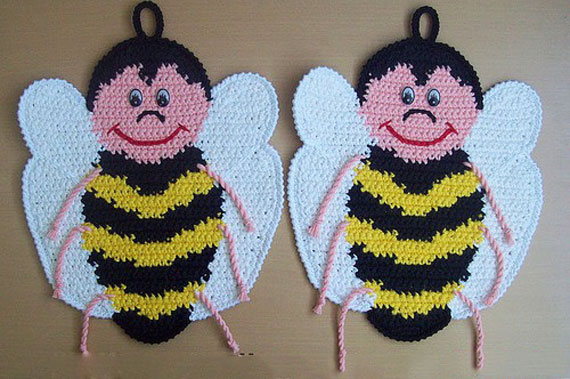
For manufacturing you will need cotton yarn of black, yellow and white colors - 50 grams of each. For the eyes, nose and mouth it is worth buying mercerized threads of black, white and red colors. Hooks No. 1.5 - for threads and 3.5 - for cotton.
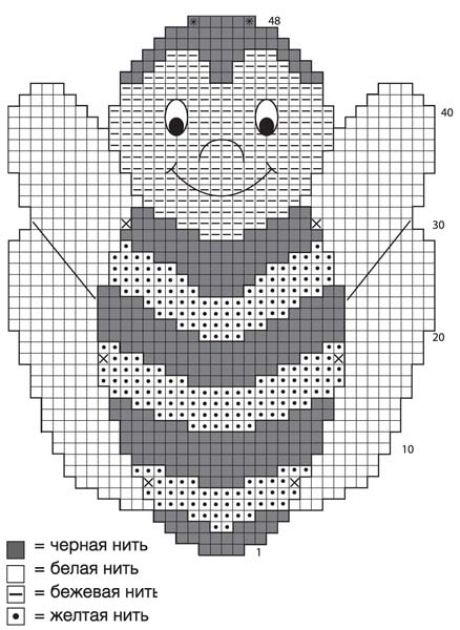
The main pattern is made according to the diagram, taking into account that the decrease at the beginning of the row consists of skipping, at the end by simply not knitting it.
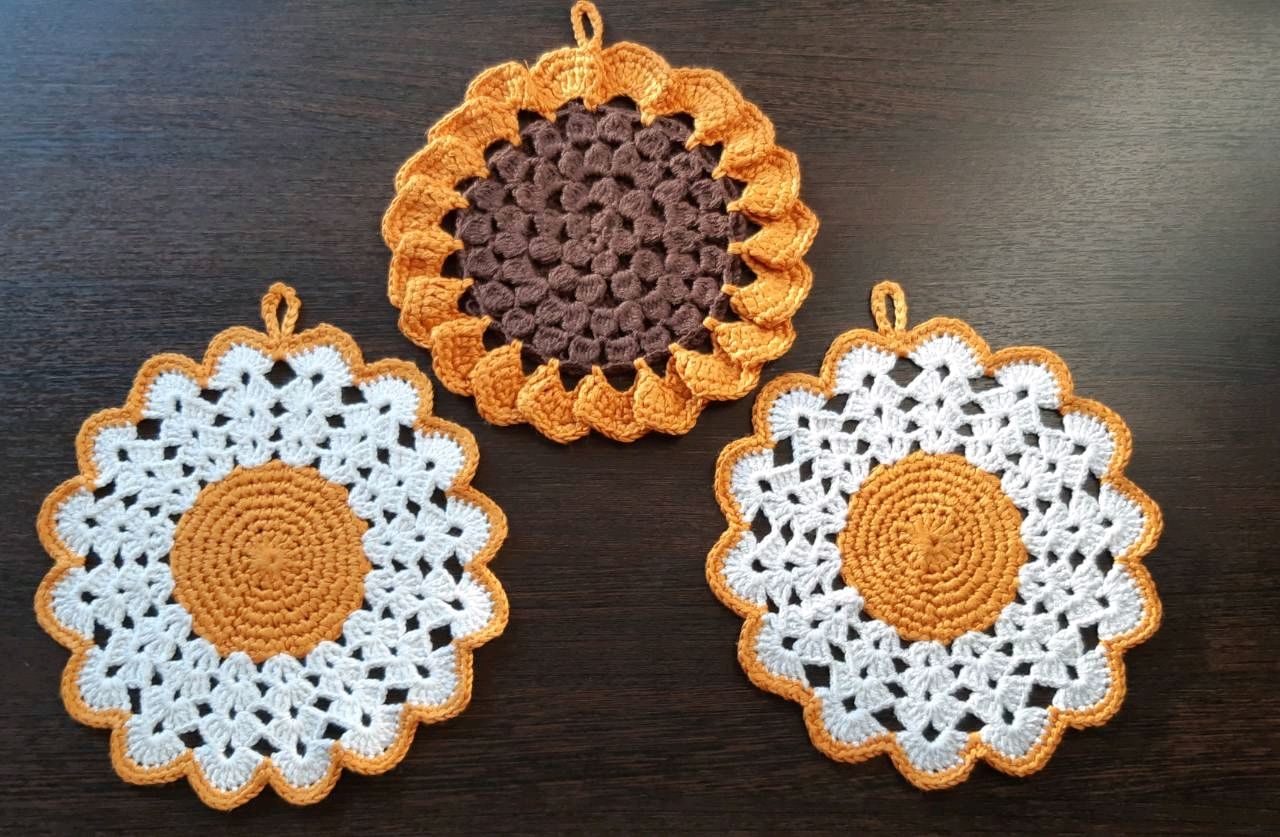
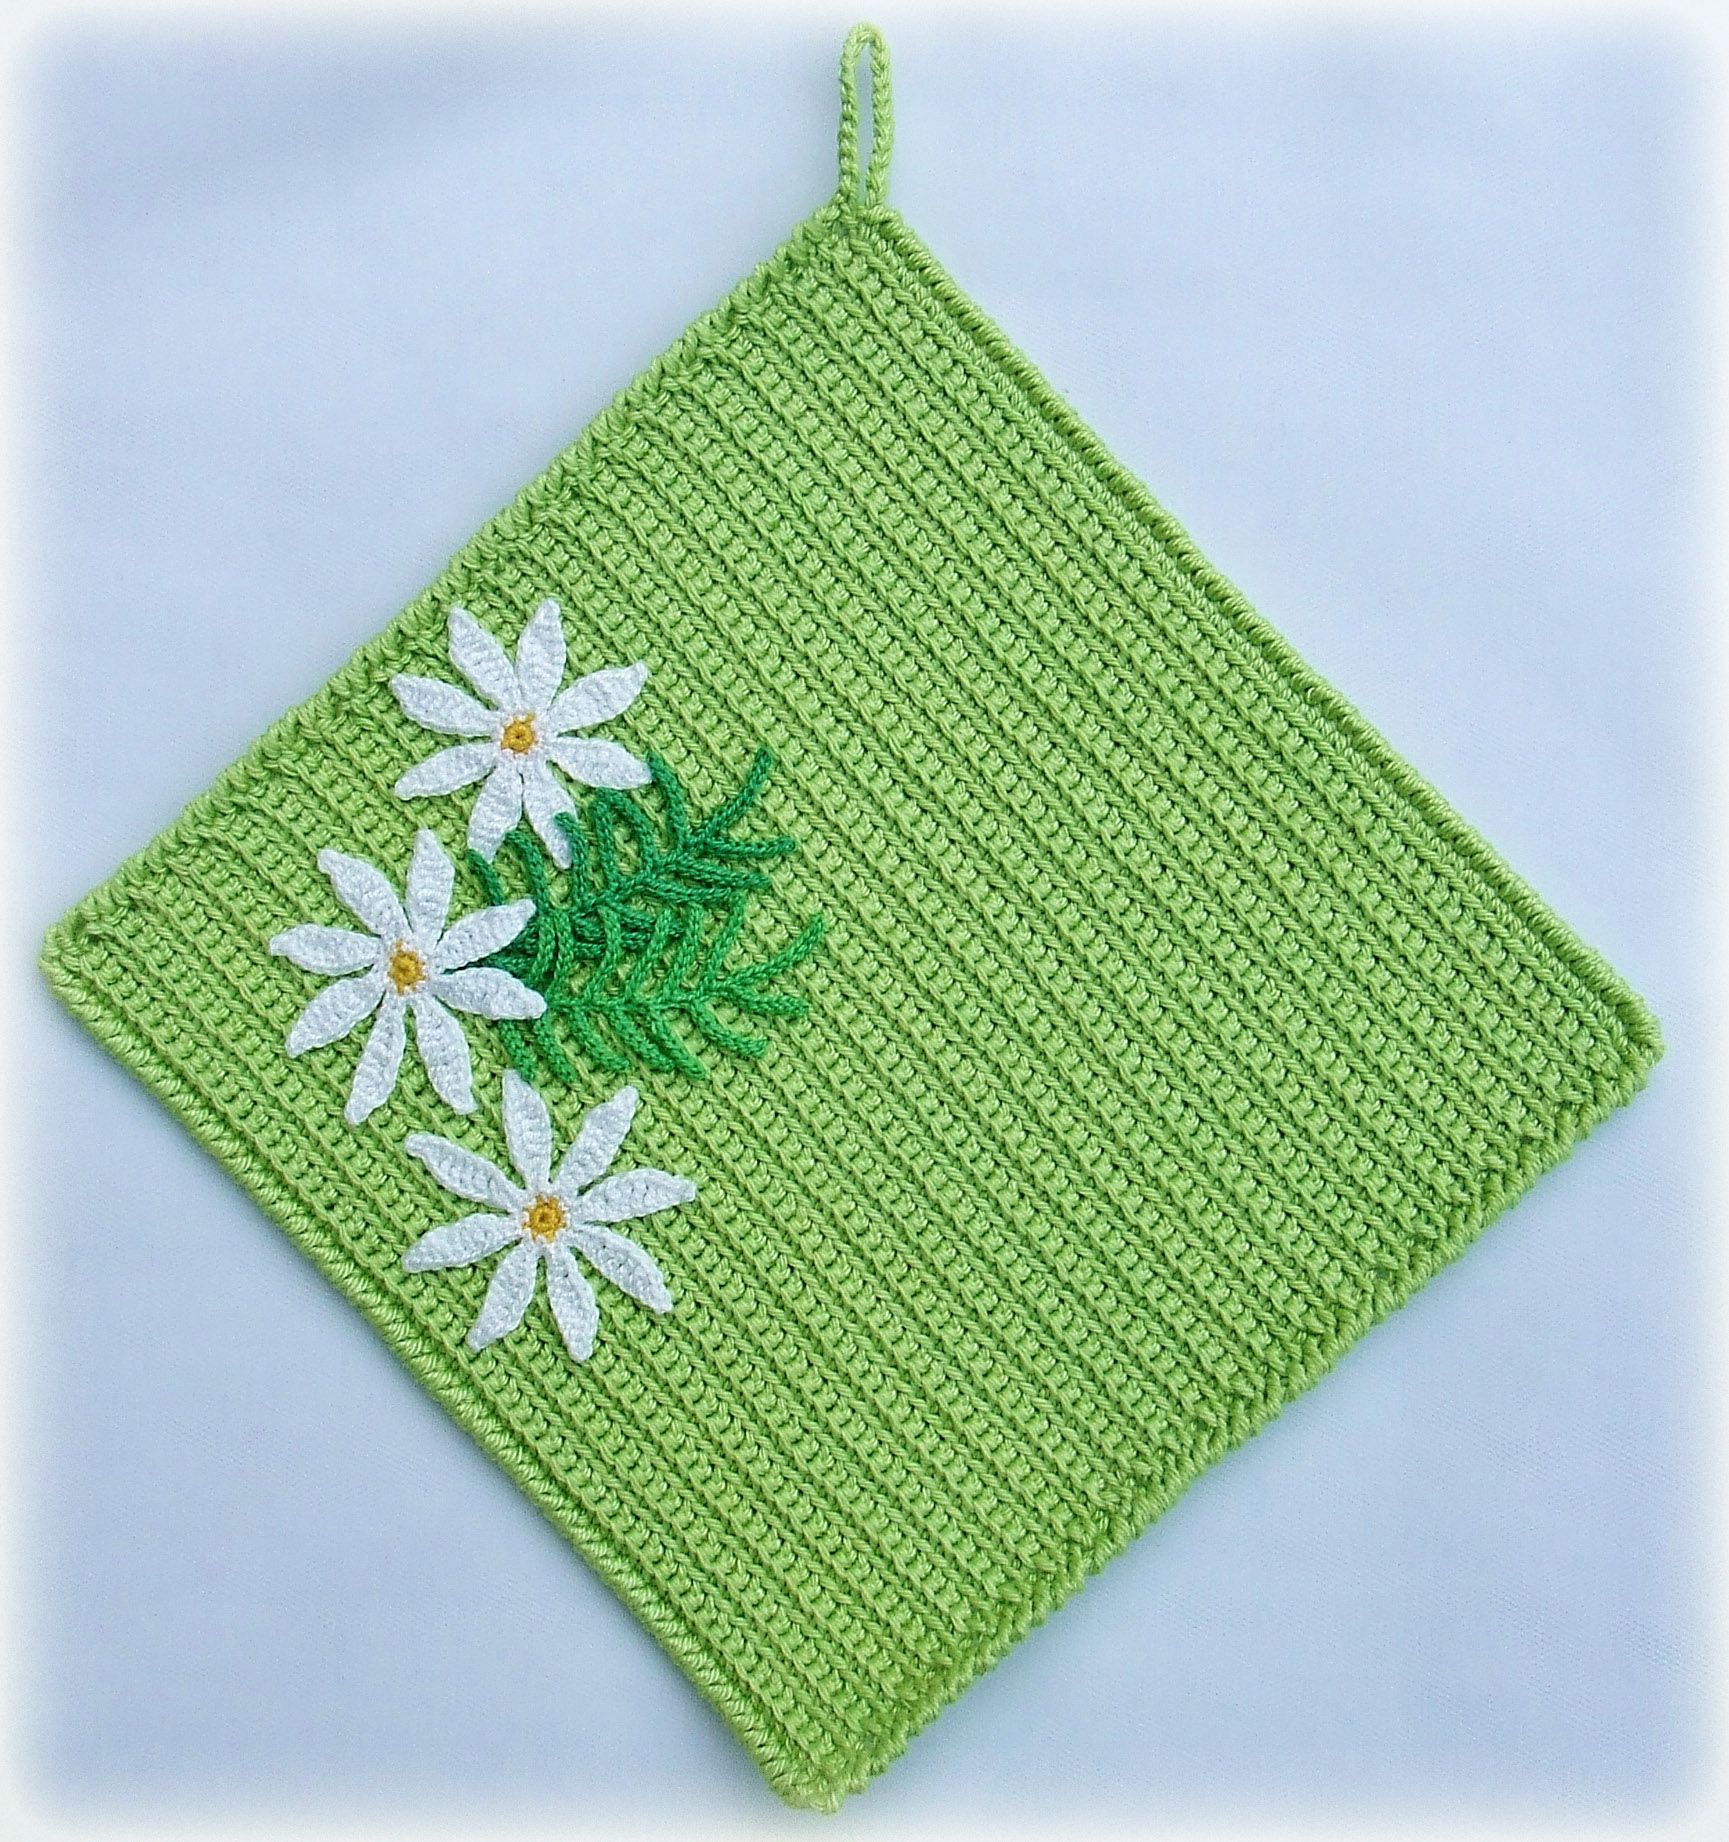
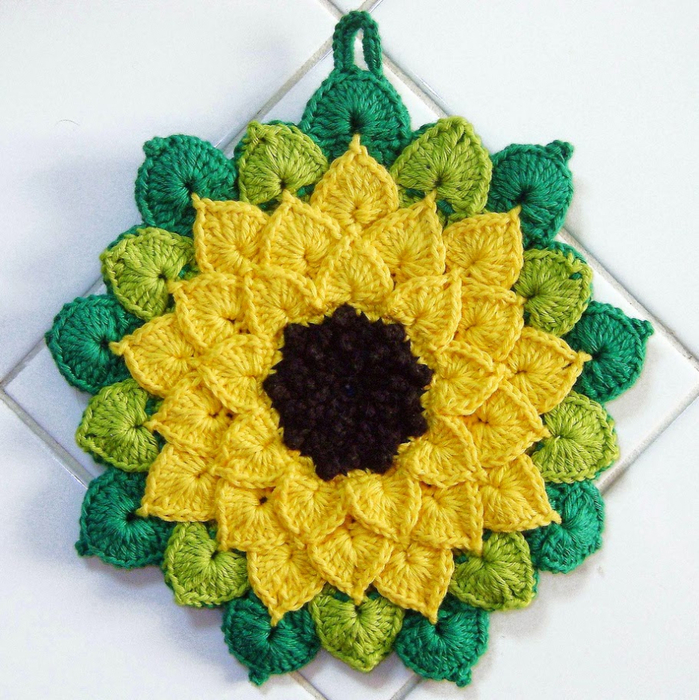
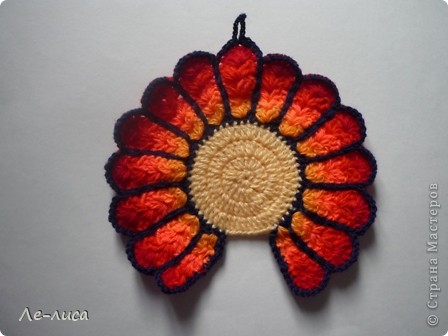
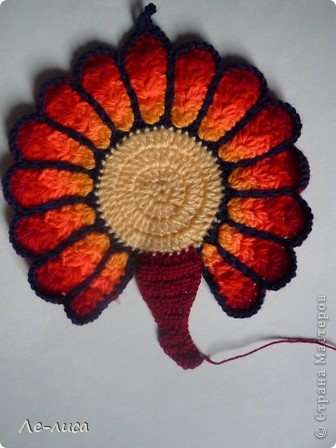
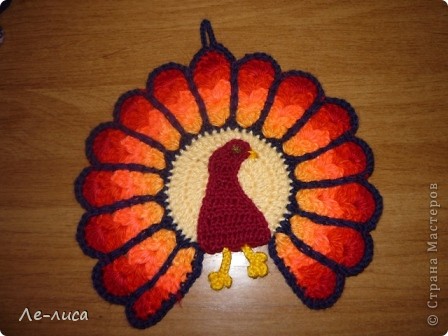
Sunflower
The pattern for this product is very similar to the pattern for the Flower potholder.
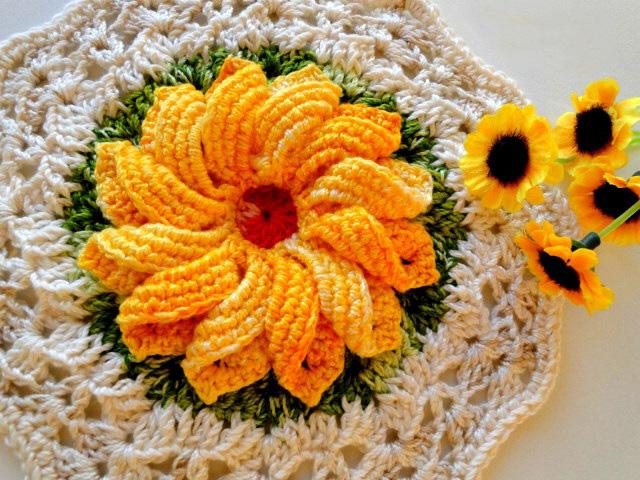
All the same steps are done, starting with a flat circle. Then 12 petals are knitted, tying them with three rows of single crochets and continue according to the pattern.
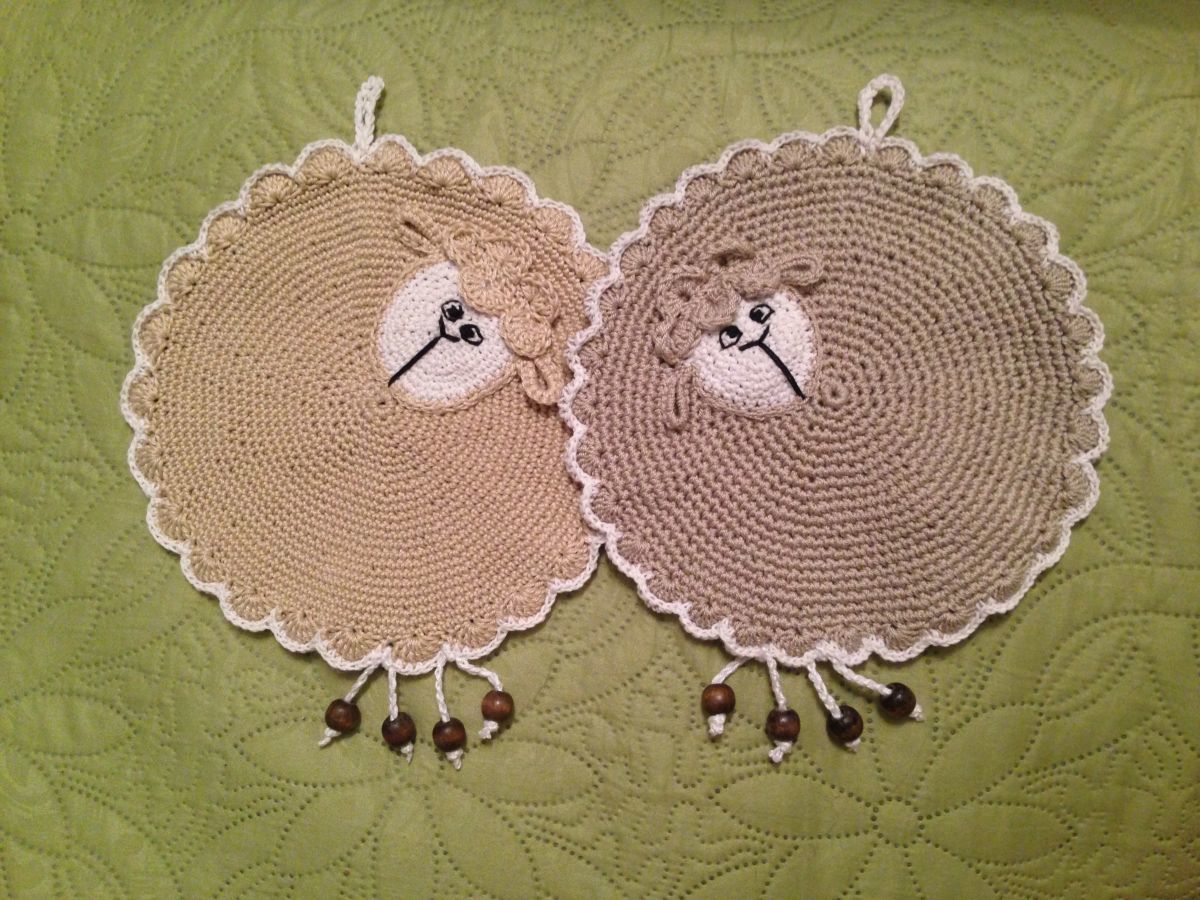
Lamb
This potholder will consist of several parts at once, which will need to be knitted in stages.
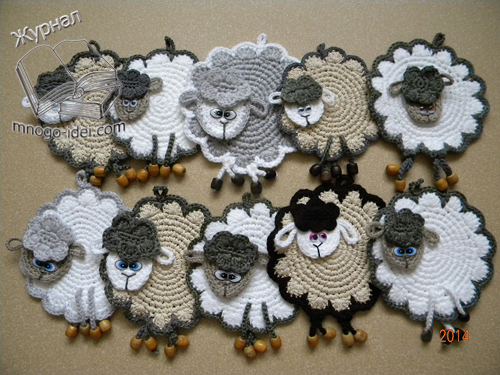
The main part is knitted in the form of a circle, according to the scheme. The last row should be taken in a darker shade.
Next we knit a very simple to make forelock, also knitting the fabric with yarn of a darker shade
To make the legs, we collect white threads in 9 air loops and make 3 lifting loops. In the fifth loop we knit first one, then 3 double crochets, 2 half double crochets, 1 dc, 3 dc in one loop, 1 dc, 2 half double crochets, 4 dc and 3 air loops - close in the initial loop.
For the ears, cast on 8 air loops with dark yarn and close into a ring. In the second loop, add 1 double crochet, 1 double crochet and 1 sl st, 1 half double crochet and 3 half double crochets into one loop.
We make ears and legs in pairs.
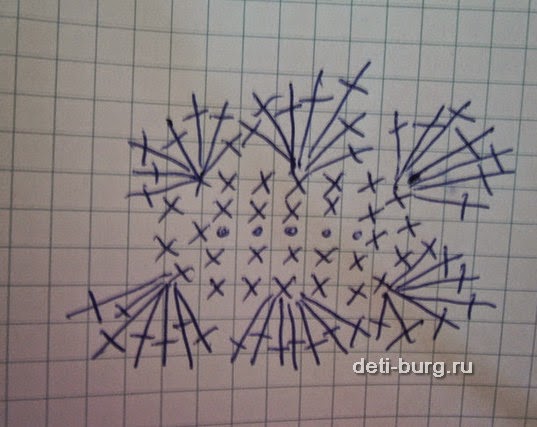
Peacock
For the first row of the base, you need to dial 2-3 air loops and close them into a circle.
In the second row we make 7 half-columns. In the 3rd, 4th and 5th rows we make 17, 37 and 50 double crochets respectively.
We complement the finished part with any contrasting thread, knitting a row of single crochets. But it is important to leave 8 loops untouched. (16)
Using double crochet stitches, we knit the tail. “Fans” are knitted in 4-5 rows – no more, increasing the number of “fans” in each of them. (17)
Again using a contrasting thread, we also tie the tail. (18)
On the middle fan, don't forget to make a loop. (19)
We knit the body with single crochets. At the end, we need to pull the last thread so that the body rises to the tail.
Next we sew on the eye, embroider the beak, tie up the legs and sew the head to the body. (20-21)
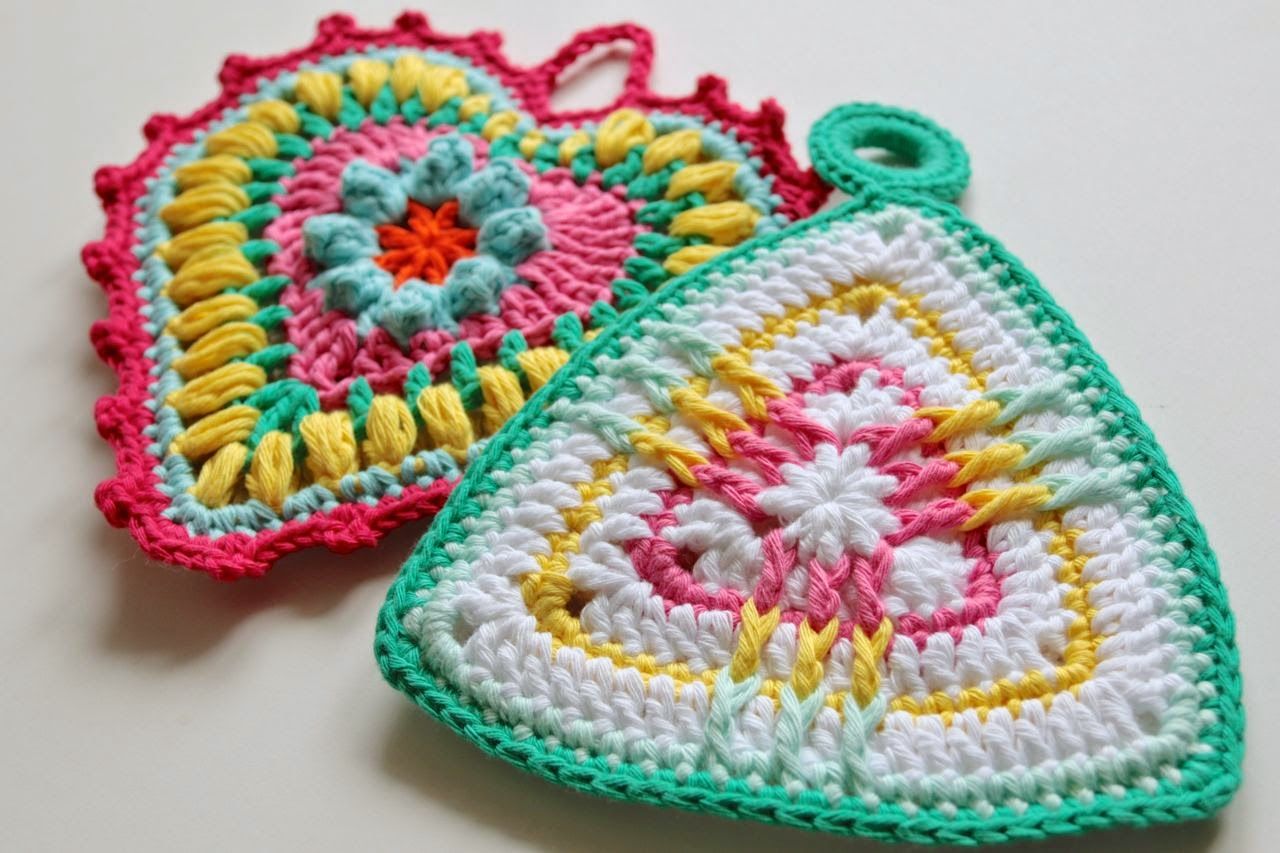
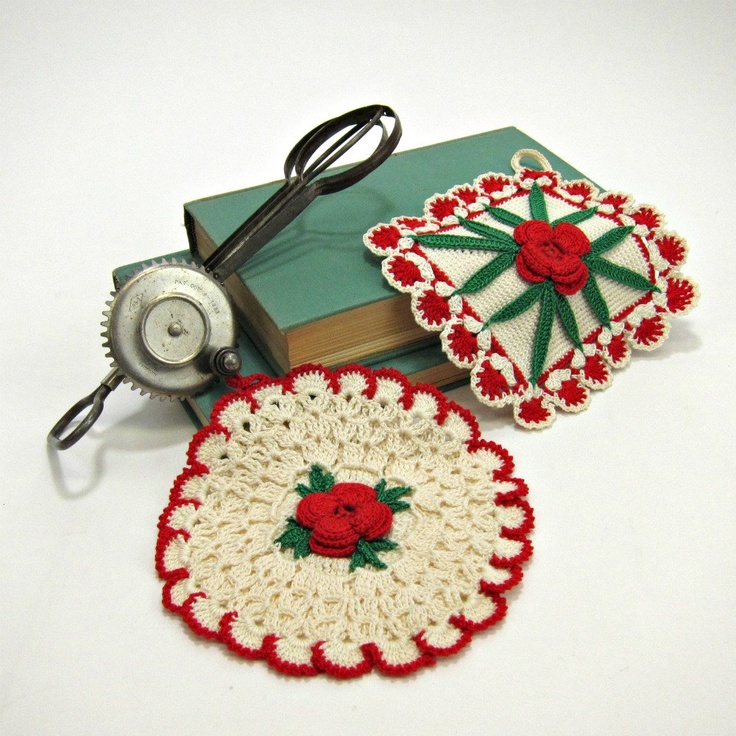
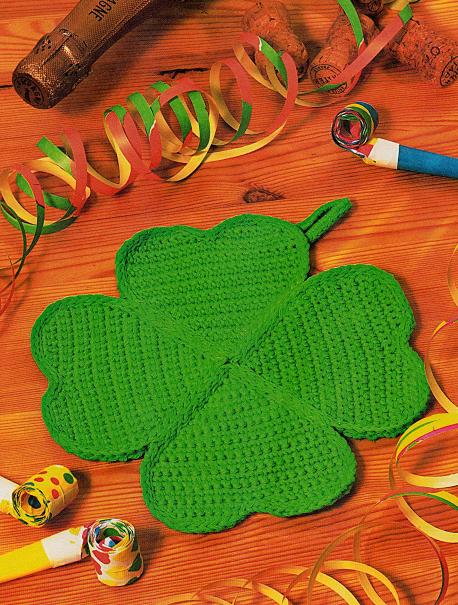
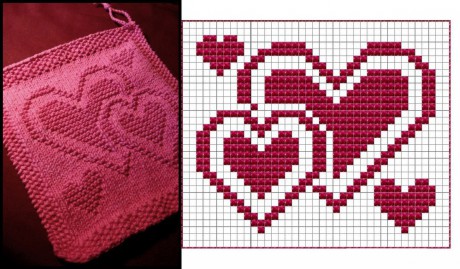
Heart
This potholder will be a nice Valentine's Day gift for your mom, sister or friend.
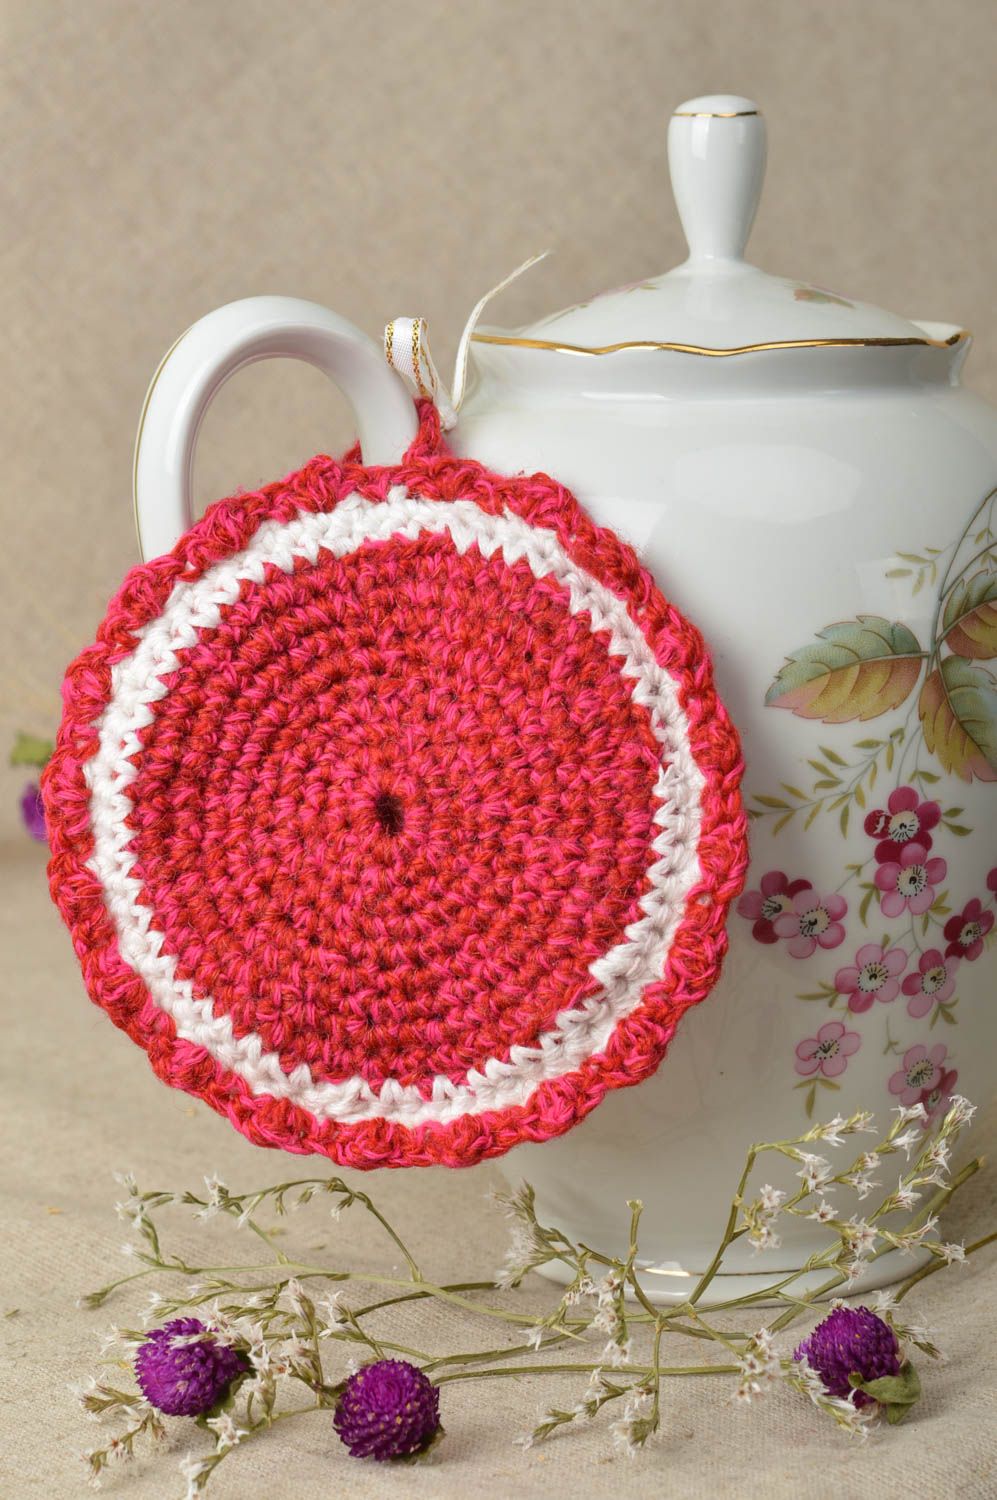
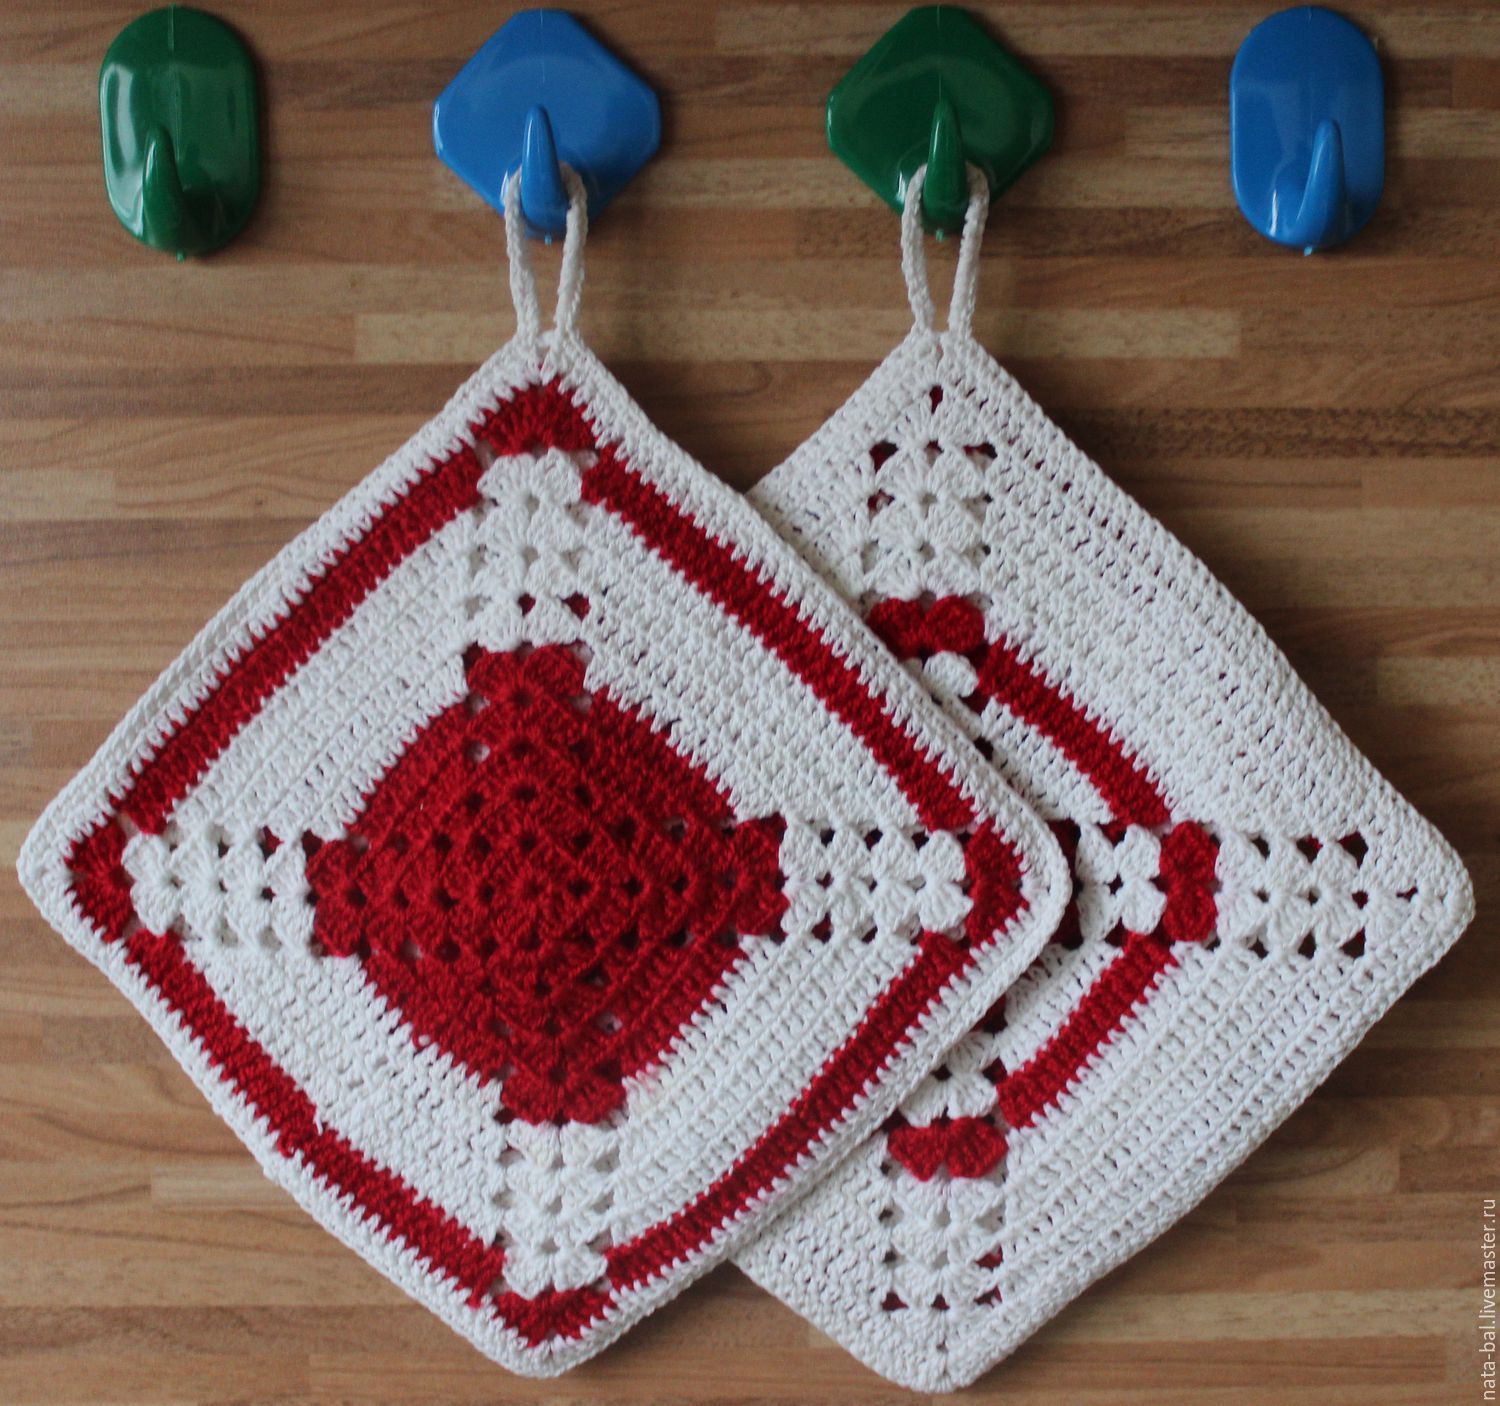
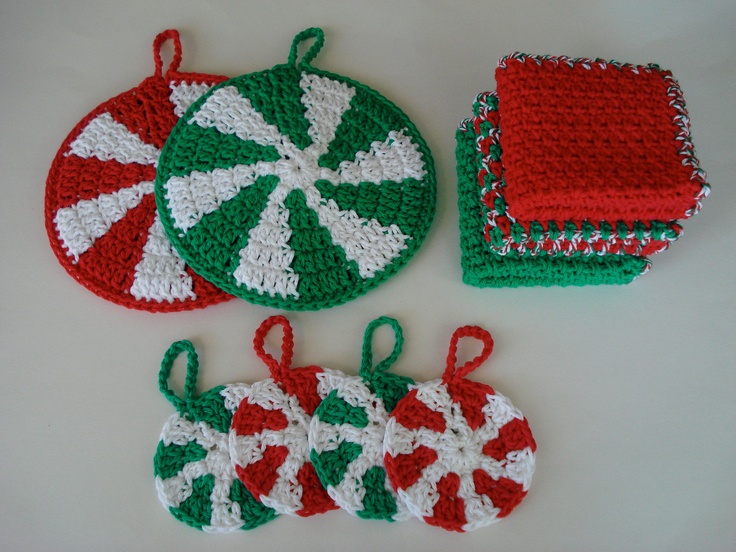
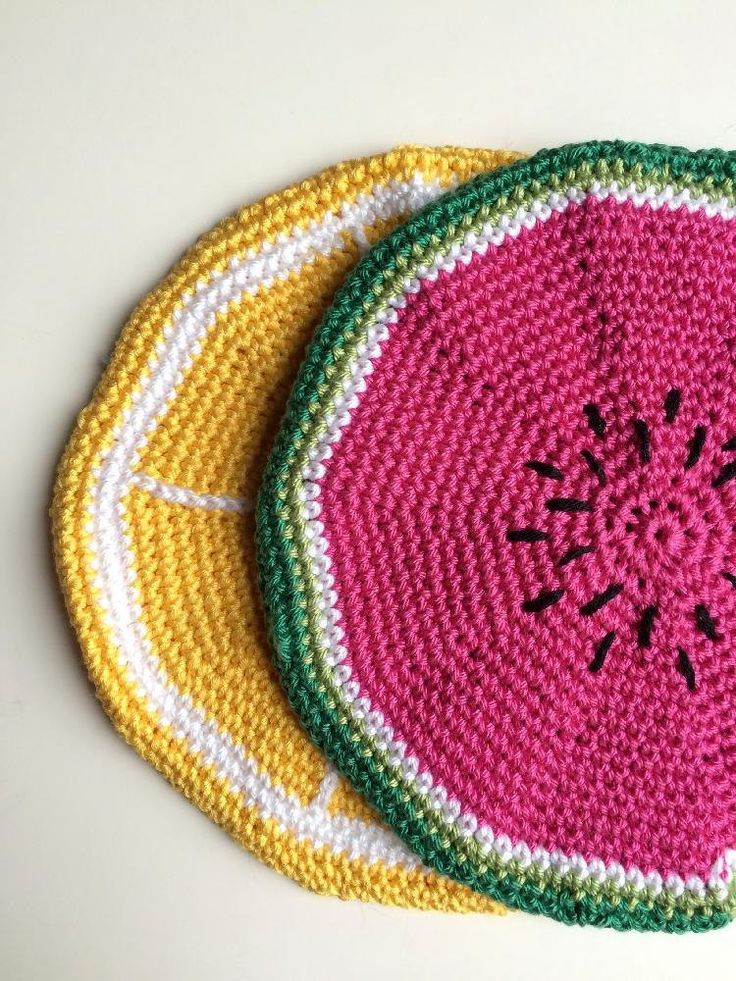
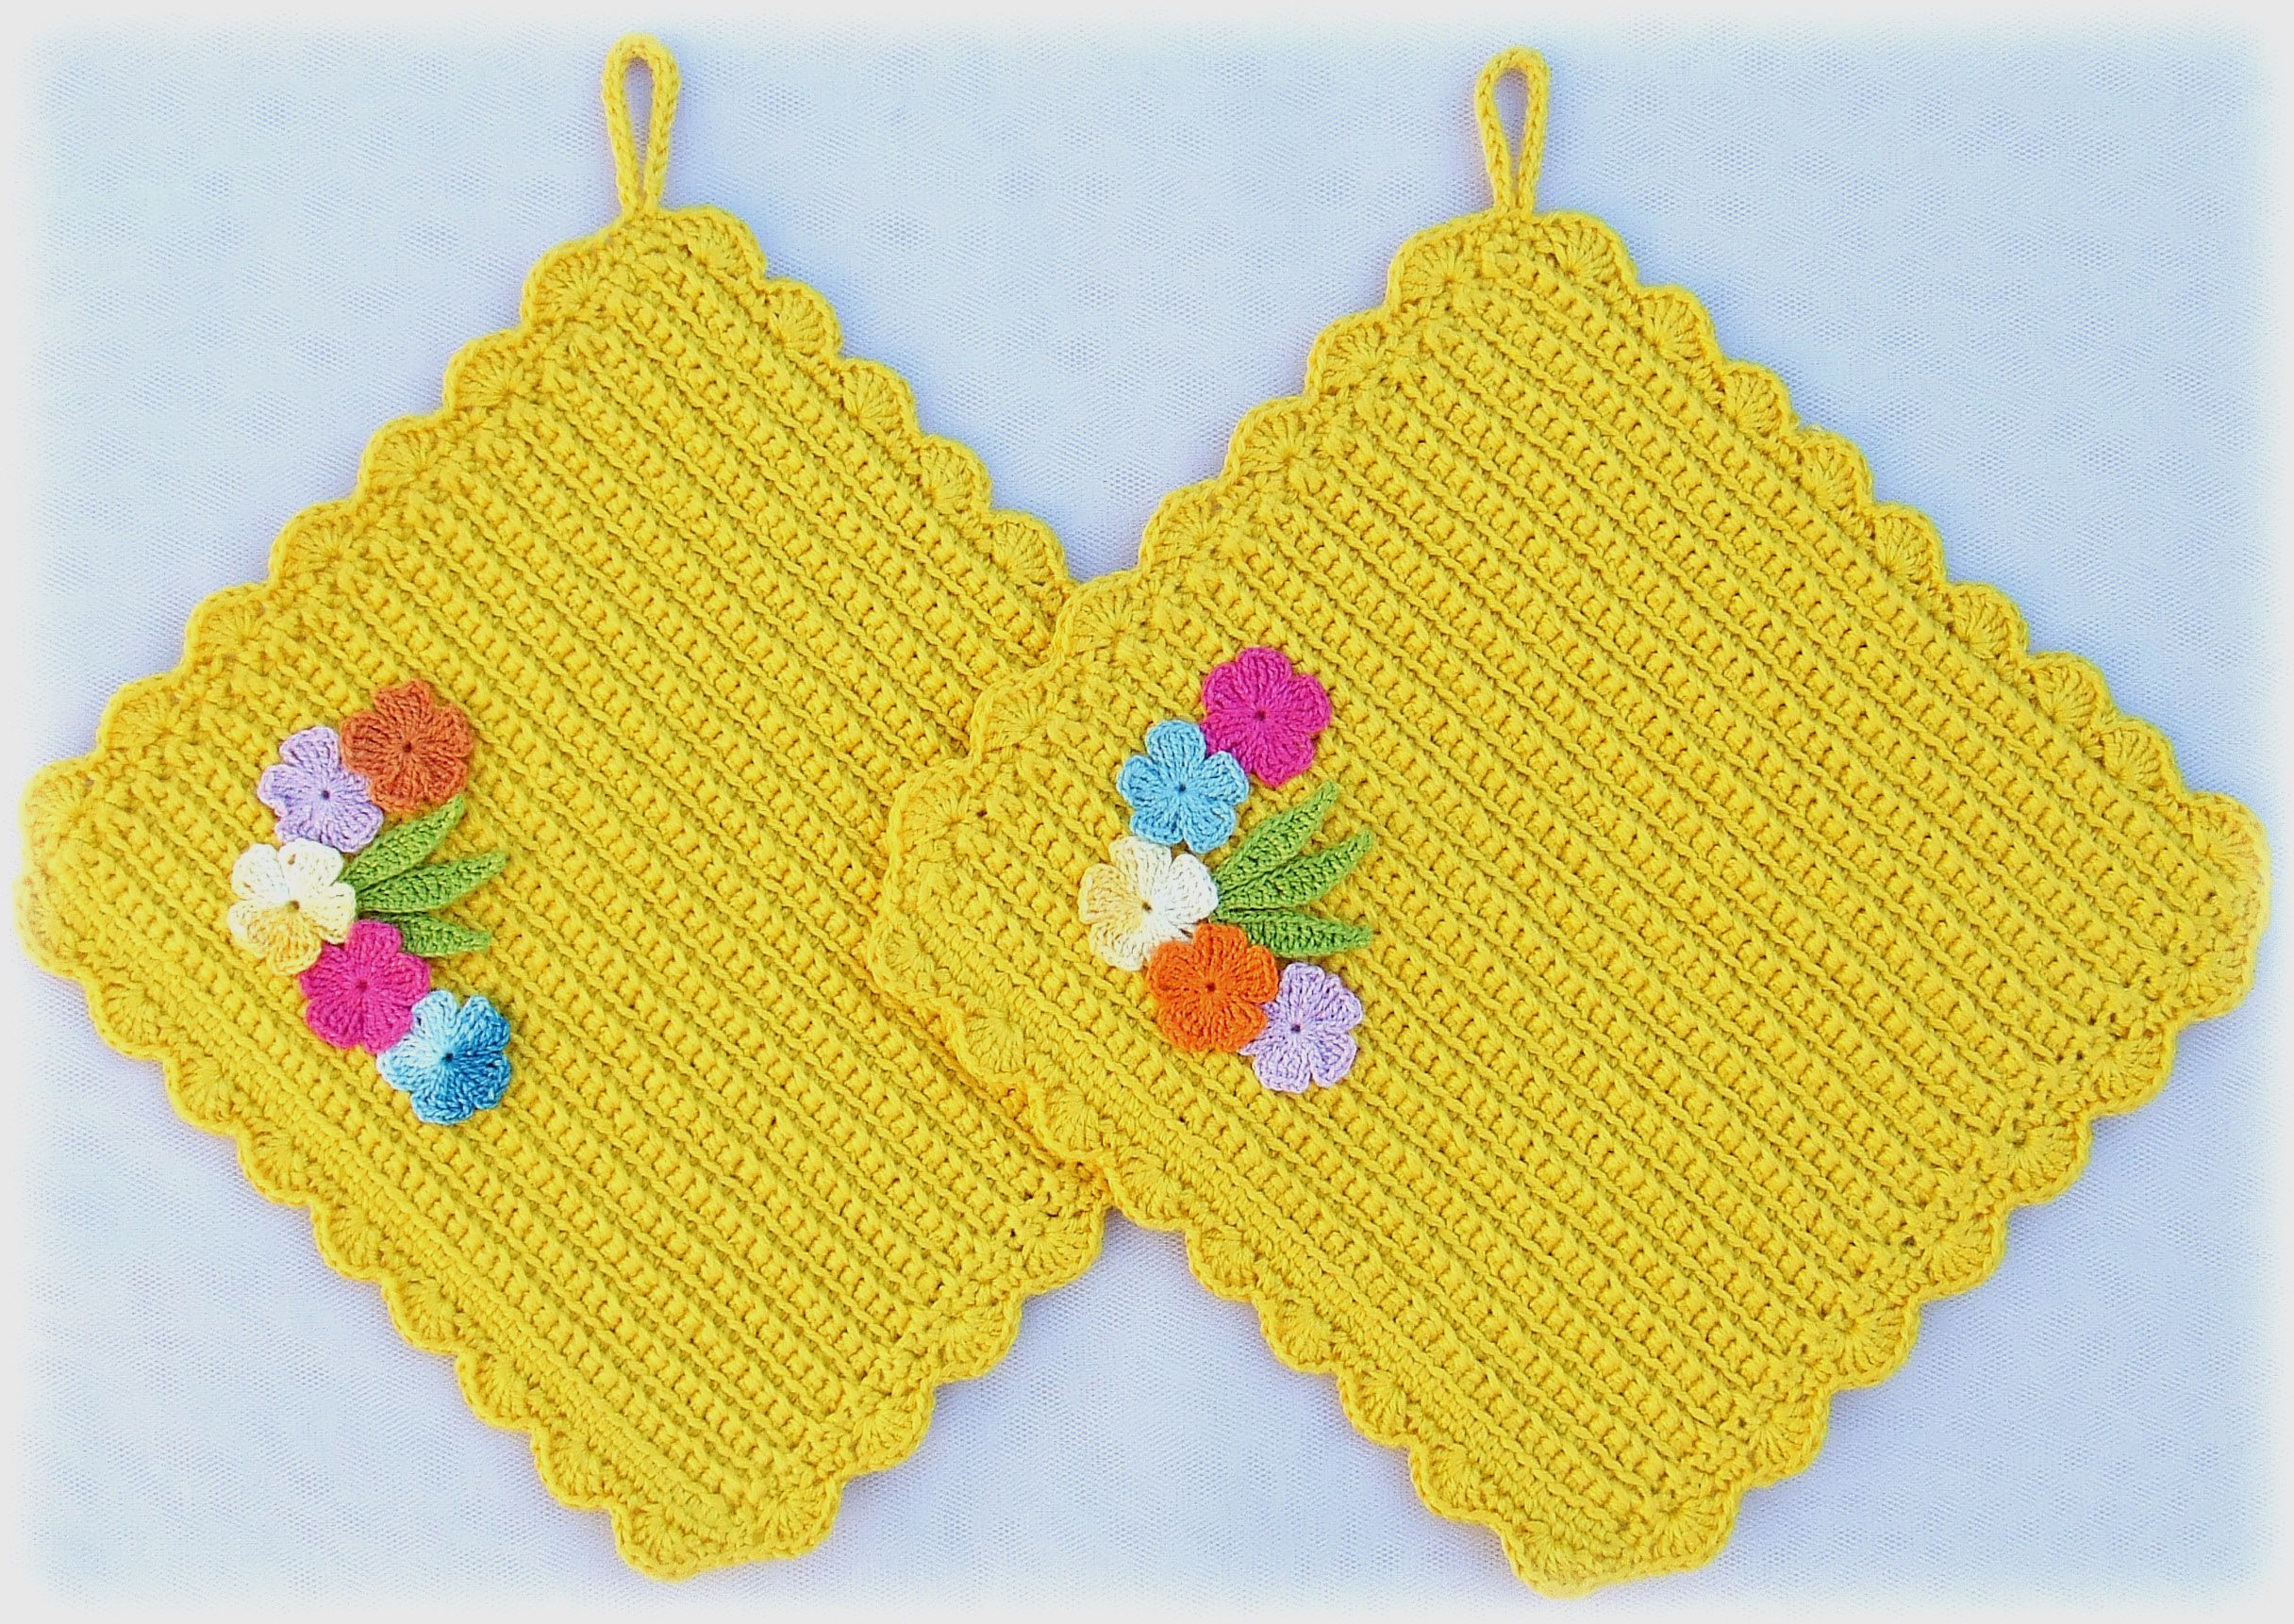
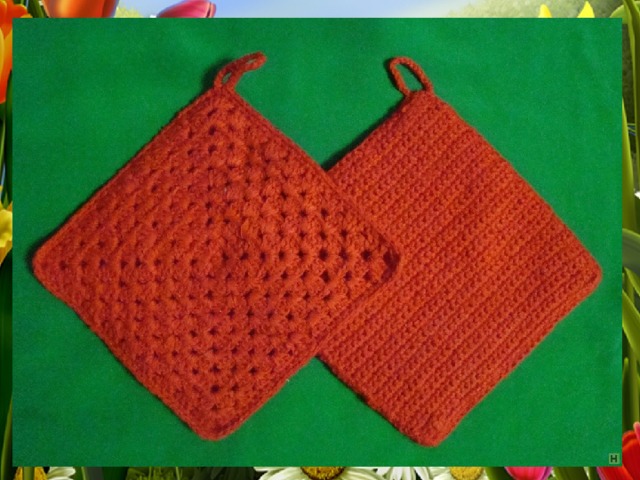
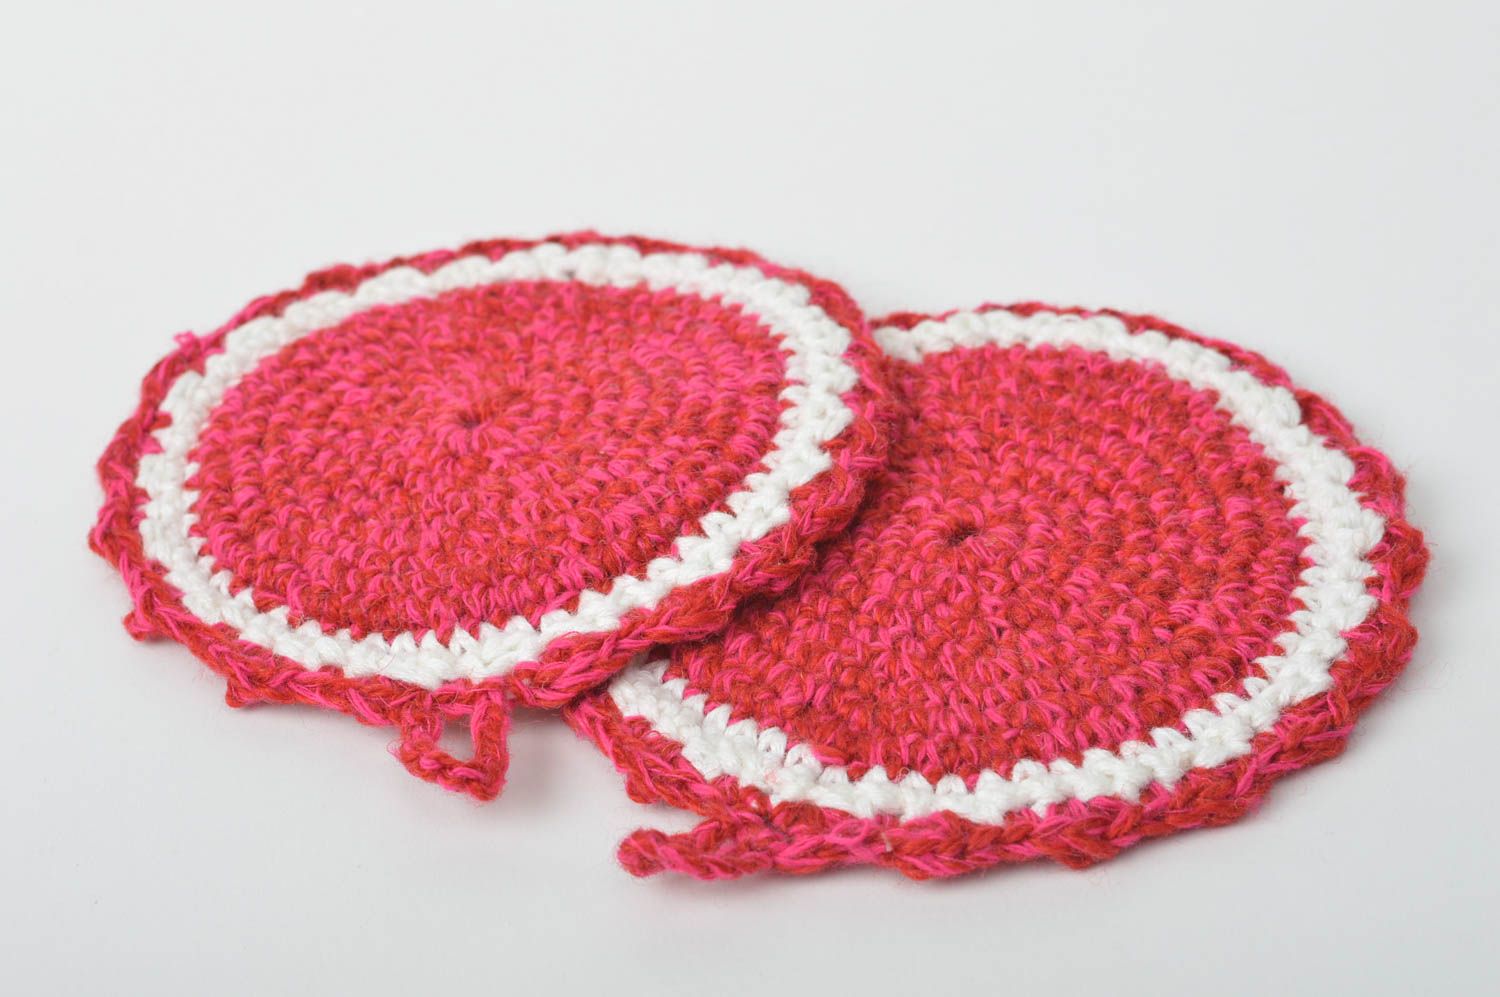
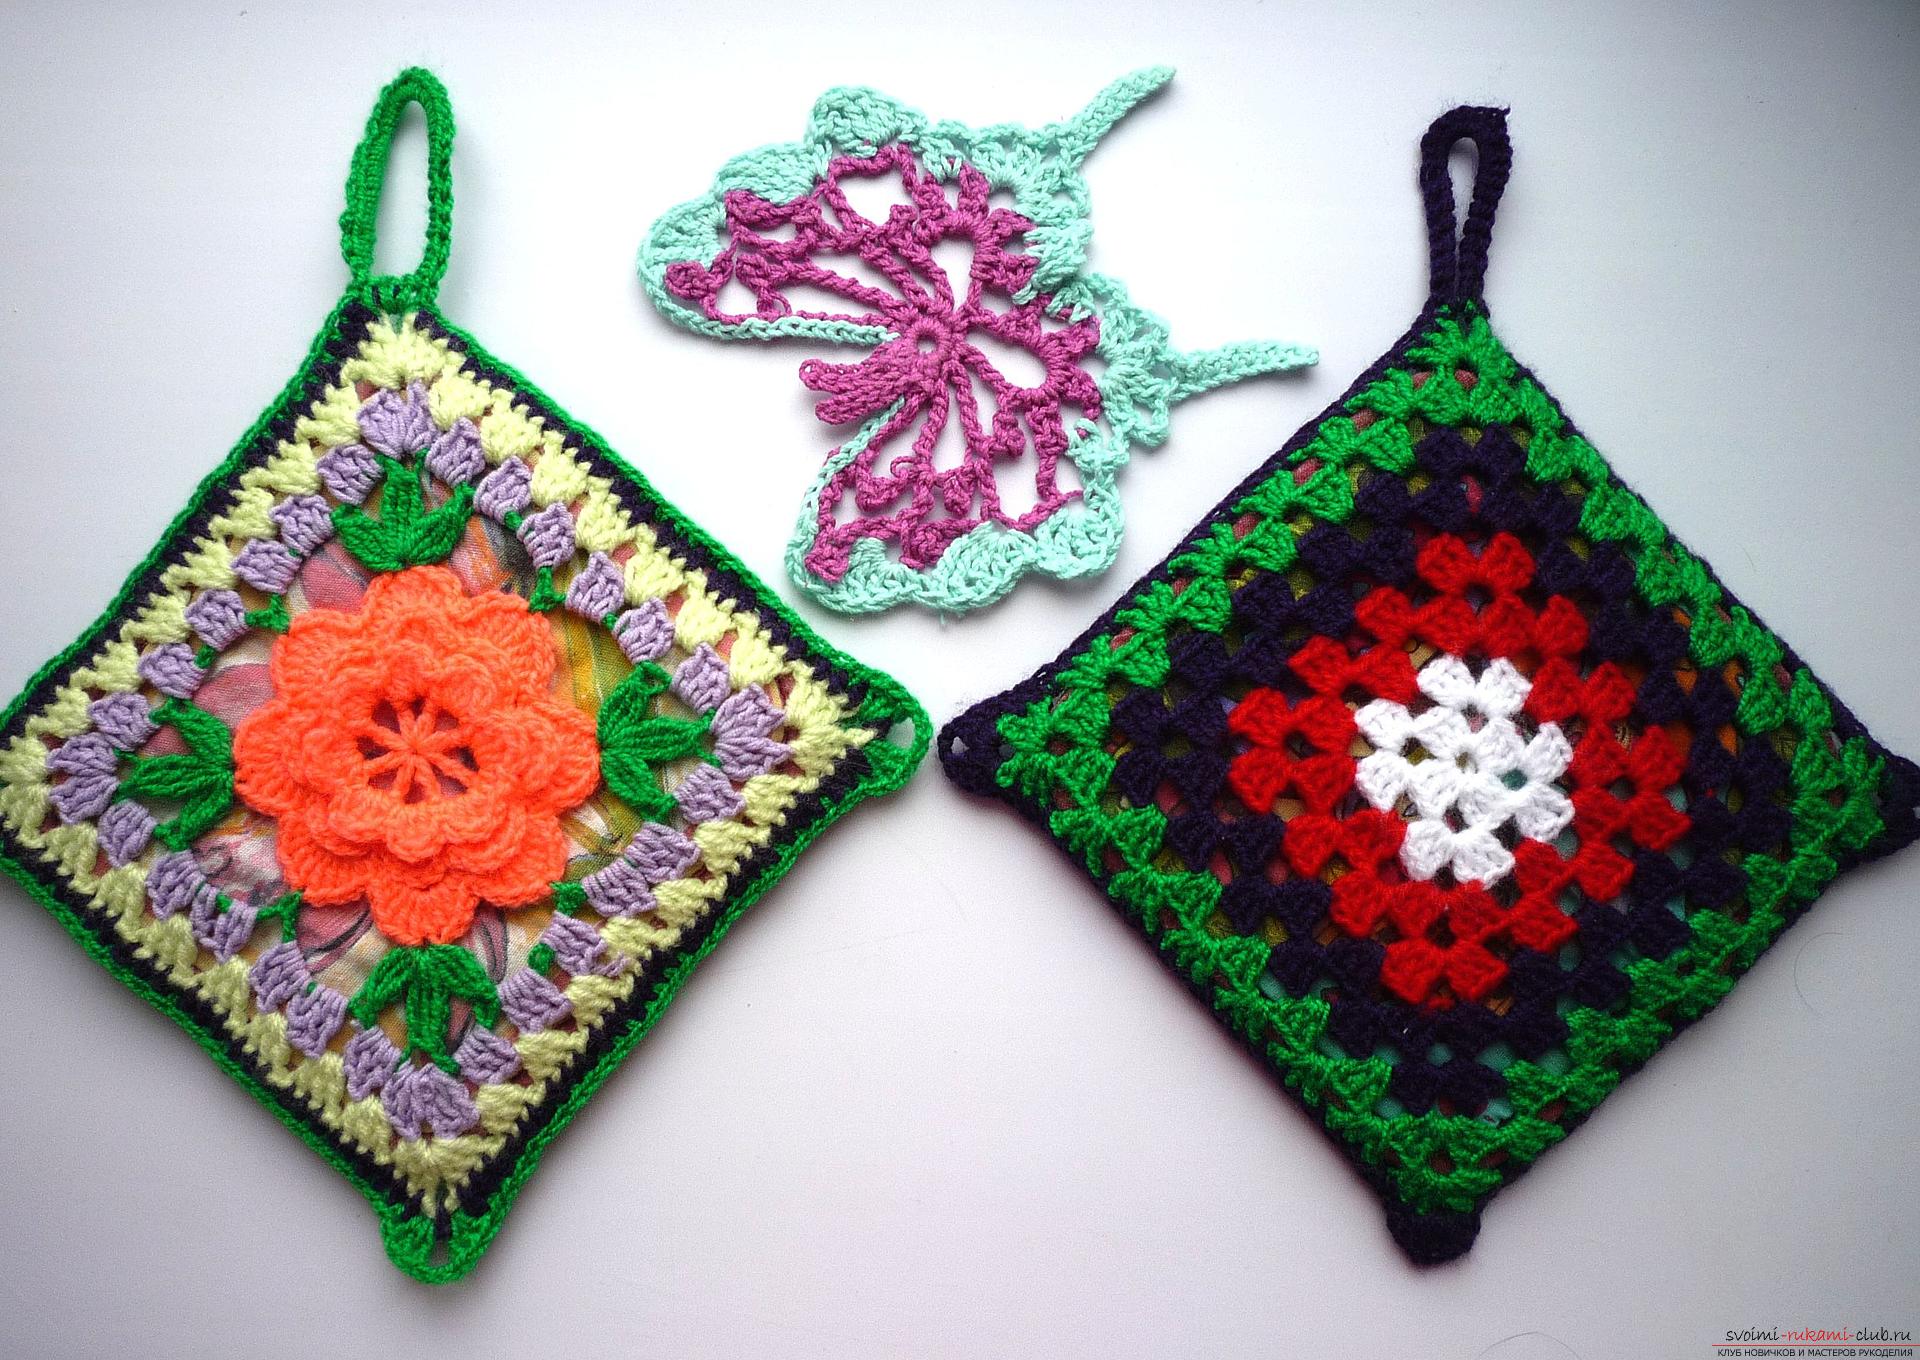
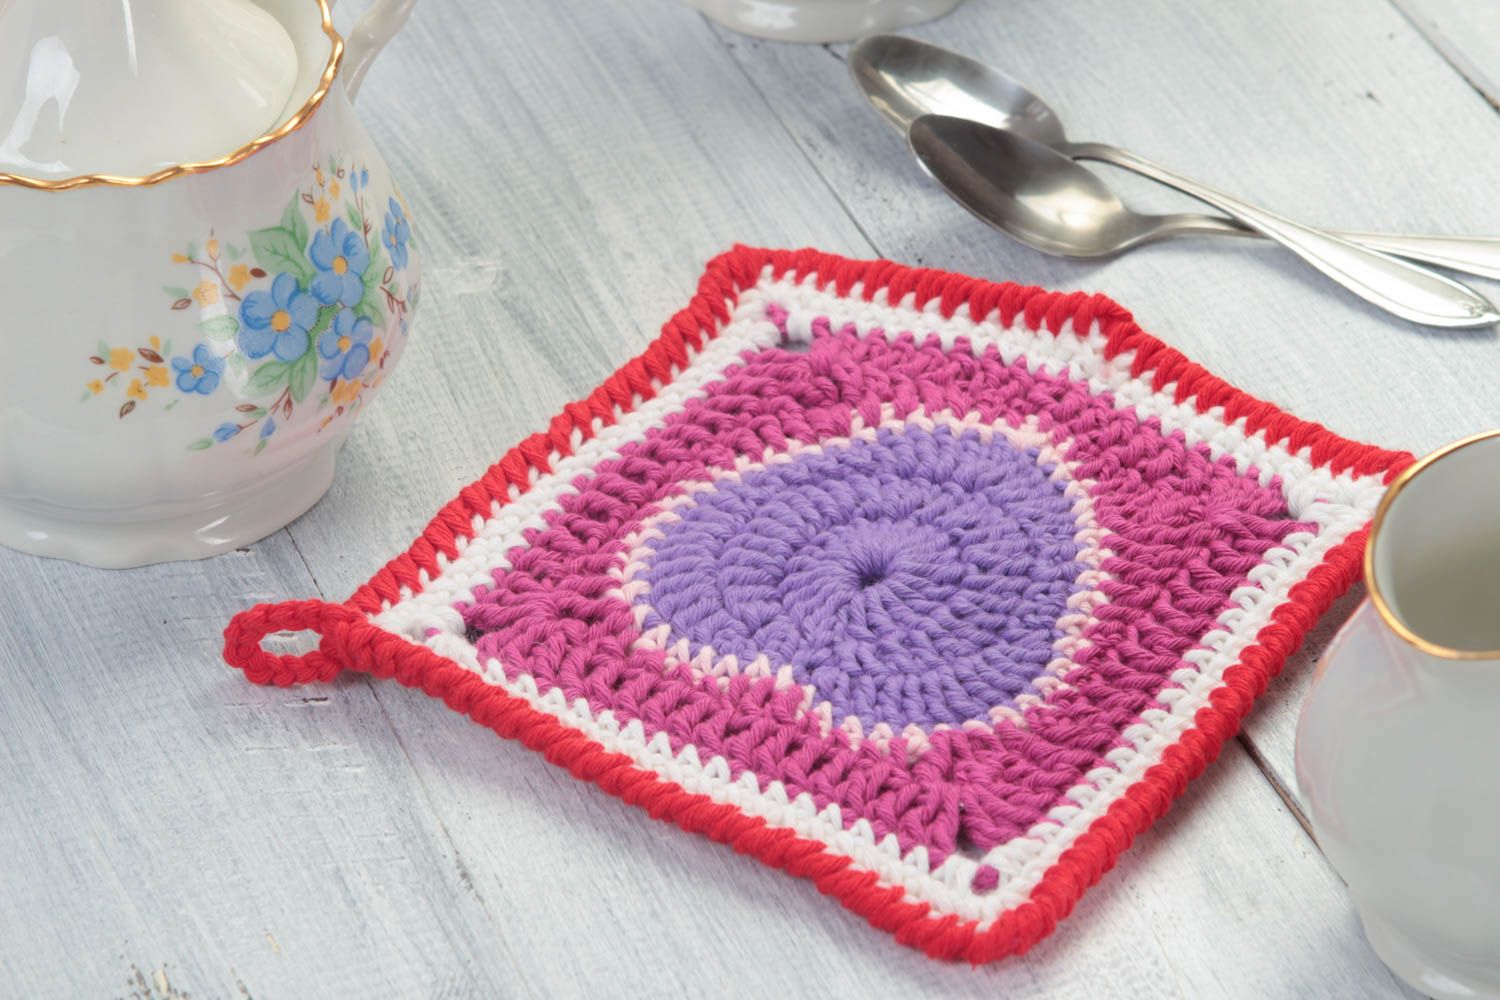
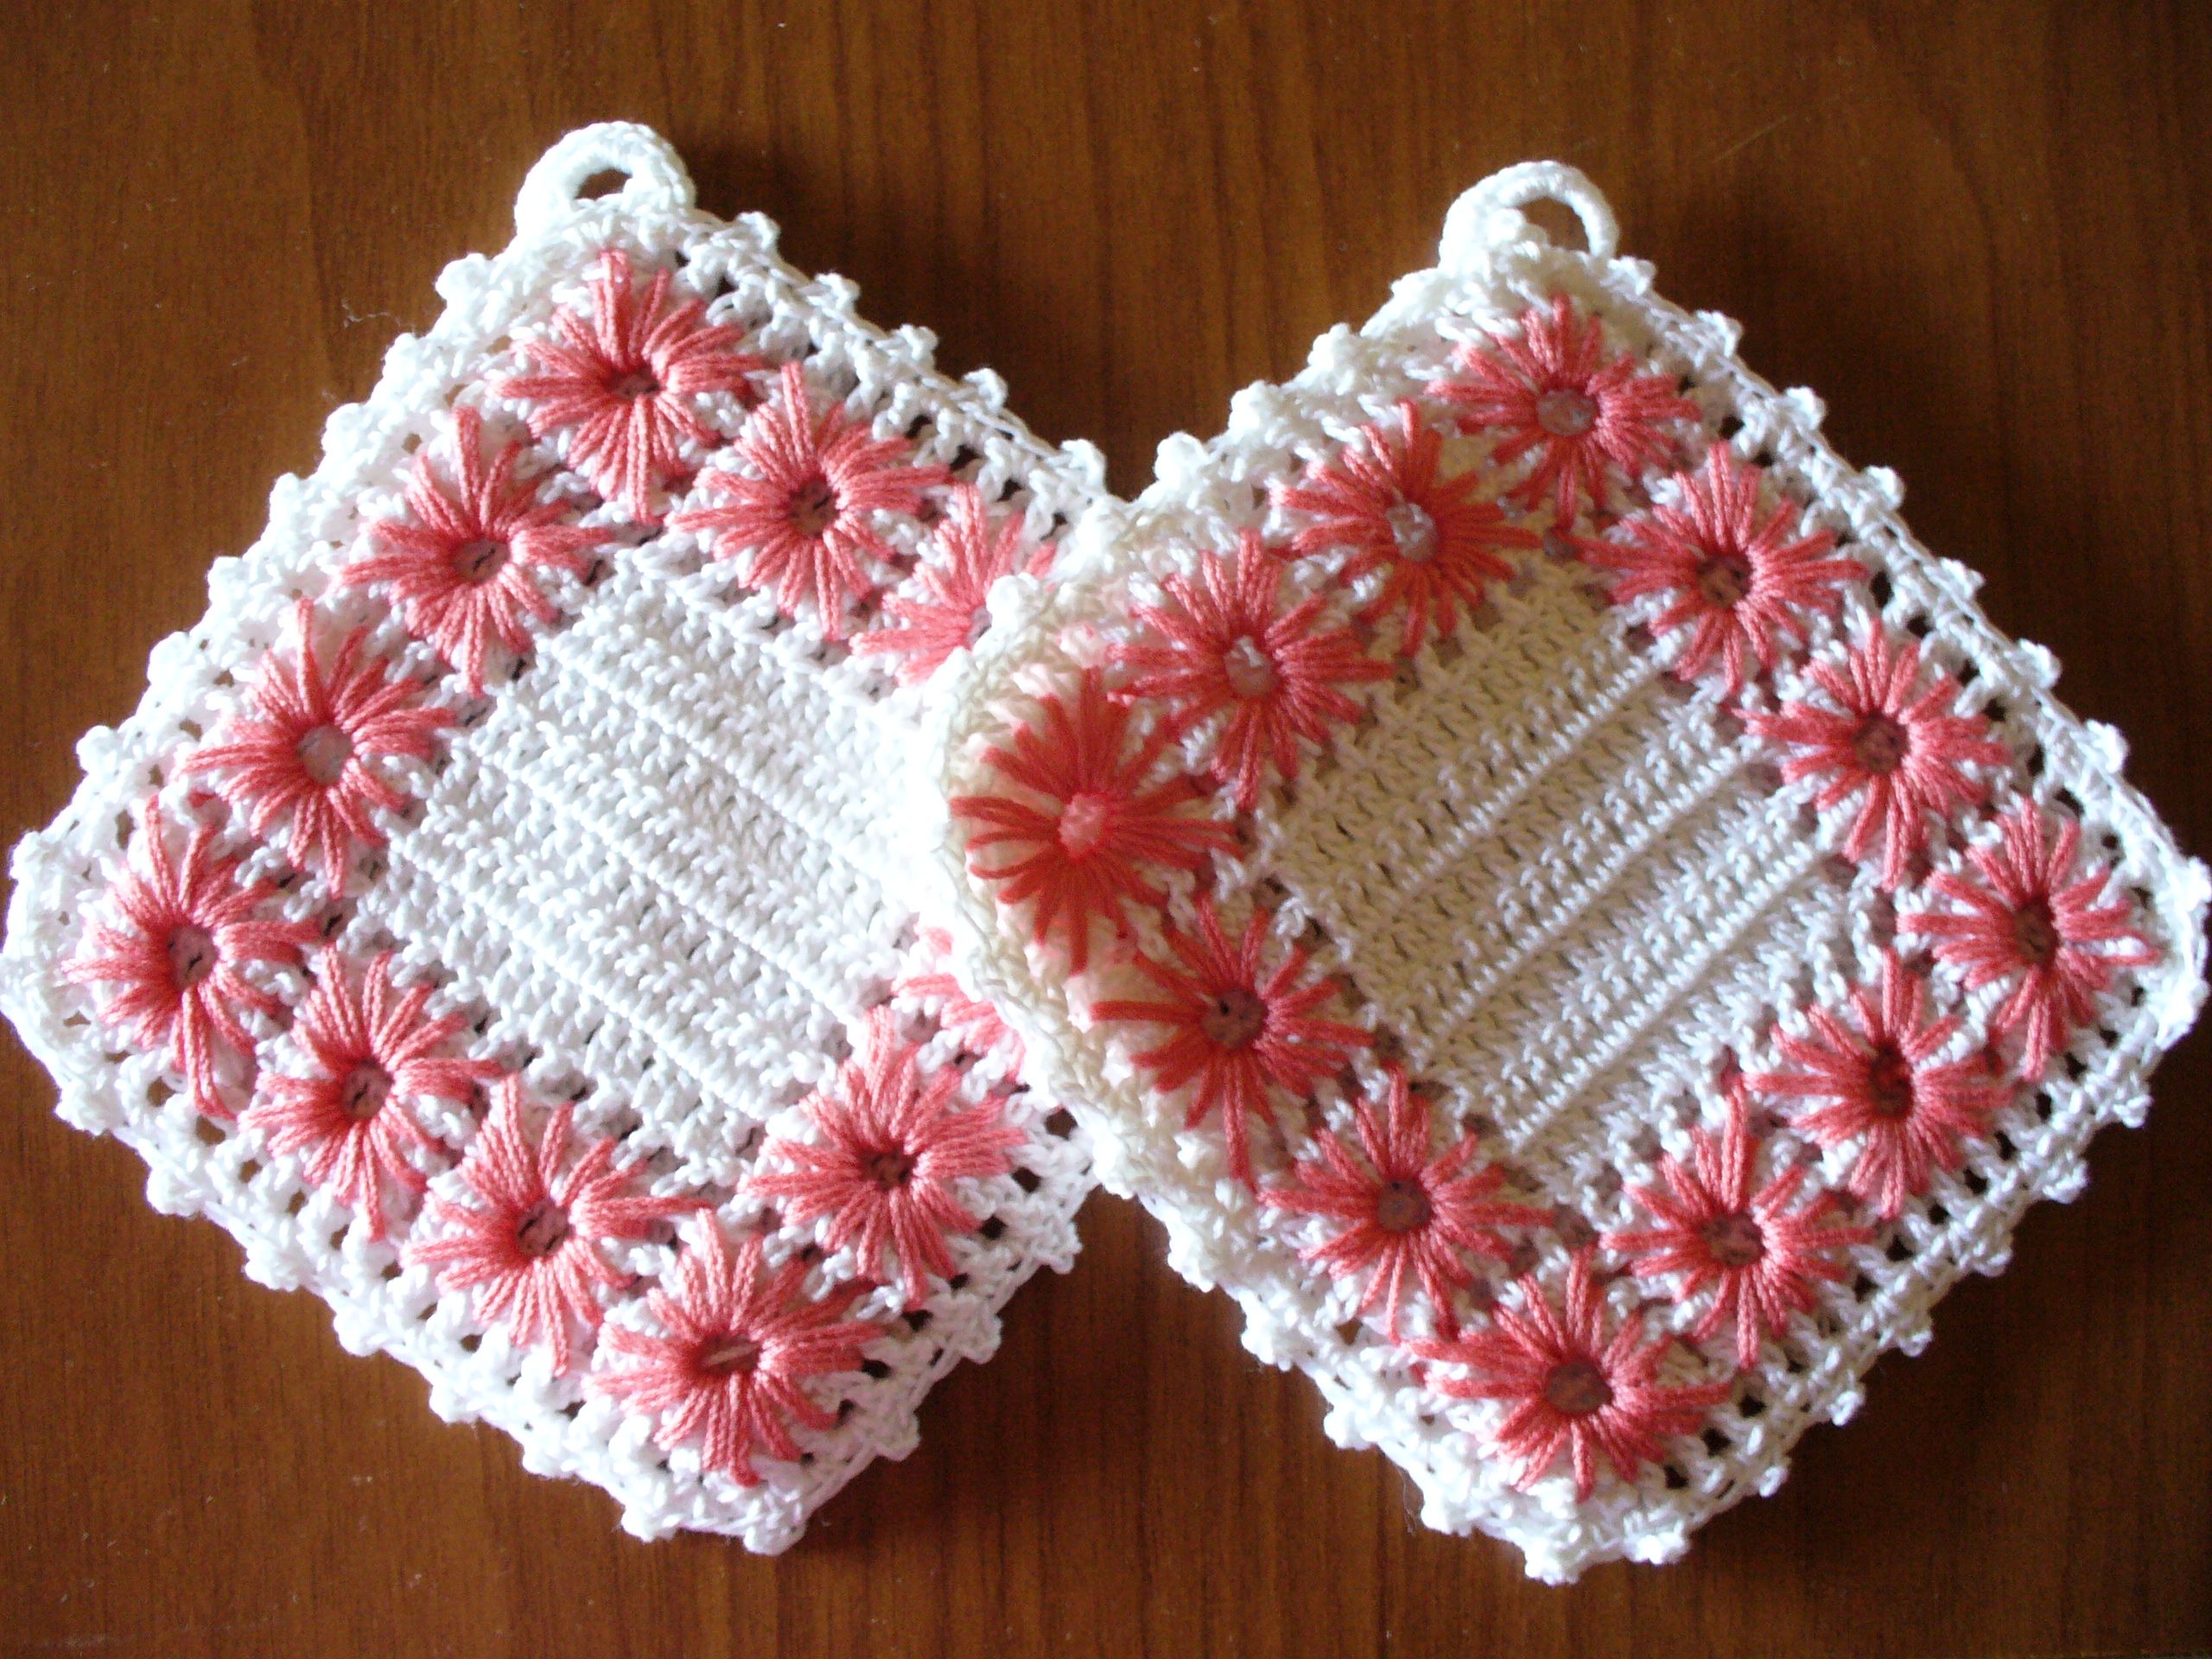
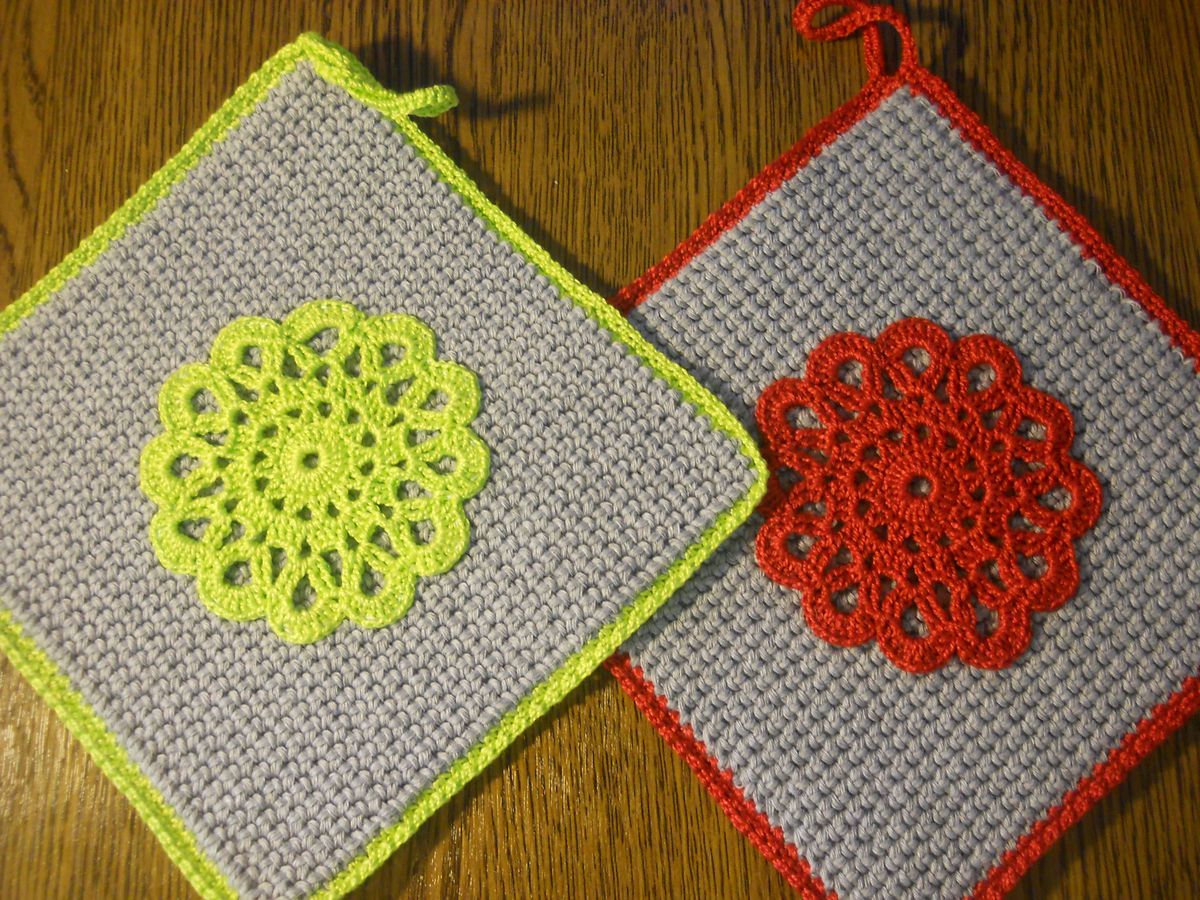
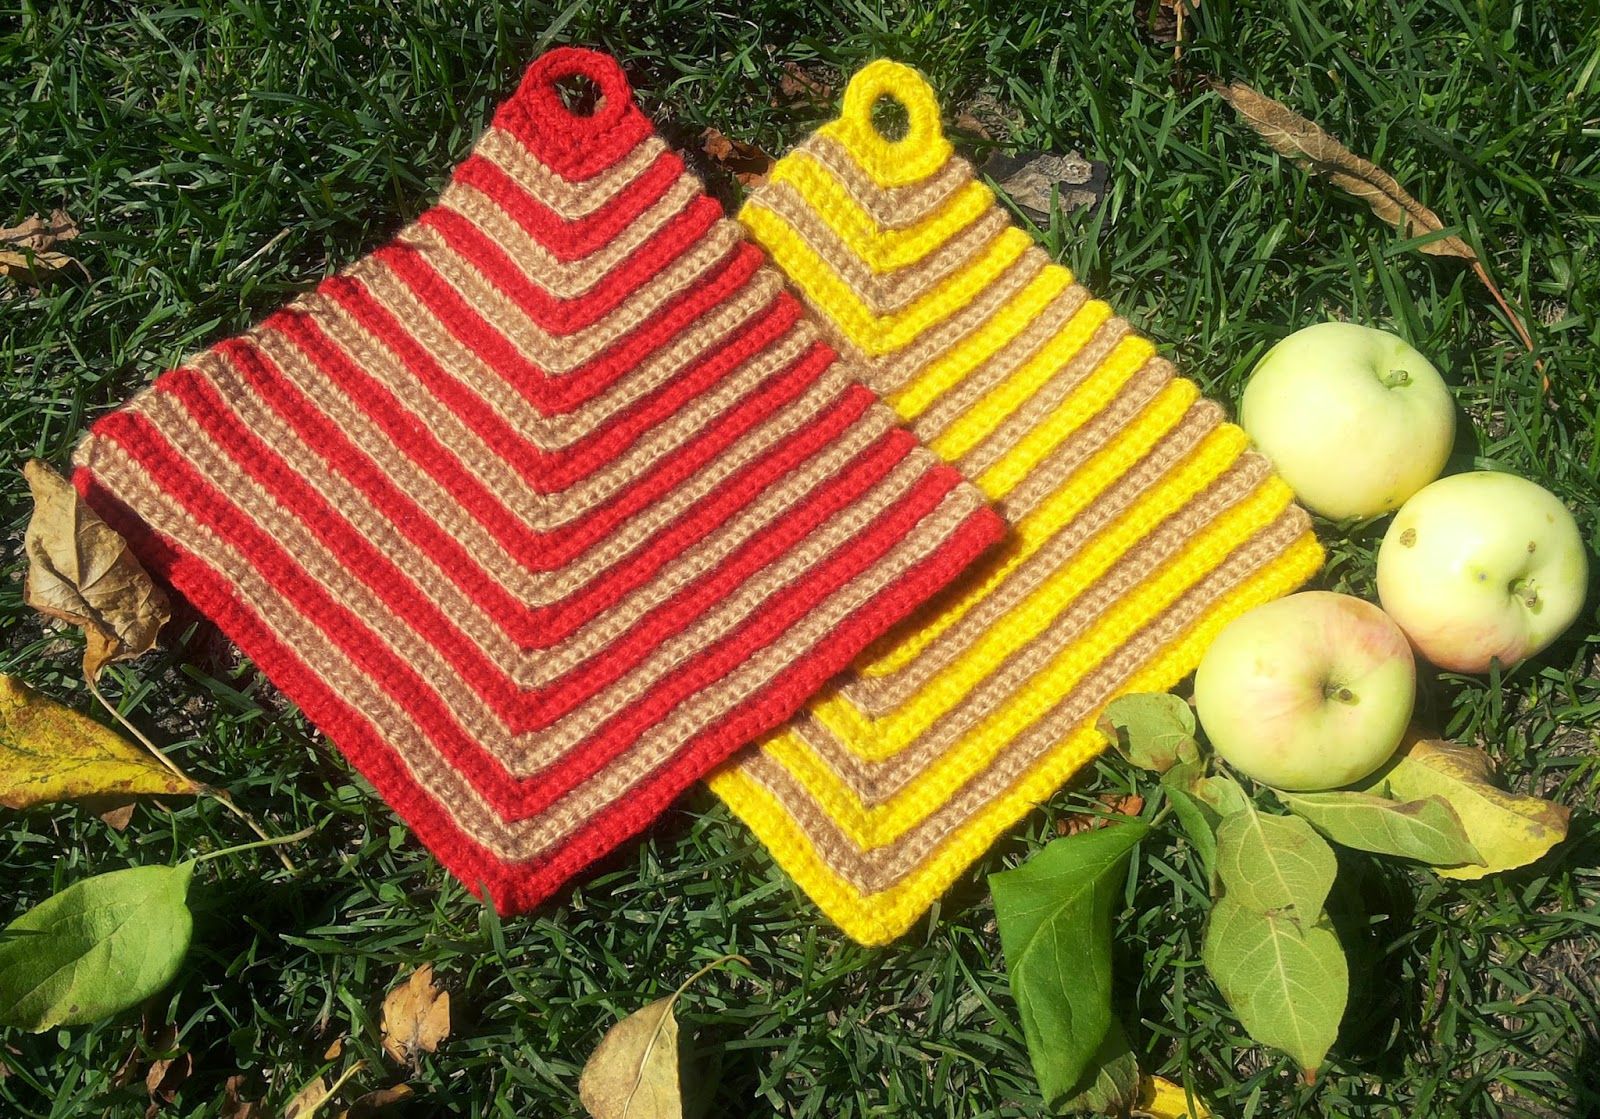
Square potholders
A regular square potholder is very easy to knit. You can add some originality to it by experimenting with color combinations or adding small knitted flowers to the front part.
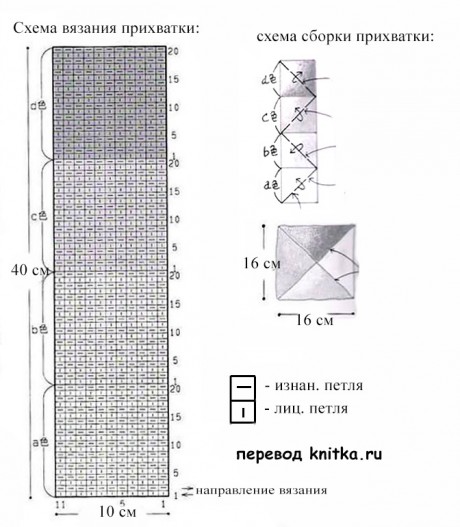
Knitting potholders with knitting needles
The needles are chosen in the same way as the hook - in accordance with the width of the thread. The needle number will be its size.
You can also knit patterns or ornaments with knitting needles, but it is better to start with the simplest knitting technique - multi-colored stripes.
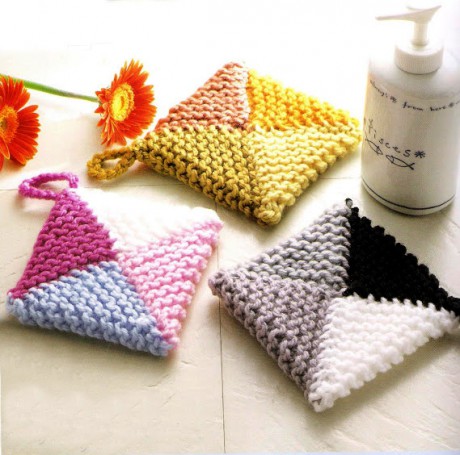
Knitting Potholder for Beginners
Additional information and tips:
- Alternating front and back stitches allows you to achieve volume in the pattern.
- A secret trick for beginners is embroidery. If you can't knit a beautiful ornament with knitting needles, you can resort to embroidery over an already knitted surface.
- A little secret for determining the size of the needles: twist the threads slightly in half - the ideal thickness of the needles is the thickness of the twisted threads.

Beginners should start with simple patterns such as checks or stripes.
To make a simple two-color potholder, you need to cast on 11 stitches and knit 20 rows of each color, alternating between the front and back sides. (25, 26)
Knitted in a circle potholder
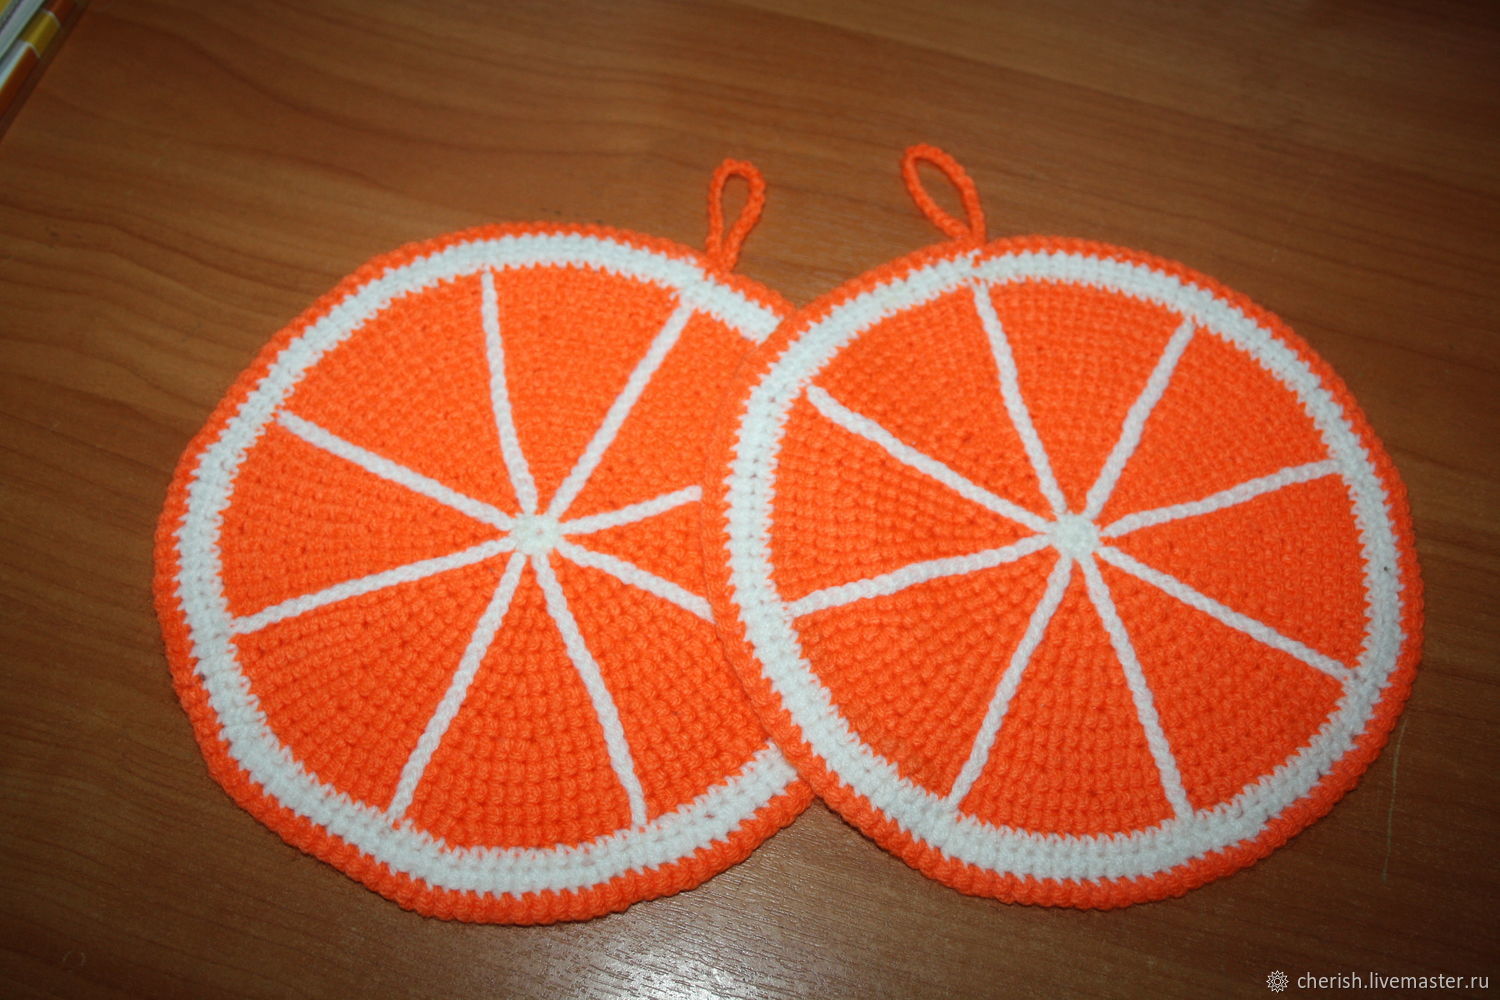
In the form of an orange
For this potholder you will need 50 grams of cotton yarn in white and yellow or orange colors and 4.5 mm knitting needles.
After each row, the needles need to be turned over. All loops are face loops:
1 row – knit 14 loops, leaving the 15th out of work;
2nd and all subsequent rows from the wrong side knit with front loops;
Rows 3, 5, 7, 9, 11 – decrease by 2 stitches each time;
13th and 14th – knit all 15 loops.
The last 14 rows need to be repeated 10 more times, and then duplicate rows 1-13. Close all the loops in the purl row with white thread.

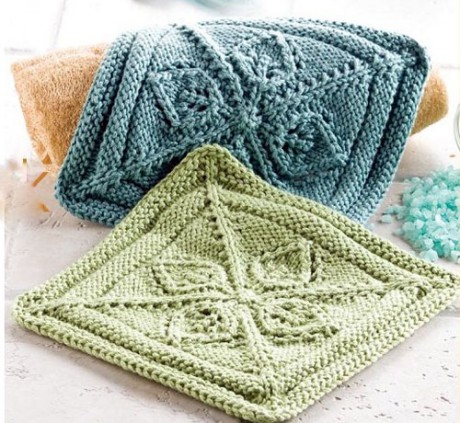
Potholder with a leaf, knitted from the center
This potholder is very easy to knit.
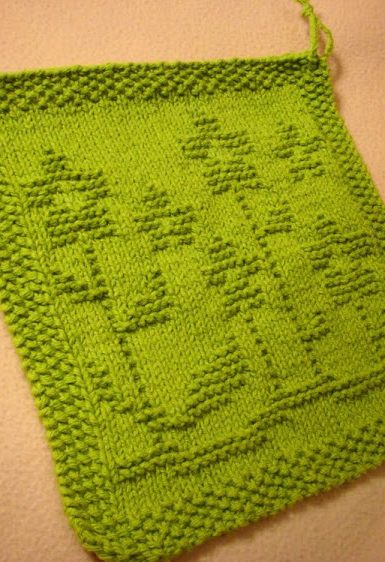
Potholders with shadow patterns
This pattern is created by switching from the front surface to the back surface and back again. (29-31)
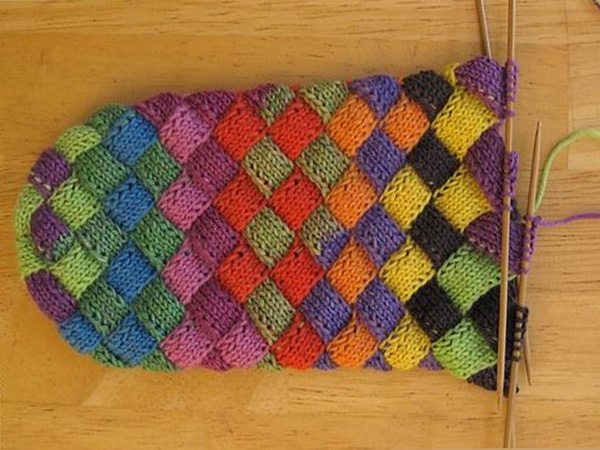
Enterlac technique
This knitting method will allow you to create a product similar to patchwork.
1 row – knit 21 loops with the wrong side.
2nd – through every two loops we turn the knitting, alternating the purl and front loops.
3rd – in each inner row add one loop until you get the first triangle.
The product will consist of such triangles.
Conclusion
Knitting or crocheting can be a pleasant way to express your creativity, and finished products will fill your home with warmth and comfort. But store-bought goods are not always able to help you implement your ideas, so it is better to start implementing your own ideas yourself. In addition, a thing made with your own hands always brings more joy, and over time it also becomes valuable. Making a potholder will not take much time and will not require much effort. You just need to show your imagination and experiment with the colors of the yarn used, and an irreplaceable and incredibly beautiful thing will appear in the kitchen.
VIDEO: Crochet potholder – master class.
50 options for beautiful knitted potholders: