A baby blanket is a useful, universal thing: you can take it for a walk with your baby for warmth, or put it inside the stroller. And when it is made with your own hands, it becomes literally irreplaceable.
Such things are often made with a crochet hook, but it is much more convenient to knit with knitting needles due to the size of the work and, if desired, the presence of patterns.
Content
- How to choose knitting needles?
- Baby blanket knitted for newborns
- Multicolored blanket
- Openwork blanket with knitting needles
- Plaid with relief patterns
- Plaid with braids
- Blanket with a sailboat
- Video: Baby blanket knitting | Detailed tutorial
- 50 ideas for inspiration and creating a baby blanket with your own hands:
How to choose knitting needles?
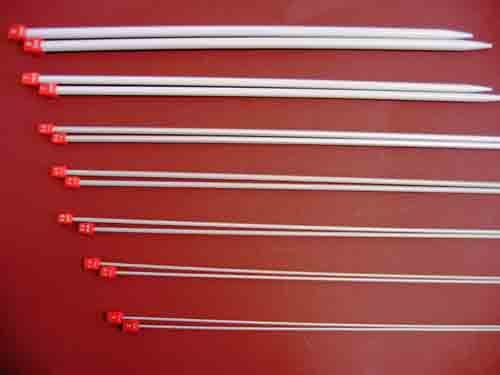
The best knitting needles for a newborn blanket are relatively long – more than 80 cm, the thickness should be chosen according to the yarn used – from No. 3 to No. 6.
There are a huge number of techniques for knitting baby blankets with knitting needles, so the choice depends only on your taste and visual preferences.
Let's look at the most common simple method, it is perfect for beginners in this business.
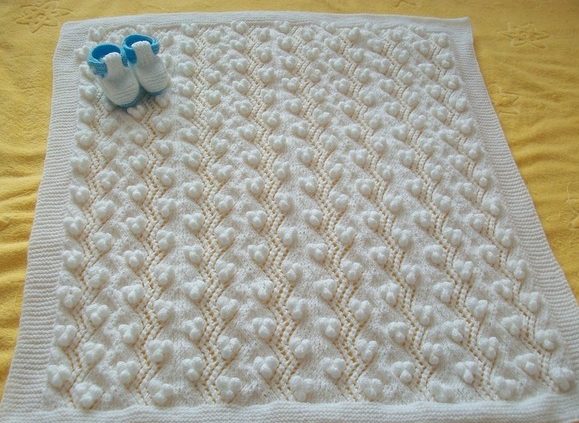
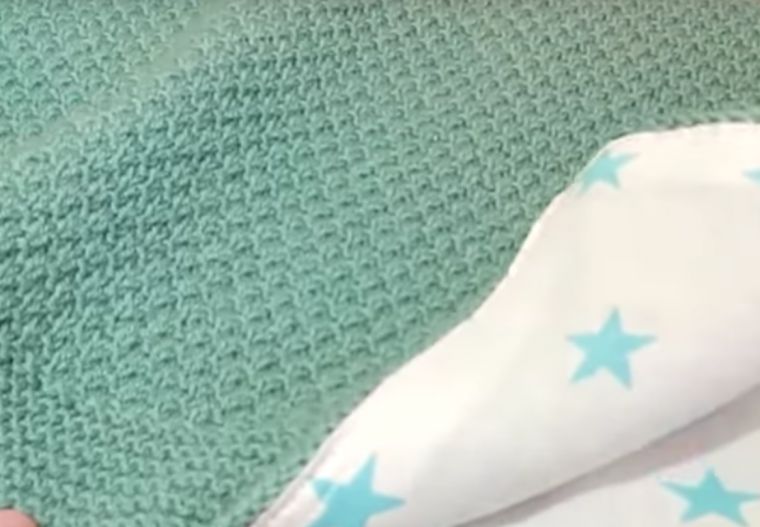
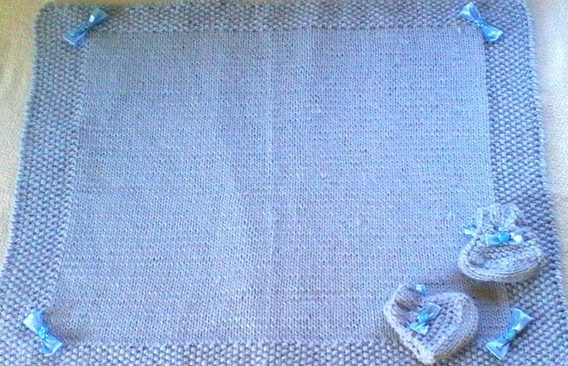
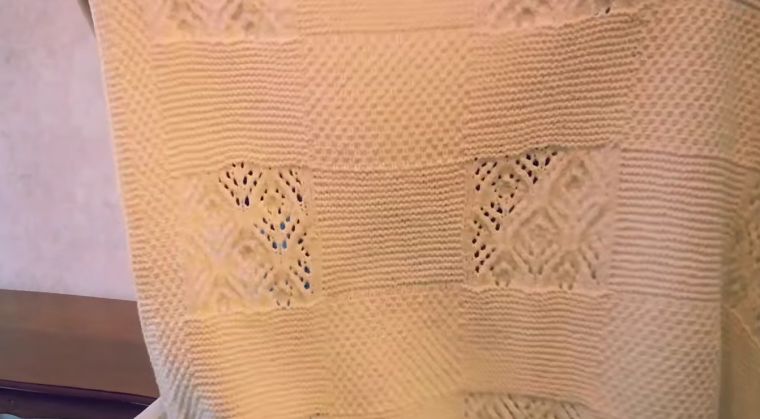
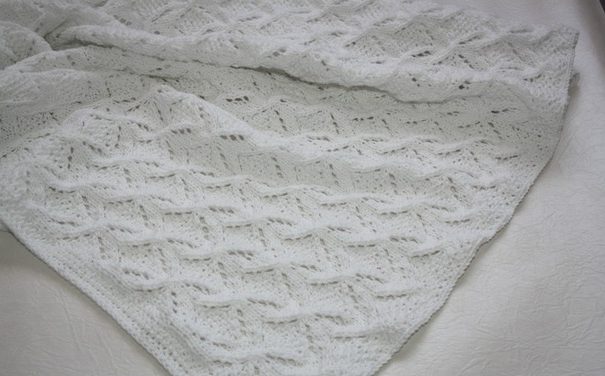
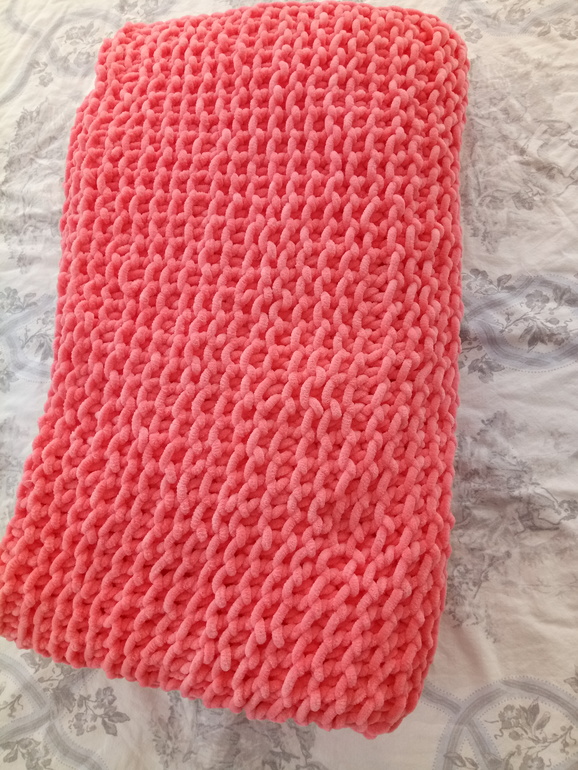
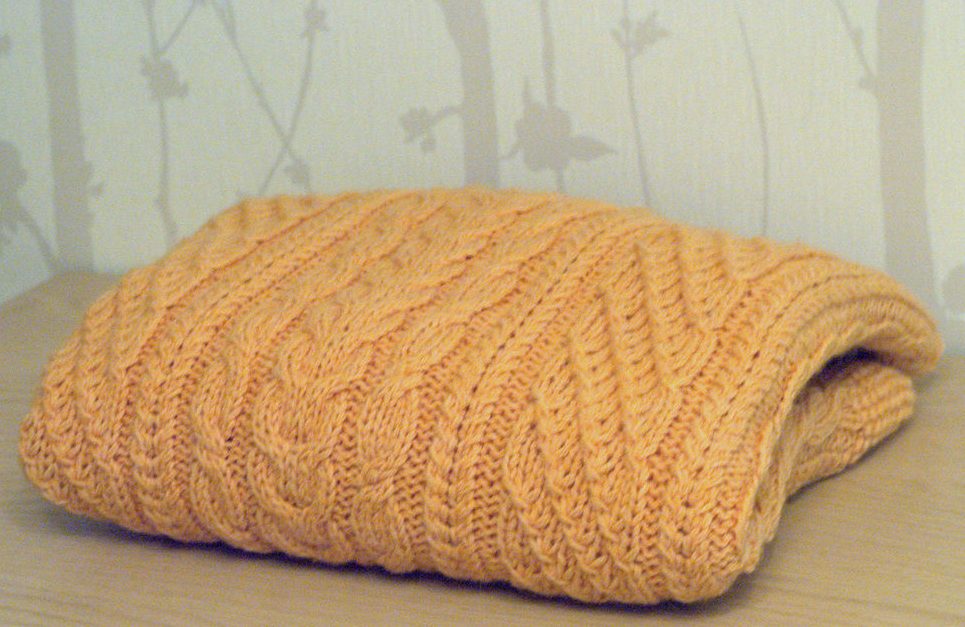
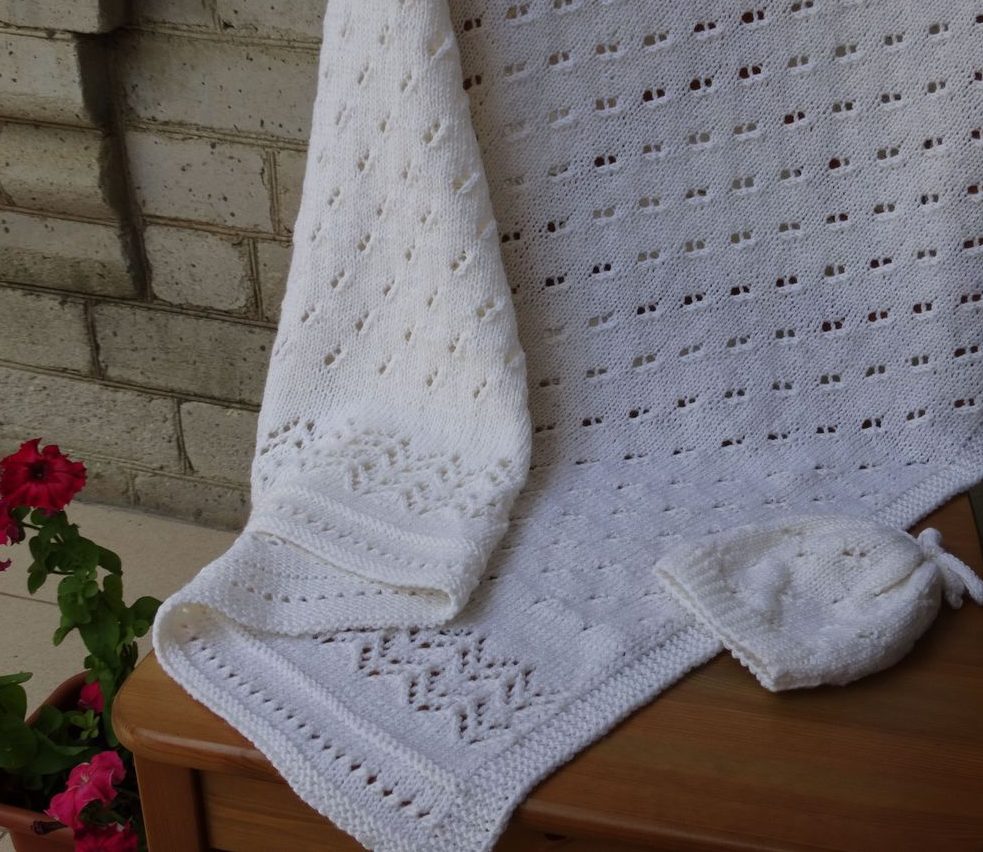
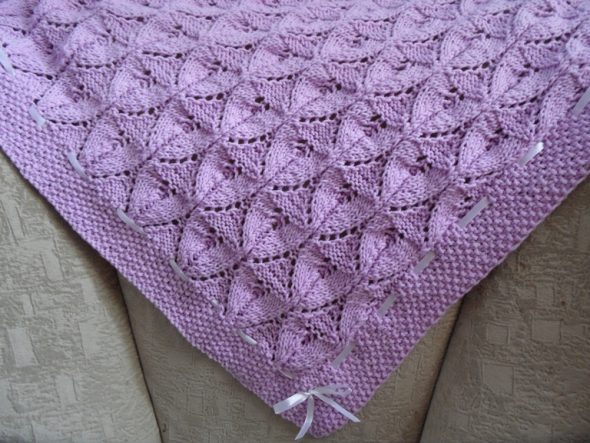
Baby blanket knitted for newborns

This product is the most suitable option for babies: it is not too heavy, but retains heat well, and if the yarn is chosen correctly, the blanket will be very pleasant to the child’s body.

For a blanket designed for the smallest, 100% acrylic yarn is suitable. Knitting needles - circular, approximately 5 mm in diameter, about 90 cm long.
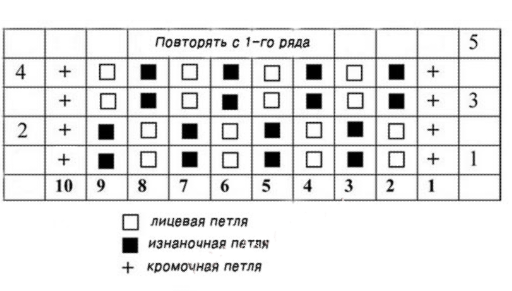
Also, in the process of knitting it, you definitely need to use a pattern - it is much more compact and convenient, and the knitting itself is not easy.
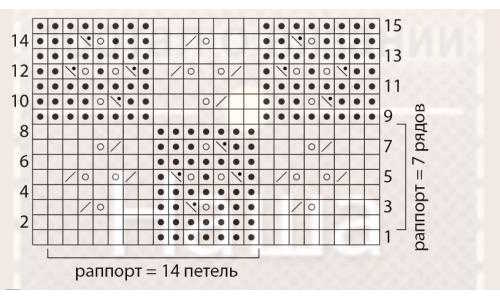
The rapport will consist of 7 rows and 14 loops. First, you need to cast on 121 loops, then knit two loops of the left needle with one front loop with the right needle.
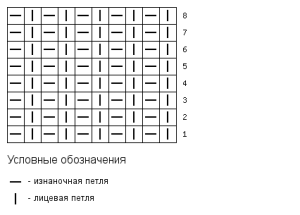
Next, we will consider the progress of work in accordance with the diagram by rows
- 8 knits, 7 purl, 7 knits. Repeat 8 times + 1 knit.
- The same thing, but the last one is purl.
- 4 knits, yarn over, 2 together to the right, 2 knits, repeat the same 8 times + 1 knit.
- Same as the second one.
- 2 knits, 2 together to the right, yarn over, 1 knit, yarn over again, 2 together to the right, 1 knit. Repeat 8 times + 1 knit.
- Again, we completely repeat the second one.
- 3 knits, 2 together to the right, yarn over, 3 knits. Repeat the same 8 times + 1 knit.
- Second row again.
After this, the entire cycle is repeated 18 times, and the last row completely copies the first.
Such a detailed description of the work was given to understand the essence of knitting, for the following methods only a diagram will be attached.
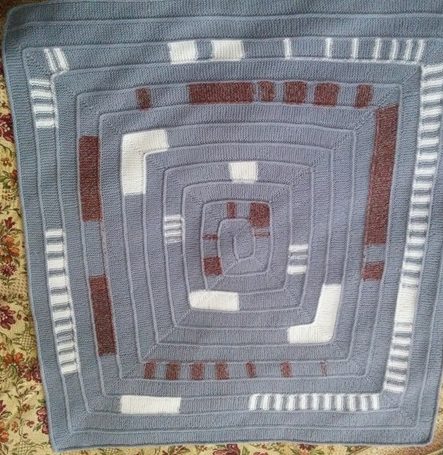
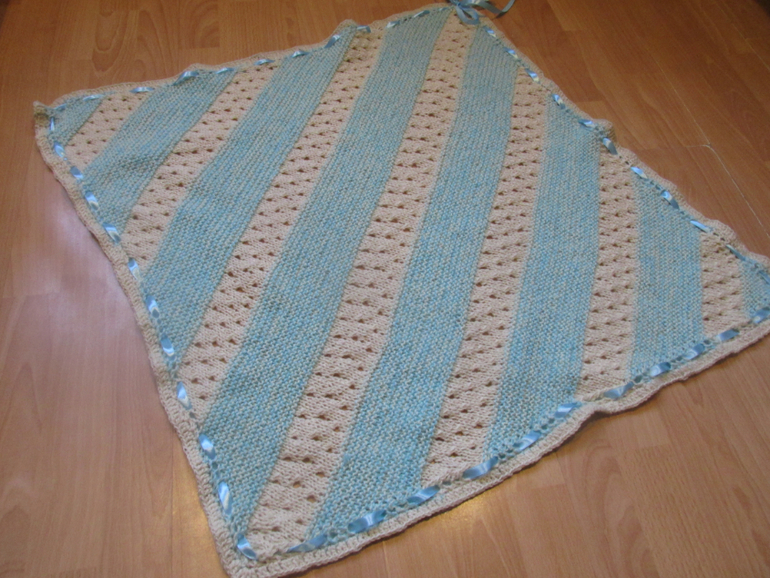
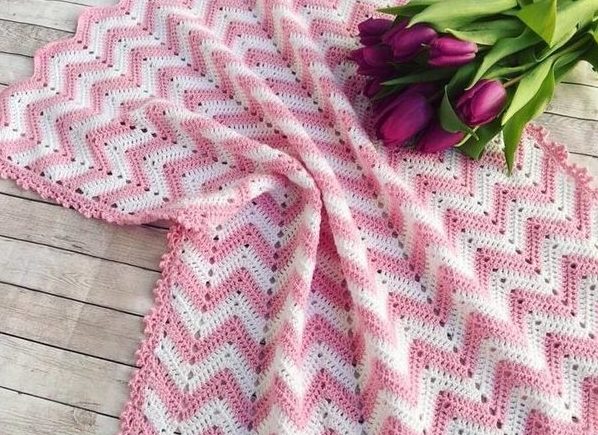
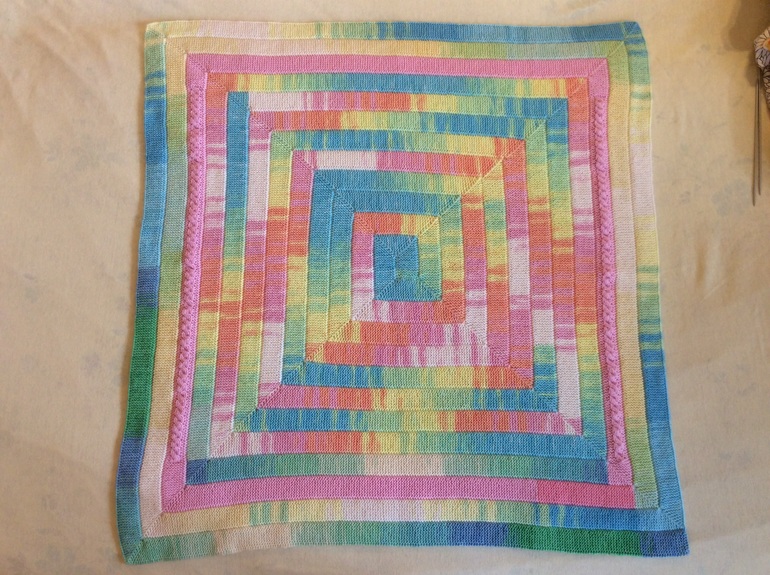
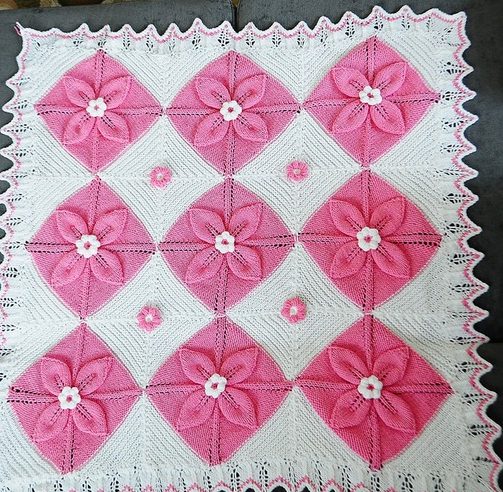
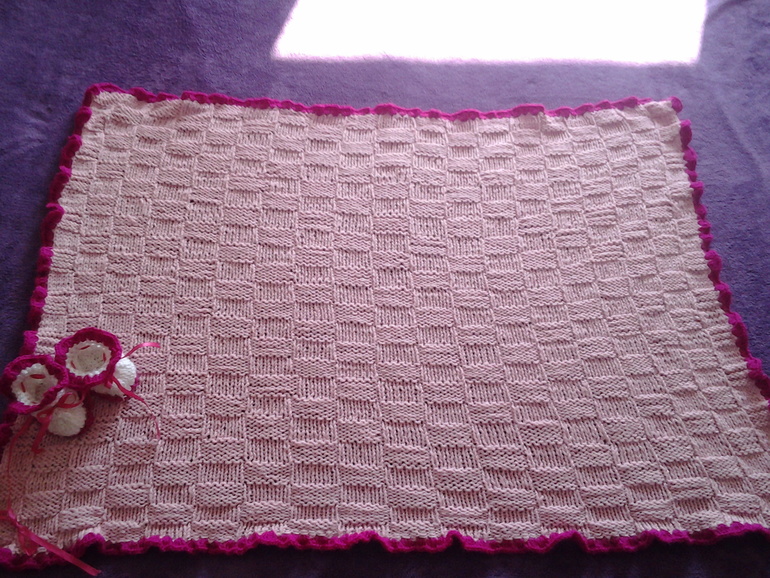
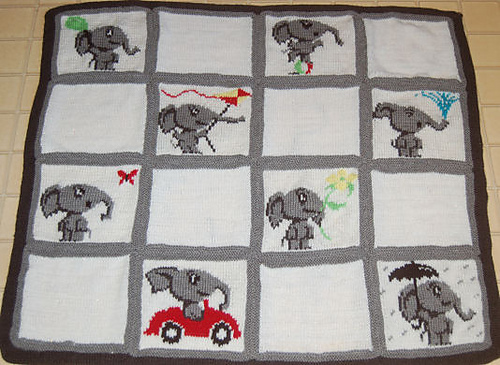
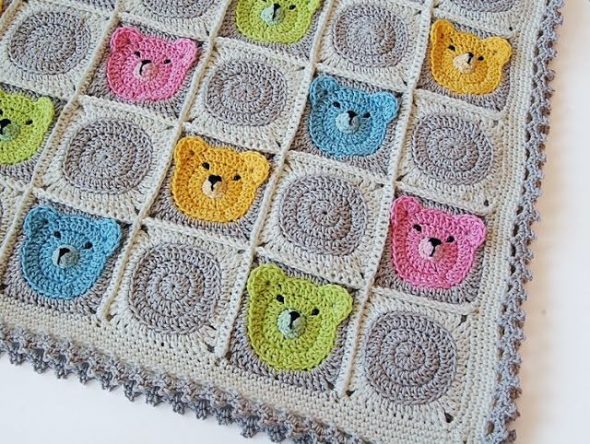
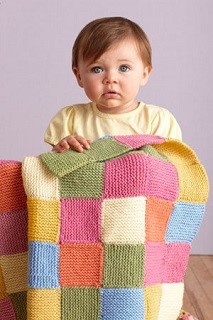
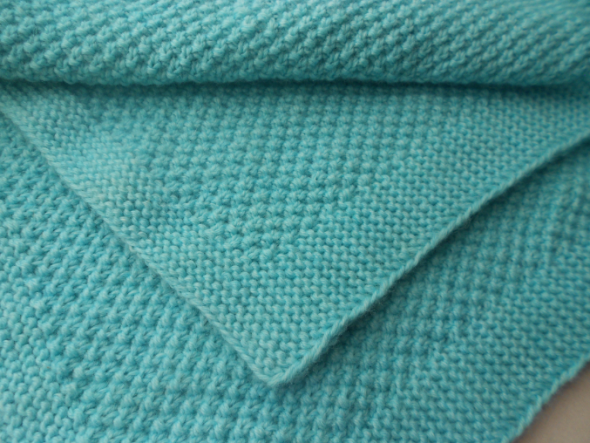
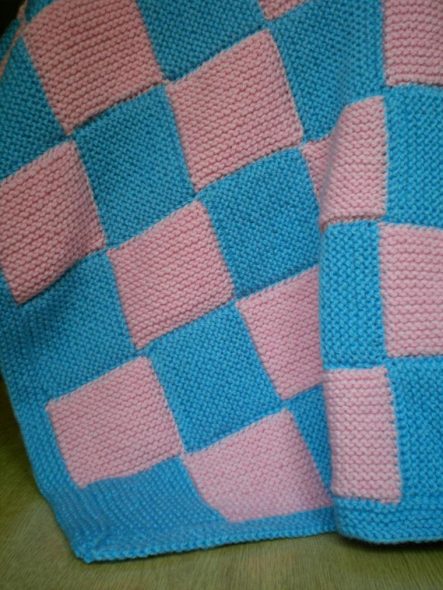
For those who like something brighter, a combined multi-colored blanket made of squares will do just fine. It is knitted very easily, and looks very unusual.
Multicolored blanket
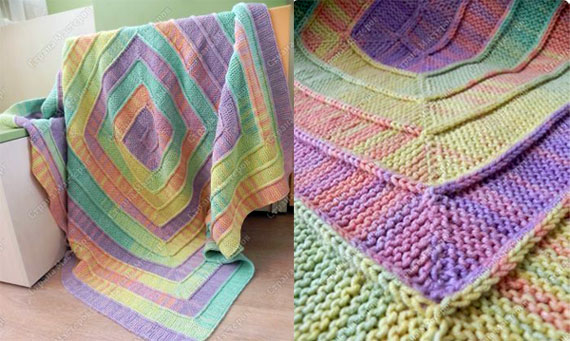
You will need long knitting needles and yarn of three or four colors. If the product is knitted for a child, usually no more than twenty squares are knitted, each of which is about 17 cm in size.
The whole point of knitting is alternating front and back loops. For particularly large work, 3-4 loops are usually alternated.
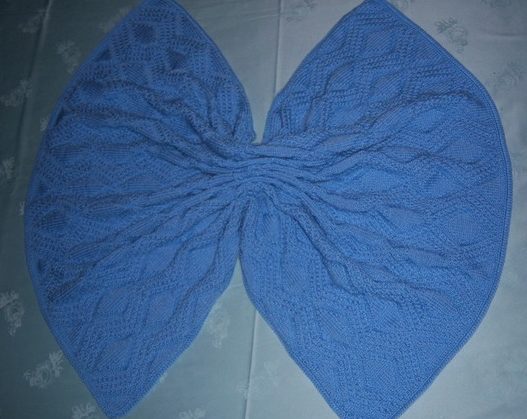
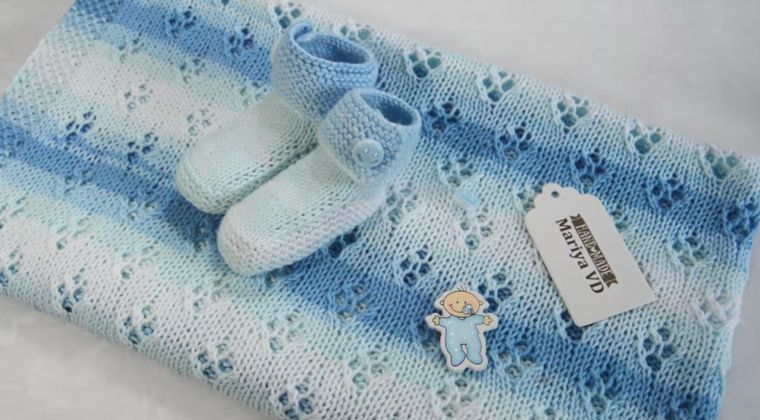
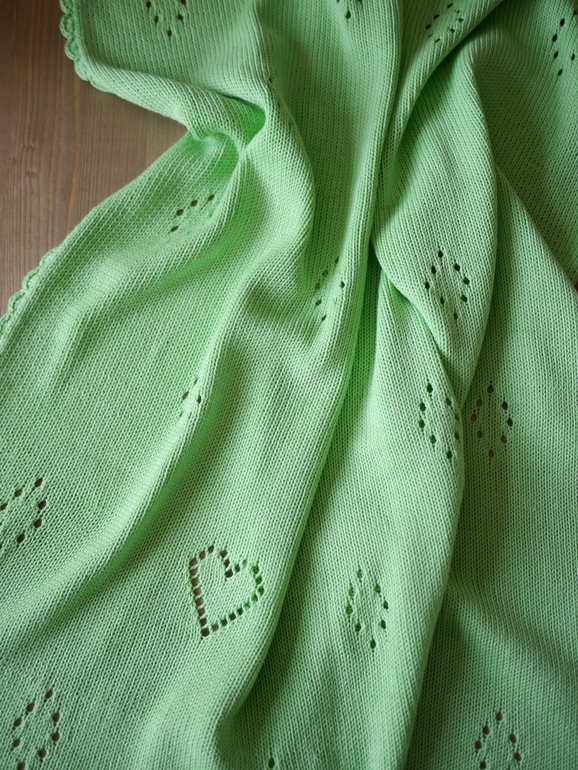
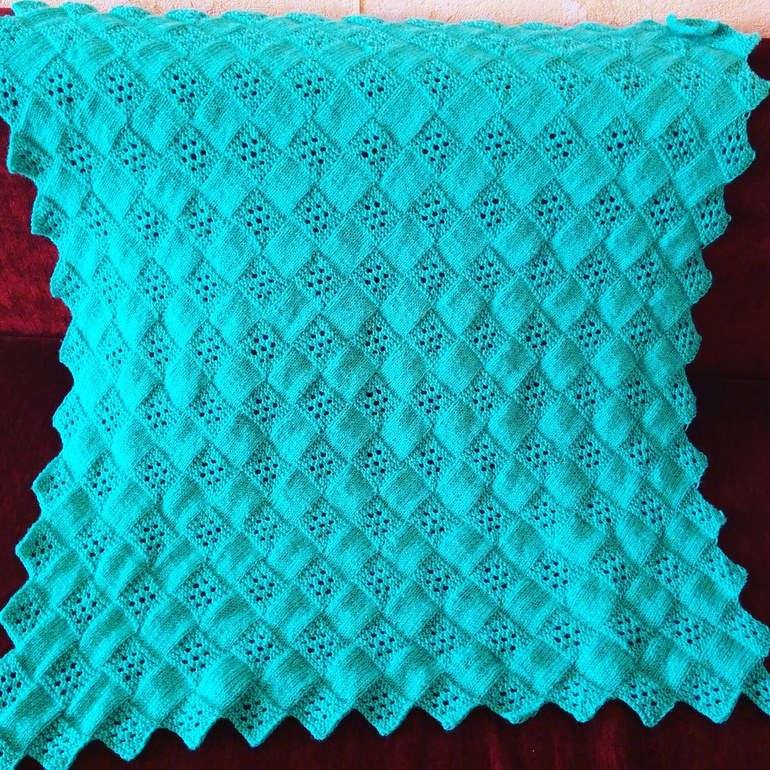
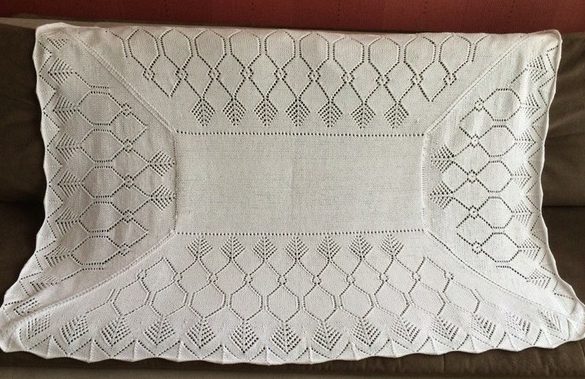
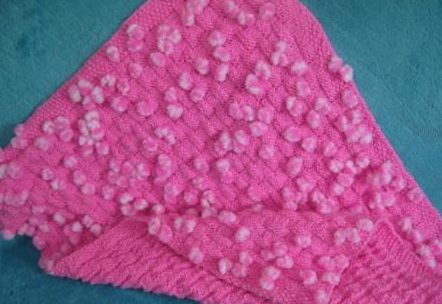
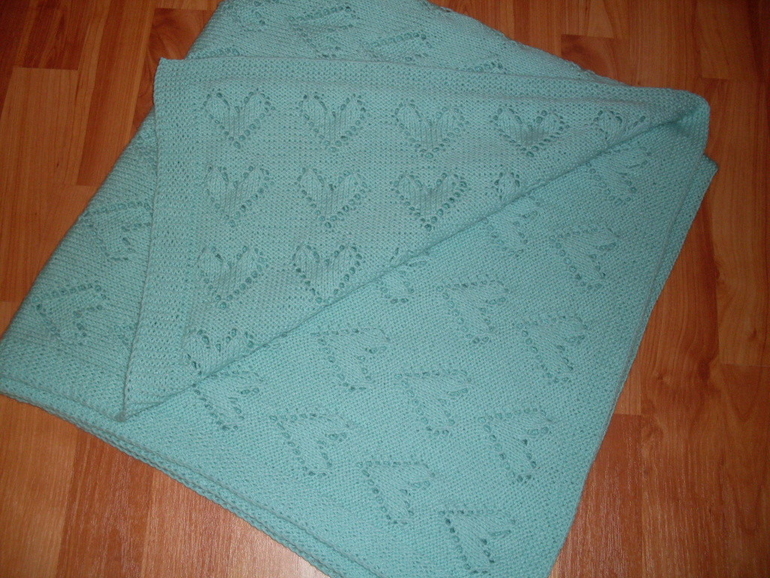
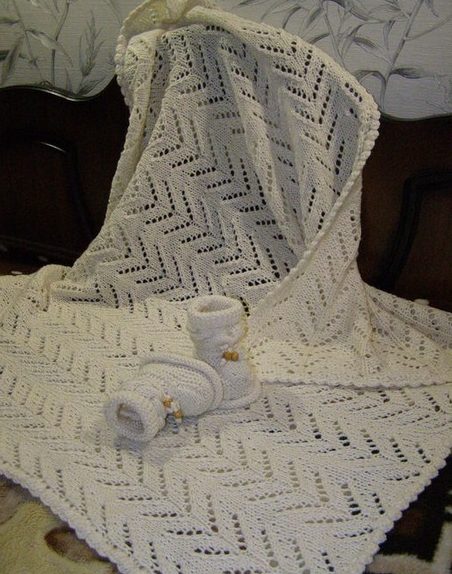
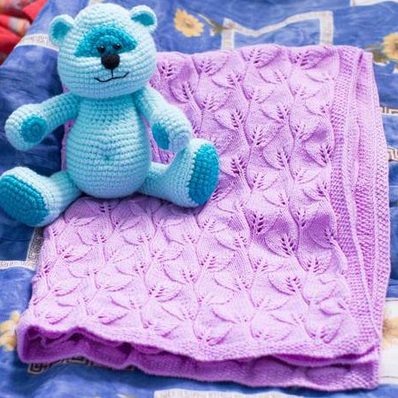
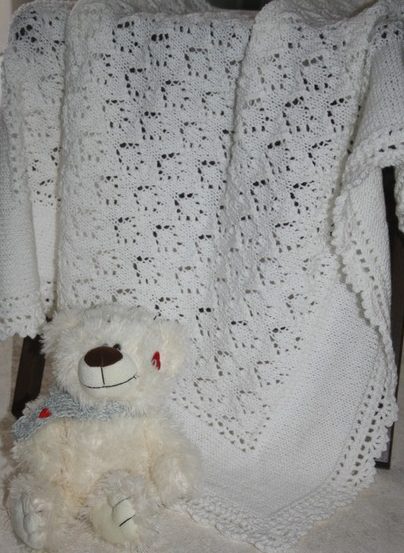
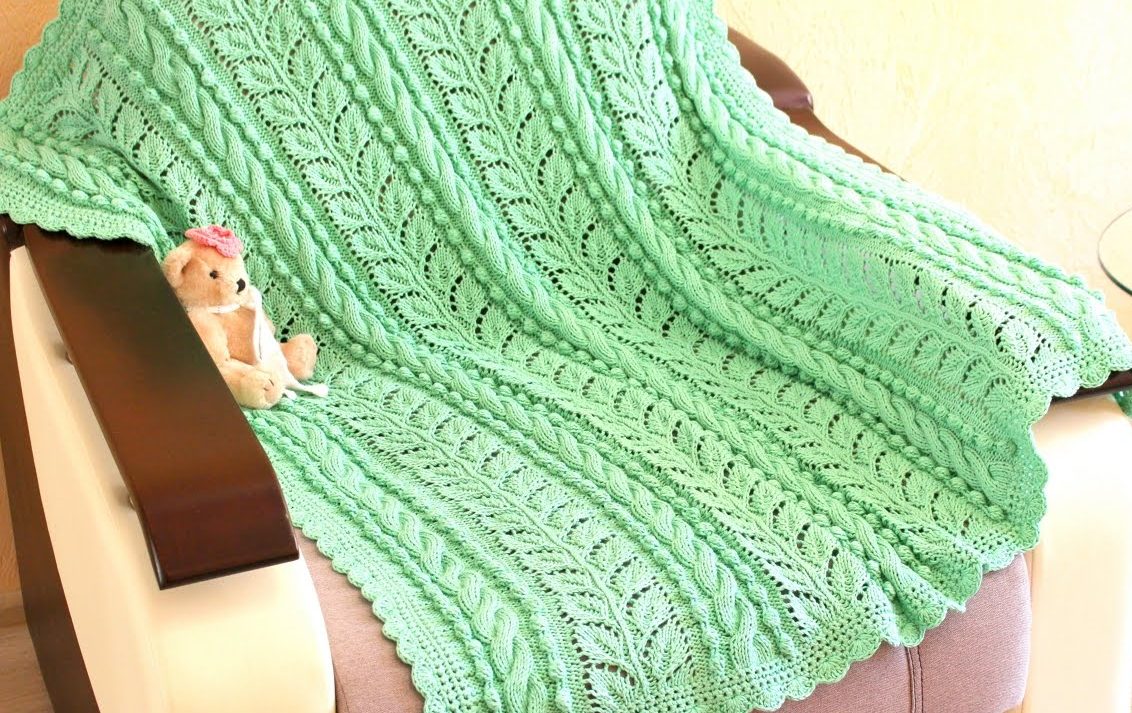
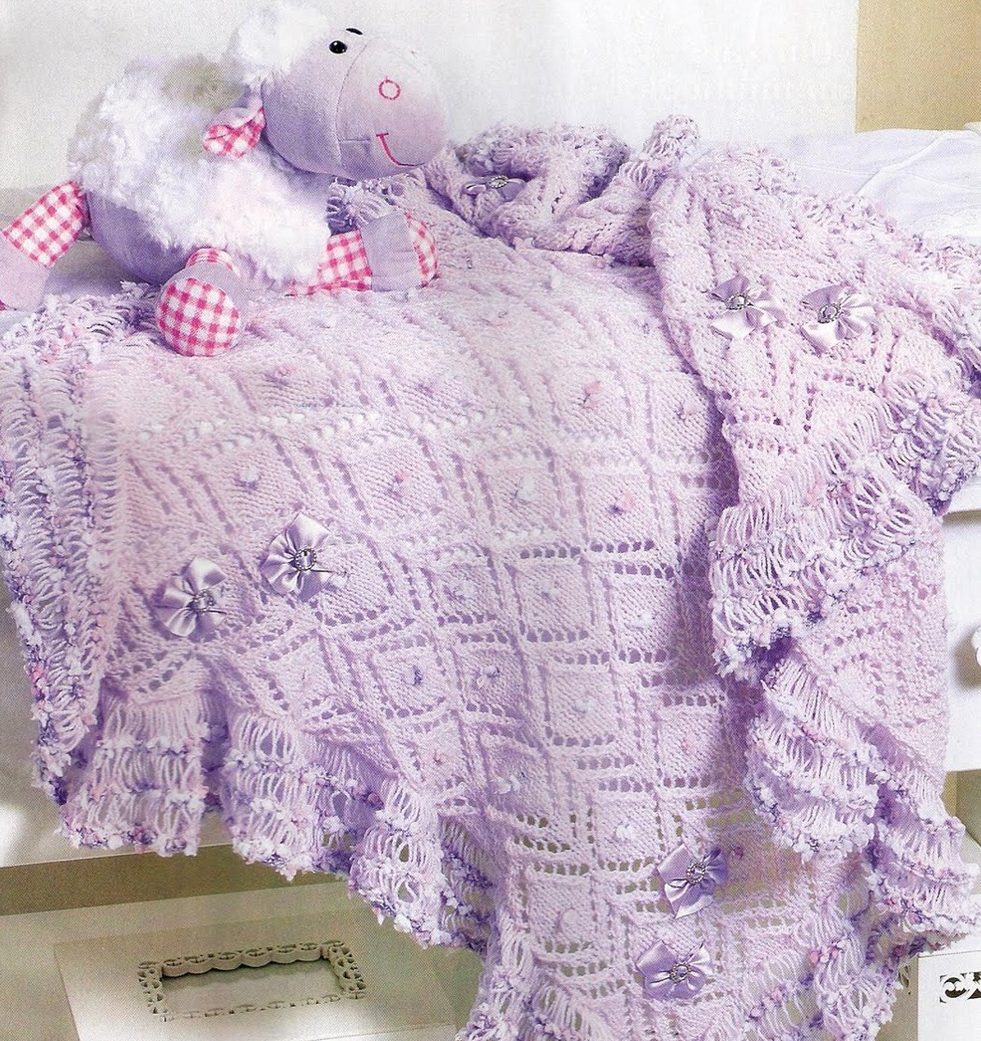
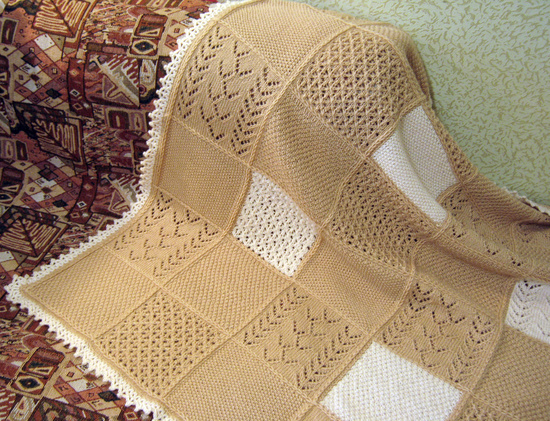
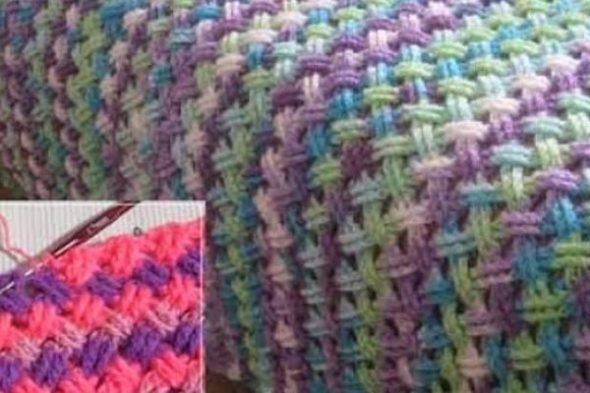
Openwork blanket with knitting needles
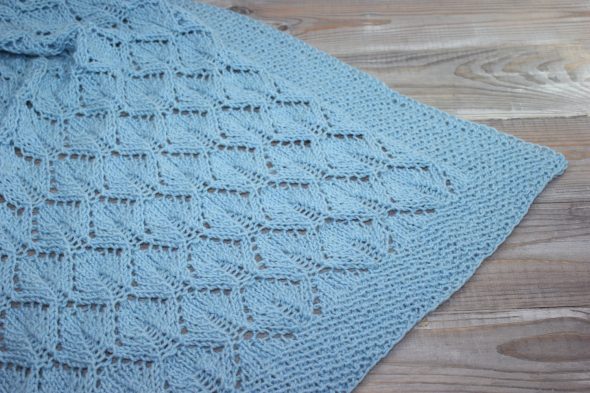
A product of this type is perfect for the home because of its lightness, airiness, and the baby will definitely appreciate the beautiful patterns.
When choosing yarn, choose acrylic, and use the same knitting needles as in the previous version. The finished blanket will be almost a meter by a meter in size – this is its undoubted advantage.
Here you will also need a diagram: without it, it will not be possible to recreate the elegant patterns.
First, you need to cast on 156 stitches, after which you knit the first 7 rows using the “tangle” technique, that is, alternating front and back stitches in a checkerboard pattern.
It is important to do the eighth row in the following way: knit only the first and last 6 loops of the row in a “tangle”, and the remaining 144 – simply purl. From the next row between the “sixes” – 1 front + 13 rapports of the second row according to the above scheme.
We knit the main part, edging the rows described in the diagram with six “tangle” loops on each side. Repeat the rapport 20 times, and at the end make 7 rows, alternating the loops in a checkerboard pattern.
For more experienced craftsmen, complex knitting techniques, such as relief patterns or braiding, are quite suitable.
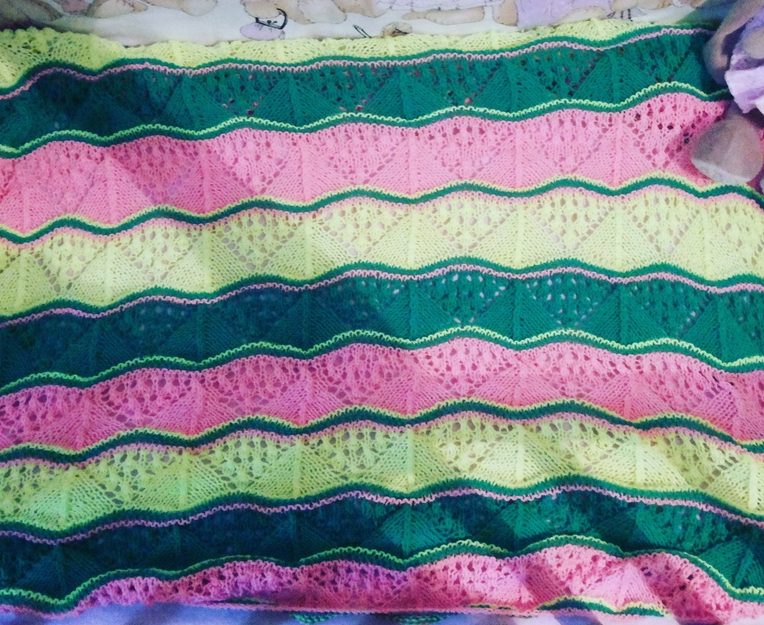
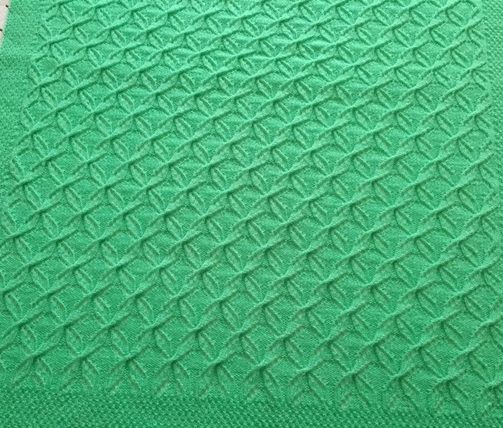
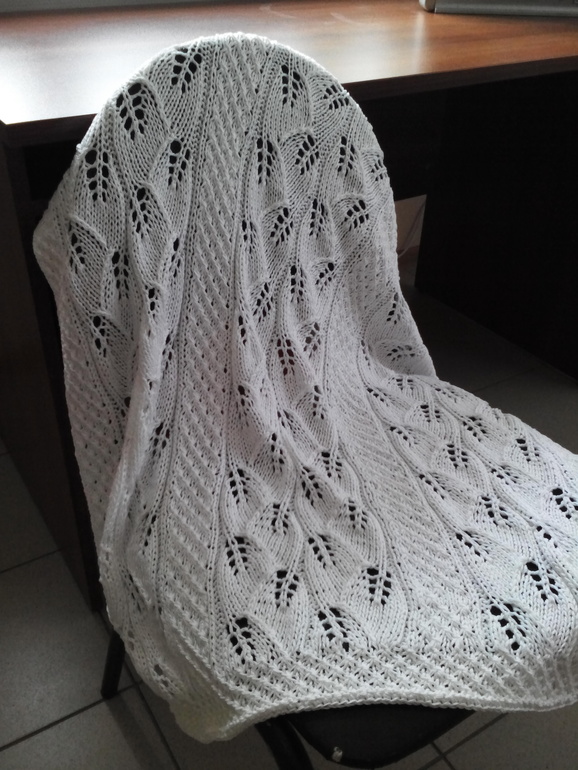
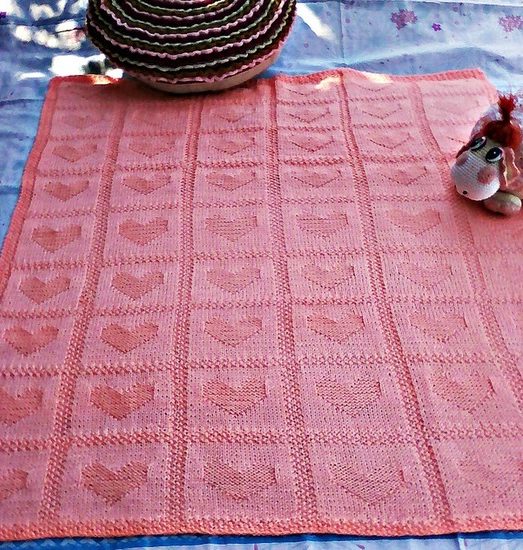
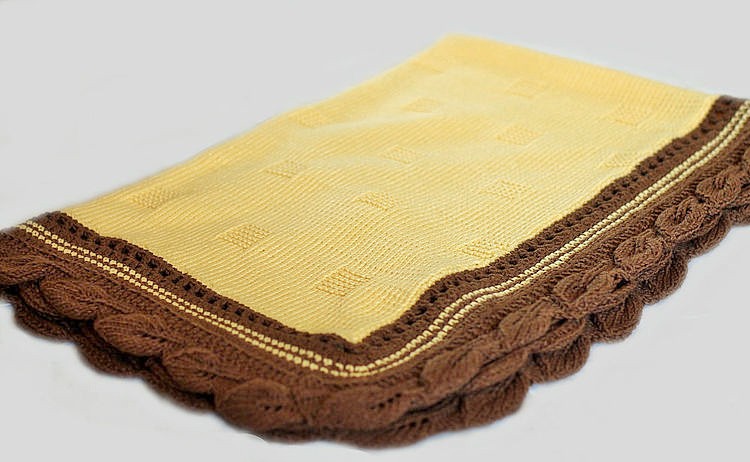
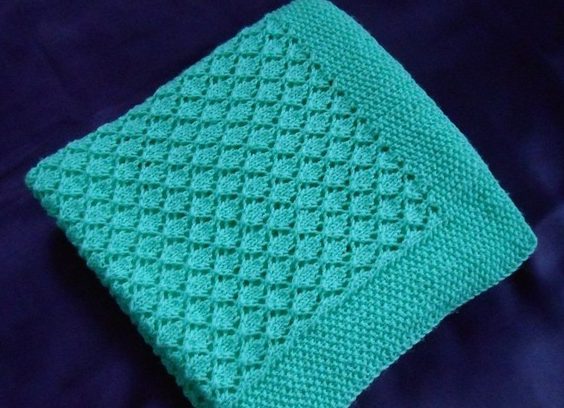
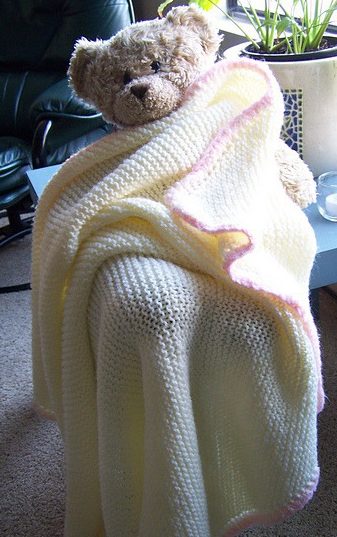
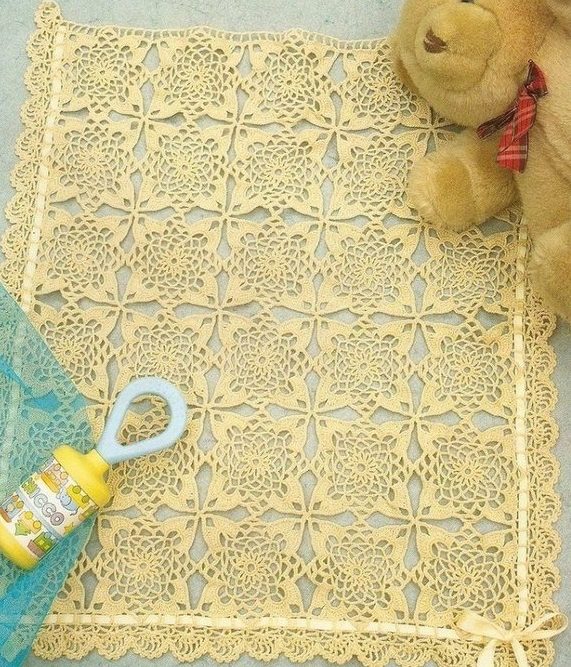
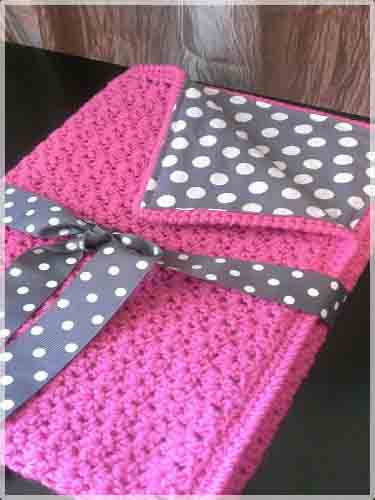
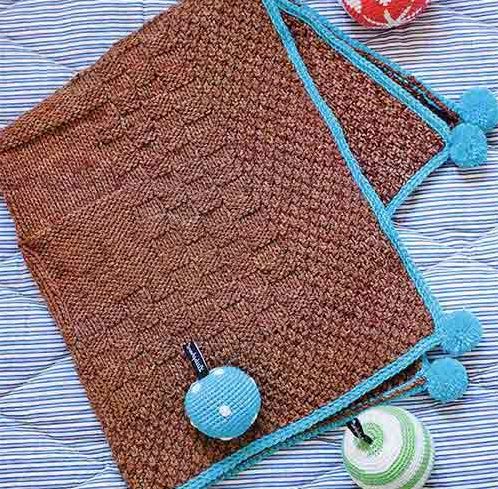
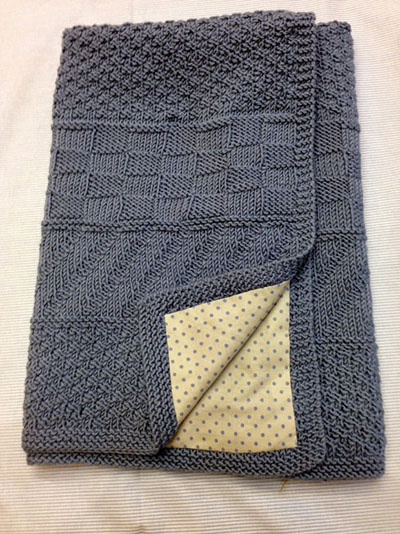
Plaid with relief patterns
This item will fit perfectly into walks on cold days: the product will be voluminous, dense, and therefore will perfectly keep the child warm.
It won't be difficult to knit it. Wool threads will do - one of the warmest materials. The essence of the production is "garter stitch". The rapport is only two rows.
- The entire first row is regular half-columns without a yarn over.
- The second is symmetrical: single crochet, 4 chain stitches, bun (five loops), 4 chain stitches again, and single crochet again.
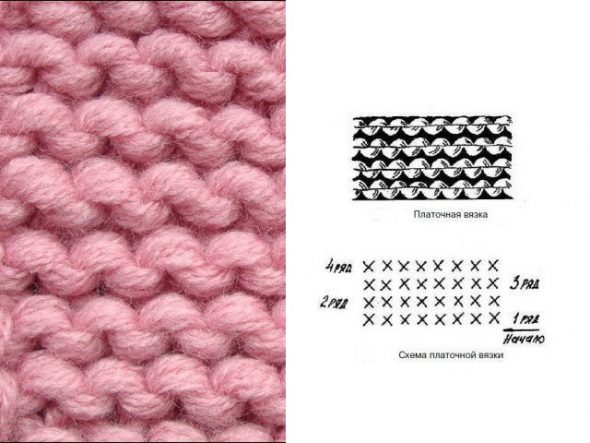
Repeat the rapport as many times as you think necessary. The ideal blanket will be about a meter x one and a half in size.
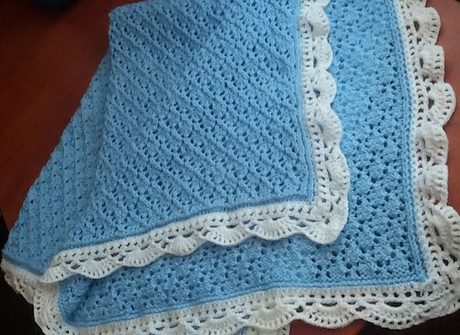
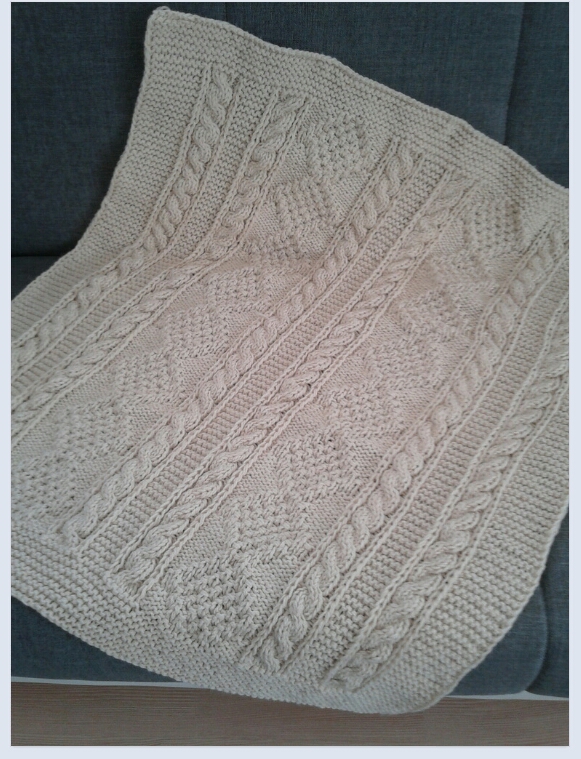
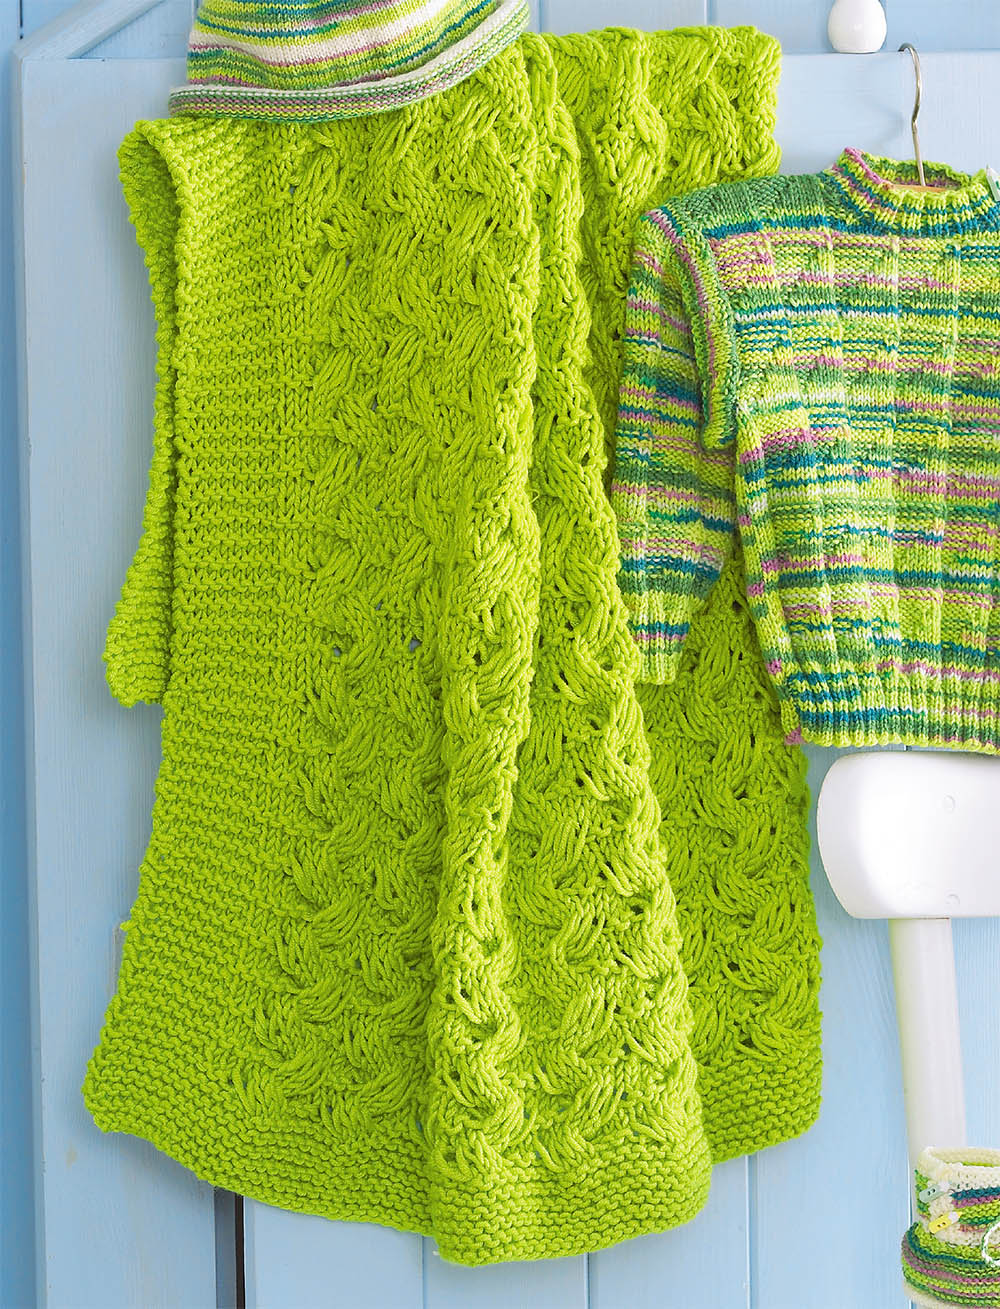
One of the most difficult elements of knitting is undoubtedly braids. Let's consider an example of their organic introduction into a baby blanket.
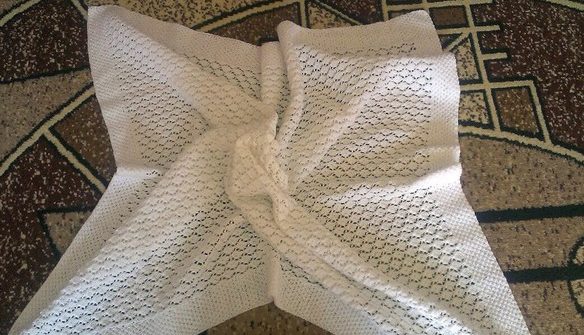
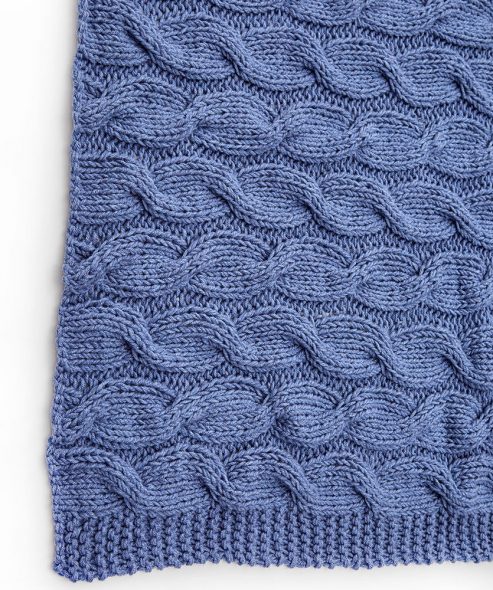
Plaid with braids
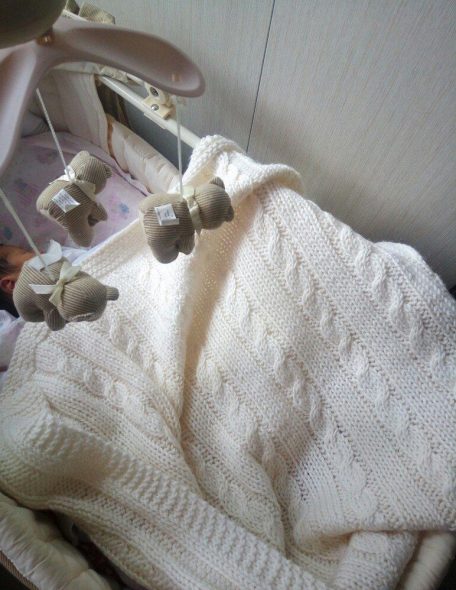
It is essentially a square blanket on circular knitting needles. The finished blanket will be quite large: a square with a side of one and a half meters. To make it, take acrylic thread with long circular knitting needles (80 cm), as well as a good sample or knitting pattern. It will be needed to correctly place the braids on the area of the product.
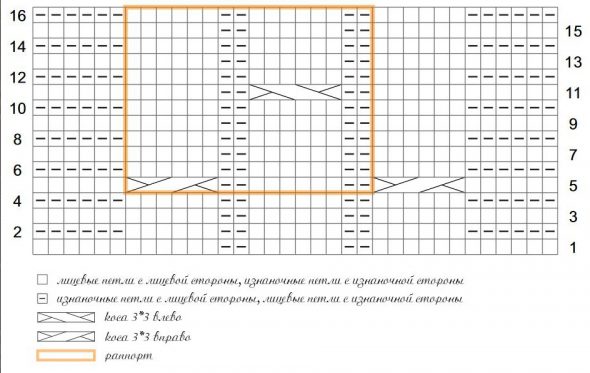
The first step is to cast on 98 stitches with a doubled yarn, then simply follow the pattern. Here we only need to explain in more detail how to create braids.
Knitting braids
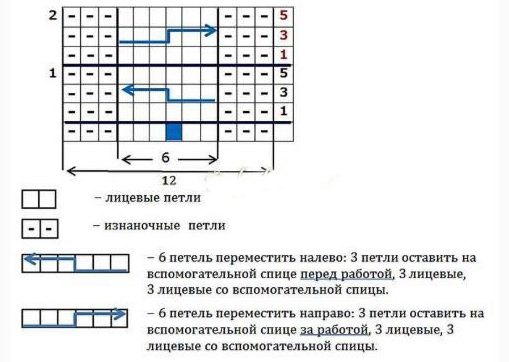
Let's consider the case according to the given scheme: braid three x three. Remove the first three loops on the additional third needle, in case the braid should go to the right, leave the third needle behind the product (if the braid is directed to the left - in front of the product), then knit 3 loops from the left and 3 from the additional needle. The braid is ready!
We finish knitting by repeating the rapport several times, reaching the desired length. The last row must necessarily be 9 or 15, according to the diagram.
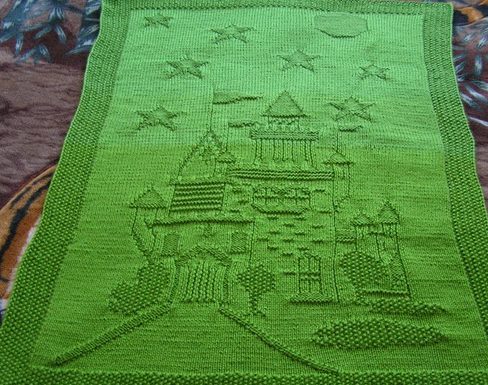
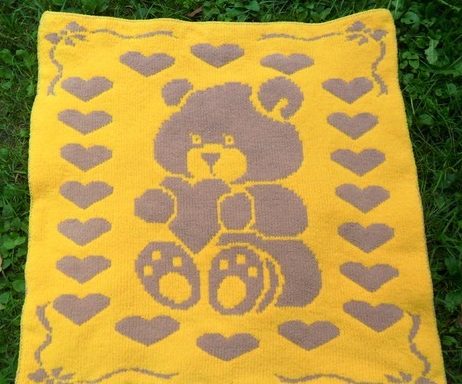
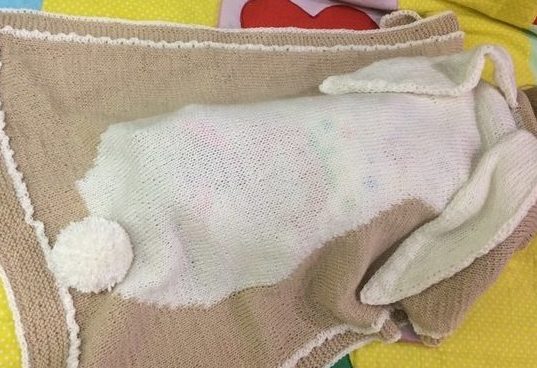
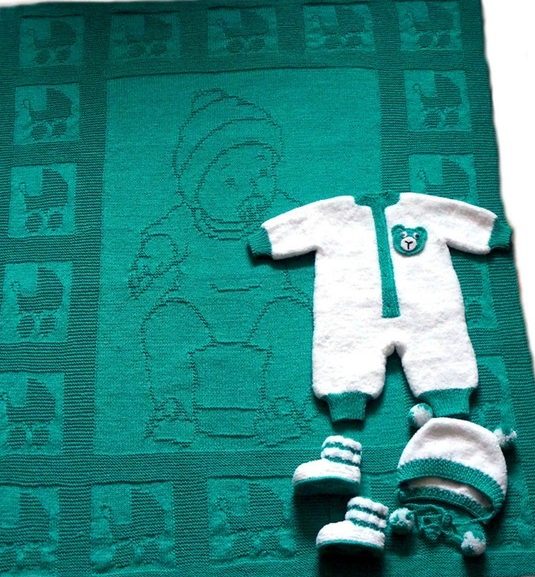
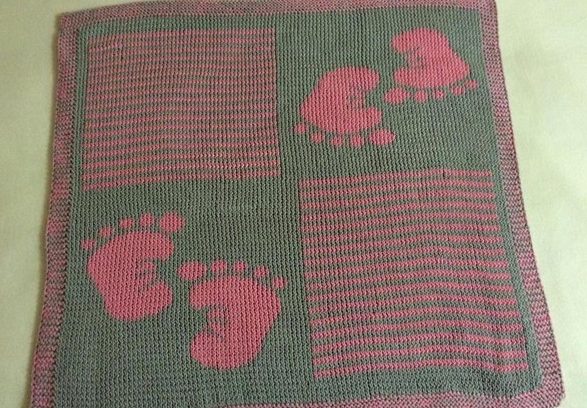
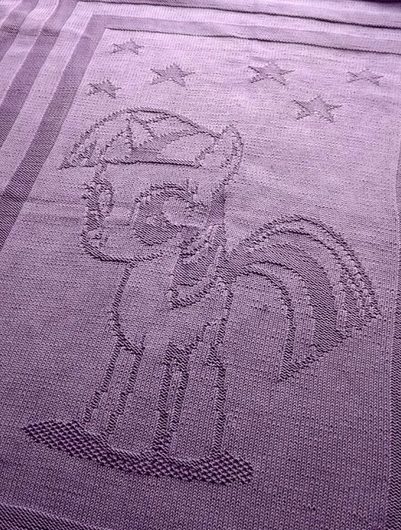
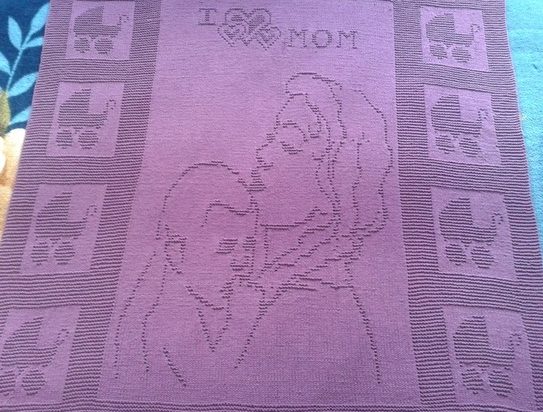
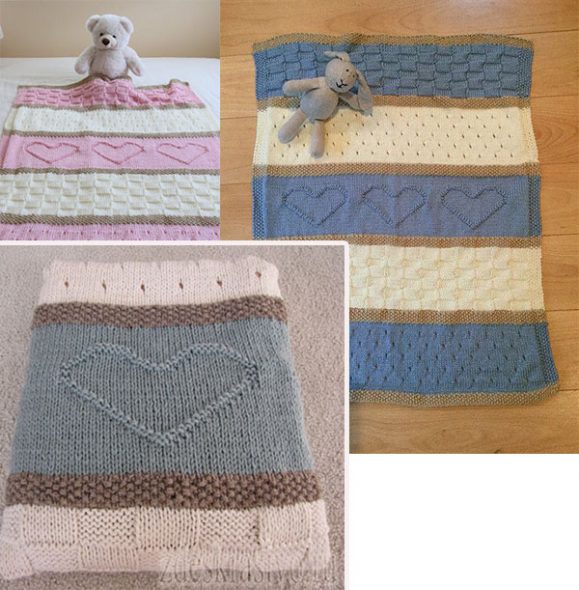
The baby will be especially pleased with a blanket with an original pattern. A great idea would be to depict a pattern like a "sailboat". It looks impressive and certainly not banal.
Blanket with a sailboat
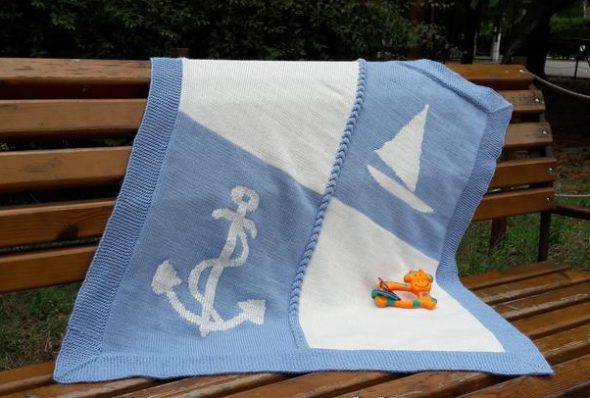
The diagram of the drawing includes 4 parts, each of which represents a certain part of the image.
Cast on 124 stitches. To make the edging, knit the first and last 7 rows with the rice pattern, and use the same pattern to form the first and last 7 stitches of each row.
The pattern of the "rice" pattern is not complicated at all. It can be found in almost all resources.
This article presented the most common ways to knit a baby blanket with your own hands.
A blanket created with love will keep your child or grandchild warm for many years, because handmade work will never become outdated or go out of fashion.
Video: Baby blanket knitting | Detailed tutorial
50 ideas for inspiration and creating a baby blanket with your own hands: