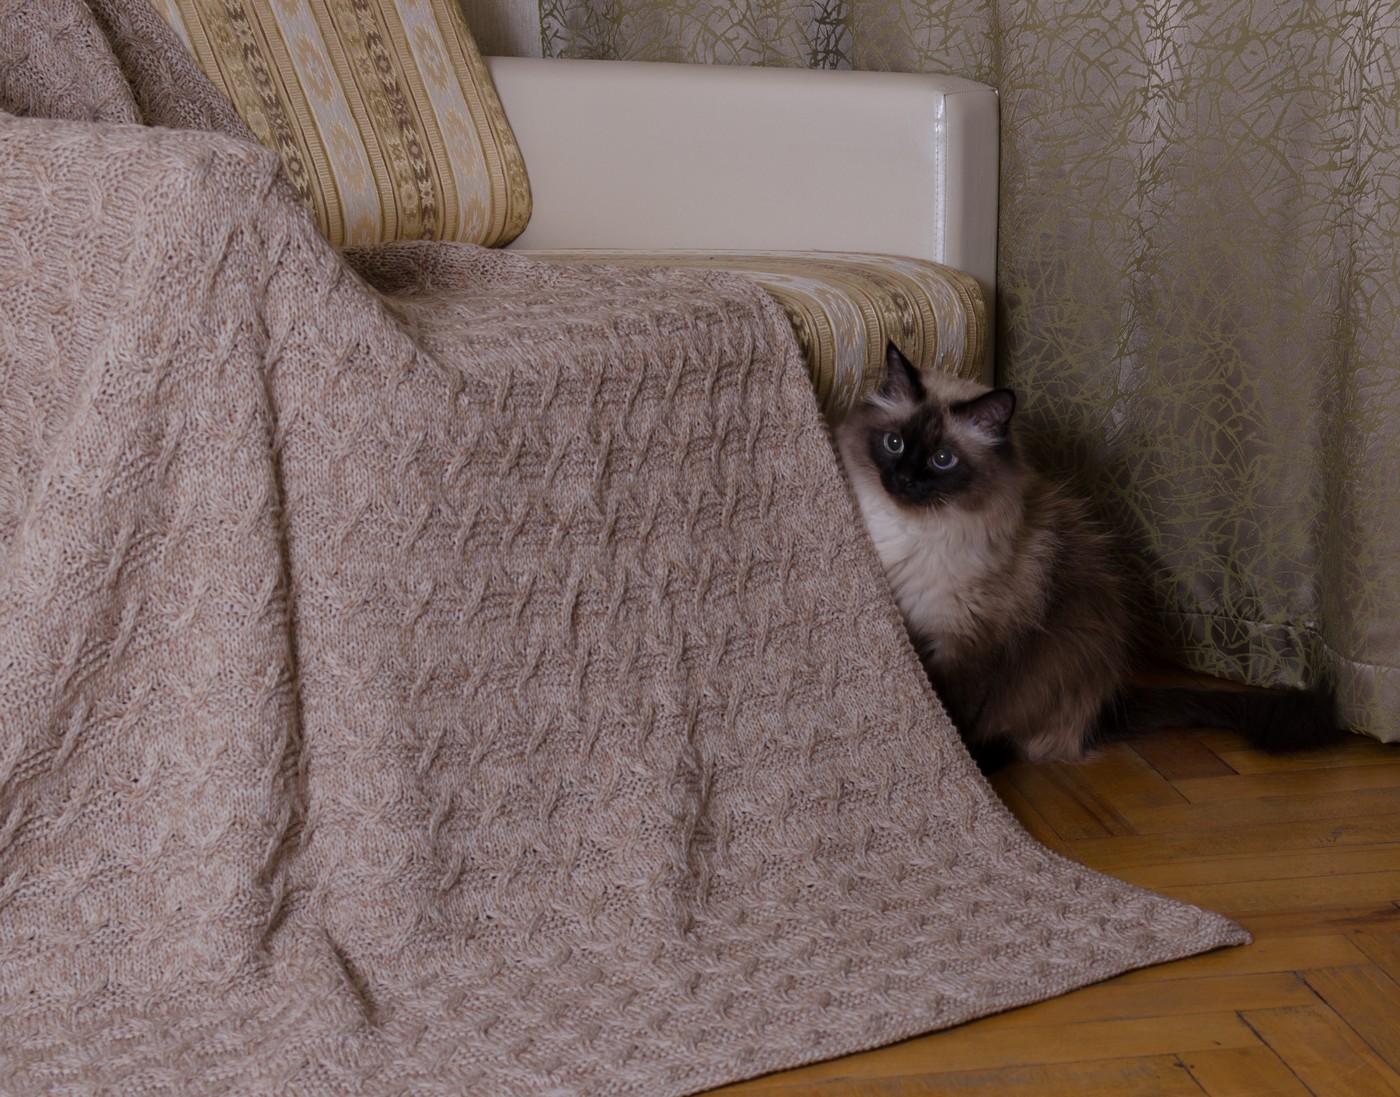
As a rule, knitting a blanket with knitting needles is beyond the power of beginners. Creating such a product requires a lot of effort and patience. But the result will not take long to come. As a result, you get a bedspread that warms family members on long winter evenings. It can be placed on a chair or sofa, complementing the interior, creating a cozy atmosphere. If you are not very familiar with knitting and this is your first job, choose the simplest version of a blanket with sectional patterns for training. It is quite simple and will help you get the hang of it.
Content
The best tool
Usually needlewomen use one of two tools for knitting.
- Knitting needles.
- Hook.
Of course, there is needle knitting. However, this technique has not become widespread due to the great complexity of execution.
Hook
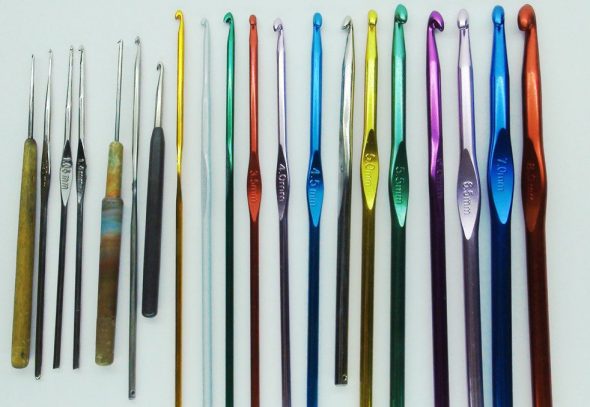
Knitting with this wonderful tool is very simple, so it is perfect for beginners. It creates a variety of patterns. It is small, compact and does not take up much space.
The main disadvantage is the ribbing and rigidity of the products. The row of loops is not dense, creating a simple thing takes a lot of time.
Spokes
Suitable for more experienced craftswomen. It is difficult to knit with them, but compared to a crochet hook, the process of creating airy patterns is noticeably more complicated. They allow you to knit large works in a short time (an experienced knitter can make up to four loops per second). The items are soft, smooth (all loops will be equal to each other, regardless of tension), pleasant to the skin.
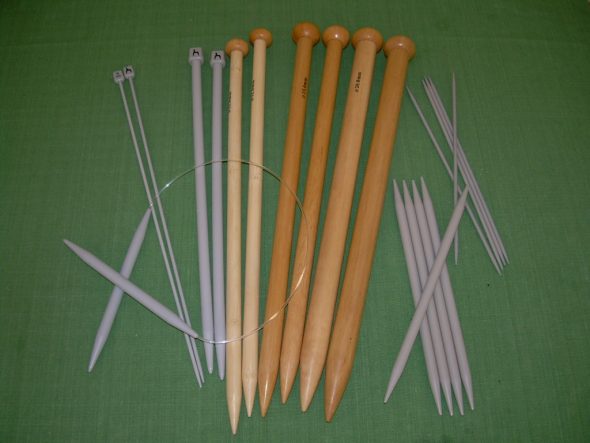
There are several types of knitting needles.
- Open

Open or double pointed knitting needles
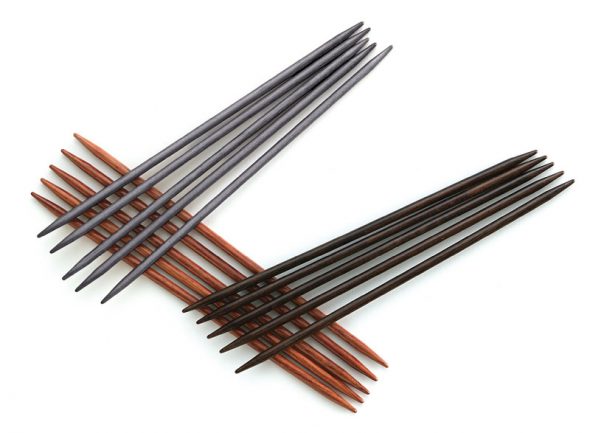
Sold in sets of five. Relatively short, have double-sided sharpening. The main purpose is knitting in a circle. Suitable for making mittens and socks.
- Closed.

Straight closed knitting needles
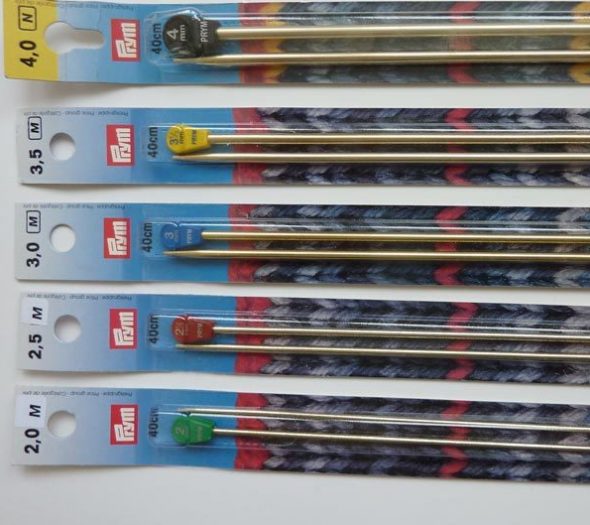
Sold in pairs. The longest of all knitting needles. They are convenient for knitting long, straight items, such as a scarf or sweater. Often used to create a blanket.
- Ring

Circular or ring knitting needles
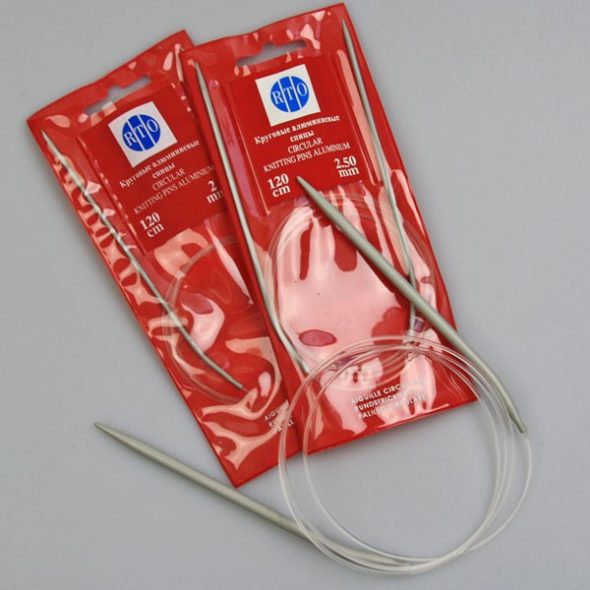
They are two short sticks connected with a thin fishing line. They are universal and can replace any knitting tool. The disadvantages include:
- the need to accurately select the length of the line;
- complex knitting technique.
If you decide to knit a blanket with knitting needles, use closed ones. They will prevent the loops from slipping from the back side and will allow you to create a variety of patterns. In addition, they are easier to change the colors of the yarn.
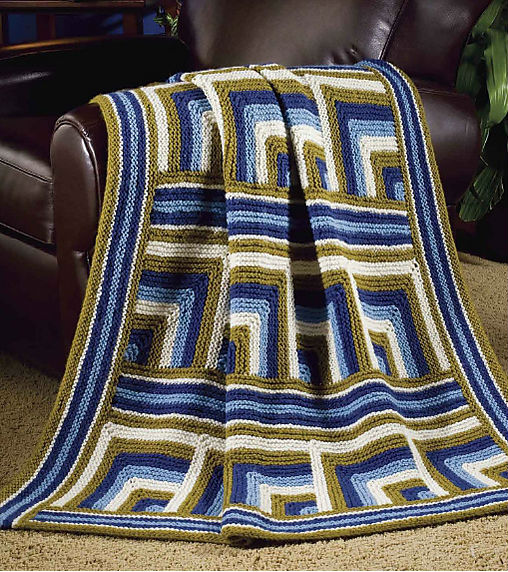
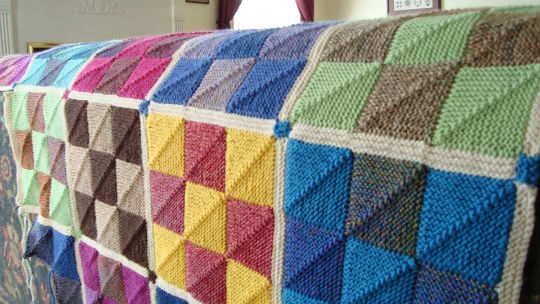
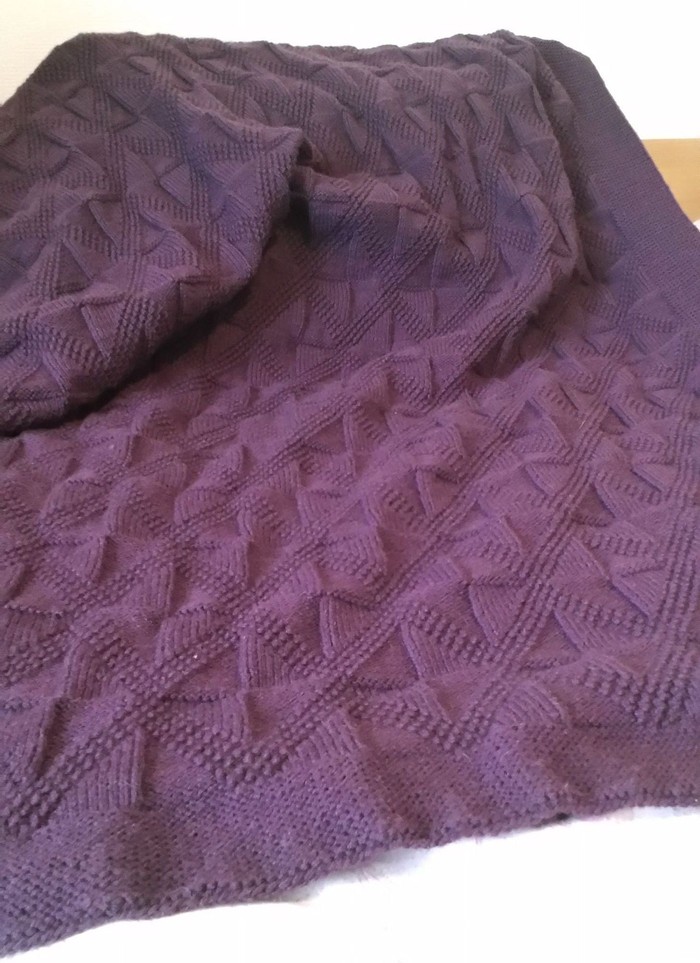
Sectional patterns
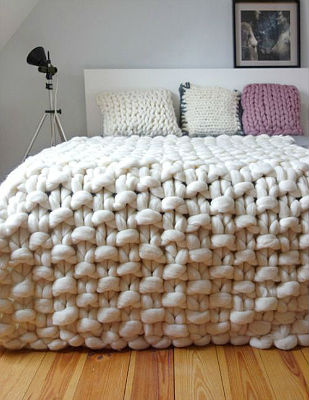
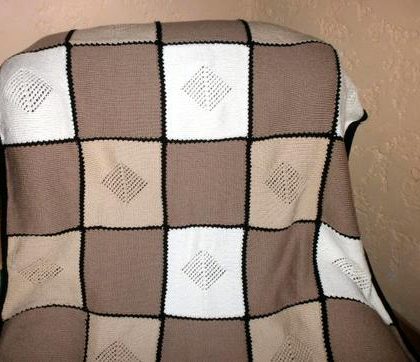
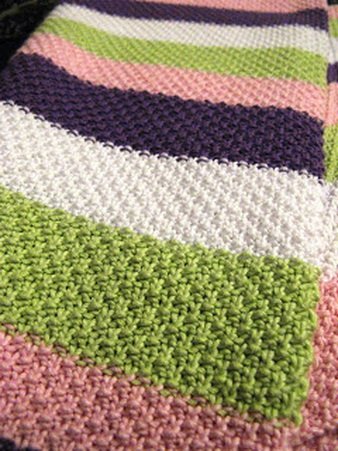
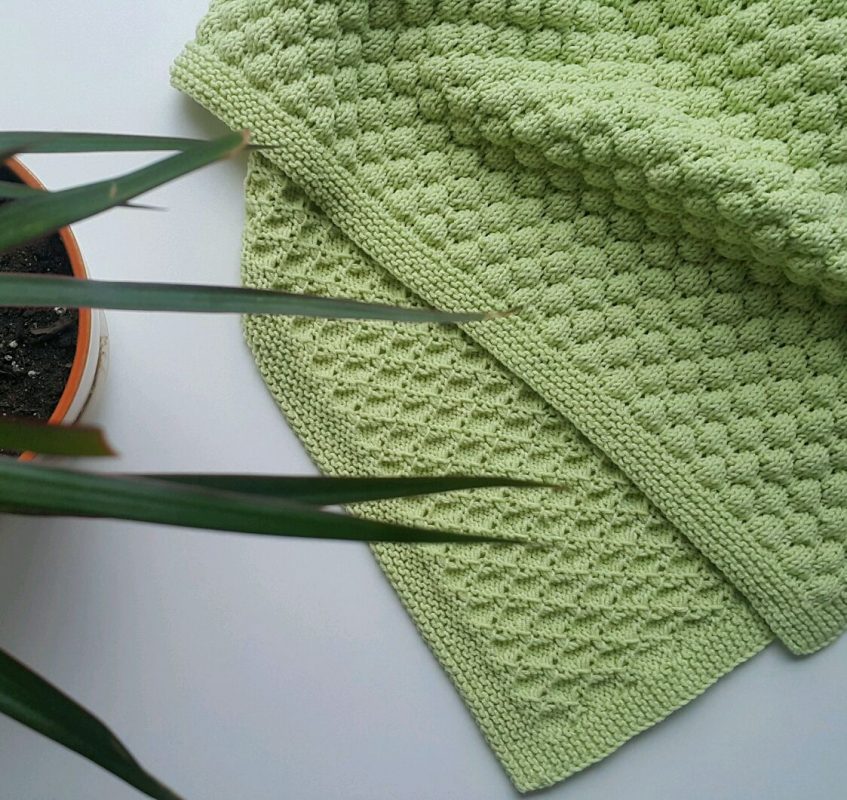
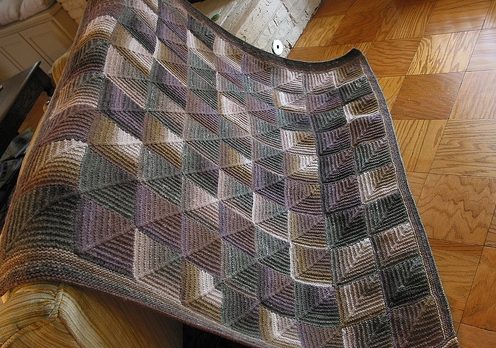
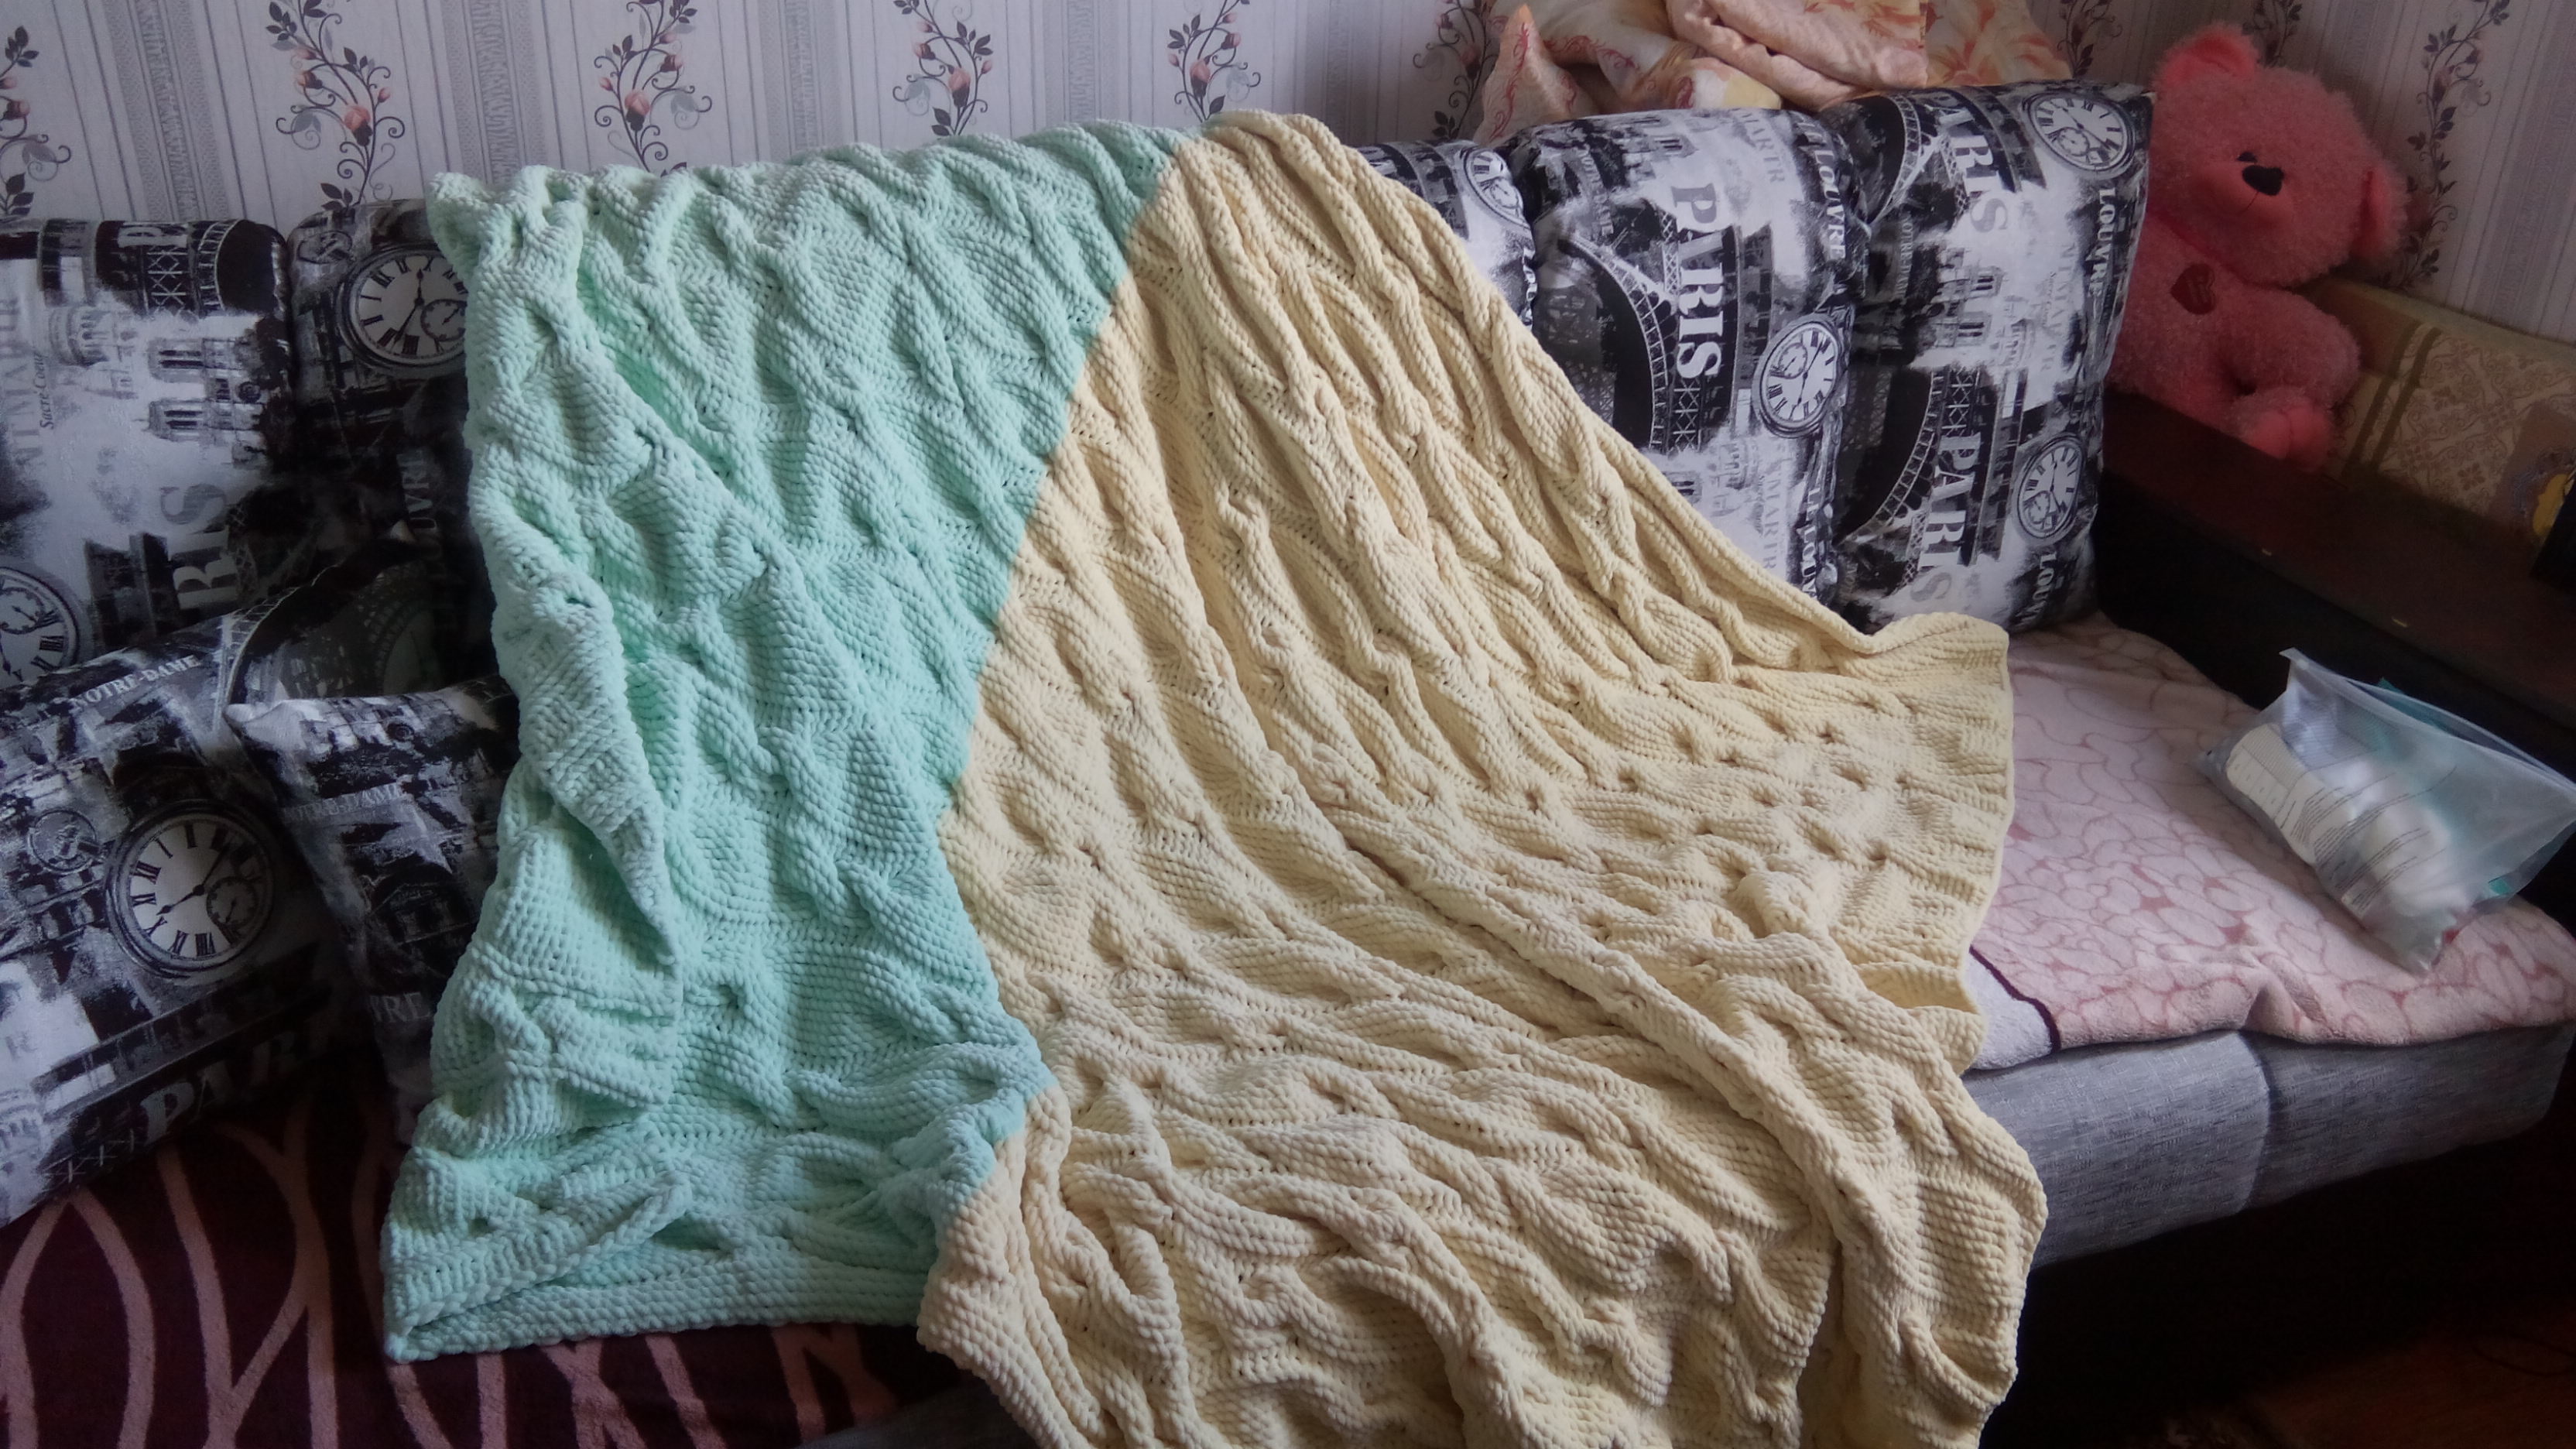
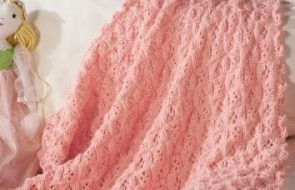
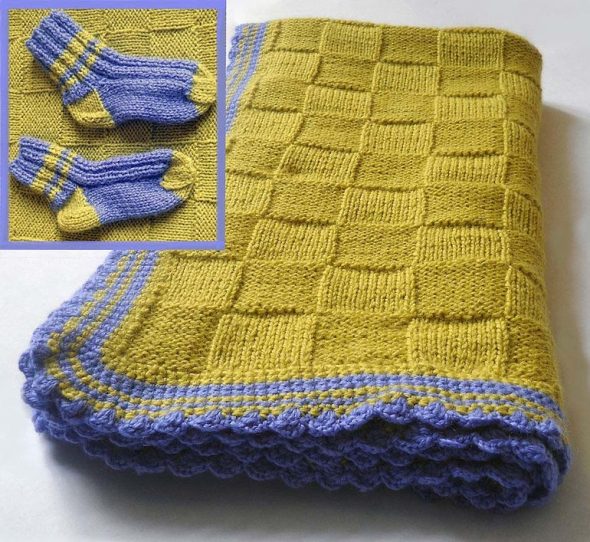
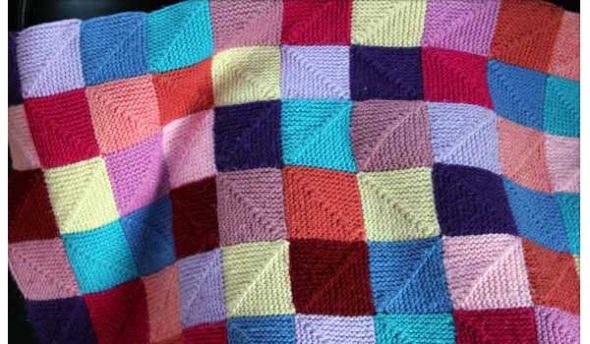
The lightest of all types is the sectional pattern blanket. A common variation is the "grain".
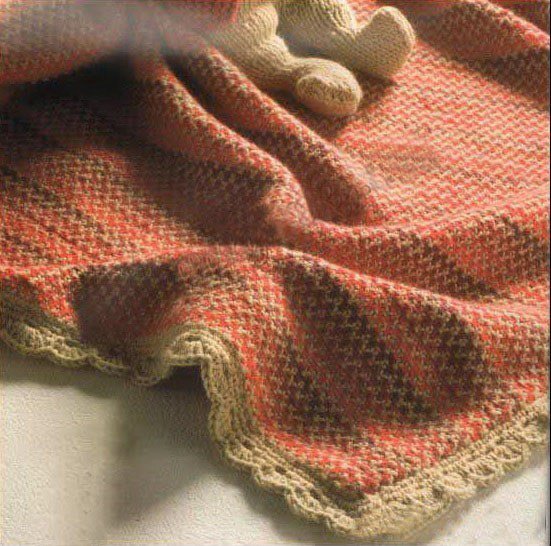
Before creating it, mentally mark your blanket into equal sections, 20 by 20 stitches in size. Alternate the squares in a checkerboard pattern, using purl and knit stitches, until a pattern is formed.
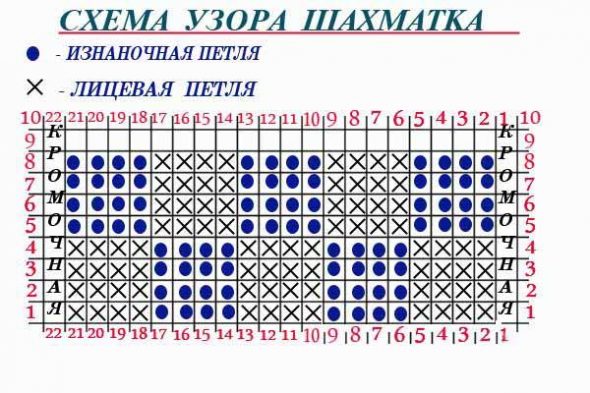
To knit such a blanket with knitting needles you do not need to be an experienced craftswoman. If you wish, you can make multi-colored sections using uniform knitting. There are no restrictions on the size of the squares, change them at your discretion.
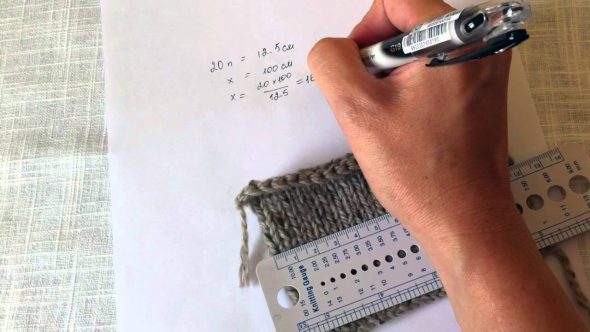
To choose the right size, cast on twenty stitches, measure them with a ruler. Divide the desired length and width by the resulting number. This is how you calculate how many stitches you need to cast on in the first row.
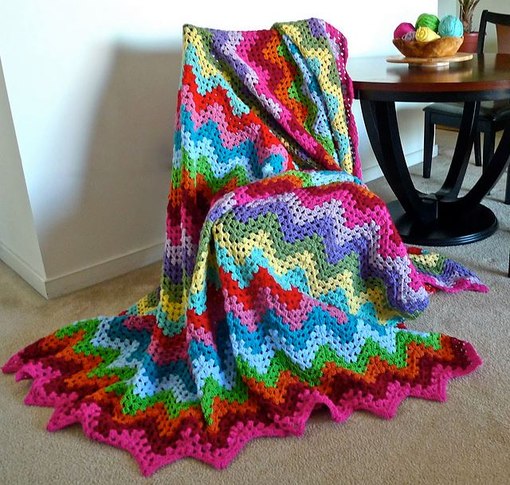
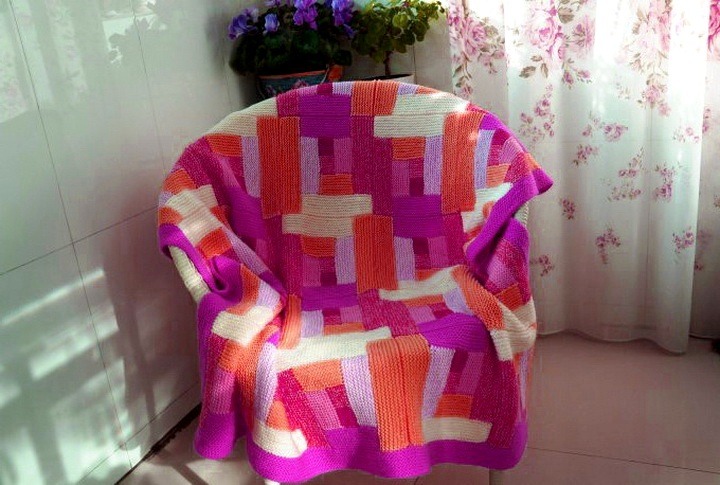
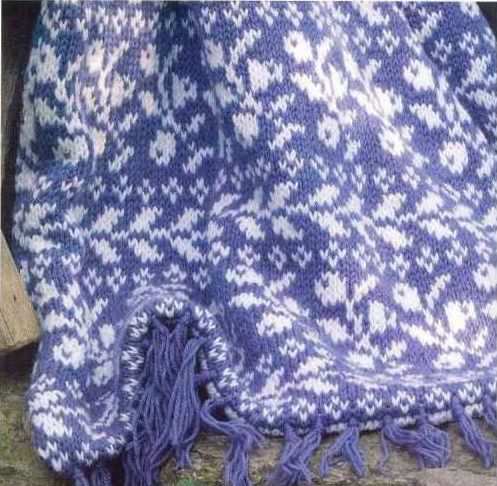
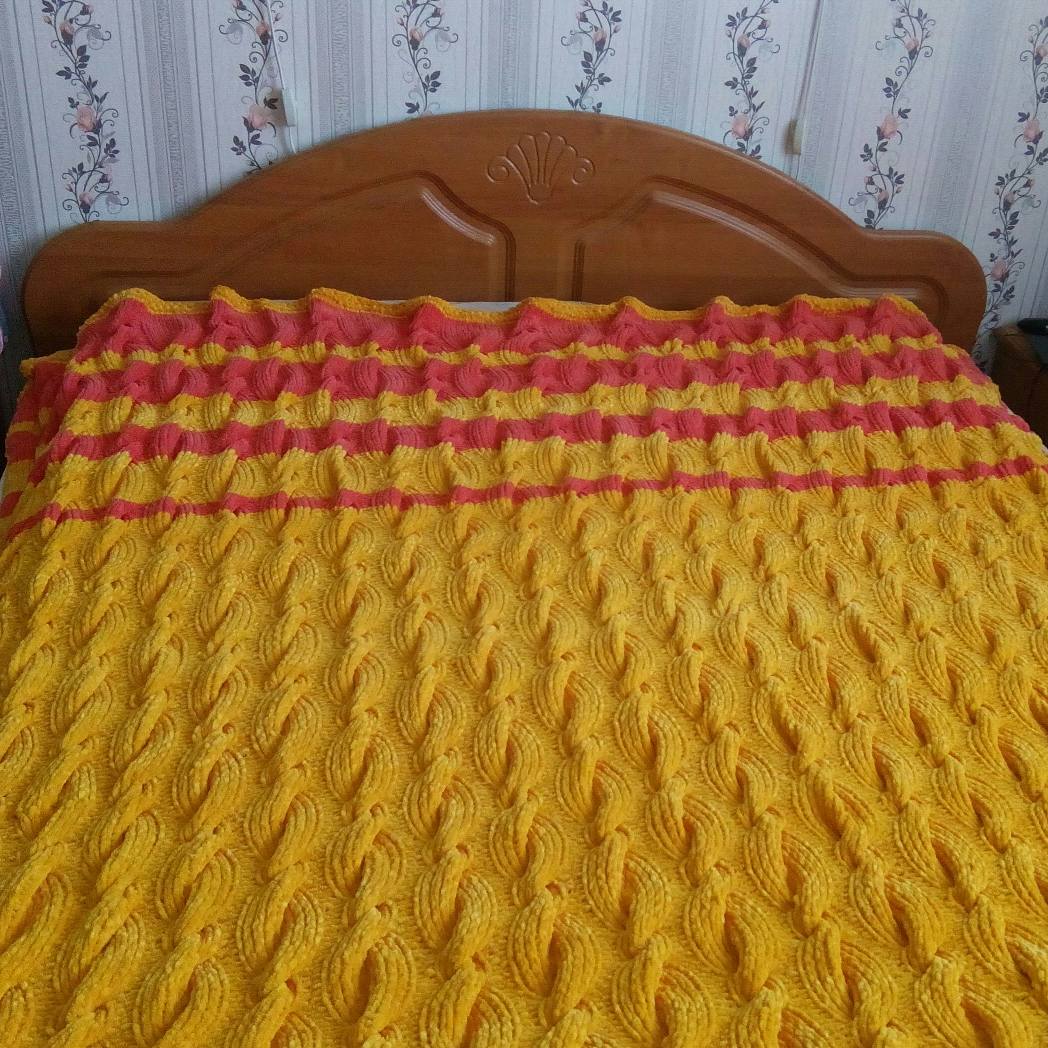
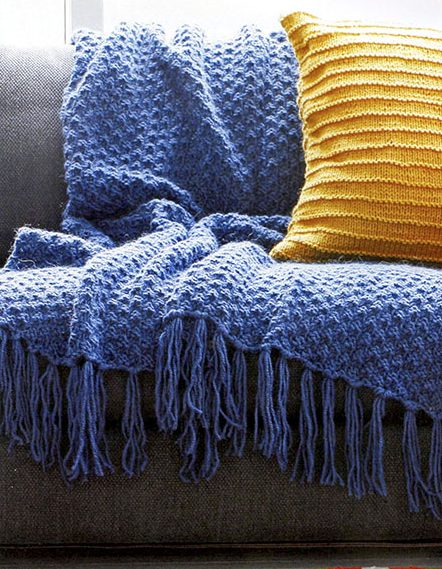
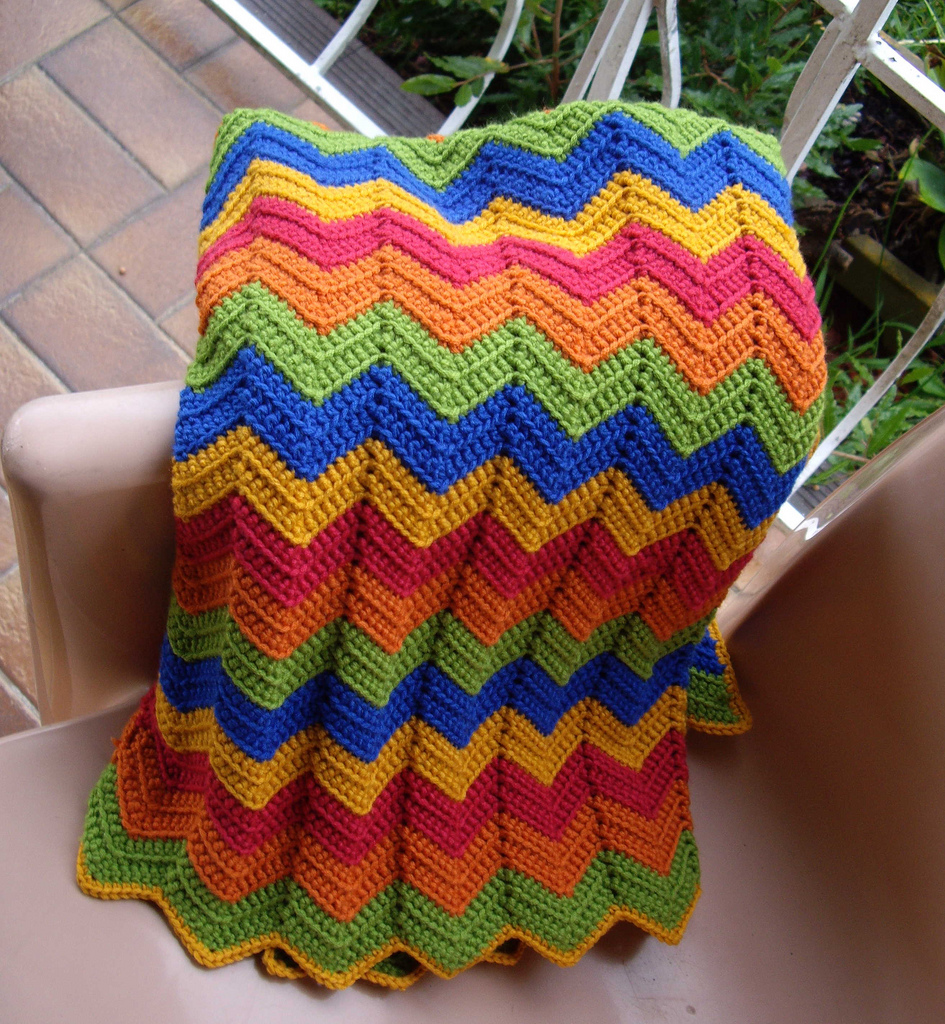
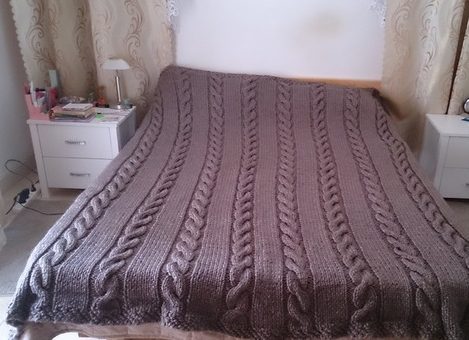
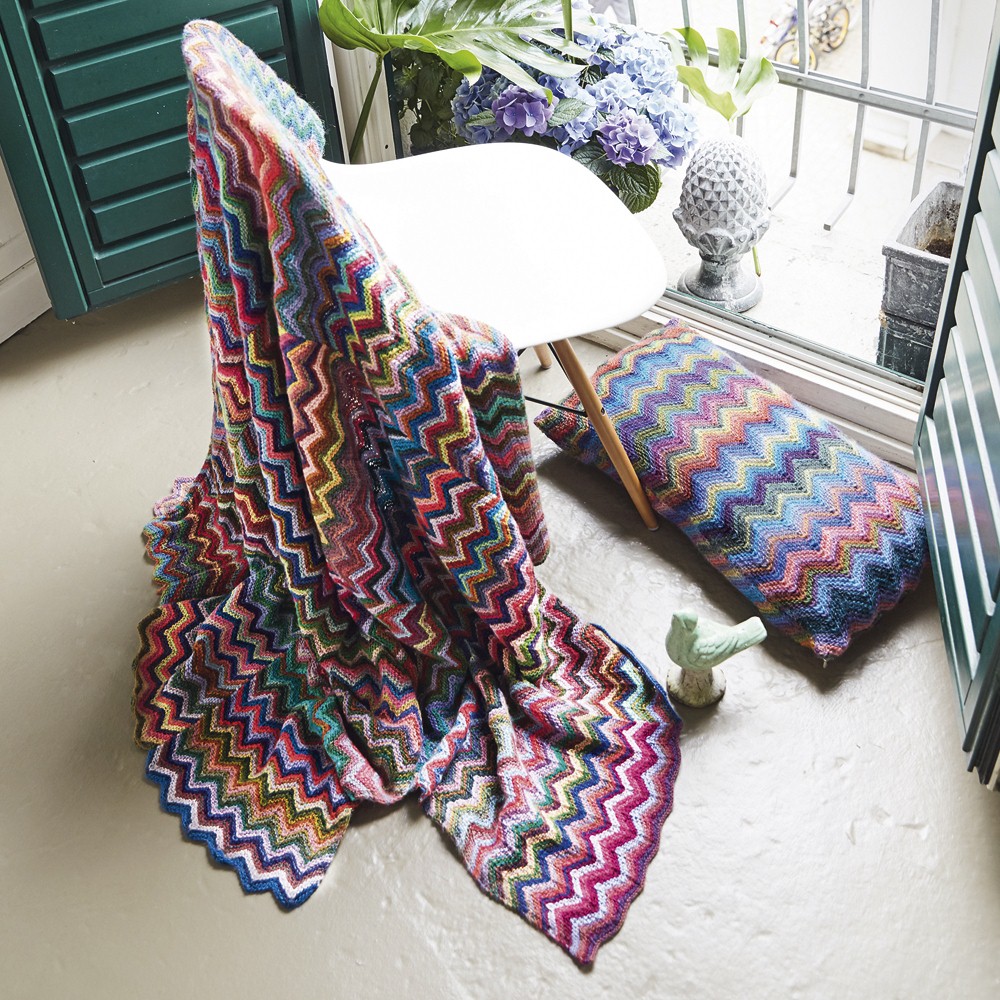
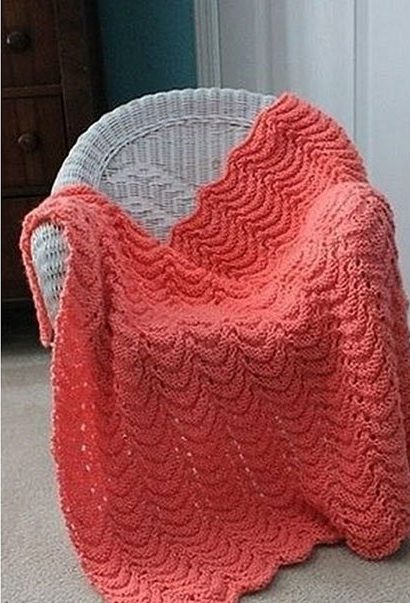
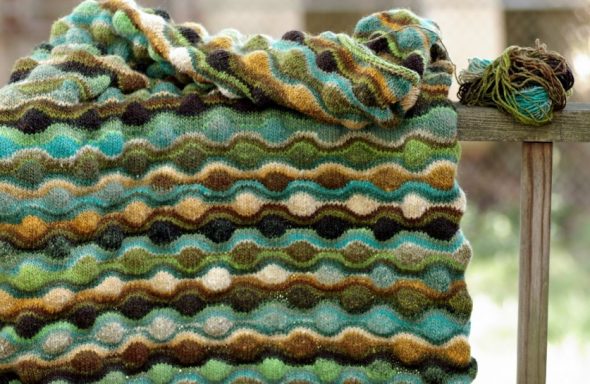
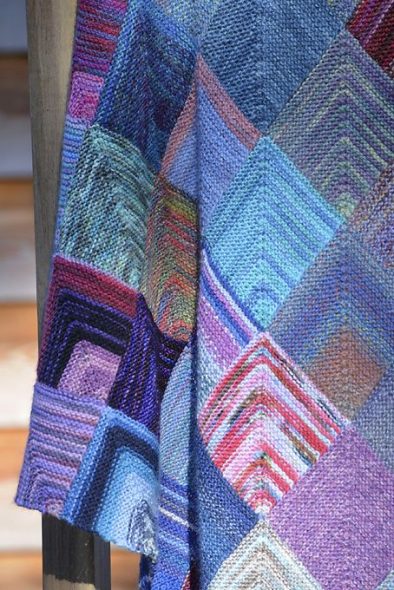
Zigzag blanket
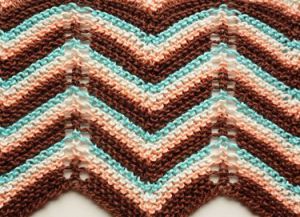
The stripes of the blanket are knitted gradually, without requiring sewing. Each strip can be knitted from different yarn, thus creating a special pattern. Experienced craftswomen use yarn remnants from other works.
Job Description
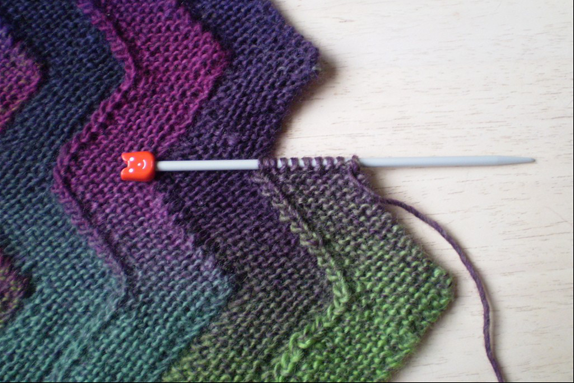
Cast on 10 stitches, knit ten rows, always decreasing one stitch on the left and one on the right. Repeat this step, but increasing on the left and decreasing on the right. This will give you an uneven stripe, similar to lightning. The zigzags themselves can be diagonal or vertical (depending on your preference). Periodically recount the number of stitches on the needles. The same number should always remain (in our case, 10).
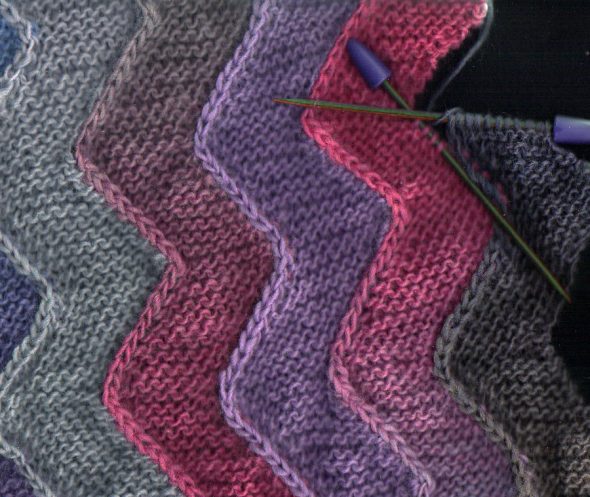
Having reached the desired length, close nine loops of the strip, one should remain on the knitting needle. Turn the future masterpiece 180 degrees and knit the next zigzag in the same way, fastening it with the previous one. Having knitted the next blanket with knitting needles, wash it with warm water.
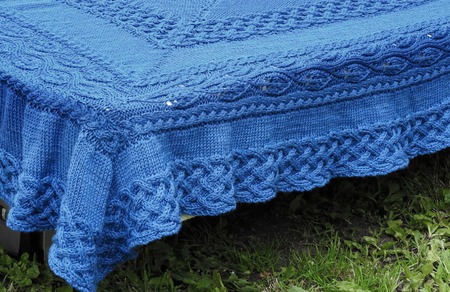
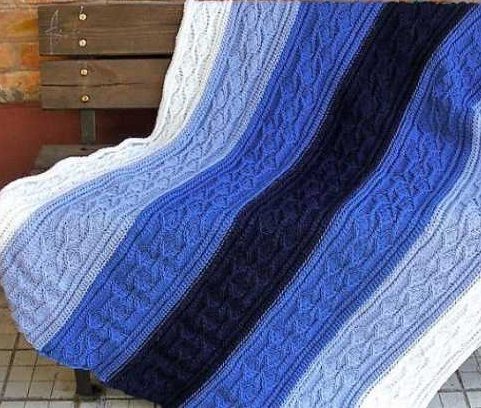
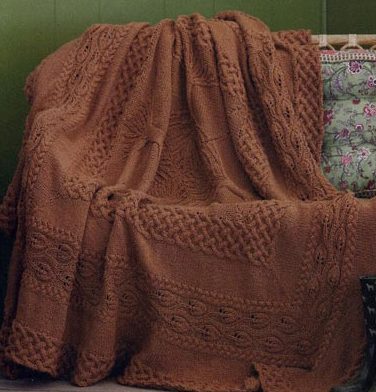
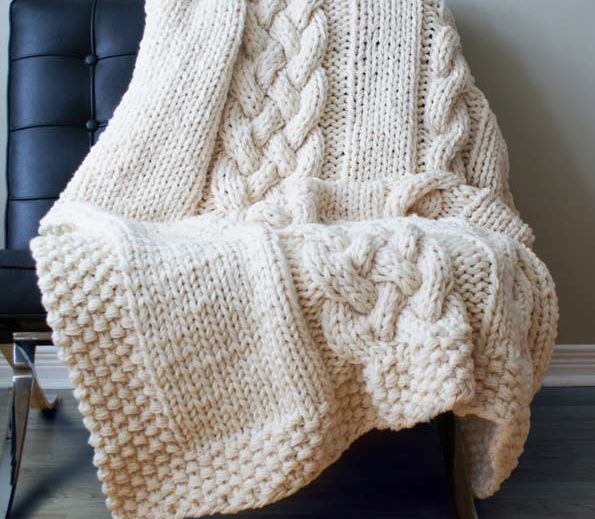
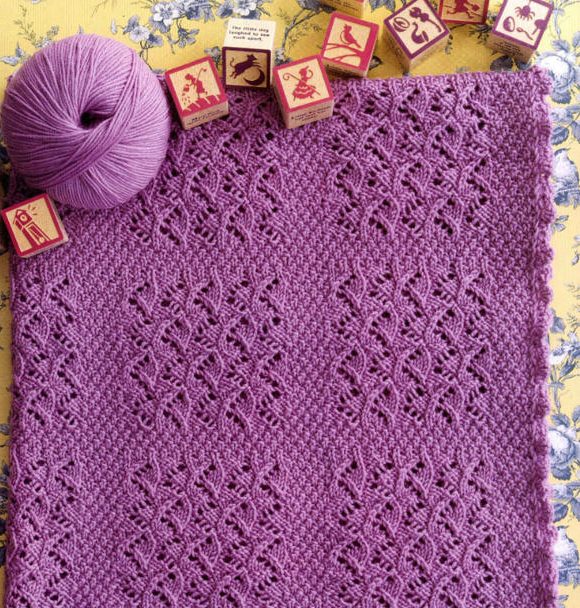
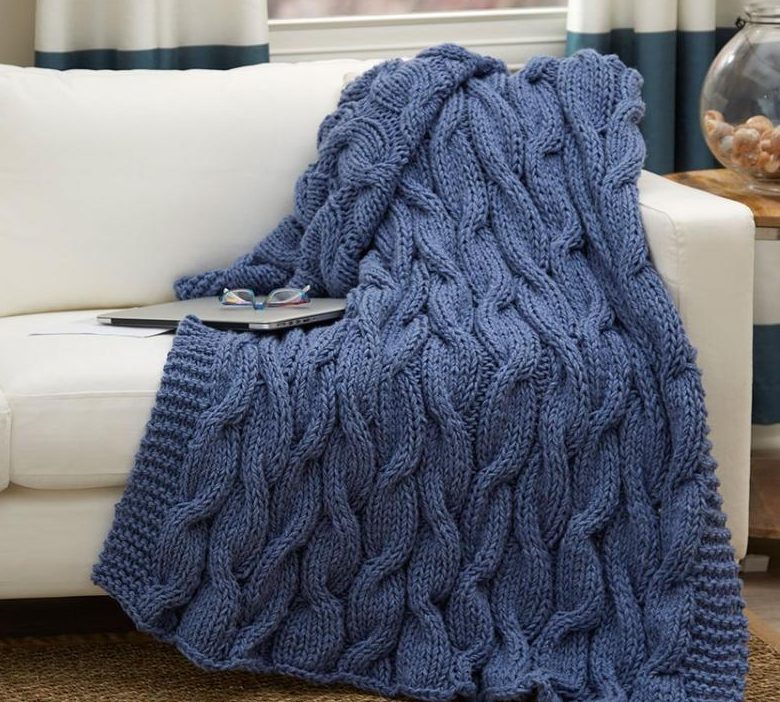
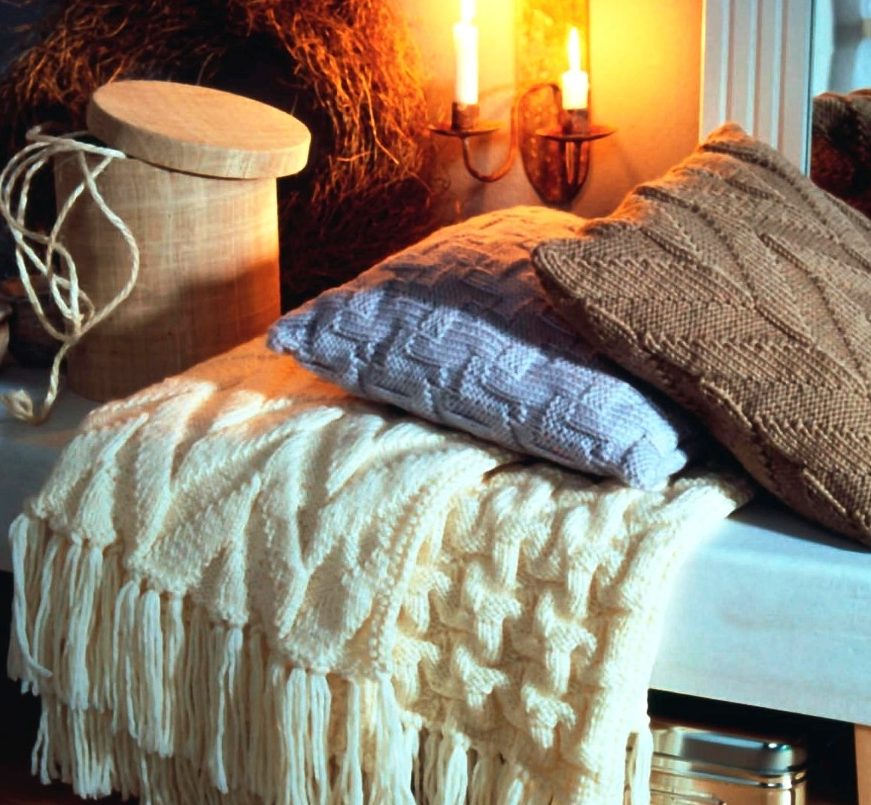
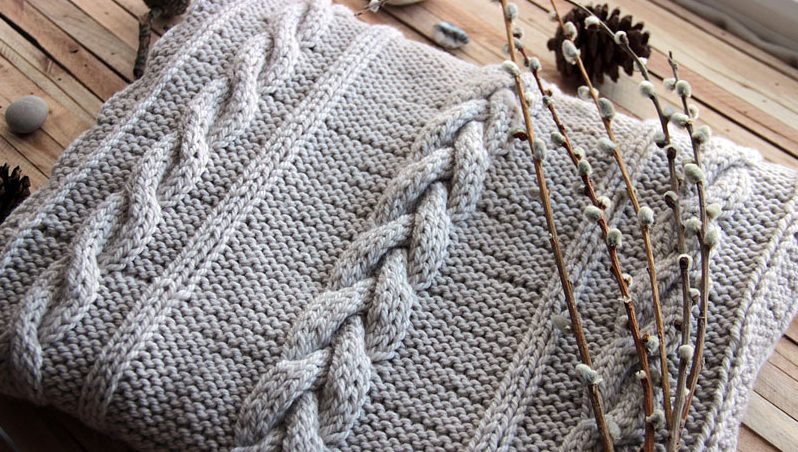
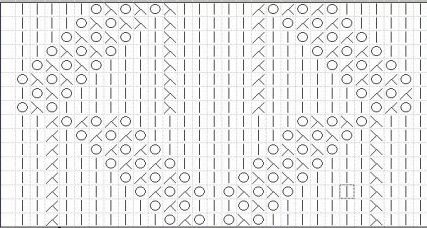
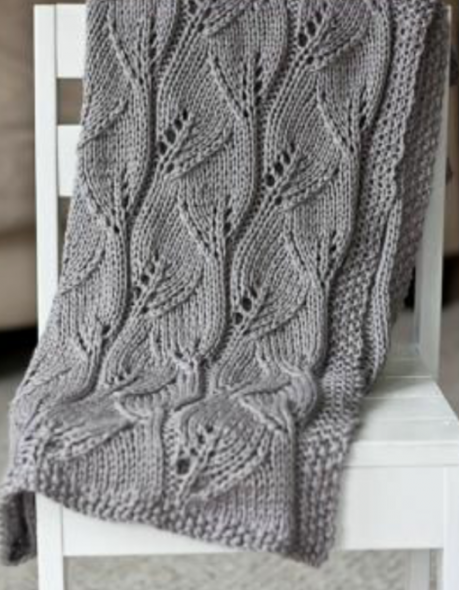
Volumetric leaves
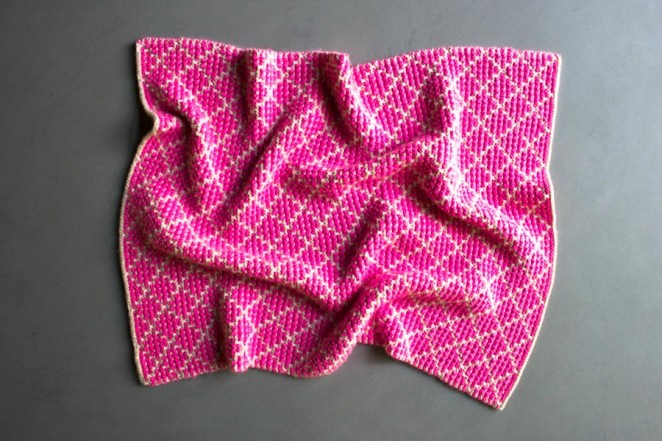
Before starting work, it is necessary to study the "pearl" pattern. It is, along with the elastic band and the braid, an extremely popular element used in many works.
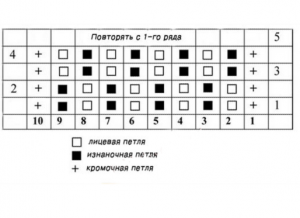
Knit a row of alternating front and back loops, and do the next one the same way, but in a checkerboard pattern. The result will be a "pearl" pattern. It is worth noting that some craftswomen call it "seeds", "fish scales" or "web".
Having studied the new element, start knitting the blanket with knitting needles.
Cast on 112 stitches. Then work 4 rows using the pearl pattern, then proceed to the leaf motif, leaving 4 knots on each side.
When knitting the “leaves”, you will need to divide the remaining fabric into 7 equal sections of 16 loops (use pins for convenience).
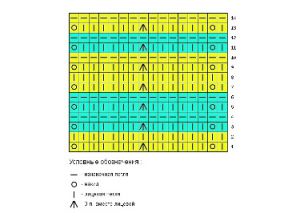
1st row: 2 together. persons To the left, knit 8, 1 yarn over, knit 4, knit 2. persons right;
2nd row: 2 together knits. Left, 3 knits, 1 yarn over, 3 knits, cross 8 sts to the right;
3rd row: 2 together. persons Left, knit 6, knit 1, knit 4, knit 1, knit 2, knit 2. persons right;
4th row: 2 together. persons To the left, knit 1, knit 1, knit 6, knit 1, knit 5, knit 2. persons to the right.
Continue this way until you reach the desired length. Finish the blanket with four rows of "web", then cut the thread.
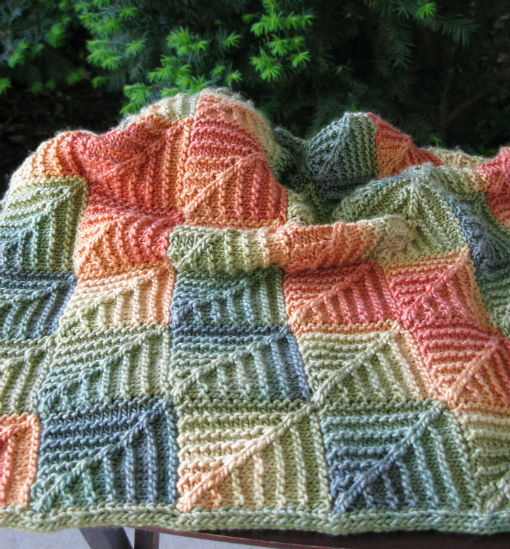
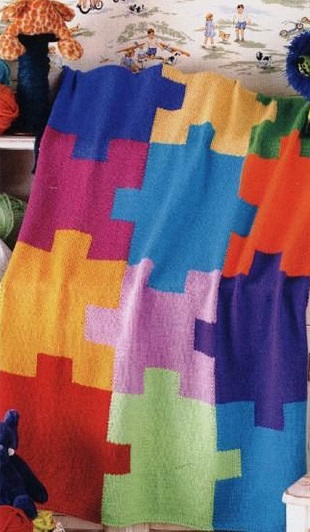
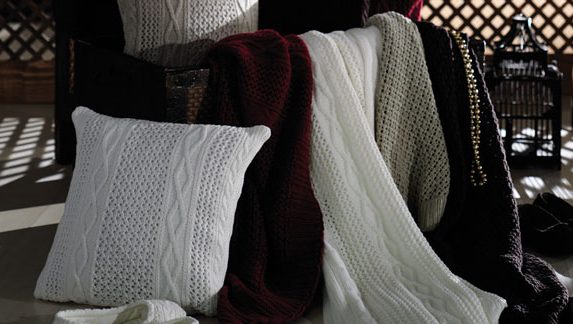
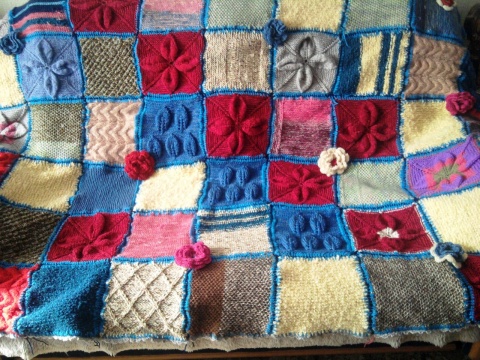
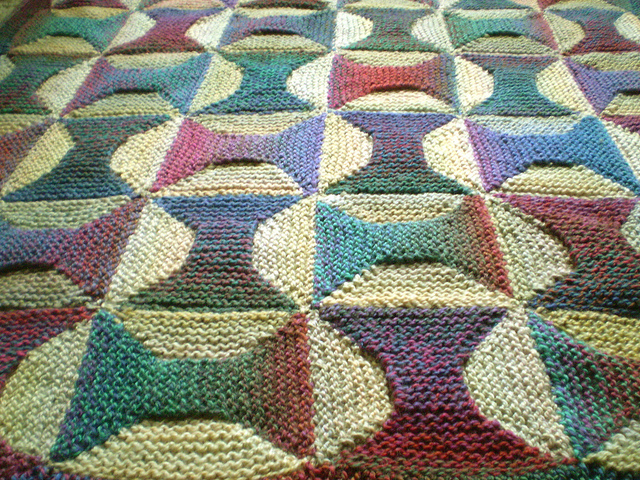
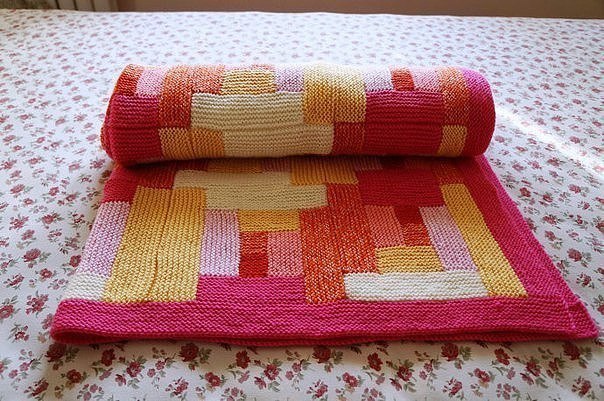
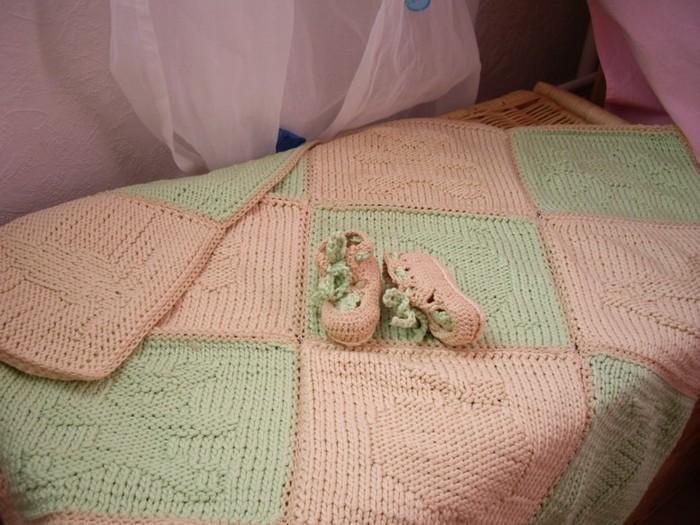
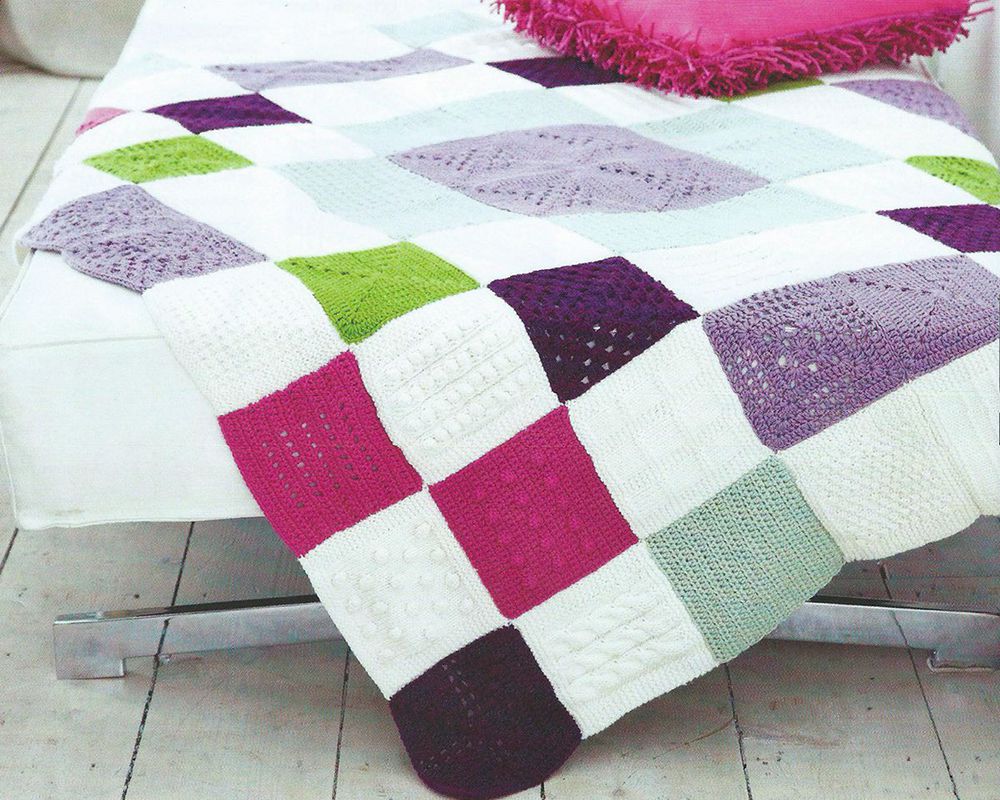
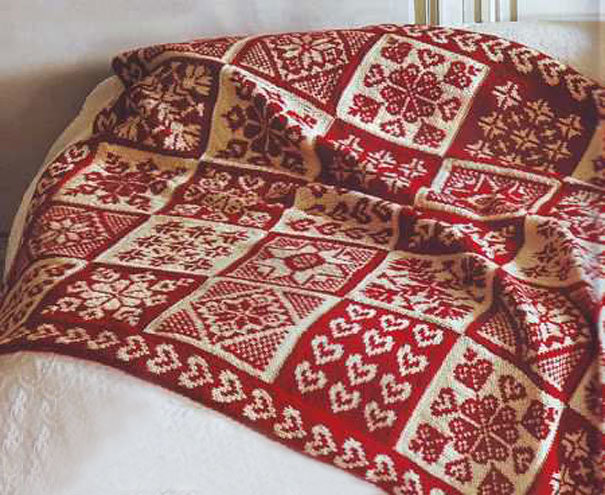
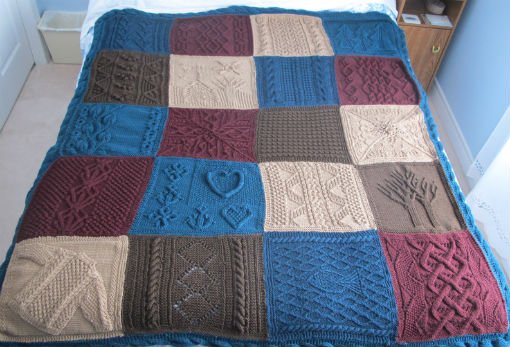
From squares
Perhaps the most popular type of blanket. The main advantage is that it consists of small squares sewn together with a thread. That is, you can knit while sitting in a traffic jam or visiting. Compared to traditional methods, knitting small areas does not require much time, space and effort.
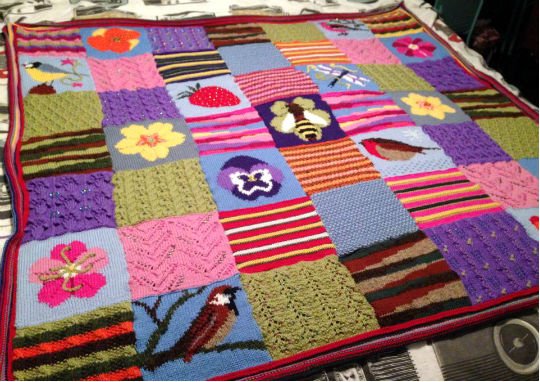
You will need a large amount of different yarn. Use the remains of previous products. Use your imagination. The color scheme, shape, pattern and size of the blanket are not limited. You can choose several matching colors and make a single composition. But no one will forbid you to take yarn in any order and create colorful unique patterns, complemented by various elements.
Another advantage is the ability to re-sew the squares in a different order or replace them with new ones at any time.
There is no single knitting pattern, try to invent a unique fabric.
Harness
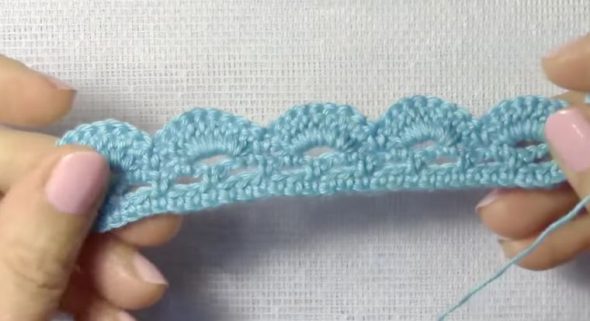

Having finished the blanket with knitting needles, it is advisable to crochet it. This is necessary to increase its service life.
To do this you will need a short hook (3 mm) and yarn that matches the fabric.
1 row: tie the perimeter of the product with sc;
2nd row: alternate 2 ch, 3 sc;
Row 3: knit 5 dc into the ring formed by the air loops, then secure with 1 dc (continue to the end of the row).

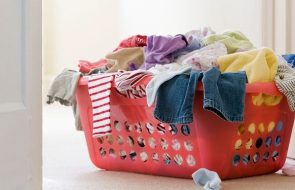
Care
To keep your blanket looking its best, follow these tips.
- Do not store knitted items in tight piles, otherwise the yarn will wear out.
- Before you put the blanket in the closet, don't forget to wash it. Sweat and dirt attract moths.
- Put moth repellent in your closet.
- Always wash knitted items by hand. The washing machine is harmful to the items (stretches, tangles the wool).
- Wash with warm, but not hot water.
- Do not dry the blanket in front of the radiators. It is better to lay it out on a flat surface and leave it there until it dries completely.
Conclusion
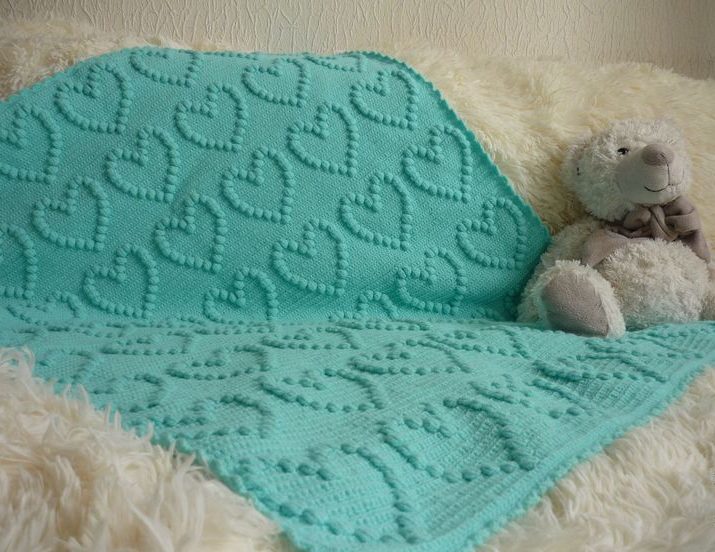
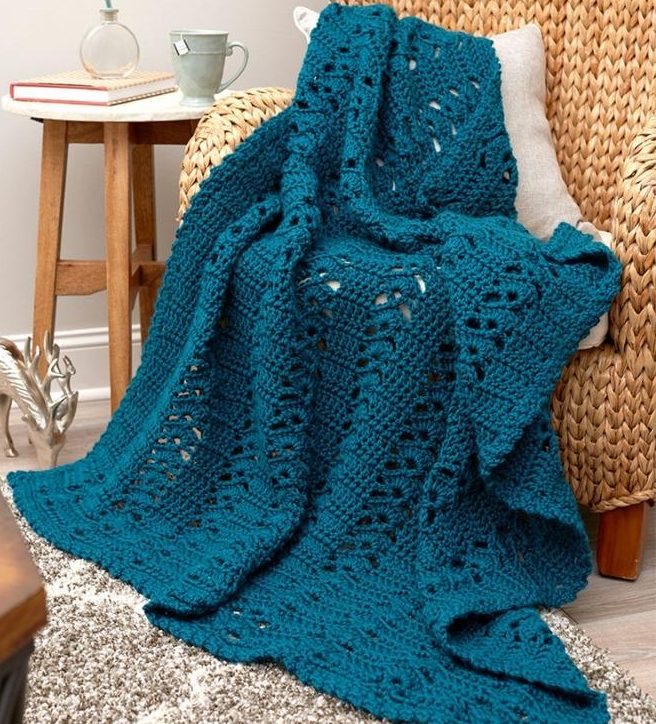
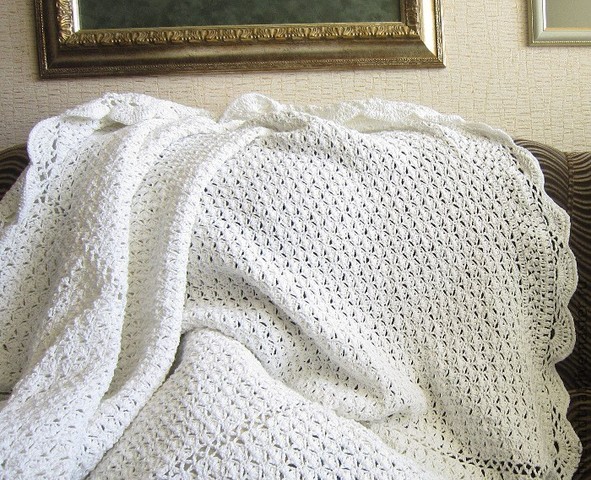
As you can see, knitting a blanket with knitting needles, although a difficult, but doable task. There are countless patterns and types of drawing. You can always show your imagination and create something new. The resulting items will be a wonderful gift for your friends and relatives. A colorful, openwork blanket will be great for a child's room, and a single-color, zigzag one will fit into any interior of a modern apartment.
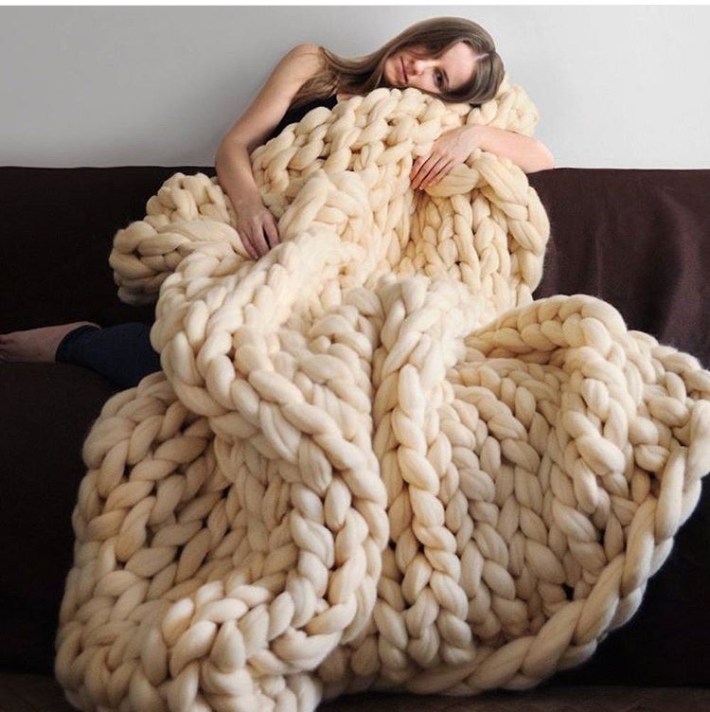
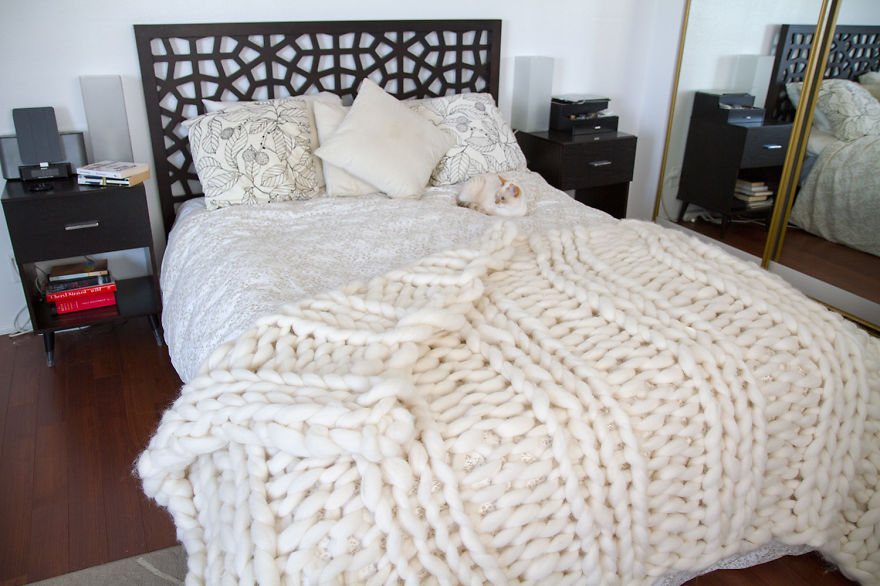
Video: Simple blanket with knitting needles from thick yarn
50 ideas for knitting beautiful and comfortable blankets with knitting needles: