After renovating an apartment, the question arises about decorating it with various interesting design details that can fully demonstrate the capabilities and imagination of the owner.
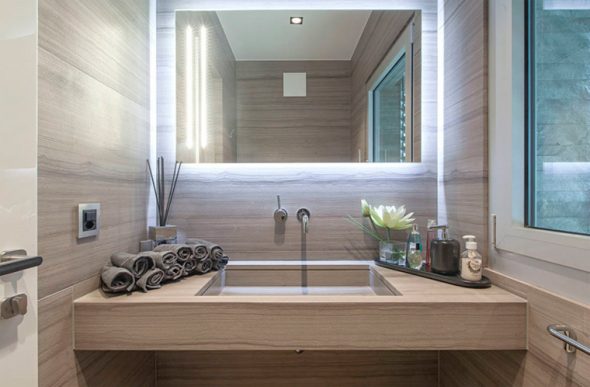
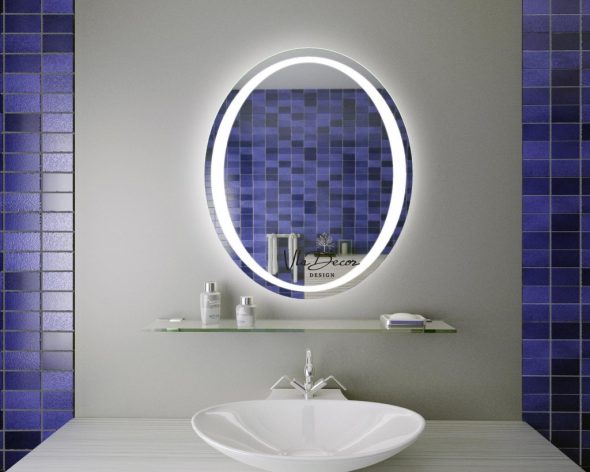
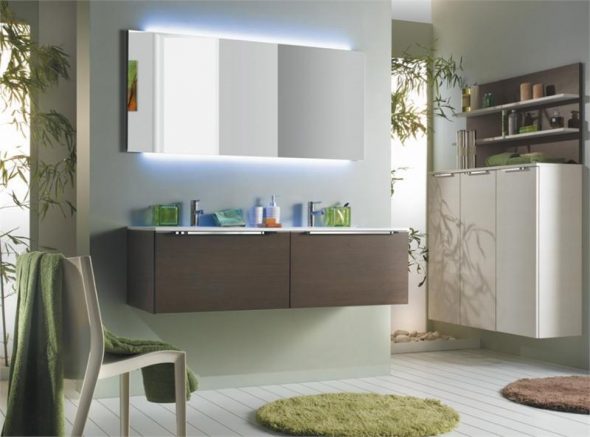
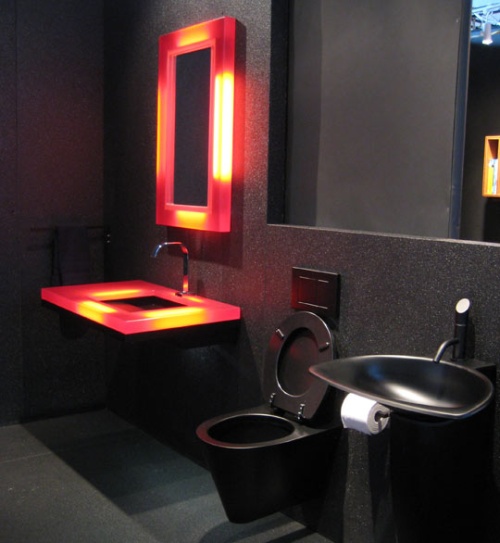
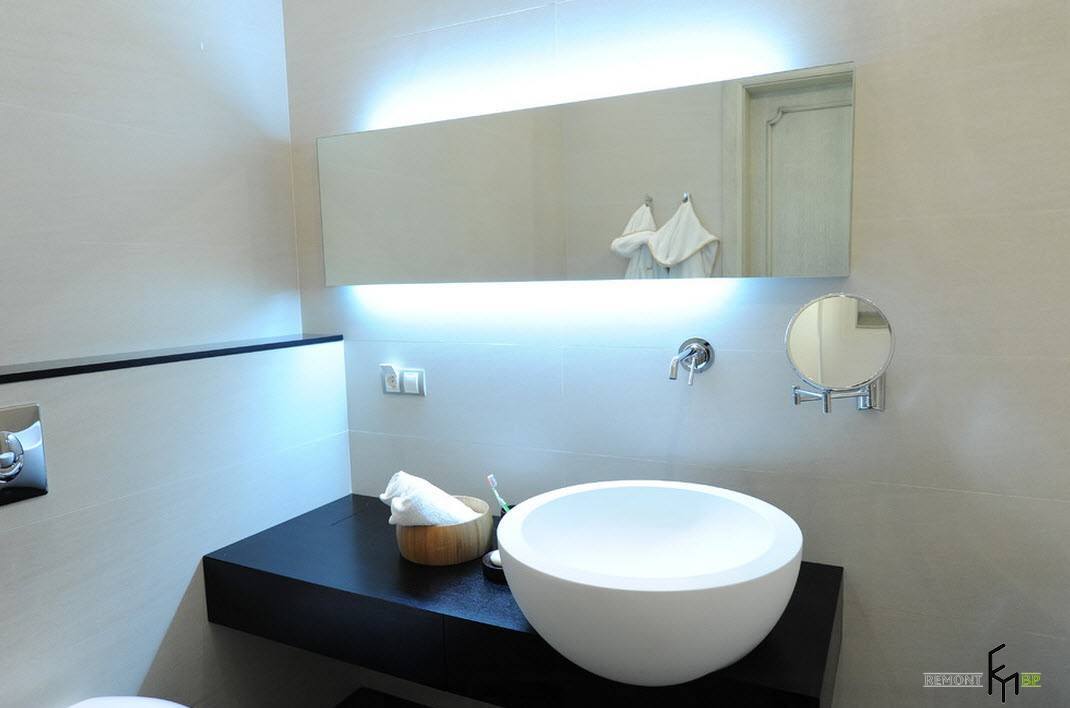
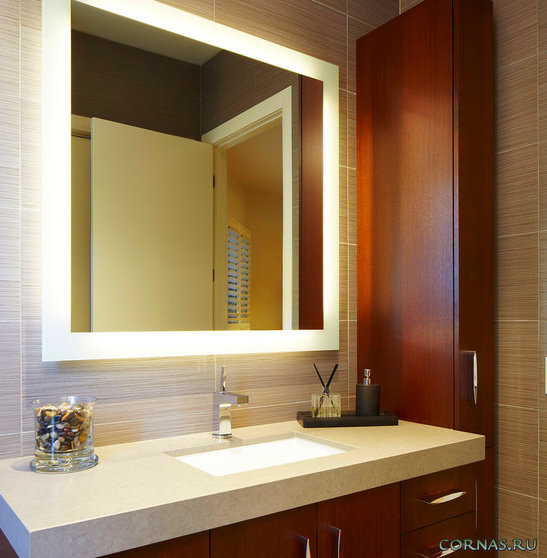
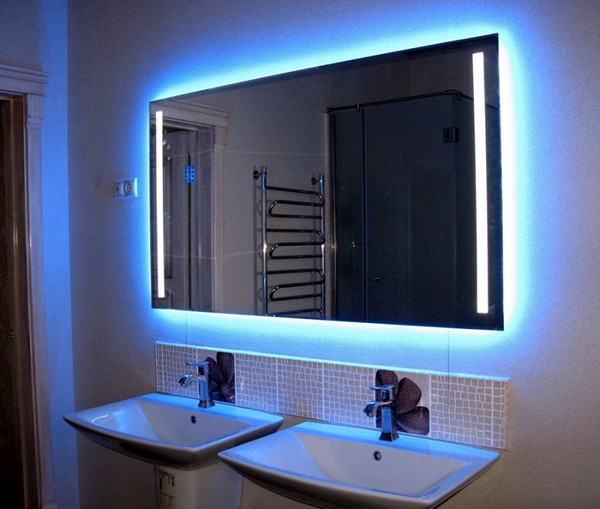
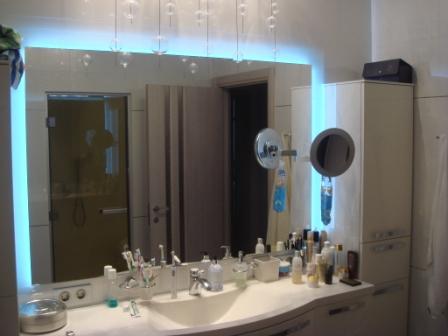
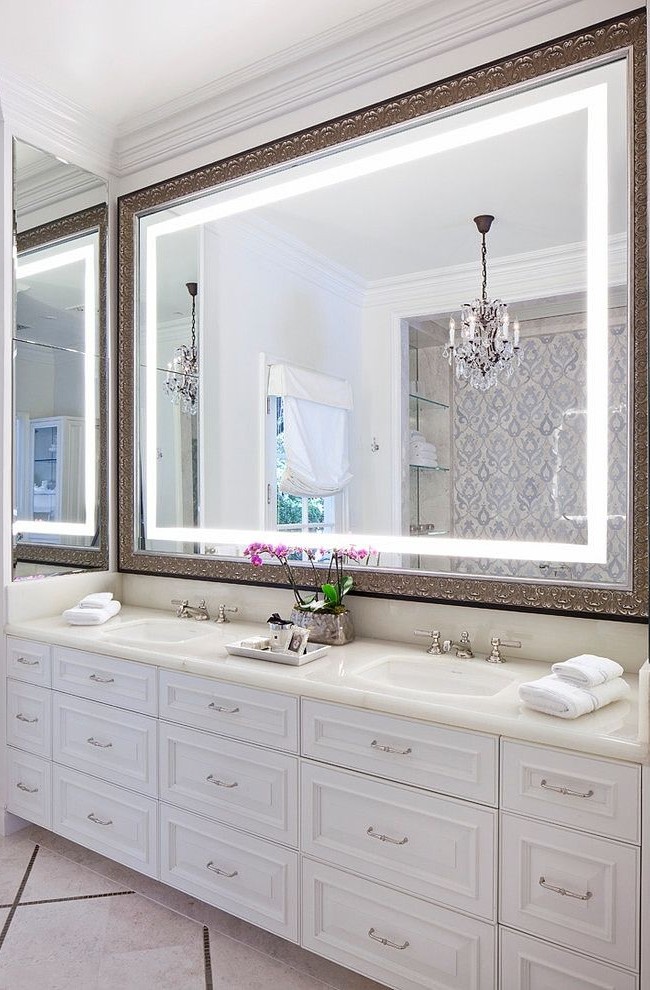
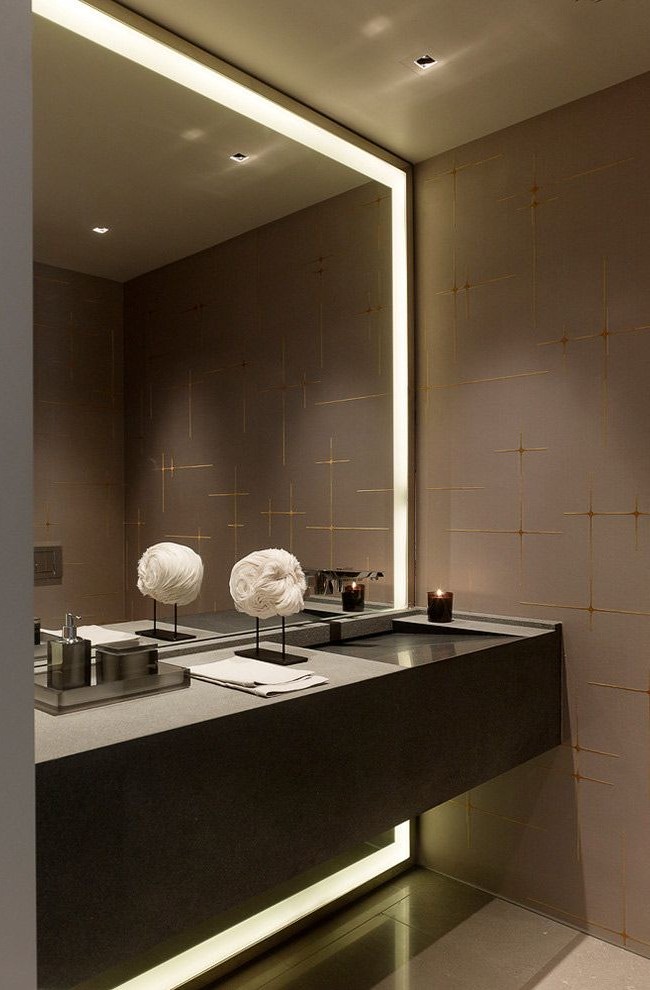
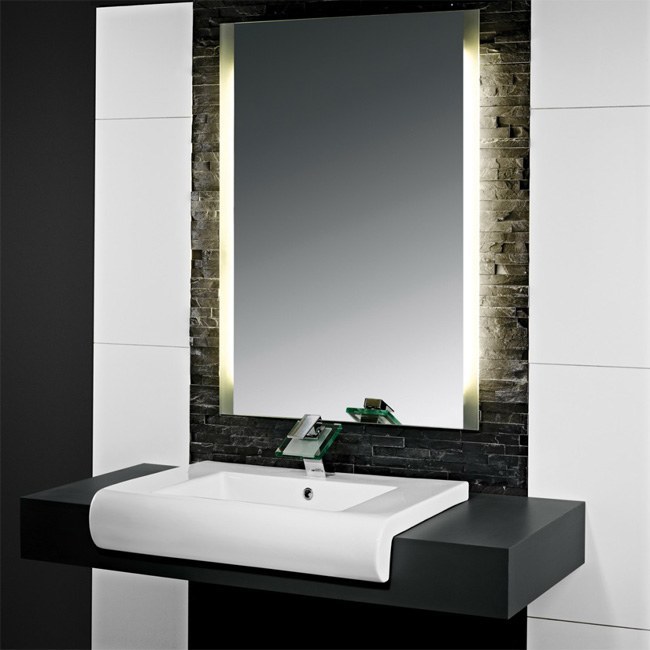
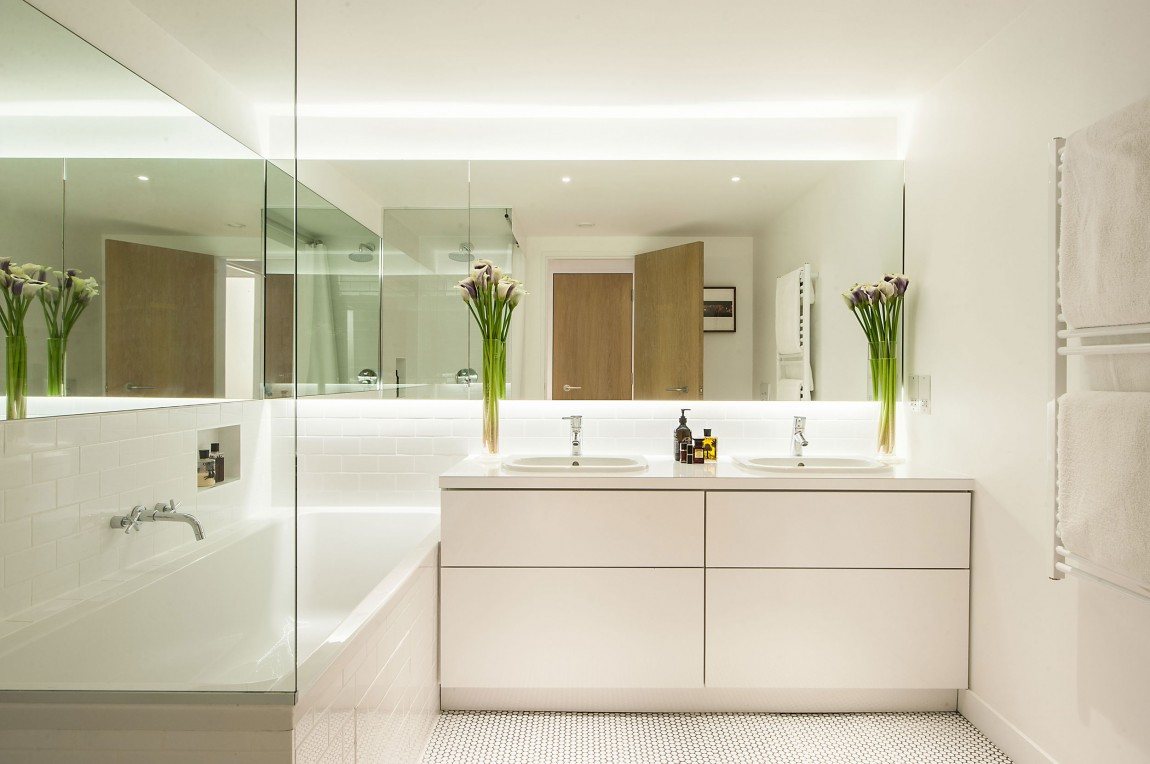
One of such interesting solutions is a mirror with backlighting, which can not only decorate and give a special charm to the bathroom, but is also a very convenient interior element to use.
Content
Buy or make?
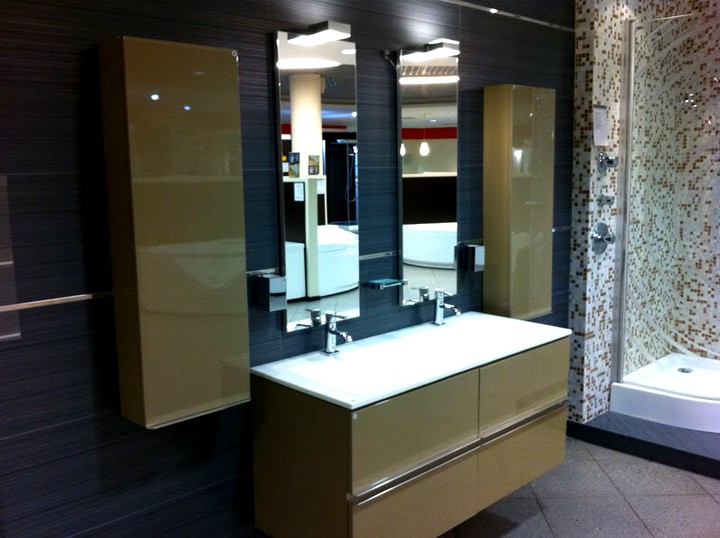
Of course, the shelves of shops and markets are overflowing with mirrors for every taste and budget, but a thing made by yourself is in any case more reliable and cheaper. It is important to express your own taste and embody your vision in the product.
Making a backlit mirror with your own hands is not difficult at all. This process does not require any special professional skills or tools, it is enough to decide on the appearance and design of the mirror.

Design selection and design features
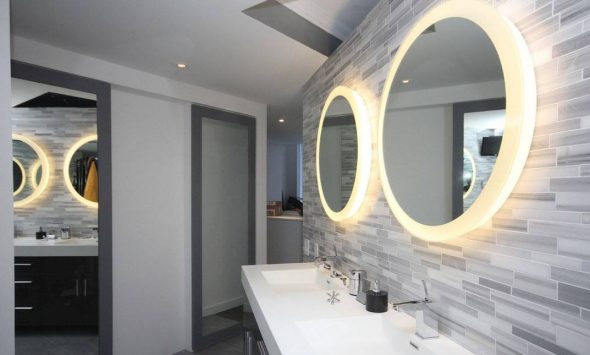
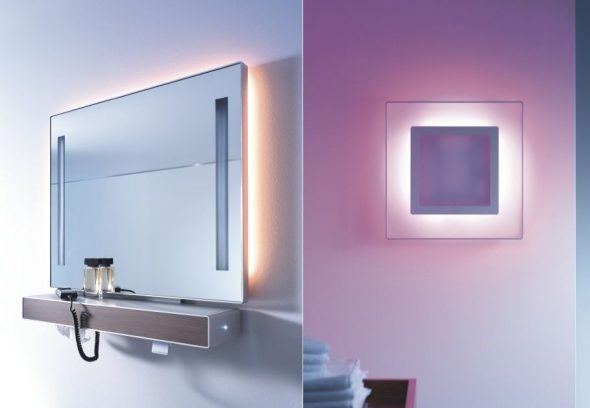
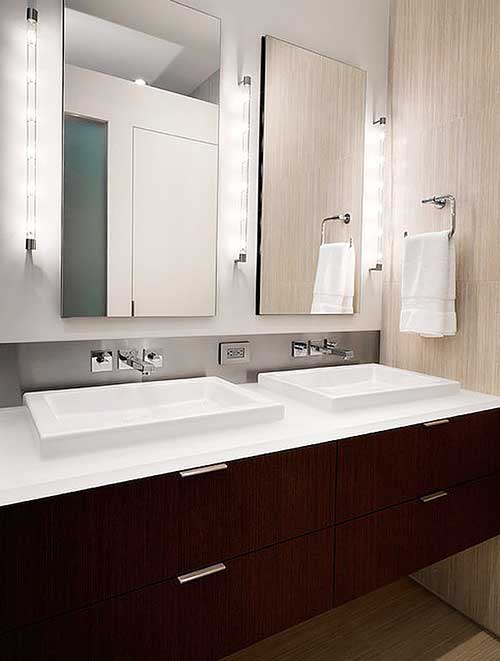
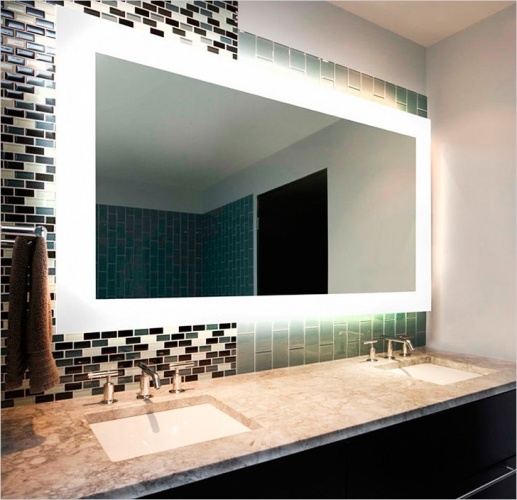
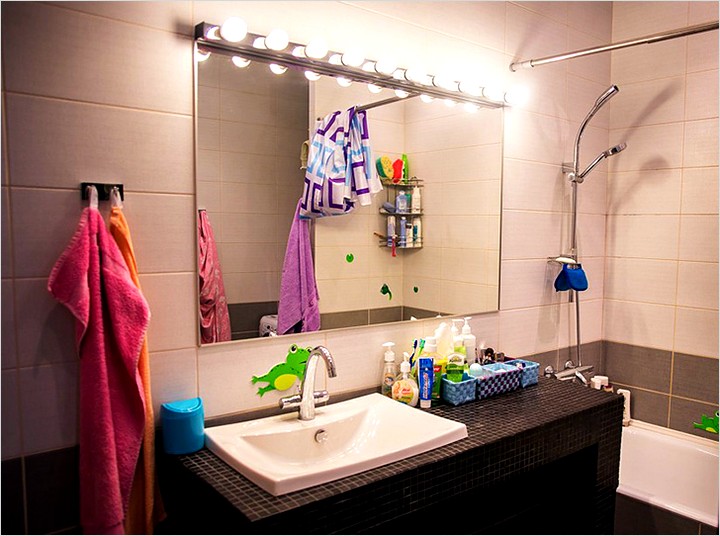
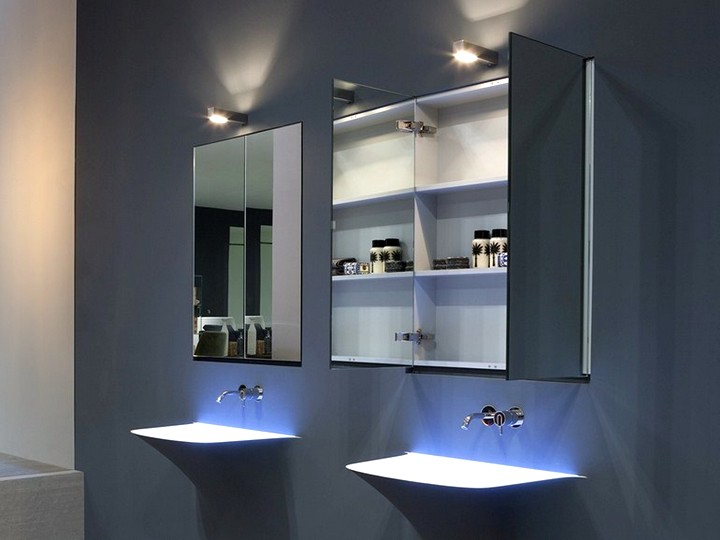
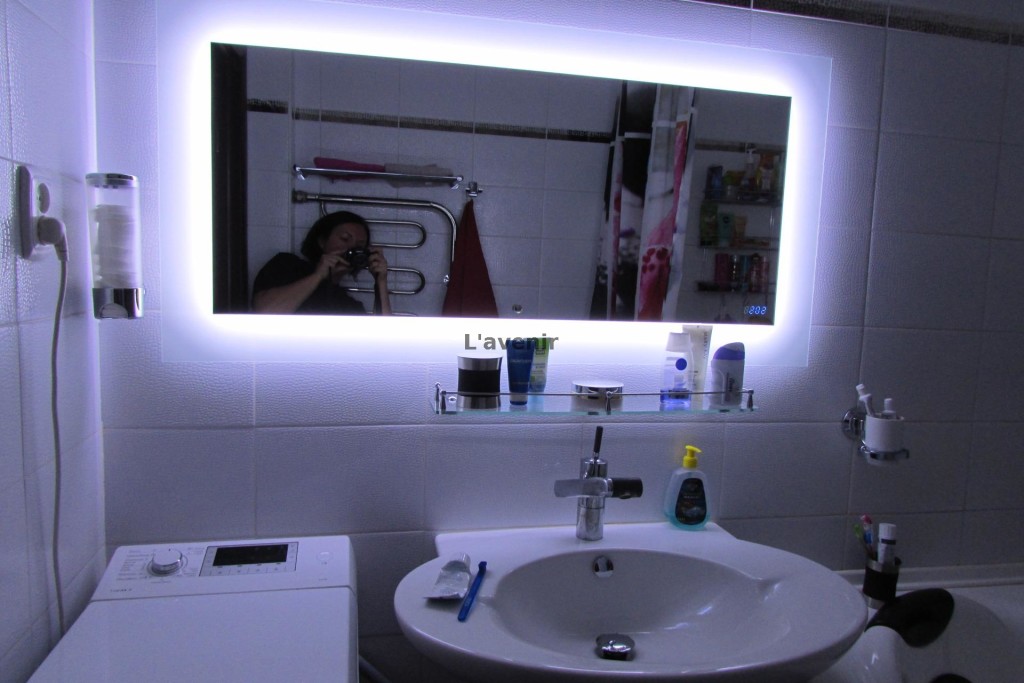
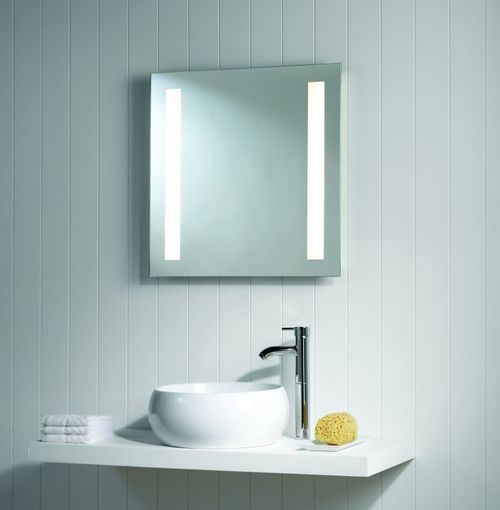
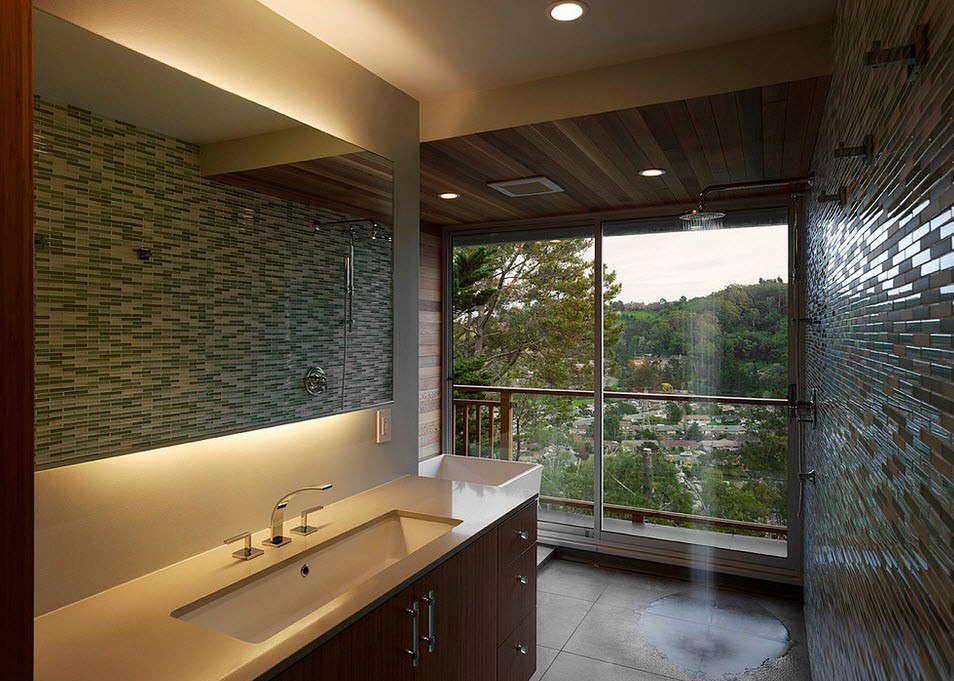
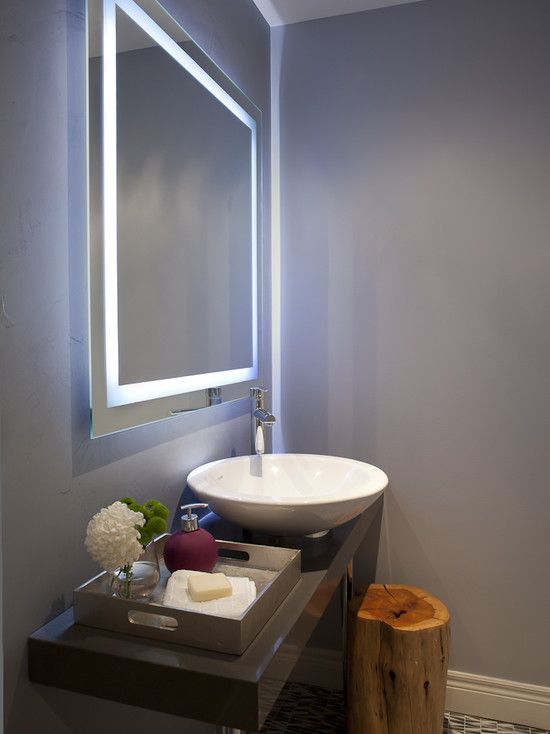
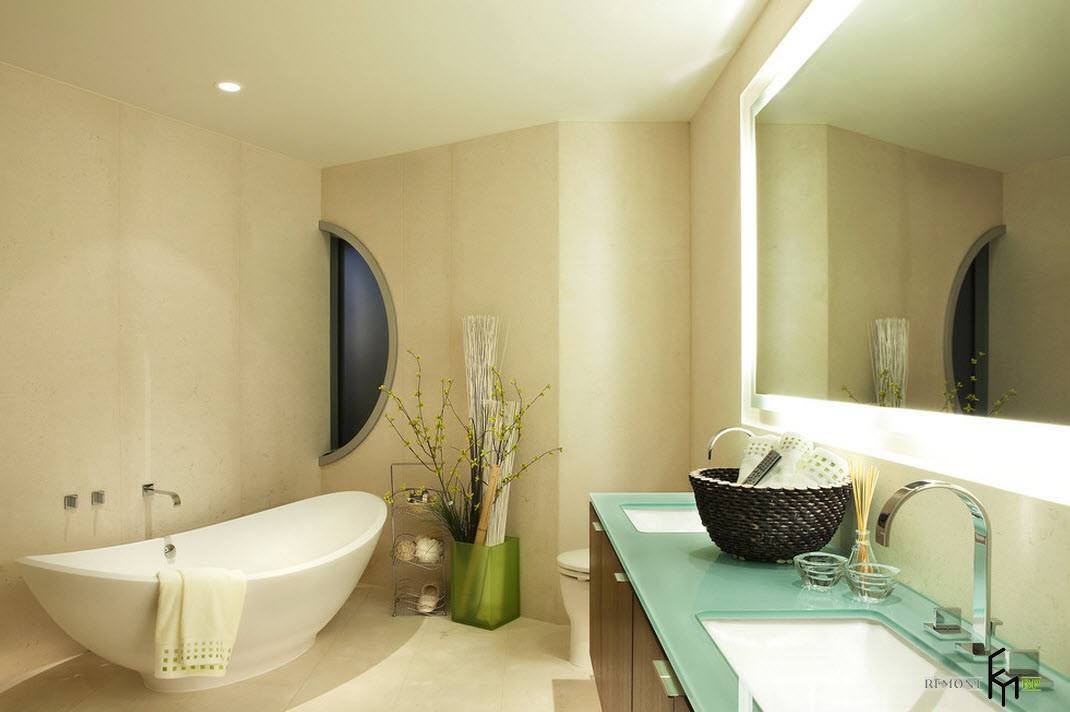
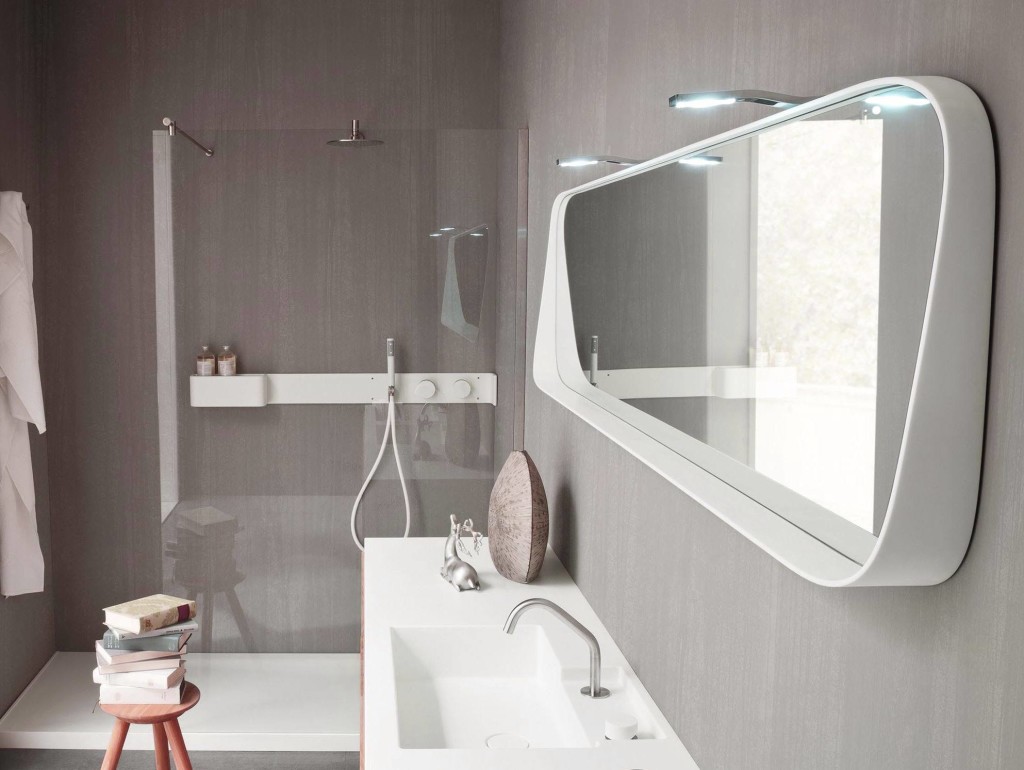
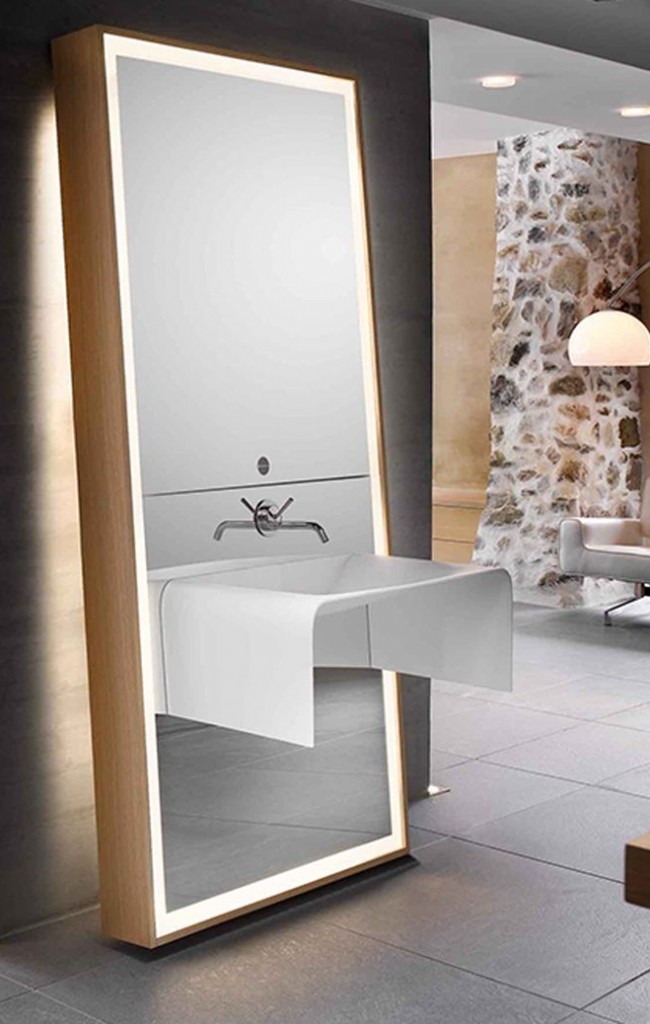
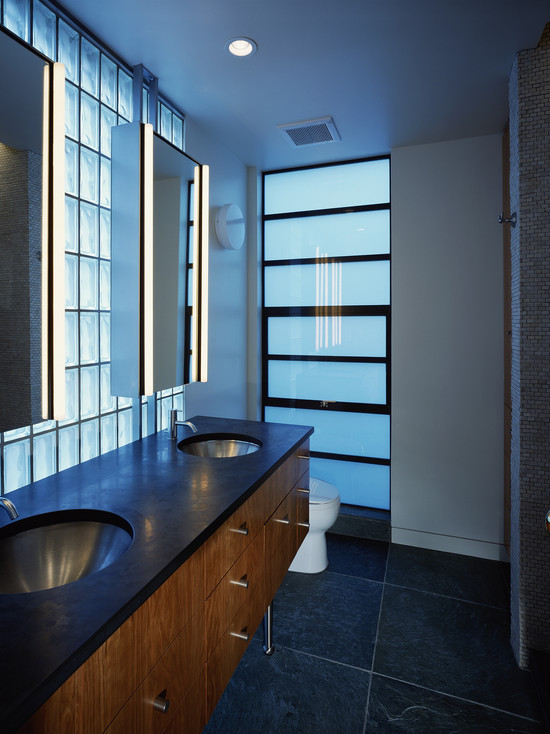
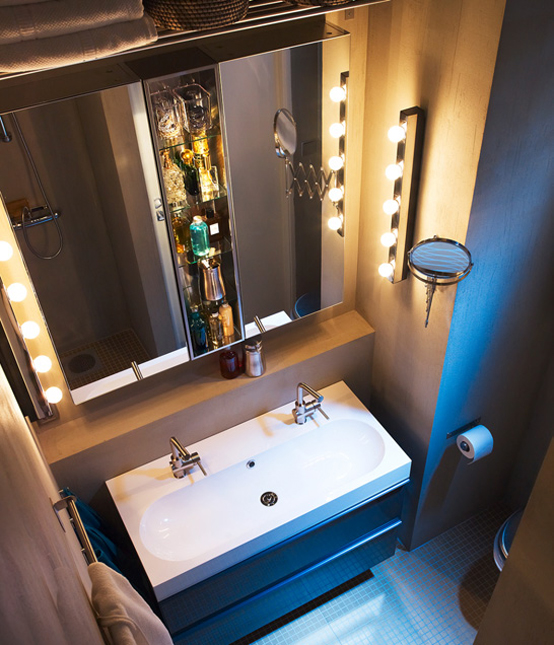
First, you need to choose the size, shape, and type of mirror. These parameters should be chosen based on the size of the bathroom and your own imagination. Lighting can be provided by bulbs, but the option with LED strip looks more compact and modern.
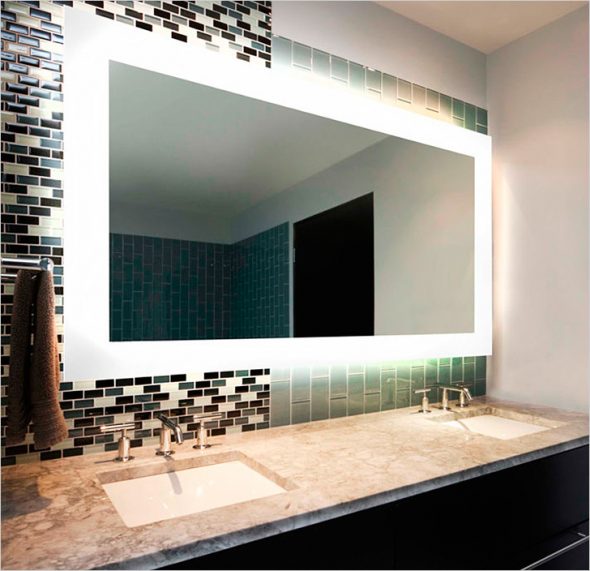
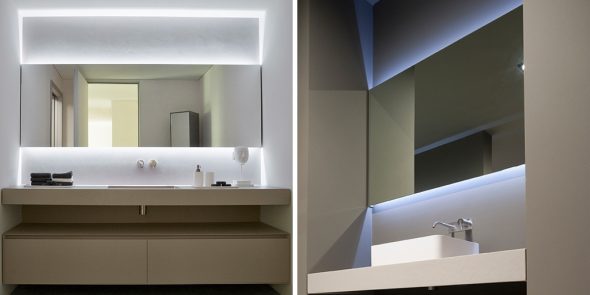
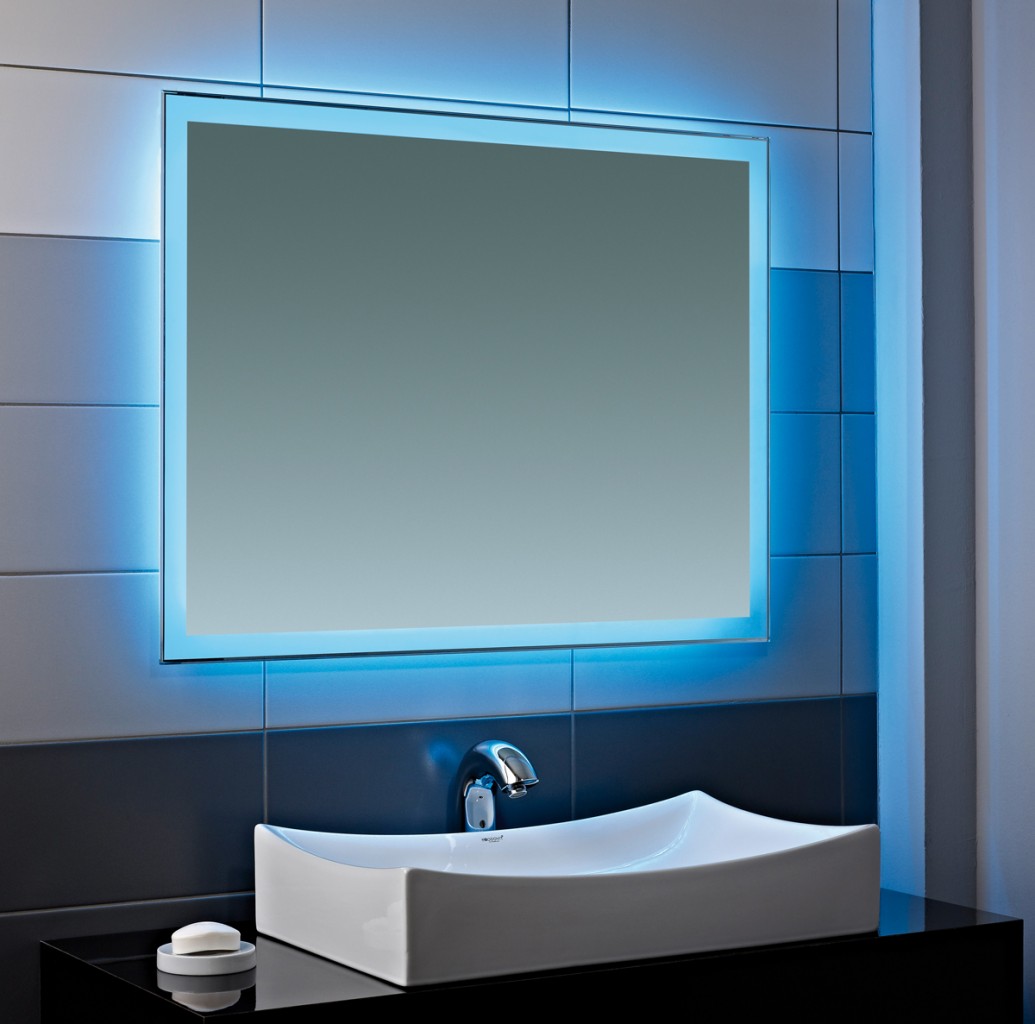
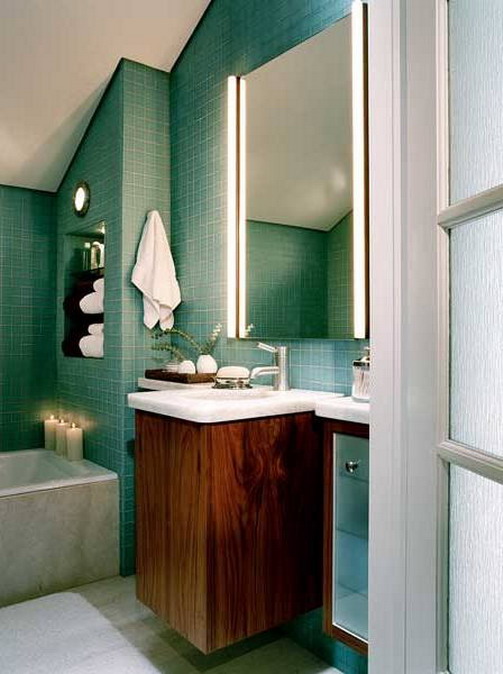
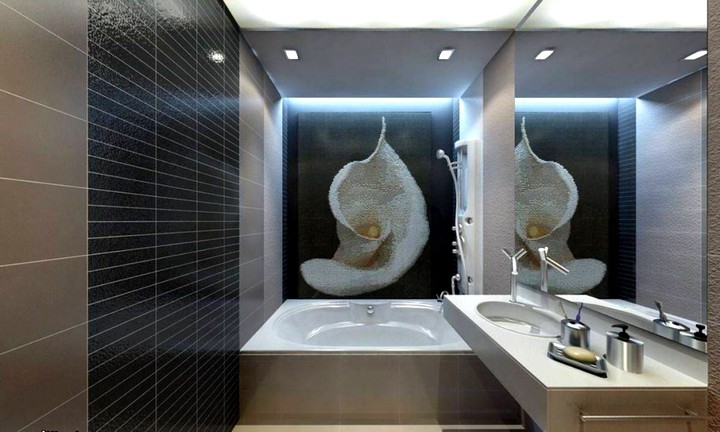
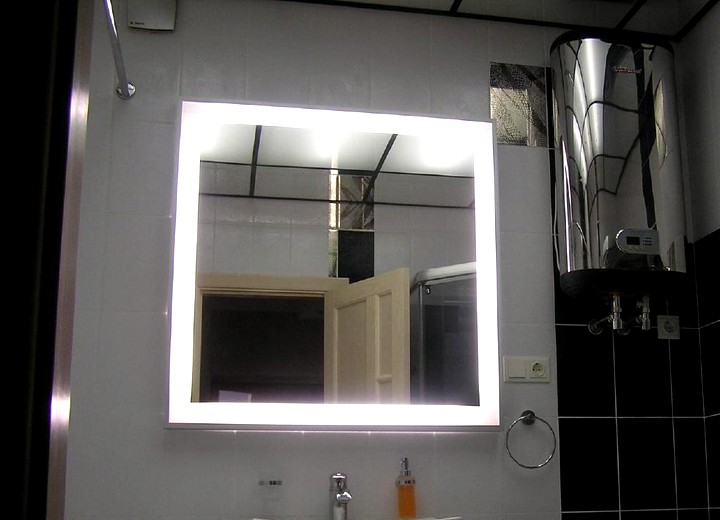
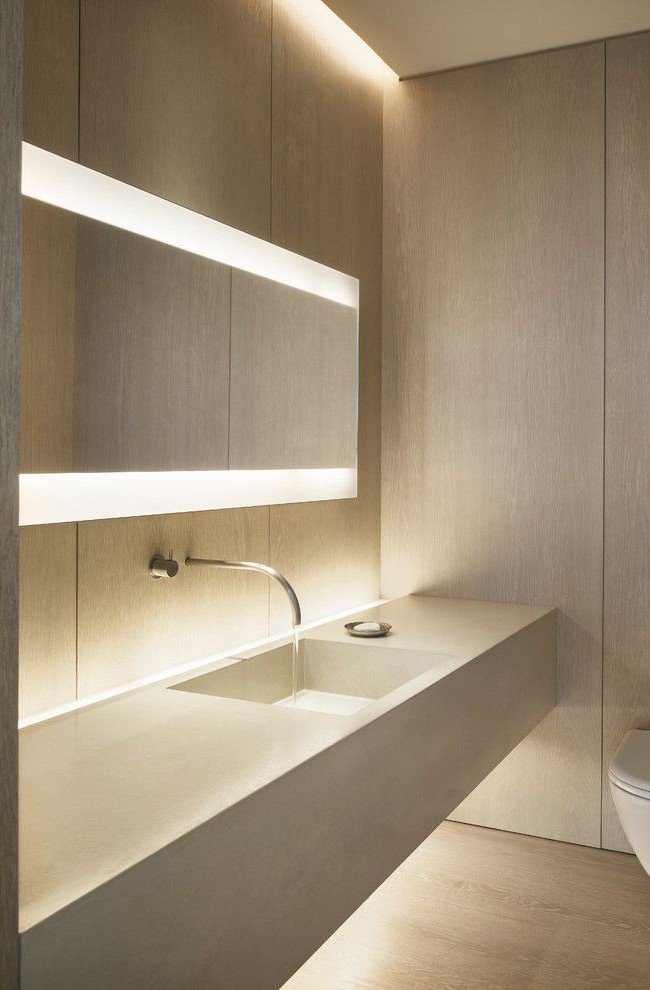
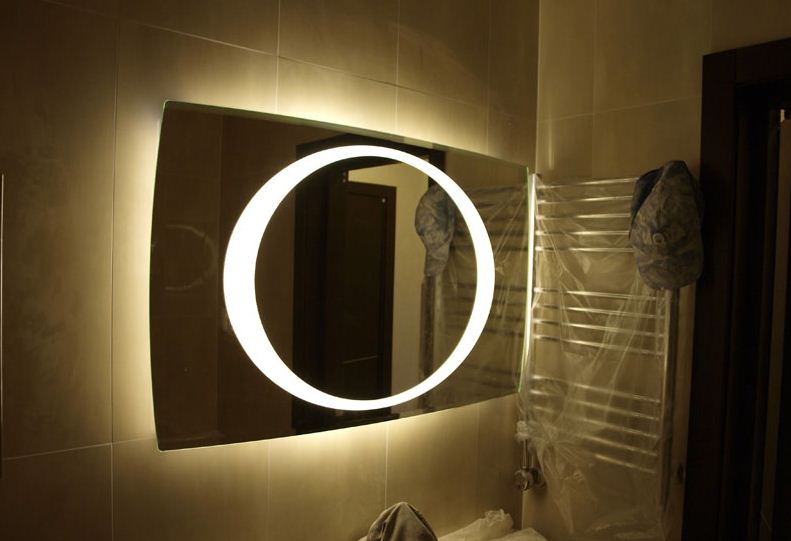
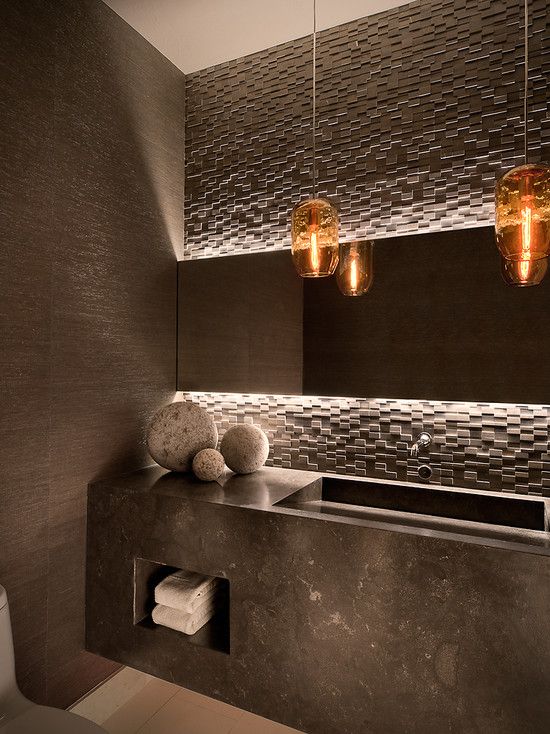
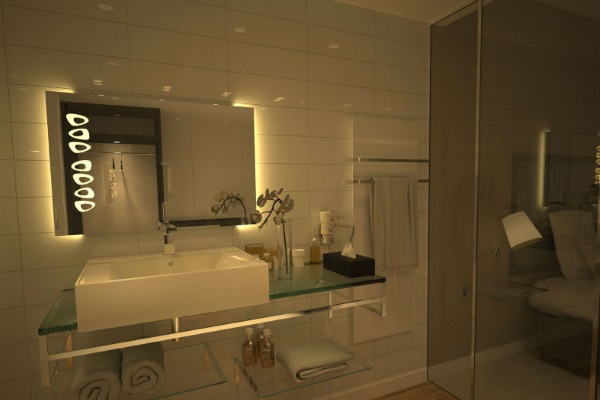
The backlight will be applied along the contour of the mirror either in a special box or simply on adhesive tape. If the mirror has a complex geometric shape with bends and curvatures, installing the box will be difficult, so it is easier to limit yourself to tape, which is best glued behind the mirror, providing a pleasant hidden glow.
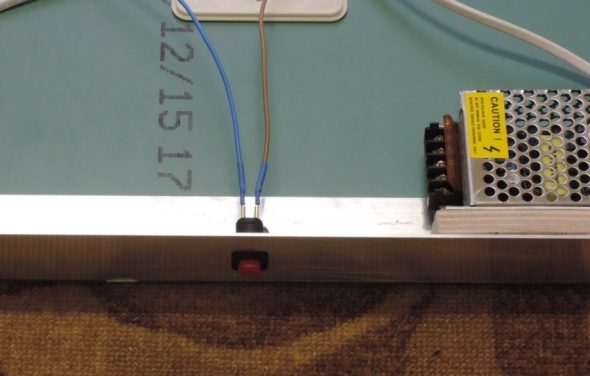
If desired, the design can be equipped with a sensitive IR sensor, with which you can adjust the brightness and backlight modes (such work requires certain knowledge in electricity and electronics).

Materials and tools
The materials you will need are:
- Mirror;
- Frame material (can be made of metal, plastic or wood);
- Wall mounts;
- Adhesive and surface degreaser;
- LED strip with connecting elements and power supply.
Manufacturing process
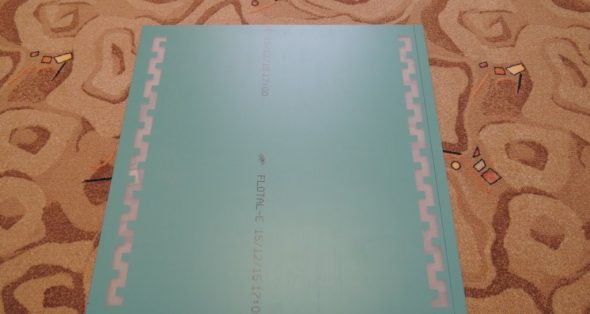
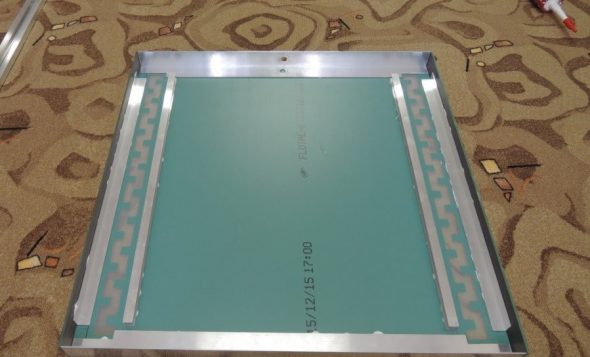
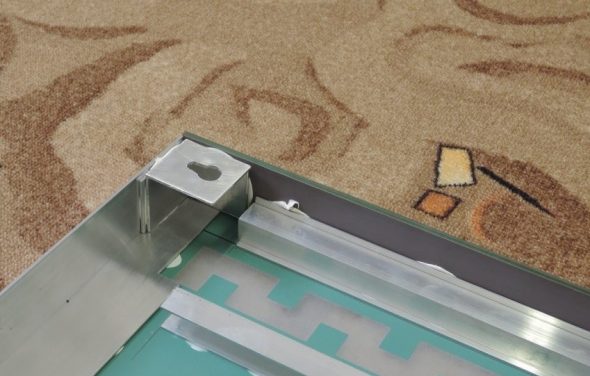
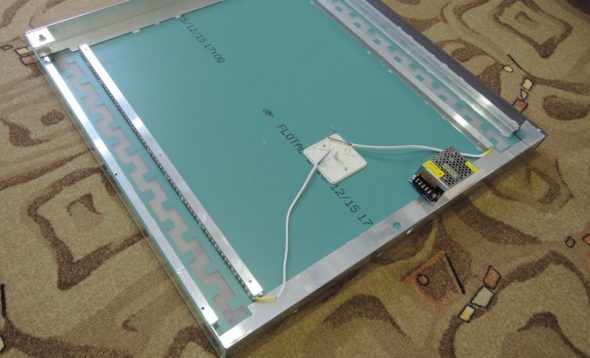
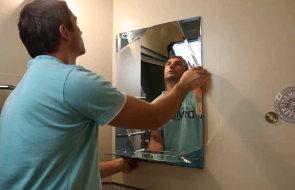
- First, the mirror glass is mounted on the frame. The simplest option is a plastic base, which is attached to the glass with glue. At this stage, it is necessary to provide hooks or loops with which the finished mirror will be hung on the wall.

The mirror on which the lighting will be installed. 
The size of the back frame is determined based on the dimensions of your mirror. 
A neutral glass sealant must be used as an adhesive to avoid damaging the mirror amalgam. Before gluing all the elements, the surfaces to be glued must be thoroughly degreased, otherwise the structure will quickly lose its reliability in the conditions of high humidity in the bathroom. It is best to choose a waterproof and chemically neutral adhesive, it will last a long time in the conditions of room humidity and will not damage the structure of the glass. Sealants are best suited for these purposes.

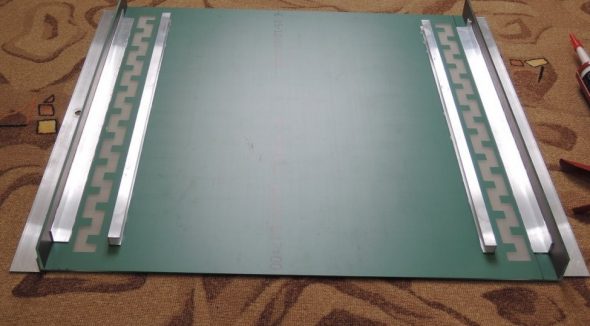
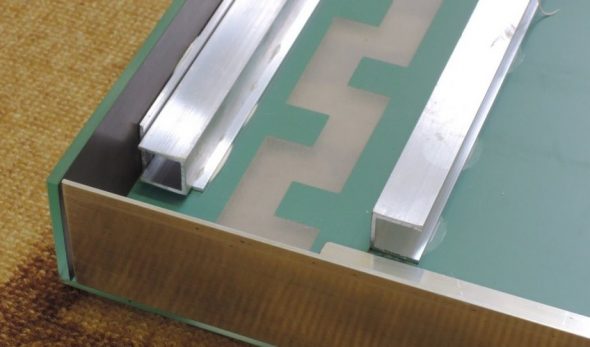
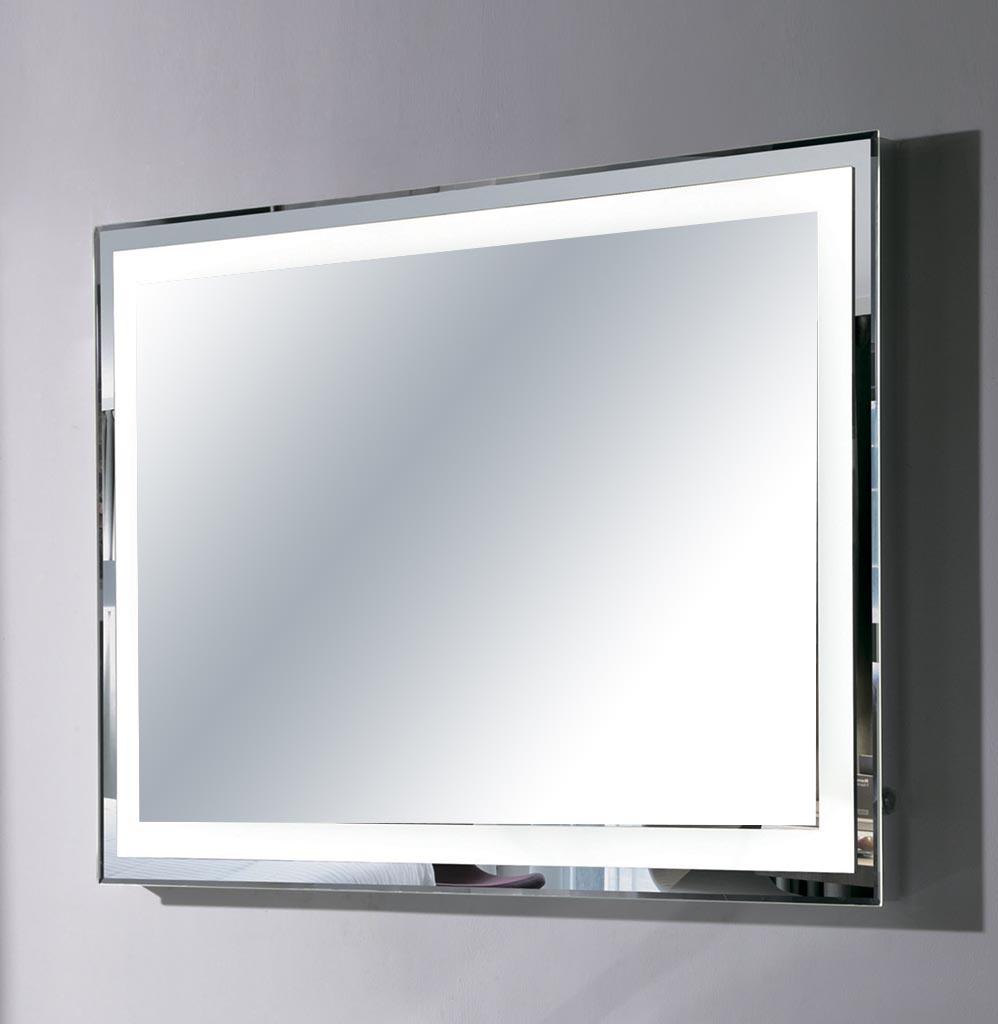
The channels serve a dual function: tape is glued to them, and plastic covers are also attached to them. 
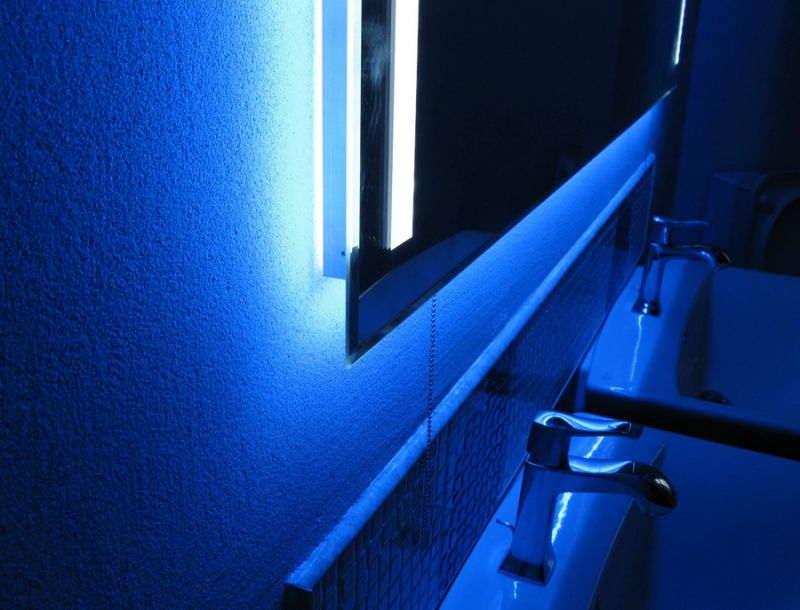
Covers are essential, they act as a reflector and prevent the mirror from shining through where it meets the wall. 
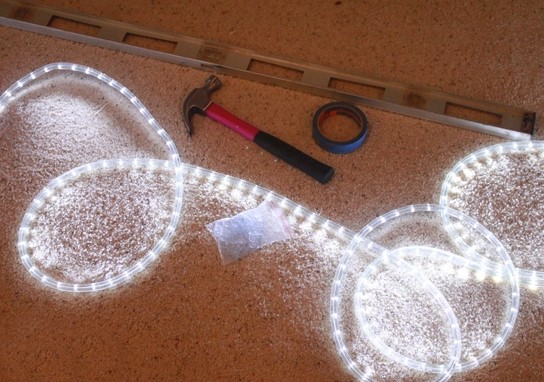
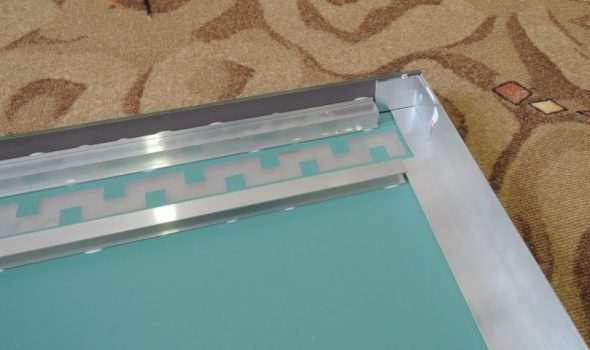
Perform the work carefully to avoid damaging the mirror surface. - Next, having measured the required length of the LED strip, you need to secure it in the designated places.

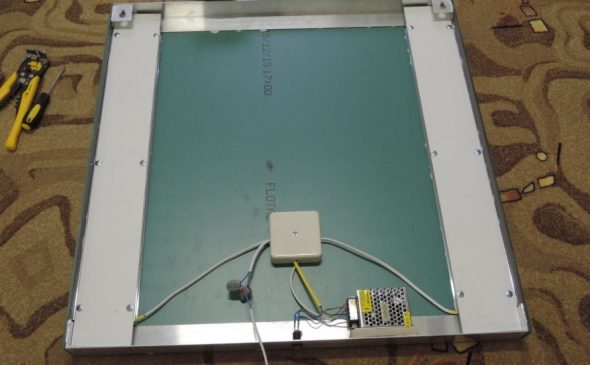
If desired, you can use a special metal profile when gluing to the outside of the structure. - After the glue dries, the tape is assembled into a single electrical network with a power supply using connectors.
It is important that the power supply power is no more than 50% higher than that of the LEDs, otherwise the LEDs will fail very quickly due to network overload. Considering the high humidity in the bathroom, all work related to electricity must be carried out in full compliance with safety precautions.

This way you can create your own unique mirror that no one else will have. - After all work has been completed, the mirror is hung on the wall using prepared fasteners.

As you can see, there are no particular problems installing lighting on a mirror.

Decoration and embellishment options
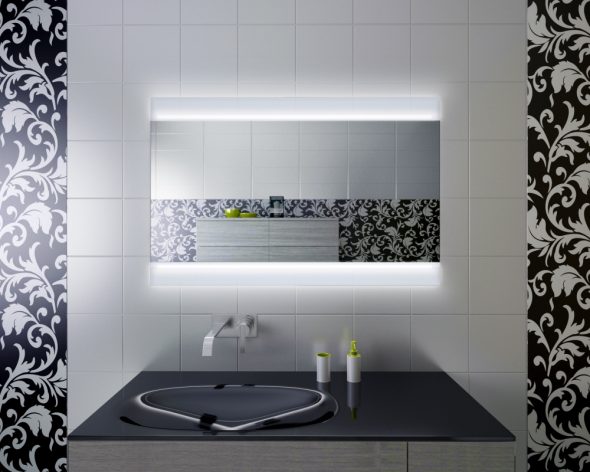
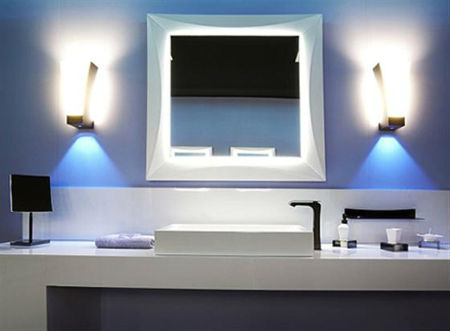
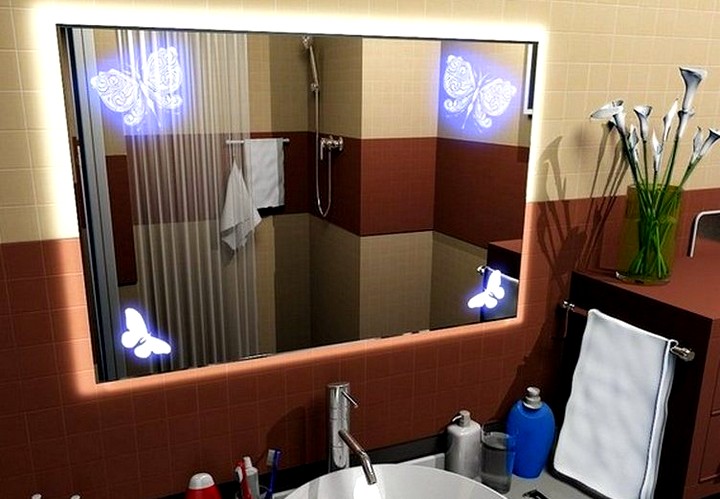
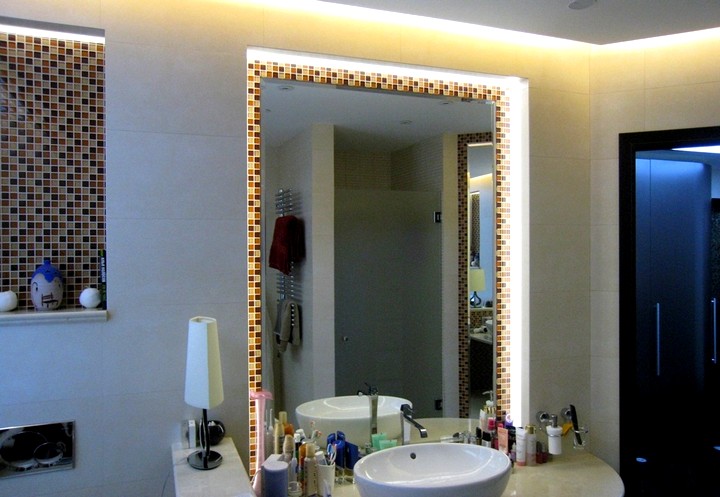
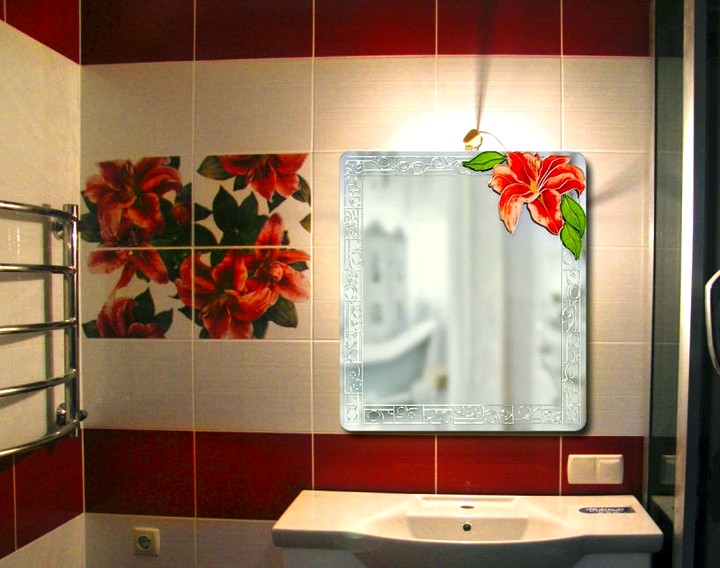
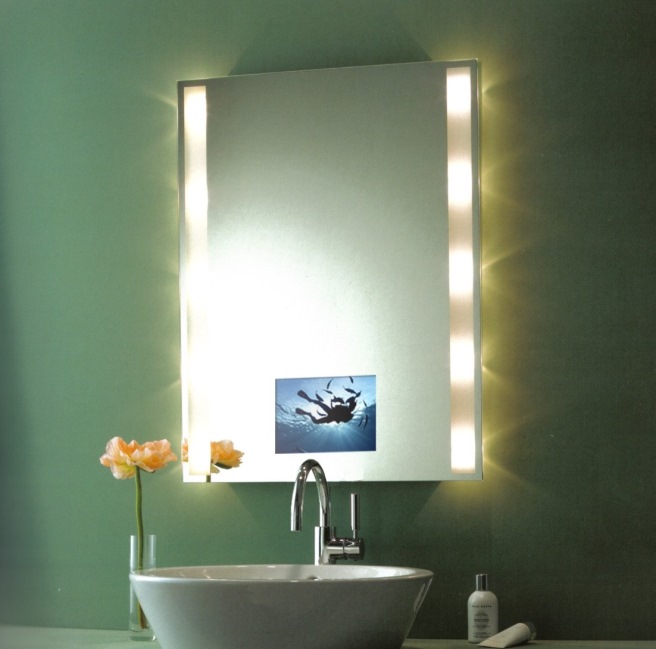
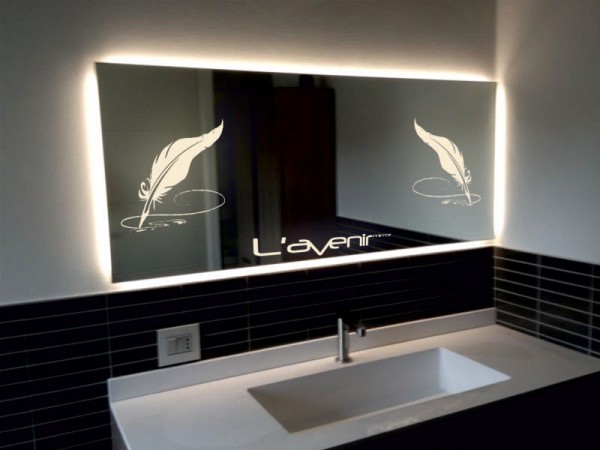
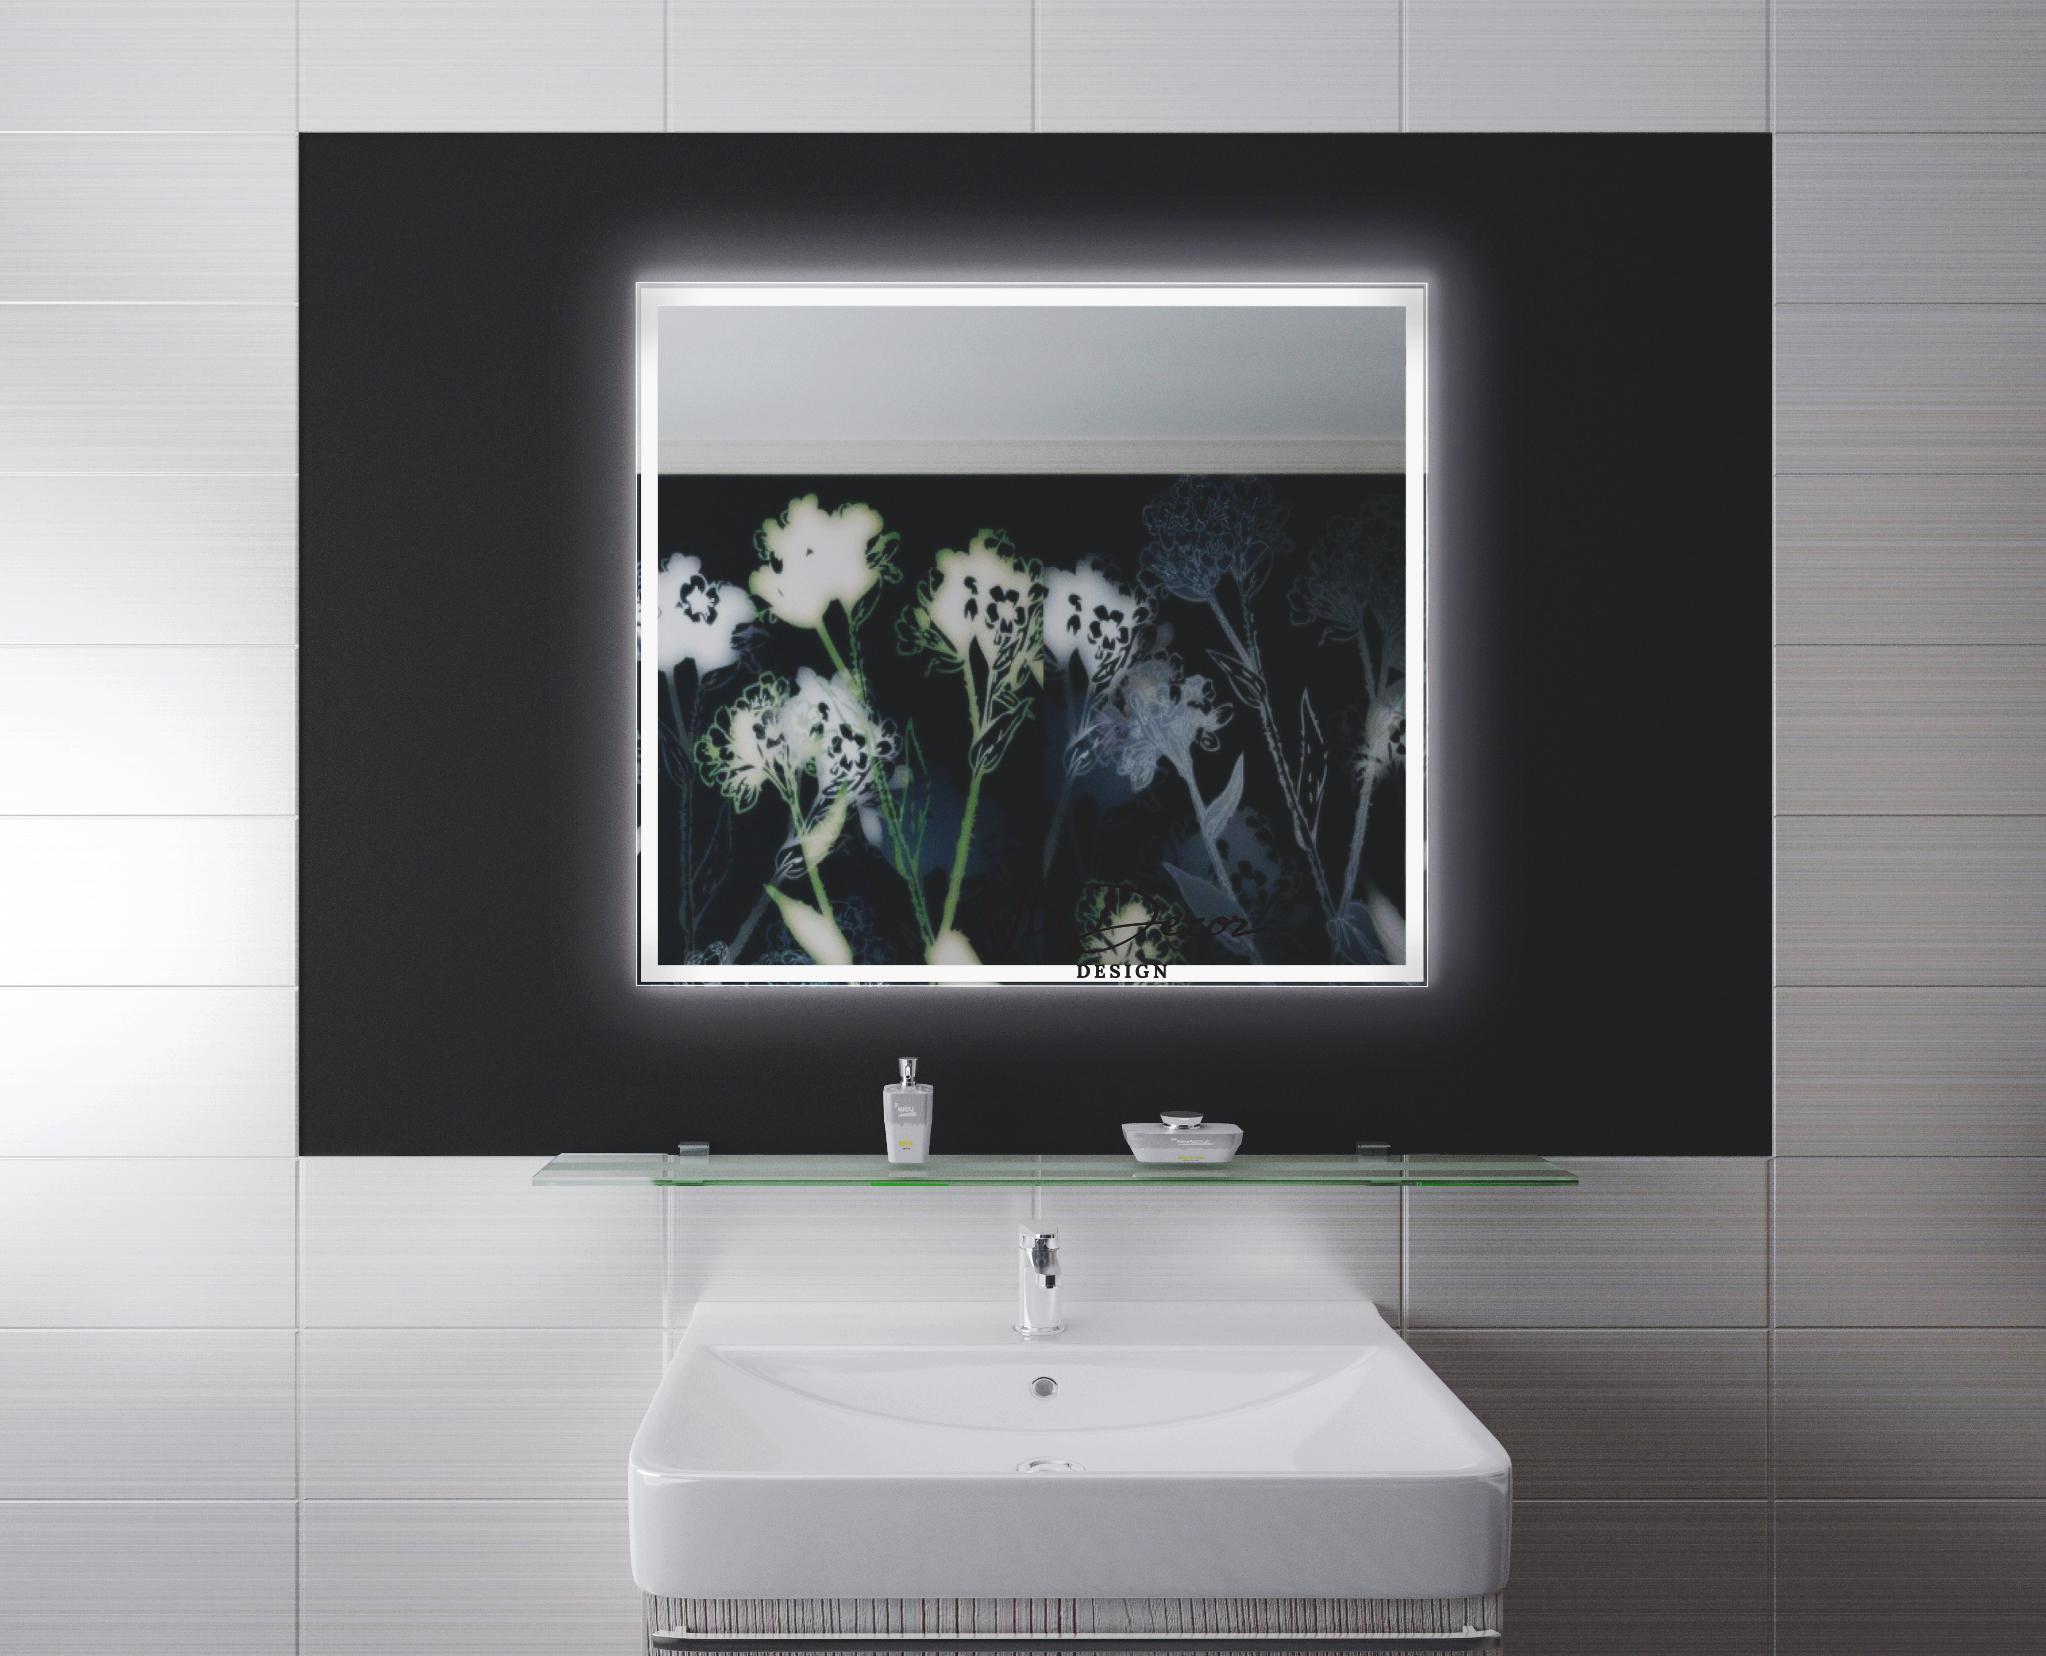
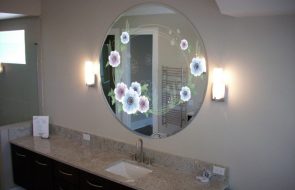
Depending on your creative imagination, you can decorate the finished mirror with a picture or sticker, and also place lamps in some fancy shape.

An interesting option is mirrors equipped with touch panels that respond to touch, but this option is expensive and is quite problematic to make at home without the help of a professional.
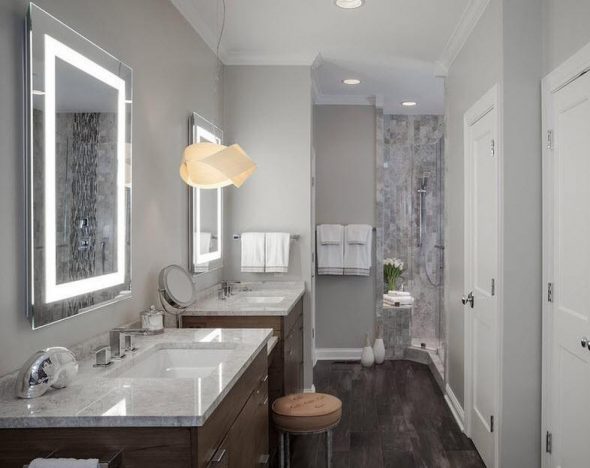
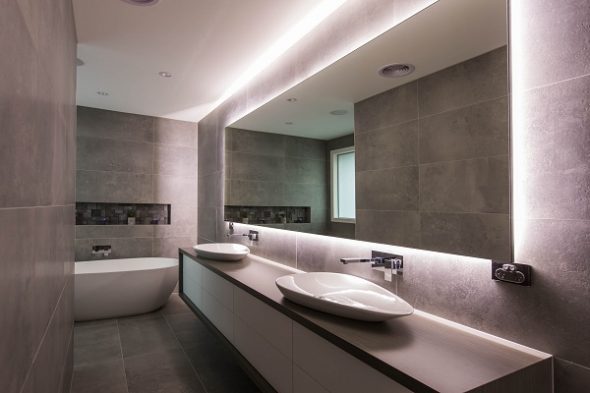
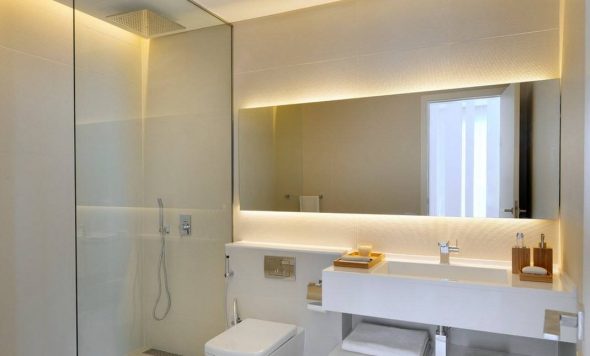
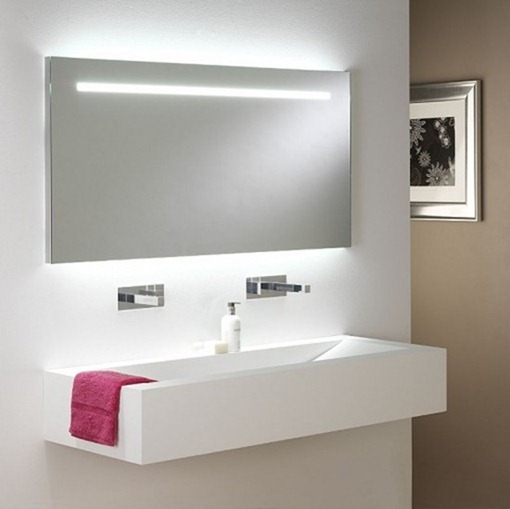
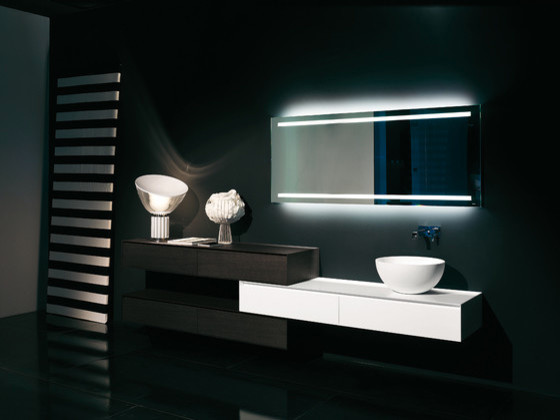
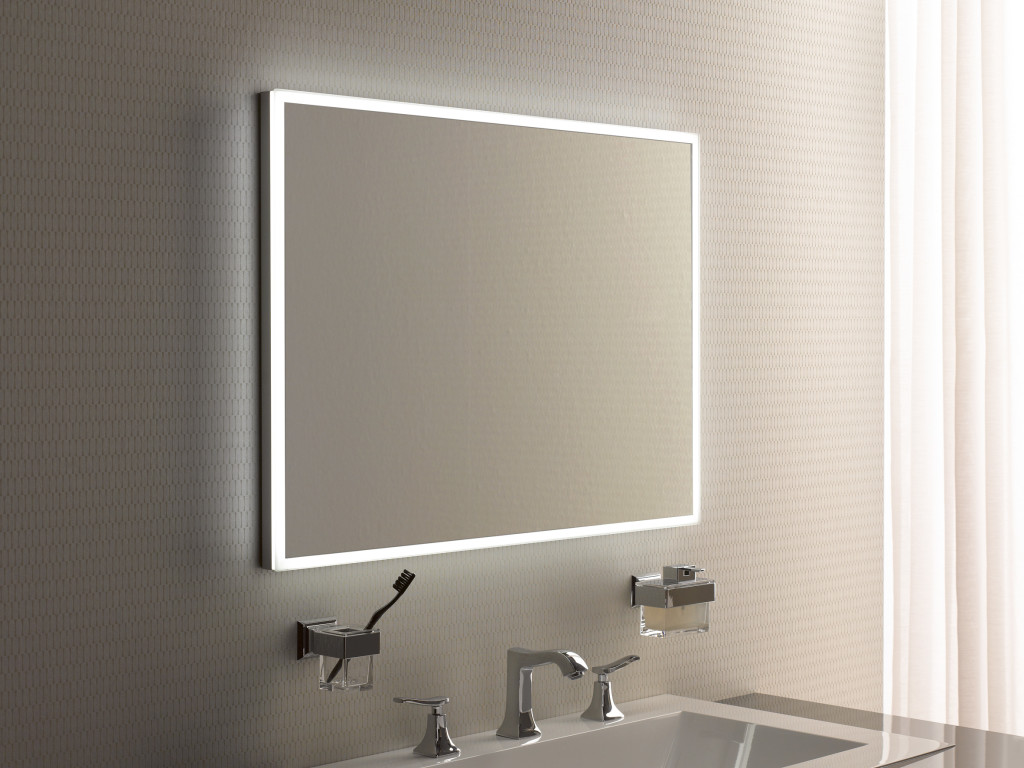
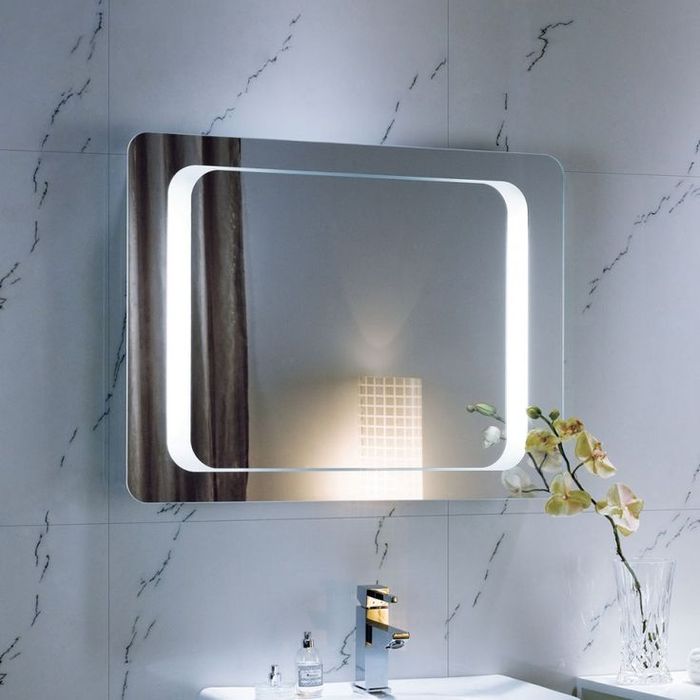
As you can see, this process is not particularly difficult, so making a backlit mirror yourself can give you a wonderful interior element that will not only perform a decorative function, visually expanding the bathroom in a very advantageous way, but also illuminate the room with the pleasant light of LED lamps.
VIDEO: DIY backlit mirror.
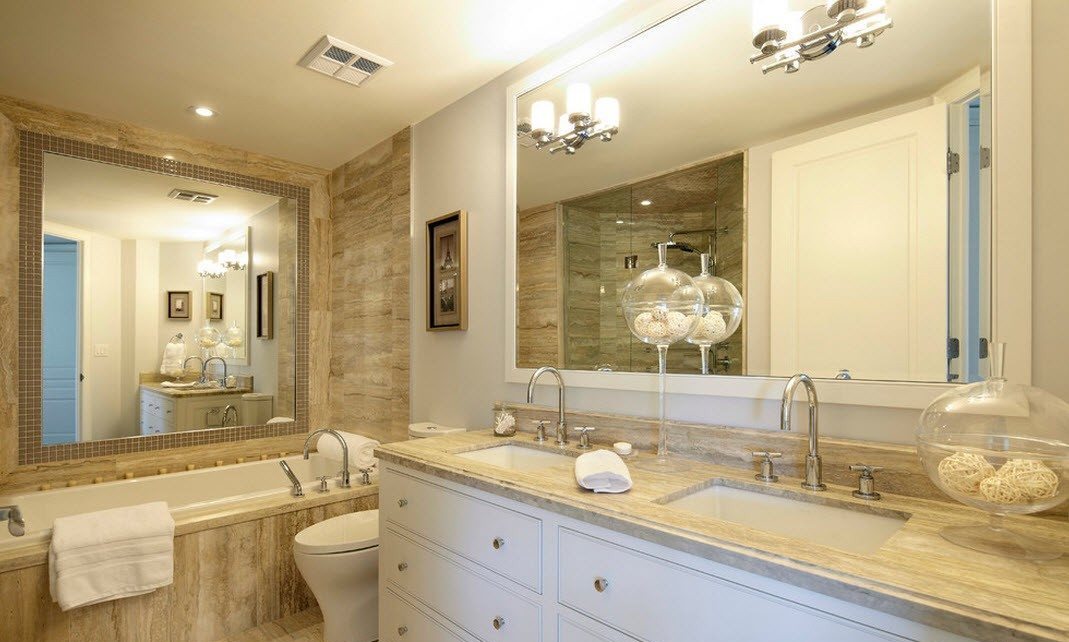
Mirrors with backlighting in the bathroom – 50 photo ideas:


The pattern on the amalgam side can be etched with zenfi zf-105 gel yourself, rather than ordering an expensive sandblasting service from a glass workshop.