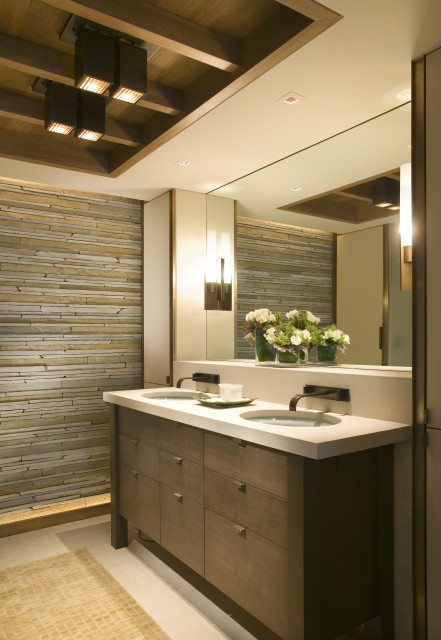
It is impossible to imagine our home without a mirror. It is in almost every room. We do not pay attention to how it is attached until there is a need to hang it ourselves after repairs or in some other place. This is where difficulties arise, since the walls are not the same everywhere, and the weight of the mirror is always different. This work will be very difficult when you attach a mirror in the bathroom, as well as on a plasterboard wall.
Content
What types of wall structures are there?
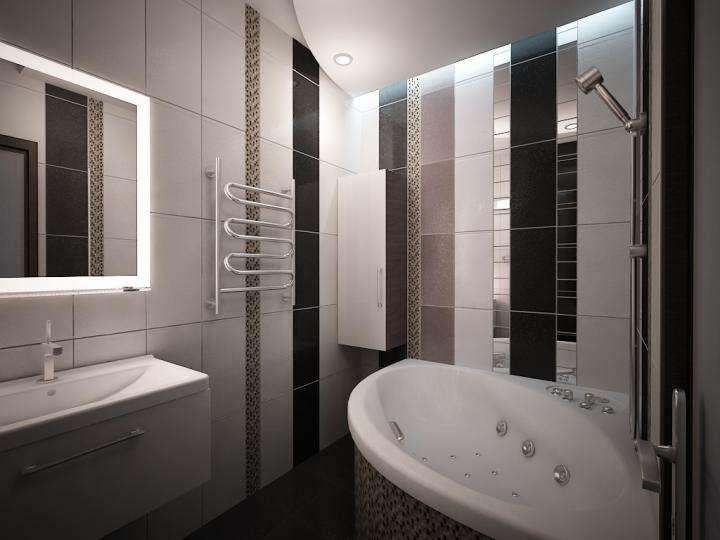
If you are planning a bathroom renovation, you first need to decide what you will use to finish the walls. Today, there is a wide variety of finishing materials. Of course, you need to remember such qualities as quality, hygiene, moisture resistance, basic care, as well as resistance to various detergents and temperature changes.

What materials can be used for finishing?
| Material | Application |
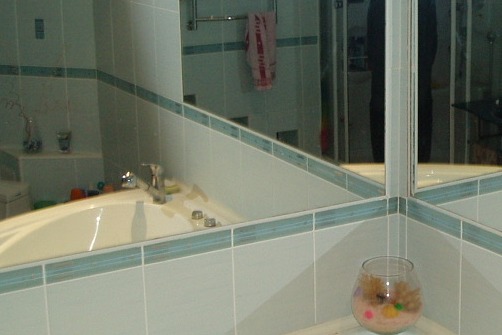
| Ceramic tiles | The most common material. This type of finish can be seen in almost every bathroom. Rich color range, variety of sizes, moisture resistance, reliability. Even if one tile is deformed, it can be easily replaced. The material has a smooth surface, so dirt is washed off quite easily.
|
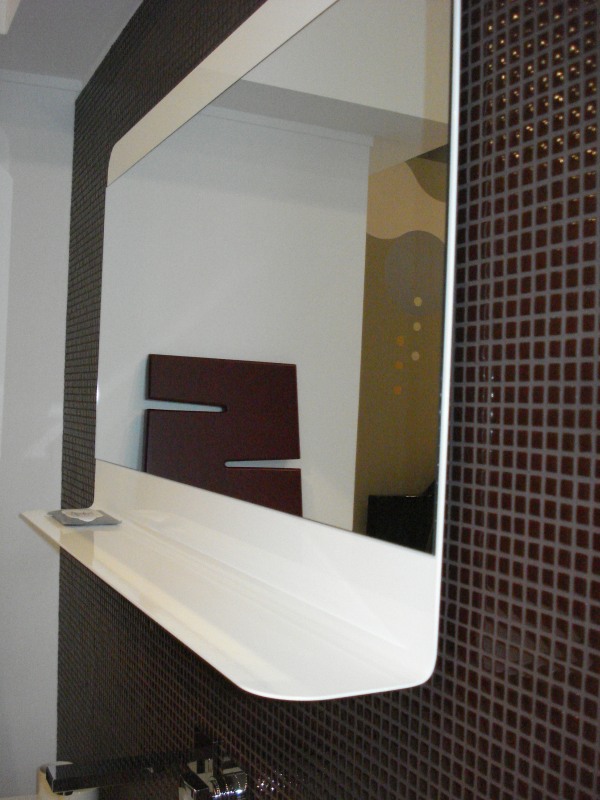
| Mosaic | It has almost the same properties as tiles. It has the most diverse and interesting shapes, a variety of textures and colors. There is only one drawback - a considerable price equivalent. |
| Painting | The most affordable and economical option. The paint, of course, must be moisture-resistant.
|
| Plaster finishing | Allows you to create an original interior, easy to use.
|
| Wallpaper | Most people would never agree to decorate the walls in the bathroom with wallpaper. Of course, not all wallpaper is suitable here, only moisture-resistant. The positive aspects of this type of decoration include a unique interior, a large selection of colors, the lowest monetary costs and time savings. They can be replaced with another material at any time. It is best to use glass wallpaper, liquid wallpaper, in addition, acrylic and vinyl are suitable. |
| Drywall | Not a very common option, but it will help hide unevenness perfectly. With the help of gypsum board, you can recreate a new interior in the bathroom. The advantages include low cost, low weight, excellent heat and sound insulation. It is worth using only moisture-resistant gypsum board - it is usually green. |
| Plastic panels | They are also used for bathroom finishing. They have a number of advantages: low price, variety of choice, easy to install, they can be used to mask pipes and communications, they serve for quite a long time, withstand temperature changes, are moisture-resistant, and are easy to care for.
|
| Natural stone | Very expensive, the safest material. Its structure allows the walls to "breathe". Its disadvantages include its large weight. It needs careful maintenance, has a low resistance to acid-containing products.
|
| Artificial stone | It differs from natural stone by a number of advantages: a large selection of materials, various colors, sizes and textures, reliability, ease of maintenance and installation. It is not subject to mechanical impacts and the appearance of fungus and mold, hygienic, many times more economical than natural stone. |
| Self-adhesive film | The cheapest and most original option. Variety of colors, easy to apply to the wall, waterproof, easy to maintain.
|
Attention! Whichever option you choose, remember that the material must meet all the necessary requirements for bathrooms.
Glue or drill?
How to hang a mirror in the bathroom? Today, there are several ways to mount a mirror covering on the wall. Each of them has its own advantages or some shortcomings.
Only small mirrors with an area of one square meter, no more, are glued with tape. This mounting system is extremely unreliable - the mirror may fall after some time. But it is the simplest. Absolutely anyone can handle it.

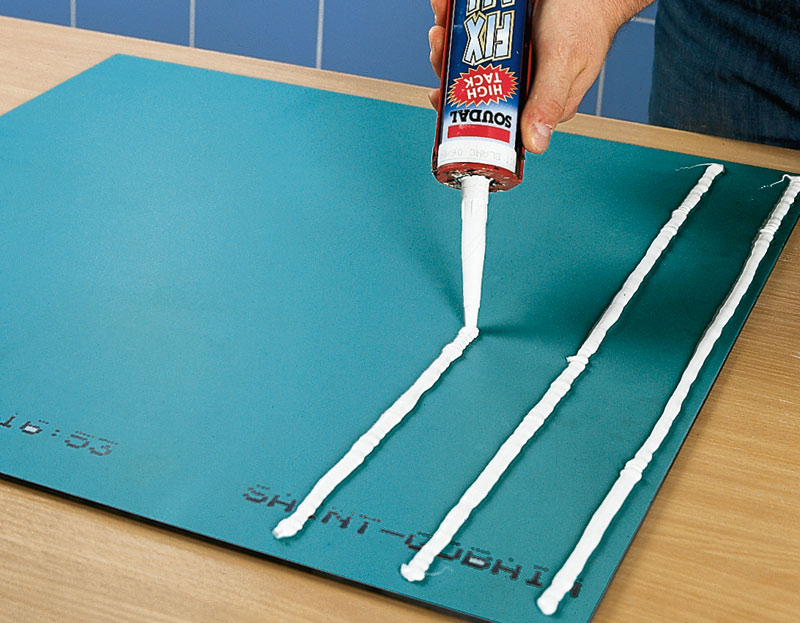
If you mount it with special glue, the mirror will hold very firmly. But when you want to remove it, it will be extremely problematic. You need to use glue for gluing mirrors, for example, polyurethane "Soudal", silicone, hybrid - for all types of mirrors. Be very careful when choosing glue, since an unsuitable one can spoil the amalgam.
Using screws and special fasteners when working, in the future, if you decide to make repairs or simply rehang, change the mirror, it will be quite easy to remove and hang it back. The labor-intensive part of this mounting option will be drilling holes in the mirror and in the wall.
Which option to choose is up to you.
Necessary materials
The materials we will need for the work are: a mirror, “liquid nails”, glue for gluing tiles, mirrors, a degreasing agent for processing tiles, a U-shaped galvanized profile, moisture-resistant plasterboard (if you decide to attach the mirror surface to gypsum board), self-tapping screws, screws, dowels, individual fastening for the mirror, rubber gaskets, and scotch tape.
Necessary tools
The tools you will need are: a drill or hammer drill, a screwdriver or screwdrivers, embedded parts, a building level, a diamond drill, concrete drills, a device for attaching a mirror - a bracket, a hammer, sandpaper.
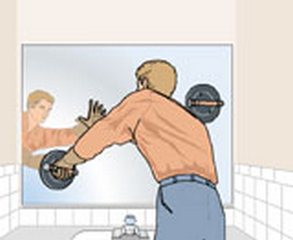
Method one: using adhesive
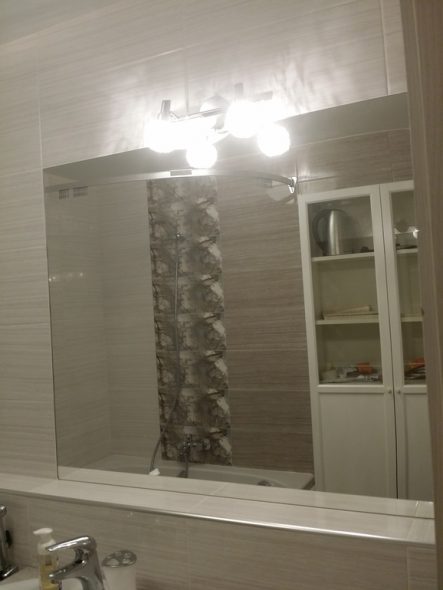
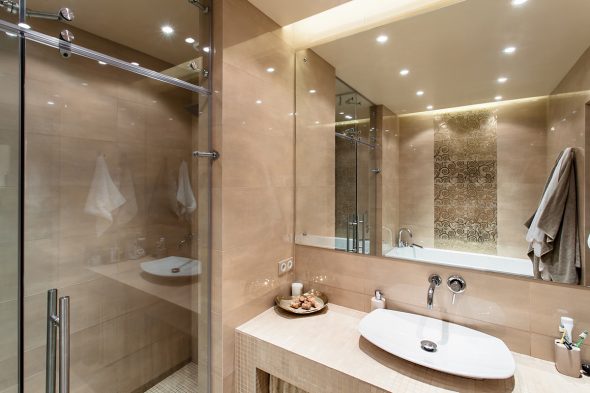
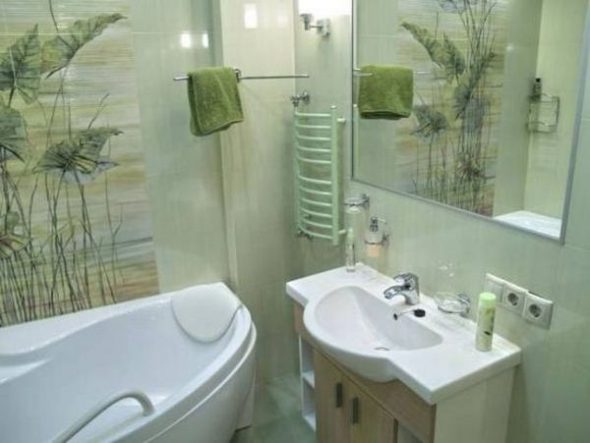
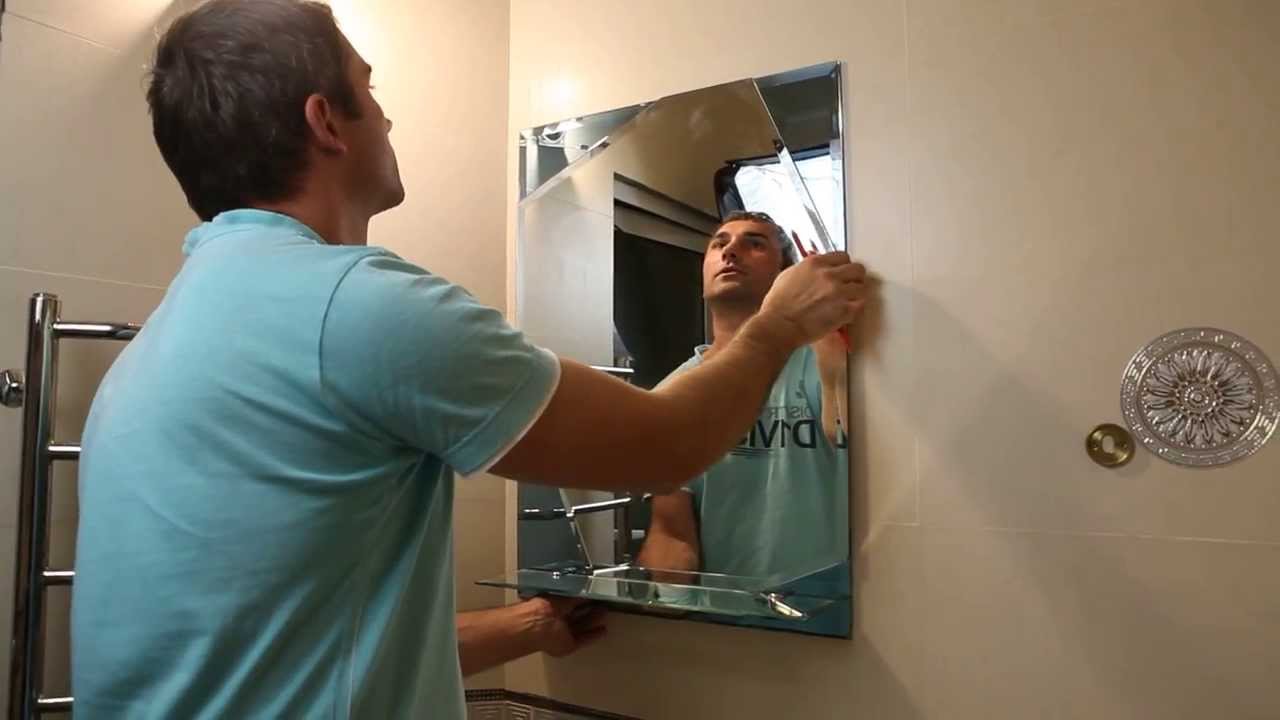
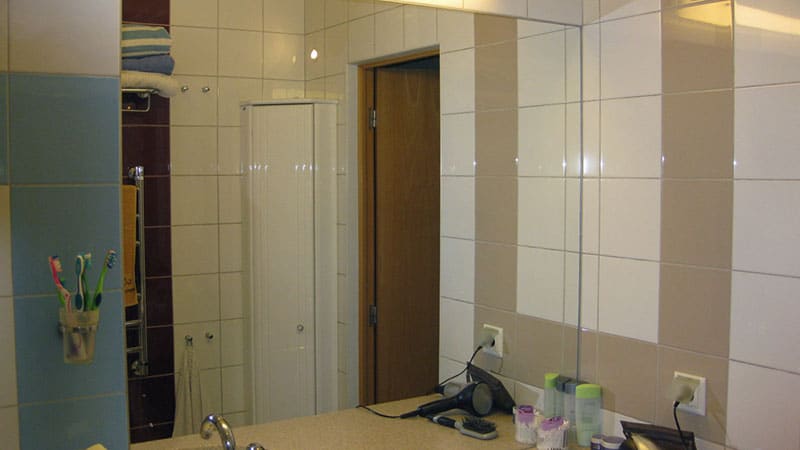
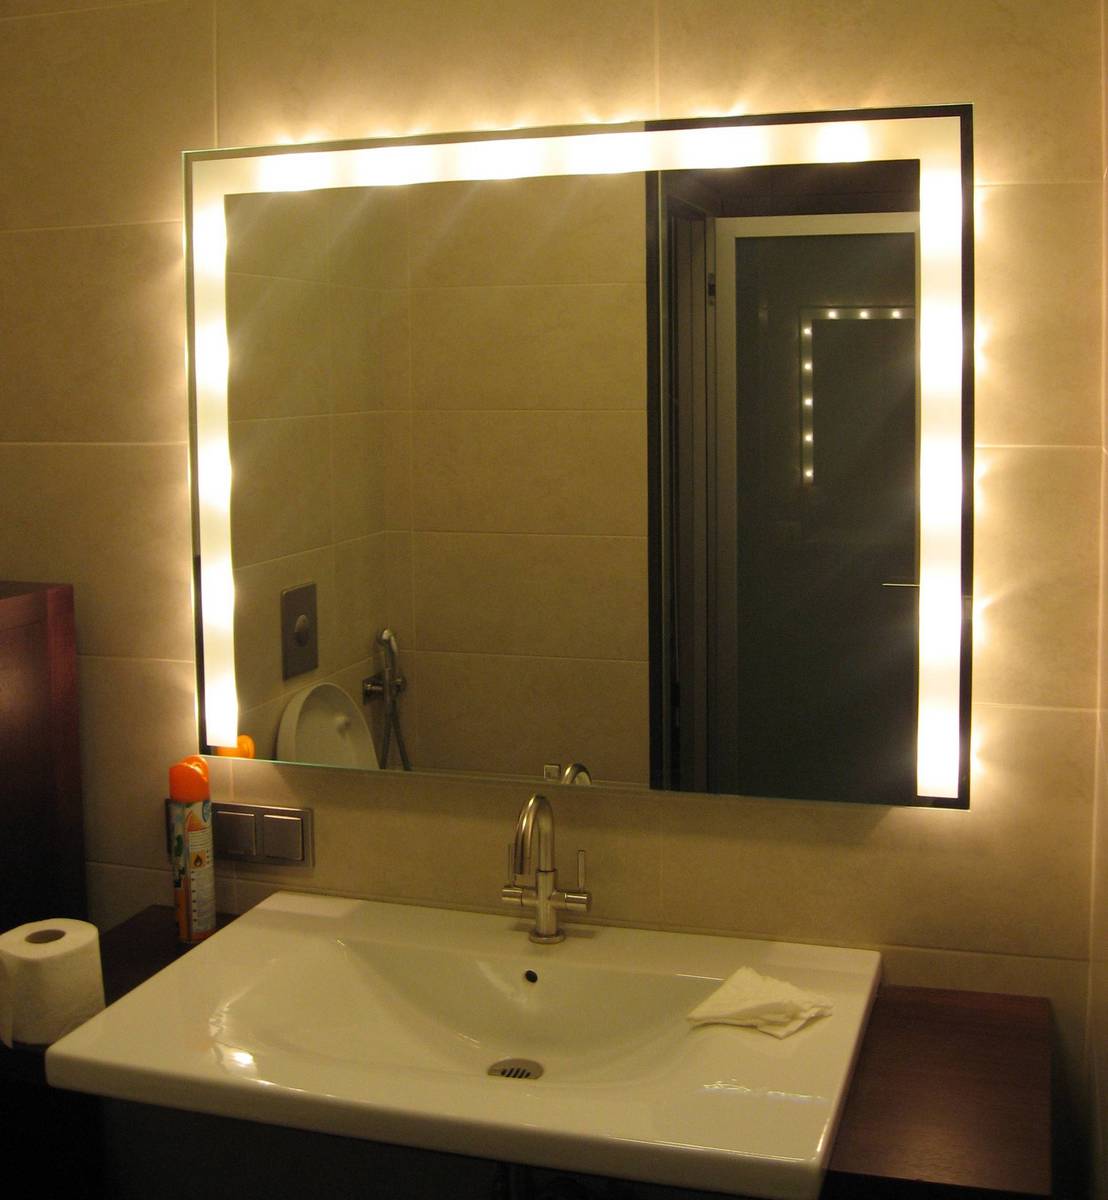
Let's look at some options for hanging a mirror in the bathroom. To cope with this work, you need to have a certain skill. This matter should be approached responsibly. First, you need to choose a suitable place so that there is enough light, the mirror should hang at a certain distance from the floor.

This option involves lower costs. It is quite firmly attached to the plane. Today, stores sell a lot of different adhesives. You need to choose the glue carefully so that it is suitable for this type of work. Before use, you need to read the instructions.
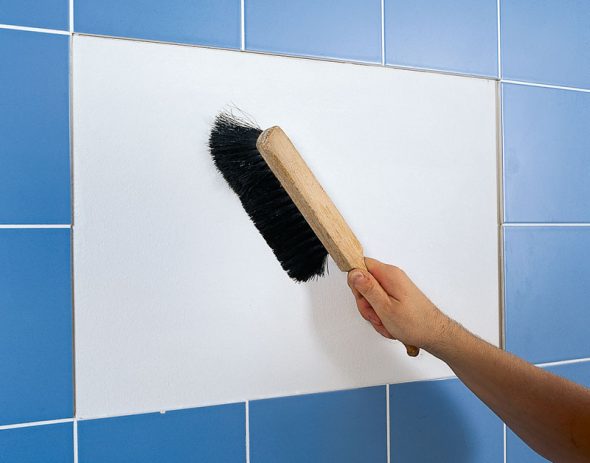
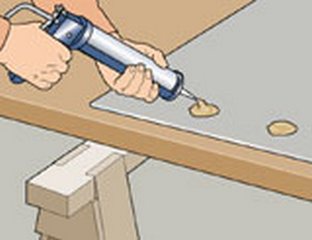
The adhesive is applied to the back of the mirror in strips located parallel to each other, at equal distances. The tiles are treated with a degreasing agent before work. The mirror is pressed against the wall, fixed until completely dry. This method is suitable for small mirrors.
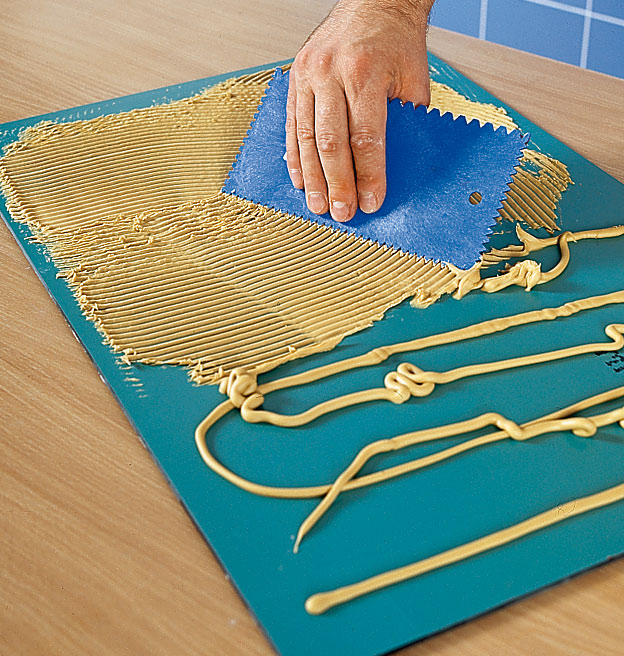
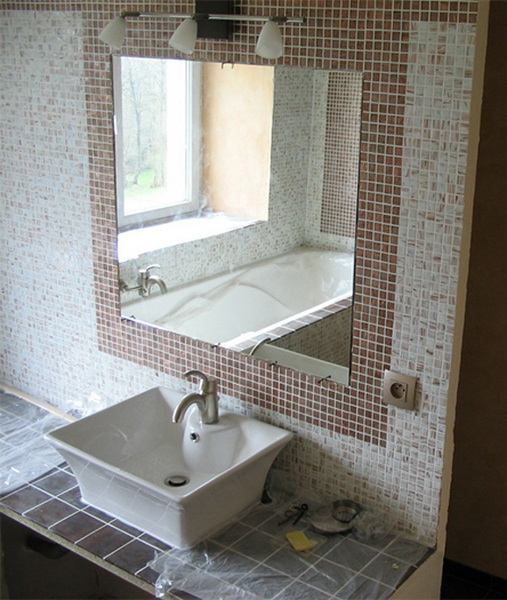
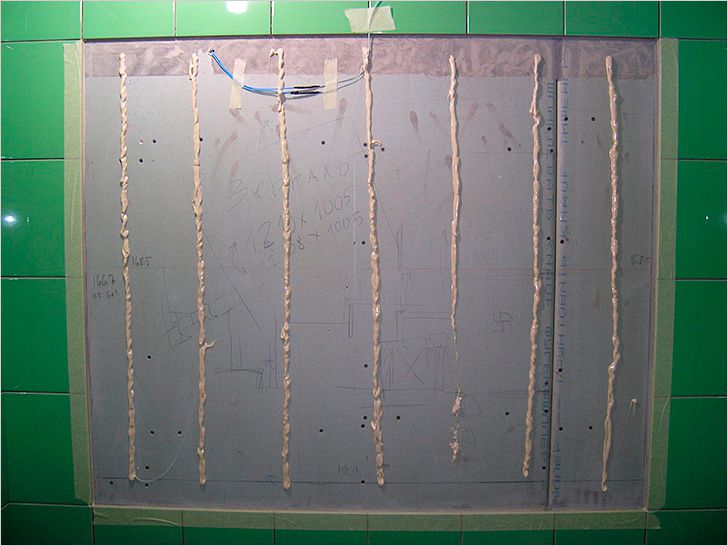
For more "visible" sizes, it is worth using auxiliary fastening, for example, "liquid nails" and drywall. You need a U-shaped galvanized profile and moisture-resistant drywall. It is usually green. First of all, you need to attach four profiles to the wall with dowels. Carefully drill the tile with a diamond drill. Then screw the drywall sheet onto screws, the more of them, the stronger the structure will be. Apply "liquid nails" to the mirror and glue it to the drywall.
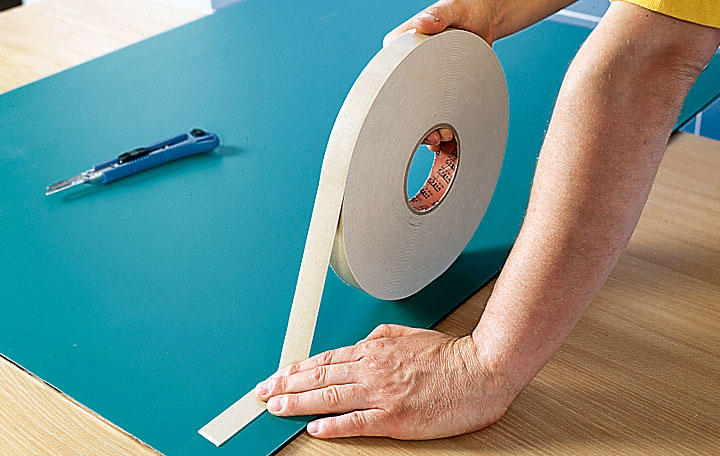
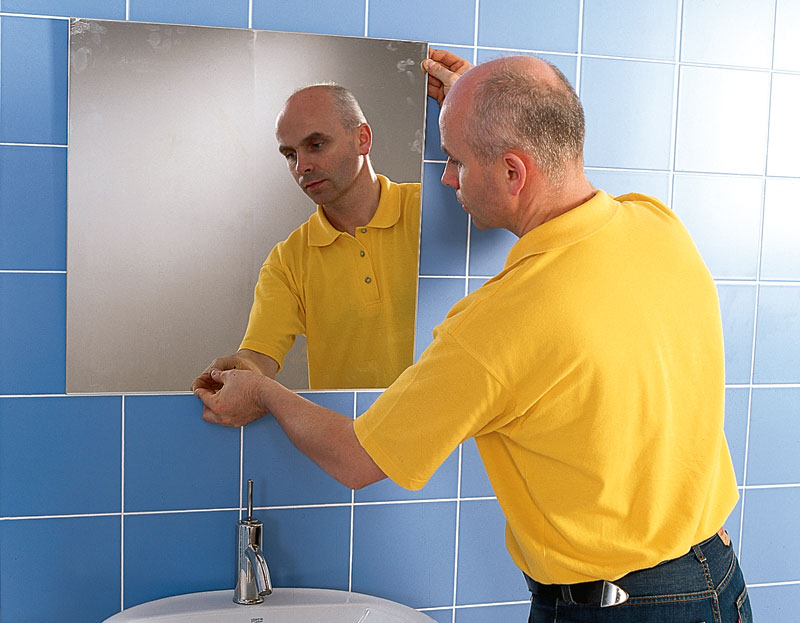
The second method: using double-sided tape
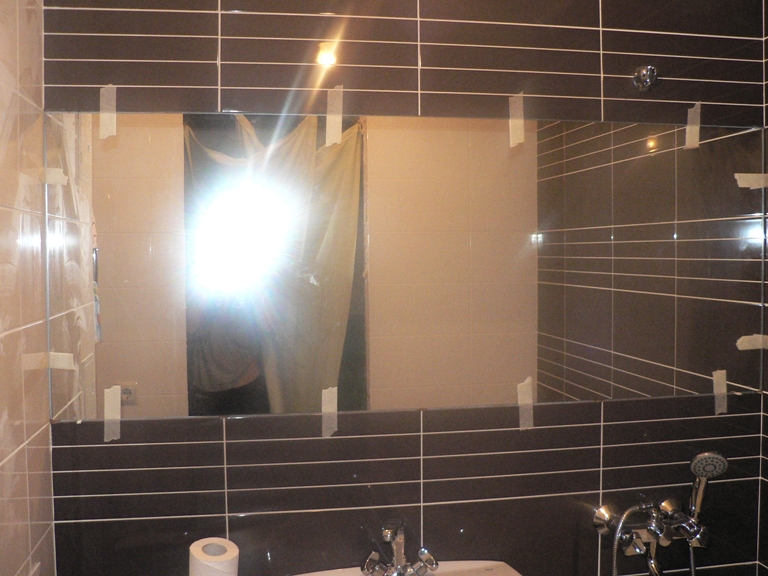
This method does not take much time. It is necessary to use a waterproof tape that can withstand high humidity and temperature fluctuations. As in the first method, wash and clean the tiles with a degreasing agent, also clean the back of the mirror, let it dry. Mark the wall, preferably with a water marker. Glue the tape to the mirror surface at equal distances, applying stripes parallel to each other. Remove the protective coating from the adhesive tape and fix it to the wall. For greater reliability, use an adhesive.
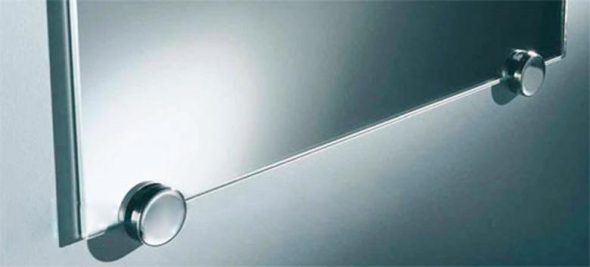
The third method: using hardware or other fasteners
This method is used when there are already holes in the structure. Now we prepare them in the wall, insert the dowels and tighten the screws. To avoid deformation of the mirror, rubber gaskets are needed. They are placed on both sides of the glass. To prevent moisture from accumulating, rubber or plastic should be placed between the wall and the mirror.
If you bought a mirror, but it did not come with a mount, you can buy one at a retail outlet. These are metal brackets, they are attached to the wall and the mirror is hung on them.
As a rule, mirror coating is sold without ready-made holes. Then they need to be drilled independently. For this, drills specially designed for tiles and glass are used. When drilling with ordinary drills, the surface can split. First, mark the place with a glass cutter. Then we make a border from plasticine, fix it around the place of the future hole, pour water there so that the plane cools down at the time of drilling.
We start the work with a diamond drill. The speed should be the lowest so as not to overheat, and there is no need to press on the mirror surface. We process the finished hole with fine-grained sandpaper. Then we make holes in the wall, fix the fasteners and hang the mirror.
This method is probably labor-intensive, but it will hold firmly. If you want to change the mirror, there will be no difficulty here, just unscrew the screws and remove the mirror.
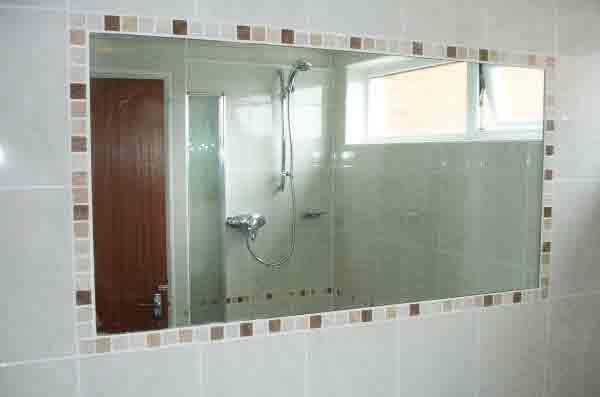
The final stage is decoration
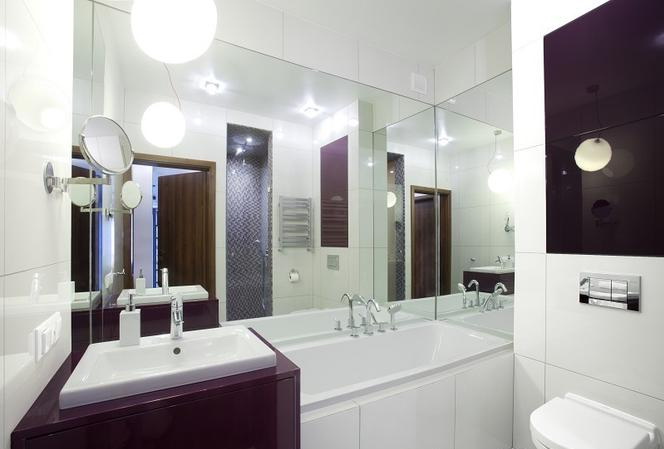
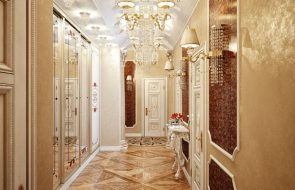
The bathroom is the place where we wash ourselves, get ourselves in order every morning, do laundry. A place that performs certain functions must be attractive. Today, designers come up with various decorative elements, but self-made decoration is especially fashionable. All the beauty can be made from improvised means. This will help save the budget. You just need to remember that the decorations should be moisture-resistant.
Decorating is a rather labor-intensive job. You will need patience, concentration, and diligence. Upon completion of the work, you will become the owner of an original piece of furniture.
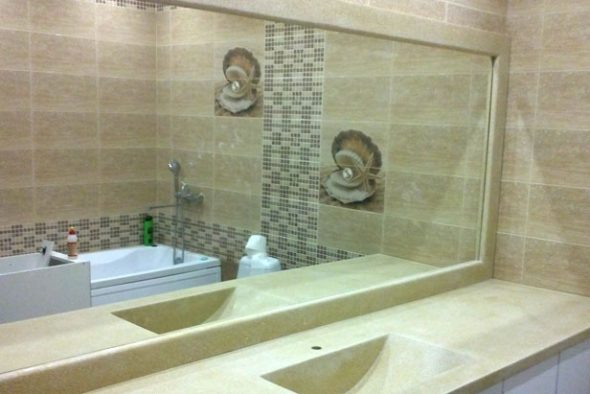
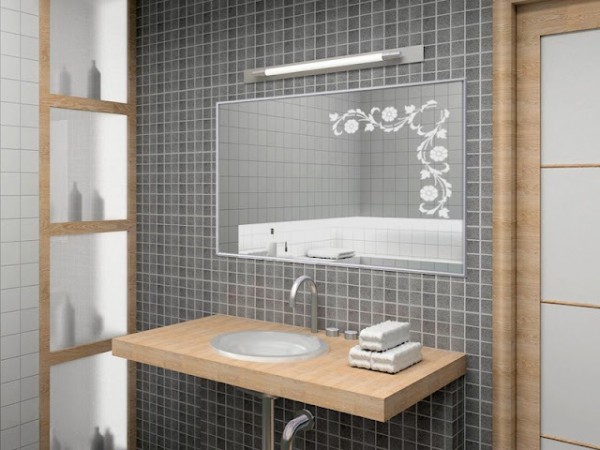
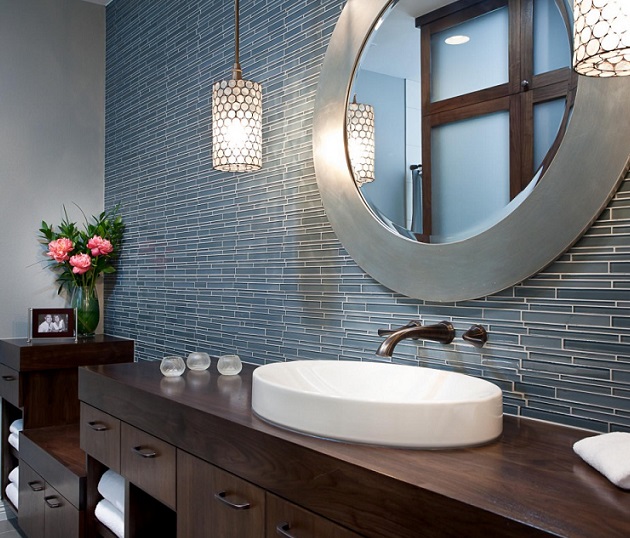
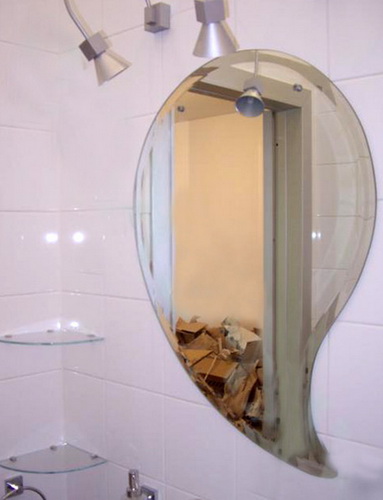
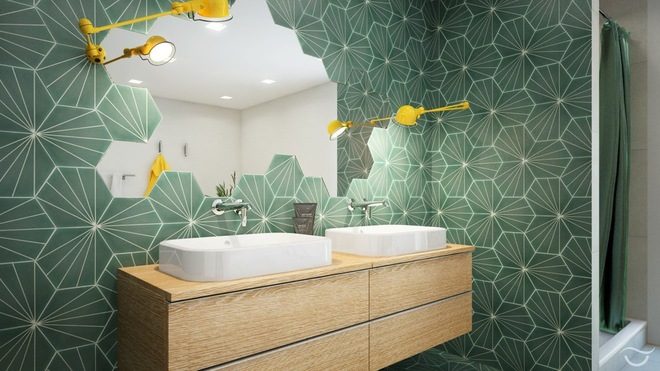
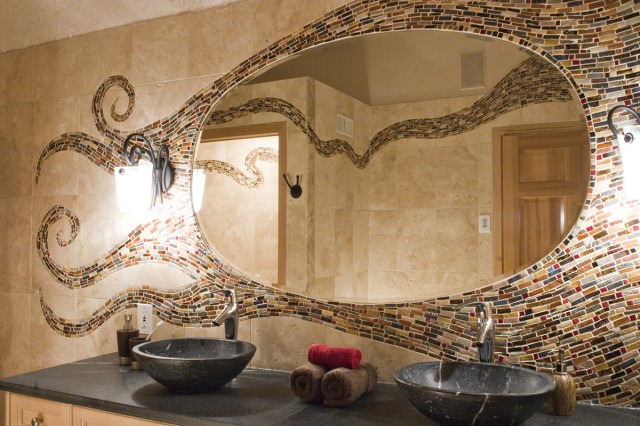
If you have a frameless mirror, you can buy one or make one yourself. It can be round, rectangular, square or of some unusual shape. You can decorate it in different ways - paint it, cover it with moisture-resistant fabric, lay out beads, glass beads, shells or other materials, even pasta. After completing all the work, the surface must be varnished - this will protect it from moisture. You can attach decorative elements either with "liquid nails" or with any moisture-resistant glue.
Decorating methods can be different. You can use fabric, apply decoupage, paint, lay out a mosaic. What you will decorate with is up to you. The main thing is that you will create a cozy, unique interior in the bathroom.
VIDEO:How to hang a mirror
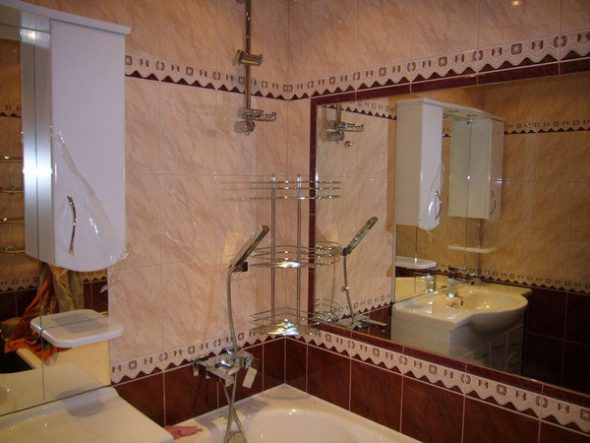
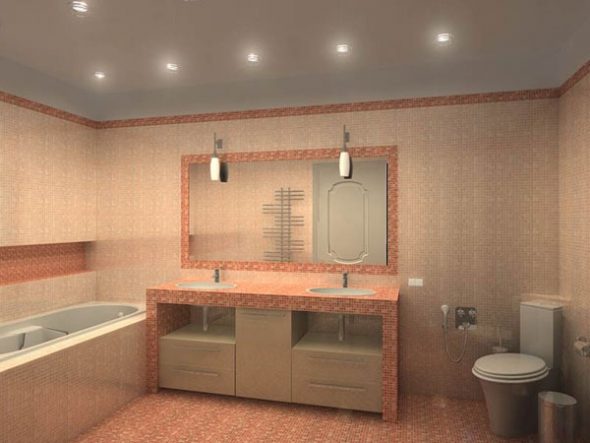
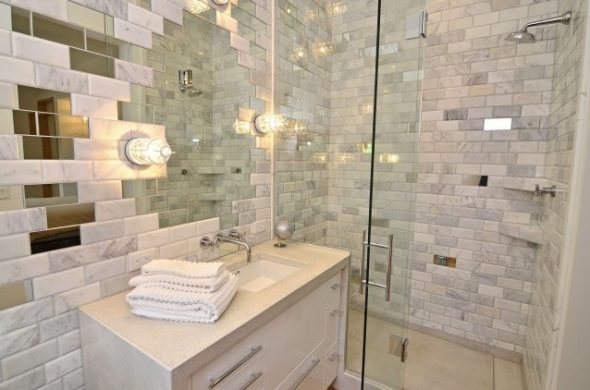
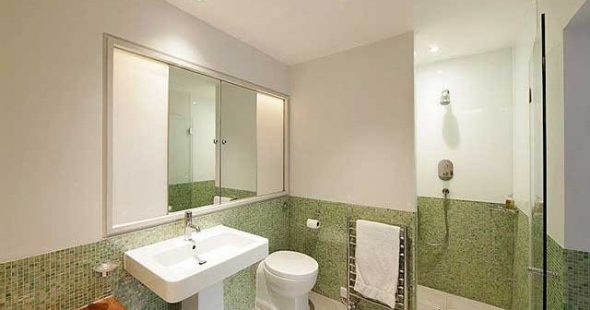
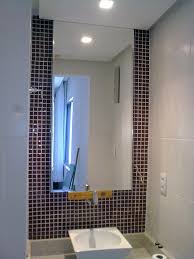
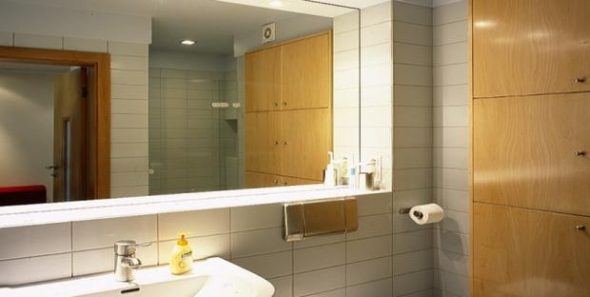
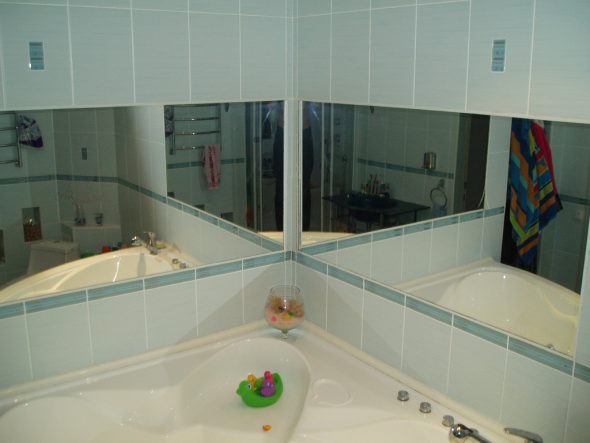
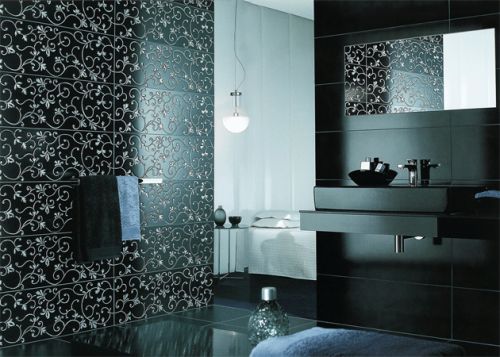
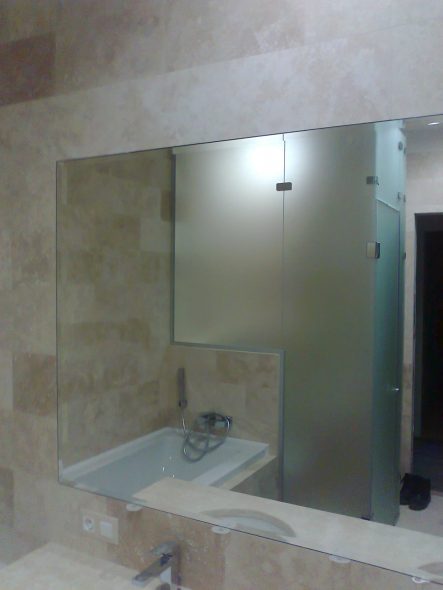
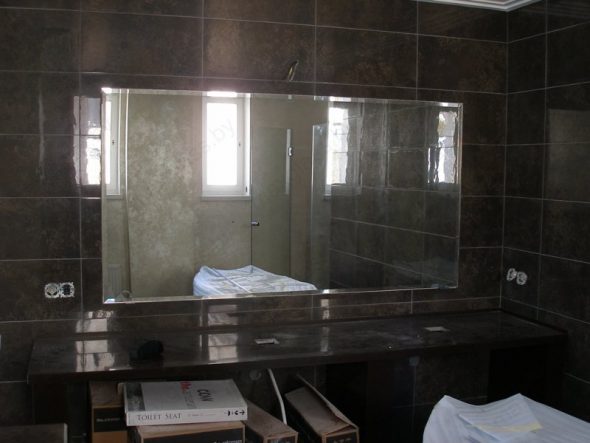
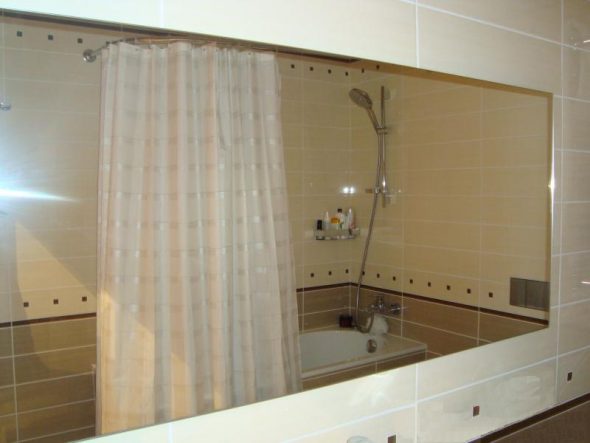
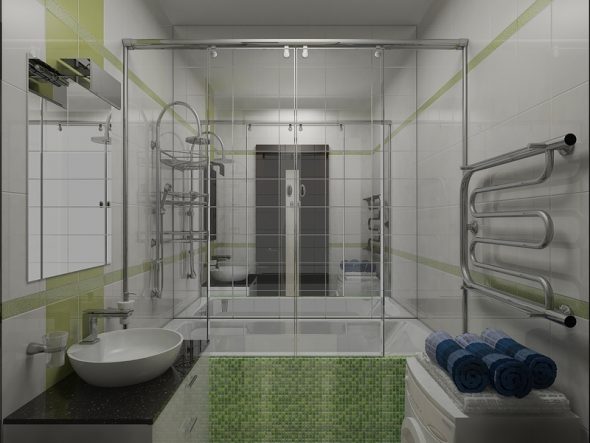
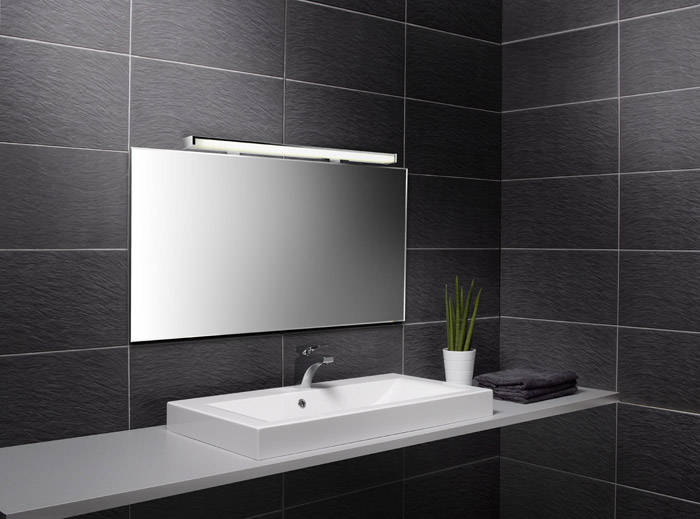
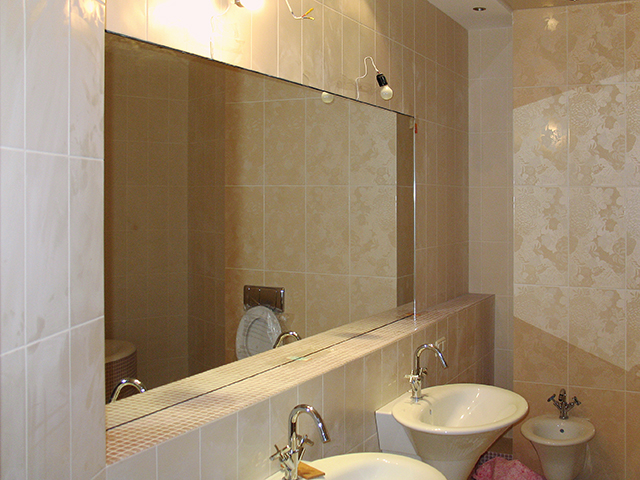
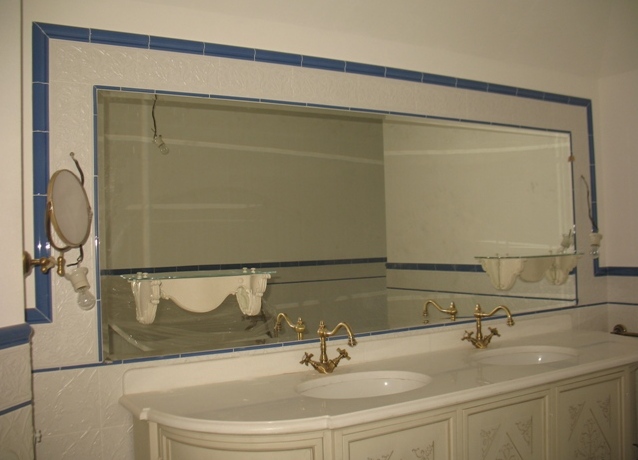
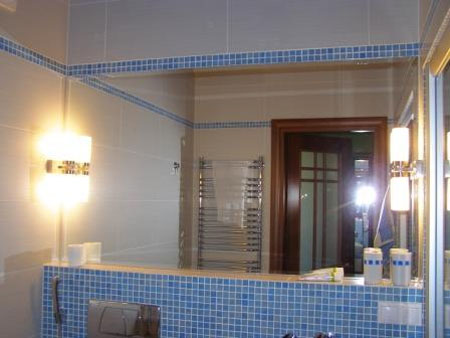
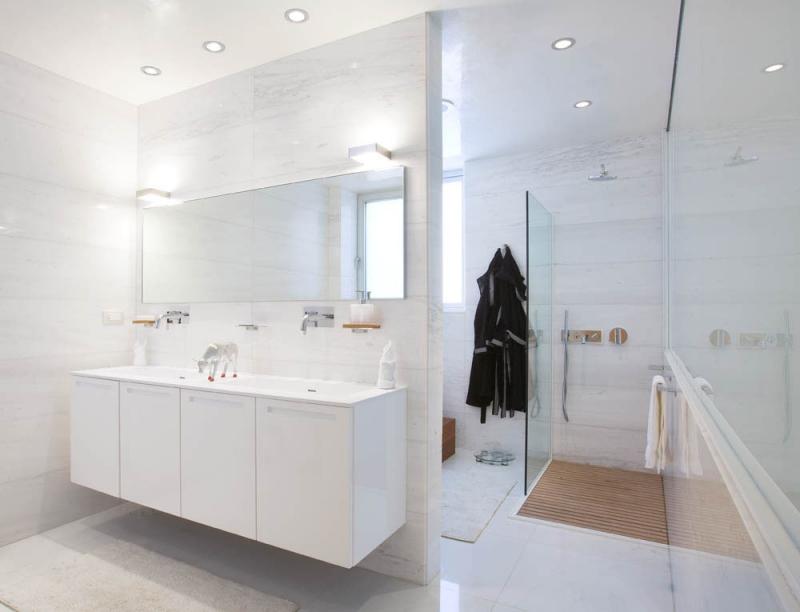
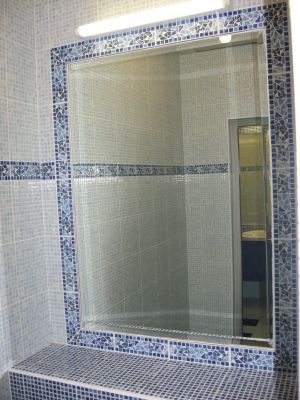
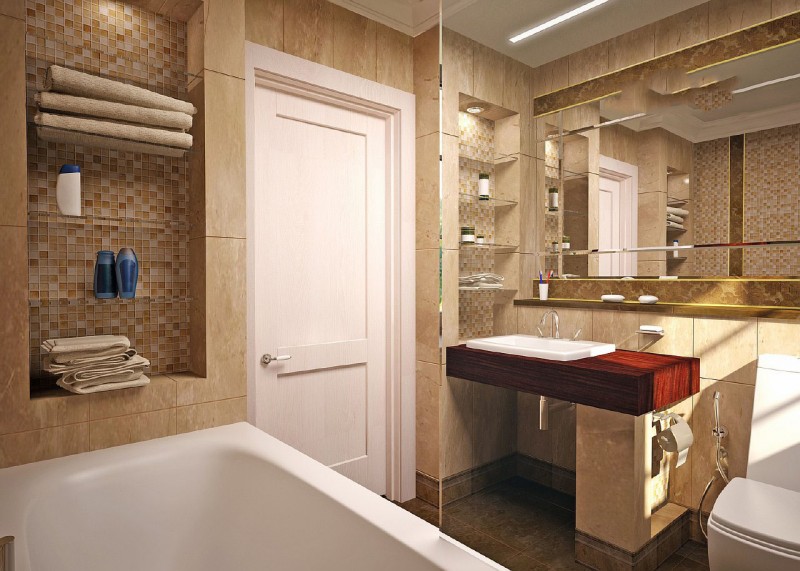
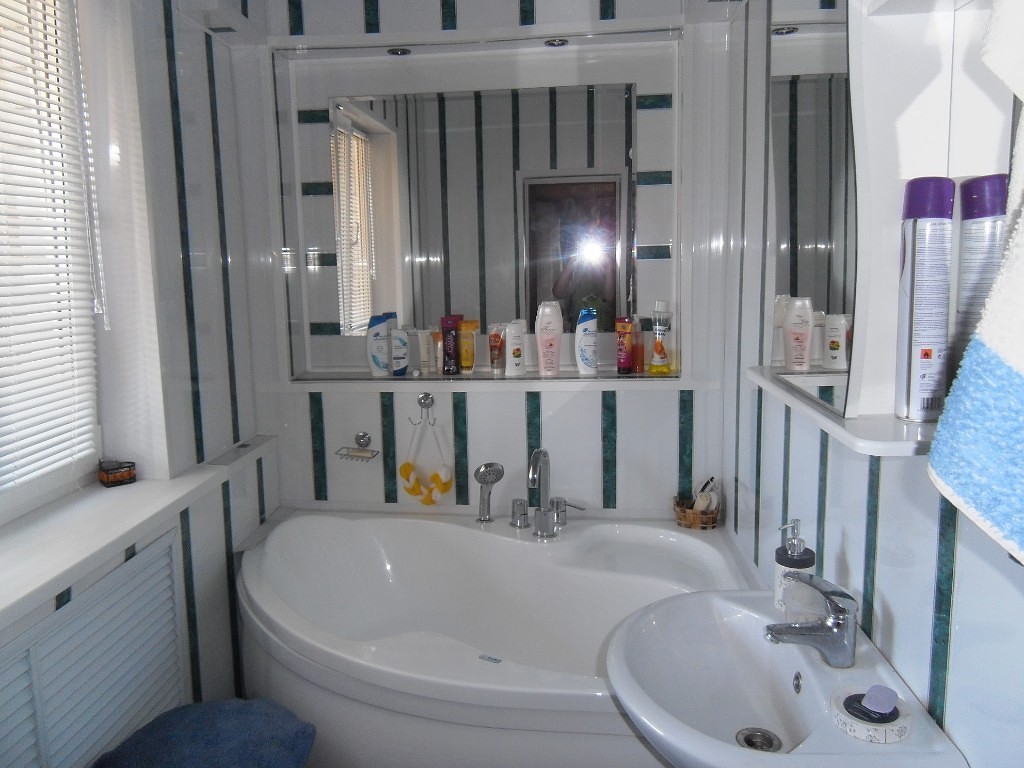
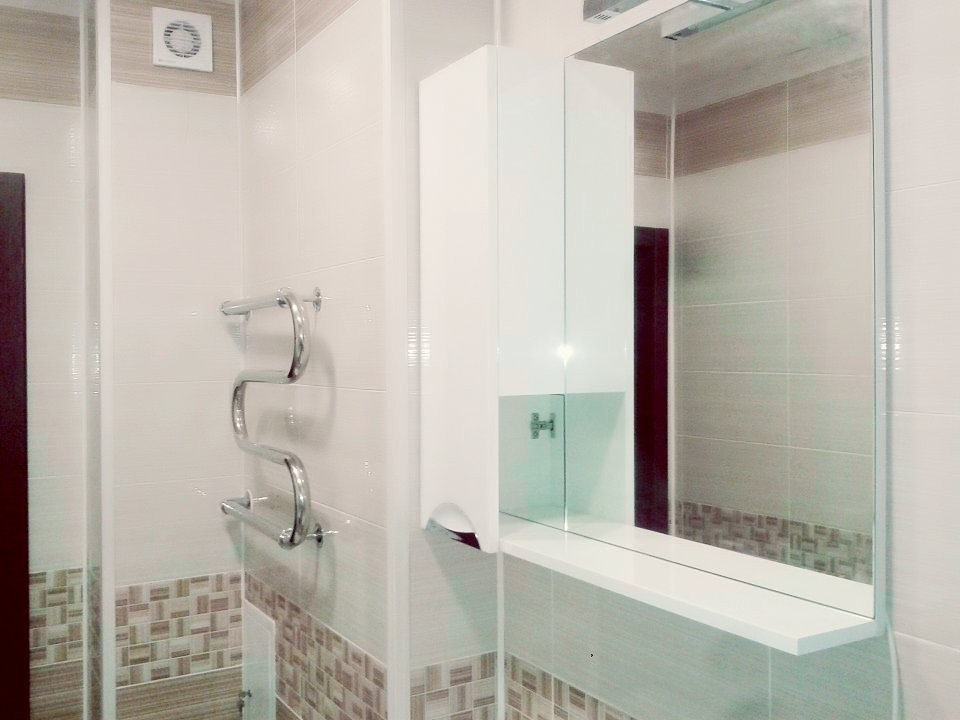
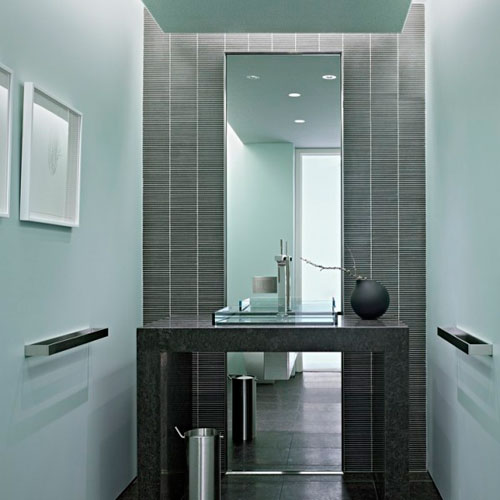
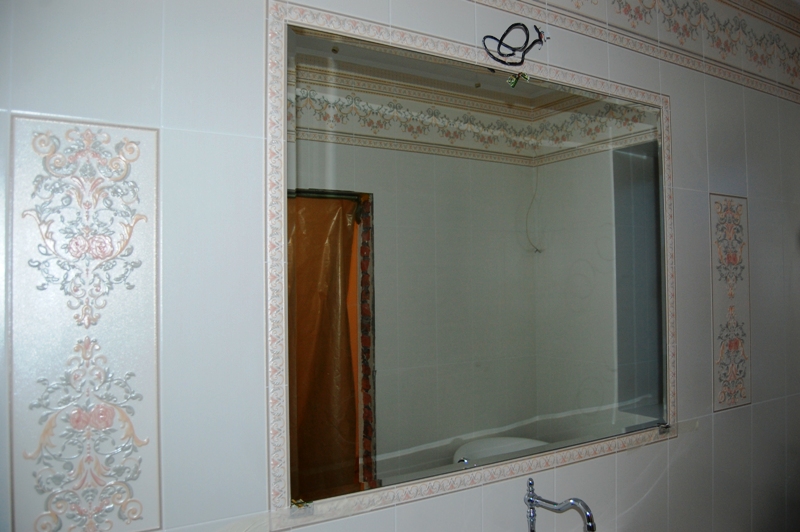
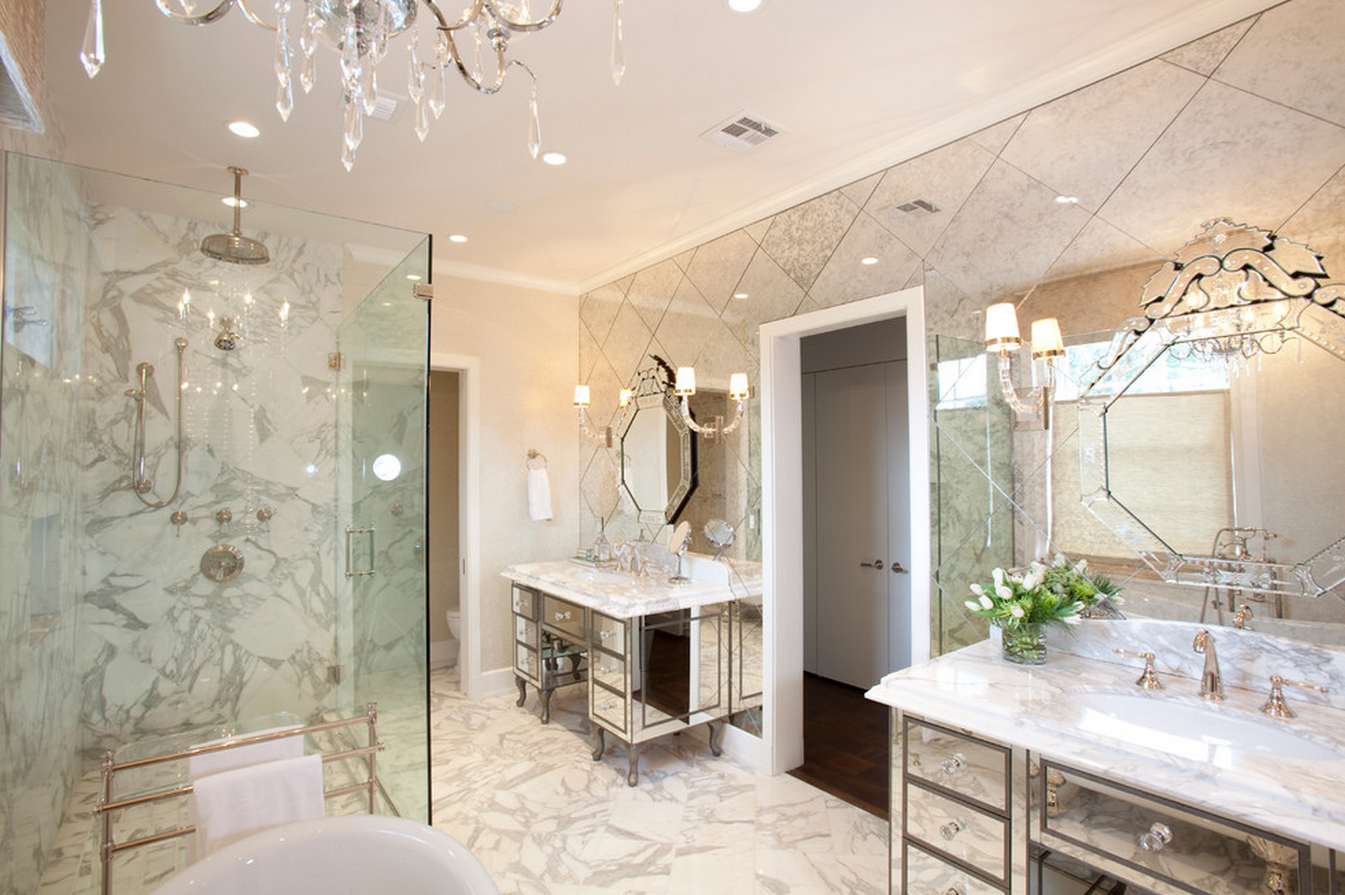
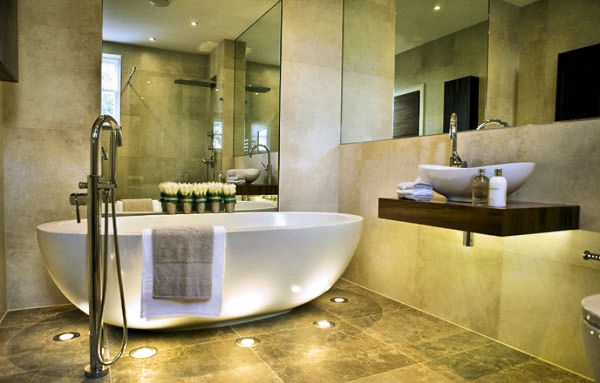
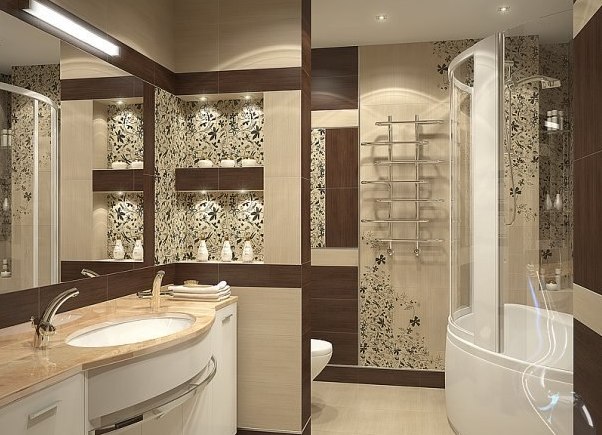
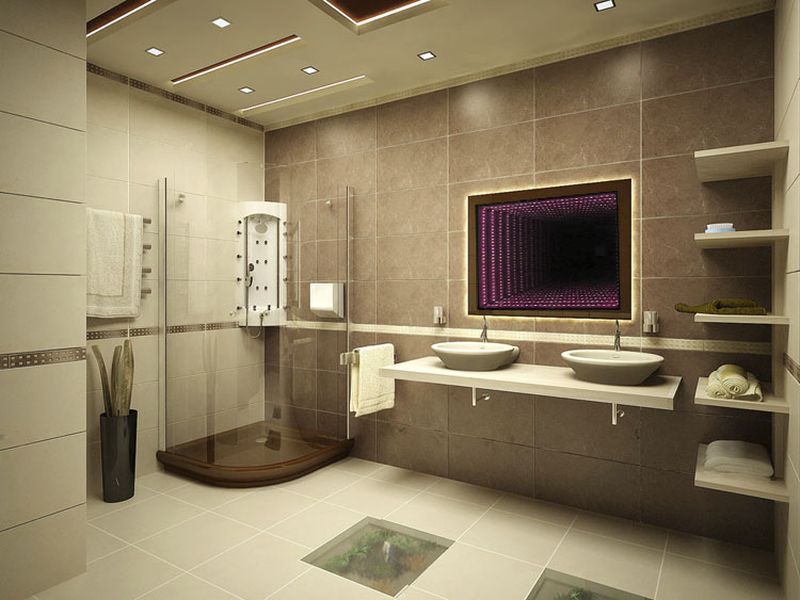
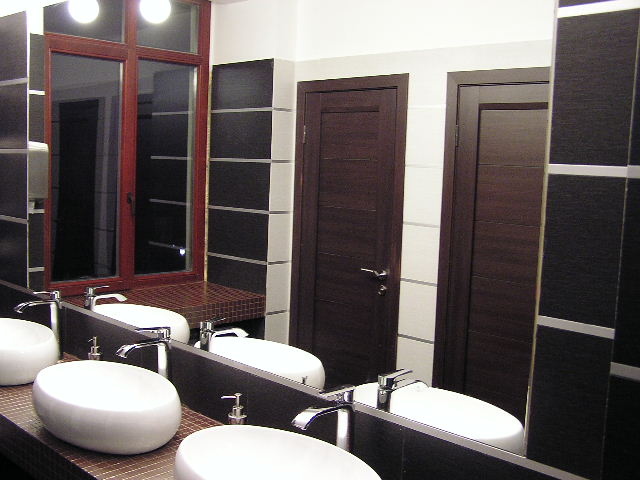
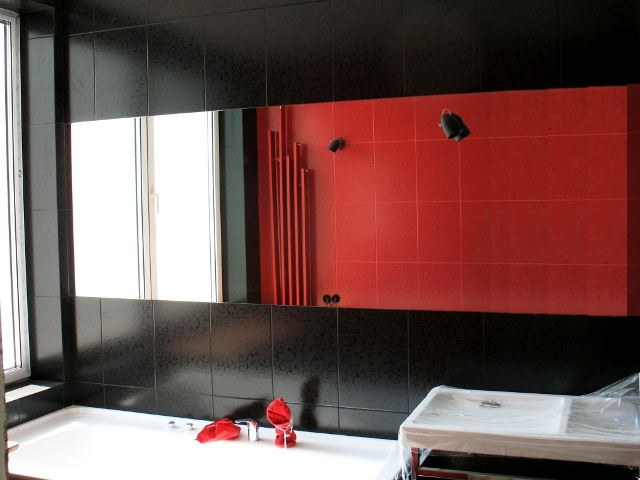
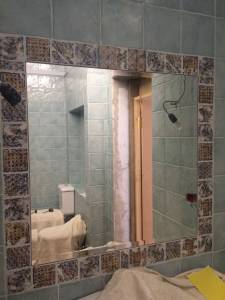
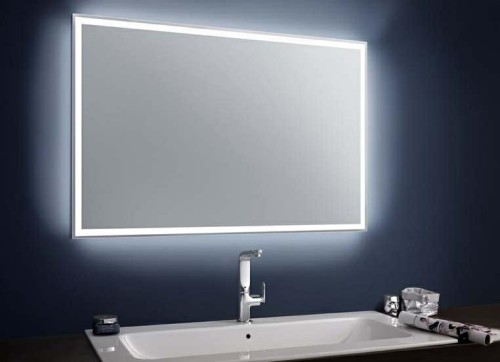
50 photo ideas on how to hang a mirror in the bathroom


Comments are closed